Home>Furniture & Design>Kitchen Furniture>How To Reupholster Bar Stools With Backs

Kitchen Furniture
How To Reupholster Bar Stools With Backs
Published: January 8, 2024
Learn how to reupholster bar stools with backs to give your kitchen furniture a fresh new look. Follow our step-by-step guide for a stylish and budget-friendly furniture makeover. Elevate your kitchen design with reupholstered bar stools!
(Many of the links in this article redirect to a specific reviewed product. Your purchase of these products through affiliate links helps to generate commission for Storables.com, at no extra cost. Learn more)
Introduction
So, you've had those bar stools with backs for a while now, and they've seen better days. The fabric is worn, the color is fading, and they just don't have that stylish appeal they once did. But before you think about replacing them, consider reupholstering them instead. It's a fantastic way to breathe new life into your bar stools and give your kitchen or bar area a fresh, updated look.
Reupholstering bar stools with backs is a fun and rewarding DIY project that allows you to showcase your creativity while saving money. Whether you're looking to match your new kitchen decor, add a pop of color, or simply revive the existing stools, reupholstering is the perfect solution. Plus, it's an environmentally friendly choice that reduces waste by extending the life of your furniture.
In this guide, we'll walk you through the process of reupholstering your bar stools step by step. From gathering the necessary materials to removing the old upholstery and attaching the new fabric, you'll learn everything you need to know to transform your bar stools into stunning pieces that reflect your personal style.
So, roll up your sleeves, gather your supplies, and get ready to embark on a creative journey that will leave you with beautifully reupholstered bar stools that you'll be proud to showcase in your home. Let's dive into the world of reupholstering and discover how you can give your bar stools a fresh, new look that will impress your family and guests alike.
Key Takeaways:
- Give your worn-out bar stools a stylish makeover by reupholstering them with new fabric and foam. It’s a fun DIY project that saves money and reduces waste, while allowing you to showcase your creativity and personal style.
- Reupholstering your bar stools not only breathes new life into your furniture but also contributes to environmental sustainability. Enjoy the process of transforming your seating into inviting spots for relaxation and shared moments with family and friends.
Read more: How Much Overhang For Bar Stools
Materials Needed
Before you begin the reupholstering process, it’s essential to gather all the necessary materials. Here’s what you’ll need to get started:
- Fabric: Choose a durable fabric that complements your existing decor and withstands regular use. Consider factors such as color, pattern, and texture to ensure the fabric aligns with your design preferences.
- Upholstery Foam: Opt for high-density foam that provides comfort and support. Measure the dimensions of your bar stool seats to determine the required foam thickness and size.
- Staple Gun: A staple gun is essential for securing the new upholstery fabric to the bar stool frames. Ensure it’s loaded with the appropriate staples for securing fabric to wood.
- Staples: Stock up on high-quality staples compatible with your staple gun to ensure a secure and long-lasting attachment of the fabric.
- Screwdriver: Depending on the construction of your bar stools, a screwdriver may be needed to remove the seats or access the upholstery.
- Scissors: Sharp scissors are crucial for cutting the fabric and foam to the required dimensions with precision.
- Needle-Nose Pliers: These pliers come in handy for removing stubborn staples or tacks from the old upholstery during the removal process.
- Flat-Head Screwdriver: Useful for prying out staples and tacks, a flat-head screwdriver assists in carefully loosening the old upholstery without damaging the frame.
- Protective Gear: Consider wearing safety goggles and gloves to shield your eyes and hands from any potential hazards while working with tools and materials.
By ensuring you have these materials on hand, you’ll be well-prepared to embark on your reupholstering project. With everything in place, you can proceed with confidence, knowing that you have the essentials to achieve professional-quality results.
Removing the Old Upholstery
Before you can breathe new life into your bar stools, it’s essential to bid farewell to the worn-out upholstery that has served its time. The removal process requires patience and precision to avoid damaging the underlying structure of the stools. Here’s a step-by-step guide to help you navigate this crucial phase of the reupholstering process:
- Turn the Bar Stool Upside Down: Carefully flip the bar stool upside down, ensuring it’s stable and secure on a flat surface. This position provides easy access to the underside of the seat, where the upholstery is typically attached.
- Inspect the Attachment Method: Assess how the existing upholstery is secured to the frame. It may be held in place by staples, tacks, or screws, depending on the stool’s construction. Use the appropriate tools, such as a staple remover or screwdriver, to begin loosening and removing the fasteners.
- Remove the Staples or Tacks: Starting from one edge, carefully pry out the staples or tacks using a flat-head screwdriver, needle-nose pliers, or a specialized upholstery tool. Work your way around the perimeter of the upholstery, gradually releasing it from the frame. Take care not to tear the fabric or damage the underlying foam.
- Detach the Upholstery: Once the fasteners are removed, gently lift the old upholstery from the seat frame. If the foam is still in good condition, you can choose to reuse it by simply setting it aside for the next phase of the reupholstering process.
- Clean the Frame: With the old upholstery removed, take the opportunity to clean the seat frame, removing any dust, debris, or adhesive residue. A clean surface ensures optimal adhesion for the new upholstery and creates a fresh foundation for your reupholstered bar stool.
By meticulously following these steps, you’ll successfully strip away the old, worn upholstery, setting the stage for the exciting transformation that lies ahead. With the seats now bare, you’re ready to prepare the new fabric and foam for the reupholstering process.
Preparing the New Upholstery
With the old upholstery removed and the bar stool frames cleaned, it’s time to prepare the new fabric and foam for the reupholstering process. This phase involves precise measurements, cutting the materials to size, and ensuring they are ready for seamless attachment to the seat frames. Here’s a detailed guide to help you prepare the new upholstery for your bar stools:
- Measure and Cut the Fabric: Lay out the chosen fabric on a flat, clean surface, ensuring it’s free of wrinkles or creases. Using a measuring tape, carefully measure the dimensions of the seat, adding extra fabric to allow for wrapping around the edges and securing to the underside of the frame. Once measured, use sharp scissors to cut the fabric to the required size, ensuring clean, straight edges.
- Trim the Upholstery Foam: If you’ve opted to replace the existing foam or add additional padding, measure and cut the upholstery foam to match the dimensions of the seat. A serrated knife or electric carving knife can be used to achieve smooth, even cuts. Ensure the foam fits snugly within the fabric’s edges without overstretching or distorting the material.
- Position the Fabric and Foam: Place the cut fabric on your work surface with the pattern or desired side facing down. Center the upholstery foam on the fabric, aligning it with the edges. This step ensures that once the fabric is secured, the foam will be properly positioned on the seat, providing comfort and a polished appearance.
- Double-Check Measurements: Before proceeding, double-check the dimensions of the fabric and foam to verify that they align with the seat’s requirements. This attention to detail ensures a precise fit and professional finish once the reupholstering is complete.
By meticulously preparing the new upholstery materials, you’ll set the stage for a successful reupholstering process. With the fabric cut to size and the foam ready for placement, you’re now poised to embark on the exciting phase of transforming your bar stools with stylish, refreshed upholstery.
When reupholstering bar stools with backs, make sure to carefully remove the old fabric and take note of how it was attached. This will make it easier to reupholster and ensure a professional finish.
Reupholstering the Bar Stools
With the old upholstery removed and the new fabric and foam prepared, it’s time to embark on the transformative process of reupholstering your bar stools. This phase allows you to showcase your creativity and craftsmanship as you breathe new life into the seats, enhancing both their aesthetic appeal and comfort. Here’s a comprehensive guide to reupholstering your bar stools with backs:
- Position the Fabric and Foam: Begin by placing the prepared fabric pattern-side down on your work surface. Center the upholstery foam on the fabric, ensuring it aligns with the edges. This step sets the foundation for securing the fabric to the seat frame and ensures a professional, polished appearance.
- Wrap and Secure the Fabric: Starting with one side, gently pull the fabric taut over the foam and seat frame, folding the edges to create a clean, finished look. Use a staple gun to secure the fabric to the underside of the seat frame, starting from the center of each side and working towards the corners. Ensure the fabric remains smooth and wrinkle-free as you staple it in place, adjusting as needed to maintain a snug fit.
- Trim Excess Fabric: Once the fabric is securely attached to the seat frame, trim any excess material, leaving a neat and tidy edge along the underside of the seat. This step ensures a professional finish and eliminates bulk that could interfere with reattaching the seats to the bar stool frames.
- Repeat for Additional Bar Stools: If you’re reupholstering multiple bar stools, repeat the process for each seat, ensuring consistency in fabric tension and stapling for a cohesive look across all the stools.
As you progress through these steps, you’ll witness the remarkable transformation taking place as your bar stools are adorned with fresh, stylish upholstery. The reupholstering process allows you to infuse your personal flair into the design, whether you opt for a classic, understated fabric or a bold, eye-catching pattern that makes a statement in your kitchen or bar area.
With the seats now beautifully reupholstered, you’re one step closer to reviving your bar stools and infusing your space with renewed charm and personality. The next phase involves reattaching the upholstered backs to the bar stool frames, bringing your vision of revitalized seating to fruition.
Reattaching the Upholstered Backs
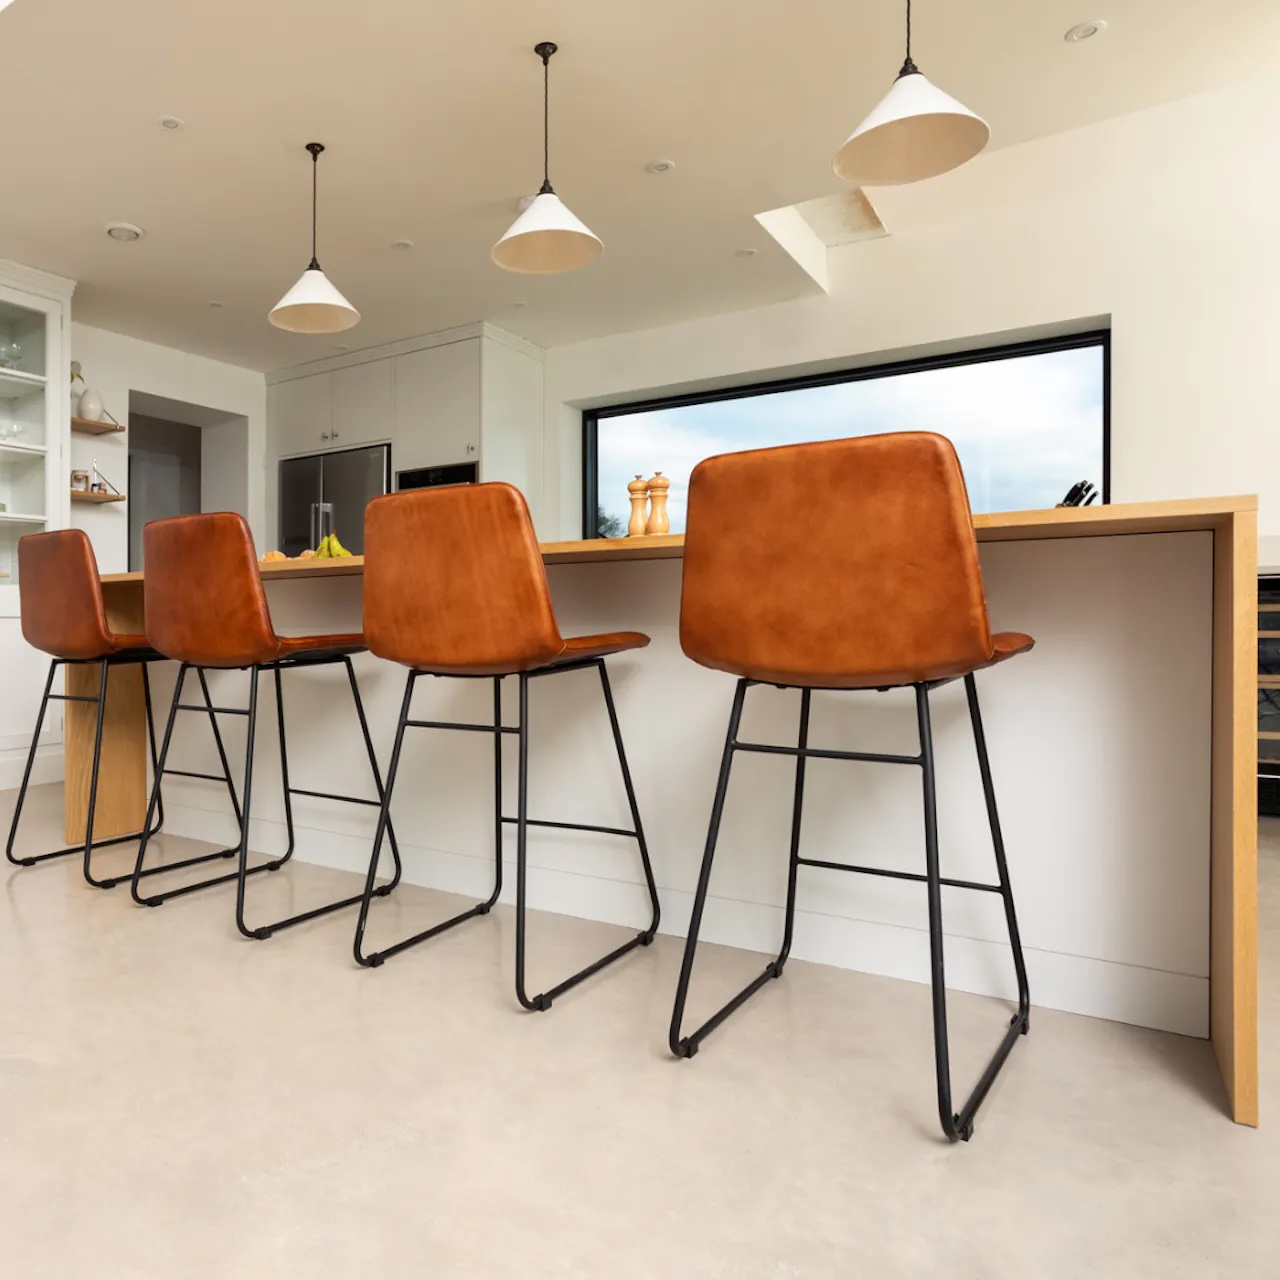
With the seats reupholstered and looking refreshed, the final phase of the reupholstering process involves reattaching the upholstered backs to the bar stool frames. This step completes the transformation, ensuring that your bar stools not only boast stylish new upholstery but also provide optimal comfort and support. Here’s a detailed guide to help you seamlessly reattach the upholstered backs to your bar stools:
- Align the Backs with the Frames: Position the upholstered backs in alignment with the bar stool frames, ensuring that they are centered and level. Take care to match any pre-existing attachment points or hardware to guarantee a secure fit.
- Secure the Backs to the Frames: Depending on the design of your bar stools, use the appropriate fasteners – such as screws or bolts – to secure the upholstered backs to the frames. Ensure that the attachment is firm and stable, providing ample support for the backrest while maintaining a cohesive, polished appearance.
- Inspect and Adjust: Once the backs are attached, carefully inspect the bar stools to ensure that the upholstered seats and backs are securely and evenly affixed to the frames. Make any necessary adjustments to the attachment points or the upholstery to achieve a uniform, professional finish across all the stools.
- Clean and Polish: With the reupholstering process complete, take a moment to clean and polish the bar stool frames, removing any dust or marks that may have accumulated during the reupholstering process. This final touch enhances the overall presentation of your revitalized bar stools, leaving them looking as good as new.
As you carry out these steps, you’ll witness the remarkable culmination of your reupholstering efforts, resulting in bar stools that exude charm, comfort, and renewed visual appeal. Whether you’ve opted for a timeless, classic fabric or a bold, modern pattern, the reupholstered bar stools now stand as a testament to your creativity and dedication to revitalizing your living space.
With the upholstered backs securely in place and the bar stools gleaming with fresh upholstery, you can now step back and admire the stunning transformation you’ve achieved. Your kitchen or bar area is now adorned with stylish, inviting seating that reflects your personal style and enhances the ambiance of your home.
Conclusion
Congratulations! You’ve successfully navigated the reupholstering journey and transformed your bar stools into captivating pieces that breathe new life into your living space. Through your dedication and creativity, you’ve revitalized worn-out seating, infusing your kitchen or bar area with refreshed charm and personality.
The reupholstering process allowed you to express your individual style, whether you opted for a classic, understated fabric that seamlessly blends with your decor or a bold, vibrant pattern that serves as a focal point in the room. By reimagining your bar stools with stylish new upholstery, you’ve not only saved money by avoiding the expense of replacement but also contributed to environmental sustainability by extending the lifespan of your furniture.
As you enjoy the fruits of your reupholstering efforts, take pride in the craftsmanship and attention to detail that have resulted in seating that’s as comfortable as it is visually appealing. Your reupholstered bar stools now serve as inviting spots for relaxation, conversation, and shared moments with family and friends.
Furthermore, the skills and knowledge you’ve gained through this DIY project can be applied to future upholstery endeavors, empowering you to revitalize other furniture pieces and continue enhancing your living environment with your personal touch.
By embarking on the reupholstering journey, you’ve not only transformed your bar stools but also discovered the joy of breathing new life into cherished pieces, making them an integral part of your home for years to come. Your commitment to creativity and sustainability has left a lasting impact, turning a simple DIY project into a fulfilling and rewarding experience.
Now, as you relax in the company of your reupholstered bar stools, take a moment to appreciate the transformation you’ve accomplished and the inviting atmosphere you’ve cultivated in your home. Your reupholstered bar stools stand as a testament to your ingenuity and passion for creating spaces that reflect your unique personality and style.
Frequently Asked Questions about How To Reupholster Bar Stools With Backs
Was this page helpful?
At Storables.com, we guarantee accurate and reliable information. Our content, validated by Expert Board Contributors, is crafted following stringent Editorial Policies. We're committed to providing you with well-researched, expert-backed insights for all your informational needs.


0 thoughts on “How To Reupholster Bar Stools With Backs”