Home>Dining>Tableware>How To Reupholster The Fabric Back Of A Dining Chair
Tableware
How To Reupholster The Fabric Back Of A Dining Chair
Modified: December 7, 2023
Learn how to reupholster the fabric back of a dining chair with our step-by-step guide. Transform your seating with our tableware-inspired tips and techniques.
(Many of the links in this article redirect to a specific reviewed product. Your purchase of these products through affiliate links helps to generate commission for Storables.com, at no extra cost. Learn more)
Introduction
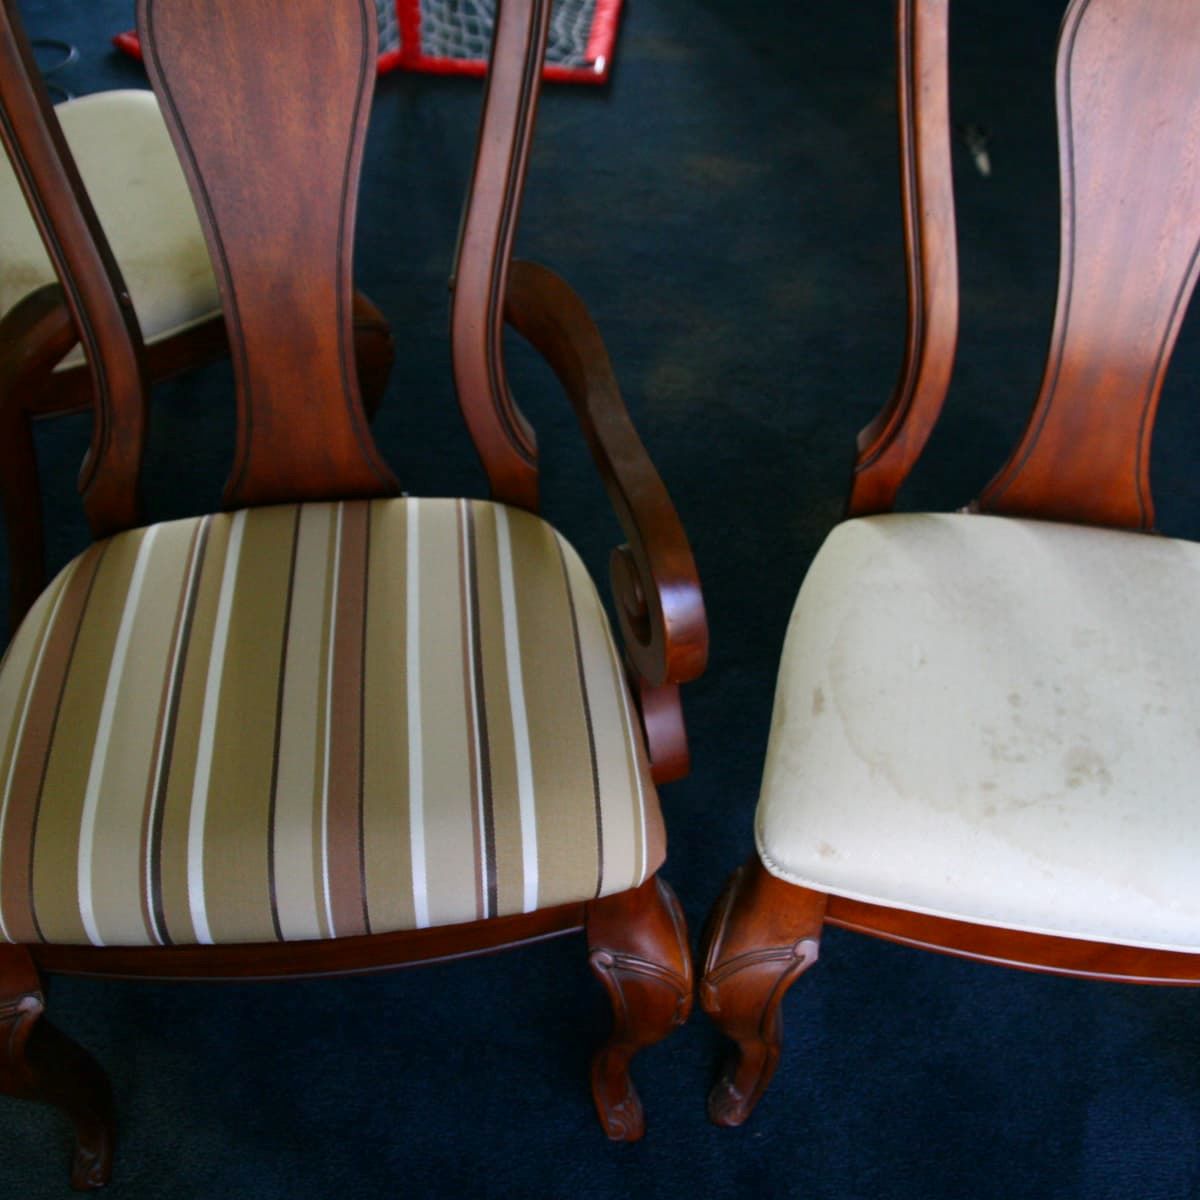
Welcome to our guide on how to reupholster the fabric back of a dining chair! Over time, dining chairs can start to show signs of wear and tear, especially on the fabric back. Whether it’s faded, stained, or just no longer matches your decor, reupholstering the fabric back is a great way to give your dining chairs a fresh and updated look.
Reupholstering may sound like a daunting task, but with a little bit of time and effort, you can transform your dining chairs into stylish pieces that complement your dining space. In this guide, we will take you through the step-by-step process of removing the old fabric, preparing the new fabric, attaching it to the chair back, and finishing the edges for a clean and professional look.
To successfully reupholster the fabric back of a dining chair, you will need a few essential tools and materials. These include:
- Staple gun
- Staples
- Fabric scissors
- Screwdriver (if needed to remove the chair back)
- New fabric of your choice
- Measuring tape
- Iron and ironing board
Gather these items before you begin the reupholstering process to ensure a smooth and efficient project. Now, let’s get started with step 1: removing the old fabric!
Key Takeaways:
- Transform worn-out dining chairs into stylish pieces that complement your decor with a rewarding reupholstering project. Follow the step-by-step guide for a professional and polished finish.
- Embrace creativity and revitalize your dining space on a budget by selecting durable and stylish fabrics. Reupholstering is a rewarding way to customize and update your dining chairs.
Tools and Materials Needed
If you’re ready to reupholster the fabric back of your dining chair, make sure you have these essential tools and materials on hand:
- Staple gun: A staple gun is a crucial tool for securing the new fabric to the chair back. Invest in a good quality staple gun that is easy to use and provides enough force to securely fasten the staples.
- Staples: Make sure you have an ample supply of staples that are compatible with your staple gun. Choose the appropriate size of staples to ensure a strong and secure attachment between the fabric and the chair.
- Fabric scissors: Fabric scissors are designed to cut through fabric cleanly and accurately. Invest in a pair of sharp fabric scissors to make your cutting process easier and more precise.
- Screwdriver (if needed to remove the chair back): Depending on the construction of your dining chair, you may need a screwdriver to remove the chair back from the frame. Check your chair’s assembly and keep a screwdriver handy if necessary.
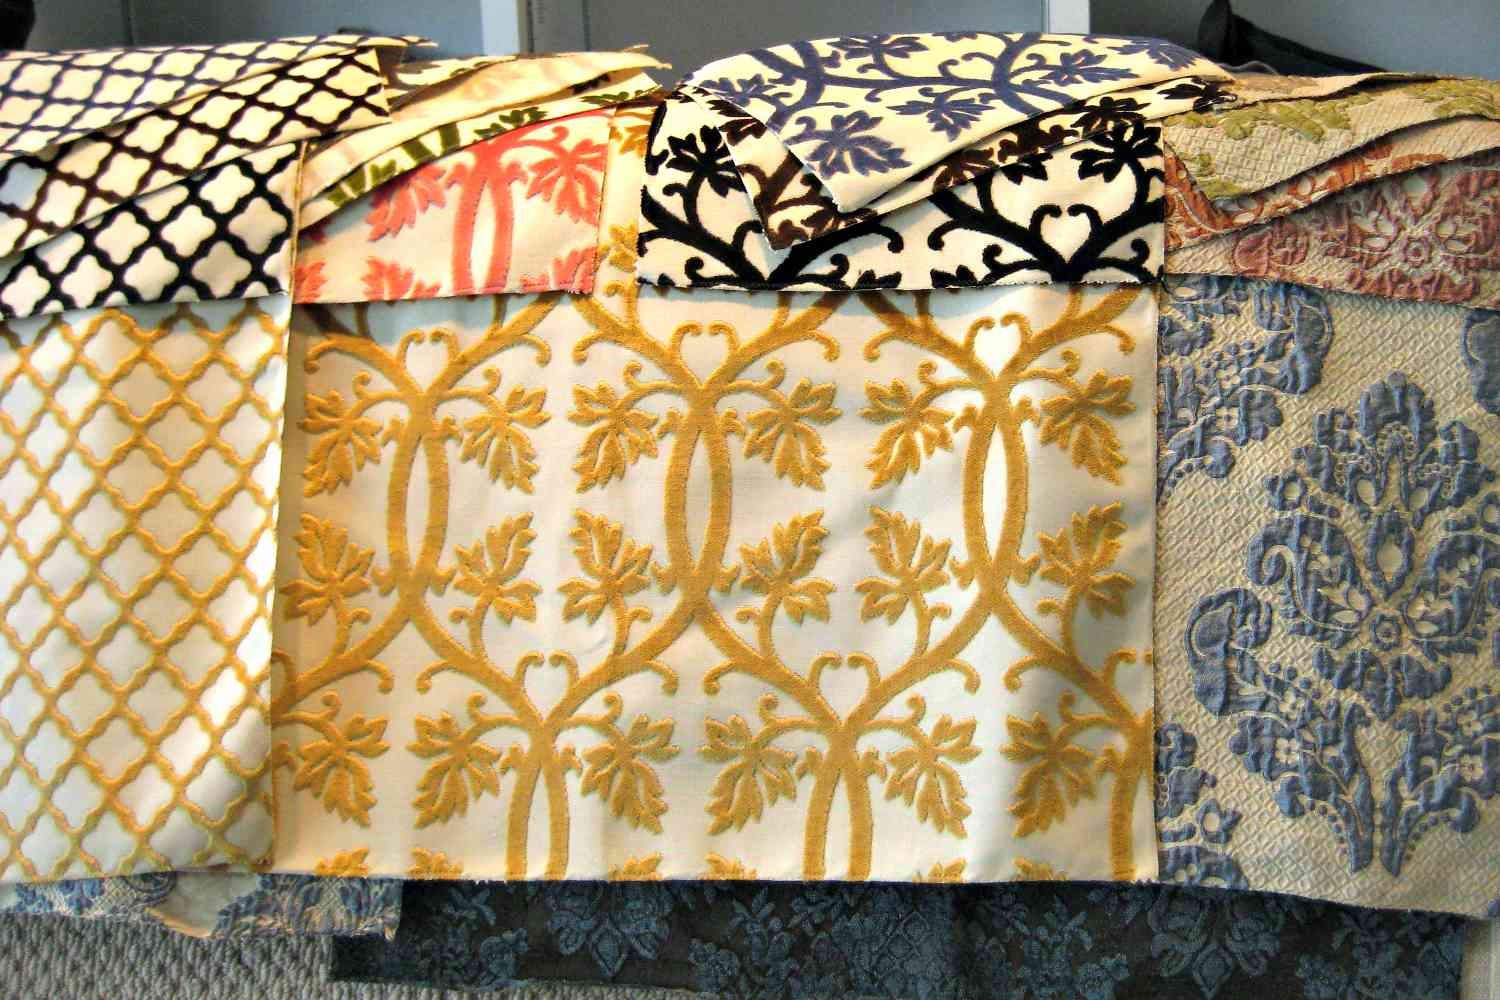
- New fabric of your choice: Select a fabric that suits your style and complements your dining room decor. Consider the durability, color, and pattern of the fabric to ensure it withstands everyday use and adds visual appeal to your chairs.
- Measuring tape: Accurate measurements are essential for achieving a professional-looking reupholster job. Use a measuring tape to measure the dimensions of your chair back and the fabric to ensure a precise fit.
- Iron and ironing board: Before you begin the reupholstering process, it’s a good idea to iron your fabric to remove any wrinkles or creases. This step will help you achieve a smooth and neat finished result.
Once you have gathered these tools and materials, you’ll be prepared to tackle the fabric back reupholstering process. Remember to work in a well-lit and well-ventilated area, and take your time to achieve the best results. Let’s move on to step 1: removing the old fabric!
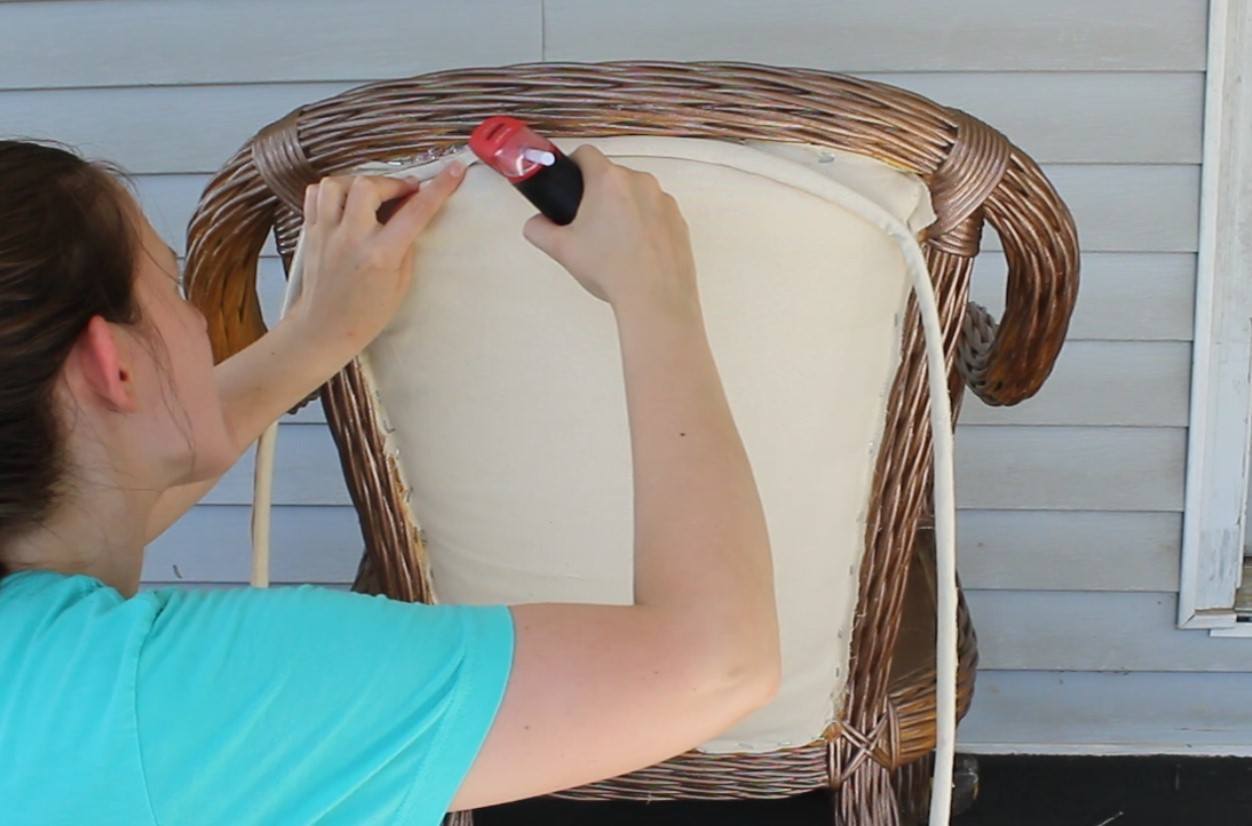
Step 1: Remove the Old Fabric
The first step in reupholstering the fabric back of your dining chair is to remove the old fabric. This process will give you a clean and smooth surface to work with when attaching the new fabric. Follow these steps to remove the old fabric:
- Turn the chair upside down: Start by flipping the chair upside down to have easy access to the back of the chair. Make sure to do this on a clean workspace or protect your floor with a drop cloth to avoid any damages or stains.
- Remove any staples: Using a staple remover or a flathead screwdriver, carefully remove any staples holding the old fabric in place. Take your time and be meticulous to avoid damaging the chair frame or the existing fabric you want to keep.
- Peel off the old fabric: Once the staples are removed, gently peel off the old fabric from the chair back. Depending on the condition of the old fabric, it may come off easily or require a bit of effort. Take care not to tear or damage the foam padding beneath the fabric.
- Inspect and clean the chair back: With the old fabric removed, take a moment to inspect the chair back for any damage or wear. If necessary, make any repairs or reinforce weakened areas before proceeding to the next step. Also, remove any dust or debris from the chair back to ensure a clean surface for the new fabric.
By successfully removing the old fabric, you have completed the first step in the reupholstering process. Now, your chair back is ready for the next step: preparing the new fabric. Be sure to take your time and be careful during this step to avoid any accidental damage to the chair frame or existing materials. Let’s move on to step 2!
Step 2: Prepare the New Fabric
Now that you have removed the old fabric from the dining chair, it’s time to prepare the new fabric that will breathe new life into the chair back. Follow these steps to ensure your new fabric is ready for attachment:
- Measure and cut the fabric: Lay the new fabric on a flat surface with the wrong side facing up. Use a measuring tape to measure the dimensions of the chair back, adding a few inches on each side for wrapping and securing. Carefully mark the measurements on the fabric and use fabric scissors to cut it to size. Be precise and make clean, straight cuts.
- Iron the fabric: Before moving forward, take a moment to iron the fabric on a low heat setting to remove any wrinkles or creases. This step will ensure that your fabric looks neat and smooth when attached to the chair back. Pay attention to any pattern on the fabric and iron in the appropriate direction to maintain symmetry.
- Position the fabric on the chair back: With the fabric cut and ironed, position it on the chair back, ensuring that it covers the entire surface with some excess fabric on all sides for wrapping. Take a step back and double-check the alignment and design placement if applicable.
- Secure the fabric temporarily: To keep the fabric in place while attaching it permanently, you can use small binder clips or fabric-safe pins to hold it in position. This will allow you to make any adjustments or alignment corrections before finalizing the attachment.
By following these steps, you have adequately prepared the new fabric for reupholstering the chair back. Taking the time to measure, cut, and iron the fabric will ensure a professional and seamless finish. Now that the new fabric is ready, let’s move on to the next step: attaching it to the back of the dining chair. Continue with step 3!
When reupholstering the fabric back of a dining chair, make sure to carefully remove the old fabric and take accurate measurements before cutting the new fabric. This will ensure a smooth and professional-looking finish.
Step 3: Attach the New Fabric to the Back of the Dining Chair
Now that you have prepared the new fabric, it’s time to attach it to the back of the dining chair. This step requires careful attention to ensure a secure and smooth finish. Follow these steps to successfully attach the new fabric:
- Start at the top center: Begin the attachment process at the top center of the chair back. This will ensure a balanced and centered placement of the fabric. Apply gentle pressure to hold the fabric in place.
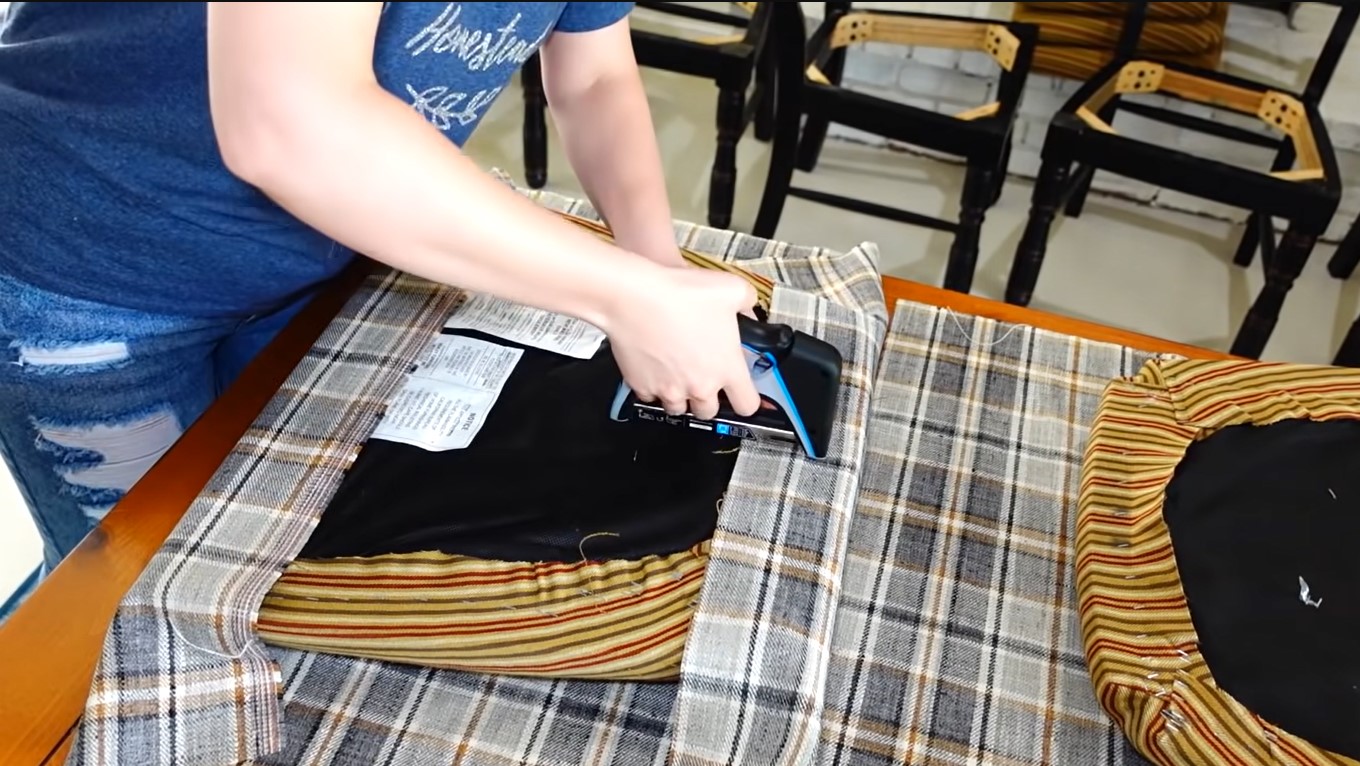
- Staple the fabric: Using a staple gun, start securing the fabric to the chair back by placing a staple in the center, a few inches below the top edge. Be sure to staple through both the fabric and the chair frame for a secure hold.
- Work outwards and downwards: From the center, work your way outward and downwards, securing the fabric with evenly spaced staples. Pull the fabric taut as you go to avoid any sagging or wrinkles. Take your time and adjust the fabric as needed to ensure a smooth and neat finish.
- Pay attention to corners and curves: When reaching corners or curves, carefully fold and tuck the fabric to create a clean and seamless look. You may need to make small incisions in the fabric to allow for smooth folding and tucking. Use extra staples to secure these areas firmly.
- Trim excess fabric: Once the fabric is securely attached to the chair back, trim any excess fabric using fabric scissors. Leave a small margin, about half an inch, beyond the staples to ensure a clean and finished appearance.
Throughout this process, it’s important to maintain an even tension on the fabric to avoid any bunching or puckering. Take your time and be patient, as it may require some trial and error to achieve the desired result. With step 3 complete, let’s move on to step 4: trimming and finishing the edges for a polished look!
Read more: How To Clean Fabric On Dining Chairs
Step 4: Trim and Finish the Edges
After attaching the new fabric to the back of the dining chair, it’s time to trim and finish the edges for a clean and polished look. This step will give your reupholstered chair a professional and refined appearance. Follow these steps to complete this final touch:
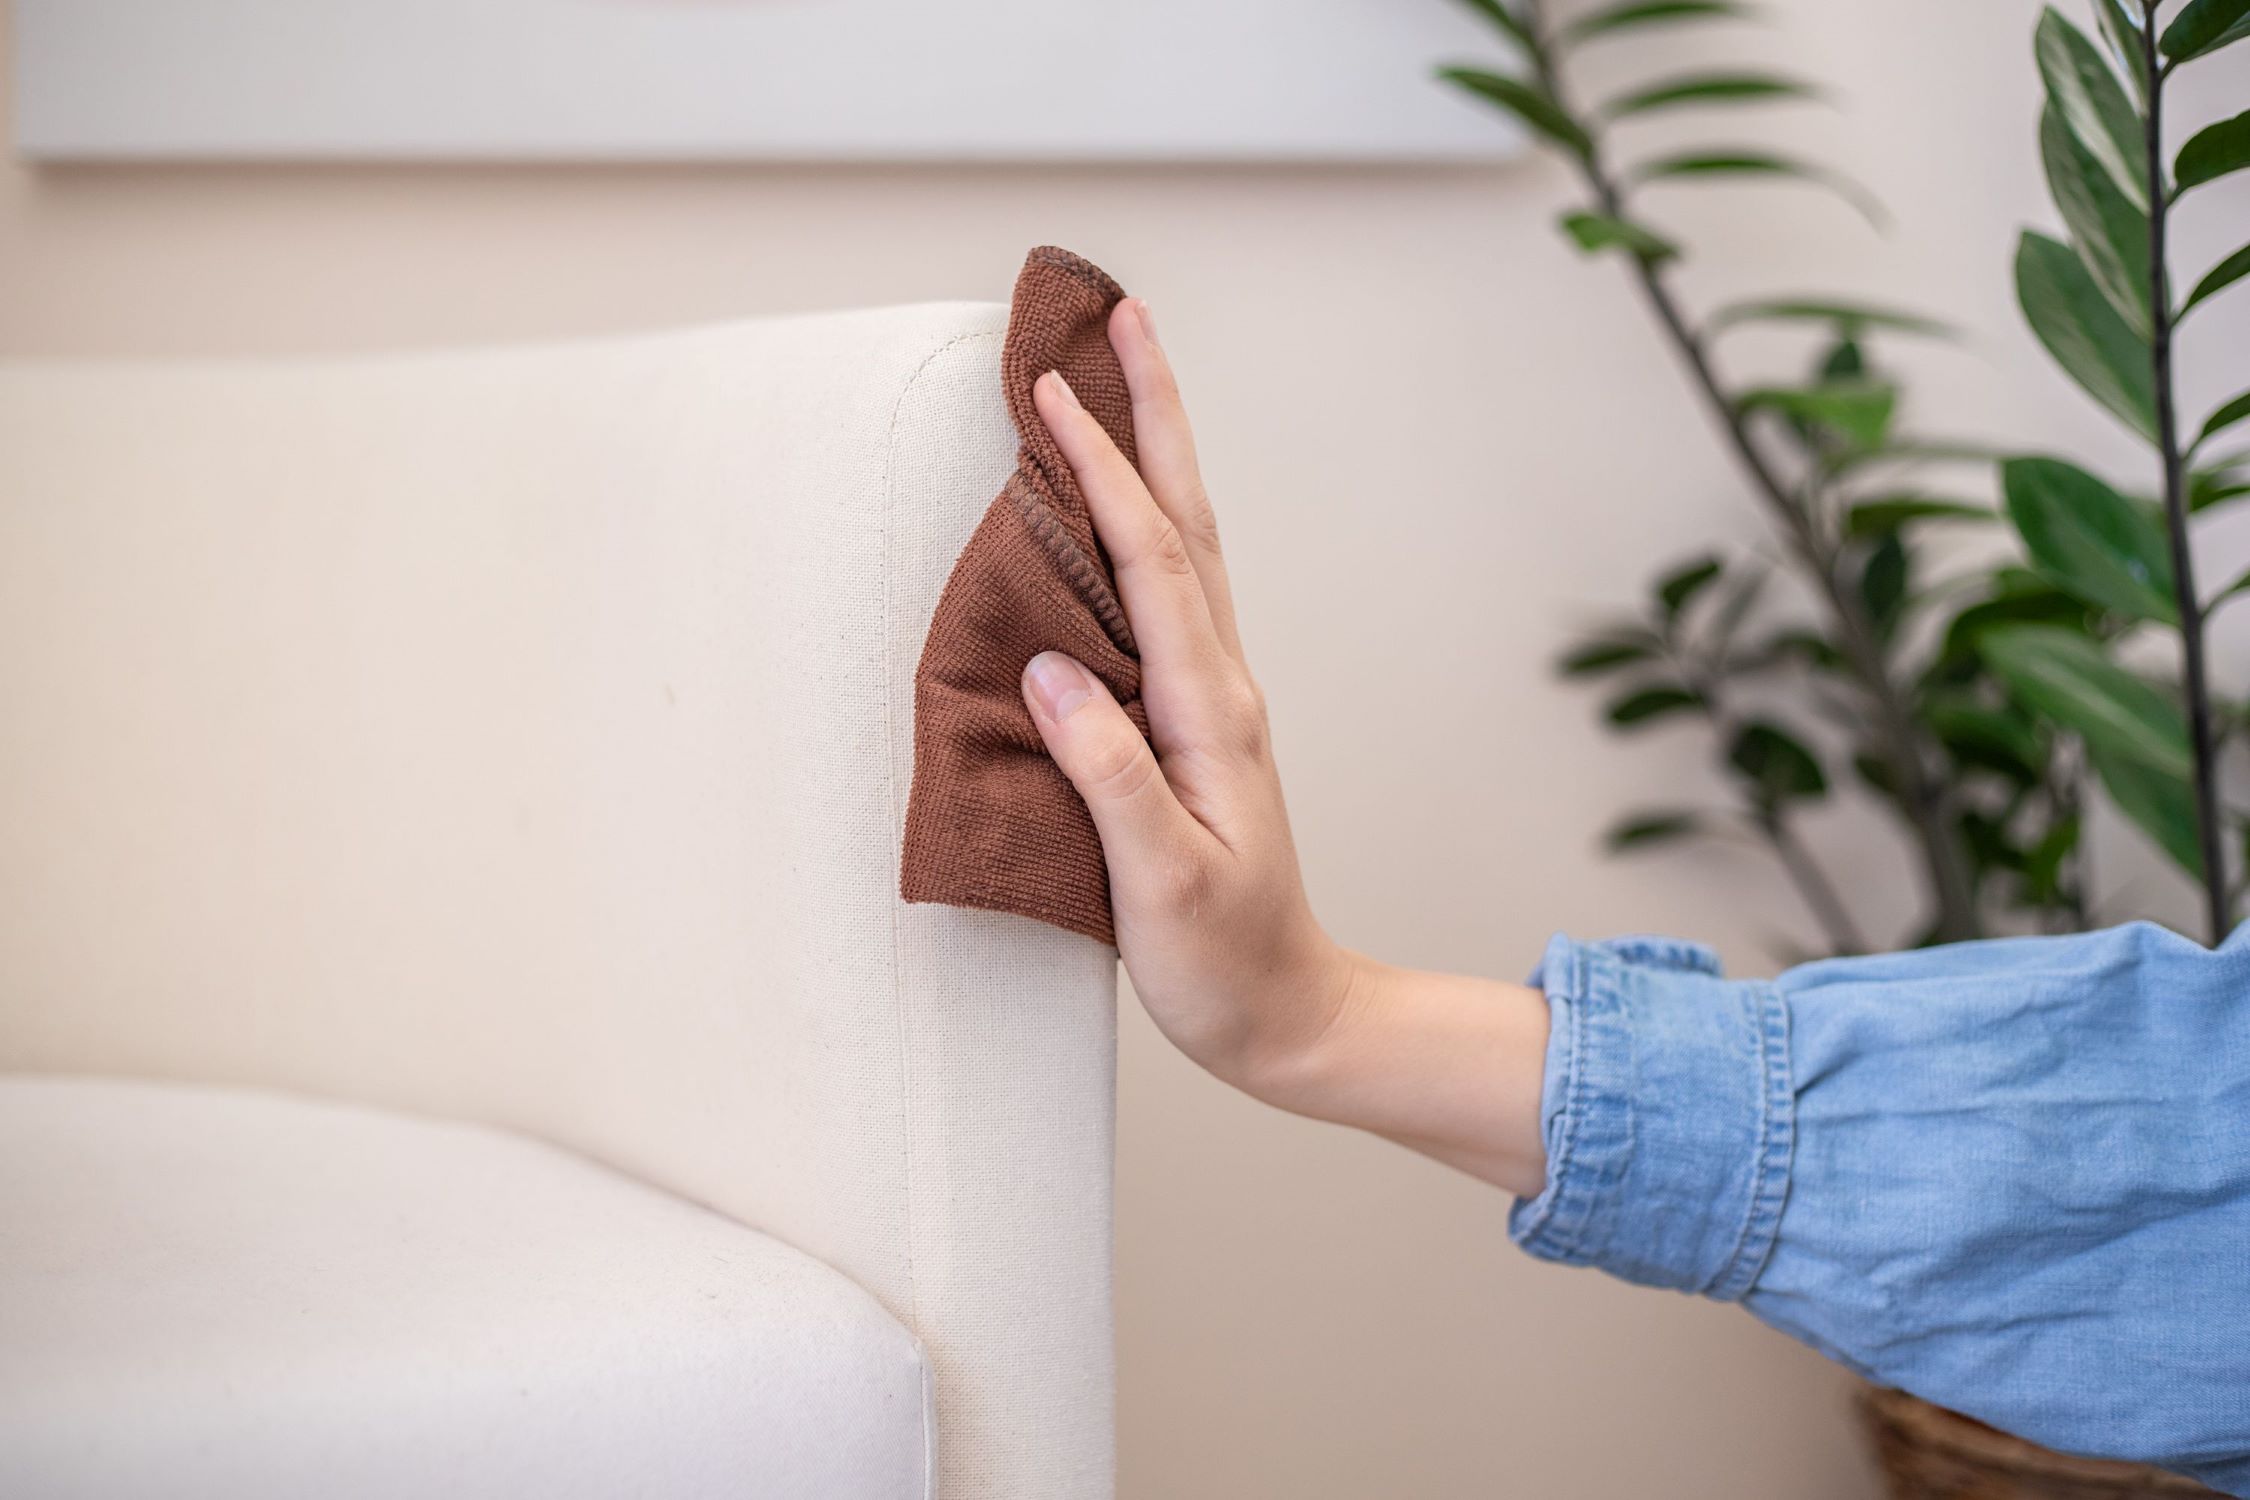
- Inspect the edges: Examine the edges of the fabric to identify any unevenness or excess fabric. Smooth out any wrinkles or bumps with your hands and make sure the fabric is neatly aligned with the chair back.
- Trim the excess fabric: Using fabric scissors, carefully trim any excess fabric along the edges. Follow the line of the chair back and cut as close to the staples as possible without cutting into the fabric or the frame. Take your time to ensure precise and clean cuts.
- Add decorative trim (optional): If you want to enhance the look of your reupholstered chair, consider adding decorative trim along the edges. You can use fabric glue or a hot glue gun to attach the trim. Choose a trim that complements your fabric and adds an extra touch of elegance.
- Secure loose fabric: As you trim the edges, you may notice some areas where the fabric is loose or not as securely attached. Use the staple gun to reinforce those areas by adding additional staples to hold the fabric firmly in place.
- Smooth out any wrinkles: Finally, take a few moments to smooth out any remaining wrinkles or creases in the fabric. Use your hands to gently stretch the fabric and pull it taut for a smooth and flawless look.
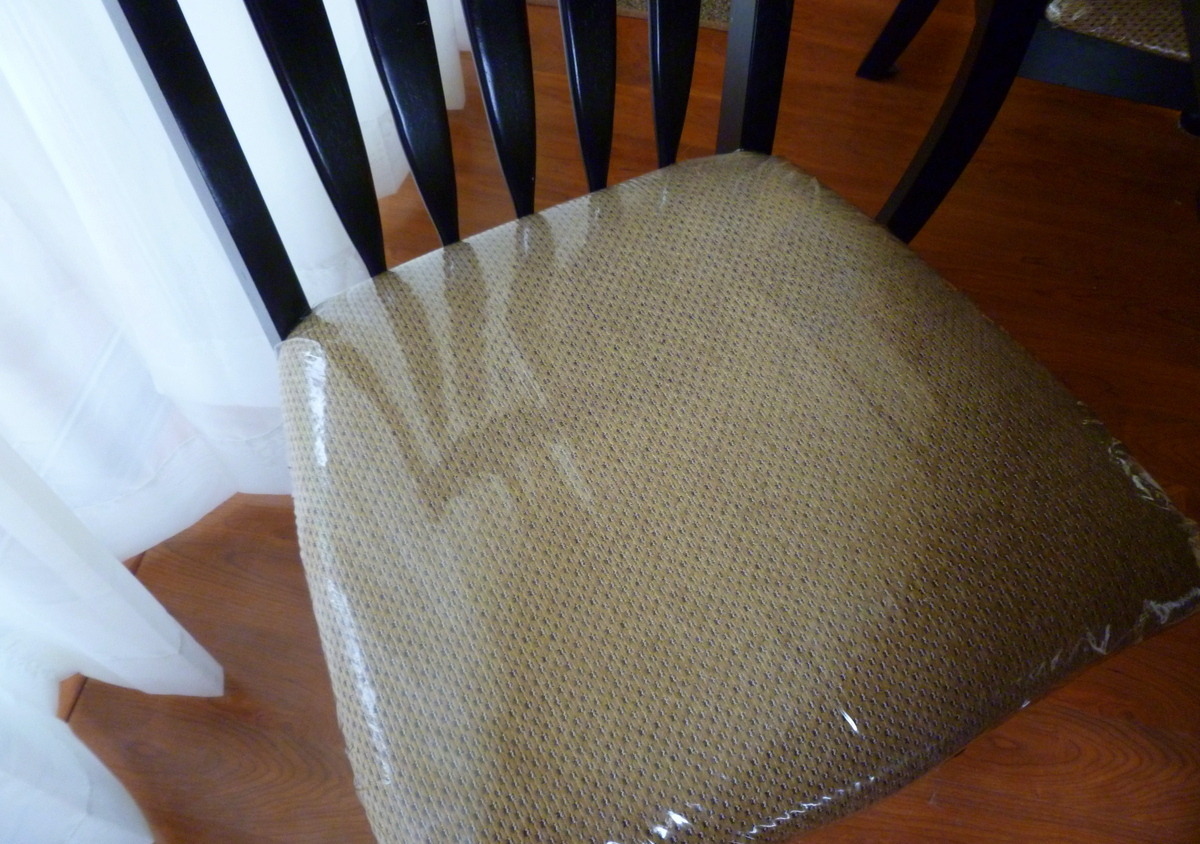
By completing these steps, you have successfully trimmed and finished the edges of the reupholstered dining chair. Take a step back and admire your work – the chair back now has a fresh and updated appearance. With step 4 complete, we are almost done! The final step is to reattach the dining chair back to its frame. Move on to step 5 to complete the process.
Step 5: Reattach the Dining Chair Back to the Frame
After reupholstering the fabric back of your dining chair, it’s time to reattach it to the chair frame. This step will ensure that your chair is not only aesthetically pleasing but also functional and sturdy. Follow these steps to successfully reattach the dining chair back to its frame:
- Retrieve the chair frame: If you removed the chair back from the frame during the earlier steps, retrieve the chair frame and position it in an upright position.
- Align the chair back: Carefully align the reupholstered chair back with the chair frame. Make sure it is centered and the screw holes or attachment points are lined up correctly.
- Secure the chair back: Depending on the design of your dining chair, you may need to use screws, bolts, or other attachment mechanisms to secure the chair back to the frame. Use the appropriate tools and follow the manufacturer’s instructions or the original assembly method to ensure proper attachment.
- Double-check the stability: Once the chair back is securely attached, gently test the stability of the chair. Sit in the chair and lean back to ensure that it feels stable and firm. If any adjustments or tightening is needed, carefully make them to achieve a secure and comfortable seating experience.
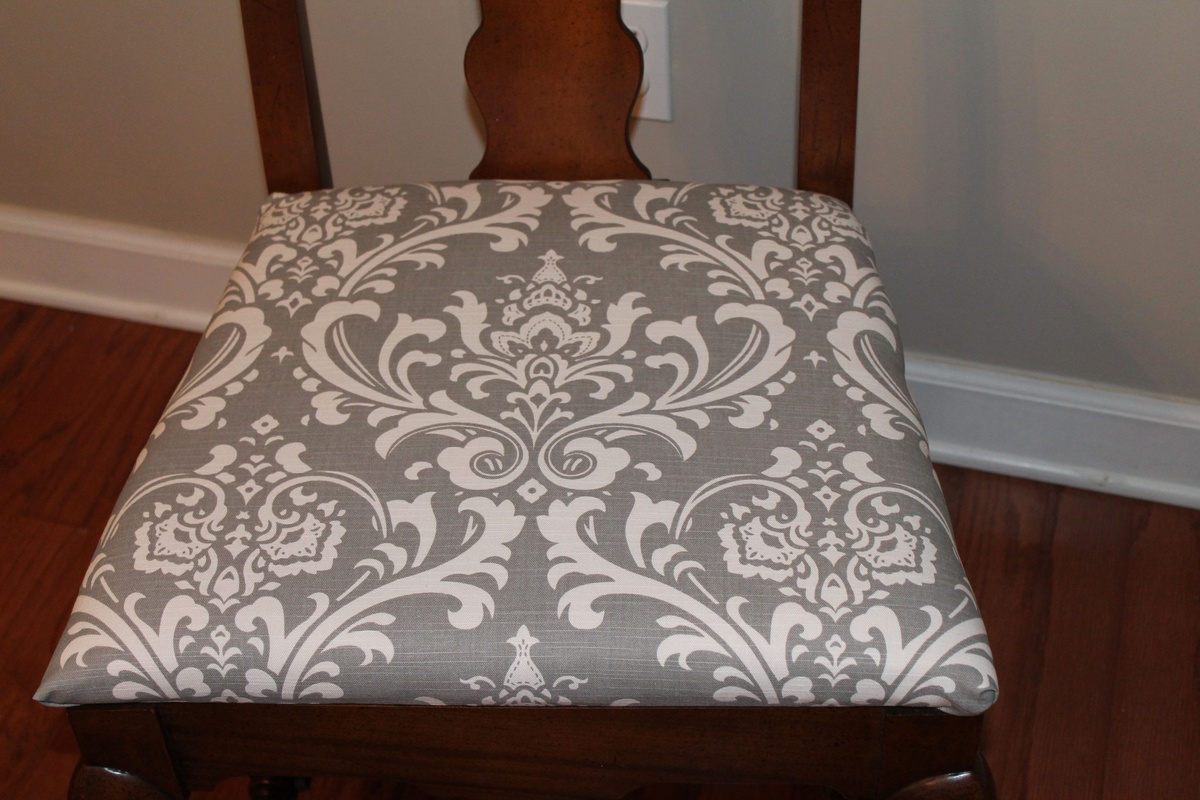
By completing these steps, you have successfully reattached the dining chair back to the frame. Take a moment to admire your beautifully reupholstered and reassembled dining chair. Congratulations on a job well done!
Whether you have reupholstered a single dining chair or a set, the process is a rewarding and cost-effective way to give your dining area a fresh and updated look. With a little bit of time, effort, and creativity, you can transform worn-out chairs into stylish and inviting pieces that enhance your dining experience.
Remember to take breaks and work at your own pace to ensure accuracy and precision during each step. And don’t forget to clean up your workspace and properly dispose of any old fabric or materials.
Thank you for following our guide on how to reupholster the fabric back of a dining chair. We hope you found this information helpful and encouraging. Enjoy your newly reupholstered dining chairs!
Conclusion
Reupholstering the fabric back of a dining chair can be a rewarding and creative project that allows you to revitalize your dining space on a budget. By following the step-by-step guide outlined in this article, you have learned how to remove the old fabric, prepare the new fabric, attach it to the chair back, trim and finish the edges, and reattach the chair back to its frame. Through each step, attention to detail and precision have been emphasized to ensure a professional and polished result.
Remember, reupholstering requires patience and careful execution, so take your time and don’t rush the process. Make sure to gather all the necessary tools and materials before starting, and work in a well-lit and well-ventilated area. Double-check your measurements, align the fabric properly, and secure it firmly for a flawless finish.
Furthermore, don’t be afraid to get creative with your fabric choices. Select a fabric that not only matches your personal style but also complements your dining room decor. Consider the durability of the fabric to ensure it withstands daily use while maintaining its aesthetic appeal.
Completing a reupholstering project gives you a sense of accomplishment and allows you to customize your dining chairs to reflect your unique taste and style. Plus, it’s an environmentally-friendly alternative to purchasing new furniture, as it prevents old chairs from ending up in landfills.
We hope this guide has provided you with valuable information and inspiration. Now, armed with the knowledge and skills to reupholster the fabric back of a dining chair, you can embark on your own project and transform your dining space. Enjoy the process and the end result, and may your reupholstered dining chairs be the focal point of many memorable meals and gatherings!
Frequently Asked Questions about How To Reupholster The Fabric Back Of A Dining Chair
Was this page helpful?
At Storables.com, we guarantee accurate and reliable information. Our content, validated by Expert Board Contributors, is crafted following stringent Editorial Policies. We're committed to providing you with well-researched, expert-backed insights for all your informational needs.


0 thoughts on “How To Reupholster The Fabric Back Of A Dining Chair”