Home>Furniture & Design>Kitchen Furniture>How To Make Your Own Bar Stools
Kitchen Furniture
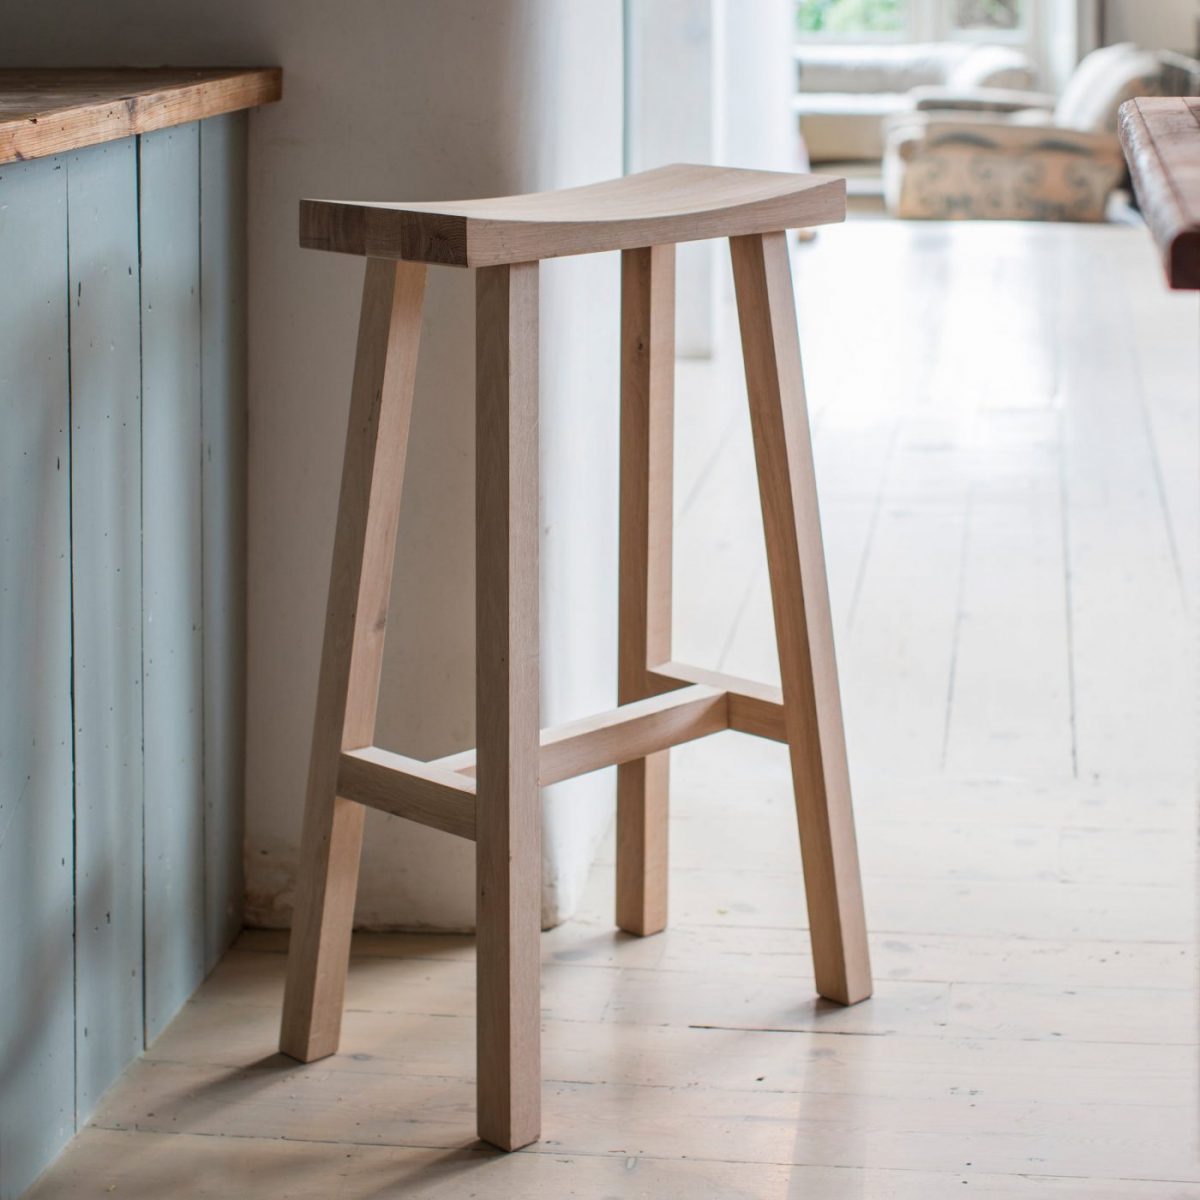
How To Make Your Own Bar Stools
Modified: August 27, 2024
Learn how to create your own bar stools with our easy DIY guide. Elevate your kitchen furniture and design with custom-made stools. Step-by-step instructions for a fun and practical project.
(Many of the links in this article redirect to a specific reviewed product. Your purchase of these products through affiliate links helps to generate commission for Storables.com, at no extra cost. Learn more)
Introduction
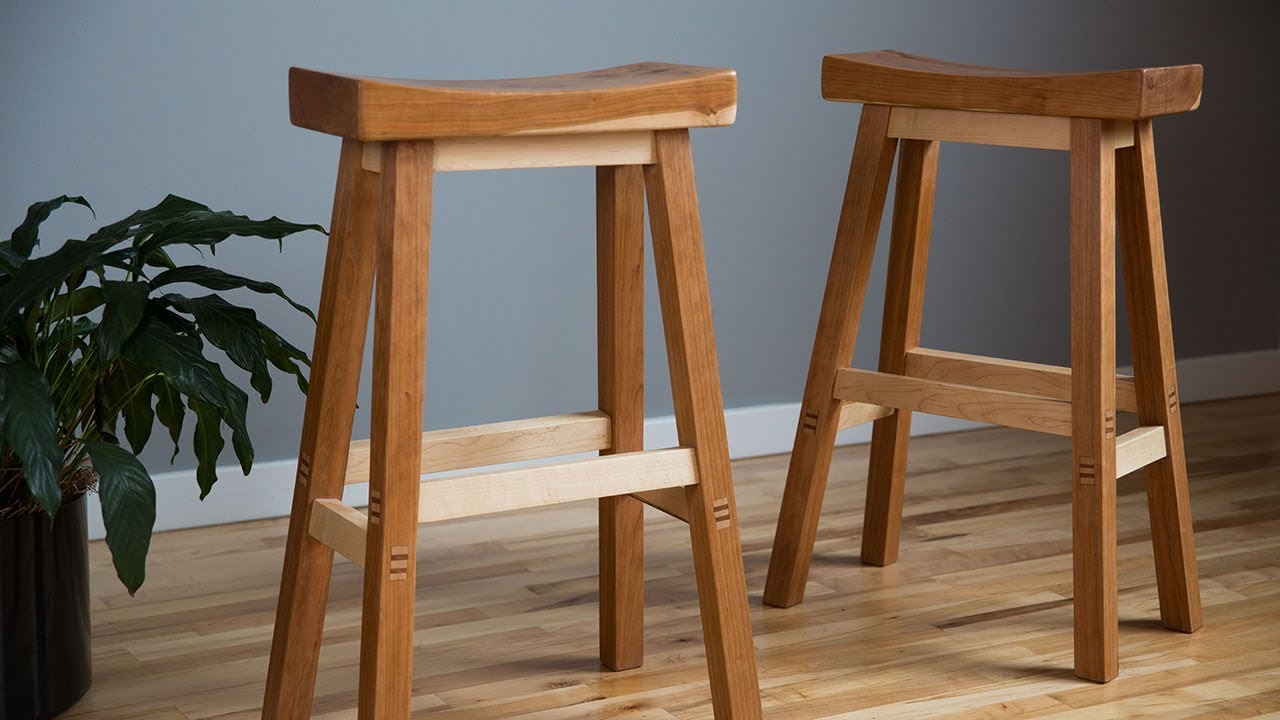
So, you've decided to add a personal touch to your kitchen or home bar by making your own bar stools. Congratulations! This DIY project not only allows you to showcase your creativity and woodworking skills but also enables you to customize the design to perfectly complement your existing decor. Whether you're a seasoned craftsman or a novice DIY enthusiast, crafting your own bar stools can be a rewarding and enjoyable experience.
In this comprehensive guide, we'll walk you through the step-by-step process of creating stylish and sturdy bar stools that will undoubtedly become the focal point of your kitchen or entertainment area. From selecting the right materials to adding the finishing touches, we'll cover everything you need to know to embark on this fulfilling woodworking journey.
So, roll up your sleeves, gather your tools, and let's dive into the world of DIY bar stool crafting. Get ready to unleash your inner artisan and bring your vision to life!
Key Takeaways:
- Crafting your own bar stools allows you to showcase your creativity and woodworking skills while customizing the design to complement your existing decor, creating functional art that reflects your unique style and preferences.
- By carefully selecting the right wood, meticulously crafting the seats, and adding personalized finishes, you can create bespoke bar stools that seamlessly integrate into your living space, infusing character and functionality into your home.
Read more: How To Make Bar Stool Cushions
Materials and Tools
Before embarking on your bar stool crafting adventure, it’s essential to gather all the necessary materials and tools. Here’s a comprehensive list to ensure you’re well-equipped for the project:
Materials:
- High-quality wood for the stool legs and seat
- Wood glue
- Screws
- Wood stain or paint
- Clear coat or sealant for wood protection
- Sandpaper of varying grits
- Wood filler
- Wax or wood polish for finishing
Tools:
- Measuring tape
- Pencil
- Saw (circular saw or miter saw)
- Drill with drill bits
- Screwdriver
- Sandpaper or power sander
- Clamps
- Wood chisel
- Woodworking clamps
- Paintbrushes or sprayer
- Protective gear (safety goggles, gloves, dust mask)
By ensuring you have all the required materials and tools at your disposal, you’ll be well-prepared to commence your bar stool crafting journey with confidence and ease.
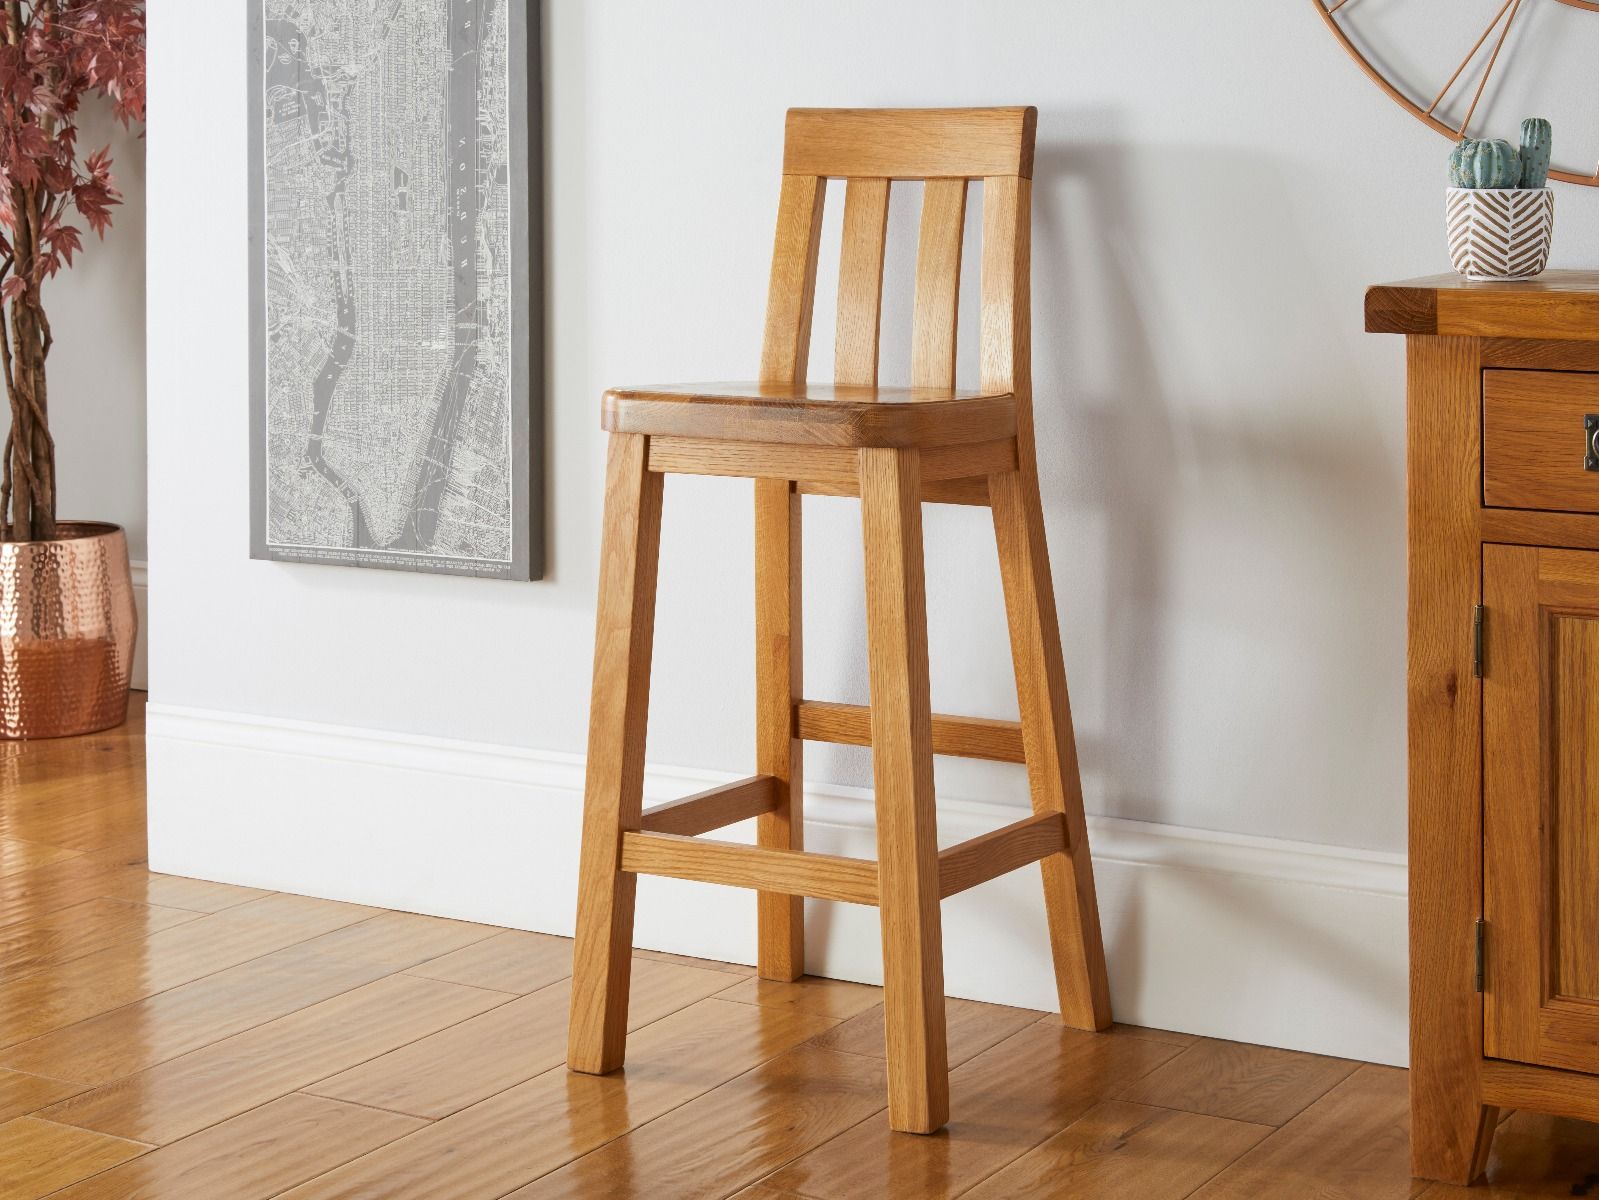
Choosing the Right Wood
The selection of wood plays a pivotal role in determining the durability, aesthetics, and overall quality of your bar stools. When choosing the wood for your project, consider both the visual appeal and the sturdiness of the material. Here are some popular wood options to consider:
Read more: How Much Overhang For Bar Stools
1. Hardwood:
Hardwoods such as oak, maple, cherry, and walnut are renowned for their durability and attractive grain patterns. They are ideal for crafting bar stools that exude timeless elegance and can withstand daily use without sacrificing aesthetics.
2. Pine:
Pine is a softer wood that offers a warm and inviting appearance. While it may dent more easily than hardwoods, it is a cost-effective option that can be stained or painted to achieve the desired look.
3. Birch:
Birch wood is valued for its fine, even grain and light color. It is a sturdy option that lends a contemporary yet classic appeal to bar stool designs.
Consider the overall style and theme of your kitchen or bar area when selecting the wood. If you prefer a rustic charm, reclaimed or distressed wood can add character to your bar stools. Additionally, take into account the weight capacity and the intended use of the stools to ensure the chosen wood aligns with your requirements.
Once you’ve chosen the wood type, ensure that it is properly dried and acclimated to prevent warping or cracking after construction. By carefully considering the wood options and their characteristics, you can set the foundation for crafting bar stools that seamlessly integrate with your space while standing the test of time.
Cutting and Sanding
With the materials selected and the design envisioned, it’s time to bring your bar stools to life through precise cutting and meticulous sanding. This phase is crucial in ensuring that the components fit together seamlessly and that the final product boasts a smooth and refined finish.
Read more: How Much Space Is Needed For Bar Stools
Cutting the Wood:
Before cutting the wood, it’s essential to measure and mark the dimensions for the stool legs and seat. A miter saw or circular saw is commonly used to achieve accurate and clean cuts. Remember to adhere to the measurements diligently to maintain consistency across all pieces.
Sanding the Components:
Once the wood pieces are cut to size, sanding comes into play to smoothen the surfaces and eliminate any rough edges or imperfections. Begin with coarse-grit sandpaper to remove any irregularities or splinters, then progress to finer grits for a polished finish. Pay special attention to the edges and corners to ensure they are comfortable to the touch.
Thorough sanding not only enhances the tactile appeal of the bar stools but also provides an optimal surface for the application of finishes such as stains or paints. Additionally, rounded edges and impeccably sanded surfaces contribute to the overall safety and comfort of the finished bar stools.
By meticulously executing the cutting and sanding processes, you pave the way for a seamless assembly and a visually appealing outcome. Attention to detail during these initial stages sets the stage for the subsequent construction phases, bringing you one step closer to enjoying your handcrafted bar stools.
Assembling the Stool Base
As the individual components take shape, it’s time to assemble the base of your bar stools. This phase involves joining the legs and any support structures to create a stable and robust foundation for the seats. Attention to detail and precision are paramount to ensure the structural integrity and longevity of the stools.
Joining the Legs:
Depending on your design, you may opt for simple butt joints, traditional mortise and tenon joints, or other joinery techniques to securely attach the legs. It’s essential to align the legs accurately to maintain stability and symmetry in the final product. Utilizing clamps during this process can help hold the pieces in place as you fasten them together.
Read more: How To Make Your Own Blinds
Adding Support Structures:
If your design incorporates stretchers or cross supports between the legs, carefully measure and install these components to reinforce the base and prevent wobbling. These elements not only contribute to the overall stability of the stools but also add visual interest to the design.
Throughout the assembly process, periodically check for squareness and levelness to ensure that the base is structurally sound and aesthetically pleasing. Taking the time to verify the alignment and stability of the base during assembly is crucial in laying the groundwork for a successful and enduring final product.
By methodically assembling the stool base, you are one step closer to witnessing your vision materialize into functional and visually striking bar stools. The meticulous execution of this phase sets the stage for the final stages of construction, bringing you closer to the satisfaction of completing your handcrafted furniture.
Making the Seat
The seat of a bar stool not only serves as a functional platform but also contributes significantly to the overall aesthetics and comfort of the piece. Crafting the seat requires careful attention to detail and a focus on achieving a harmonious blend of form and function.
Shaping the Seat:
Begin by marking and cutting the wood for the seat to the desired dimensions. Whether you opt for a round, square, or custom-shaped seat, precision is key to ensure a balanced and visually appealing outcome. A jigsaw or band saw can be utilized to achieve intricate shapes or curves, depending on your design preferences.
Contouring and Edging:
Consider incorporating a slight contour to the seat to enhance comfort and ergonomics. This can be achieved through careful sanding or carving to create a subtle concave or convex surface. Additionally, rounding the edges of the seat not only adds a touch of refinement but also contributes to the comfort of those seated on the stools.
Read more: How To Make Your Own Mattress
Finishing the Seat:
Once the shaping and contouring are complete, sand the seat thoroughly to achieve a smooth and uniform surface. This prepares the seat for the application of finishes such as wood stain, paint, or clear coat. The choice of finish can accentuate the natural beauty of the wood and provide protection against wear and tear.
By thoughtfully crafting the seats with a focus on both aesthetics and functionality, you elevate the visual appeal and comfort of your bar stools. The seat, being a prominent element of the stools, presents an opportunity to showcase your woodworking skills and attention to detail, culminating in a piece that seamlessly integrates into your living space.
Finishing Touches
As your bar stools near completion, the application of finishes and the addition of final touches play a crucial role in enhancing their visual appeal and durability. This phase allows you to infuse your personal style while protecting the wood from everyday wear and tear.
Applying Finishes:
Whether you opt for the natural beauty of wood grain with a clear coat, the rich tones of wood stain, or the versatility of paint, the choice of finish significantly influences the aesthetic impact of your bar stools. Apply the finish evenly, following the wood grain, and allow ample drying time between coats to achieve a lustrous and resilient surface.
Adding Protective Elements:
Consider adding felt pads to the bottom of the stool legs to prevent scratches on flooring surfaces. This small addition can prolong the lifespan of both the stools and the floors, showcasing your attention to detail and consideration for the surrounding environment.
Read more: Who Sells Bar Stools
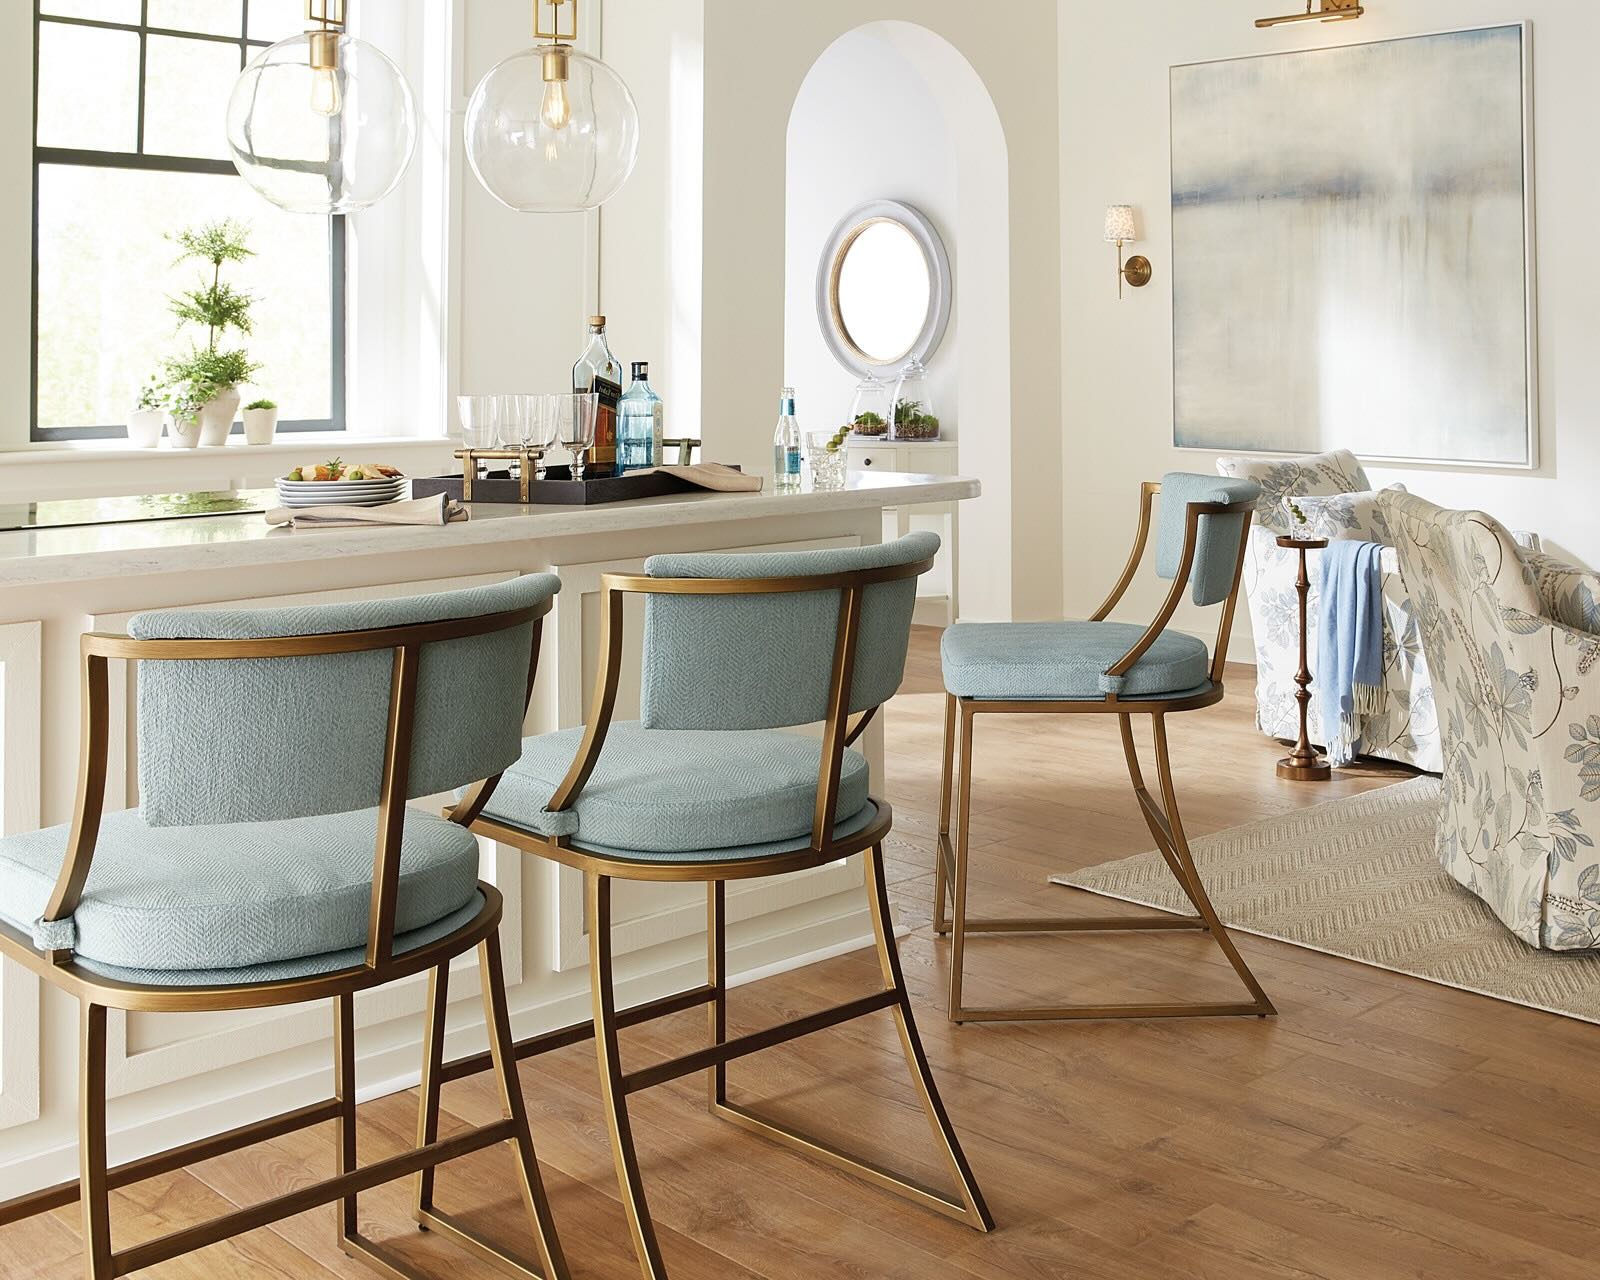
Personalizing with Upholstery:
If your design includes upholstered seats, carefully select fabrics that complement the overall aesthetic of your space. The upholstery presents an opportunity to introduce patterns, textures, and colors that harmonize with your existing decor, infusing a personalized touch into the final design.
Embellishments and Hardware:
Incorporate decorative elements such as metal footrests, brass accents, or custom hardware to elevate the visual interest of the bar stools. These embellishments can accentuate the style of the stools, whether it’s rustic, industrial, modern, or traditional, adding a distinctive flair to the finished pieces.
By attending to these finishing touches, you impart character and functionality to your bar stools, transforming them into bespoke pieces that reflect your craftsmanship and attention to detail. Embrace this phase as an opportunity to add the final strokes that will bring your vision to fruition, resulting in bar stools that seamlessly integrate into your living space while making a lasting impression.
Conclusion
Congratulations on successfully navigating the intricate yet immensely rewarding process of crafting your own bar stools. From selecting the finest wood to adding the finishing touches, you’ve embarked on a journey that blends creativity, precision, and craftsmanship. As you admire the fruits of your labor, take pride in the fact that your handcrafted bar stools are not only functional pieces of furniture but also tangible expressions of your ingenuity and dedication.
By infusing your personalized design into these essential elements of your living space, you’ve created pieces that resonate with your unique style and preferences. Whether your bar stools exude rustic charm, contemporary elegance, or minimalist sophistication, they now stand as testaments to your woodworking prowess and creative vision.
As you integrate your newly crafted bar stools into your kitchen, home bar, or entertainment area, take a moment to relish the sense of accomplishment that accompanies the completion of a DIY project. Each time you or your guests settle onto these bespoke seats, you’ll be reminded of the meticulous craftsmanship and thoughtfulness that went into their creation.
Moreover, the skills and knowledge gained throughout this endeavor will undoubtedly serve as a foundation for future woodworking projects, empowering you to continue infusing your living space with handcrafted pieces that reflect your individuality.
So, as you revel in the satisfaction of a project well-executed, remember that the journey of DIY craftsmanship is an ongoing odyssey, brimming with opportunities to unleash your creativity and hone your skills. Your bar stools not only enrich your living space but also symbolize the artistry and dedication woven into every facet of your home.
Embrace this accomplishment as a testament to your ability to transform raw materials into functional art, and let it inspire you to embark on future woodworking endeavors with the same passion and determination.
Frequently Asked Questions about How To Make Your Own Bar Stools
Was this page helpful?
At Storables.com, we guarantee accurate and reliable information. Our content, validated by Expert Board Contributors, is crafted following stringent Editorial Policies. We're committed to providing you with well-researched, expert-backed insights for all your informational needs.


0 thoughts on “How To Make Your Own Bar Stools”