Home>Furniture & Design>Living Room Furniture>How To Fix Recliner Chair Lever
Living Room Furniture
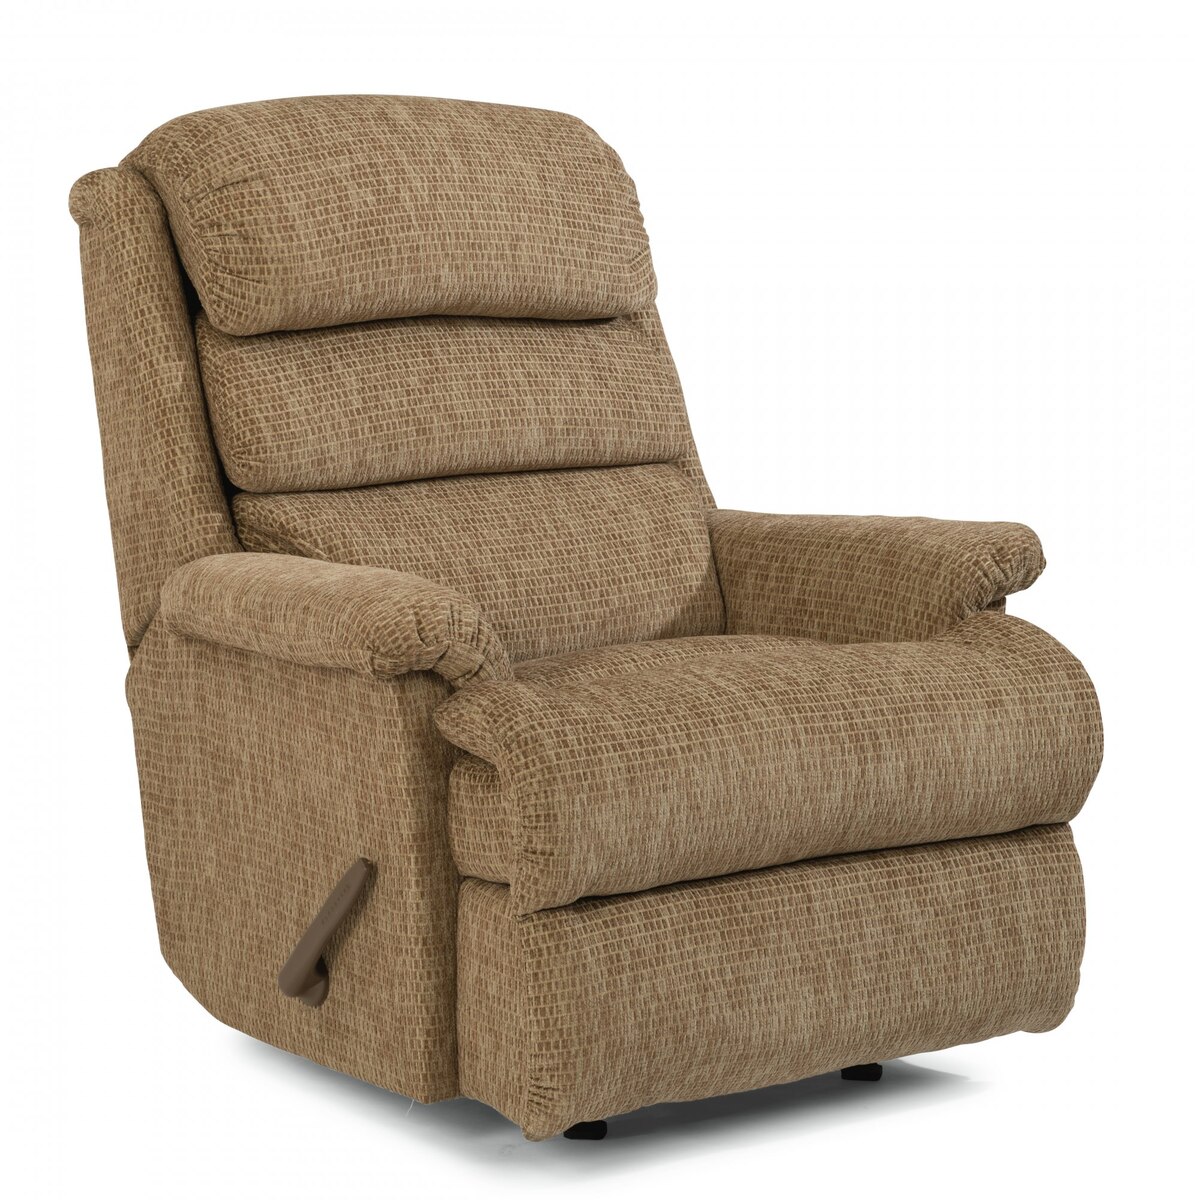
How To Fix Recliner Chair Lever
Modified: January 3, 2024
Learn how to fix your recliner chair lever with our easy step-by-step guide. Get your living room furniture back in top shape with our expert tips and advice. Discover the best solutions for your furniture and design needs.
(Many of the links in this article redirect to a specific reviewed product. Your purchase of these products through affiliate links helps to generate commission for Storables.com, at no extra cost. Learn more)
Introduction
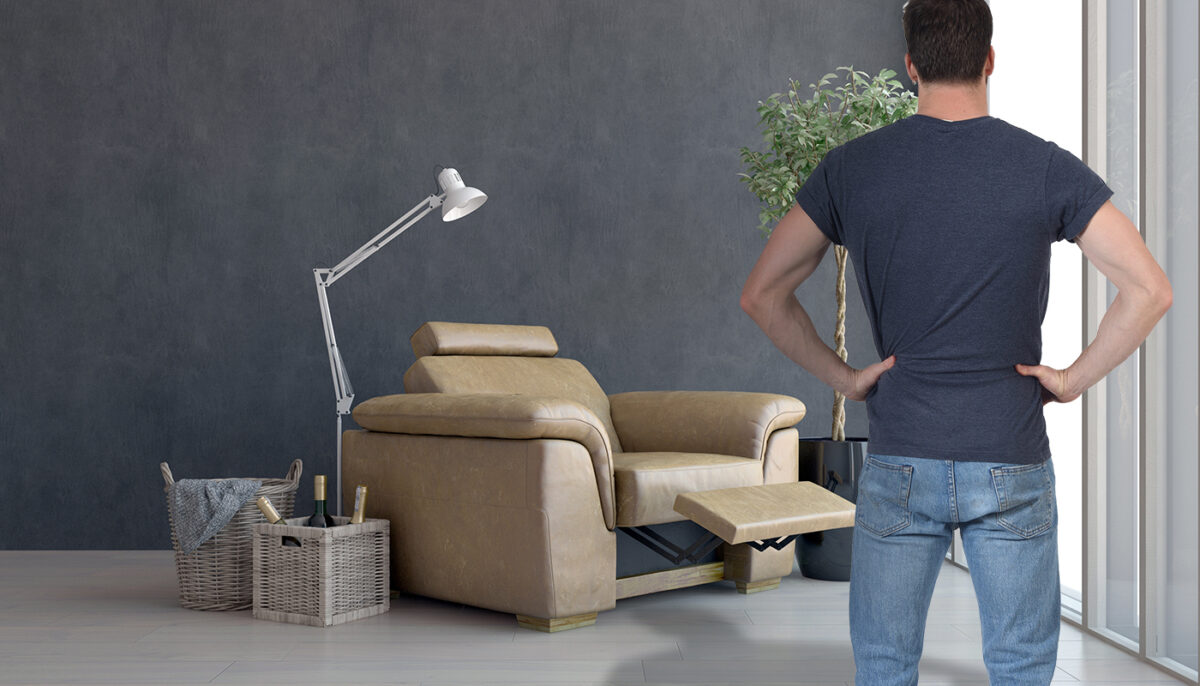
Are you ready to restore comfort to your favorite recliner chair? A malfunctioning recliner chair lever can be a major inconvenience, disrupting your relaxation time and causing frustration. However, with the right guidance and a few simple tools, you can easily fix the issue and reclaim the comfort of your beloved recliner chair.
In this comprehensive guide, we will walk you through the step-by-step process of fixing a recliner chair lever. Whether the lever is stuck, loose, or simply not working as it should, we've got you covered. By following these instructions, you'll soon have your recliner chair functioning smoothly, allowing you to kick back and unwind without any hassle.
Let's dive into the world of recliner chair repair and get ready to revitalize your favorite spot in the living room.
Key Takeaways:
- Easily fix a recliner chair lever by assessing the problem, removing the old lever, and installing a new one. Enjoy the comfort of your favorite spot in the living room once again!
- Gather the necessary tools and materials, follow the step-by-step instructions, and test the recliner chair to ensure a successful repair. Embrace the renewed comfort and relaxation of your recliner chair!
Read more: Who Fixes Recliner Chairs?
Tools and Materials Needed
Before you embark on fixing your recliner chair lever, it’s essential to gather the necessary tools and materials. Here’s what you’ll need:
- Replacement recliner chair lever
- Phillips-head screwdriver
- Flat-head screwdriver
- Needle-nose pliers
- Protective gloves
- Old cloth or towel
- Work gloves
- Scissors
- Flashlight (optional, for better visibility in tight spaces)
Ensure that you have all these items at your disposal before you begin the repair process. Having the right tools and materials on hand will streamline the process and help you address the issue with ease.
Assessing the Problem
Before diving into the repair process, it’s important to assess the issue with your recliner chair lever. Take a moment to sit in the chair and manipulate the lever to identify the specific problem. Here are some common issues you might encounter:
- Stuck Lever: If the lever is stuck and won’t budge, it may be due to debris or a mechanical obstruction within the mechanism.
- Loose or Wobbly Lever: A loose or wobbly lever can be caused by a loose mounting or a worn-out mechanism.
- Non-Responsive Lever: If the lever doesn’t engage the reclining function or feels unresponsive, there may be an internal mechanism failure.
Once you’ve identified the specific issue, carefully inspect the area around the lever for any visible damage or irregularities. Look for loose screws, broken components, or any signs of wear and tear. This initial assessment will help you understand the nature of the problem and prepare you for the repair process.
Remember to exercise caution during this assessment, and if the issue appears to be more complex than initially anticipated, it may be best to consult a professional for further guidance.
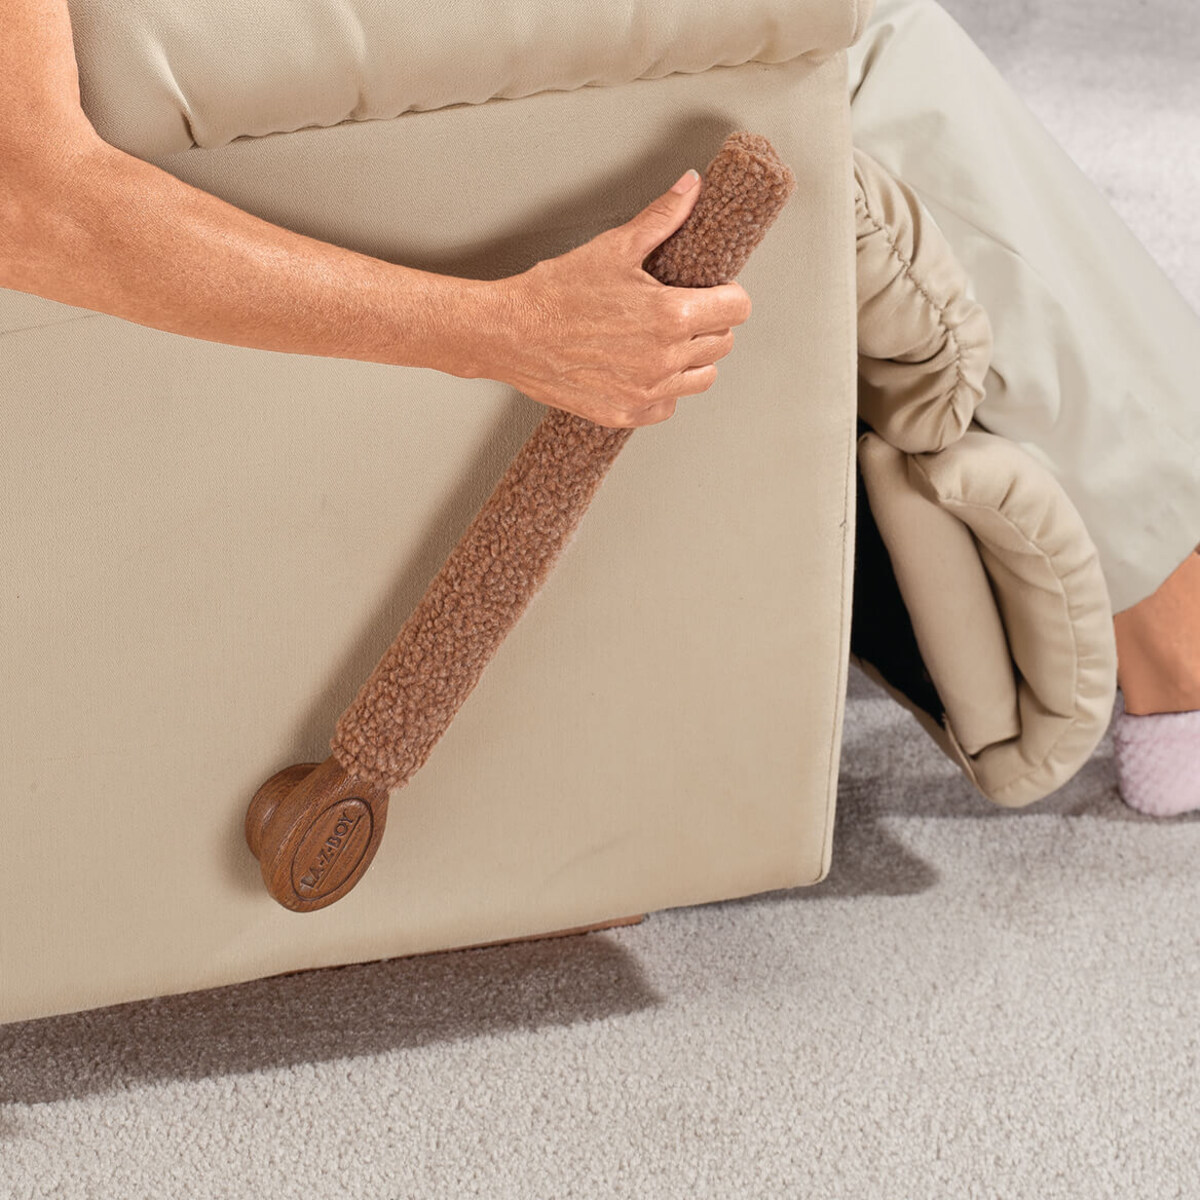
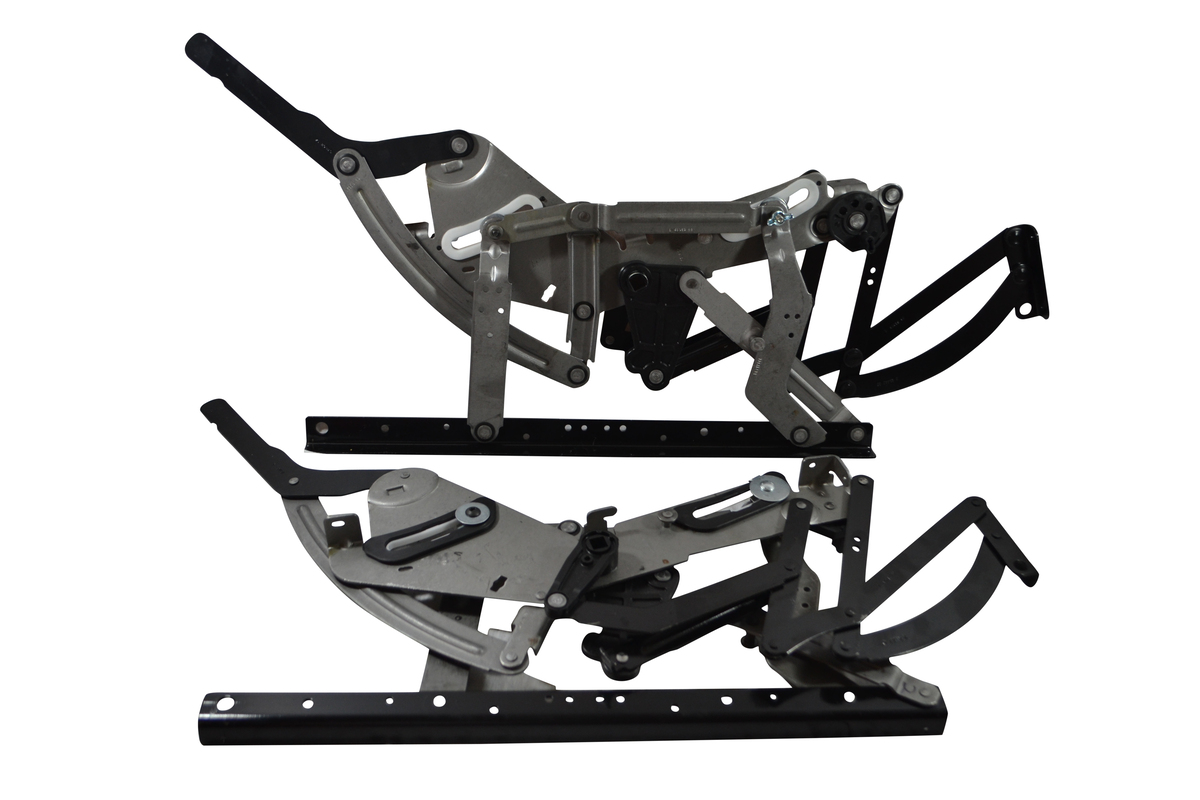
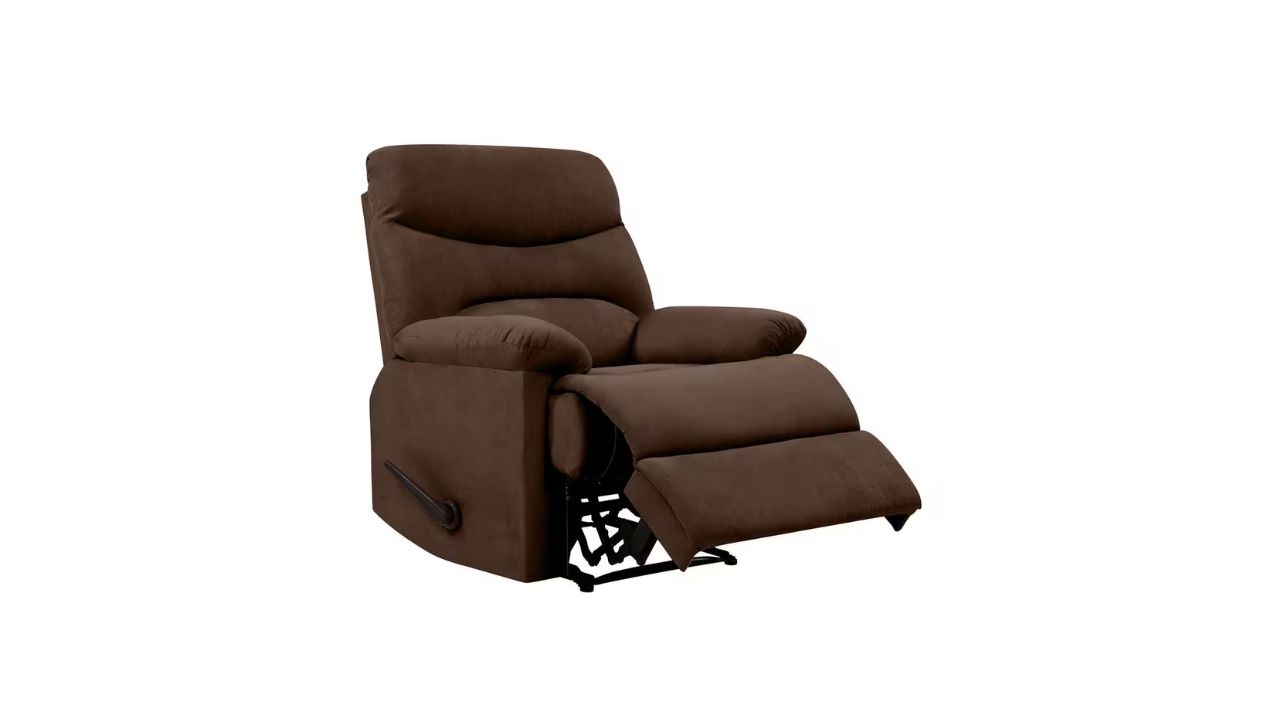
Removing the Old Lever
Now that you’ve assessed the problem and are ready to begin the repair process, it’s time to remove the old recliner chair lever. Follow these step-by-step instructions to safely and effectively remove the old lever:
- Prepare the Work Area: Clear the space around the recliner chair, ensuring that you have ample room to maneuver and access the underside of the chair.
- Locate the Mounting Screws: Using a flashlight for better visibility if needed, locate the mounting screws that secure the lever to the recliner chair’s frame. These screws are typically located beneath the armrest or on the side of the chair.
- Remove the Mounting Screws: Using a Phillips-head screwdriver, carefully unscrew and remove the mounting screws. Place the screws in a secure location to prevent misplacement.
- Detach the Lever: With the mounting screws removed, gently detach the old lever from the recliner chair. Take note of how the lever is positioned and any connecting components that may be attached.
- Inspect for Damage: Once the old lever is removed, take a moment to inspect the mounting area and the lever itself for any signs of damage or wear. This inspection will help you determine if any additional components need to be replaced or repaired.
With the old lever successfully removed, you’re one step closer to restoring your recliner chair to its former glory. Take care to keep track of all removed components and hardware to ensure a smooth installation of the new lever.
If the recliner chair lever is loose or not working, try tightening the screws on the lever or replacing the lever mechanism. Make sure to use the correct size screwdriver and follow the manufacturer’s instructions.
Installing the New Lever
With the old lever removed, it’s time to install the new recliner chair lever and bring your favorite chair back to its fully functional state. Follow these detailed steps to ensure a successful installation:
- Position the New Lever: Take the new recliner chair lever and position it in the same location from which you removed the old lever. Ensure that it aligns properly with the recliner chair’s frame and any connecting components.
- Secure the Mounting Screws: Using the mounting screws that you removed earlier, carefully secure the new lever in place. Tighten the screws firmly, but be cautious not to overtighten, as this may cause damage to the components.
- Test the Lever Movement: Once the new lever is securely in place, test its movement to ensure that it engages the reclining function smoothly and without any issues. Verify that the lever operates as intended and that the recliner chair responds appropriately to its activation.
- Inspect for Stability: After testing the lever, inspect the entire assembly for stability. Gently manipulate the lever and check for any wobbling or looseness. If everything feels secure and stable, you’re on the right track.
- Final Adjustments: Make any necessary final adjustments to ensure that the new lever is securely installed and functions seamlessly. Double-check the tightness of the mounting screws and verify that all components are in their proper positions.
By following these steps, you’ll successfully install the new recliner chair lever, bringing your chair one step closer to providing the comfort and relaxation you deserve.
Read more: How To Open A Recliner Chair
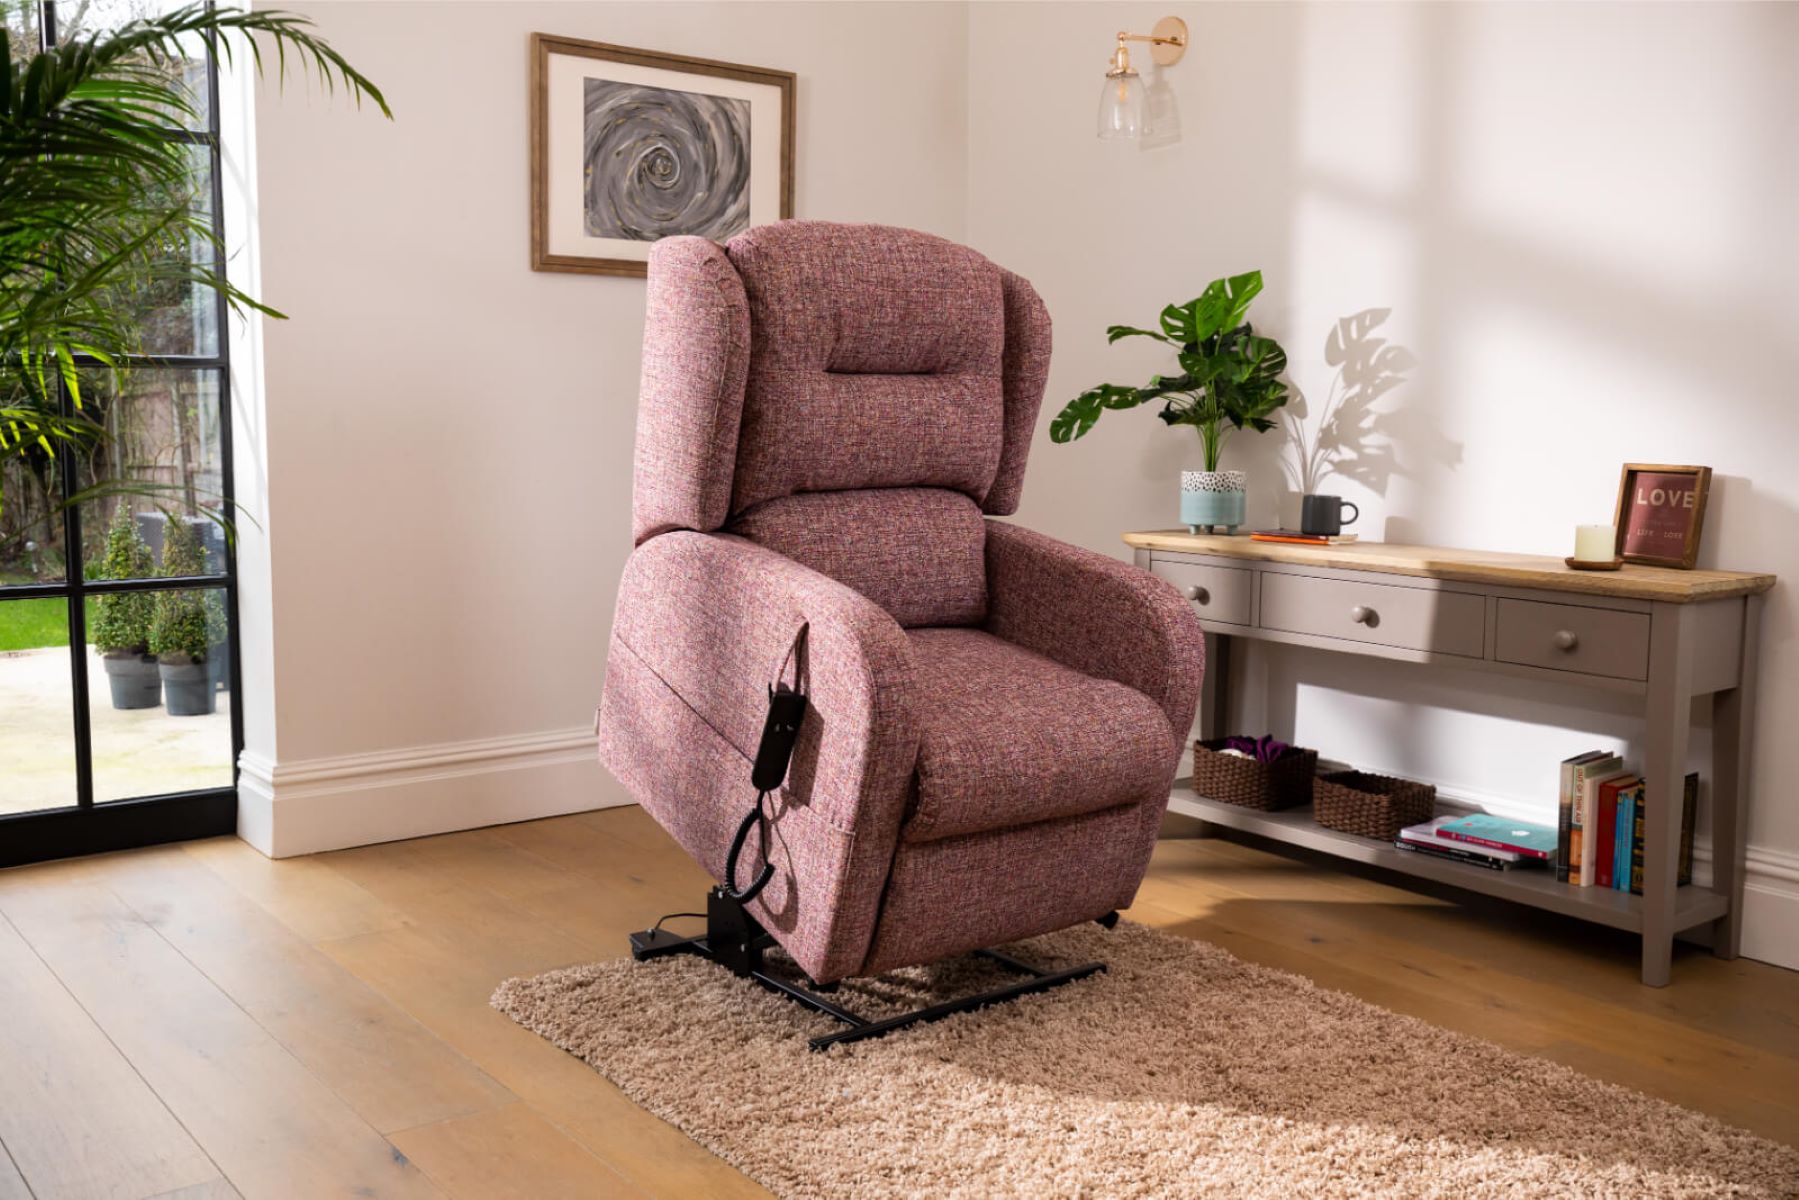
Testing the Recliner Chair
After installing the new recliner chair lever, it’s crucial to thoroughly test the chair to ensure that the repair has been completed effectively. Follow these steps to conduct a comprehensive test of the recliner chair:
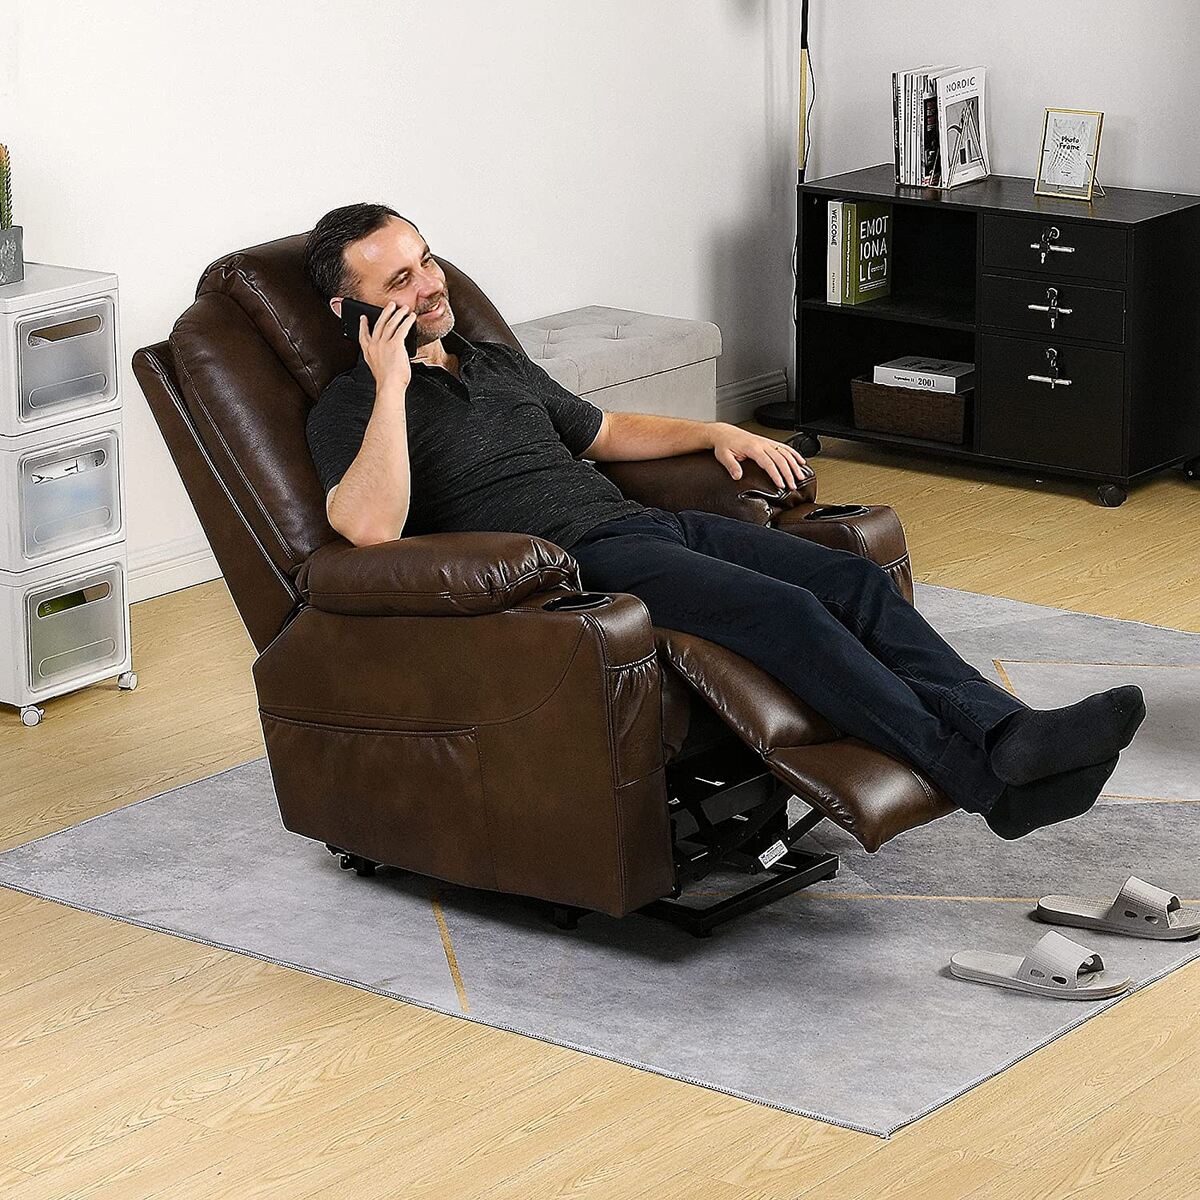
- Engage the Reclining Function: Use the newly installed lever to engage the reclining function of the chair. Slowly recline the chair to different positions, testing the range of motion and the smoothness of the reclining mechanism.
- Assess Stability and Comfort: While reclined, assess the stability and comfort of the chair. Ensure that it remains steady and secure in the reclined position, providing the support and relaxation you expect from your recliner chair.
- Verify Lever Responsiveness: Test the responsiveness of the new lever by adjusting the chair’s position multiple times. Confirm that the lever operates smoothly and consistently, allowing you to effortlessly control the reclining feature.
- Check for Abnormal Noises: Listen for any abnormal noises or creaking sounds as you adjust the chair’s position. Unusual sounds may indicate underlying issues that require further attention.
- Assess Overall Functionality: Conduct a comprehensive assessment of the chair’s overall functionality, including the footrest, headrest, and any additional features specific to your recliner model. Ensure that all components function as intended.
By meticulously testing the recliner chair, you can confirm that the new lever has been installed correctly and that the chair operates smoothly and reliably. This thorough testing process will provide you with the assurance that your recliner chair is once again a dependable source of comfort and relaxation.
Conclusion
Congratulations on successfully fixing your recliner chair lever! By following the step-by-step process outlined in this guide, you’ve revitalized your favorite spot in the living room and restored the comfort and functionality of your recliner chair. With the right tools, a bit of patience, and a willingness to tackle the repair, you’ve overcome the inconvenience of a malfunctioning lever and reclaimed the joy of relaxation in your cherished chair.
Remember, regular maintenance and prompt attention to any issues that arise can help prolong the life of your recliner chair and ensure that it continues to provide comfort for years to come. Additionally, if you encounter any challenges during the repair process or if the issue persists, don’t hesitate to seek professional assistance to address the problem effectively.
As you enjoy the renewed comfort of your recliner chair, take pride in your accomplishment and the knowledge that you have the skills to address common issues that may arise. Your resourcefulness and determination have not only fixed a problem but have also enhanced your understanding of the mechanisms that make your recliner chair a beloved piece of furniture in your home.
Now, with your recliner chair fully operational, it’s time to kick back, relax, and savor the comfort of your newly restored favorite spot. Whether it’s unwinding after a long day or indulging in a leisurely weekend, your recliner chair is ready to provide the comfort and relaxation you deserve.
Here’s to many more moments of tranquility and contentment in the welcoming embrace of your recliner chair!
Frequently Asked Questions about How To Fix Recliner Chair Lever
Was this page helpful?
At Storables.com, we guarantee accurate and reliable information. Our content, validated by Expert Board Contributors, is crafted following stringent Editorial Policies. We're committed to providing you with well-researched, expert-backed insights for all your informational needs.

0 thoughts on “How To Fix Recliner Chair Lever”