Home>Furniture & Design>Living Room Furniture>How To Fix A Recliner
Living Room Furniture
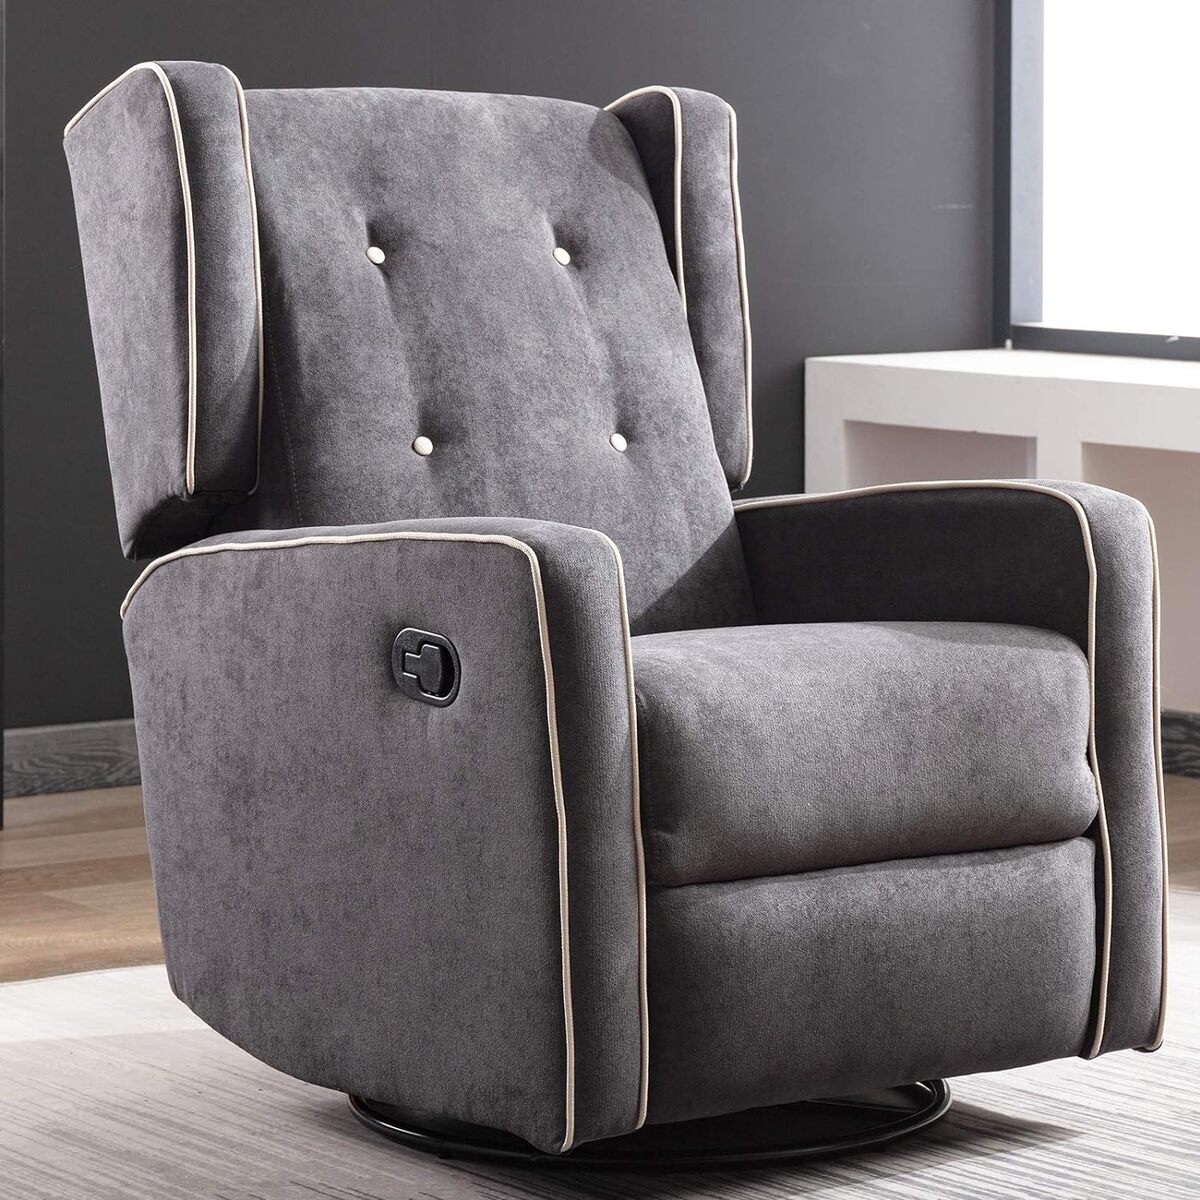
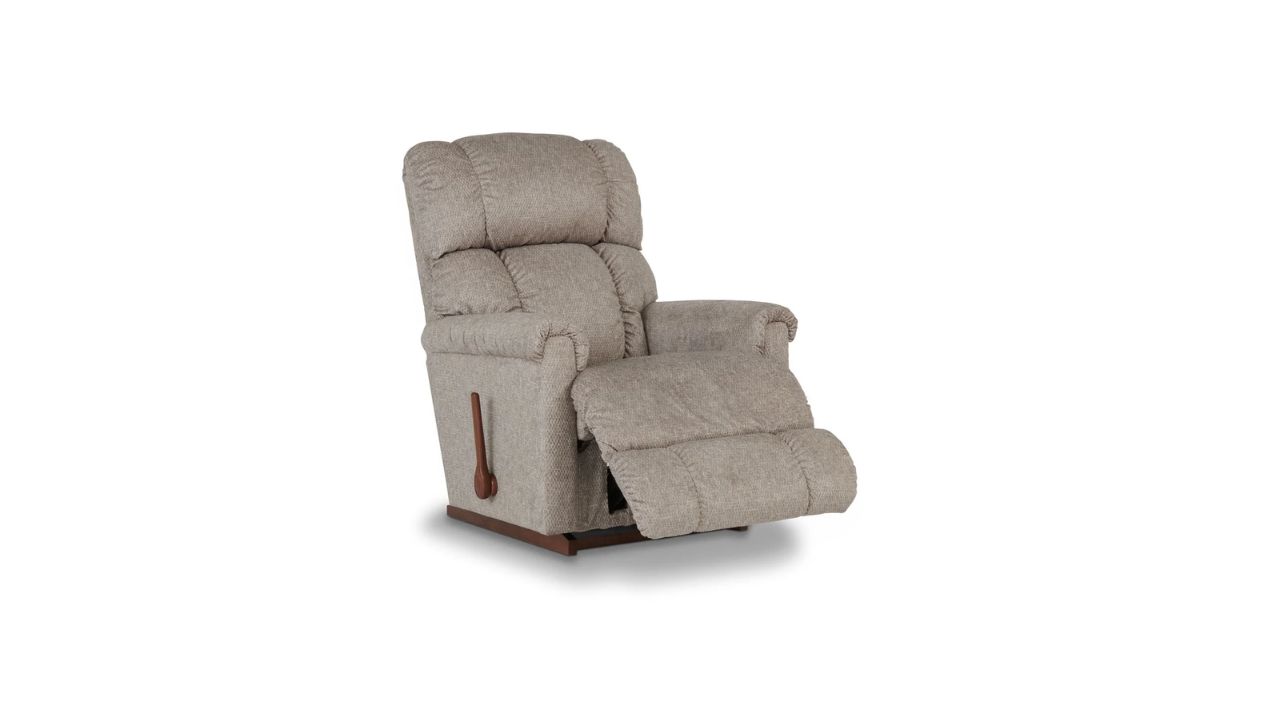
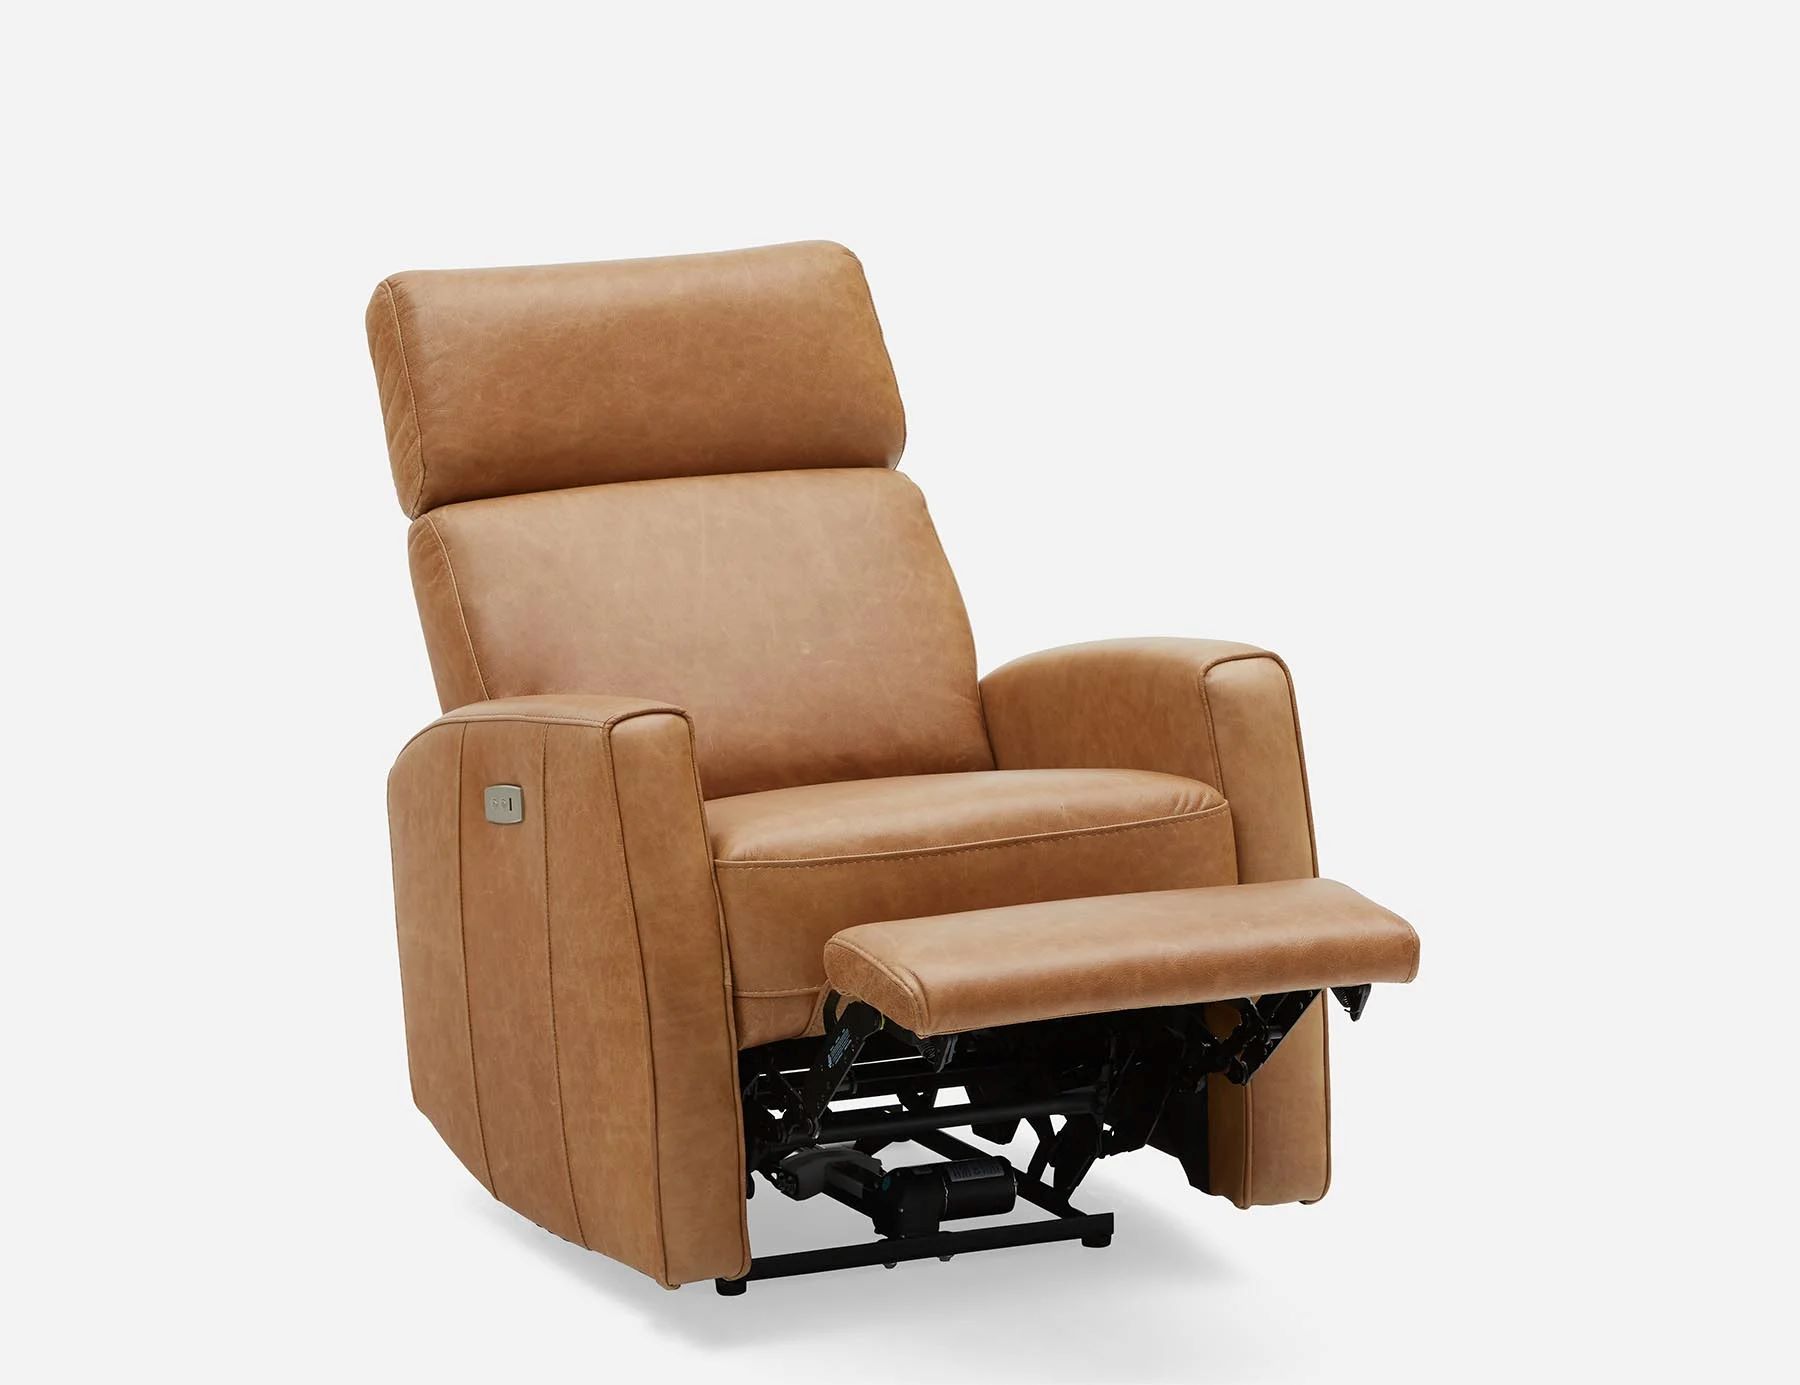
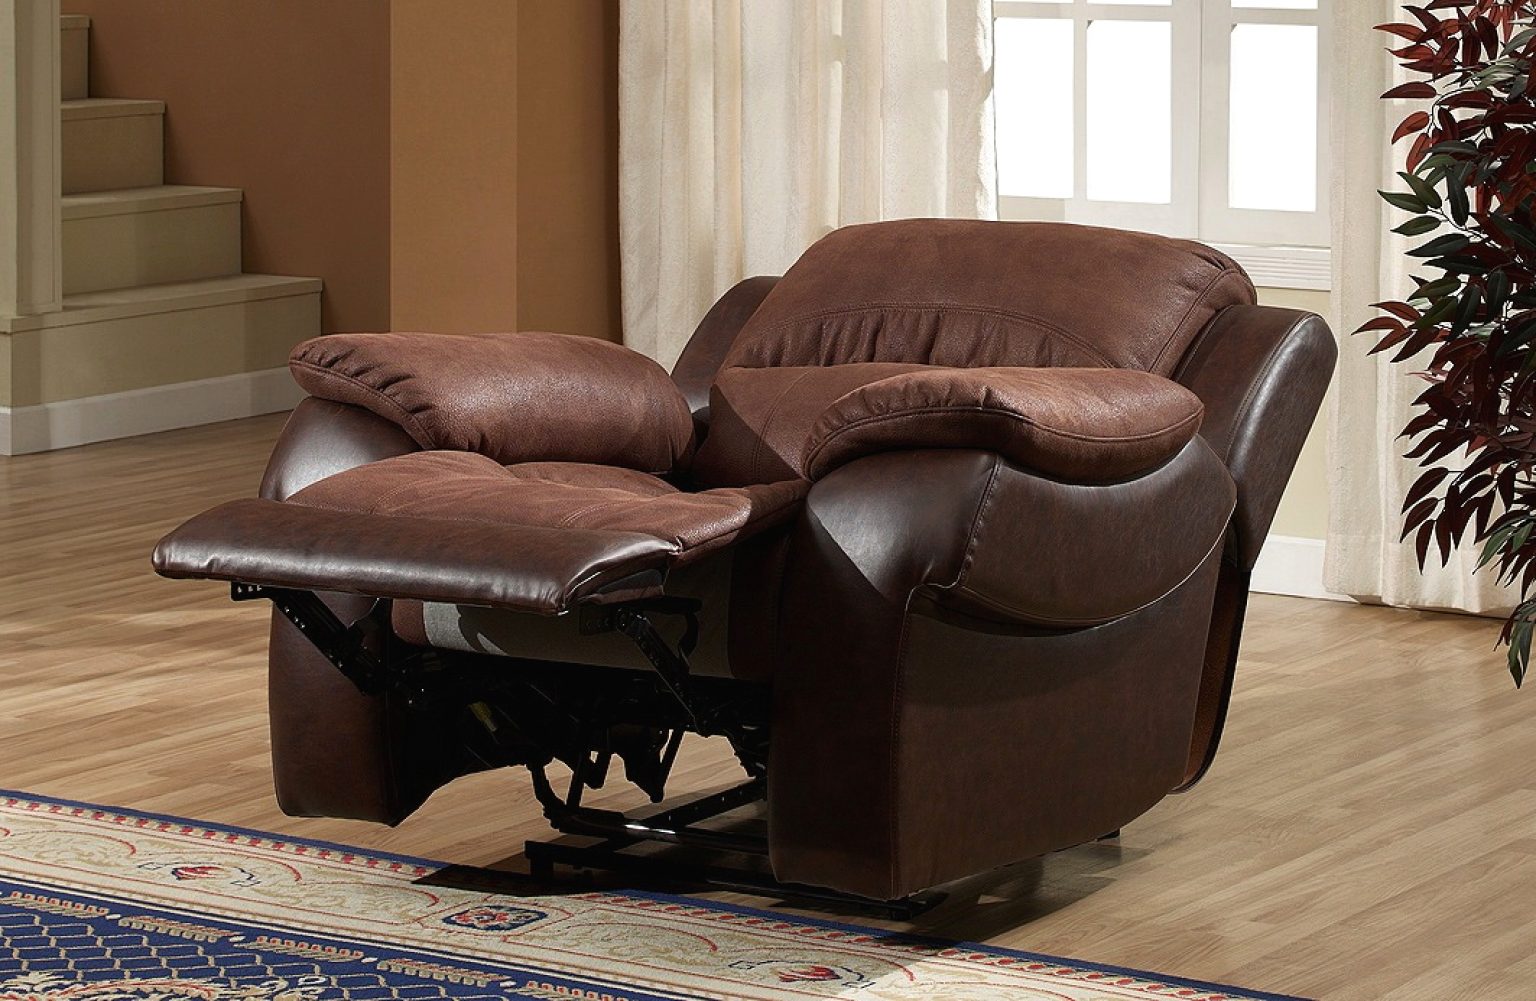
How To Fix A Recliner
Modified: August 17, 2024
Learn how to fix a recliner in your living room with our expert tips and easy DIY solutions. Upgrade your furniture and design with our step-by-step guide.
(Many of the links in this article redirect to a specific reviewed product. Your purchase of these products through affiliate links helps to generate commission for Storables.com, at no extra cost. Learn more)
Introduction
Welcome to our comprehensive guide on how to fix a recliner. If you own a recliner that is experiencing issues such as a loose mechanism, broken frame components, or worn-out upholstery, don’t worry! With the right tools and a bit of know-how, you can easily restore your recliner’s functionality and aesthetics.
A recliner is not just a piece of furniture; it’s a sanctuary of comfort and relaxation in your living room. However, over time, daily use and wear and tear can take a toll on its performance. Instead of replacing your recliner, which can be costly, learning how to fix it yourself can save you money and extend the lifespan of your beloved furniture.
In this guide, we’ll walk you through the step-by-step process of troubleshooting common issues with recliners and provide solutions to fix them. We’ll cover everything from repairing loose or wobbly reclining mechanisms to restoring the recliner’s upholstery. So, let’s roll up our sleeves and get started!
Key Takeaways:
- Learn how to troubleshoot and repair common recliner issues such as loose mechanisms, broken frames, and worn-out upholstery. Save money and extend the lifespan of your recliner with DIY fixes.
- Prioritize safety, gather the right tools, and follow step-by-step instructions to successfully fix your recliner. Regular maintenance and proper care can prolong the life of your beloved furniture.
Read more: How To Fix Recliner Footrest
Tools and Materials Needed
Before you begin fixing your recliner, it’s important to gather the necessary tools and materials. Having these items on hand will ensure that you can complete the repairs efficiently and effectively. Here’s a list of the tools and materials you’ll need:
- Screwdrivers: Both flathead and Phillips head screwdrivers will come in handy for removing screws and accessing various components of the recliner.
- Pliers: Pliers will be useful for gripping and pulling out stubborn pins or springs.
- Hammer: A hammer may be necessary for tapping or nudging certain parts of the recliner into place.
- Allen wrench set: Depending on the type of recliner you have, you may need an Allen wrench set to loosen or tighten bolts.
- Staple gun: If you plan to tackle upholstery repairs, a staple gun will be essential for securing fabric or replacing damaged upholstery.
- Needle and thread: For minor repairs to the upholstery, a needle and thread will allow you to sew up small tears or strengthen weak seams.
- Replacement parts: Depending on the specific issue with your recliner, you may need to purchase replacement parts such as springs, screws, or frame components. It’s important to identify the exact parts you need before starting the repair process.
- Cleaning supplies: It’s always a good idea to have some cleaning supplies on hand, such as a mild detergent, warm water, and a soft cloth, to clean the recliner’s upholstery or remove any built-up dirt or grime.
- Protective gear: When working with tools or handling potentially sharp or hazardous materials, wearing protective gear like gloves and safety glasses is advisable.
By having these tools and materials ready, you’ll be well-prepared to tackle any issues that arise during the recliner repair process. Now let’s move on to the next step: assessing the problem with your recliner.
Assessing the Problem
Before you can start fixing your recliner, it’s essential to properly assess the problem. Understanding the root cause of the issue will help you determine the most effective solution and ensure that you don’t waste time and effort on unnecessary repairs. Here are some common problems you might encounter with your recliner:
- Loose or wobbly reclining mechanism: If your recliner is not staying in the desired position or feels unstable when reclining, the reclining mechanism may be loose or worn out.
- Broken frame components: Over time, the frame of the recliner may become weak or damaged, leading to a lack of support or stability.
- Worn out springs or cushions: If your recliner no longer provides the same level of comfort as it used to, sagging springs or flattened cushions may be the culprit.
- Stuck or jammed recliner: Sometimes, a recliner may get stuck in a particular position, making it difficult to adjust or fully recline.
- Damaged upholstery: Tears, stains, or wear and tear can occur on the upholstery of your recliner, affecting its aesthetics and comfort.
Once you have identified the specific problem(s) with your recliner, you can proceed to the appropriate troubleshooting and repair techniques. It’s important to note that some issues may require more advanced repair skills or professional assistance. Assess your comfort level and skillset before attempting complex repairs.
While assessing the problem, take some time to examine the recliner’s various components, such as the reclining mechanism, frame, springs, cushions, and upholstery. Look for any visible signs of damage, loose parts, or worn-out materials. Pay attention to any strange noises or sensations you experience when using the recliner.
By taking a systematic approach to assessing the problem, you’ll gain a better understanding of what needs to be fixed and how to proceed. In the next section, we’ll delve into troubleshooting common issues and provide step-by-step instructions to repair your recliner.
Troubleshooting Common Issues
When it comes to fixing a recliner, understanding how to troubleshoot common issues is crucial. By diagnosing the problem correctly, you can save time and effort by focusing on the specific repairs needed. Here are some common issues you may encounter with your recliner and the troubleshooting steps to take:
- Loose or wobbly reclining mechanism: If your recliner mechanism feels loose or wobbly, the first step is to check the nuts and bolts that hold it together. Use a wrench or Allen wrench to tighten any loose fasteners. If the mechanism is still not secure, you may need to replace any worn-out or damaged parts, such as springs or gears.
- Broken frame components: Inspect the frame of the recliner carefully. Look for any visible cracks or breaks. If you notice any damage, you’ll need to replace the broken components. This may involve disassembling the recliner, removing the damaged frame pieces, and installing new ones.
- Worn out springs or cushions: If your recliner has lost its supportive cushioning or the springs are sagging, you may need to replace them. Remove the upholstery carefully to access the springs and cushions. Measure and source replacement springs and cushions that match the original ones. Install the new springs and cushions, ensuring they are properly aligned and secured.
- Stuck or jammed recliner: If your recliner refuses to budge or gets stuck in a particular position, check for any obstructions or debris that may be preventing smooth movement. Clean the recliner mechanism, lubricate it with a suitable lubricant, and ensure that there are no loose or broken components. If the issue persists, you may need to disassemble the recliner and inspect the internal mechanics for further troubleshooting.
- Damaged upholstery: Assess the condition of the recliner’s upholstery. If you notice tears, stains, or worn-out areas, you have several options. For minor tears, you can use a needle and thread to mend them. For more extensive damage, you may need to replace the upholstery entirely. Remove the old upholstery carefully and attach the new fabric securely using a staple gun.
Remember, troubleshooting these issues requires patience and attention to detail. Take your time to thoroughly examine the recliner, follow repair guides and tutorials, and refer to manufacturer instructions whenever possible. If you encounter any difficulties or are unsure about the repairs, it’s always a good idea to consult a professional for assistance.
Now that you know how to troubleshoot common recliner problems, it’s time to dive into specific repair techniques. In the following sections, we’ll guide you through fixing loose or wobbly reclining mechanisms, repairing broken frame components, replacing worn-out springs or cushions, fixing stuck or jammed recliners, restoring upholstery, and more.
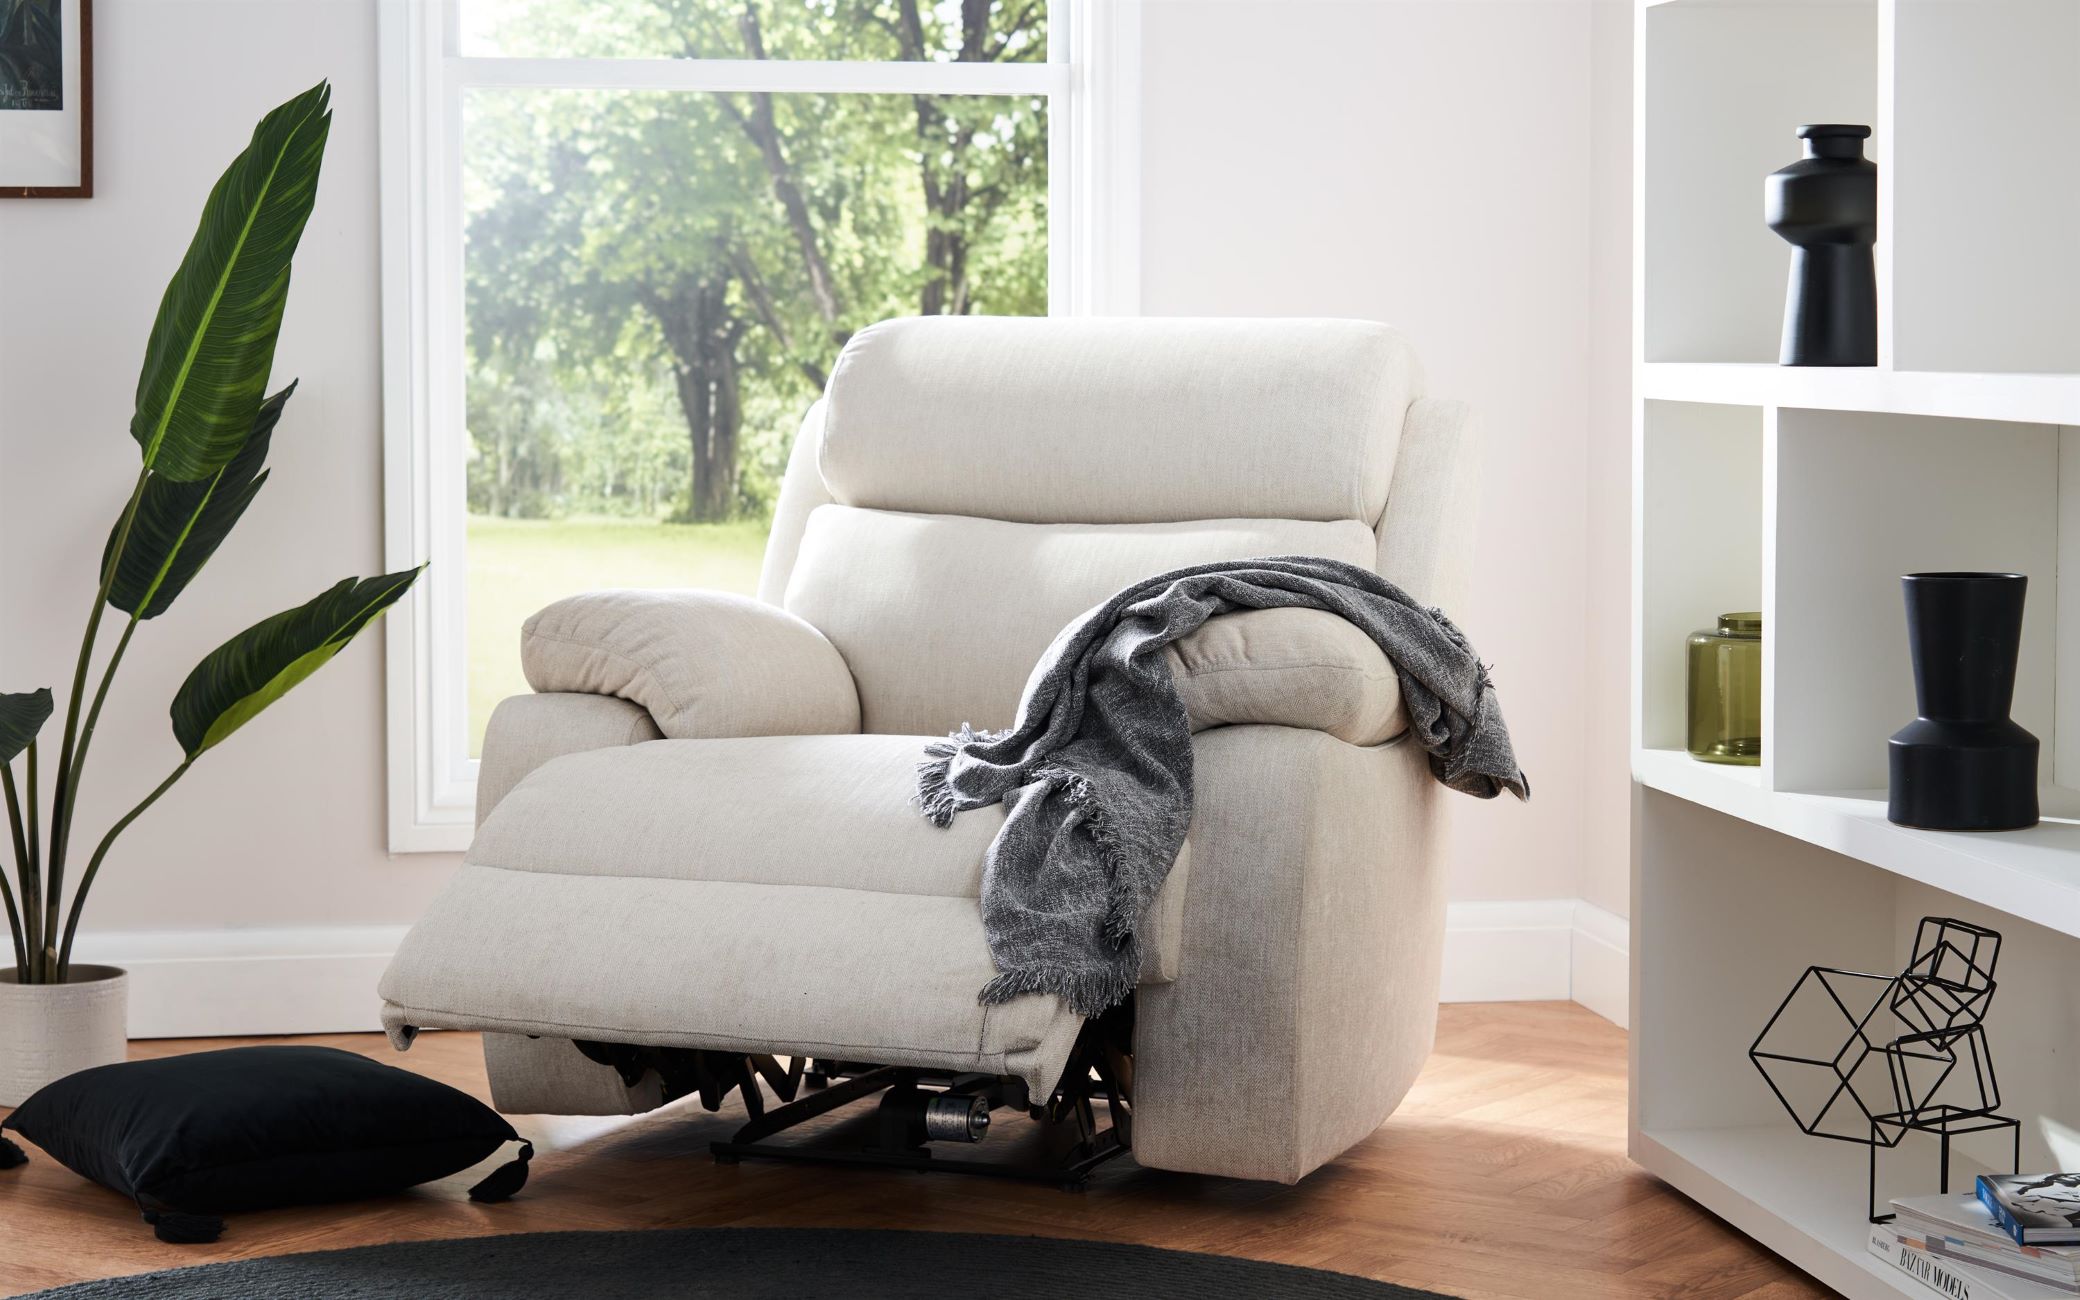
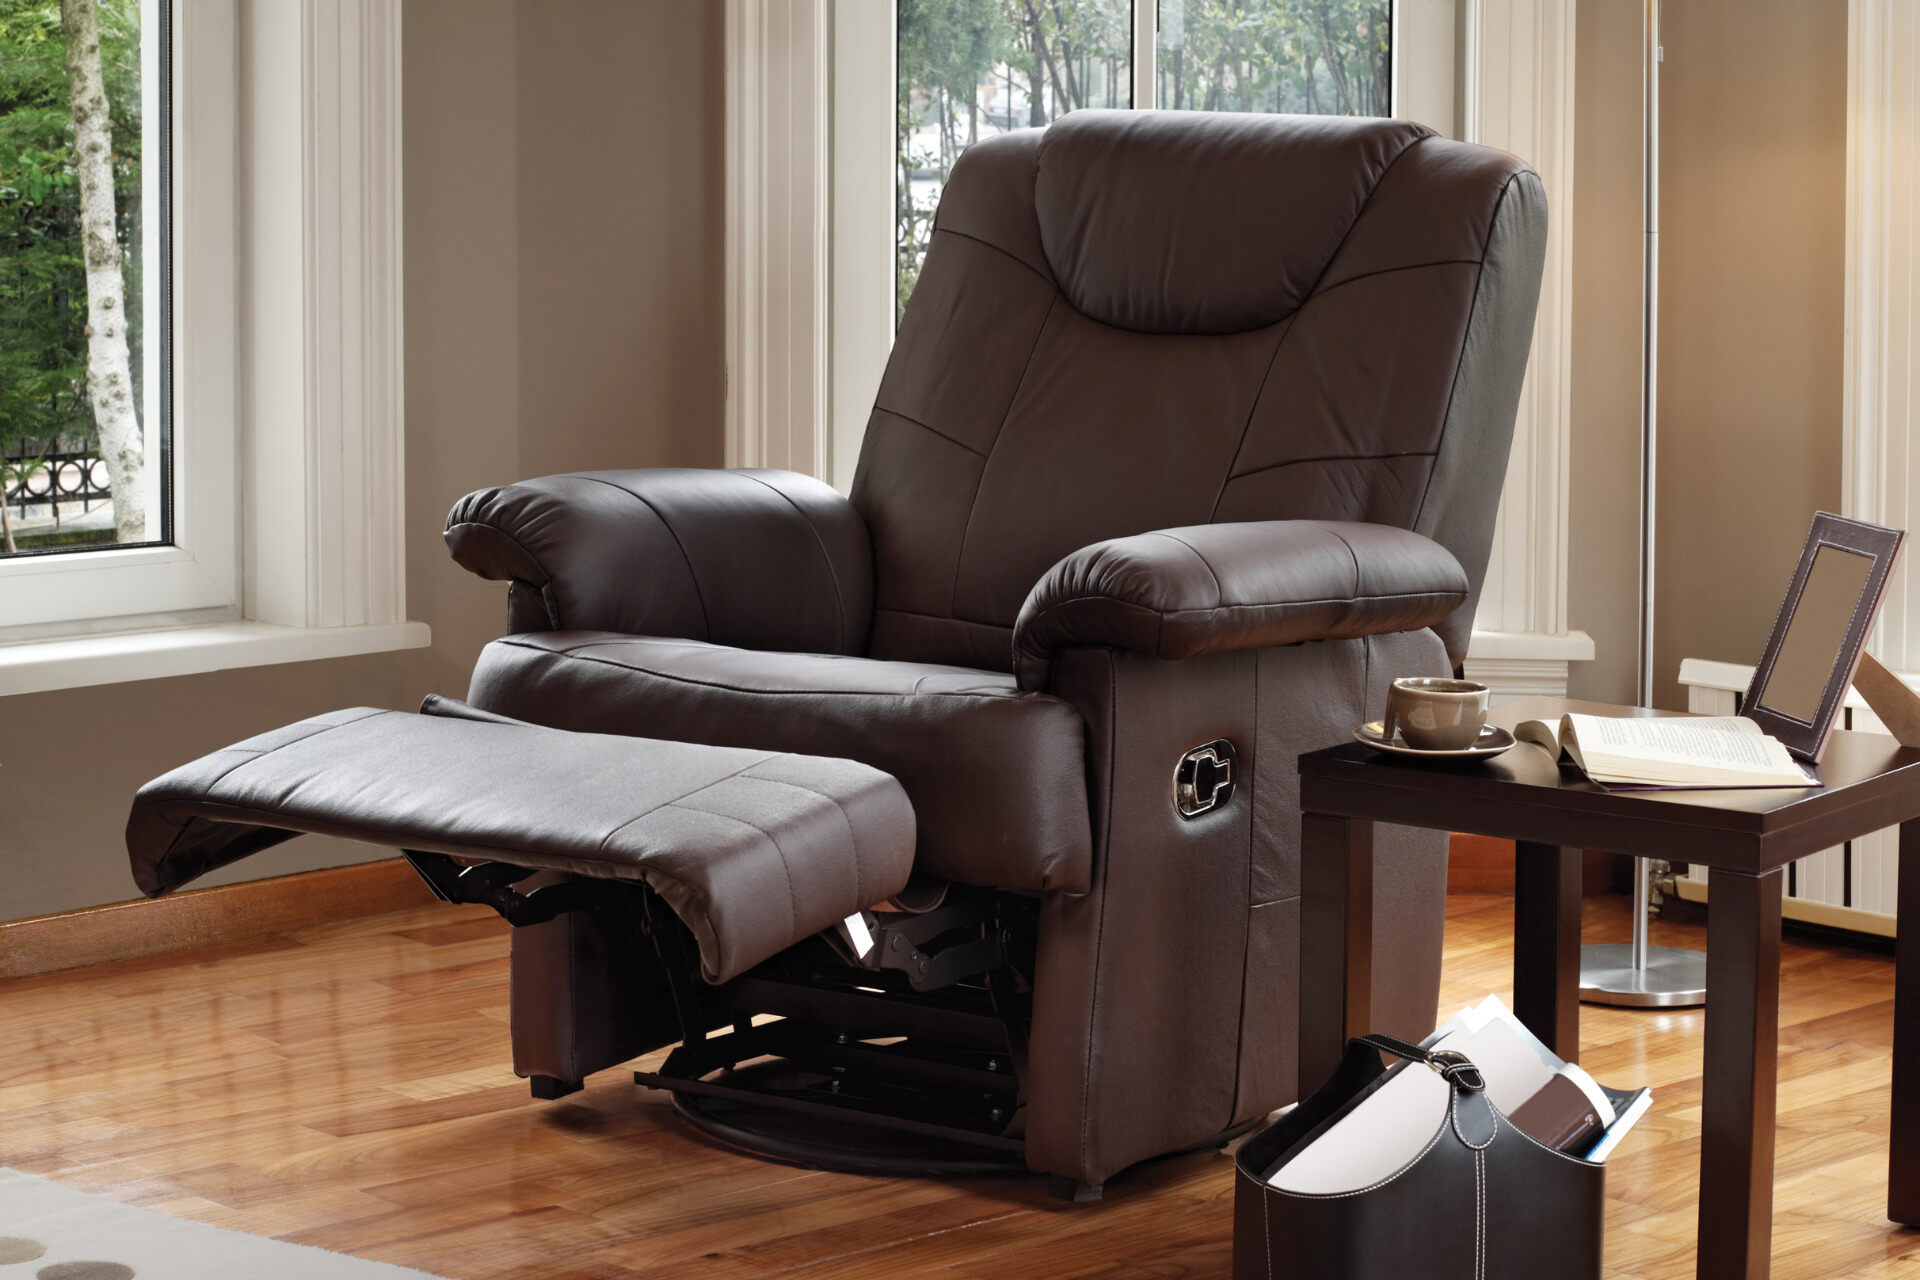
Fixing Loose or Wobbly Reclining Mechanism
A common issue with recliners is a loose or wobbly reclining mechanism. If your recliner doesn’t stay securely in the desired position or feels unstable when reclining, follow these steps to fix the problem:
- Identify the problem area: Examine the recliner mechanism to determine which part is causing the issue. Look for loose nuts, bolts, or screws.
- Tighten loose fasteners: Using the appropriate screwdriver or wrench, tighten any loose nuts, bolts, or screws that are responsible for holding the reclining mechanism together. Check all connections to ensure they are snug and secure.
- Replace worn-out parts: If tightening the fasteners doesn’t solve the problem, the issue may lie with worn-out or damaged parts. Consider replacing components such as springs, gears, or latches that are no longer functioning properly. Consult the recliner’s manual or contact the manufacturer for guidance on finding and replacing these parts.
- Reassemble and test: Once you’ve addressed the loose or worn-out parts, reassemble the recliner mechanism and test its stability. Try reclining the chair in different positions to ensure that it stays securely in place without any wobbling or slipping.
If you’re unsure about disassembling or replacing parts, it’s best to seek professional help. A recliner repair specialist can offer expertise and ensure that the repairs are done correctly and safely.
Remember, always refer to the manufacturer’s instructions or consult the recliner’s manual for specific guidance on your particular model. Following these steps should help you fix the loose or wobbly reclining mechanism and restore the stability and functionality of your recliner.
In the next section, we’ll discuss how to repair damaged or broken frame components.
Read more: How To Fix A Leaning Recliner
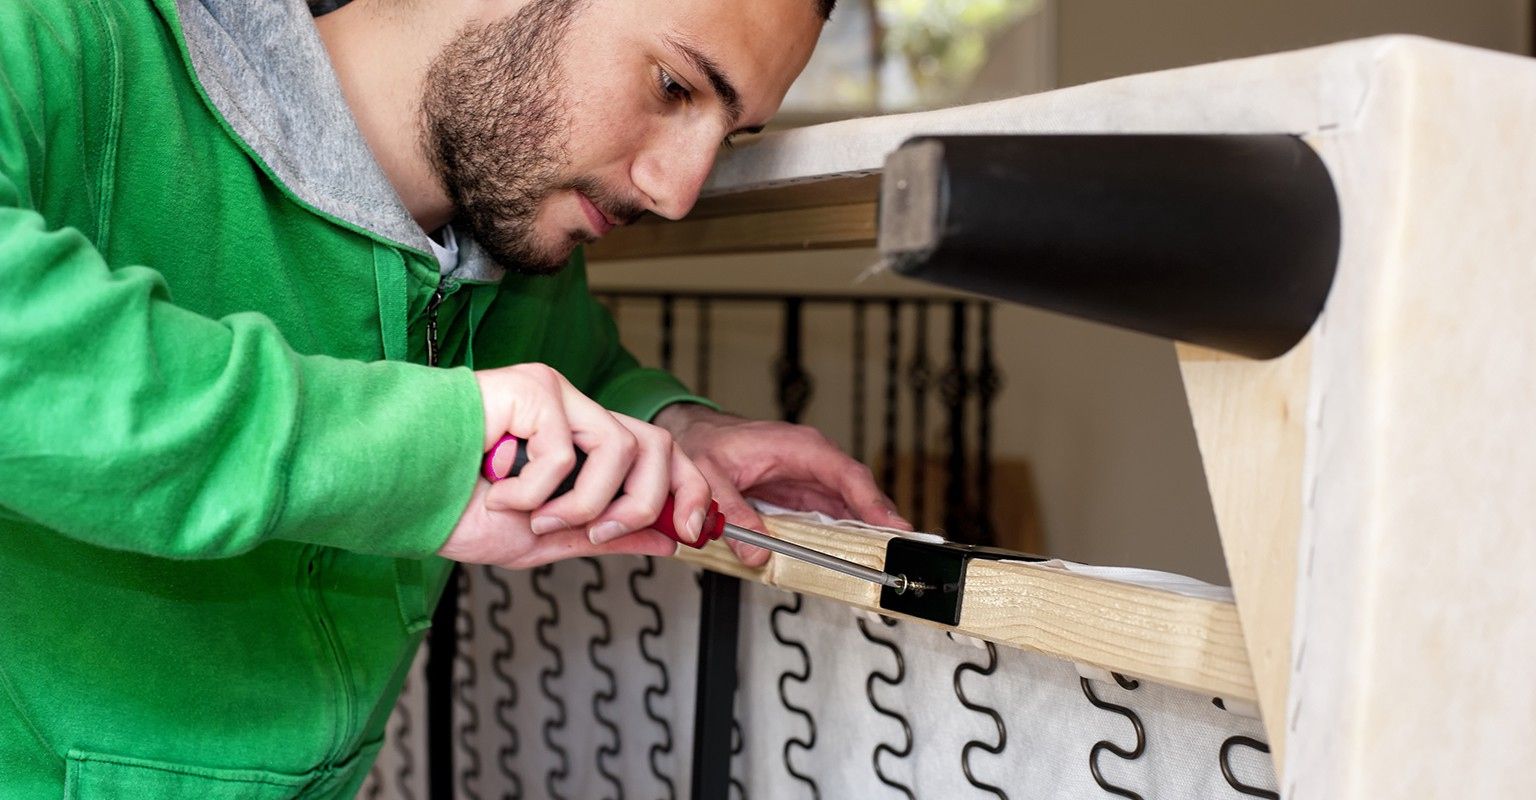
Repairing Damaged or Broken Frame Components
If you notice that your recliner has damaged or broken frame components, it’s essential to address the issue promptly to ensure the stability and safety of the chair. Follow these steps to repair damaged or broken frame components:
- Identify the damaged components: Carefully inspect the recliner’s frame to determine which parts are damaged or broken. Look for cracks, fractures, or weak areas.
- Remove the upholstery: Start by removing the upholstery from the damaged area. This may involve unscrewing or unstapling the fabric, depending on how it is attached. Be sure to keep track of the location and orientation of each piece of fabric for easy reassembly later.
- Replace the broken parts: Once the upholstery is removed, assess the extent of the damage and identify the specific frame components that need to be replaced. Order the necessary replacement parts from the manufacturer or a reputable supplier.
- Disassemble and remove the broken parts: Disassemble the recliner as necessary to access the damaged frame components. This may involve unscrewing or removing bolts, pins, or other fasteners. Carefully remove the broken parts from the recliner.
- Install the new frame components: With the broken parts removed, carefully install the new frame components in their place. Make sure they are aligned correctly and securely fastened according to the manufacturer’s instructions.
- Reassemble and test: Once the new frame components are installed, reassemble the recliner. Attach the upholstery back onto the chair, ensuring that it is properly positioned and fastened. Test the recliner to ensure that the repaired frame components provide the necessary stability and support.
If you’re unsure about the repair process or lack the necessary tools and skills, it’s advisable to seek professional help. Recliner frames can be complex, and incorrect repairs can lead to further damage or compromised safety.
By following these steps and addressing damaged or broken frame components promptly, you can restore the integrity and strength of your recliner. In the next section, we’ll discuss how to replace worn-out springs or cushions to improve your recliner’s comfort.
Check the recliner’s frame for any loose or broken parts. Tighten or replace any screws or bolts as needed. This can help to stabilize the recliner and prevent further damage.
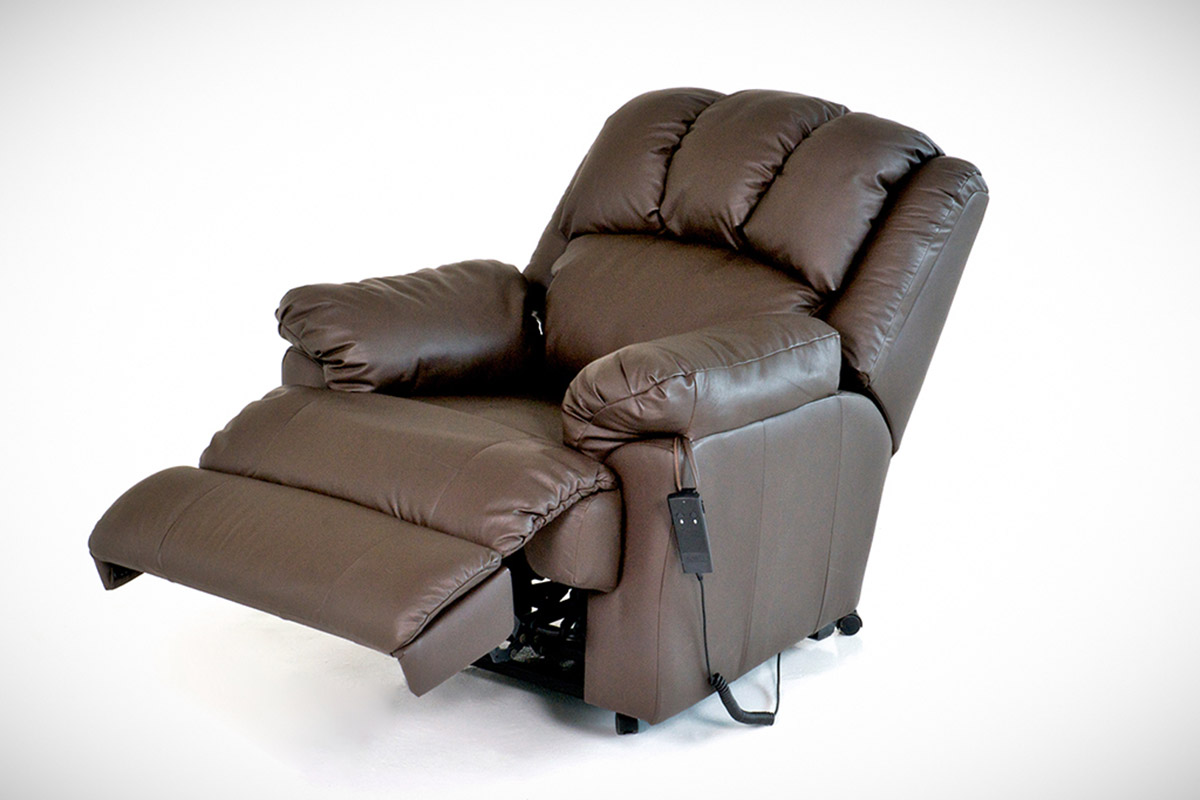
Replacing Worn Out Springs or Cushions
If your recliner is no longer providing the same level of comfort or support as it used to, worn-out springs or cushions may be the cause. To restore your recliner’s comfort, consider replacing these worn-out components using the following steps:
- Assess the condition of the springs and cushions: Remove the upholstery from the recliner to access the springs and cushions. Examine them closely for any signs of sagging, flattening, or damage.
- Measure and source replacement springs and cushions: Take accurate measurements of the existing springs and cushions to ensure you purchase the correct size and type of replacements. Look for high-quality springs and cushions that offer the desired level of support and durability.
- Remove the old springs and cushions: Depending on your particular recliner model, there may be different methods for removing the old springs and cushions. In some cases, they may be held in place by screws or clips, while in others, they may be attached with wires or straps. Follow the manufacturer’s instructions or consult a professional for guidance if needed.
- Install the new springs and cushions: Once the old springs and cushions are removed, carefully install the new ones in their place. Ensure they are positioned correctly and securely attached according to the manufacturer’s instructions. Pay attention to the alignment and tension of the springs to achieve optimal comfort.
- Reattach the upholstery: With the new springs and cushions in place, reattach the upholstery to the recliner. Make sure it is properly aligned and fastened, taking care not to damage or tear the fabric.
- Test the recliner: Sit in the recliner and test its comfort and support after replacing the springs and cushions. Make adjustments as necessary to achieve the desired level of comfort.
If you’re unsure about replacing the springs or cushions yourself, it’s best to seek professional assistance. Recliner repairs can sometimes be complex, and professionals have the necessary knowledge and experience to ensure a successful replacement.
By replacing worn-out springs or cushions, you can breathe new life into your recliner and enjoy the comfort it once provided. In the next section, we’ll discuss how to fix a stuck or jammed recliner.
Fixing Stuck or Jammed Recliner
Dealing with a stuck or jammed recliner can be frustrating, but with the right approach, you can fix the issue and restore the smooth functionality of your recliner. Follow these steps to fix a stuck or jammed recliner:
- Identify the cause of the problem: Determine what is causing the recliner to get stuck or jammed. It could be due to an obstruction, a misaligned mechanism, or a lack of lubrication.
- Inspect for obstructions: Check for any objects or debris that may be blocking the reclining mechanism’s movement. Clear away any obstructions, such as small objects, fabric, or dust.
- Clean and lubricate: If the recliner is still stuck or jams, it may need cleaning and lubrication. Use a vacuum or a brush to remove any dirt or debris that may be affecting the mechanism’s operation. Apply a suitable lubricant to the moving parts of the recliner, following the manufacturer’s instructions.
- Adjust reclining tension: If the recliner is still difficult to operate, it may be due to the reclining tension being too tight or too loose. Refer to the recliner’s manual to adjust the tension to a comfortable level.
- Inspect and align misaligned components: If the recliner is still jammed or sticking, there may be misaligned components within the mechanism. Carefully inspect the reclining mechanism and adjust any misaligned parts to ensure smooth movement.
- Consult a professional if necessary: If the issue persists and you’re unable to fix the stuck or jammed recliner, it’s advisable to seek help from a professional recliner repair specialist. They have the expertise and tools necessary to diagnose and repair more complex issues.
Remember to always refer to the recliner’s manual or contact the manufacturer for specific guidance regarding your recliner model. Proper maintenance and regular cleaning can help prevent future issues with a stuck or jammed recliner.
Now that you know how to fix a stuck or jammed recliner, let’s move on to the next section, which covers restoring recliner upholstery.
Restoring Recliner Upholstery
If the upholstery of your recliner is worn, torn, stained, or simply in need of a refresh, restoring it can breathe new life into your recliner’s appearance. Follow these steps to restore recliner upholstery:
- Assess the condition of the upholstery: Evaluate the extent of the damage to determine if the upholstery can be repaired or if it needs to be completely replaced.
- Repair minor tears or damage: For small tears or damage, you can mend the upholstery using a needle and thread. Match the thread color to the original upholstery and carefully sew the damaged area together, ensuring a secure and discreet repair.
- Replace upholstery panels or sections: If the damage is extensive or the entire upholstery panel or section needs to be replaced, carefully remove the damaged fabric. Take note of how the original upholstery was attached to the recliner for easier reassembly.
- Choose and cut replacement fabric: Select a suitable replacement fabric that matches the style and durability of the original upholstery. Take accurate measurements and cut the replacement fabric to fit the specific panels or sections of the recliner.
- Attach the new upholstery: Securely attach the replacement fabric to the recliner using a staple gun, making sure to pull the fabric taut to achieve a smooth and wrinkle-free surface. Follow the same attachment pattern that was used for the original upholstery.
- Trim excess fabric and finish edges: Once the new upholstery is attached, trim any excess fabric and neatly finish the edges for a polished appearance.
- Reassemble the recliner: Put all removed parts and panels back in place, ensuring that they are properly aligned and fastened according to the manufacturer’s instructions.
If you’re uncertain about tackling upholstery repairs yourself, it’s recommended to consult a professional upholsterer who can provide expertise and ensure a high-quality restoration.
With a freshly restored upholstery, your recliner will look inviting, comfortable, and stylish once again. In the next section, we’ll discuss how to lubricate and maintain your recliner to keep it in optimal condition.
Read more: How To Fix A Recliner Handle
Lubricating and Maintaining the Recliner
Lubricating and maintaining your recliner is essential to ensure its smooth operation and prolong its lifespan. Regular maintenance can prevent issues and keep the recliner in optimal condition. Follow these steps to lubricate and maintain your recliner:
- Refer to the manufacturer’s instructions: Consult the recliner’s manual for specific guidance on lubrication and maintenance. Different recliner models may have different requirements.
- Clean the recliner: Regularly clean the recliner to remove any dust, dirt, or debris that may accumulate over time. Use a mild detergent and warm water solution to wipe down the recliner’s surfaces, including the upholstery. Avoid using abrasive cleaners that may damage the fabric or the recliner’s components.
- Lubricate moving parts: Use a suitable lubricant, such as silicone or lithium grease, to lubricate the moving parts of the recliner. Focus on areas where metal components rub against each other or where friction may cause issues. Apply a small amount of lubricant according to the manufacturer’s instructions, ensuring it reaches all relevant areas. Wipe off any excess lubricant to prevent staining or buildup.
- Tighten loose fasteners: Regularly check and tighten any loose nuts, bolts, screws, or other fasteners. Over time, these may become loose due to the recliner’s movement or usage. Keeping them properly tightened will help maintain stability and prevent further issues.
- Inspect for wear and tear: Periodically inspect the recliner for any signs of wear and tear, such as fraying fabric, weak springs, or damaged parts. Addressing these issues promptly can prevent them from worsening and requiring more extensive repairs.
- Follow weight and usage guidelines: Adhere to the weight recommendations and usage guidelines provided by the manufacturer. Overloading or using the recliner improperly can lead to damage and compromise its functionality and safety.
- Store and protect the recliner: If you need to store the recliner for an extended period, ensure it is properly protected. Cover it with a breathable fabric cover to prevent dust and keep it away from direct sunlight or extreme temperatures that may damage the materials.
Maintaining your recliner through regular cleaning and lubrication will help keep it functioning smoothly and looking great for years to come. Additionally, addressing any issues or signs of wear and tear promptly can prevent more significant problems down the line.
Now that you know how to lubricate and maintain your recliner, let’s move on to the final section: safety precautions to keep in mind during the repair and maintenance process.
Safety Precautions
When repairing and maintaining your recliner, it’s important to prioritize safety to prevent accidents and injuries. Follow these safety precautions to ensure a safe and successful recliner repair process:
- Read the manual: Familiarize yourself with the manufacturer’s instructions and safety guidelines provided in the recliner’s manual. This will give you a clear understanding of any specific safety considerations for your particular model.
- Use appropriate tools and equipment: Always use the correct tools and equipment for the job. Using improper tools can lead to accidents or damage to the recliner. Ensure that your tools are in good working condition and that you have a firm grip on them while using them.
- Protective gear: Wear necessary protective gear, such as gloves and safety glasses, when handling tools or dealing with potential hazards. This will help minimize the risk of injuries from sharp edges, flying debris, or chemicals used in cleaning or repair processes.
- Secure the recliner: Before starting any repair work, ensure that the recliner is stable and securely positioned. If necessary, stabilize the recliner by placing it on a level surface or using supports to prevent it from tipping over during repairs.
- Take breaks and work in a well-lit area: Avoid rushing through the repair process and take regular breaks to rest and maintain focus. Work in a well-lit area to improve visibility and reduce the chance of accidents caused by poor lighting conditions.
- Disconnect power sources: If your recliner has any electrical components, such as built-in massagers or heating elements, ensure that they are disconnected from the power source before starting any repairs. This will eliminate the risk of electric shocks or other electrical accidents.
- Know your limitations: Assess your skill level and comfort with specific repairs. If you’re unsure about a particular repair or lack the necessary expertise, it’s best to seek professional help to avoid further damage or potential injuries.
- Keep children and pets away: When working on your recliner, keep children and pets at a safe distance to prevent accidents or distractions. Restrict access to the workspace until the repairs are complete and the recliner is back in a safe and usable condition.
By following these safety precautions, you can minimize the risk of accidents and ensure a safe environment while repairing and maintaining your recliner. Remember, if you’re uncertain or uncomfortable with any step of the repair process, it’s always best to seek professional assistance.
Now that you’re equipped with the knowledge on how to fix a recliner, it’s time to put it into practice and enjoy a comfortable and fully functional recliner in your living room. Happy repairing!
Disclaimer: This article is for informational purposes only. Always consult the manufacturer’s instructions and seek professional guidance when needed.
Conclusion
Fixing a recliner can be a rewarding and cost-effective way to restore comfort and functionality to your beloved piece of furniture. By following the steps outlined in this comprehensive guide, you can troubleshoot common issues, repair damaged components, replace worn-out parts, and restore the upholstery of your recliner.
Remember, it’s essential to assess the problem thoroughly and gather the necessary tools and materials before starting the repairs. Troubleshoot issues such as loose or wobbly reclining mechanisms, broken frame components, worn-out springs or cushions, stuck or jammed recliners, and damaged upholstery. Take your time, follow the manufacturer’s instructions, and consult professionals if needed.
Throughout the repair process, prioritize safety by wearing appropriate protective gear, working in a well-lit area, and following safety precautions. Keep in mind that if you’re unsure or uncomfortable with any aspect of the repair, seeking professional assistance is always a good option.
Maintaining your recliner regularly through cleaning, lubrication, and proper usage will help prolong its lifespan and keep it in optimal condition. By taking care of your recliner, you can enjoy comfort and relaxation for years to come.
Now, armed with the knowledge and techniques provided in this guide, it’s time to roll up your sleeves and embark on the journey of fixing your recliner. Whether it’s a loose mechanism, a worn-out cushion, or a damaged frame, you have the power to restore your recliner to its former glory.
Remember, the process may require patience, attention to detail, and sometimes professional assistance. But in the end, the satisfaction of successfully repairing your recliner and enjoying its comfort once again will make it all worthwhile.
Happy recliner fixing!
Frequently Asked Questions about How To Fix A Recliner
Was this page helpful?
At Storables.com, we guarantee accurate and reliable information. Our content, validated by Expert Board Contributors, is crafted following stringent Editorial Policies. We're committed to providing you with well-researched, expert-backed insights for all your informational needs.


0 thoughts on “How To Fix A Recliner”