Home>Furniture & Design>Outdoor Furniture>How To Make An Outdoor Dog Toilet

Outdoor Furniture
How To Make An Outdoor Dog Toilet
Modified: August 17, 2024
Learn how to create a practical outdoor dog toilet with our expert tips and ideas for outdoor furniture and design. Keep your yard clean and stylish!
(Many of the links in this article redirect to a specific reviewed product. Your purchase of these products through affiliate links helps to generate commission for Storables.com, at no extra cost. Learn more)
Introduction
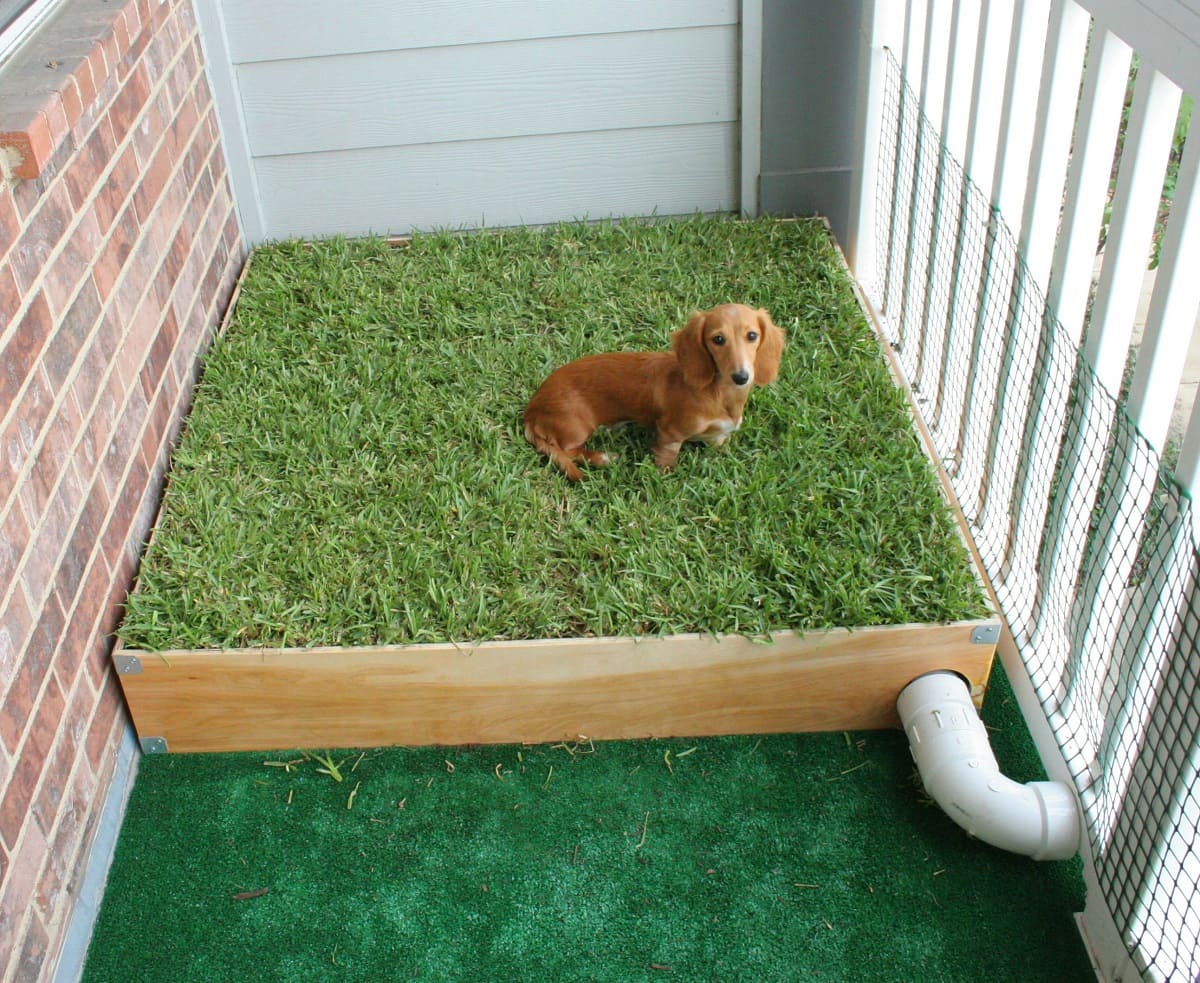
Welcome to the world of outdoor pet care! Whether you have a playful pup, a curious cat, or any other furry friend, creating an outdoor dog toilet can be a game-changer for both you and your pet. This dedicated space allows your pet to answer nature's call in a designated area, providing convenience for you and a sense of routine for your beloved companion.
Designing an outdoor dog toilet involves a blend of creativity, functionality, and practicality. It's a project that can significantly enhance your pet's outdoor experience while minimizing the mess in your yard.
In this comprehensive guide, we'll walk you through the step-by-step process of creating an outdoor dog toilet. From choosing the right location to building the base, creating a drainage system, and adding artificial grass, we'll cover everything you need to know to make this project a success. Additionally, we'll provide insights on maintenance and cleaning to ensure that your outdoor dog toilet remains a clean and inviting space for your pet.
So, grab your tools and let's embark on this rewarding journey of crafting a functional and pet-friendly outdoor dog toilet. With a bit of creativity and a whole lot of love for your furry friend, you'll soon have a dedicated space that both you and your pet will appreciate. Let's get started!
Key Takeaways:
- Creating an outdoor dog toilet involves choosing the right location, building a sturdy base, adding a drainage system, and artificial grass. This provides a clean and comfortable space for your pet to answer nature’s call.
- Regular maintenance, waste removal, and cleaning are essential for keeping the outdoor dog toilet hygienic and odor-free. This ensures a pleasant and functional space for your furry friend to enjoy.
Read more: How To Make Dog Stairs
Choosing the Right Location
When it comes to creating an outdoor dog toilet, the location is key. Selecting the right spot ensures that your pet feels comfortable using the space while minimizing any inconvenience for you and your family. Here are some essential factors to consider when choosing the location for your outdoor dog toilet:
- Accessibility: Opt for a location that is easily accessible to your pet. Consider a spot that is not too far from your home, allowing your pet to reach the outdoor toilet quickly when nature calls.
- Privacy: Pets, like humans, appreciate privacy. Choose a secluded area in your yard that provides a sense of privacy for your pet while they attend to their business.
- Drainage: It’s important to consider the drainage in the chosen location. Ensure that the area has proper drainage to prevent waterlogging, especially during rainy seasons.
- Odor Control: Select a location that is not too close to your outdoor living spaces to minimize any potential odor. While proper maintenance will control odors, placing the dog toilet a reasonable distance from your patio or outdoor seating area is a thoughtful consideration.
- Shade: If possible, choose a spot that offers some natural shade. This can be beneficial during hot weather, providing a more comfortable environment for your pet.
By carefully considering these factors, you can choose a location that meets your pet’s needs while integrating seamlessly into your outdoor space. Once you’ve identified the perfect spot, it’s time to move on to the next step: building the base for your outdoor dog toilet.
Building the Base
Now that you’ve identified the ideal location for your outdoor dog toilet, it’s time to lay the groundwork – quite literally. Building a sturdy and reliable base is essential for the longevity and functionality of the dog toilet. Here’s how you can create a solid base for your outdoor pet toilet:
Materials Needed:
- Pressure-treated lumber or composite decking boards
- Gravel or crushed stone
- Level
- Tape measure
- Hammer or nail gun
- Nails or screws
Step 1: Measure and Mark the Area
Using a tape measure, mark the boundaries of the base according to the desired size of the outdoor dog toilet. Ensure that the area is large enough to accommodate your pet comfortably.
Step 2: Excavate the Area
Once marked, excavate the marked area to a depth of approximately 4-6 inches. This will allow space for the gravel or crushed stone, providing a stable foundation for the base.
Step 3: Add Gravel or Crushed Stone
Fill the excavated area with gravel or crushed stone, ensuring that it is level and compacted. This provides proper drainage and stability for the base.
Step 4: Install the Lumber or Decking Boards
Place the pressure-treated lumber or composite decking boards around the perimeter of the excavated area, creating a frame for the base. Use a level to ensure that the boards are even and secure them in place with nails or screws.
Step 5: Additional Considerations
If you’re using lumber for the base, consider applying a weatherproof sealant to protect it from the elements. This will prolong the lifespan of the base, ensuring its durability over time.
By following these steps, you can create a sturdy and reliable base for your outdoor dog toilet. With the foundation in place, you’re ready to move on to the next crucial aspect: creating the drainage system.
Creating the Drainage System
One of the most critical elements of an outdoor dog toilet is the drainage system. Proper drainage ensures that the area remains clean, minimizes odors, and provides a comfortable environment for your pet. Here’s how you can create an effective drainage system for your outdoor dog toilet:
Materials Needed:
- Perforated drainage pipe
- Landscape fabric
- Gravel
- Shovel
- Tape measure
Step 1: Excavate a Trench
Using a shovel, excavate a trench along the base of the dog toilet area. The trench should be approximately 6-8 inches deep and run the length of the base, allowing for proper drainage.
Step 2: Line the Trench with Landscape Fabric
Once the trench is excavated, line it with landscape fabric. This fabric will prevent soil and debris from clogging the drainage system while allowing water to pass through freely.
Step 3: Add Gravel and Drainage Pipe
Fill the trench with a layer of gravel, ensuring that it is evenly distributed. Place the perforated drainage pipe on top of the gravel, positioning it along the center of the trench. The pipe will collect and redirect excess water, preventing waterlogging in the dog toilet area.
Step 4: Cover with Gravel and Fabric
Add another layer of gravel to cover the drainage pipe, ensuring that it is completely surrounded. Finally, cover the gravel with additional landscape fabric to prevent soil from seeping into the drainage system.
By following these steps, you can establish an effective drainage system for your outdoor dog toilet. Proper drainage is essential for maintaining a clean and hygienic environment for your pet, setting the stage for the next phase: adding the artificial grass.
When making an outdoor dog toilet, choose a spot away from your home and water sources. Use a shallow hole or a designated area with gravel or sand for drainage. Regularly clean and maintain the area to prevent odors and bacteria buildup.
Adding the Artificial Grass
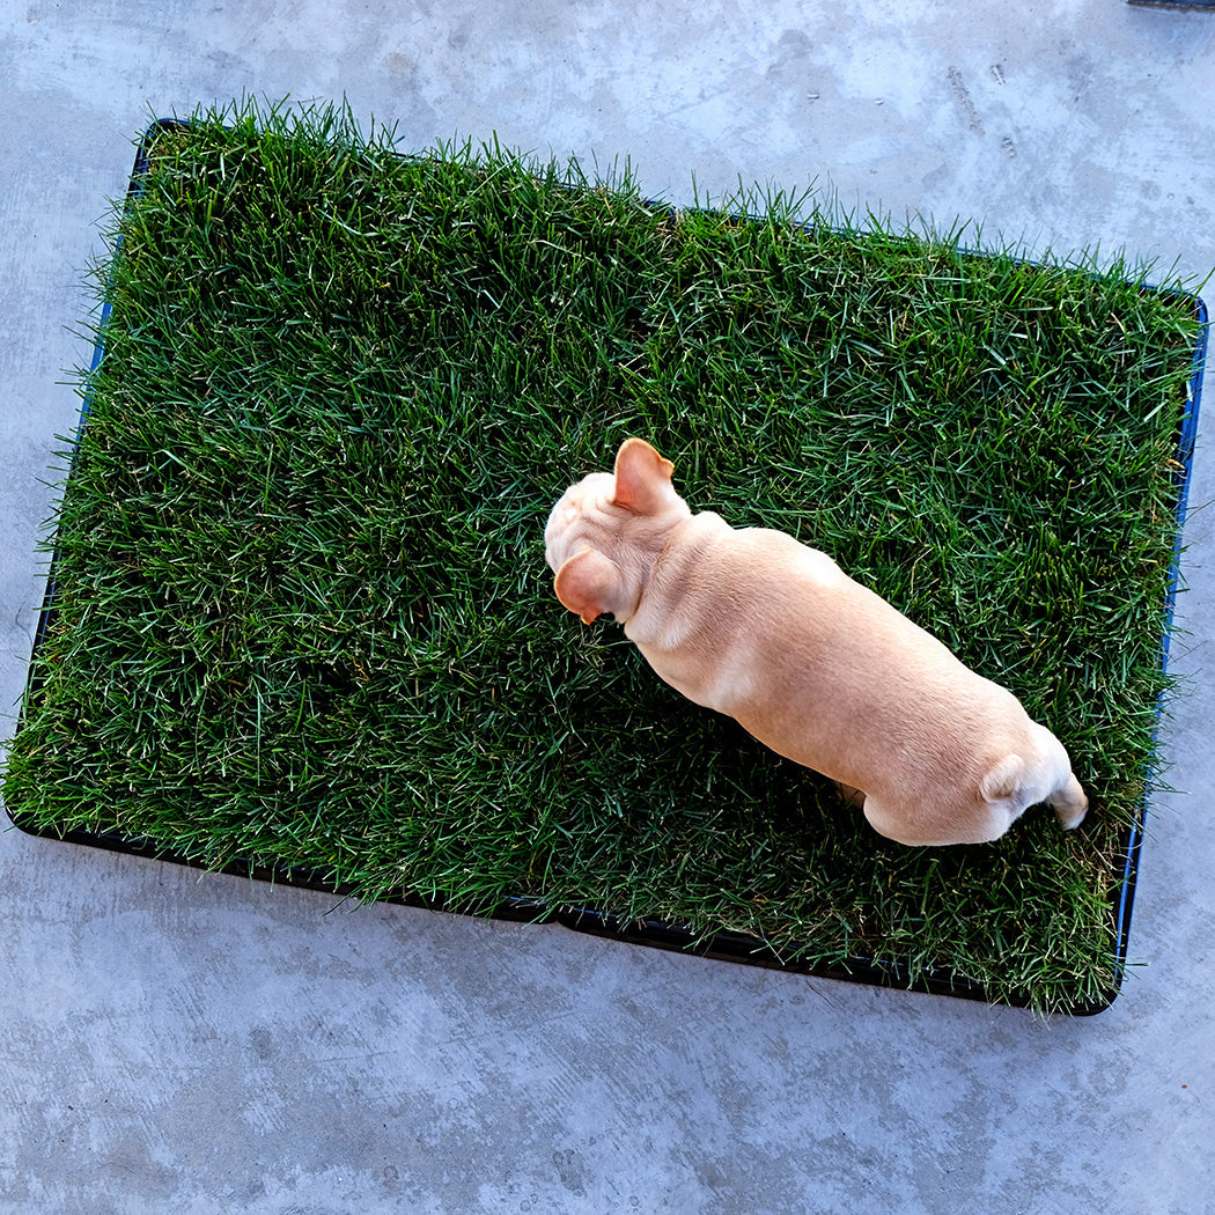
Artificial grass serves as the final touch in creating a comfortable and pet-friendly outdoor dog toilet. This synthetic turf provides a low-maintenance and visually appealing surface for your pet to use. Here’s how you can add artificial grass to your outdoor dog toilet:
Materials Needed:
- Artificial grass turf
- Utility knife
- Measuring tape
- Seaming tape (if applicable)
- Artificial grass adhesive
- Silica sand (optional, for infill)
Step 1: Measure and Cut the Artificial Grass
Measure the dimensions of the dog toilet area to determine the amount of artificial grass needed. Roll out the artificial grass and use a utility knife to trim it to the appropriate size, ensuring a precise fit within the designated space.
Step 2: Joining Multiple Sections (If Applicable)
If your dog toilet area requires multiple sections of artificial grass, use seaming tape and adhesive to securely join the pieces together. This creates a seamless and uniform surface for your pet to use.
Step 3: Secure the Artificial Grass
Once the artificial grass is in place, use artificial grass adhesive to secure it to the base, ensuring that it remains firmly in position. This adhesive provides stability and prevents the turf from shifting or moving during use.
Step 4: Optional Infill
If desired, you can add silica sand as an infill to the artificial grass. This infill enhances the stability and resilience of the turf, providing a more natural feel under your pet’s paws.
With the artificial grass in place, your outdoor dog toilet is now equipped with a comfortable and low-maintenance surface for your pet to use. The addition of artificial grass sets the stage for the final phase of this project: maintenance and cleaning.
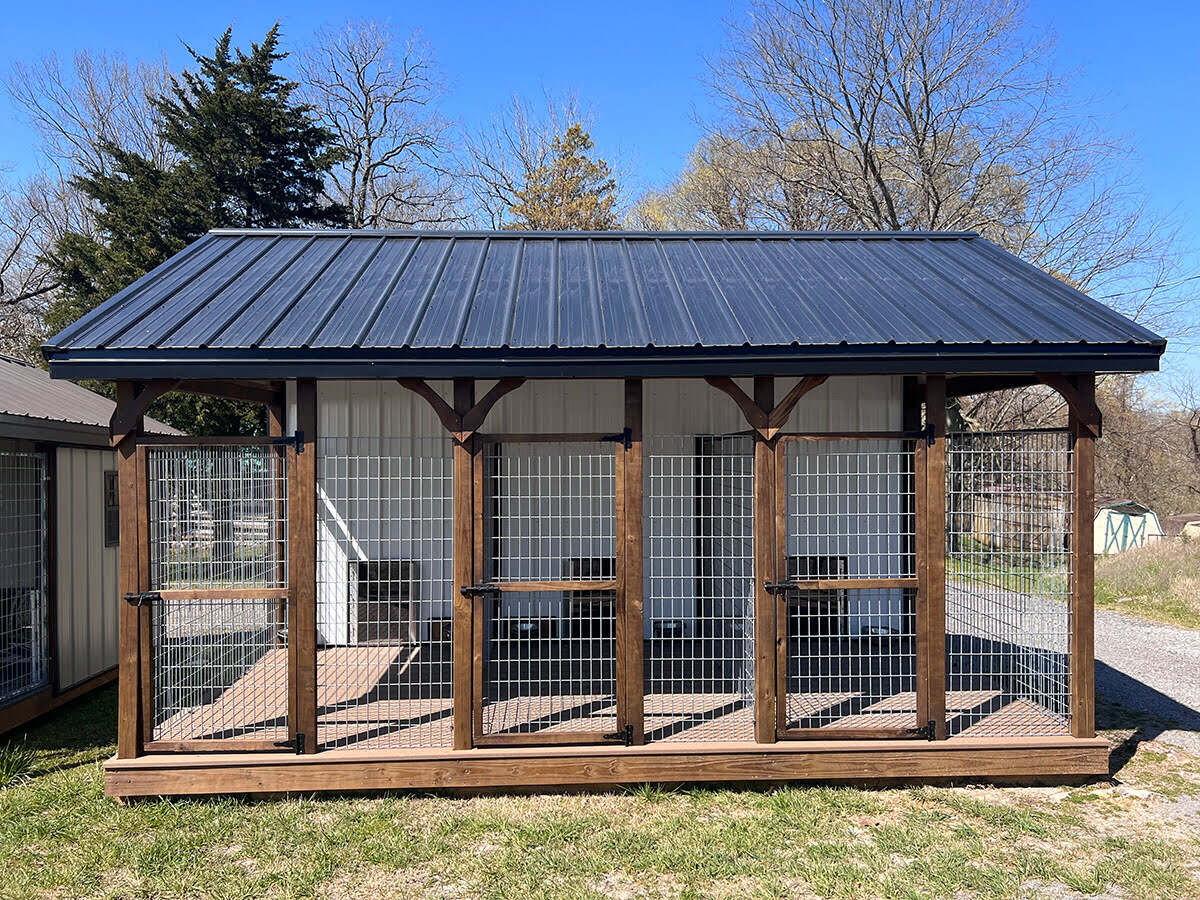
Read more: How To Winterize Outdoor Dog Kennel
Maintenance and Cleaning
Ensuring that your outdoor dog toilet remains clean, hygienic, and odor-free is essential for the well-being of your pet and the overall enjoyment of your outdoor space. Here are some key maintenance and cleaning practices to keep your dog toilet in top condition:
Regular Waste Removal
Consistently remove solid waste from the artificial grass surface. Use a pooper scooper or plastic bags to promptly dispose of any waste, maintaining a clean and inviting environment for your pet.
Surface Cleaning
Periodically clean the artificial grass surface with a mild detergent and water. Gently scrub the turf to remove any residual waste or debris, then rinse thoroughly to maintain freshness and cleanliness.
Drainage System Maintenance
Inspect the drainage system regularly to ensure that it remains free of obstructions. Clear any debris or buildup to maintain optimal drainage and prevent waterlogging in the dog toilet area.
Odor Control
Consider using pet-safe odor-neutralizing products to minimize any potential odors in the outdoor dog toilet. These products can help maintain a fresh and pleasant environment for both your pet and your outdoor space.
Artificial Grass Care
Brush the artificial grass periodically to prevent matting and maintain its natural appearance. This simple practice helps distribute infill (if used) and keeps the turf looking vibrant and well-groomed.
Regular Inspections
Conduct routine inspections of the entire outdoor dog toilet, including the base, drainage system, and artificial grass. Address any issues promptly to ensure that the space remains functional and comfortable for your pet.
By implementing these maintenance and cleaning practices, you can uphold the cleanliness and functionality of your outdoor dog toilet, providing a dedicated and inviting space for your pet to use. With proper care and attention, your outdoor dog toilet will continue to serve as a valuable addition to your outdoor living environment.
Conclusion
Congratulations on successfully creating an outdoor dog toilet for your beloved pet! By following the step-by-step process outlined in this guide, you’ve established a dedicated space that offers convenience, comfort, and cleanliness for both you and your furry companion. Your outdoor dog toilet provides a practical solution for pet waste management while enhancing the overall functionality of your outdoor living space.
Choosing the right location for the dog toilet sets the stage for a positive experience for your pet, ensuring accessibility, privacy, proper drainage, and minimal odors. Building a solid base and implementing an effective drainage system form the foundation of a functional and hygienic outdoor pet toilet. The addition of artificial grass provides a low-maintenance and visually appealing surface for your pet to use, while regular maintenance and cleaning practices uphold the cleanliness and freshness of the space.
As you continue to enjoy the benefits of your outdoor dog toilet, remember the importance of regular maintenance and inspections to ensure that the space remains inviting and functional. Your commitment to providing a comfortable and clean area for your pet reflects your dedication to their well-being and happiness.
With your outdoor dog toilet in place, you’ve created a valuable addition to your outdoor environment, promoting a harmonious coexistence between your pet’s needs and your outdoor living space. This project not only benefits your pet but also contributes to a more organized and enjoyable outdoor experience for you and your family.
Thank you for embarking on this rewarding journey of crafting an outdoor dog toilet. Your commitment to providing a designated and pet-friendly space for your pet is a testament to the love and care you have for your furry friend. Here’s to many happy and carefree moments in your thoughtfully designed outdoor dog toilet!
Frequently Asked Questions about How To Make An Outdoor Dog Toilet
Was this page helpful?
At Storables.com, we guarantee accurate and reliable information. Our content, validated by Expert Board Contributors, is crafted following stringent Editorial Policies. We're committed to providing you with well-researched, expert-backed insights for all your informational needs.

0 thoughts on “How To Make An Outdoor Dog Toilet”