Articles
How To Make Toilet Flush
Modified: October 20, 2024
Discover articles on how to make your toilet flush effectively and efficiently. Find tips, tricks, and expert advice for a smoother bathroom experience.
(Many of the links in this article redirect to a specific reviewed product. Your purchase of these products through affiliate links helps to generate commission for Storables.com, at no extra cost. Learn more)
Introduction
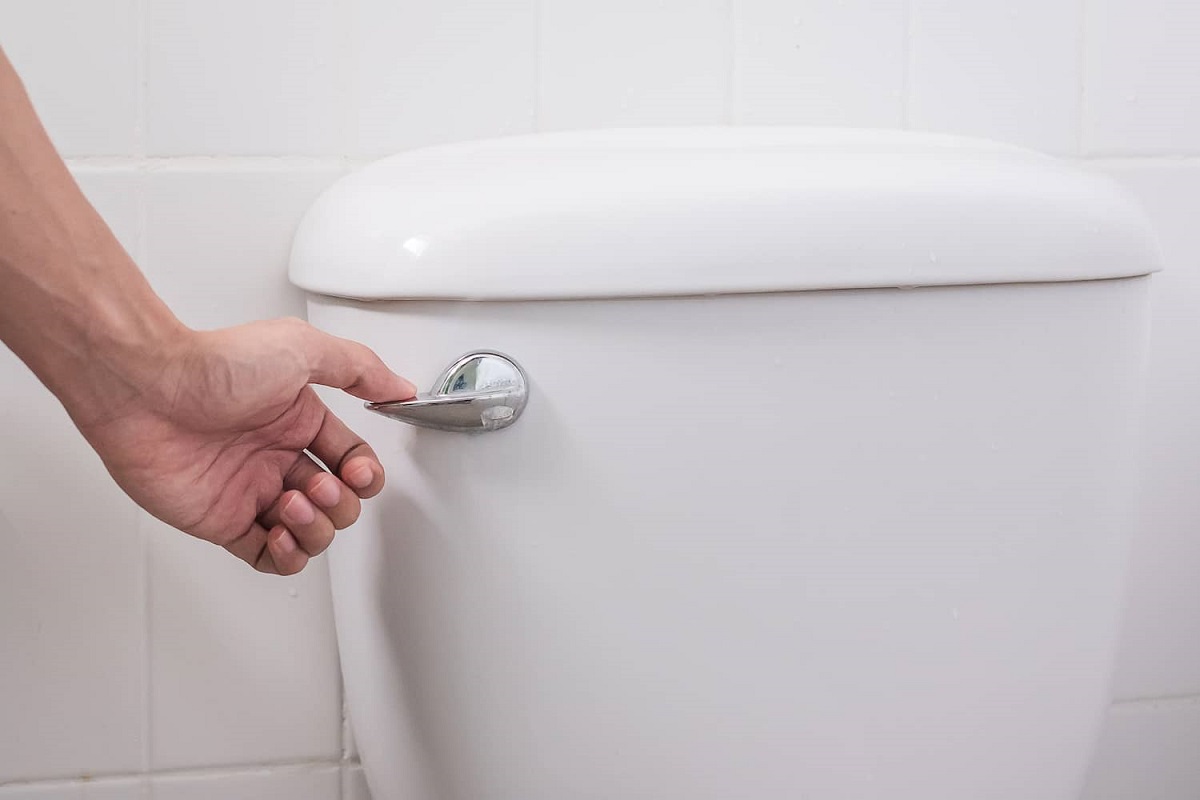
Having a properly functioning toilet is a necessity in any household. A toilet flush that doesn’t work properly can be frustrating and inconvenient. Fortunately, many common toilet flush issues can be resolved with a few simple steps. In this article, we will guide you through the process of making your toilet flush like new again.
Before we begin, it’s important to note that these steps are suitable for most standard toilets. However, if you have a specialized or complex flushing mechanism, it may be best to consult a professional plumber.
To tackle toilet flush issues, you will need some basic tools and supplies. Here’s a list of materials you’ll need:
- Adjustable wrench
- Screwdriver
- Bucket or towel
- Clean cloth or sponge
- Replacement flapper (if necessary)
- Tape measure (optional)
Now that we have the necessary materials ready, let’s dive into the steps to make your toilet flush smoothly and effectively.
Key Takeaways:
- Ensure a smooth flush by adjusting water levels, inspecting the flapper, and cleaning the flush valve. These simple steps can restore your toilet’s performance and save you from the frustration of a faulty flush.
- Regular maintenance, including adjusting the chain and replacing the flapper if necessary, can keep your toilet flushing efficiently. Don’t let common issues disrupt your daily routine – follow these steps for a hassle-free bathroom experience.
Read more: How To Make A Toilet Flush Better
Materials Needed
Before you begin, gather the following materials:
- Adjustable wrench: This will be used to tighten or loosen nuts and bolts.
- Screwdriver: You may need both a Phillips and a flathead screwdriver to remove screws or adjust components.
- Bucket or towel: Having a bucket or towel nearby will help catch any excess water that may splash or spill during the process.
- Clean cloth or sponge: You’ll need a cloth or sponge to wipe away any dirt or debris that may be affecting the flush.
- Replacement flapper (if necessary): If your flapper is damaged or worn out, you may need a new one to ensure a proper flush.
- Tape measure (optional): If you need to adjust the water level in the tank, a tape measure can be helpful to ensure accuracy.
Gathering these materials before you start will make the process smoother and more efficient.
Step 1: Check the Water Level
The water level in your toilet tank plays a crucial role in achieving a proper flush. If the water level is too low, it may not provide enough force to effectively flush away waste. On the other hand, if the water level is too high, it may cause the water to overflow during a flush. Follow these steps to check and adjust the water level:
- Remove the tank lid by gently lifting it off.
- Inspect the water level. It should be about an inch below the top of the overflow tube. If it is too low or too high, you will need to adjust it.
- If the water level is too low, locate the fill valve, usually located on the left side of the toilet tank. Rotate the adjustment screw clockwise to raise the water level. Check the water level again and continue adjusting until it reaches the recommended level.
- If the water level is too high, locate the adjustment screw and rotate it counterclockwise to lower the water level. Check the level again and make additional adjustments as needed.
- Once the water level is adjusted to the appropriate level, replace the tank lid by carefully aligning it and pressing it down until it locks into place.
Checking and adjusting the water level is an important first step to ensure a proper flush. Move on to the next step only after confirming that the water level is correctly set.
Step 2: Inspect the Flapper
The flapper is a rubber valve located at the bottom of the toilet tank. It is responsible for releasing water from the tank into the toilet bowl during a flush. Over time, the flapper can become worn out or misaligned, leading to a weak or incomplete flush. Follow these steps to inspect the flapper:
- Remove the tank lid and locate the flapper. It is usually connected to a chain that is attached to the flush handle.
- Visually inspect the flapper for any signs of damage or deterioration, such as cracks, warping, or discoloration. If you notice any of these issues, it may be necessary to replace the flapper.
- Ensure that the flapper is properly aligned and covering the flush valve opening. It should create a tight seal when closed.
- Flush the toilet and observe the flapper in action. It should lift up when you press the flush handle and then close firmly after the water has drained from the tank.
- If the flapper doesn’t close tightly or if it is not aligned properly, it may need adjustment or replacement.
A damaged or misaligned flapper can lead to water leakage and an inefficient flush. If you notice any issues with the flapper, move on to the next step to adjust or replace it as necessary.
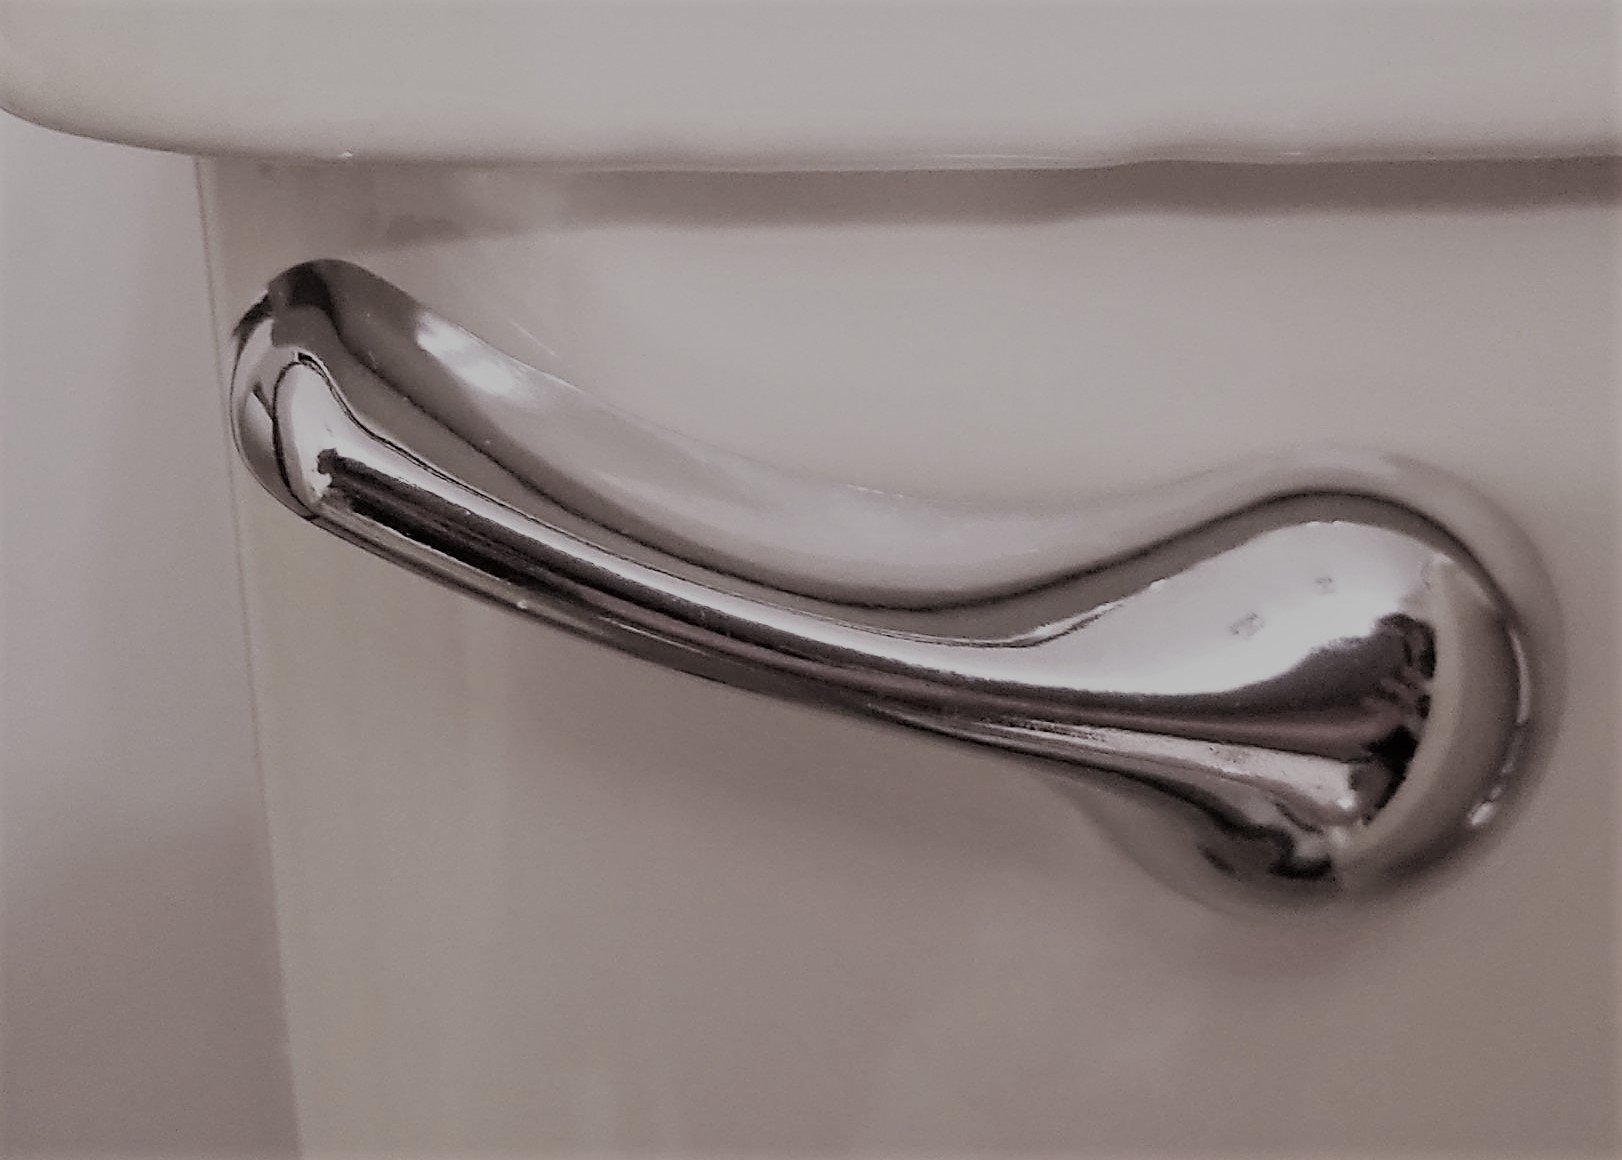
Step 3: Adjust the Chain
The chain connected to the flapper is responsible for lifting it when you press the flush handle. If the chain is too loose or too tight, it can affect the flapper’s performance and lead to a weak or inconsistent flush. Follow these steps to adjust the chain:
- Remove the tank lid and locate the chain attached to the flapper.
- Observe the chain and check its length. It should have a slight bit of slack, allowing the flapper to fully close without being pulled too tightly.
- If the chain is too long, it can get caught under the flapper or interfere with its proper closure. In this case, you will need to adjust the chain to make it shorter.
- If the chain is too short, it can keep the flapper from closing fully and result in a continuous water leak. In this case, you will need to adjust the chain to make it longer.
- To adjust the chain length, use a pair of pliers to open or close the chain links as needed. Test the flush after each adjustment to ensure that the chain allows the flapper to lift and close smoothly.
- Make minor adjustments as necessary until the chain length is optimal, allowing for a proper flush.
By properly adjusting the chain, you can ensure that the flapper operates smoothly and provides a consistent flush each time you use the toilet.
Check the water level in the tank – it should be about an inch below the overflow tube. If it’s too low, adjust the float valve to allow more water in. If it’s too high, adjust the float to lower the water level.
Read more: How To Manually Flush A Toilet
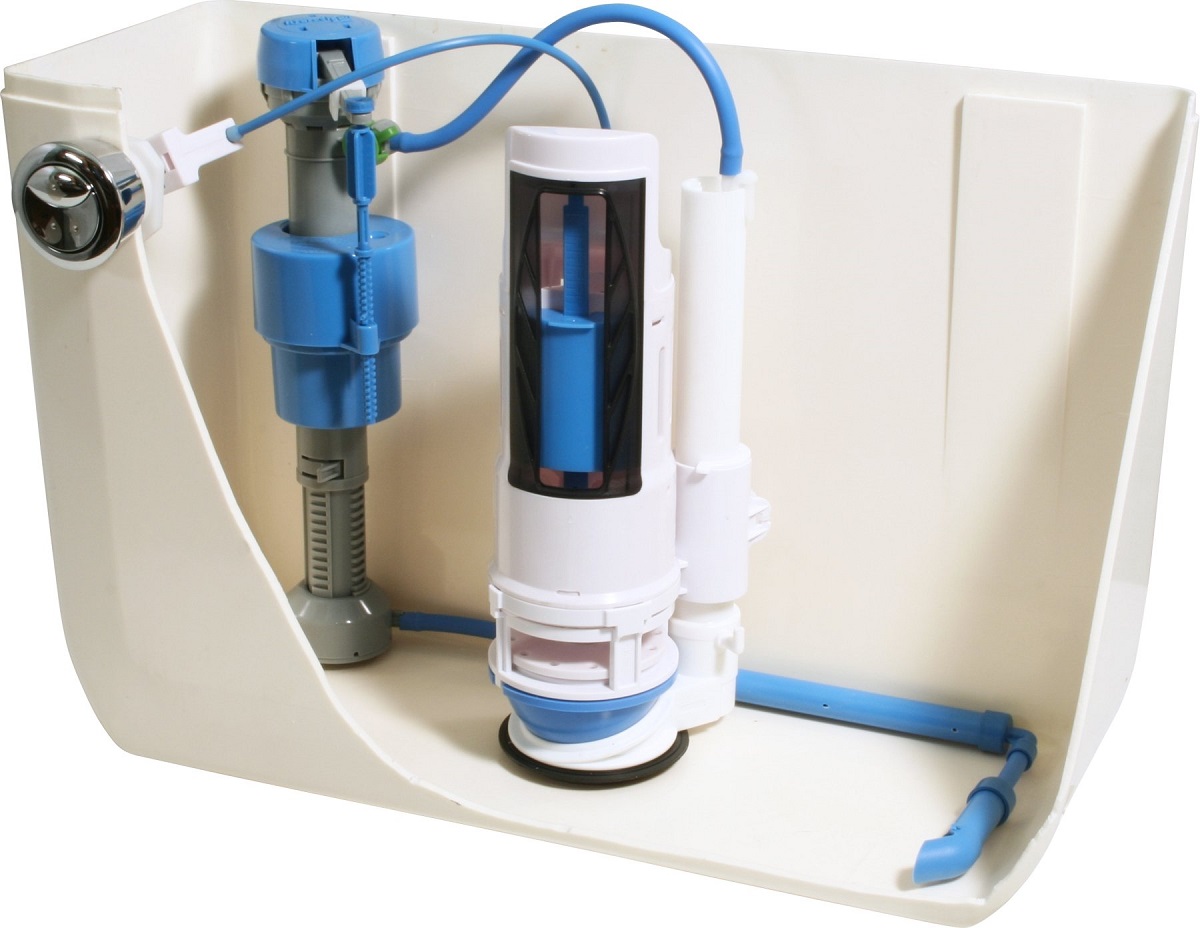
Step 4: Clean the Flush Valve
The flush valve is responsible for releasing water from the toilet tank into the bowl during a flush. Over time, mineral deposits, debris, and sediment can accumulate on the flush valve, affecting its performance and causing a weak or incomplete flush. Follow these steps to clean the flush valve:
- Shut off the water supply to the toilet by turning the shut-off valve clockwise.
- Flush the toilet to drain as much water as possible from the tank.
- Take a clean cloth or sponge and wipe away any visible debris or deposits from the surface of the flush valve, including the sealing edges and surrounding area. Pay particular attention to removing any build-up that may be hindering the valve’s proper function.
- If the mineral deposits are stubborn and do not easily come off with a cloth, you can use a vinegar solution. Mix equal parts of white vinegar and water in a spray bottle. Spray the solution onto the flush valve and let it sit for a few minutes to dissolve the deposits. Then, scrub gently with a brush or sponge to remove the buildup.
- Rinse the flush valve thoroughly with clean water to remove any residual vinegar or debris.
- Turn on the water supply to the toilet by turning the shut-off valve counterclockwise. Allow the tank to fill up.
- Flush the toilet a few times to ensure that the flush valve is operating smoothly and efficiently.
Cleaning the flush valve regularly can help maintain its proper function and ensure a strong and effective flush. Move on to the next step if you are still experiencing issues with your toilet flush.
Step 5: Adjust the Water Level
The water level in the toilet tank directly affects the flushing power and efficiency. If the water level is too low, it can result in a weak flush. Conversely, if the water level is too high, it may cause water to constantly flow into the overflow pipe. Follow these steps to adjust the water level:
- Remove the toilet tank lid.
- Locate the fill valve, which is usually on the left side of the tank.
- Identify the water level mark on the inside of the tank. This mark indicates the optimal water level.
- If the water level is below the mark, adjust it by turning the adjustment screw or rod. Turning it clockwise will increase the water level, while turning it counterclockwise will decrease it.
- Make small adjustments at a time and flush the toilet to check the water level. Continue adjusting until the water level reaches the marked line.
- Replace the tank lid and make sure it is properly aligned and securely in place.
Keep in mind that the manufacturer’s recommended water level may vary. Refer to the toilet’s user manual if you are unsure of the ideal water level for your specific model.
Adjusting the water level ensures an adequate amount of water is present for a powerful flush, promoting optimal toilet performance.
Step 6: Replace the Flapper (If Necessary)
If you have inspected the flapper in Step 2 and found it to be damaged, worn out, or not functioning properly, it may be necessary to replace it. A faulty flapper can lead to water leakage and an inadequate flush. Follow these steps to replace the flapper:
- Shut off the water supply to the toilet by turning the shut-off valve clockwise.
- Flush the toilet to drain as much water as possible from the tank.
- Remove the old flapper. Depending on the type of flapper, you may need to disconnect it from the chain or unclip it from the flush valve.
- Take the new flapper and follow the manufacturer’s instructions for installation. This usually involves attaching it to the chain or inserting it onto the flush valve.
- Ensure the flapper is properly aligned and covers the flush valve opening when in the closed position.
- Turn on the water supply to the toilet by turning the shut-off valve counterclockwise.
- Allow the tank to fill up. Check for any leaks around the flapper or flush valve.
- Flush the toilet to test the new flapper’s performance. Make sure it opens and closes smoothly and provides a complete flush.
Replacing a damaged or malfunctioning flapper is essential to restore proper flushing function. If the flapper replacement does not resolve the flush issues, proceed to the next step to troubleshoot further.
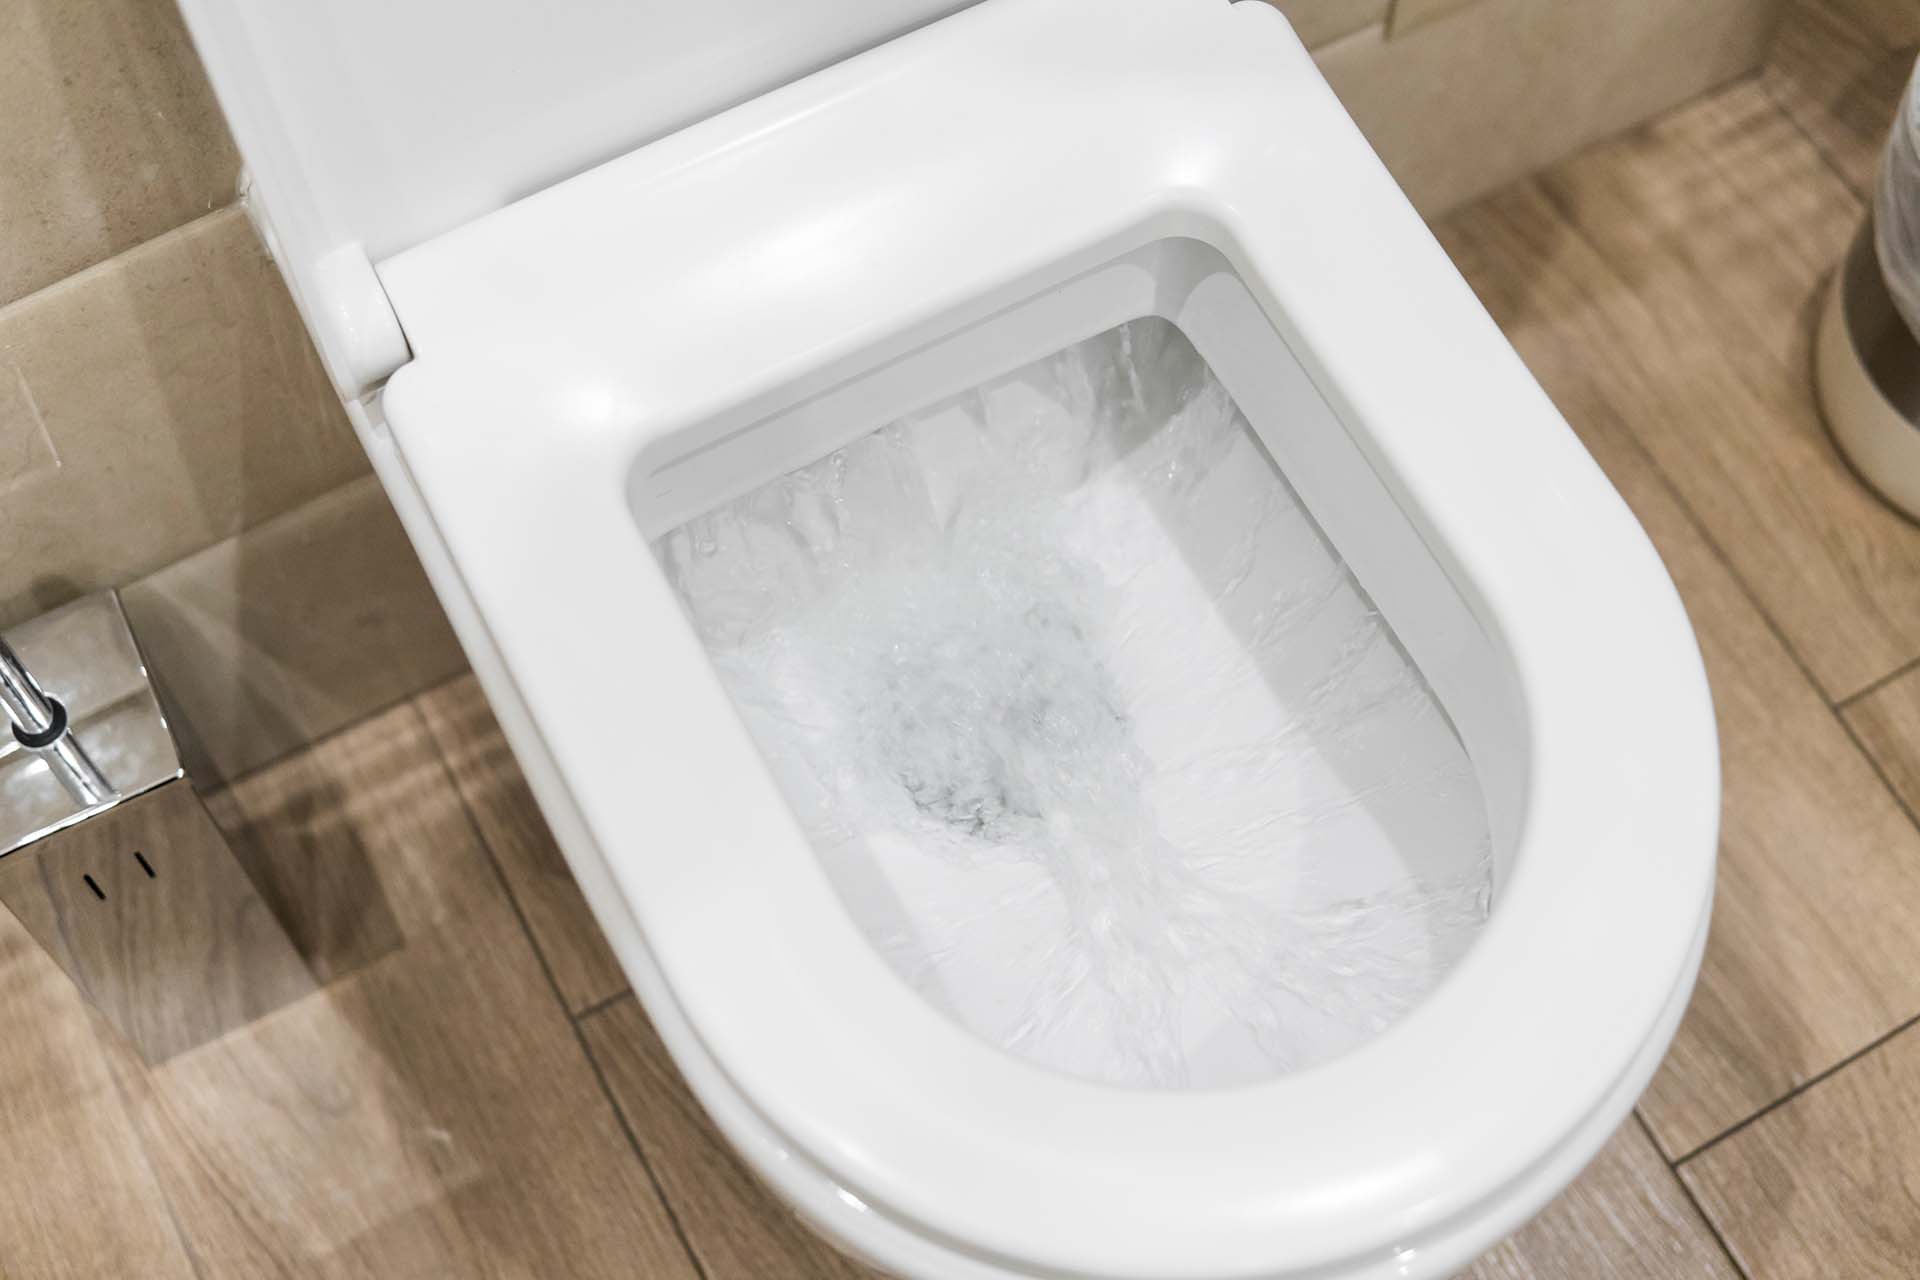
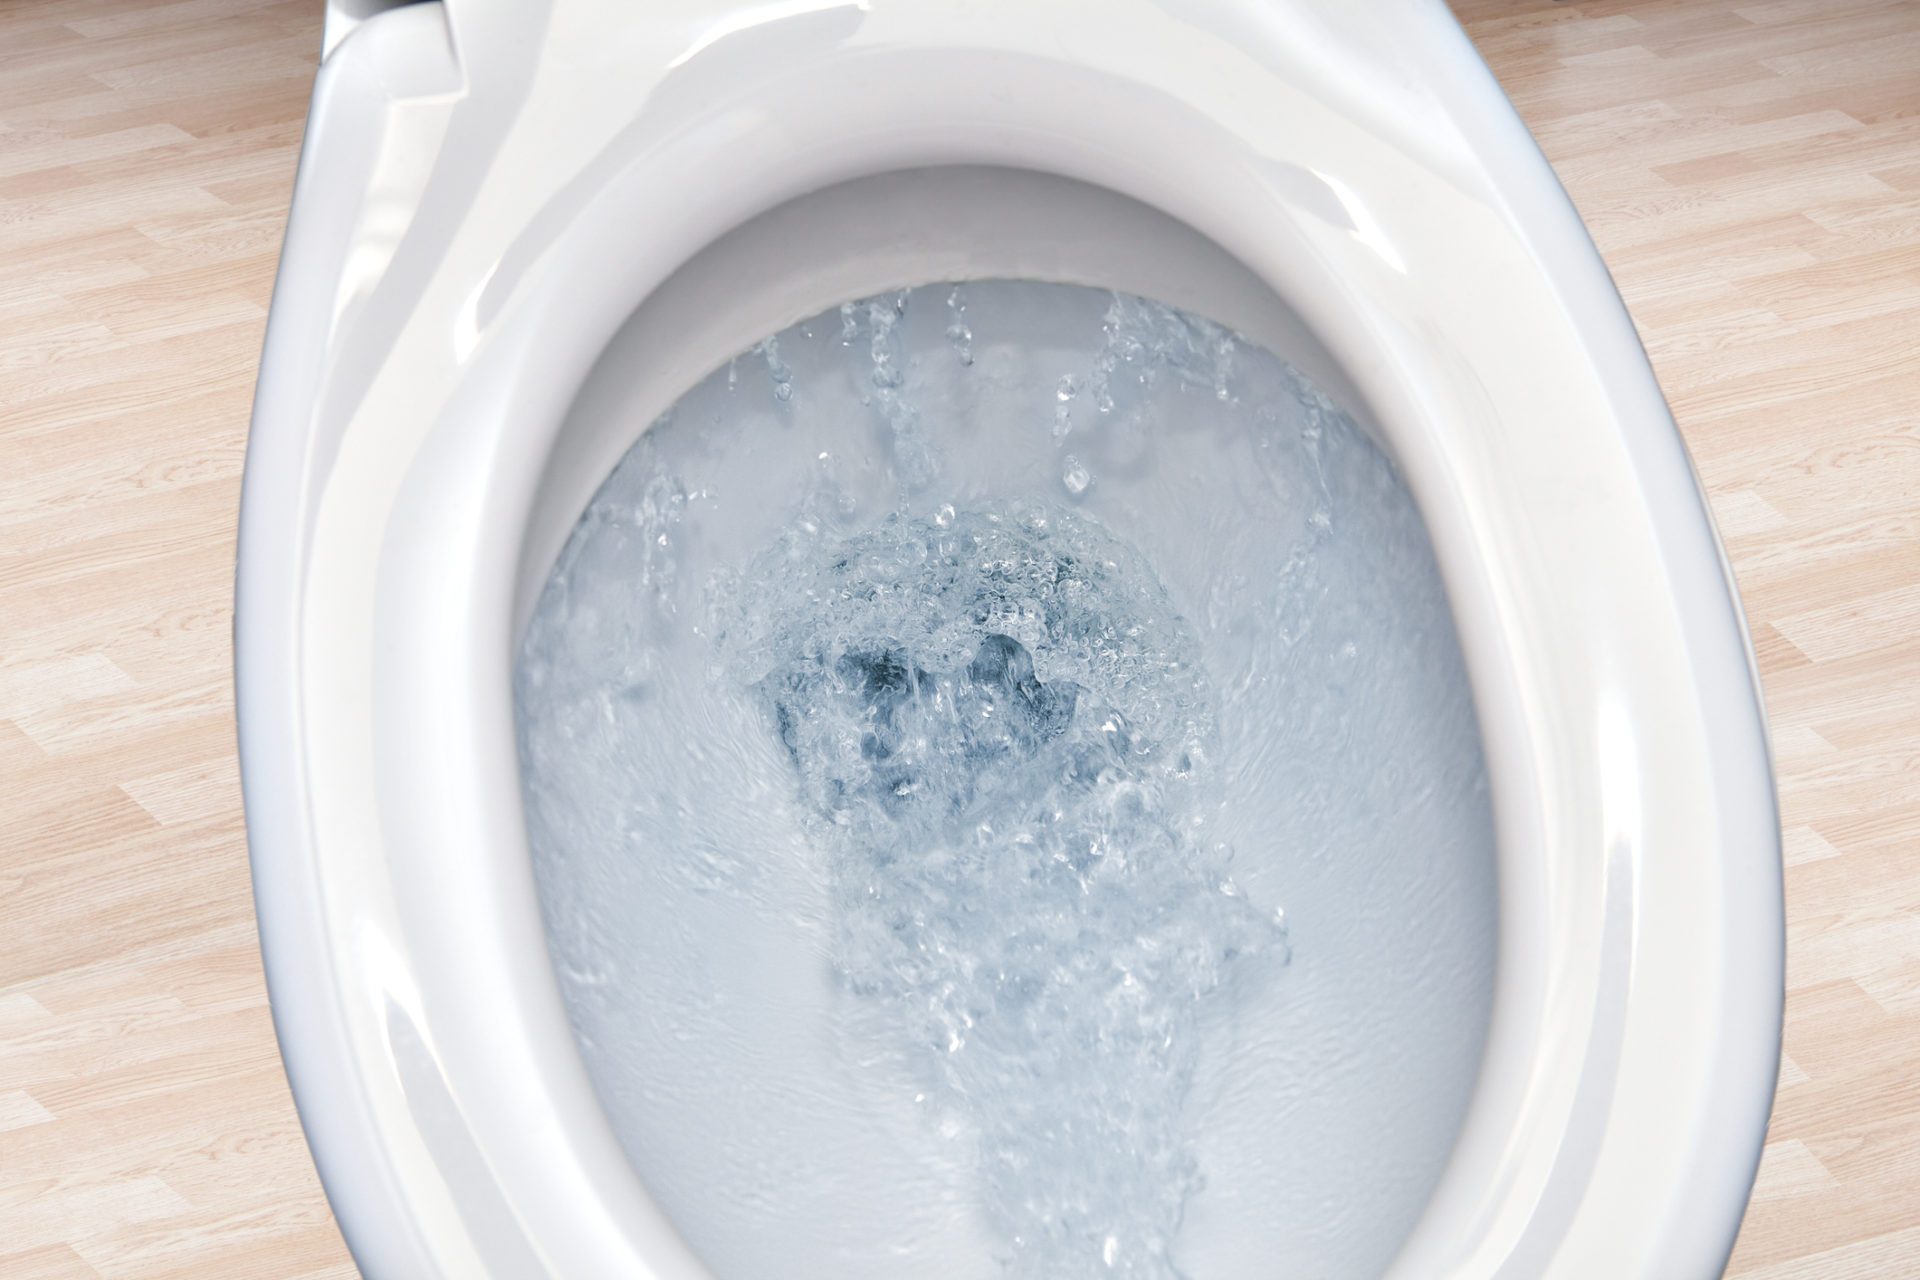
Step 7: Test the Flush
After completing the previous steps to address any potential issues with the toilet flush, it’s time to test the effectiveness of your efforts. Follow these steps to test the flush:
- Ensure the tank has filled up completely after adjusting the water level, replacing the flapper, or making any other changes.
- Take a small amount of toilet paper and place it in the toilet bowl.
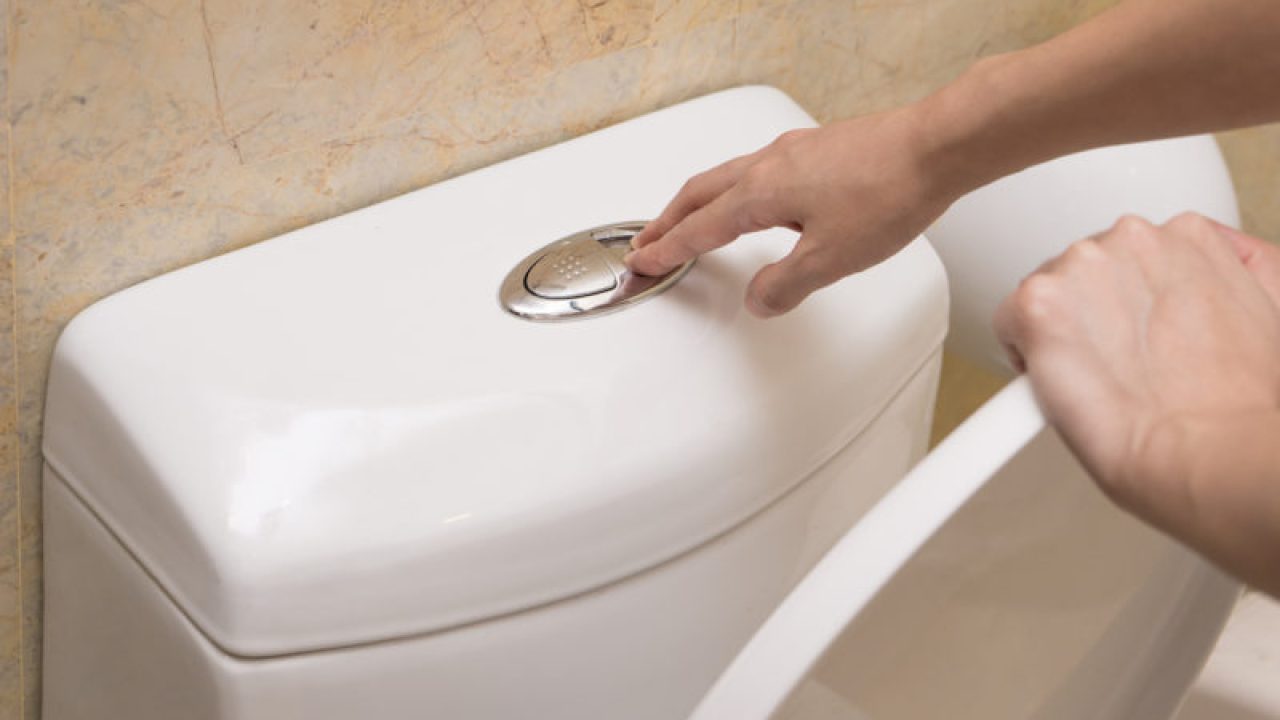
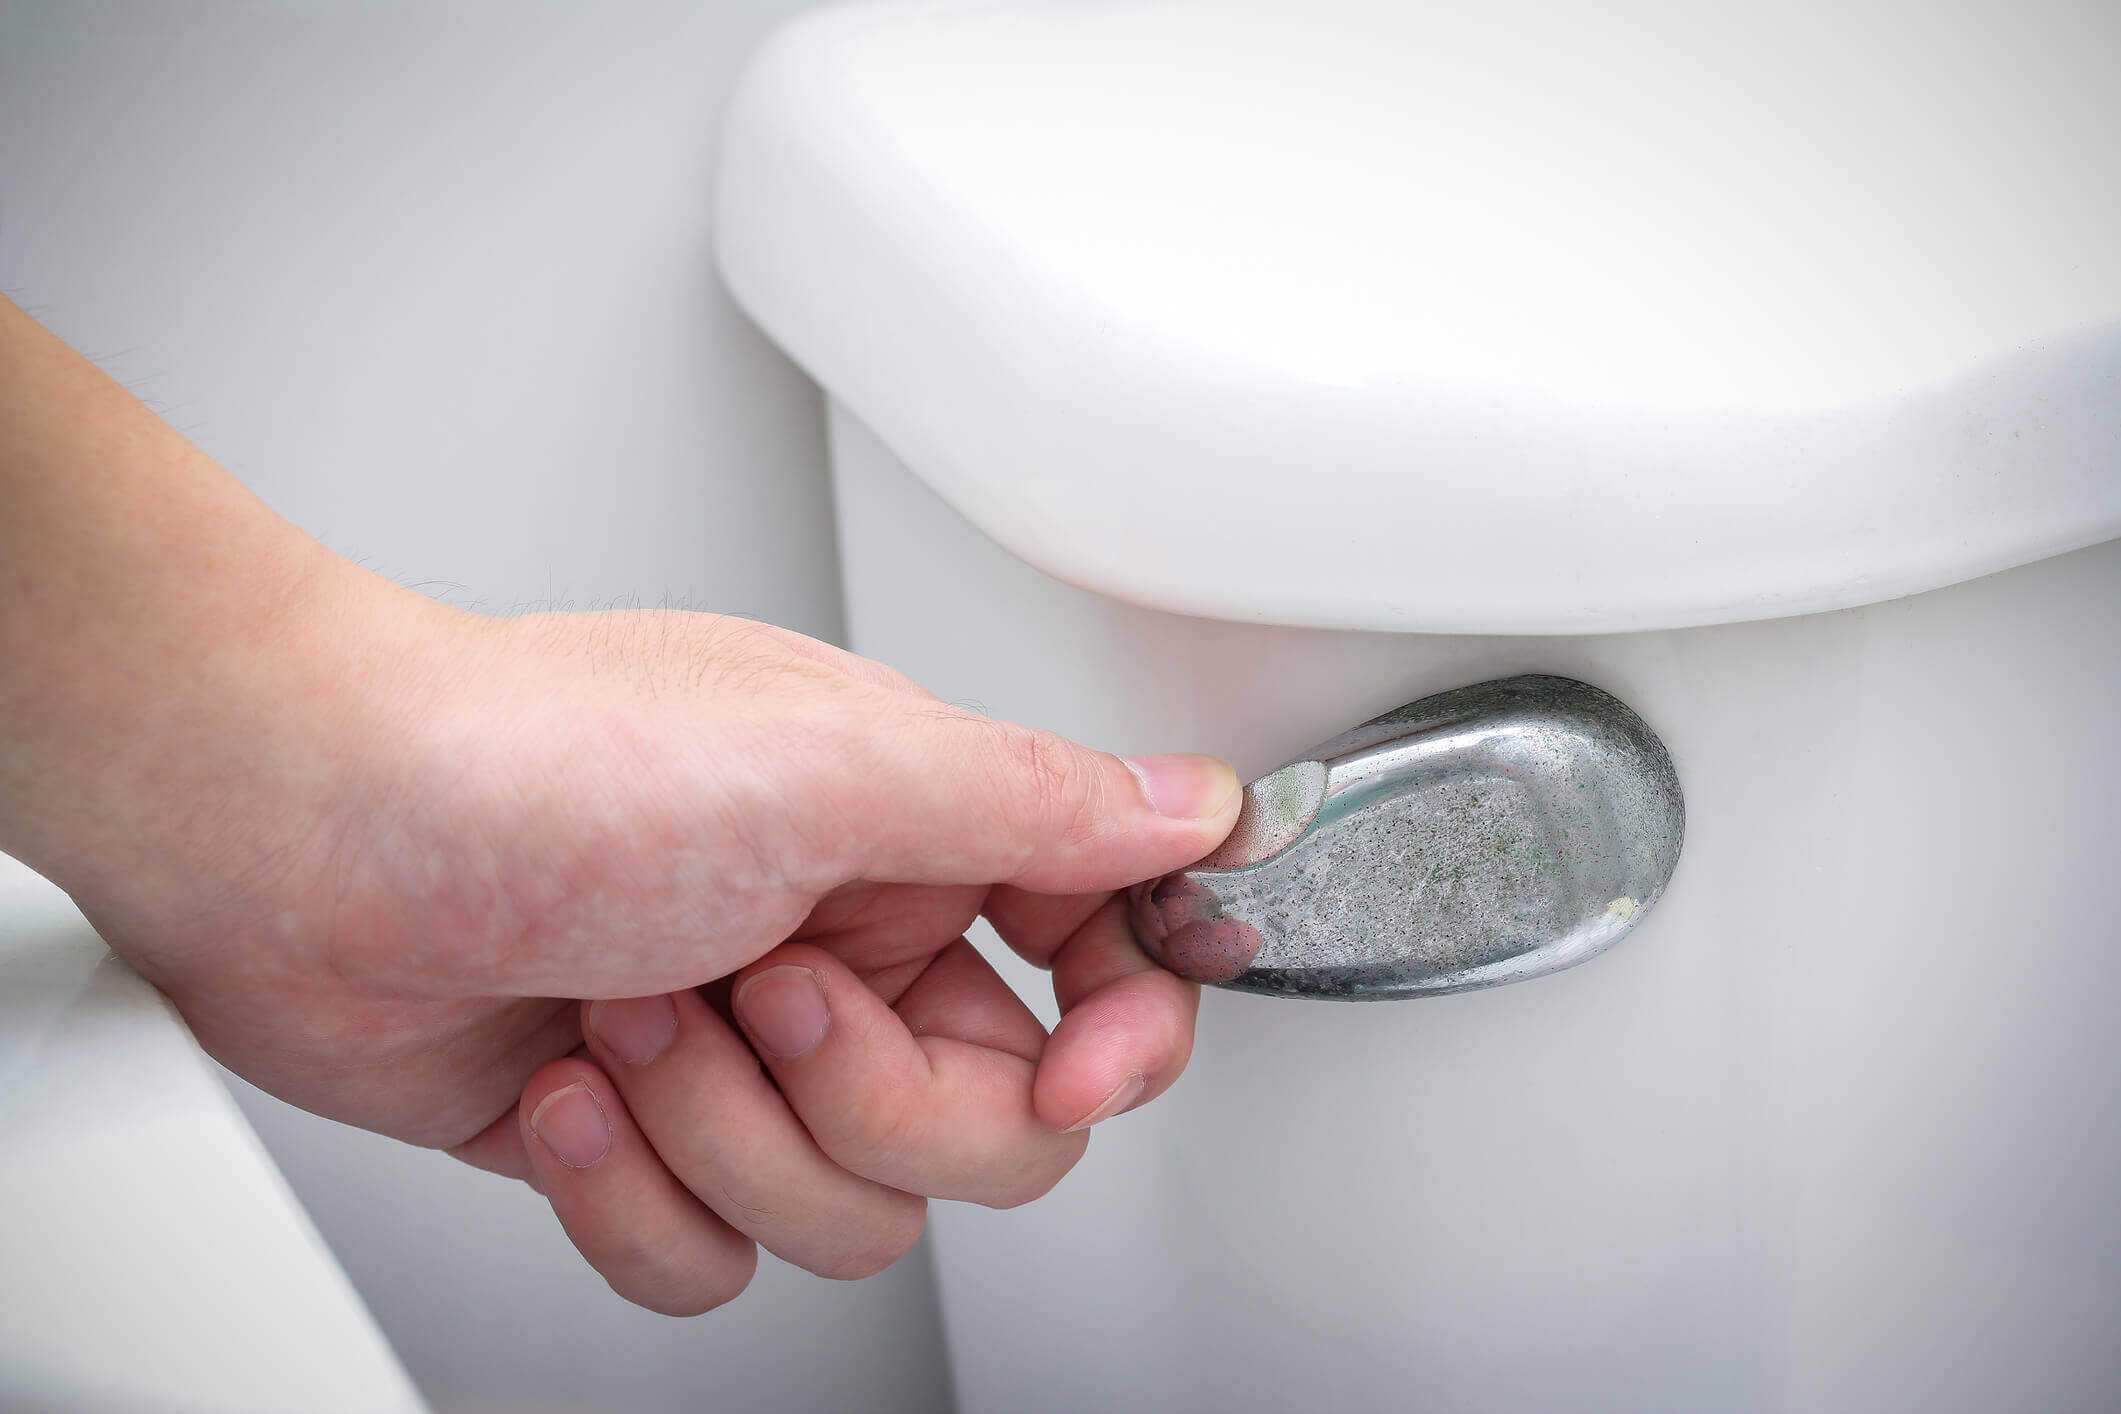
- Press the flush handle and observe the flushing process.
- Check to see if the toilet paper is flushed away completely. The water level in the bowl should drop significantly, and the toilet should flush with enough force to clear away the toilet paper without leaving residue behind.
- If the flush is strong and efficient, congratulations! You have successfully resolved the toilet flush issues.
- If the flush is still weak or incomplete, double-check the previous steps to ensure everything has been properly adjusted and installed. Revisit any steps that may require additional attention or consider seeking professional assistance.
By thoroughly testing the flush, you can ensure that your efforts to improve the toilet’s performance have been successful. If the flush is still unsatisfactory, don’t hesitate to explore further options or consult a professional plumber for assistance.
Read more: How Toilet Flush Works
Conclusion
Having a properly functioning toilet flush is essential for a comfortable and convenient daily routine. By following the steps outlined in this guide, you can address common issues that may be affecting the flush and restore your toilet’s performance.
We began by checking and adjusting the water level, as an incorrect water level can lead to weak or overflowing flushes. We then inspected the flapper to ensure it was in good condition and properly aligned. Adjusting the chain was the next step, as a loose or tight chain can affect the flapper’s operation. Cleaning the flush valve helped remove any mineral deposits or debris that may impede the flush. Adjusting the water level was important to ensure an adequate amount of water is present for a powerful flush. If necessary, we replaced the flapper to address any significant damage or malfunction. Finally, we tested the flush to ensure that the toilet is now functioning optimally.
Remember, these steps are suitable for most standard toilets. However, if you have a specialized or complex flushing mechanism, it may be best to consult a professional plumber to avoid any further complications.
By taking the time to troubleshoot and resolve toilet flush issues, you can enhance the efficiency, effectiveness, and overall satisfaction of your bathroom experience. Don’t let a faulty flush cause inconvenience – tackle the problem head-on and enjoy the benefits of a fully functional toilet.
Frequently Asked Questions about How To Make Toilet Flush
Was this page helpful?
At Storables.com, we guarantee accurate and reliable information. Our content, validated by Expert Board Contributors, is crafted following stringent Editorial Policies. We're committed to providing you with well-researched, expert-backed insights for all your informational needs.

0 thoughts on “How To Make Toilet Flush”