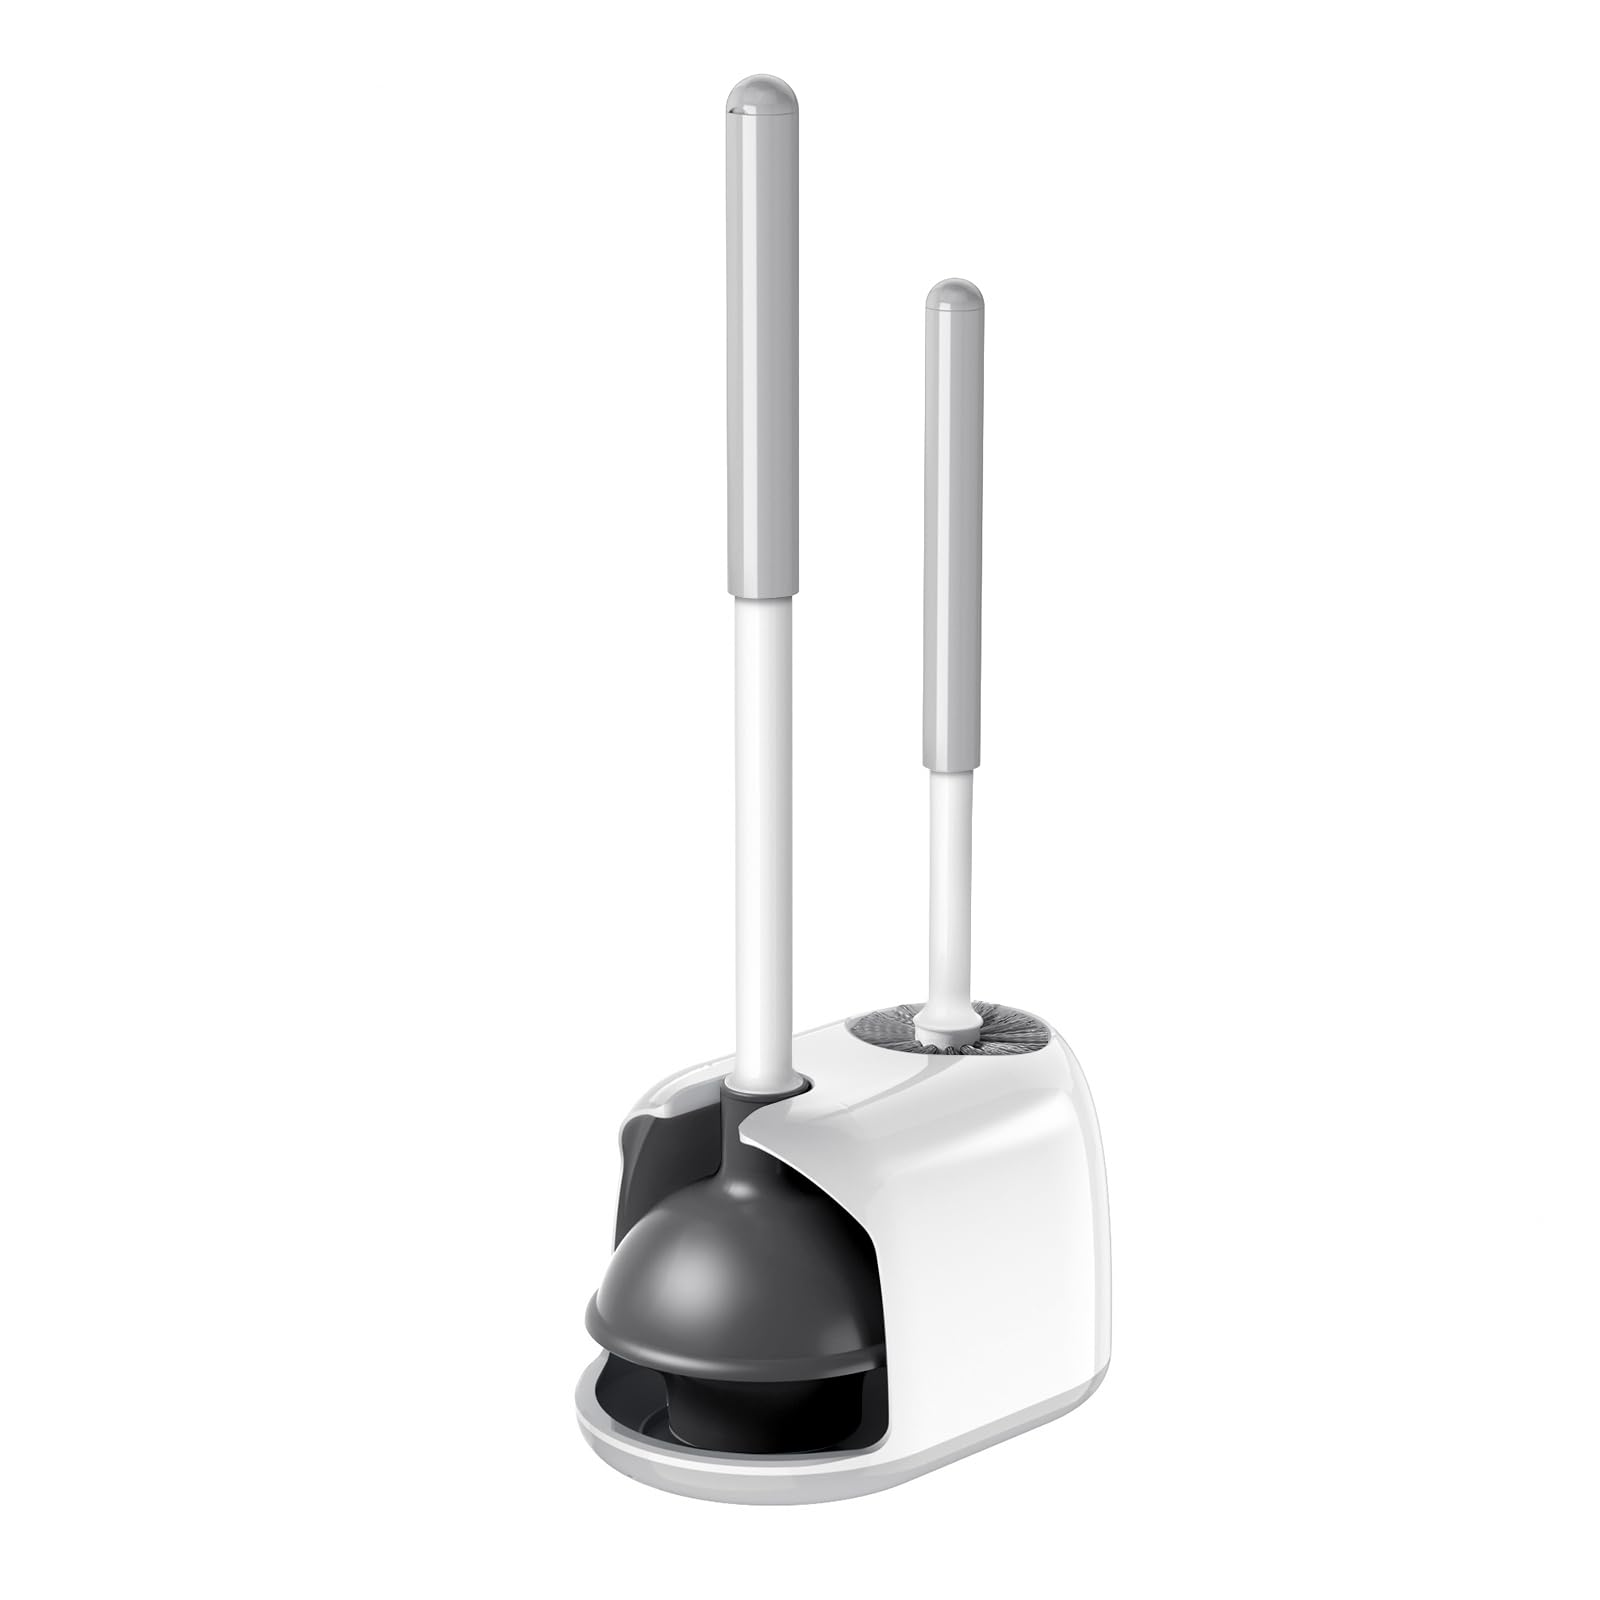
Home>Furniture & Design>Bathroom Accessories>How To Make A Plunger For A Toilet
Bathroom Accessories
How To Make A Plunger For A Toilet
Modified: October 19, 2024
Learn how to make a DIY plunger for your toilet using common bathroom accessories. Save money and solve your plumbing problems with this simple solution.
(Many of the links in this article redirect to a specific reviewed product. Your purchase of these products through affiliate links helps to generate commission for Storables.com, at no extra cost. Learn more)
Introduction
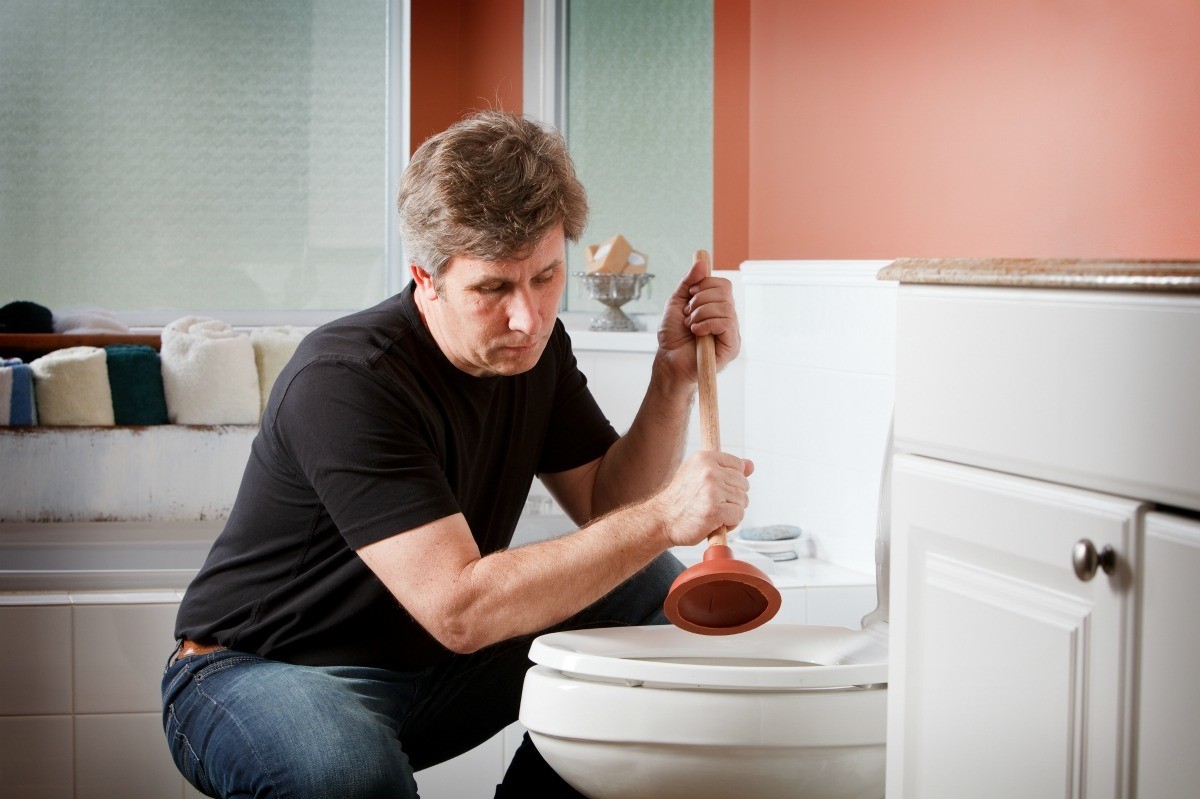
When faced with a clogged toilet, having a plunger on hand can be a lifesaver. However, what if you find yourself in need of a plunger but don't have one readily available? Fear not, for with a few simple materials and a bit of creativity, you can craft your own makeshift plunger to tackle the task at hand. In this guide, we will walk through the process of creating a DIY plunger for a toilet, using common household items. By following these steps, you can quickly and easily fashion a functional tool that can help you resolve a clogged toilet without the need for a store-bought plunger.
Creating your own plunger not only provides a practical solution in a pinch but also offers a sense of resourcefulness and self-sufficiency. Whether you're in a situation where a traditional plunger is unavailable or you simply enjoy the satisfaction of crafting your own tools, this DIY project is a valuable skill to have in your repertoire. With a bit of ingenuity and the right materials, you can fashion a homemade plunger that is effective, efficient, and environmentally friendly.
Now, let's gather the necessary materials and embark on the journey of crafting a DIY plunger that can come to the rescue when a clogged toilet threatens to disrupt your day.
Key Takeaways:
- Craft your own DIY plunger using a wooden handle, rubber ball, and adhesive. It’s a fun and resourceful way to unclog toilets without relying on store-bought plungers.
- Repurpose household items to create a sustainable and effective tool for unclogging toilets. Embrace creativity and self-sufficiency in solving common household challenges.
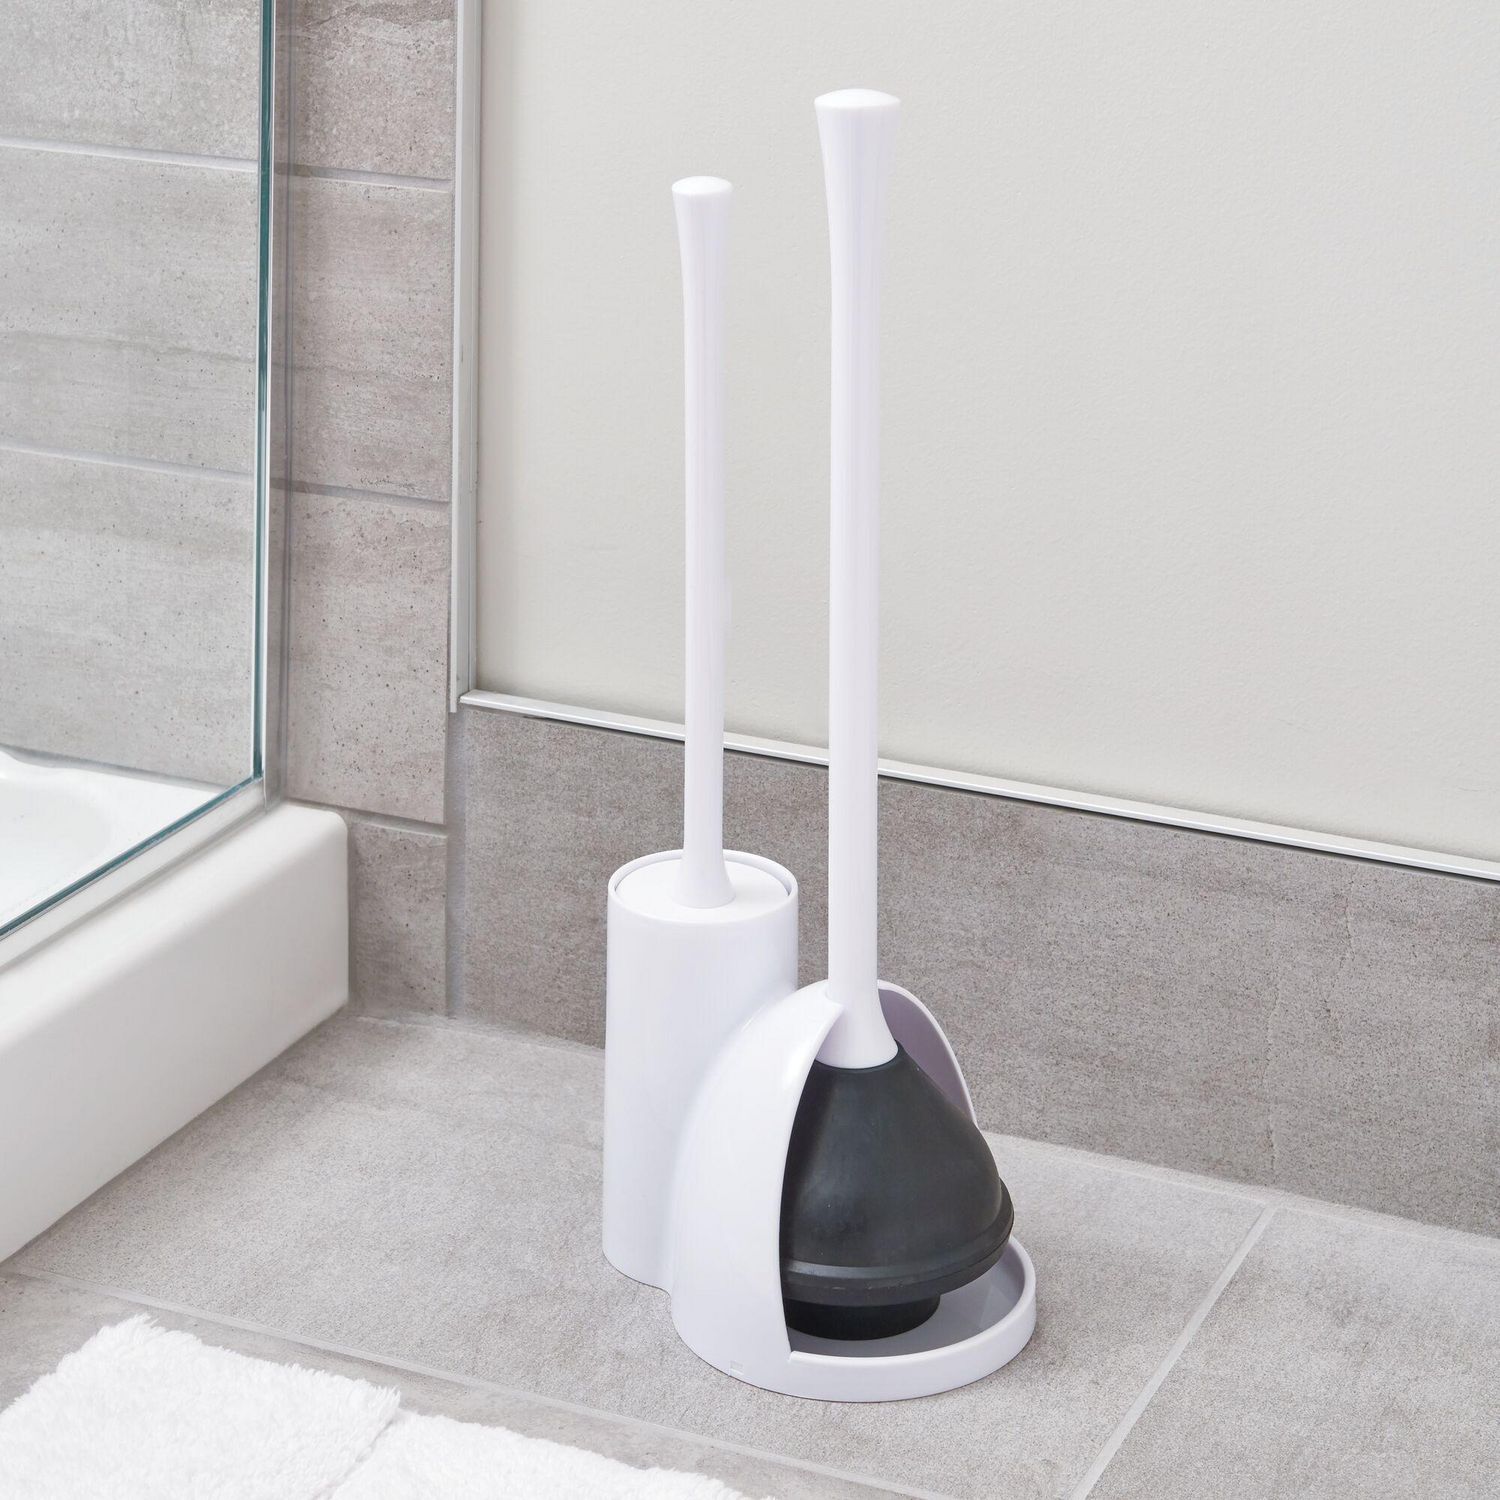
Read more: How To Store A Toilet Plunger
Materials Needed
To embark on the endeavor of creating a DIY plunger for a toilet, you will need a few basic materials that are commonly found around the house. These items are easily accessible and can be repurposed to serve the purpose of crafting a makeshift plunger. Here's what you'll need:
-
Wooden Handle: The foundation of your DIY plunger will be a sturdy wooden handle. This can be sourced from a broom, mop, or any similar household item that features a long, straight wooden handle. The handle should be of a length that allows for a comfortable grip and provides ample leverage when using the plunger.
-
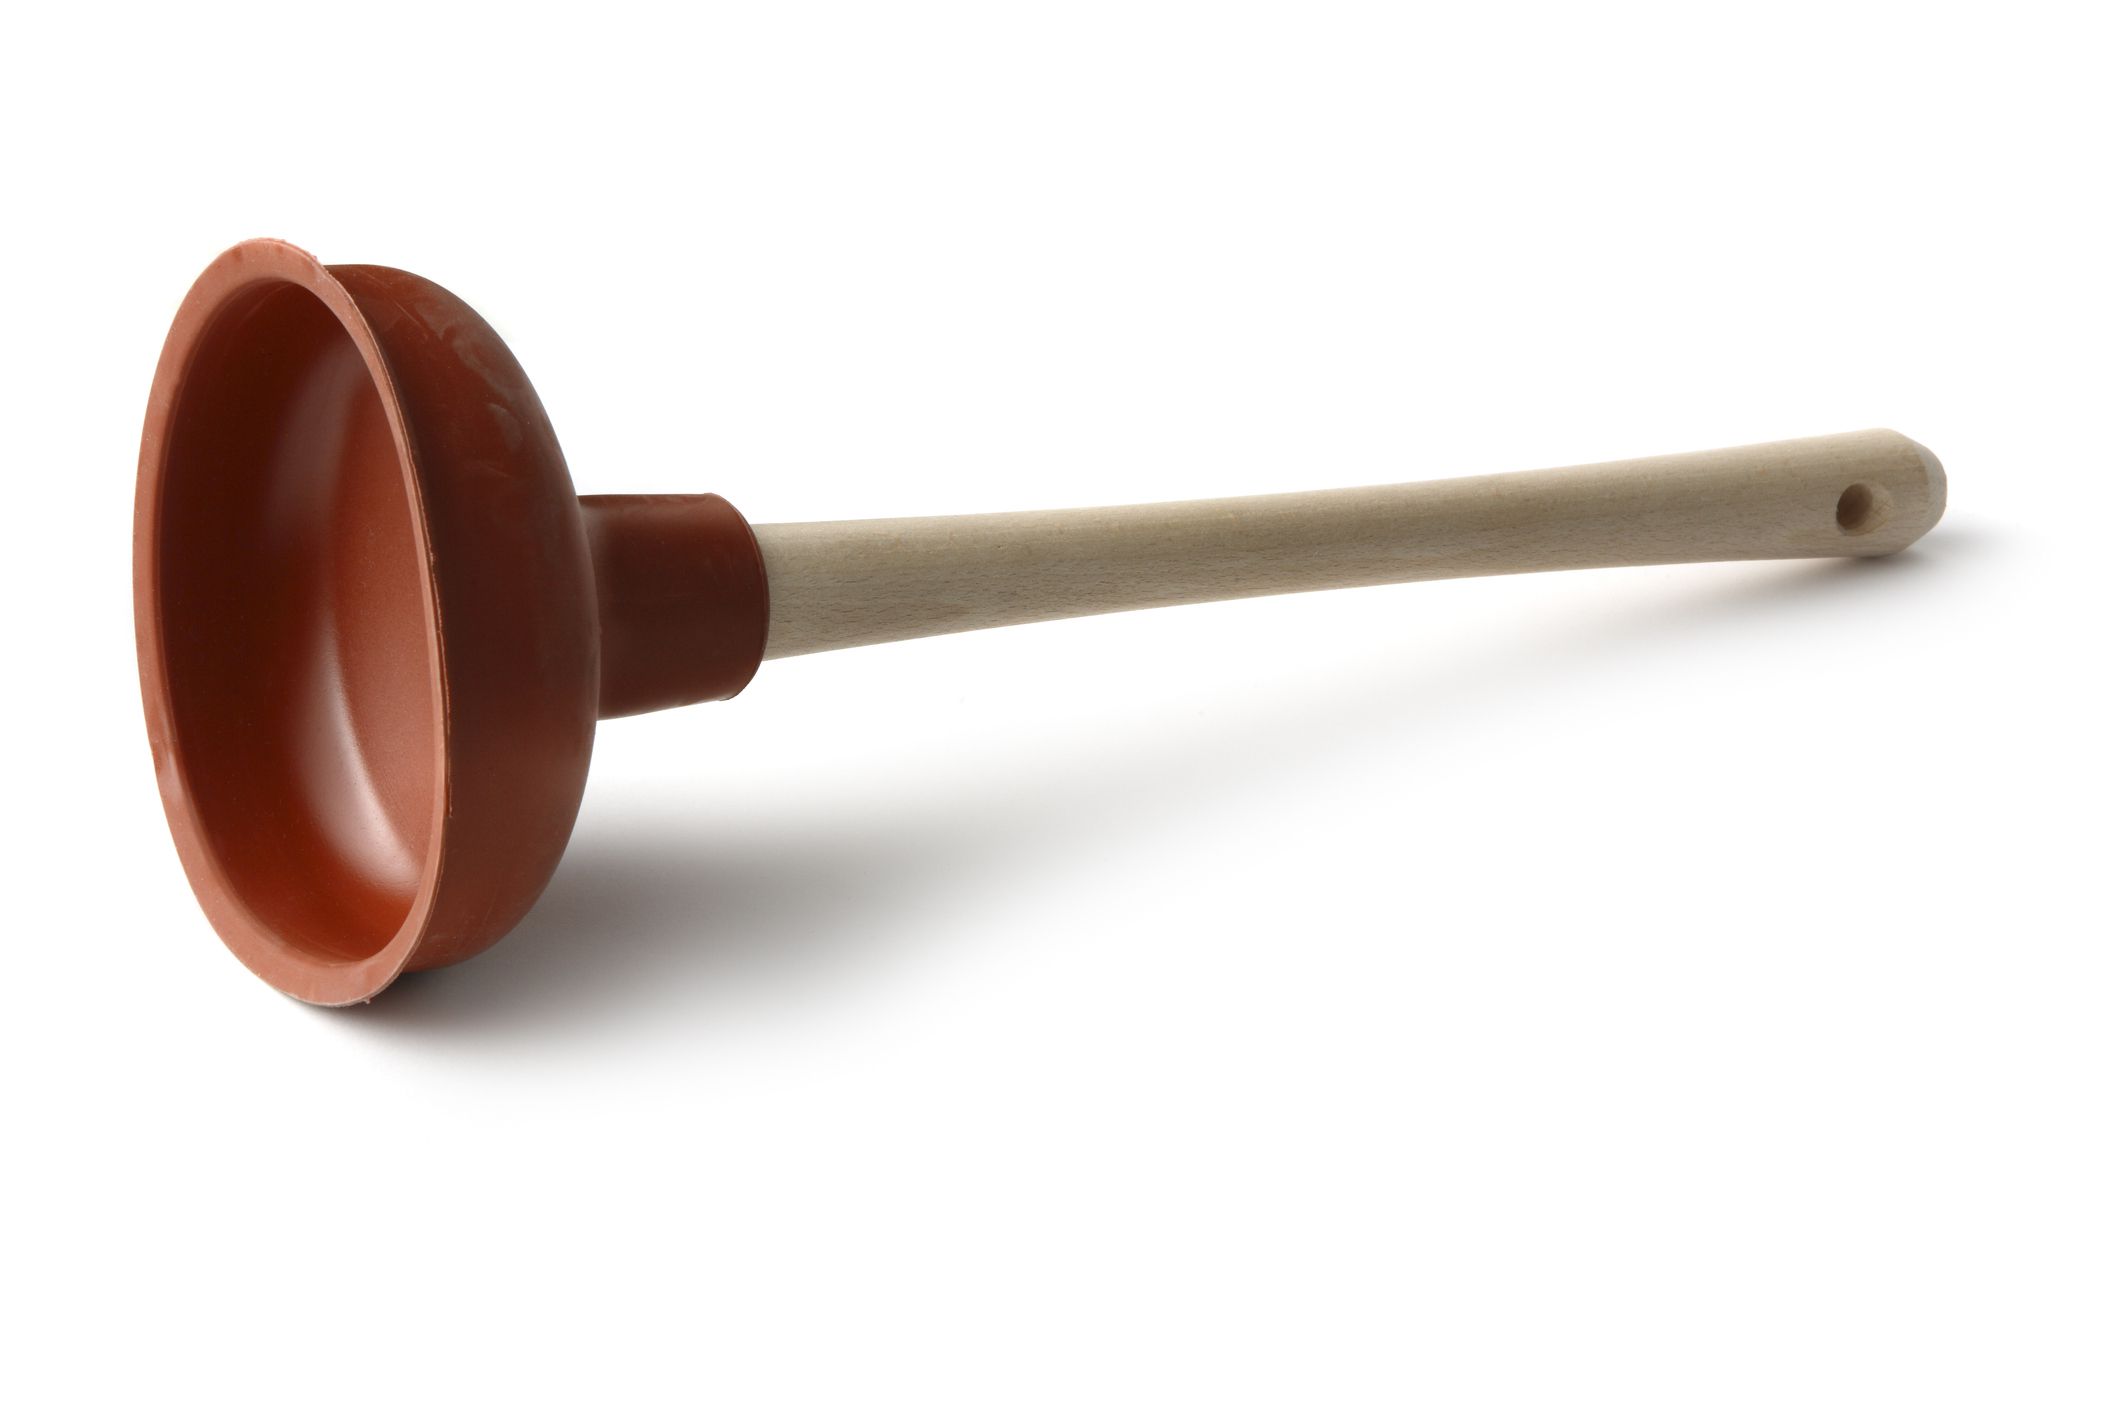
Rubber Ball or Jar Opener: For the suction cup of the plunger, a rubber ball or a jar opener can be repurposed to create the necessary seal. The flexibility and resilience of rubber make it an ideal material for this component, as it can effectively conform to the shape of the toilet drain and create a tight seal for optimal suction.
-
Adhesive: To securely attach the rubber ball or jar opener to the wooden handle, you will need a strong adhesive. A multi-purpose adhesive or heavy-duty glue that bonds well with both wood and rubber is recommended for this purpose. Ensure that the adhesive is capable of withstanding the pressure and moisture involved in the plunging process.
-
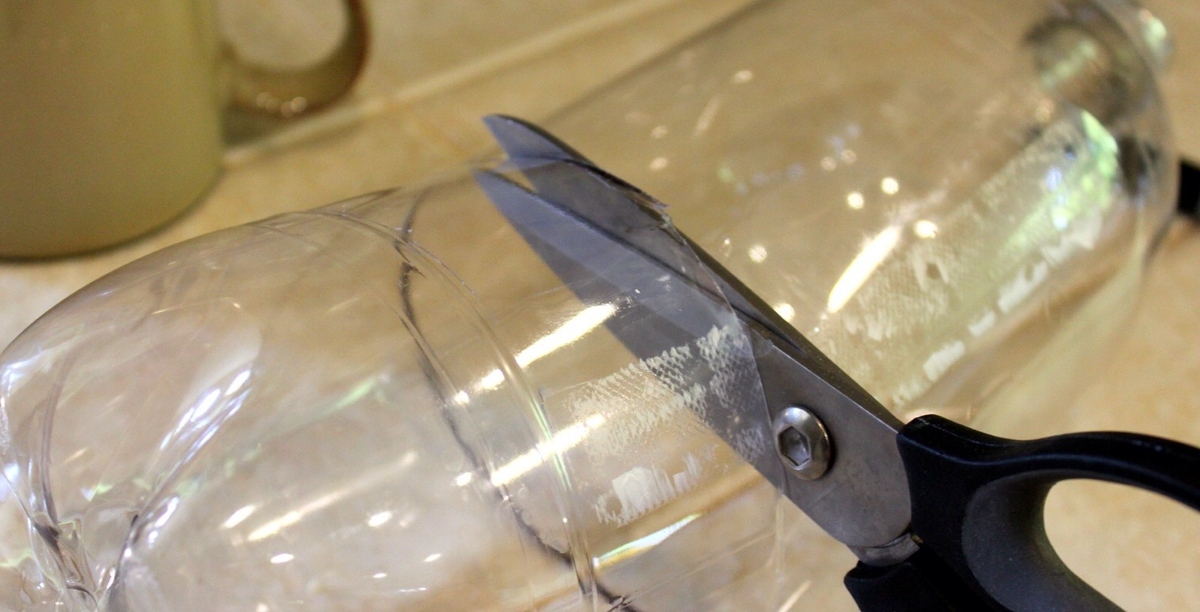
Scissors or Utility Knife: These tools will be used to trim and shape the rubber ball or jar opener to form the suction cup of the plunger. Precision in cutting is essential to ensure that the suction cup fits snugly over the toilet drain and effectively creates the necessary vacuum for unclogging.
-
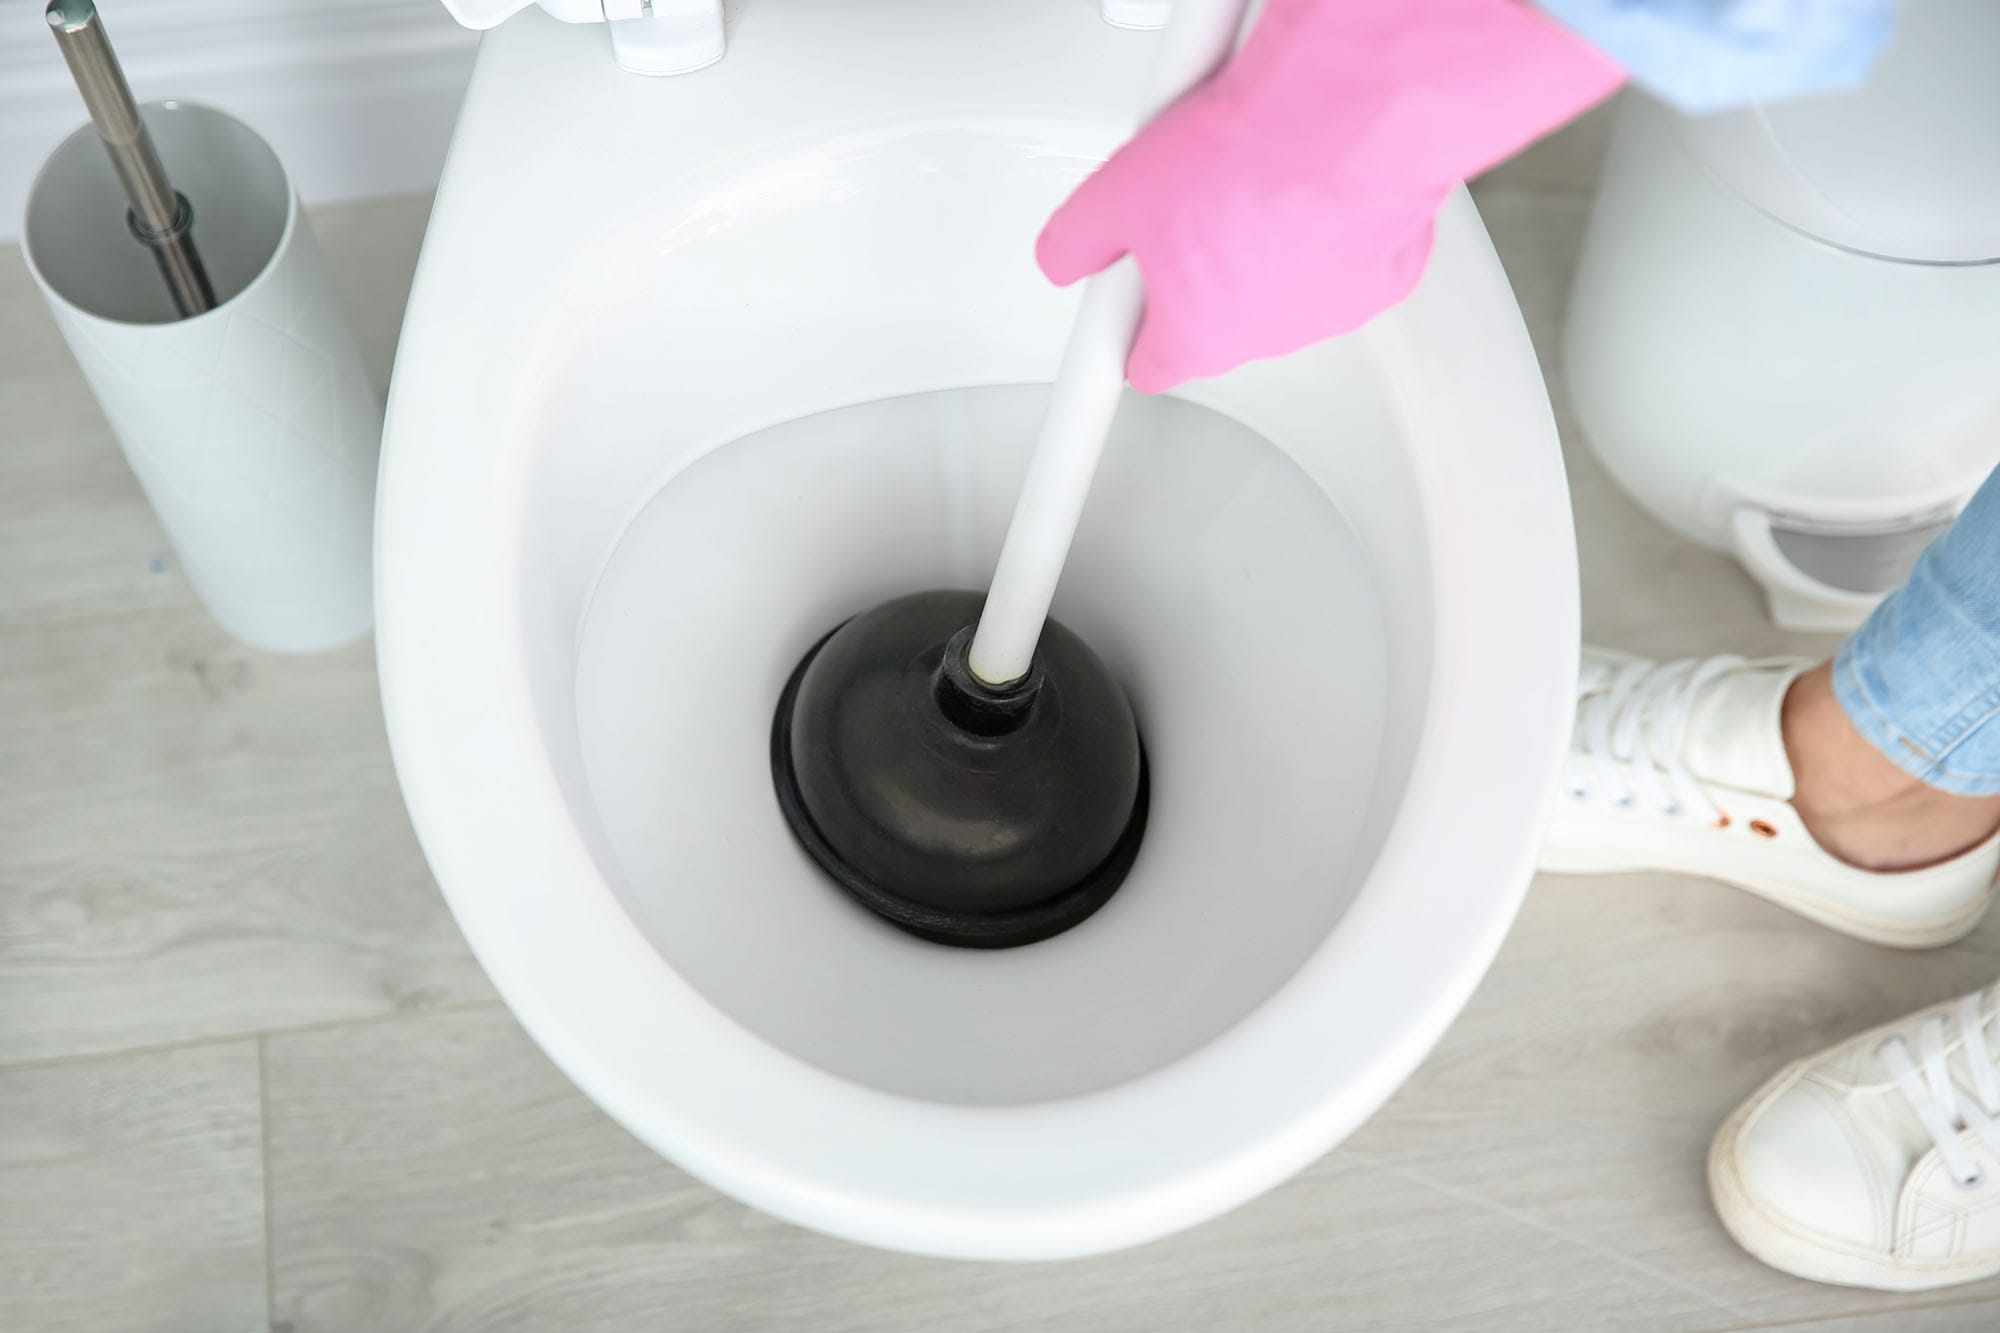
Protective Gloves (Optional): While not essential, wearing protective gloves can be beneficial, especially if you are dealing with a particularly stubborn clog or unsanitary conditions. Gloves can provide a barrier between your hands and the toilet water, adding a layer of hygiene and comfort during the plunging process.
By gathering these materials, you will have everything you need to commence the process of crafting your own DIY plunger for a toilet. With these simple items at your disposal, you can proceed to the next steps and transform them into a functional tool that can effectively address toilet clogs.
Step 1: Prepare the Handle
The first step in creating your DIY plunger for a toilet involves preparing the wooden handle, which serves as the foundation of the makeshift tool. Begin by selecting a suitable wooden handle, which can be sourced from a broom, mop, or any similar household item featuring a long, straight wooden handle. The handle should be of a length that allows for a comfortable grip and provides ample leverage when using the plunger.
Once you have obtained the wooden handle, inspect it for any rough or splintered areas. Sanding the handle with fine-grit sandpaper can help smoothen any rough spots and ensure a comfortable grip during use. Additionally, consider rounding off the end of the handle that will be attached to the suction cup, as this can facilitate a secure and snug fit.
Next, assess the length of the handle to determine if it requires trimming to achieve the desired size for effective plunging. A length that allows for a firm grip and sufficient reach into the toilet bowl is essential for optimal performance. Use a saw or suitable cutting tool to trim the handle to the appropriate length, ensuring that it remains sturdy and easy to handle.
After preparing the wooden handle, it is advisable to clean and dry it thoroughly to remove any dust or debris that may have accumulated during the preparation process. A clean surface will facilitate a secure bond when attaching the suction cup in the subsequent steps.
By meticulously preparing the wooden handle, you are laying the groundwork for a functional and reliable DIY plunger. The attention to detail in this initial step sets the stage for the successful assembly of the makeshift plunger, ensuring that it is well-equipped to tackle toilet clogs effectively and efficiently.
With the handle now prepared, you are ready to proceed to the next step of creating the suction cup, a crucial component that enables the plunger to form a tight seal and generate the necessary vacuum for unclogging the toilet drain.
You can make a plunger for a toilet by using a plastic bottle. Cut off the bottom, cover the opening with a plastic bag, and secure it with a rubber band. Use it like a regular plunger.
Step 2: Create the Suction Cup
With the wooden handle prepared, the next pivotal step in crafting your DIY plunger for a toilet involves creating the suction cup, a fundamental component that enables the plunger to form a tight seal and generate the necessary vacuum for unclogging the toilet drain. To accomplish this, you will repurpose a rubber ball or a jar opener to fashion the suction cup, which plays a crucial role in the plunger's effectiveness.
Begin by selecting a rubber ball or a jar opener that possesses the flexibility and resilience required to form a tight seal over the toilet drain. The material's ability to conform to the shape of the drain and maintain a secure seal is essential for optimal suction during the plunging process. If using a rubber ball, ensure that it is of a size that can cover the drain opening adequately, while a jar opener should be adaptable for this purpose.
Using scissors or a utility knife, carefully trim and shape the rubber ball or jar opener to form the suction cup. Precision in cutting is paramount to ensure that the suction cup fits snugly over the toilet drain, creating a secure seal that facilitates the generation of the necessary vacuum for effective unclogging. The edges of the suction cup should be smooth and even to promote a tight and reliable seal.
Once the suction cup has been shaped to the appropriate size and form, it is essential to clean and dry it thoroughly to remove any debris or residue that may hinder the adhesive's effectiveness in the subsequent assembly. A clean surface will promote a strong and durable bond between the suction cup and the wooden handle, ensuring that the plunger is well-equipped to tackle toilet clogs effectively.
With the suction cup now created and prepared, you have successfully completed a crucial stage in the construction of your DIY plunger. The attention to detail in shaping and preparing the suction cup sets the stage for the successful assembly of the makeshift plunger, ensuring that it is capable of forming a secure seal and generating the necessary vacuum to address toilet clogs with efficiency and effectiveness.
Having completed the creation of the suction cup, you are now ready to proceed to the final step of assembling the DIY plunger, bringing together the handle and the suction cup to form a functional and reliable tool that can come to the rescue when a clogged toilet threatens to disrupt your day.
Step 3: Assemble the Plunger
With the wooden handle prepared and the suction cup created, the final step in crafting your DIY plunger for a toilet involves assembling these components to form a functional and reliable tool that can effectively address toilet clogs. The assembly process brings together the carefully prepared handle and the meticulously shaped suction cup, culminating in the creation of a makeshift plunger that is ready to tackle the task at hand.
To begin the assembly, apply a generous amount of strong adhesive to the end of the wooden handle that will be attached to the suction cup. Ensure that the adhesive is evenly distributed and covers the surface area thoroughly, as this will facilitate a secure and durable bond between the handle and the suction cup. The use of a multi-purpose adhesive or heavy-duty glue is recommended to ensure that it can withstand the pressure and moisture involved in the plunging process.
Next, firmly press the prepared suction cup onto the adhesive-coated end of the wooden handle, ensuring that it is centered and securely positioned. Apply gentle pressure to the suction cup to promote optimal adhesion and create a strong bond between the handle and the suction cup. It is essential to allow sufficient time for the adhesive to set and cure as per the manufacturer's instructions, ensuring that the assembly achieves maximum strength and durability.
Once the adhesive has fully cured, inspect the assembled plunger to ensure that the suction cup is securely attached to the wooden handle, forming a tight and reliable seal. Test the plunger by pressing the suction cup against the bottom of the toilet bowl and exerting gentle pressure to simulate the plunging motion. Verify that the suction cup maintains a secure seal and does not detach from the handle, indicating a successful assembly that is ready for use.
With the plunger now assembled, you have successfully transformed basic household items into a functional and effective tool for addressing toilet clogs. The attention to detail in the assembly process ensures that the DIY plunger is well-equipped to generate the necessary vacuum and provide the required suction to unclog the toilet drain efficiently and reliably.
By following these steps and assembling the DIY plunger, you have acquired a valuable skill that empowers you to address toilet clogs using a resourceful and self-crafted tool. Whether faced with an unexpected clog or seeking a sustainable and practical solution, the assembled DIY plunger stands ready to come to the rescue, offering a sense of accomplishment and self-sufficiency in resolving common household challenges.
Read more: How To Unclog A Toilet Without A Plunger
Conclusion
In conclusion, the process of creating a DIY plunger for a toilet using common household items exemplifies resourcefulness, creativity, and practicality. By repurposing a wooden handle, a rubber ball or jar opener, and strong adhesive, you can fashion a functional tool that is capable of addressing toilet clogs effectively and efficiently. The journey of crafting a makeshift plunger not only provides a solution in situations where a traditional plunger may be unavailable but also fosters a sense of self-sufficiency and ingenuity.
Through meticulous preparation of the wooden handle, careful shaping of the suction cup, and precise assembly of the components, you have transformed basic materials into a reliable tool that can come to the rescue when a clogged toilet threatens to disrupt your day. The attention to detail in each step ensures that the DIY plunger is well-equipped to form a secure seal, generate the necessary vacuum, and provide the required suction to unclog the toilet drain with ease.
Crafting a DIY plunger also underscores the value of sustainability and environmental consciousness. By repurposing household items to create a functional tool, you contribute to reducing waste and minimizing the reliance on store-bought products. This approach aligns with the principles of eco-friendliness and encourages a mindset of utilizing available resources to address everyday challenges.
Furthermore, the ability to create a DIY plunger reflects a valuable skill that empowers individuals to tackle common household issues with ingenuity and practicality. Whether faced with an unexpected clog or seeking a sustainable solution, the assembled DIY plunger stands as a testament to the potential for resourcefulness and self-craftsmanship in addressing everyday inconveniences.
In essence, the process of making a plunger for a toilet using readily available materials embodies the spirit of adaptability and self-reliance. By following the steps outlined in this guide, you have acquired a practical skill that not only offers a solution to a common household problem but also exemplifies the satisfaction of crafting your own tools. With your DIY plunger at the ready, you are well-prepared to face toilet clogs with confidence and resourcefulness, knowing that a functional and effective solution is within your grasp.
Frequently Asked Questions about How To Make A Plunger For A Toilet
Was this page helpful?
At Storables.com, we guarantee accurate and reliable information. Our content, validated by Expert Board Contributors, is crafted following stringent Editorial Policies. We're committed to providing you with well-researched, expert-backed insights for all your informational needs.


0 thoughts on “How To Make A Plunger For A Toilet”