Articles
How To Make Dog Stairs
Modified: August 17, 2024
Learn how to make dog stairs with our helpful articles. Find step-by-step instructions and tips for building sturdy and safe stairs for your furry friend.
(Many of the links in this article redirect to a specific reviewed product. Your purchase of these products through affiliate links helps to generate commission for Storables.com, at no extra cost. Learn more)
Introduction
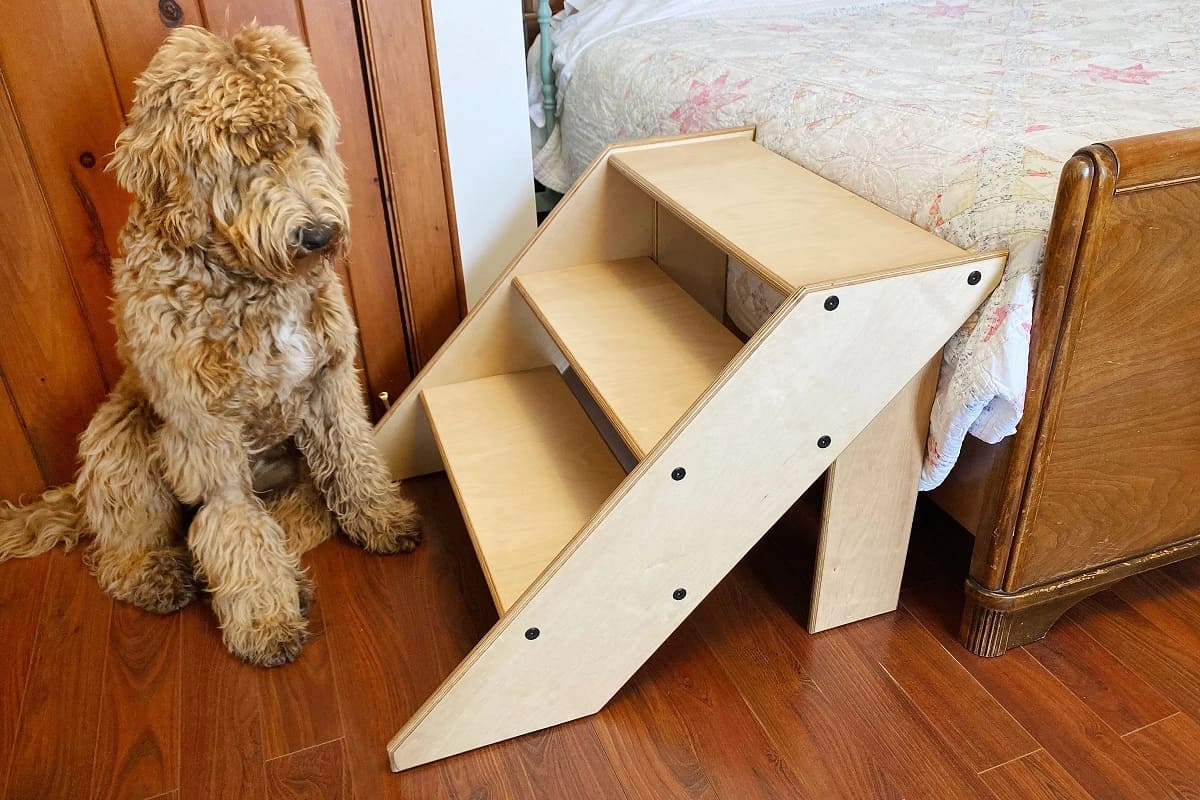
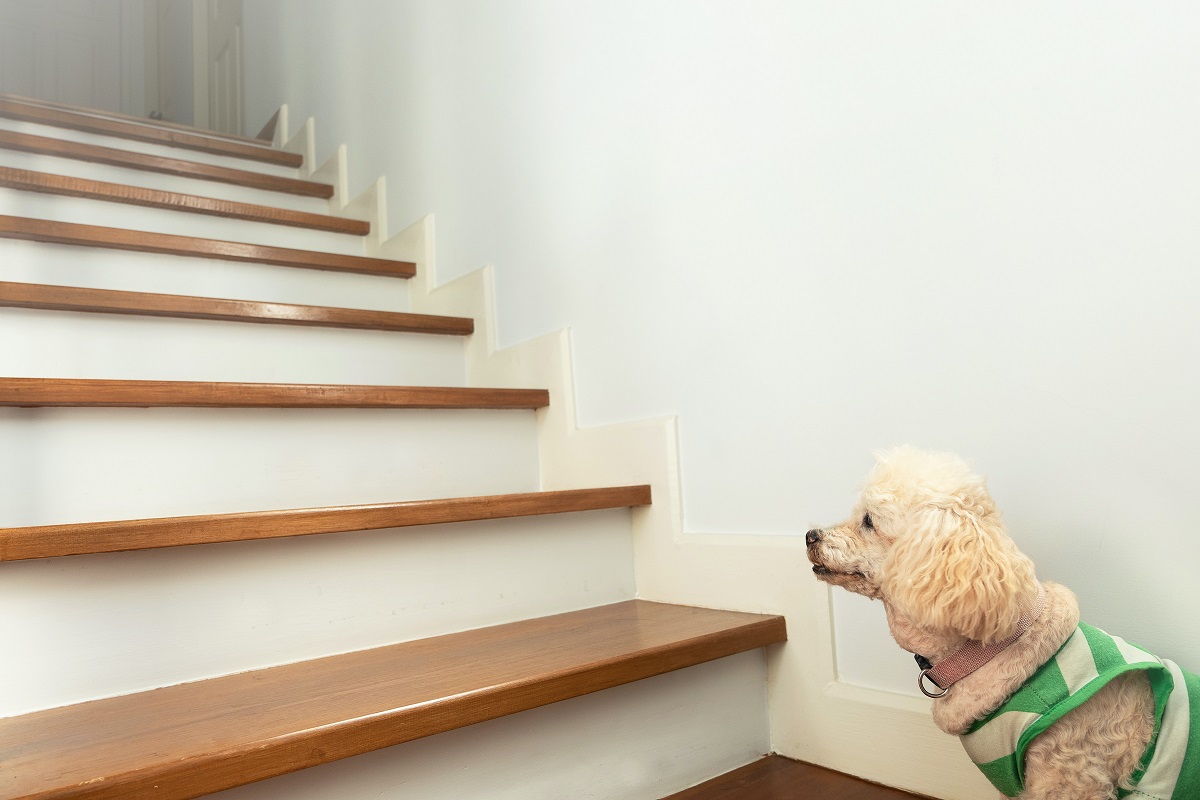
Having a dog as a pet brings immense joy and companionship to our lives. However, as they age or if they have certain health conditions, they may struggle to reach higher surfaces, such as beds or couches. That’s where dog stairs come in handy. Dog stairs provide a safe and convenient way for our furry friends to access elevated surfaces without putting undue strain on their joints.
In this article, we will guide you through the process of making dog stairs from scratch. Whether you have a small or large dog, this DIY project can be customized to suit your pet’s specific needs and your personal preference in terms of design and materials.
Before we begin, let’s go through a list of materials you’ll need:
Key Takeaways:
- DIY dog stairs offer a customizable and safe solution for pets to access elevated surfaces. Consider your dog’s specific needs, secure the stairs in place, and enjoy watching your furry friend benefit from your craftsmanship.
- Adding a personal touch with paint or stain, along with carpet or grip material, enhances the aesthetic appeal and traction of the stairs. Secure the stairs in place to provide a safe and reliable means for your dog to access elevated surfaces.
Read more: What To Put On Stairs For Dogs
Materials Needed
Before you start building dog stairs, gather the following materials:
- Wood: Choose a sturdy and durable type of wood, such as plywood or hardwood.
- Saw: A hand saw or a circular saw will be necessary for cutting the wood to the desired sizes.
- Screws or Nails: Use appropriate fasteners to secure the different components of the stairs.
- Screwdriver or Hammer: A screwdriver or hammer will be needed to insert the screws or nails into the wood.
- Sandpaper: Use sandpaper to smooth out any rough edges or surfaces.
- Paint or Stain (optional): If you want to add a pop of color or protect the wood, consider using paint or stain.
- Carpet or Grip Material: Adding carpet or a grip material to the steps will provide traction for your dog.
- Measuring Tape: Ensure accurate measurements for precise cuts and a well-built set of stairs.
- Pencil: Use a pencil to mark measurements and cut lines on the wood.
Once you have gathered these materials, you’re ready to move on to the next step: measuring and planning.
Step 1: Measuring and Planning
Proper measurements are essential for constructing dog stairs that are the right size for your pet. Start by determining the height of the elevated surface your dog needs to reach. Measure from the ground to the top of the surface and note this height.
Next, consider the depth of each step. Measure the distance from the front edge to the back edge of the elevated surface. Divide this measurement by the desired number of steps to determine the depth of each individual step. Keep in mind that smaller dogs may require shorter step depths for comfortable climbing.
Once you have the height and depth measurements, you can decide on the width of the stairs. Consider the size of your dog and ensure the width is suitable for them to easily navigate the steps. It’s also important to take into account the available space in your home where the stairs will be placed.
With the measurements in hand, you can now sketch out a plan for your dog stairs. Create a rough diagram with the dimensions and make note of any additional design elements you want to incorporate.
Remember to factor in the thickness of the wood itself when determining the final measurements. For instance, if you plan to use 1-inch thick material, you will need to account for the additional inch of height for each step.
Once you have your measurements and plan in place, you’re ready to move on to the next step: cutting the wood.
Step 2: Cutting the Wood
With your measurements and plan finalized, it’s time to start cutting the wood for your dog stairs.
Begin by placing the desired wood material on a sturdy work surface. Ensure it is secure and won’t move during the cutting process. Use a measuring tape and a pencil to mark the dimensions of each step and the sides of the stairs on the wood.
Using a saw, carefully cut along the marked lines to create the individual steps and sides of the stairs. Take your time and make precise cuts to ensure that all pieces fit together properly.
Once you have cut out all the required pieces, double-check their dimensions and make any necessary adjustments. You want each step to be the same size and shape for a sturdy and balanced set of stairs.
Remember, safety should be a top priority when using tools and handling sharp objects like saws. Always wear protective gear, such as safety goggles and gloves, and exercise caution throughout the cutting process.
Once you have completed cutting the wood, you’re ready to move on to the next step: assembling the dog stairs.
Step 3: Assembling the Stairs
Now that you have all the wooden pieces cut to size, it’s time to assemble the dog stairs. Follow these steps to ensure a sturdy and secure structure:
1. Start by laying out the individual steps in the desired order and ensuring they are evenly spaced. This will give you a visual reference for the next steps.
2. Take one of the side pieces and position it upright. Attach the first step to the side piece using screws or nails. Make sure the step is aligned with the desired height and the edge of the side piece.
3. Repeat this process for the remaining steps, attaching them to the side piece until you have completed the full set of stairs. Ensure that each step is securely fastened to the side piece, using multiple screws or nails if necessary.
4. Once all the steps are attached, take the second side piece and position it against the opposite edge of the steps. Make sure it is aligned properly and attach it to the steps using screws or nails.
5. Double-check that the stairs are level and stable. If any steps or side pieces are not secure, reinforce them with additional screws or nails as needed.
6. Give the assembled dog stairs a gentle shake to test its stability. If it wobbles or feels unsteady, make further adjustments and reinforcements until it is strong and secure.
By following these steps, you will have successfully assembled the primary structure of the dog stairs. Now, it’s time to move on to the next step: sanding and smoothing the wood.
When making dog stairs, ensure the steps are wide enough for your dog to comfortably walk on and the height of each step is suitable for your dog’s size and mobility. Use non-slip materials to prevent accidents.
Read also: 8 Amazing Dog Stairs For Small Dogs For 2025
Step 4: Sanding and Smoothing
After assembling the dog stairs, it’s important to sand and smooth the wood to create a safe and comfortable surface for your furry friend. Follow these steps to achieve a polished finish:
1. Start by using coarse-grit sandpaper to remove any rough edges, splinters, or imperfections on the surface of the stairs. Sand in the direction of the wood grain for the best results. Pay close attention to the edges of each step and the sides of the stairs.
2. Once you have sanded away the rough spots, switch to fine-grit sandpaper to further refine the surface. This will help create a smooth and splinter-free finish.
3. Take extra care to sand the corners and edges of the steps, as these areas are more prone to causing discomfort or injury to your dog’s paws. Round off any sharp edges until they are smooth and soft.
4. After sanding, wipe down the entire surface of the stairs with a clean cloth or tack cloth to remove any dust or debris. This will ensure that the wood is clean and ready for the next step: painting or staining.
By sanding and smoothing the wood, you not only create a more aesthetically pleasing set of dog stairs, but also reduce the risk of your dog getting splinters or scratches while using them. Now, it’s time to move on to step five: painting or staining the stairs.
Step 5: Painting or Staining
Painting or staining your dog stairs is not only a fantastic way to add a personal touch but also serves to protect the wood and extend the longevity of your creation. Follow these steps to achieve a beautiful finish:
1. Begin by preparing your work area. Lay down a drop cloth or newspaper to protect the surface underneath. Ensure that the area is well-ventilated to allow for proper drying of the paint or stain.
2. If you choose to paint the dog stairs, start by applying a primer coat. This will help the paint adhere better and provide a more even finish. Allow the primer to dry completely according to the manufacturer’s instructions.
3. Once the primer is dry, you can proceed to apply your chosen paint color. Use a brush or roller to evenly coat all surfaces, including the steps and sides of the stairs. Apply multiple thin coats, allowing each coat to dry completely before applying the next one.
4. If you prefer a natural look and want to showcase the wood grain, consider staining the dog stairs instead. Before applying the stain, ensure that the wood is clean and free of any dust or debris. Apply the stain with a brush or cloth, following the manufacturer’s instructions. Allow the stain to penetrate the wood and then wipe away any excess with a clean cloth.
5. Whether you choose to paint or stain, allow the stairs to dry completely before proceeding to the next step. This will ensure that the finish is fully set and won’t be damaged during the next stage of the process.
By painting or staining your dog stairs, you can add a personal flair to the design while protecting the wood. Now that your stairs have a beautiful finish, let’s move on to step six: adding carpet or grip material to the steps.
Step 6: Adding Carpet or Grip
To provide traction and ensure your dog feels secure while climbing the stairs, you can add carpet or grip material to the steps. Follow these steps to complete this important aspect of the construction:
1. Measure the dimensions of each step and cut the carpet or grip material to the appropriate size. Make sure to leave a little extra on each side to ensure full coverage.
2. If you choose to use carpet, apply carpet adhesive or double-sided carpet tape to the backside of the material. Securely attach the carpet to each step, smoothing out any wrinkles or bubbles as you go. Press down firmly to ensure a strong bond.
3. If you prefer grip material, such as rubber or adhesive strips, follow the manufacturer’s instructions for application. Ensure that the material is securely attached to each step and offers ample traction for your dog’s paws.
4. Smooth out any wrinkles or bubbles in the carpet or grip material to create a flat and comfortable surface for your dog to navigate. Trim any excess material if necessary.
5. Test the grip and stability of the carpet or grip material by using your hand or placing some weight on the steps. Make any adjustments if needed to ensure the surface is secure and provides the necessary traction.
By adding carpet or grip material to the steps, you create a safer and more comfortable climbing experience for your dog. Now that the steps are fully equipped, let’s move on to the final step: securing the stairs in place.
Step 7: Securing the Stairs in Place
Now that you have completed the construction of your dog stairs, it’s important to secure them in place to prevent any accidental movement or instability. Follow these steps to ensure the stairs stay in position:
1. Determine the best location for the dog stairs in your home. Consider factors such as accessibility for your dog, available space, and the surface where the stairs will be placed.
2. If the stairs are intended for use on a carpeted surface, simply position them in the desired location and ensure they are stable and balanced. You may also consider adding small rubber pads or grips to the bottom of the stairs for extra stability and to prevent any sliding or shifting.
3. If the stairs will be placed on a hard flooring surface, you may need to secure them using additional methods to prevent movement. One option is to install grip pads or non-slip material on the bottom of the stairs for added stability. Alternatively, you can use brackets or anchoring screws to attach the stairs to the wall or furniture.
4. Take extra care to ensure that the stairs are securely anchored and cannot be easily tipped over or moved. This is particularly important if you have a larger or more active dog that may exert more force on the stairs.
5. Test the stability of the stairs by applying gentle pressure and ensuring they remain in place. Make any necessary adjustments or reinforcements to achieve a secure and sturdy installation.
By properly securing the dog stairs in place, you provide a safe and reliable means for your dog to access elevated surfaces. Now that your project is complete, let’s conclude with a recap of the process.
Conclusion
Congratulations! You have successfully completed the process of making dog stairs from scratch. By following the steps outlined in this article, you have created a customized and safe solution for your furry friend to access elevated surfaces with ease.
Remember, when building dog stairs, it is essential to consider the specific needs of your pet, such as their size, mobility, and any health conditions they may have. Taking accurate measurements, using sturdy materials, and ensuring proper assembly and securing are key factors in creating a sturdy and safe set of stairs.
Adding a personal touch, such as painting or staining the stairs, can not only improve their aesthetic appeal but also offer protection for the wood. Adding carpet or grip material to the steps helps enhance traction and ensures your dog feels confident and secure while climbing the stairs.
Lastly, securing the stairs in place is crucial to prevent any accidents or instability. Depending on the surface, you may need to use additional methods, such as grips, brackets, or anchoring screws, to ensure the stairs remain in position.
Now, your dog can enjoy the freedom to access elevated surfaces comfortably and safely. Sit back, relax, and watch as your beloved companion easily navigates their way onto the bed, couch, or wherever else they desire.
Remember, DIY projects like this offer a cost-effective way to provide convenience and comfort for your pets, while also allowing you to unleash your creativity and craftsmanship. Enjoy the satisfaction of seeing your furry friend benefiting from your hard work.
We hope this guide has been helpful in guiding you through the process of making dog stairs. Happy building, and may your pet enjoy their new staircase for years to come!
Frequently Asked Questions about How To Make Dog Stairs
Was this page helpful?
At Storables.com, we guarantee accurate and reliable information. Our content, validated by Expert Board Contributors, is crafted following stringent Editorial Policies. We're committed to providing you with well-researched, expert-backed insights for all your informational needs.
0 thoughts on “How To Make Dog Stairs”