Home>Furniture & Design>Outdoor Furniture>How To Wrap Outdoor Extension Cords
Outdoor Furniture
How To Wrap Outdoor Extension Cords
Modified: August 27, 2024
Learn how to properly wrap and store outdoor extension cords to keep your outdoor furniture and design looking tidy and organized. Follow our step-by-step guide for hassle-free outdoor cord management.
(Many of the links in this article redirect to a specific reviewed product. Your purchase of these products through affiliate links helps to generate commission for Storables.com, at no extra cost. Learn more)
Introduction
When it comes to enjoying the great outdoors, having access to reliable electricity is often a necessity. Whether you're setting up an outdoor event, powering up tools for a DIY project, or simply enjoying some time in your backyard, outdoor extension cords play a crucial role in keeping things running smoothly. However, the convenience they offer can quickly turn into a tangled mess if not properly managed. Learning how to wrap outdoor extension cords not only helps maintain their longevity but also ensures that you can easily access and store them for future use.
In this comprehensive guide, we'll walk you through the step-by-step process of wrapping outdoor extension cords efficiently and securely. By mastering this technique, you'll be able to keep your outdoor spaces organized and hazard-free, while also prolonging the lifespan of your extension cords. So, let's dive in and discover the art of wrapping outdoor extension cords with ease and finesse.
Key Takeaways:
- Keep your outdoor extension cords organized and tangle-free by following these simple steps for efficient wrapping and secure storage. Proper maintenance ensures they’re always ready for your outdoor power needs.
- Master the art of wrapping outdoor extension cords to enhance safety, organization, and longevity in your outdoor spaces. With the right techniques, you can confidently tackle outdoor projects and leisure activities hassle-free.
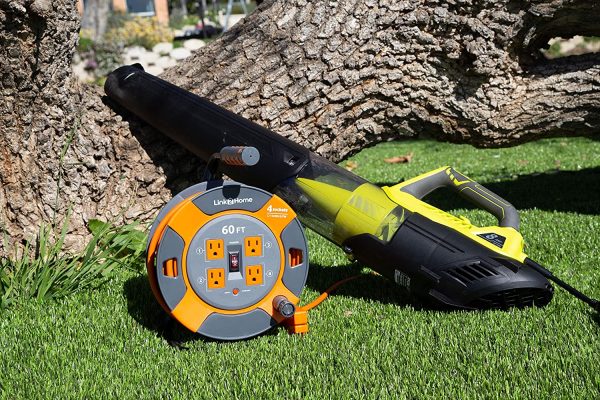
Step 1: Gather Your Materials
Before you embark on the task of wrapping your outdoor extension cord, it’s essential to gather the necessary materials. Having everything at hand will streamline the process and ensure that you can complete the task without any interruptions. Here’s what you’ll need:
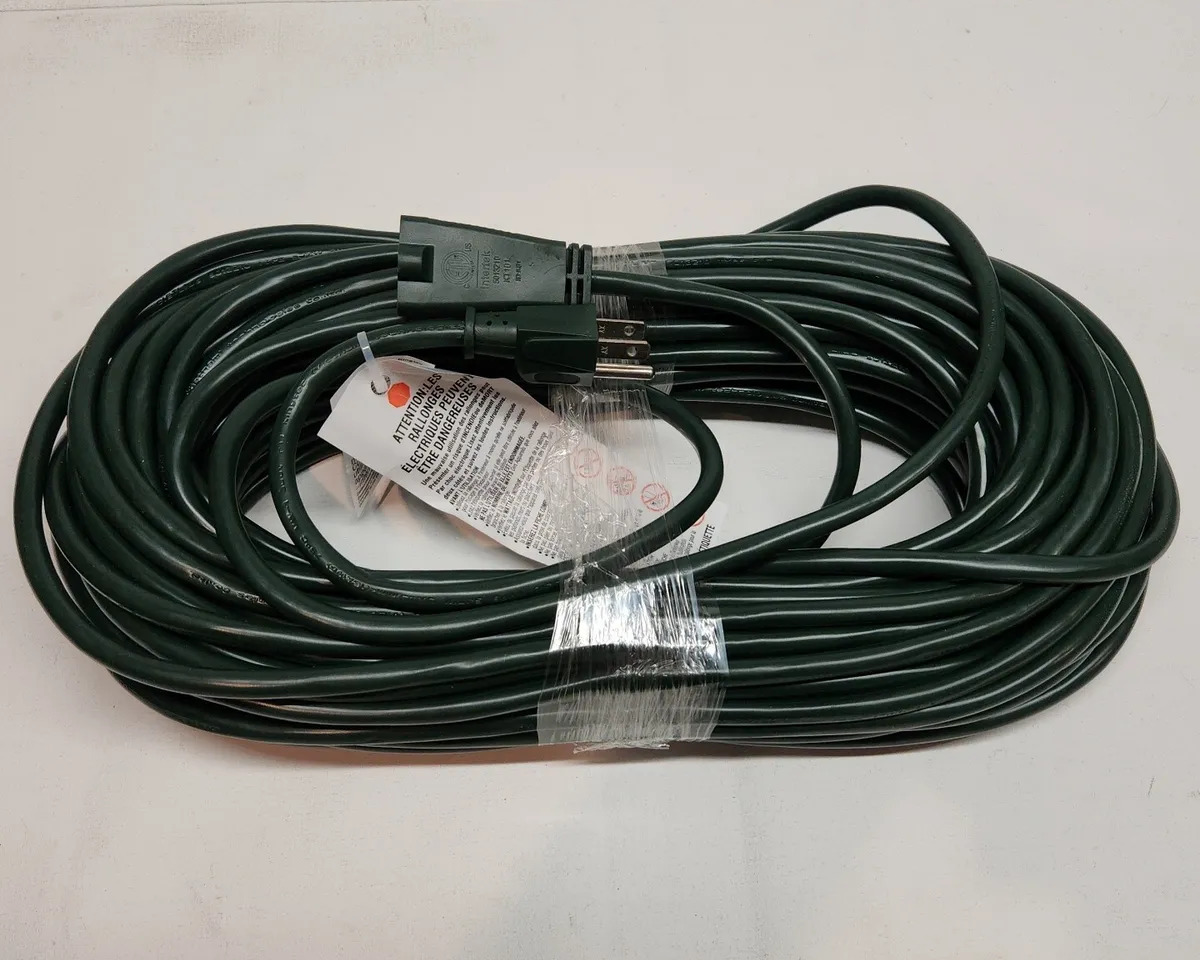
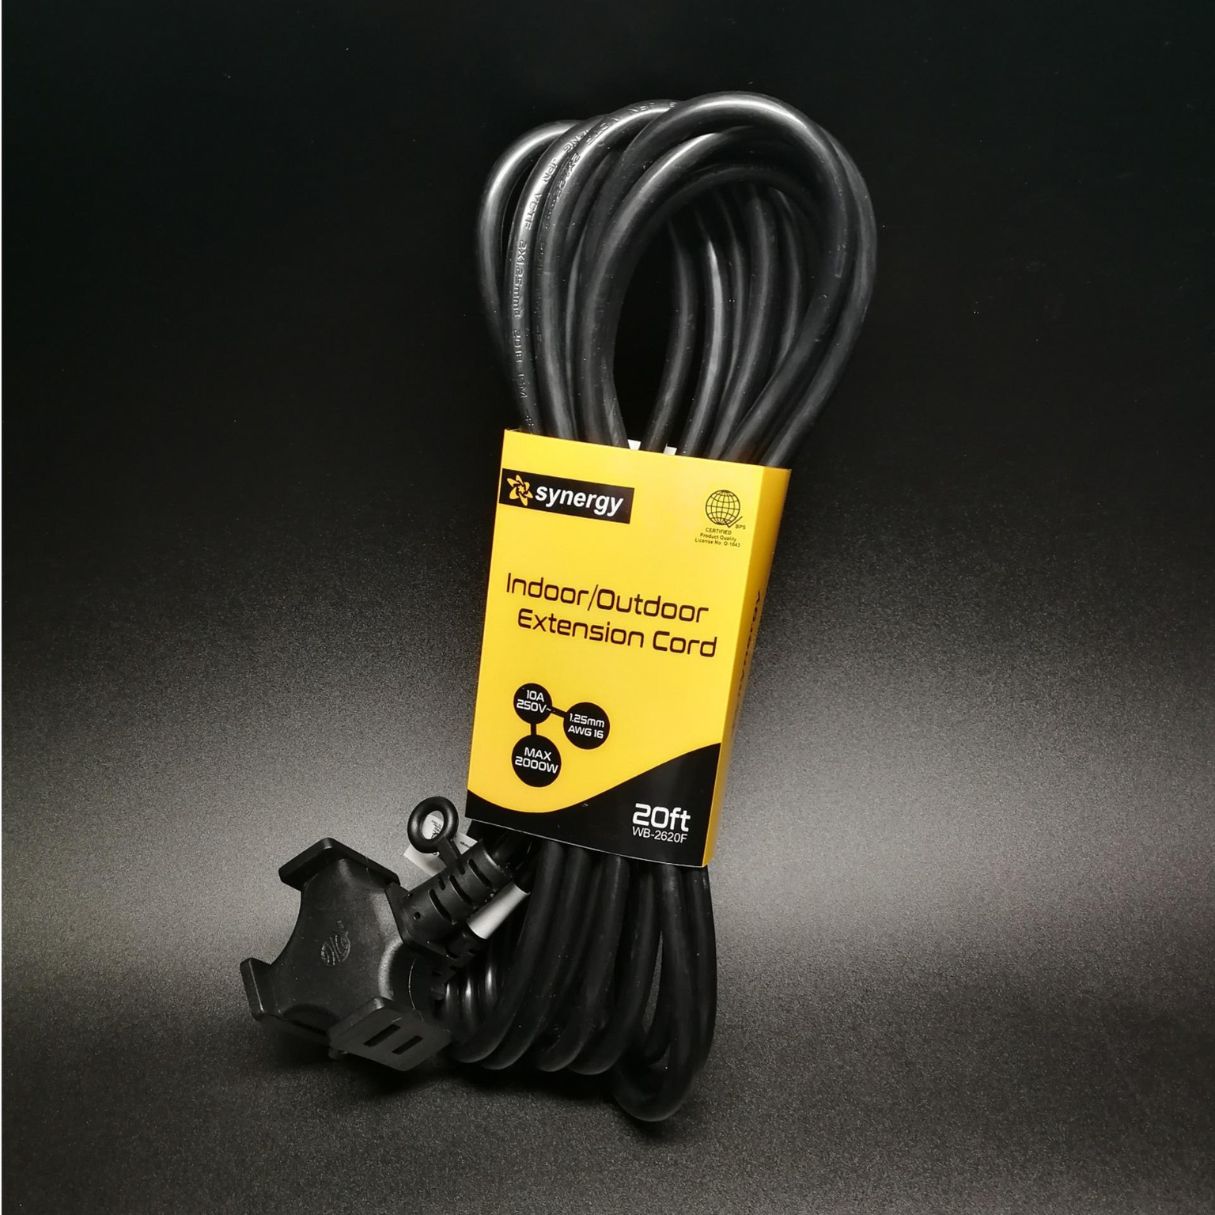
- Outdoor Extension Cord: Select a high-quality, durable outdoor extension cord that is suitable for the specific tasks you intend to carry out. Ensure that it is free from any damages or exposed wiring before you proceed with wrapping it.
- Open Space: Find a spacious, open area where you can lay out the extension cord without any obstructions. This will make it easier to work with the cord and prevent any tangling as you wrap it.
- Gloves: It’s advisable to wear a pair of gloves to protect your hands from any dirt, debris, or potential friction that may occur during the wrapping process.
- Velcro Straps or Twist Ties: These handy accessories will be used to secure the wrapped extension cord, keeping it neatly coiled and preventing it from unraveling when stored.
By ensuring that you have these materials readily available, you’ll set yourself up for a smooth and efficient experience as you proceed to prepare and wrap your outdoor extension cord.
Step 2: Prepare the Extension Cord
Before diving into the wrapping process, it’s crucial to prepare the extension cord to ensure that it is in optimal condition and ready for coiling. Follow these steps to prepare the extension cord for wrapping:
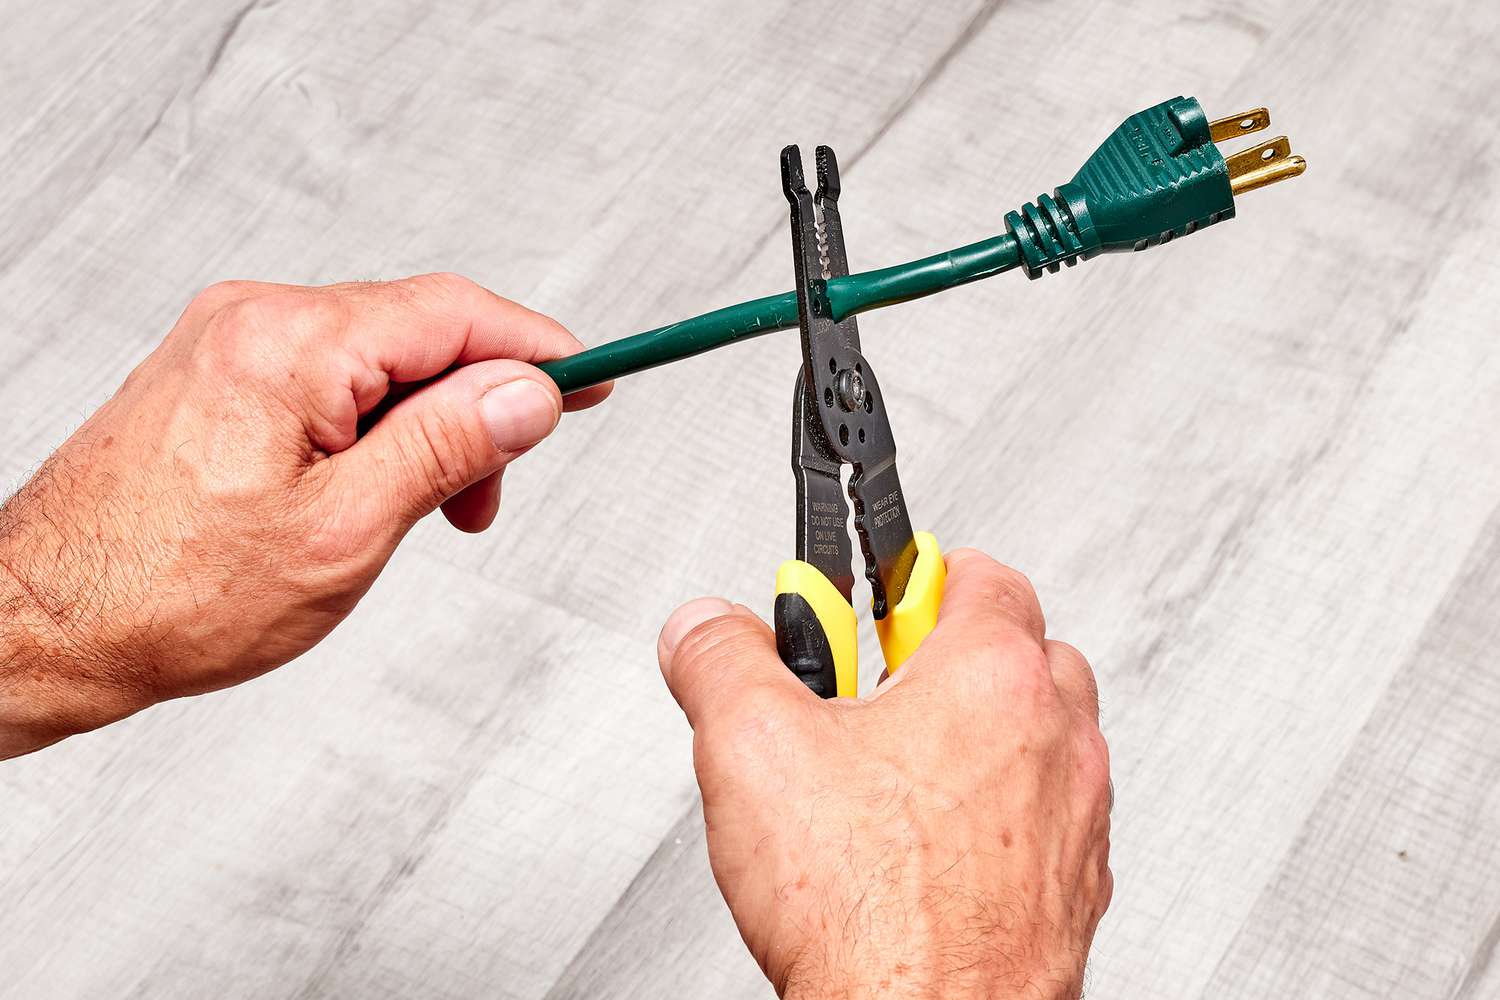
- Inspect for Damage: Carefully examine the entire length of the extension cord, checking for any cuts, frays, or exposed wires. If you notice any damage, it’s essential to address it before proceeding. Damaged cords should never be wrapped or used, as they pose a safety hazard.
- Clean the Cord: If the extension cord has accumulated dirt or debris, gently wipe it down with a clean, dry cloth. This simple step helps prevent any grit from causing friction during the wrapping process and keeps the cord in good condition.
- Straighten the Cord: Lay the extension cord out in a straight line, ensuring that it is free from any kinks or tangles. This step makes the wrapping process significantly easier and prevents the formation of knots in the coiled cord.
- Untangle Any Existing Knots: If the cord is already tangled or knotted, take the time to carefully unravel it before proceeding. Ensuring that the cord is free from knots will prevent frustration and interruptions as you wrap it.
By meticulously preparing the extension cord, you’ll create the ideal foundation for a smooth and efficient wrapping process. This proactive approach not only enhances safety but also contributes to the longevity of your outdoor extension cord.
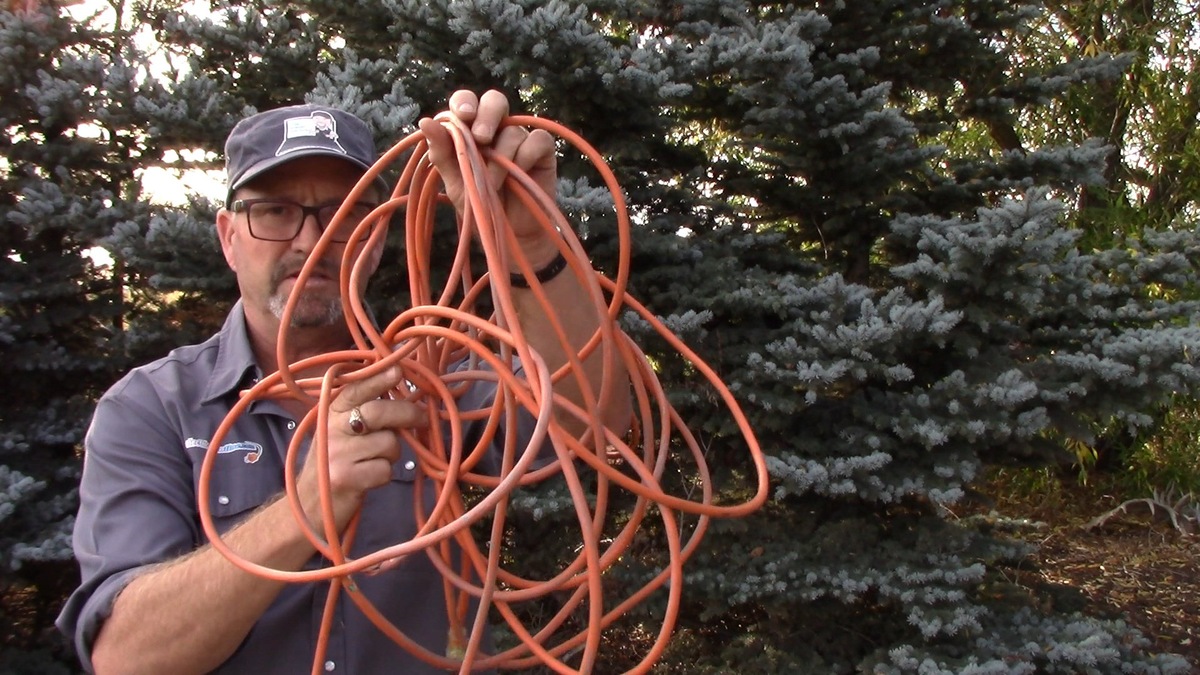
Step 3: Start Wrapping
With the extension cord prepared and in optimal condition, it’s time to begin the wrapping process. Follow these steps to efficiently coil the cord without creating tangles or twists:
- Establish a Starting Point: Hold the end of the extension cord firmly in one hand, leaving a short length protruding to serve as the starting point for the wrapping process. This initial grip will anchor the coil as you begin wrapping.
- Form the First Loop: Using your free hand, create a small loop with the extension cord, approximately 1 to 2 feet in diameter. Hold this loop securely in place with your hand, ensuring that it doesn’t unravel as you proceed.
- Continue Coiling: With the initial loop secured, begin coiling the remaining length of the extension cord around the loop. Keep each coil snug against the previous one, maintaining a consistent and even shape as you work your way along the cord.
- Alternate Directions: To prevent the formation of kinks and tangles, alternate the direction of the coiling pattern as you progress. For example, if the previous coil was wound in a clockwise direction, the next one should be wound in a counterclockwise direction.
- Maintain Tension: As you continue wrapping, maintain a gentle tension on the cord to ensure that the coils remain neatly aligned and compact. Avoid pulling too tightly, as this can lead to unnecessary strain on the cord.
By following these steps, you’ll be able to create a neatly coiled extension cord without any tangles or snags, setting the stage for a hassle-free and organized outdoor space.
When wrapping outdoor extension cords, use the over-under technique to prevent tangling. Start by making a small loop, then alternate the direction of each loop to keep the cord organized and easy to unravel.
Step 4: Secure the Coil
Once you’ve completed the wrapping process, it’s essential to secure the coiled extension cord to maintain its tidy and organized form. Follow these steps to secure the coil effectively:
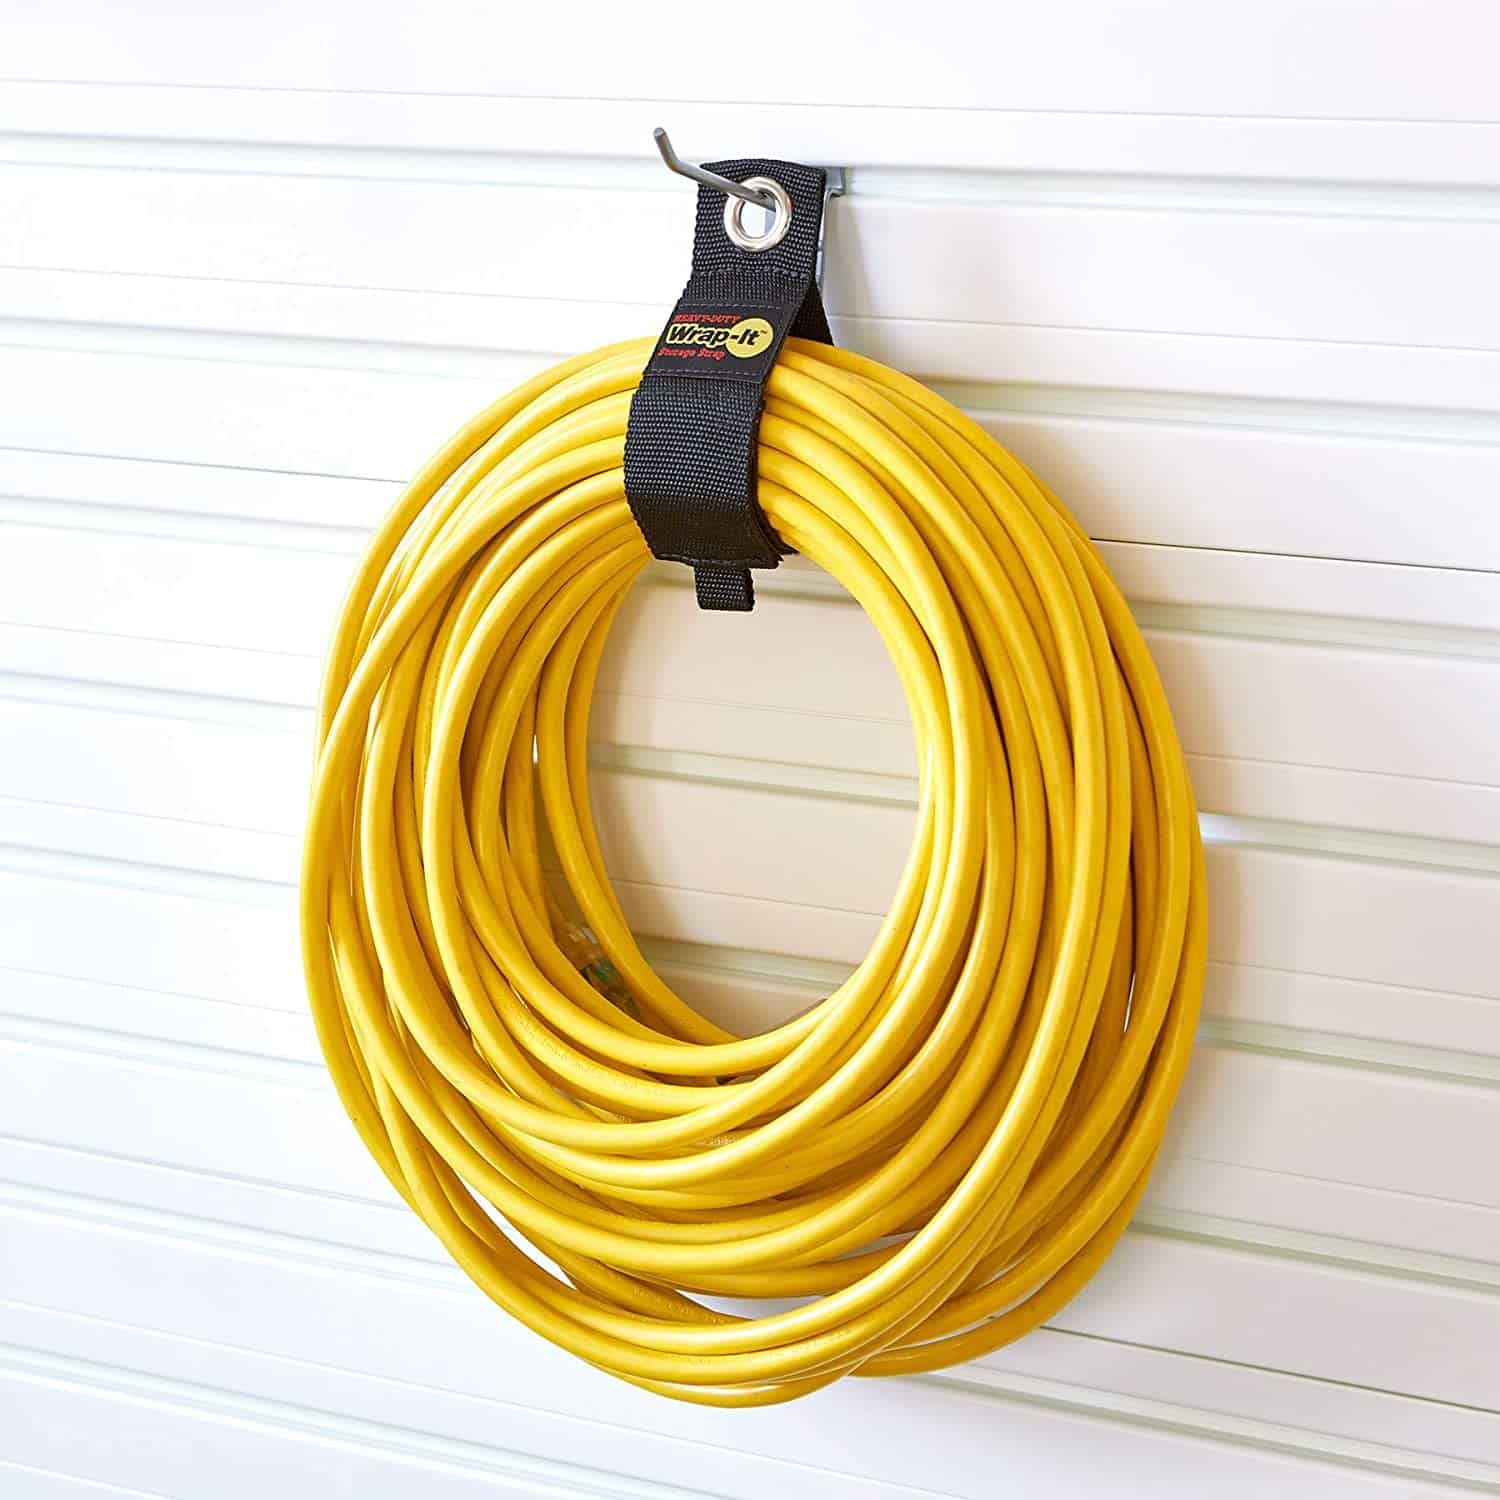
- Use Velcro Straps or Twist Ties: Secure the coiled extension cord by gently wrapping a Velcro strap or twist tie around the entire bundle. Position the strap or tie approximately one-third of the way from the top of the coil to ensure that it holds the entire length securely without causing any deformation.
- Avoid Over-Tightening: When fastening the Velcro strap or twist tie, ensure that it is snug enough to hold the coil in place but not excessively tight. Over-tightening can place unnecessary stress on the cord and may lead to deformation or damage over time.
- Leave a Tail: If using a twist tie, leave a small tail protruding from the secured coil. This tail serves as a convenient tab for easy removal when you need to access the extension cord, preventing the need to untie knots or struggle with a tightly fastened strap.
- Inspect the Coil: After securing the coil, take a moment to inspect the entire bundle. Ensure that the coils are neatly aligned and that there are no signs of twisting or kinking within the wrapped extension cord.
By properly securing the coil, you’ll not only maintain the integrity of the extension cord but also make it easier to handle and store. This final step adds an extra layer of convenience to the wrapping process, ensuring that your outdoor extension cord is always at the ready when you need it.
Read also: 9 Best Electrical Cord Wrap for 2025
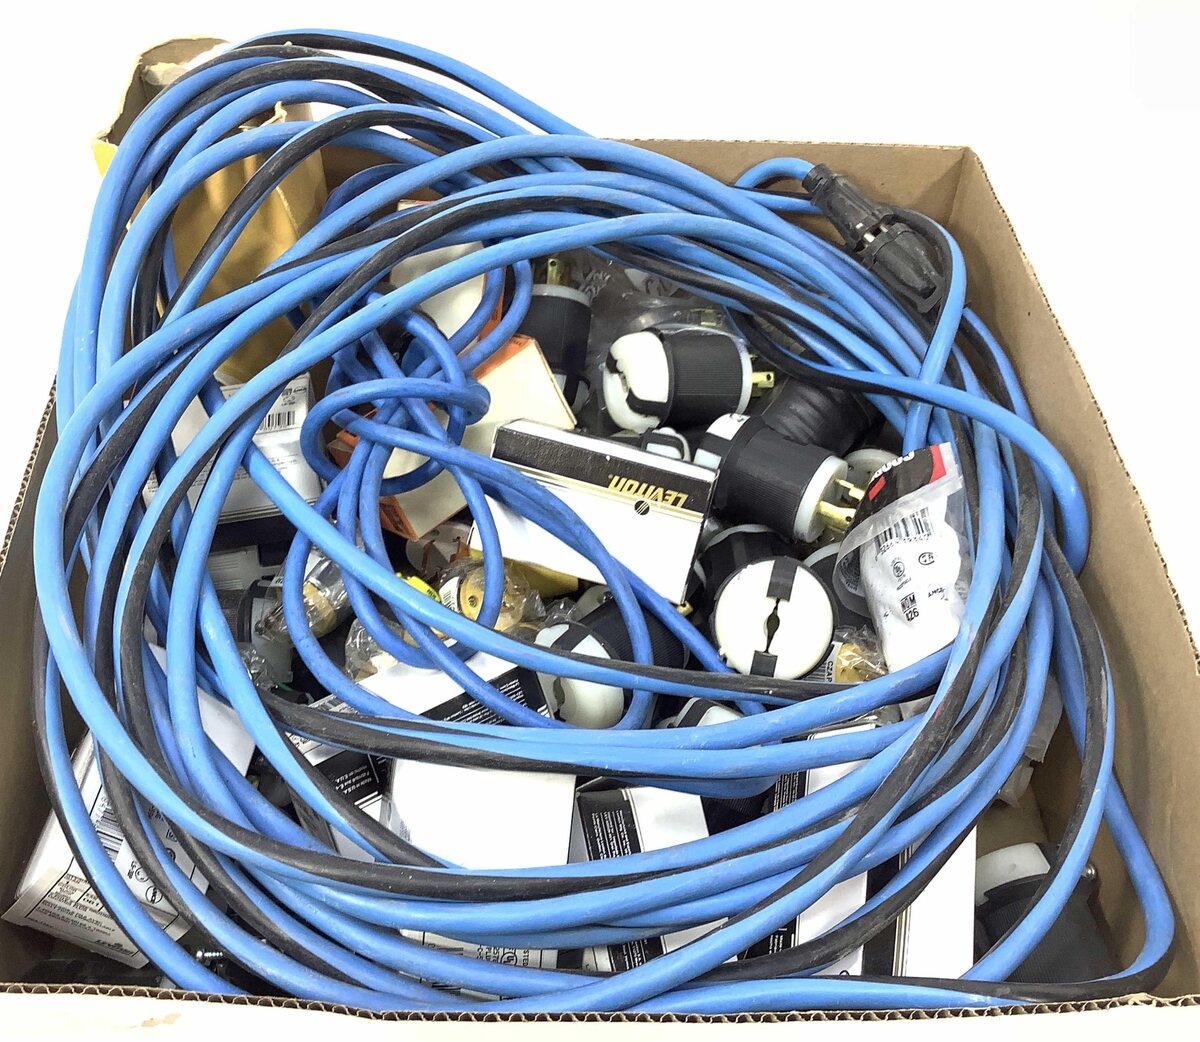
Step 5: Store the Wrapped Extension Cord
Once the extension cord is securely coiled and fastened, it’s time to consider the best storage options to keep it organized and easily accessible for future use. Follow these guidelines to store the wrapped extension cord effectively:
- Select a Suitable Storage Location: Choose a designated storage area that is protected from the elements and potential damage. Whether it’s a dedicated storage box, a shelf in your garage, or a hanging organizer, the goal is to keep the wrapped extension cord in a clean, dry, and easily accessible space.
- Prevent Tangling: When placing the wrapped extension cord in storage, take care to avoid any actions that could cause it to tangle or become entwined with other items. Keeping it separate from other tools and equipment minimizes the risk of unraveling or damage.
- Label the Cord Length: If you have multiple extension cords of varying lengths, consider labeling each one to quickly identify the specific length without unraveling them. This simple step saves time and ensures that you always select the right cord for the task at hand.
- Regularly Inspect and Maintain: Periodically check the stored extension cords for any signs of damage, wear, or deterioration. By staying proactive and addressing any issues promptly, you can prolong the lifespan of your outdoor extension cords and maintain their reliability.
By following these storage practices, you’ll ensure that your wrapped extension cord remains in top condition, ready to serve you whenever the need arises. A well-organized storage approach not only preserves the integrity of the cord but also streamlines your outdoor activities by providing quick and easy access to reliable power sources.
Conclusion
Mastering the art of wrapping outdoor extension cords is a valuable skill that contributes to the safety, organization, and longevity of your outdoor spaces. By following the step-by-step process outlined in this guide, you can efficiently and securely wrap your extension cords, ensuring that they remain tangle-free and easily accessible for your outdoor power needs.
From gathering the necessary materials to preparing and coiling the extension cord with precision, each step plays a crucial role in maintaining the integrity of the cord and simplifying the storage process. By securing the coiled cord and implementing effective storage practices, you can optimize the lifespan of your outdoor extension cords and ensure that they are always ready for action.
Remember, proper maintenance and storage of your extension cords not only contribute to their durability but also enhance the overall safety of your outdoor activities. By routinely inspecting and maintaining your cords, you can identify and address any potential issues before they escalate, promoting a secure and efficient outdoor environment.
With these techniques at your disposal, you can confidently tackle outdoor projects, events, and leisure activities, knowing that your extension cords are neatly wrapped, well-maintained, and readily available whenever you need them. Embrace the art of wrapping outdoor extension cords, and elevate the functionality and organization of your outdoor spaces with this essential skill.
Frequently Asked Questions about How To Wrap Outdoor Extension Cords
Was this page helpful?
At Storables.com, we guarantee accurate and reliable information. Our content, validated by Expert Board Contributors, is crafted following stringent Editorial Policies. We're committed to providing you with well-researched, expert-backed insights for all your informational needs.


0 thoughts on “How To Wrap Outdoor Extension Cords”