Home>Furniture & Design>Outdoor Furniture>How To Wrap Outdoor Faucets
Outdoor Furniture
How To Wrap Outdoor Faucets
Modified: August 27, 2024
Browse our tips and tricks for wrapping outdoor faucets effectively and efficiently.
(Many of the links in this article redirect to a specific reviewed product. Your purchase of these products through affiliate links helps to generate commission for Storables.com, at no extra cost. Learn more)
Introduction
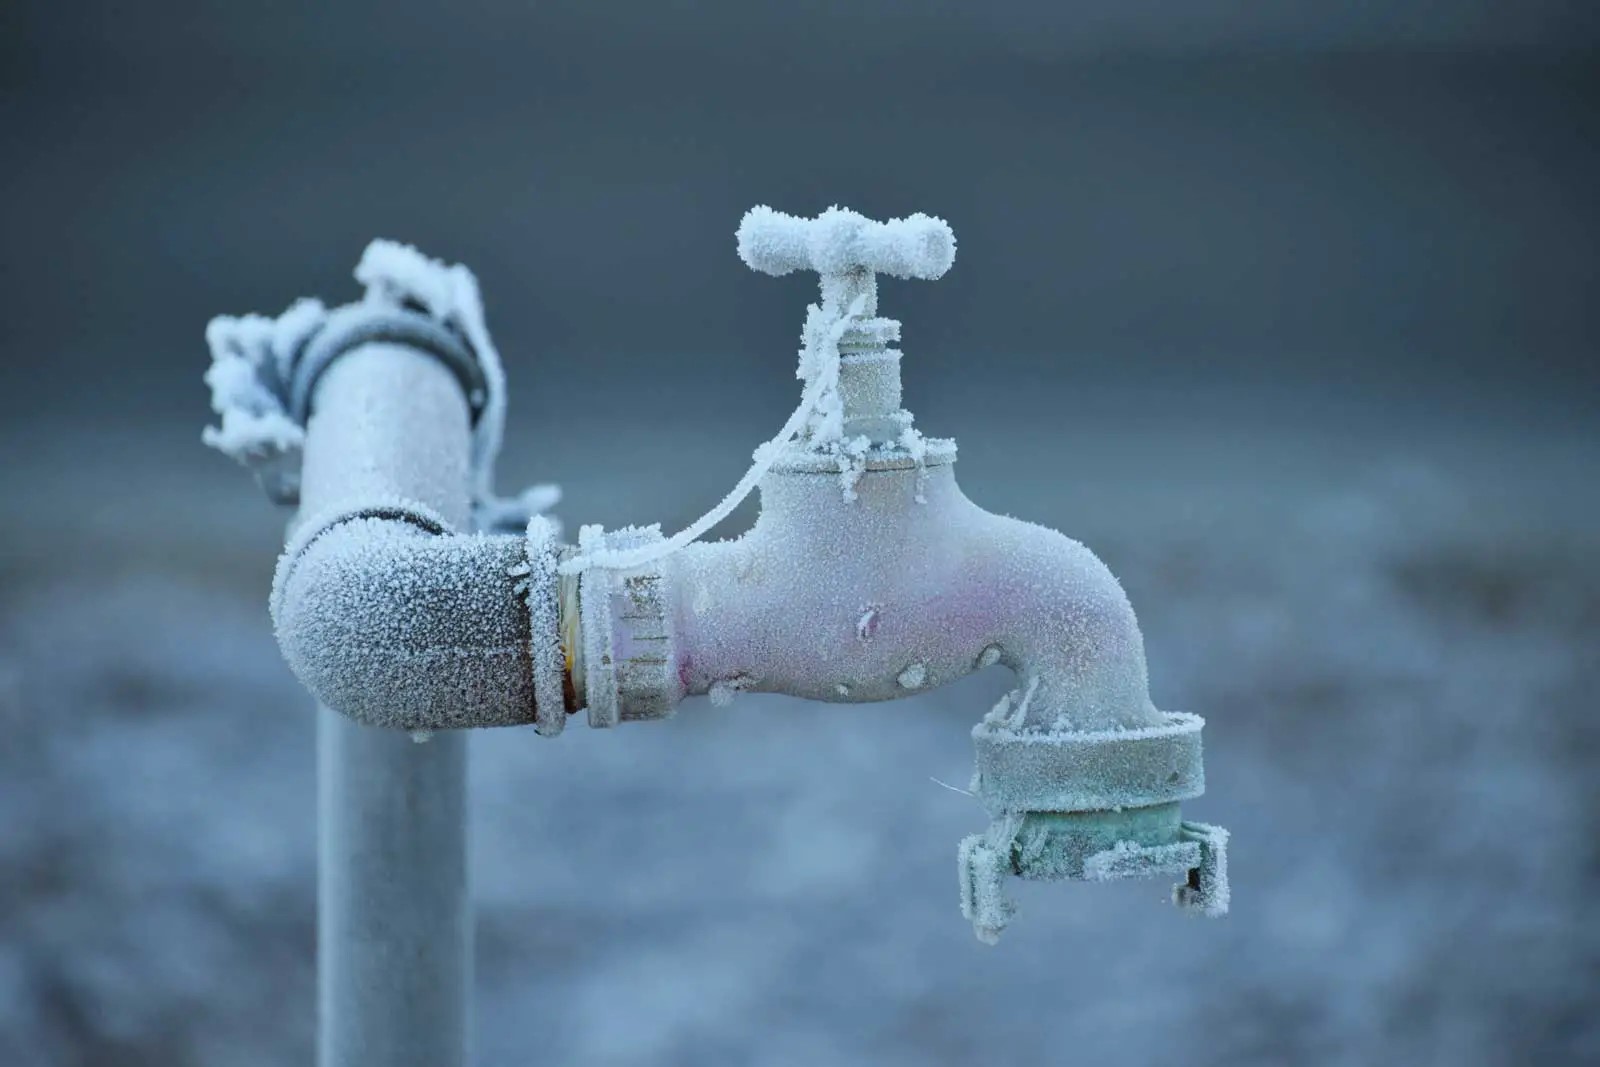
When the chilly winds of winter start to blow, it's essential to prepare your outdoor faucets for the impending cold temperatures. Freezing temperatures can cause water inside outdoor faucets to expand, leading to burst pipes and costly repairs. However, with a few simple steps, you can protect your outdoor faucets from the harsh winter conditions. In this guide, we'll walk you through the process of wrapping your outdoor faucets to safeguard them from the cold.
By taking the time to properly wrap and insulate your outdoor faucets, you can prevent potential damage and ensure that they continue to function optimally when warmer weather returns. Not only does this help to avoid the inconvenience of dealing with burst pipes, but it also saves you from the expenses associated with repairs.
In the following sections, we'll outline the materials you'll need for this task and provide a step-by-step guide to effectively wrapping and insulating your outdoor faucets. With a little effort and the right supplies, you can safeguard your outdoor faucets and enjoy peace of mind throughout the winter months. Let's get started!
Key Takeaways:
- Protect outdoor faucets from freezing by wrapping them with faucet covers, foam insulation, and plastic bags. This prevents burst pipes and costly repairs during winter.
- Turn off the water supply, drain the faucet, and secure the wrapping to safeguard outdoor faucets from freezing temperatures. This proactive approach saves you from the inconvenience of burst pipes.
Read more: How To Wrap Outdoor Extension Cords
Materials Needed
Before you begin the process of wrapping and insulating your outdoor faucets, it’s important to gather the necessary materials. Here’s a list of items you’ll need to effectively protect your outdoor faucets from freezing temperatures:
- Outdoor Faucet Covers: These are designed to fit over your outdoor faucets and provide an extra layer of protection against the cold.
- Foam Insulation: Insulating foam sleeves or tape can be wrapped around the exposed pipes connected to the outdoor faucets to prevent freezing.
- Duct Tape: Duct tape is useful for securing the foam insulation in place and ensuring a snug fit.
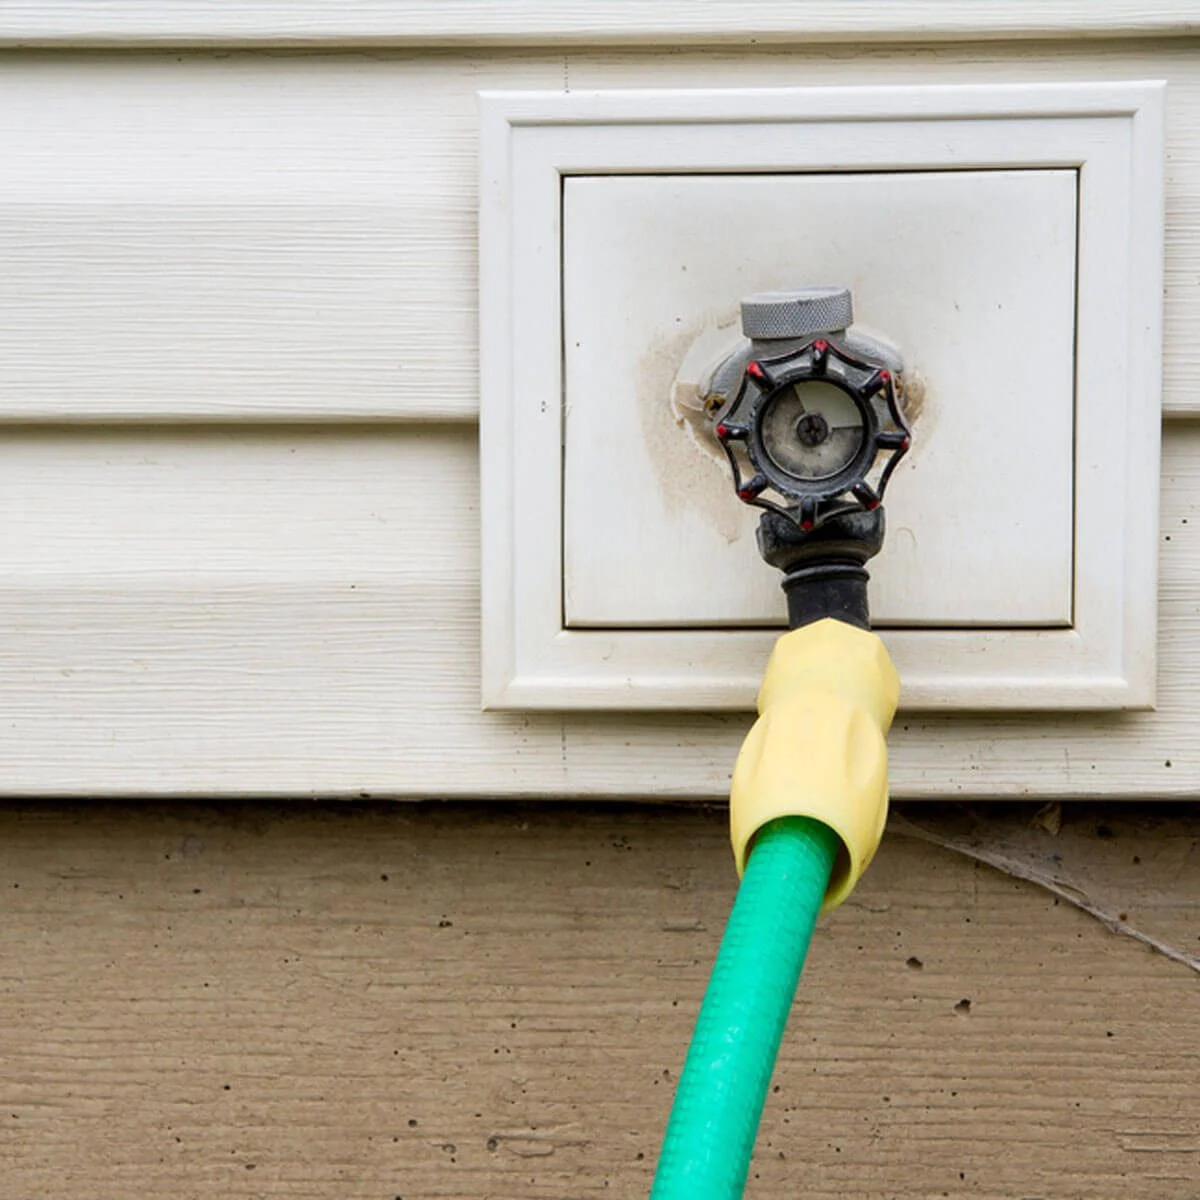
- Plastic Bags or Garbage Bags: These can be used to cover the faucet and faucet cover for added protection against moisture and the elements.
- Adjustable Wrench: You may need this tool to detach any hoses or accessories from the outdoor faucet before wrapping it.
- Bungee Cords or Rope: These can be used to secure the faucet covers in place and prevent them from being dislodged by strong winds.
- Scissors: To cut the foam insulation to the required length and trim any excess material.
By ensuring that you have these materials on hand, you’ll be well-prepared to effectively protect your outdoor faucets from the potentially damaging effects of freezing temperatures. With these supplies at your disposal, you can proceed with confidence through the process of wrapping and insulating your outdoor faucets.
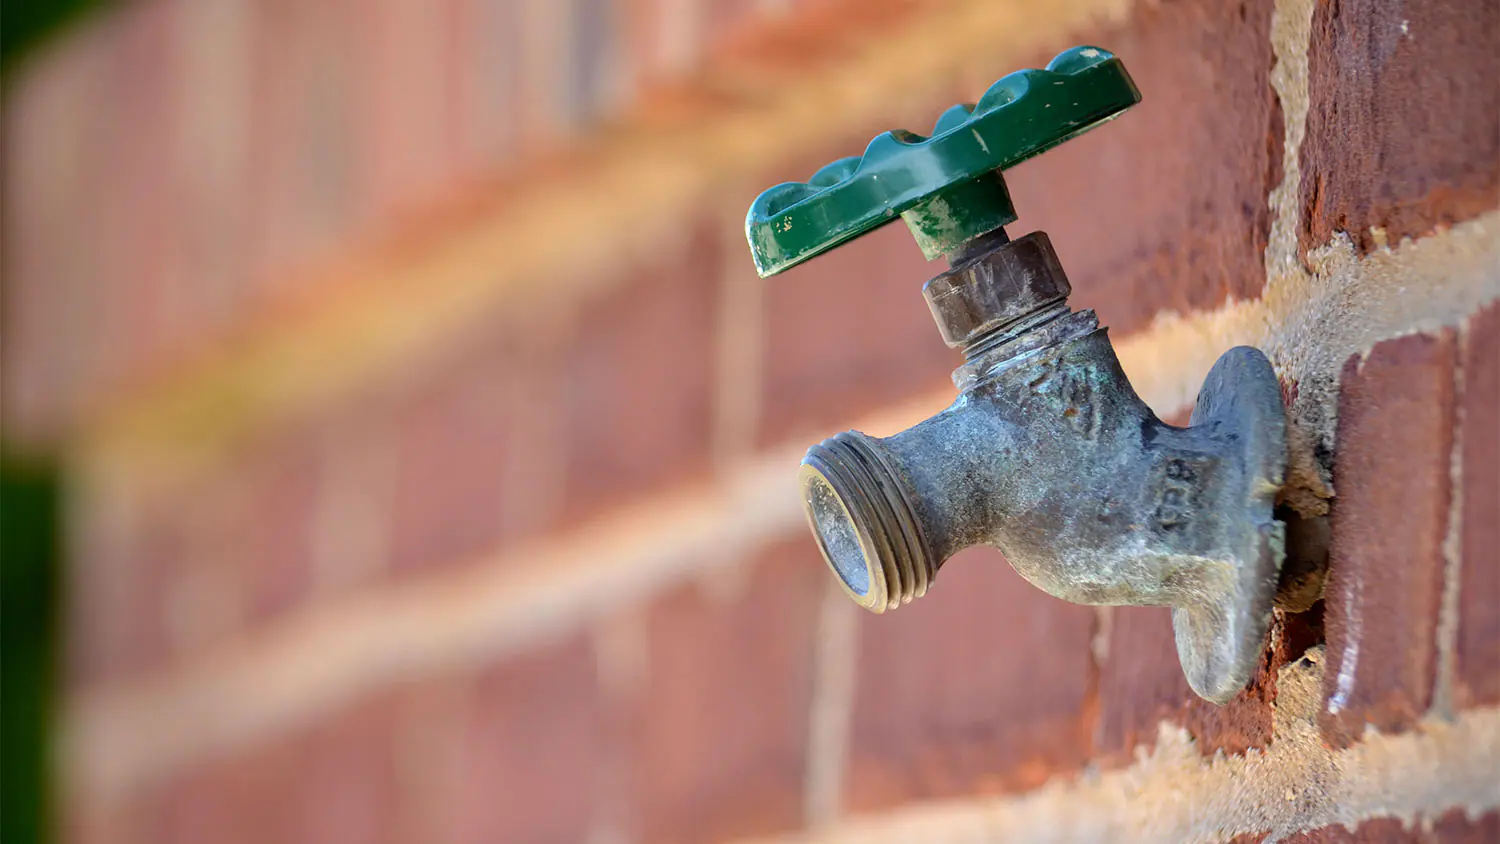
Step 1: Turn Off the Water Supply
Before you begin wrapping and insulating your outdoor faucets, it’s crucial to shut off the water supply connected to these fixtures. This step is essential to prevent water from accumulating and freezing inside the pipes, which can lead to costly damage.
Locate the shut-off valve that controls the water supply to the outdoor faucets. In many cases, this valve is situated inside the house, often in the basement or utility area. Once you’ve found the shut-off valve, turn it clockwise to close off the water supply to the outdoor faucets.
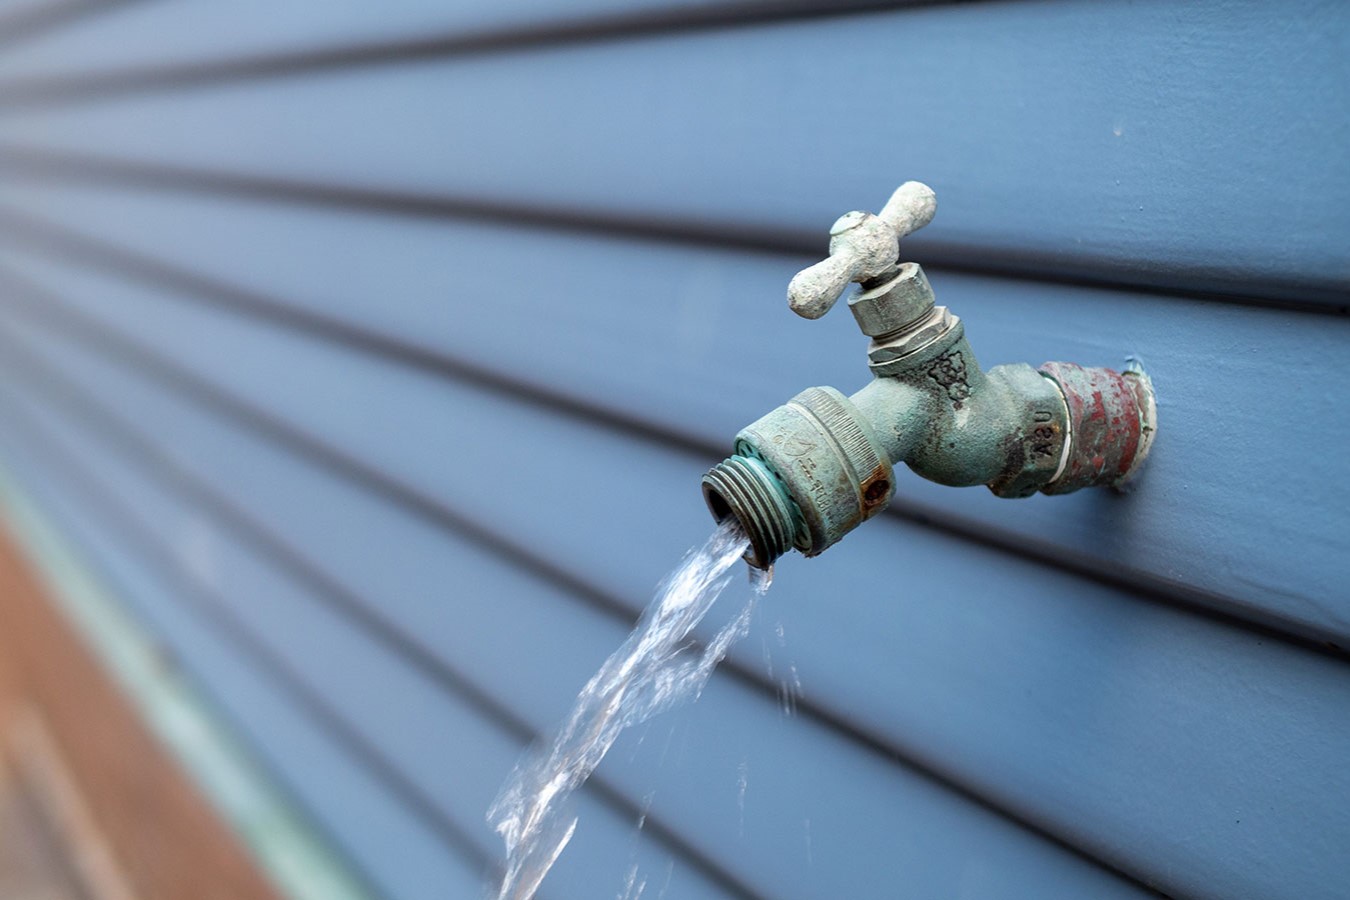
After shutting off the water supply, it’s advisable to open the outdoor faucets to drain any remaining water from the pipes. This can typically be done by turning the faucet handle to the “on” position and allowing any residual water to flow out. By draining the water from the outdoor faucets, you can minimize the risk of freezing and potential pipe damage during the cold winter months.
Remember, turning off the water supply and draining the outdoor faucets are essential preliminary steps that help ensure the effectiveness of the wrapping and insulating process. By taking these precautions, you’ll be well on your way to safeguarding your outdoor faucets from the perils of freezing temperatures.
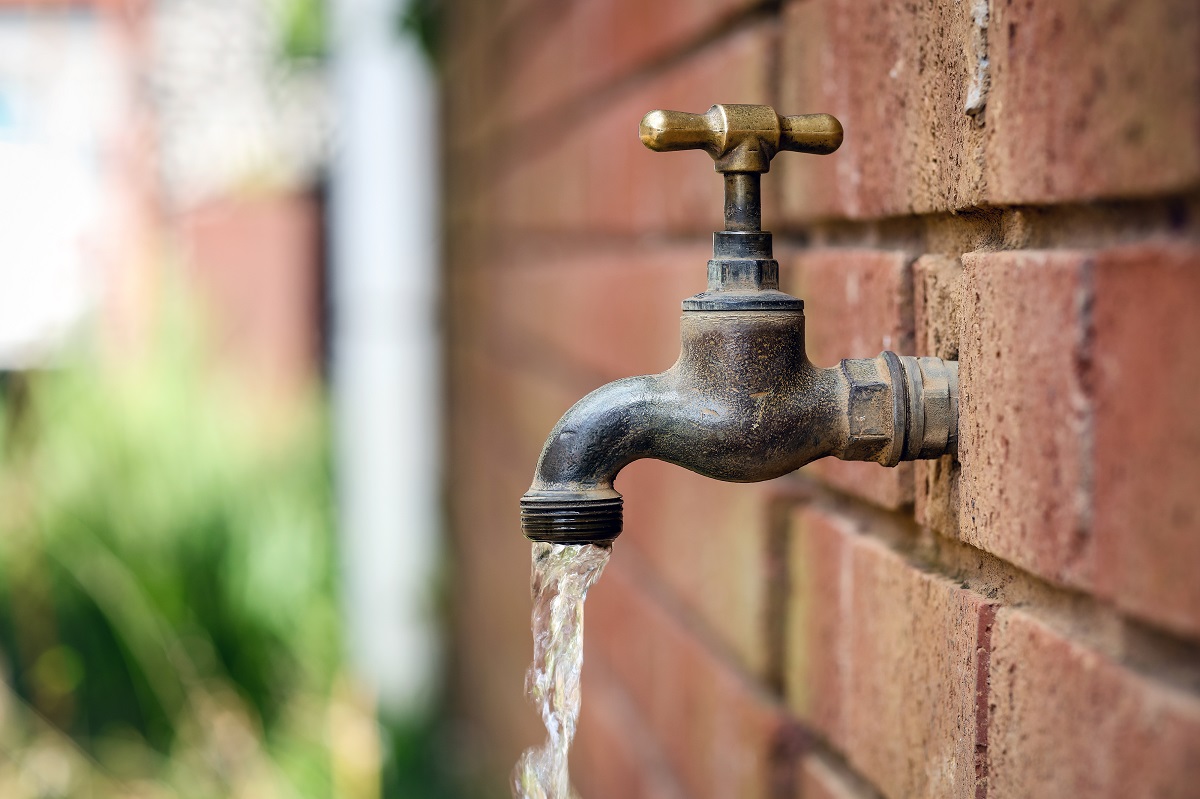
Step 2: Drain the Faucet
After turning off the water supply to the outdoor faucets, the next crucial step is to drain any remaining water from the faucet and the connected pipes. This process helps minimize the risk of freezing and potential damage due to ice formation.
Start by opening the outdoor faucet to allow any trapped water to flow out. Depending on the type of faucet, you may need to detach any hoses or accessories connected to it before opening the valve. Once the faucet is open, let the water drain completely, ensuring that no residual water remains inside the pipes.
It’s important to pay attention to any outdoor faucets with anti-siphon devices. These devices are designed to prevent water from flowing backward into the house’s water supply. To effectively drain faucets equipped with anti-siphon features, it’s recommended to remove the device and allow any water inside to drain out completely.
By thoroughly draining the outdoor faucet and connected pipes, you can reduce the likelihood of ice formation and potential damage caused by freezing water. This step, when combined with turning off the water supply, forms a critical part of the process to protect your outdoor faucets from the harsh effects of winter weather.
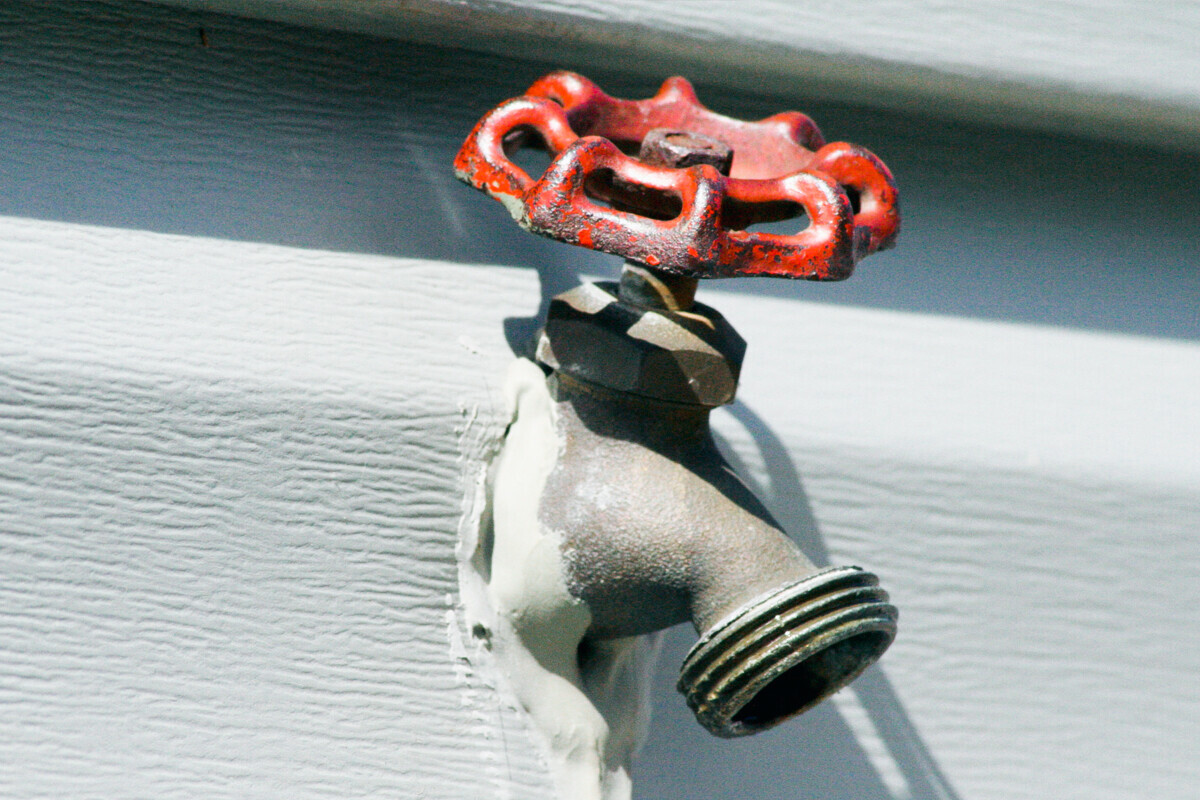
Use an outdoor faucet cover or wrap the faucet with insulating material to protect it from freezing temperatures. Make sure to disconnect any hoses and shut off the water supply before wrapping.
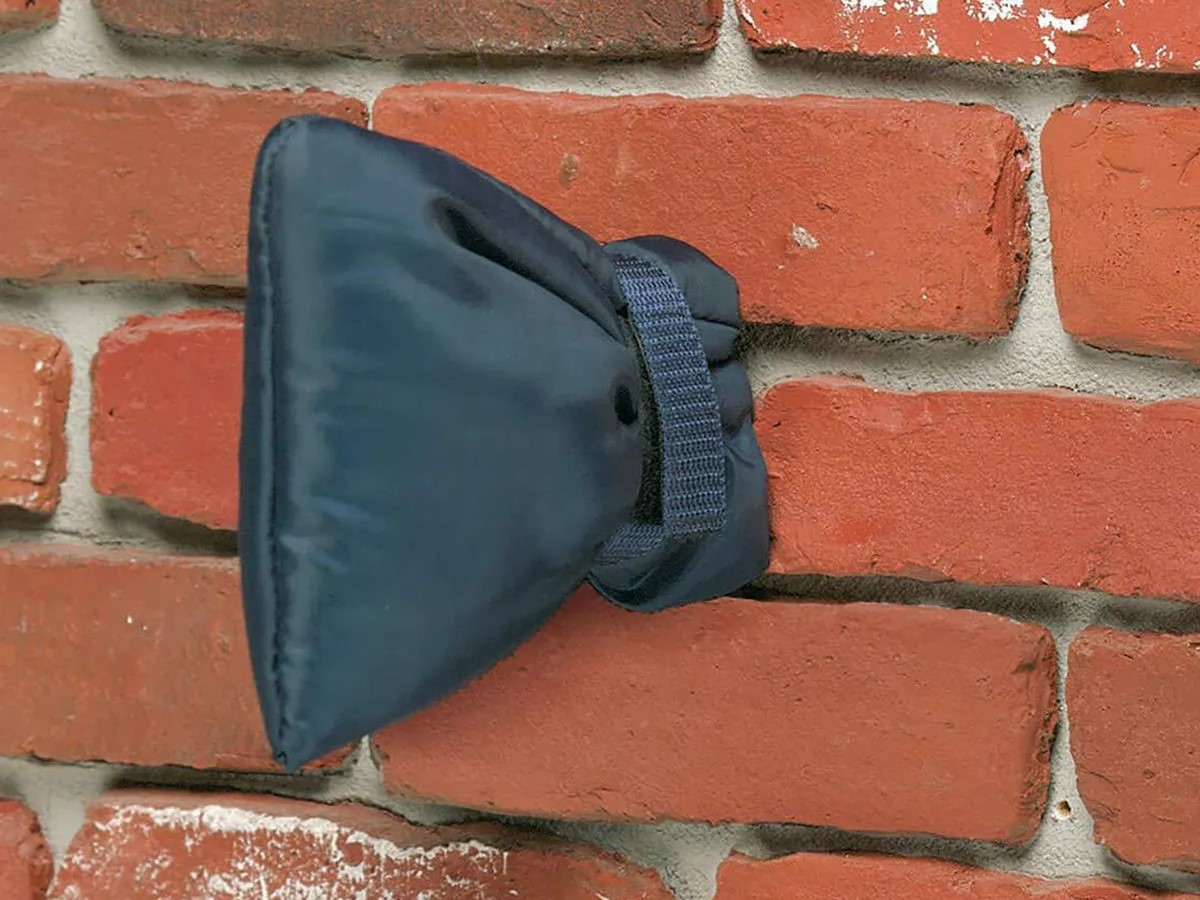
Step 3: Wrap the Faucet
With the water supply turned off and the faucet drained, it’s time to proceed with wrapping the outdoor faucet to provide an additional layer of protection against freezing temperatures. This step is crucial in safeguarding the faucet and its connected pipes from potential damage during the winter months.
Begin by selecting an outdoor faucet cover that fits snugly over the faucet and provides insulation. These covers are typically designed to shield the faucet from the cold and prevent ice formation. Carefully place the cover over the outdoor faucet, ensuring that it fits securely and completely encases the fixture.
Additionally, consider using foam insulation sleeves or tape to wrap around the exposed pipes connected to the outdoor faucet. This insulation helps to further shield the pipes from the cold and minimize the risk of freezing. Wrap the foam insulation tightly around the pipes, ensuring that there are no gaps or exposed areas that could be vulnerable to freezing temperatures.
It’s essential to pay attention to any gaps or openings where cold air and moisture could penetrate. Use duct tape to seal any seams or edges, ensuring that the wrapping provides a secure barrier against the elements. By taking these measures, you can effectively protect your outdoor faucet and connected pipes from the potential hazards of freezing temperatures.
By wrapping the outdoor faucet with a protective cover and insulating the connected pipes, you create a barrier that helps shield these fixtures from the cold. This proactive approach can go a long way in preventing damage and ensuring that your outdoor faucets remain in optimal condition throughout the winter season.
Read more: How To Wrap Outdoor Pipes For Winter
Step 4: Secure the Wrapping
After wrapping the outdoor faucet and insulating the connected pipes, it’s important to ensure that the protective cover and insulation are securely in place. Properly securing the wrapping helps maintain its effectiveness in safeguarding the faucet and pipes from freezing temperatures and the elements.
One method of securing the wrapping is to use bungee cords or rope to fasten the faucet cover in place. This helps prevent the cover from being dislodged by strong winds or extreme weather conditions. Secure the bungee cords or rope tightly around the faucet cover, ensuring that it remains firmly attached and provides complete protection.
Additionally, check the foam insulation wrapped around the pipes to ensure that it is securely in place. Use duct tape to reinforce any areas where the insulation may be prone to shifting or coming loose. By securing the insulation with duct tape, you can prevent it from unwrapping and maintain its effectiveness in protecting the pipes from freezing.
It’s crucial to inspect the wrapping and ensure that it is adequately secured to withstand the rigors of winter weather. By taking the time to properly secure the protective cover and insulation, you can enhance their ability to shield your outdoor faucets from the potential hazards of freezing temperatures.
By securing the wrapping around the outdoor faucet and connected pipes, you can have confidence in the protection it provides. This attention to detail ensures that your outdoor faucets are well-prepared to withstand the challenges posed by winter weather, minimizing the risk of damage and costly repairs.
Step 5: Insulate the Faucet
Once the protective cover is in place and secured, it’s essential to take additional measures to insulate the outdoor faucet and further safeguard it from freezing temperatures. This step involves enhancing the protective barrier around the faucet to ensure comprehensive protection during the winter months.
Consider using plastic bags or garbage bags to cover the faucet and the installed faucet cover. This additional layer of protection helps shield the faucet from moisture and the elements, further reducing the risk of freezing. Carefully wrap the plastic bags around the faucet and cover, ensuring a snug fit that provides an extra barrier against the cold.
It’s important to inspect the entire wrapped area and look for any gaps or exposed areas that may compromise the insulation. Use additional duct tape to seal any openings and reinforce the protective wrapping. By addressing any potential vulnerabilities, you can strengthen the insulation and enhance its effectiveness in shielding the outdoor faucet from freezing temperatures.
By taking these measures to insulate the outdoor faucet, you create a multi-layered protective barrier that minimizes the risk of freezing and potential damage. This comprehensive approach helps ensure that your outdoor faucet is well-prepared to withstand the challenges of winter weather, providing peace of mind and avoiding the inconvenience of dealing with burst pipes and repairs.
By insulating the outdoor faucet with an additional layer of protection, you bolster the effectiveness of the wrapping and enhance its ability to shield the faucet from freezing temperatures. This proactive approach contributes to the overall resilience of your outdoor faucets during the winter season, helping to maintain their functionality and integrity.
Conclusion
Preparing your outdoor faucets for the winter is a proactive measure that can save you from the inconvenience and expense of dealing with burst pipes and repairs. By following the steps outlined in this guide, you can effectively protect your outdoor faucets from the potentially damaging effects of freezing temperatures.
Turning off the water supply, draining the faucet, and wrapping it with a protective cover and insulation are essential steps in safeguarding outdoor faucets. Securing the wrapping and adding an extra layer of insulation further enhance the protection, creating a comprehensive barrier against the cold and the elements.
By taking the time to properly prepare and insulate your outdoor faucets, you can enjoy peace of mind knowing that they are well-equipped to withstand the challenges posed by winter weather. This proactive approach not only helps prevent damage but also ensures that your outdoor faucets continue to function optimally when warmer temperatures return.
Remember, the investment of time and effort in preparing your outdoor faucets for winter can lead to significant savings and avoid the inconvenience of dealing with burst pipes. By following the steps outlined in this guide and taking a thorough approach to protecting your outdoor faucets, you can enjoy a worry-free winter season and preserve the integrity of your outdoor plumbing fixtures.
With the proper preparation and insulation, your outdoor faucets are ready to face the cold with resilience and durability. By implementing these measures, you can protect your outdoor faucets and enjoy the peace of mind that comes with knowing that they are well-prepared for the winter months.
Frequently Asked Questions about How To Wrap Outdoor Faucets
Was this page helpful?
At Storables.com, we guarantee accurate and reliable information. Our content, validated by Expert Board Contributors, is crafted following stringent Editorial Policies. We're committed to providing you with well-researched, expert-backed insights for all your informational needs.


0 thoughts on “How To Wrap Outdoor Faucets”