
Articles
How To Test Extension Cord With Multimeter
Modified: October 28, 2024
Learn how to test extension cords with a multimeter in this informative article. Find step-by-step instructions and ensure the safety of your electrical connections.
(Many of the links in this article redirect to a specific reviewed product. Your purchase of these products through affiliate links helps to generate commission for Storables.com, at no extra cost. Learn more)
Introduction
An extension cord is a versatile tool that allows us to conveniently extend the reach of electrical appliances and devices. Whether it’s for powering tools in the workshop, setting up outdoor lighting, or simply plugging in multiple devices in a room with limited outlets, extension cords play a crucial role in our everyday lives.
However, like any electrical equipment, extension cords can wear out over time and become a potential safety hazard. Damaged or faulty extension cords can lead to electrical shocks, fires, and other accidents if not properly maintained and tested.
Therefore, it is essential to regularly test your extension cords to ensure they are safe to use. In this article, we will discuss the importance of testing extension cords, the tools and materials needed for the testing process, and a step-by-step guide on how to test an extension cord with a multimeter.
Key Takeaways:
- Regularly testing extension cords with a multimeter is crucial for ensuring electrical safety, preventing hazards, and maintaining the longevity of electrical devices.
- Prioritizing safety, proper multimeter setup, and thorough testing for continuity, voltage, grounding, and damages are essential steps in ensuring the safety and functionality of extension cords.
What is an Extension Cord?
An extension cord, also known as a power extension cable or power cord, is a flexible electrical cable with a plug on one end and one or more sockets on the other end. It is designed to extend the reach of electrical devices by allowing them to be plugged into a power source further away.
Extension cords come in various lengths and can be used both indoors and outdoors. They are incredibly versatile and can be found in homes, offices, construction sites, workshops, and many other places where a power source may not be easily accessible.
Extension cords are typically made of a durable and flexible outer covering, such as rubber or vinyl, to protect the electrical conductors inside. The conductors are usually composed of copper or aluminum wires that allow the safe transmission of electricity.
Extension cords are available in different gauges or wire sizes, with the gauge determining the amount of electrical current that can safely flow through the cord. It is crucial to choose the appropriate gauge extension cord for your specific needs to prevent overloading and potential hazards.
Some extension cords also come with additional features such as built-in surge protectors, weather-resistant coatings, and indicator lights to provide extra safety and convenience.
Overall, extension cords serve as a practical solution for extending the reach of electrical devices, allowing us to power our appliances and tools without the limitations of fixed power outlets. However, it is important to understand the potential risks associated with extension cords and take appropriate measures to ensure their safety.
Importance of Testing Extension Cords
Testing extension cords on a regular basis is crucial for maintaining electrical safety and preventing potential hazards. Here are some of the key reasons why testing extension cords is important:
1. Safety Assurance: Testing extension cords ensures that they are in proper working condition and free from any electrical faults or damages. This helps ensure the safety of both users and the surrounding environment.
2. Prevention of Electrical Accidents: Faulty or damaged extension cords can pose significant risks, such as electrical shocks, fires, and short circuits. By testing extension cords, you can identify any issues early on and take necessary action to resolve them before they become a safety hazard.
3. Compliance with Electrical Standards: Testing extension cords helps ensure that they meet the necessary electrical safety standards. This is particularly important in professional settings, such as construction sites or industrial environments, where compliance with regulations is essential for the well-being of workers and to prevent potential legal issues.
4. Extension Cord Longevity: Regular testing can help identify any wear and tear on the extension cord, enabling timely repairs or replacement as needed. This extends the lifespan of the cord and avoids unexpected failures during use.
5. Protection of Electrical Devices: An extension cord that is in good condition ensures proper flow of electricity to connected devices. Testing helps identify any issues that could potentially damage electrical devices and allows for timely maintenance or replacement.
6. Peace of Mind: Knowing that your extension cords have been tested and are safe to use provides peace of mind, whether you are using them at home or in a professional setting.
It is important to note that even new extension cords should be tested before initial use, as manufacturing defects or damage during transport may occur. Additionally, regular testing should be conducted periodically or after any event that could potentially cause damage, such as exposure to harsh weather conditions or accidental impact.
By prioritizing the testing of extension cords, you can ensure electrical safety, prevent accidents, and maintain the longevity and functionality of your electrical equipment.
Tools and Materials Needed
Before you begin testing your extension cords, it is important to gather the necessary tools and materials. Here is a list of items you will need:
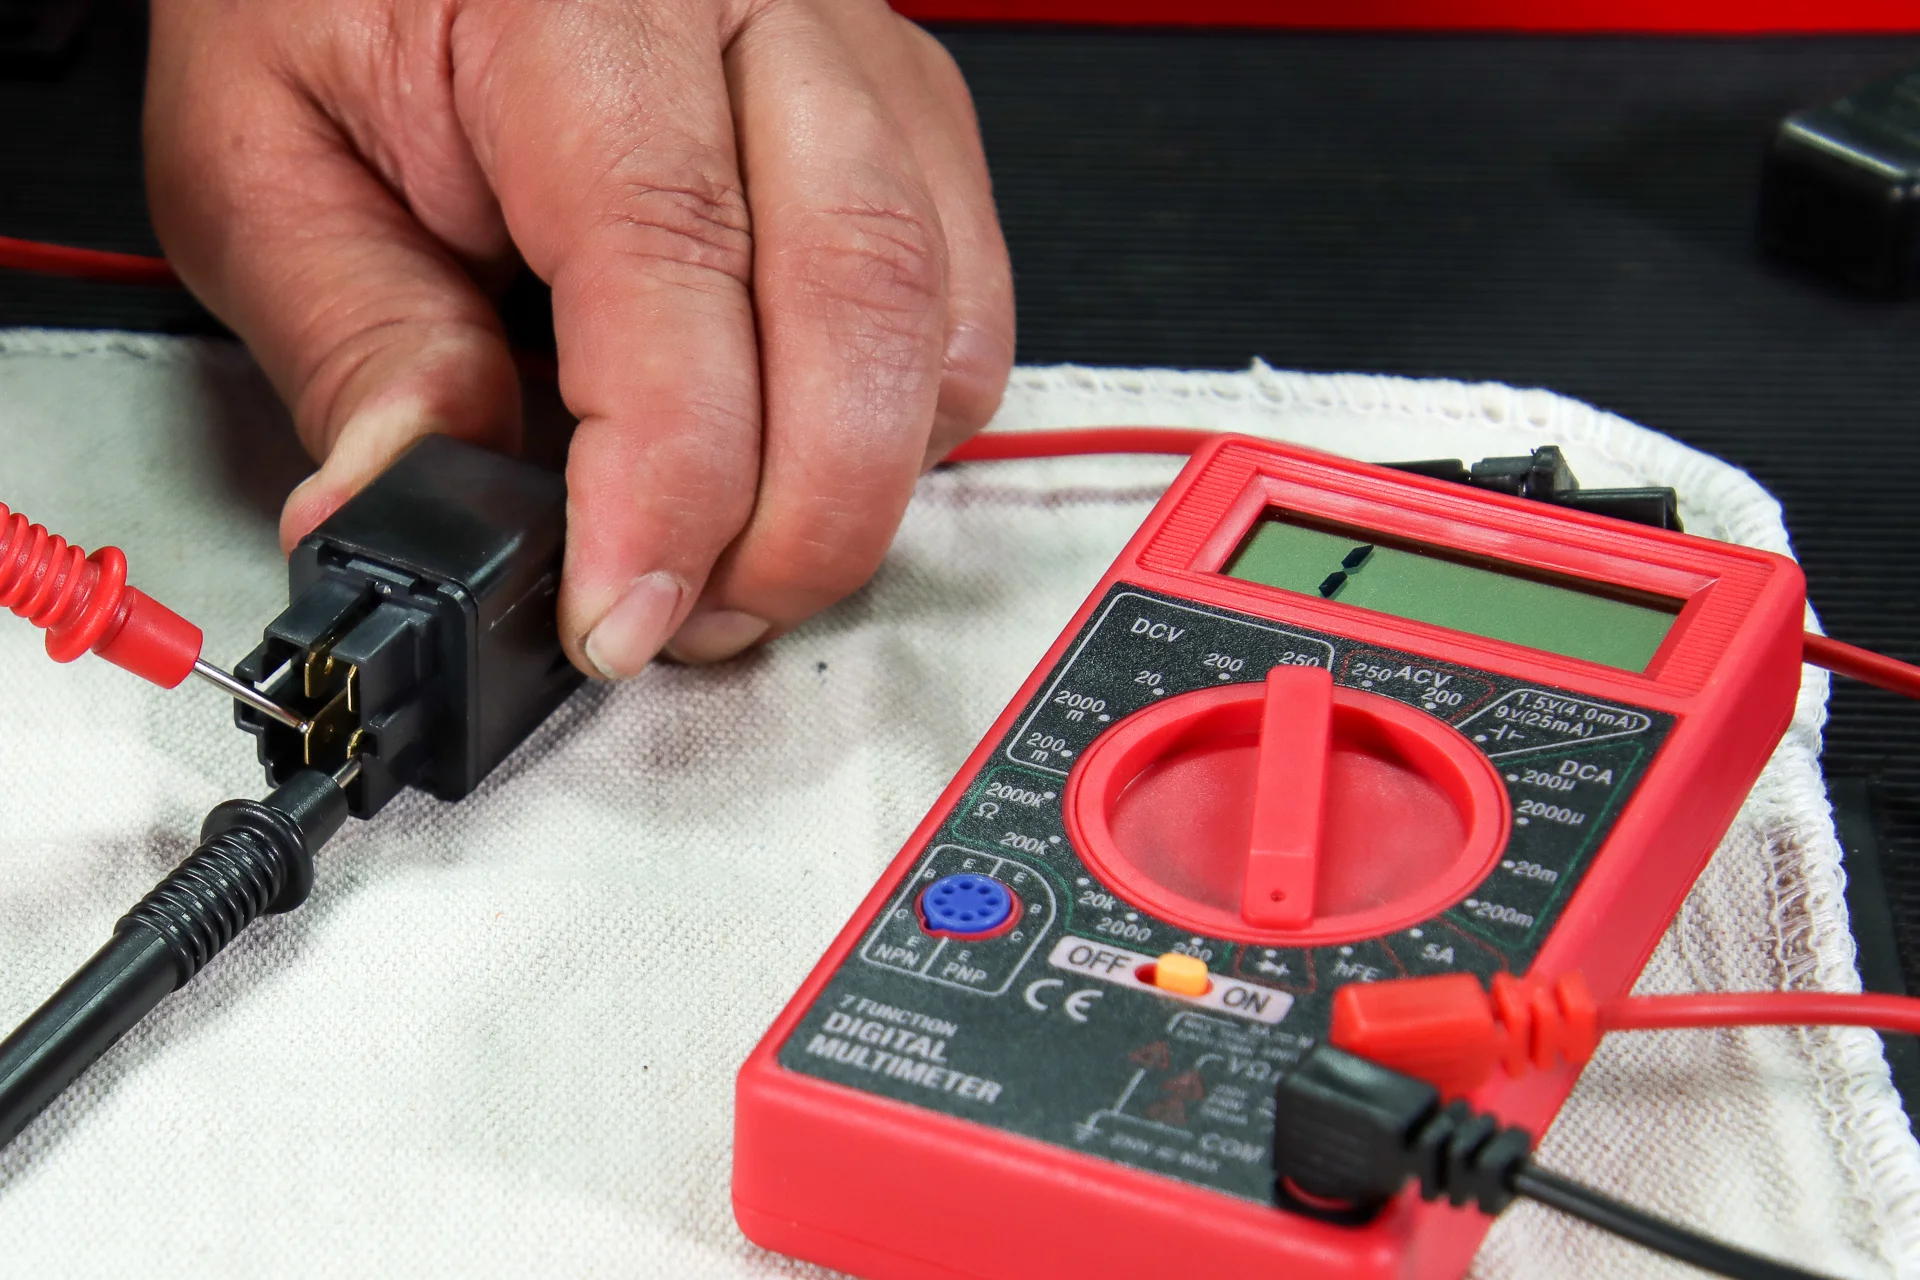
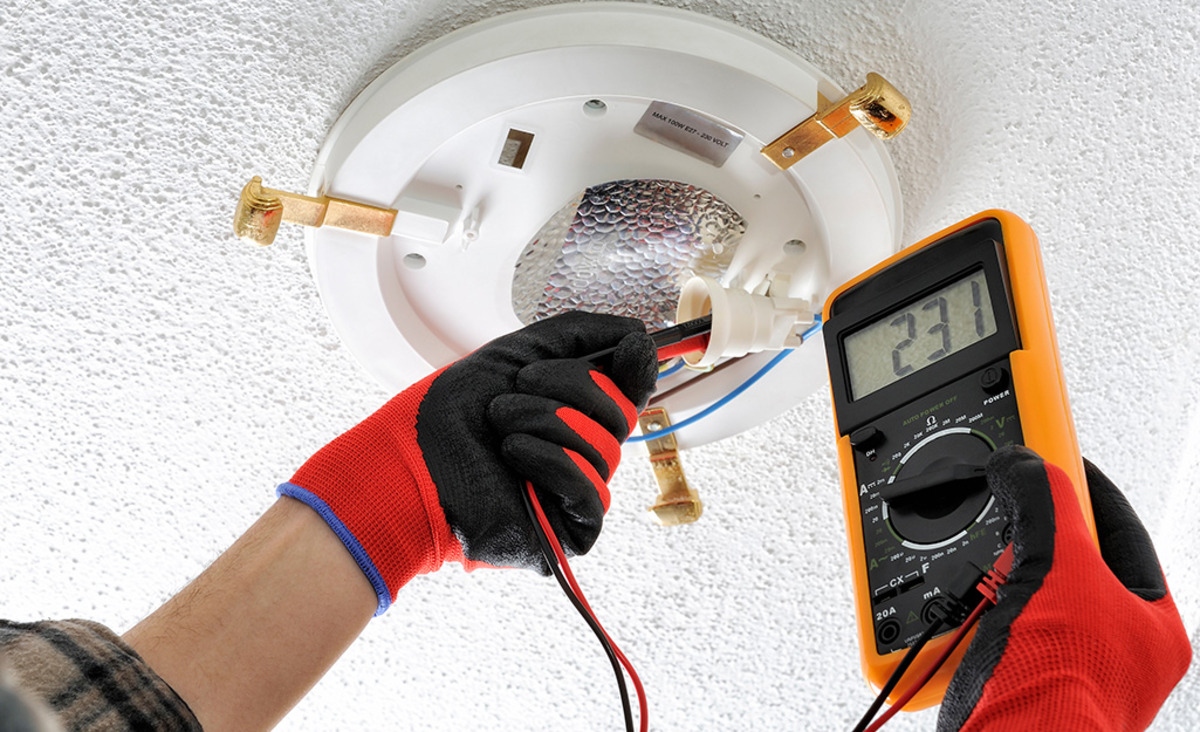
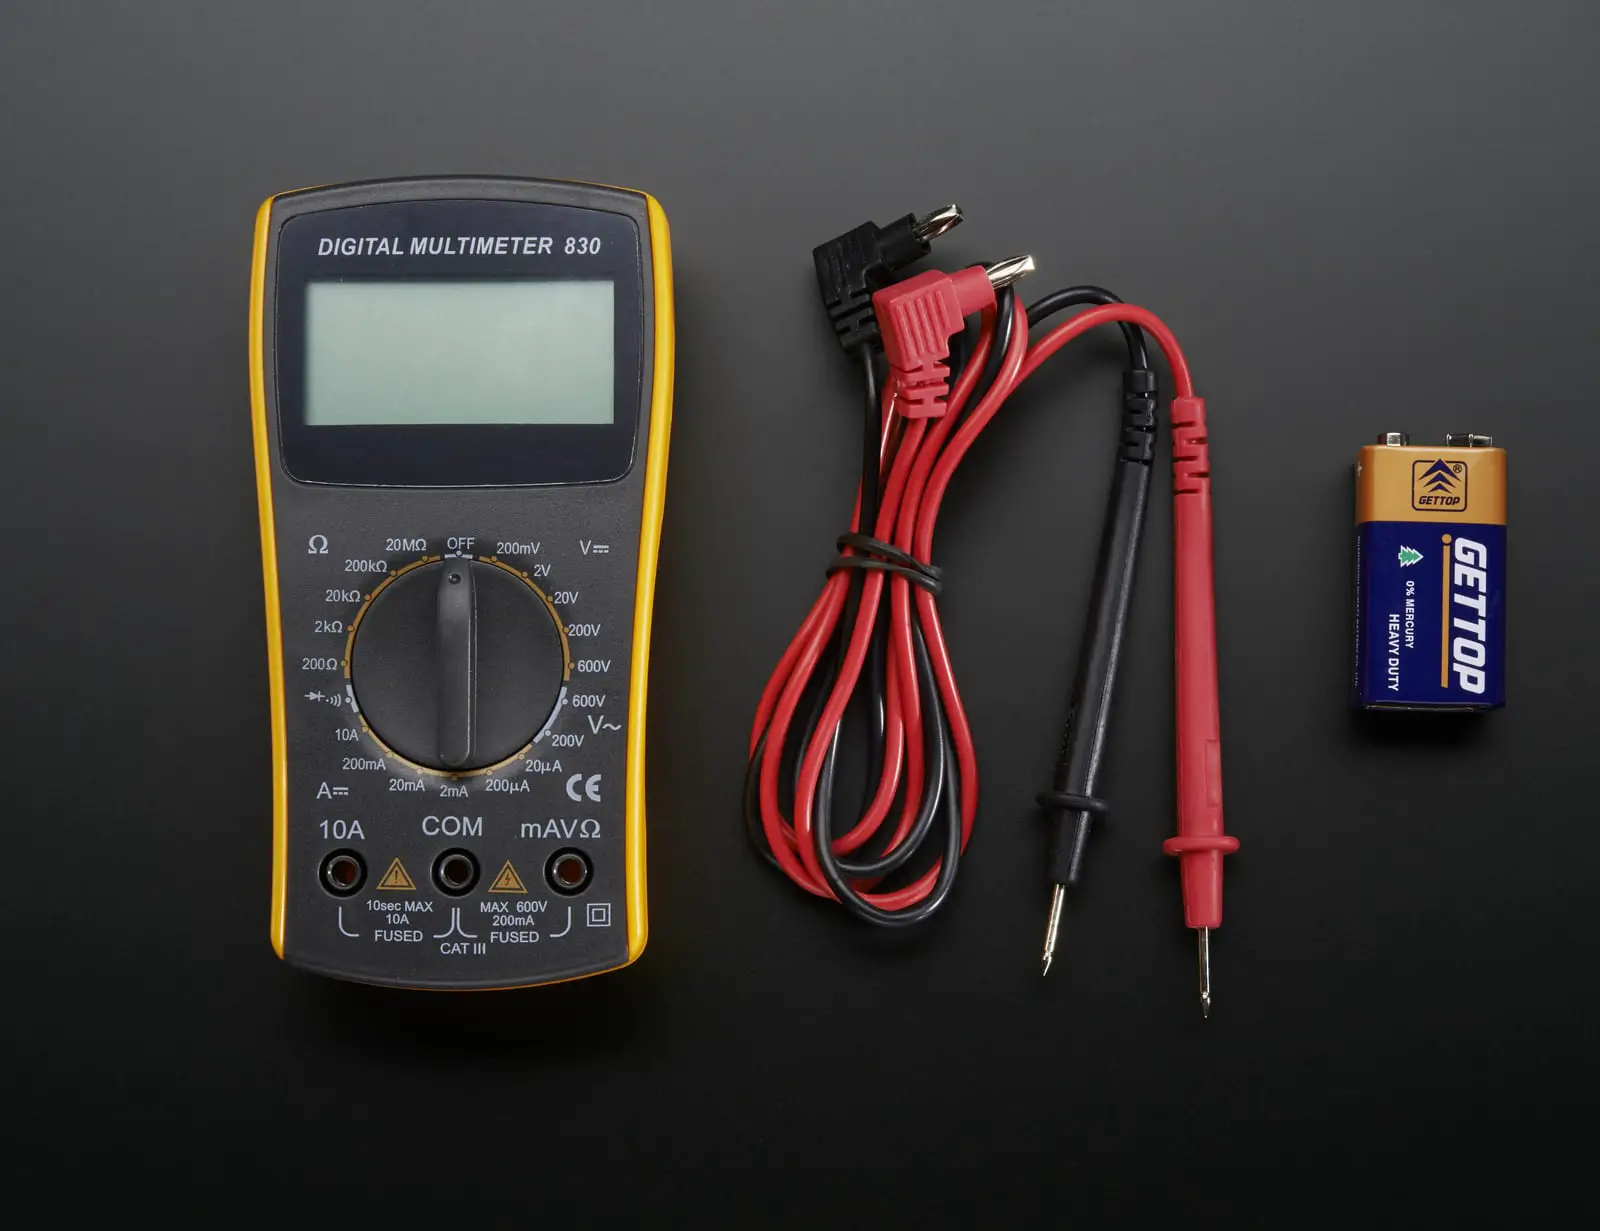
1. Multimeter: A multimeter is the primary tool required for testing extension cords. It is an electronic measuring instrument that can be used to measure voltage, continuity, and resistance. Make sure you have a multimeter with appropriate settings for voltage and continuity testing.
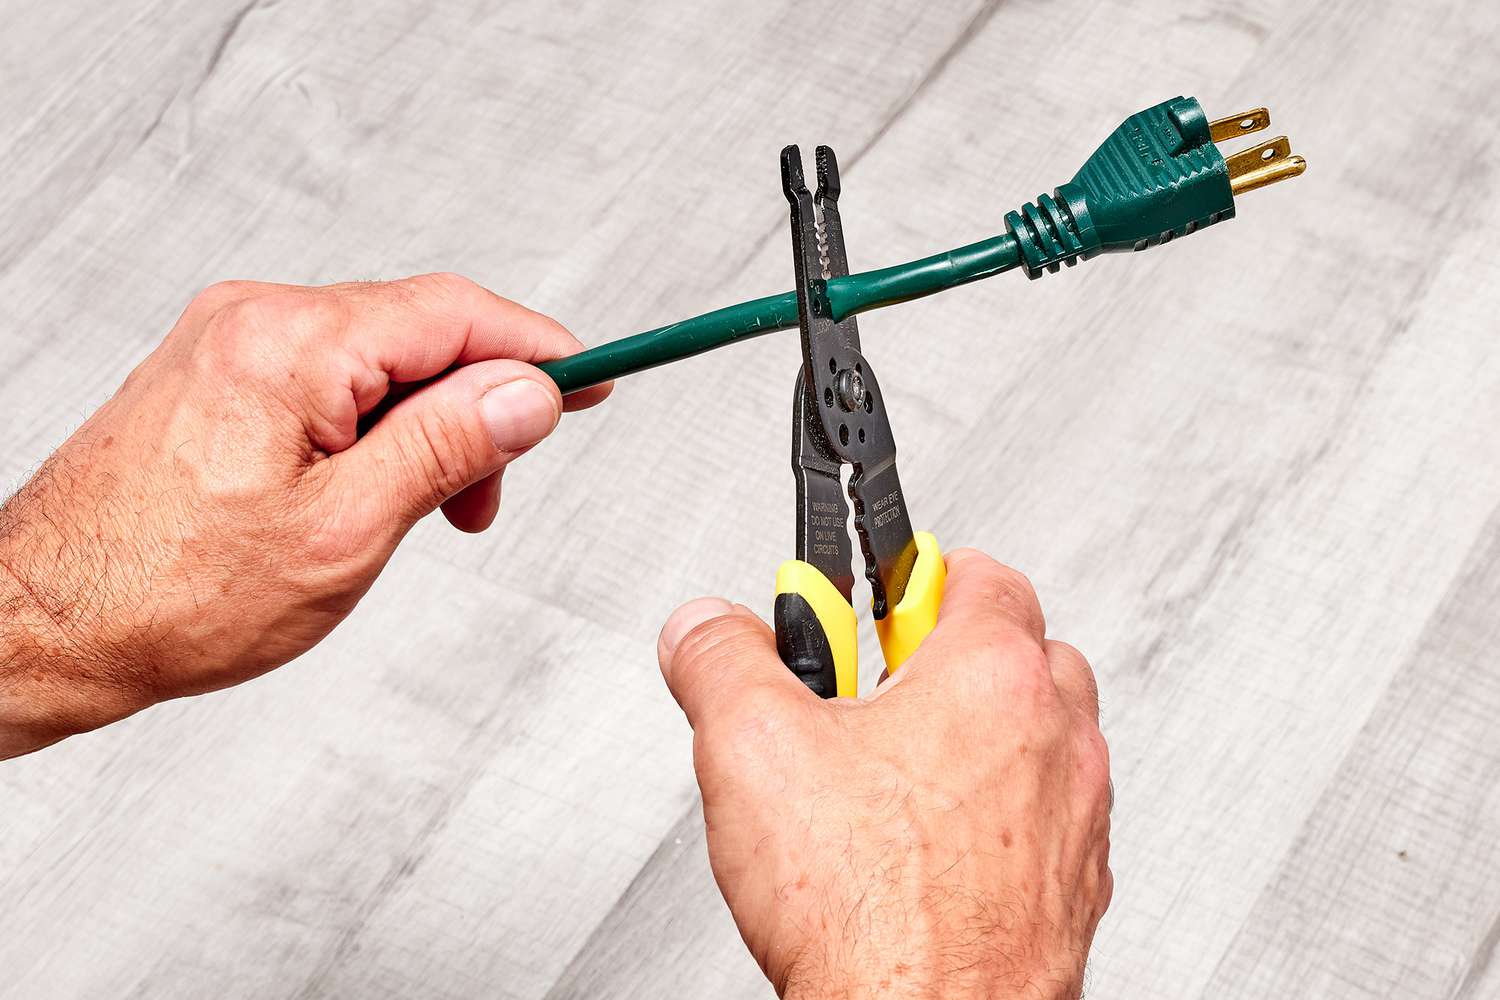
2. Extension Cord: Prepare the extension cord that you want to test. Ensure that it is unplugged and disconnected from any power source.
3. Protective Gloves: It is essential to wear protective gloves while handling extension cords during testing. This provides an extra layer of safety in case of any electrical faults.
4. Protective Eyewear: Consider wearing protective eyewear to protect your eyes from any potential debris or sparks during the testing process.
5. Testing Environment: Find a clean and well-lit area to perform the testing. Ensure there is no water or moisture present, as this can be dangerous when dealing with electricity.
6. Workbench or Stable Surface: Set up a workbench or stable surface where you can safely place and work with the extension cord and the multimeter.
7. Pen and Paper: Keep a pen and paper handy to take note of any observations or readings during the testing process. This will help you record and analyze the results.
8. Replacement Parts: In case you find any issues or faults with the extension cord, be prepared with replacement parts such as plugs, connectors, or wire splices, if necessary.
Remember, your safety should be a top priority when working with electrical equipment. Ensure you are knowledgeable about using the multimeter correctly and follow proper precautions to minimize any risks.
By gathering the necessary tools and materials, you will be well-prepared to efficiently and effectively test your extension cords, ensuring their safety and functionality.
Step 1: Setting Up the Multimeter
Before you start testing your extension cord, it is important to properly set up your multimeter. Follow these steps to ensure correct setup:
1. Select the appropriate settings: Check the user manual of your multimeter to determine the correct settings for testing continuity and voltage. Set the multimeter to the appropriate voltage range for the expected voltage of your extension cord. For continuity testing, select the continuity or resistance mode.
2. Turn on the multimeter: Turn on the multimeter by pressing the power button, if applicable. Make sure the display is functioning properly and showing accurate readings.
3. Test the multimeter: To ensure the multimeter is working correctly, you can perform a quick test using a known power source, such as a wall outlet. Insert the multimeter probes into the appropriate slots or sockets of the multimeter, making sure to match the polarity (red probe in the positive socket and black probe in the negative socket, typically labeled “+” and “-“). The multimeter should display the voltage reading corresponding to the power source. If the multimeter does not provide accurate readings, double-check the settings and connections, or consider replacing the batteries if necessary.
4. Set the appropriate lead probes: Depending on the type of testing you plan to perform, you may need to attach specific lead probes to your multimeter. For continuity testing, use the probes with pointed ends or alligator clips, depending on the type of connections you prefer. For voltage testing, use the probes with pointed tips.
5. Connect the extension cord to the multimeter: Take one end of the extension cord and connect the exposed wires to the appropriate multimeter probes. Ensure a secure connection by firmly gripping the probes to the wire, making sure there is no loose or exposed wiring. Take caution to avoid contact with bare wires while handling them.
By properly setting up your multimeter, you will be ready to conduct accurate and effective tests on your extension cord. Double-check all the connections and settings to ensure accurate readings. Once the multimeter is set up, you can proceed to the next step of testing for continuity.
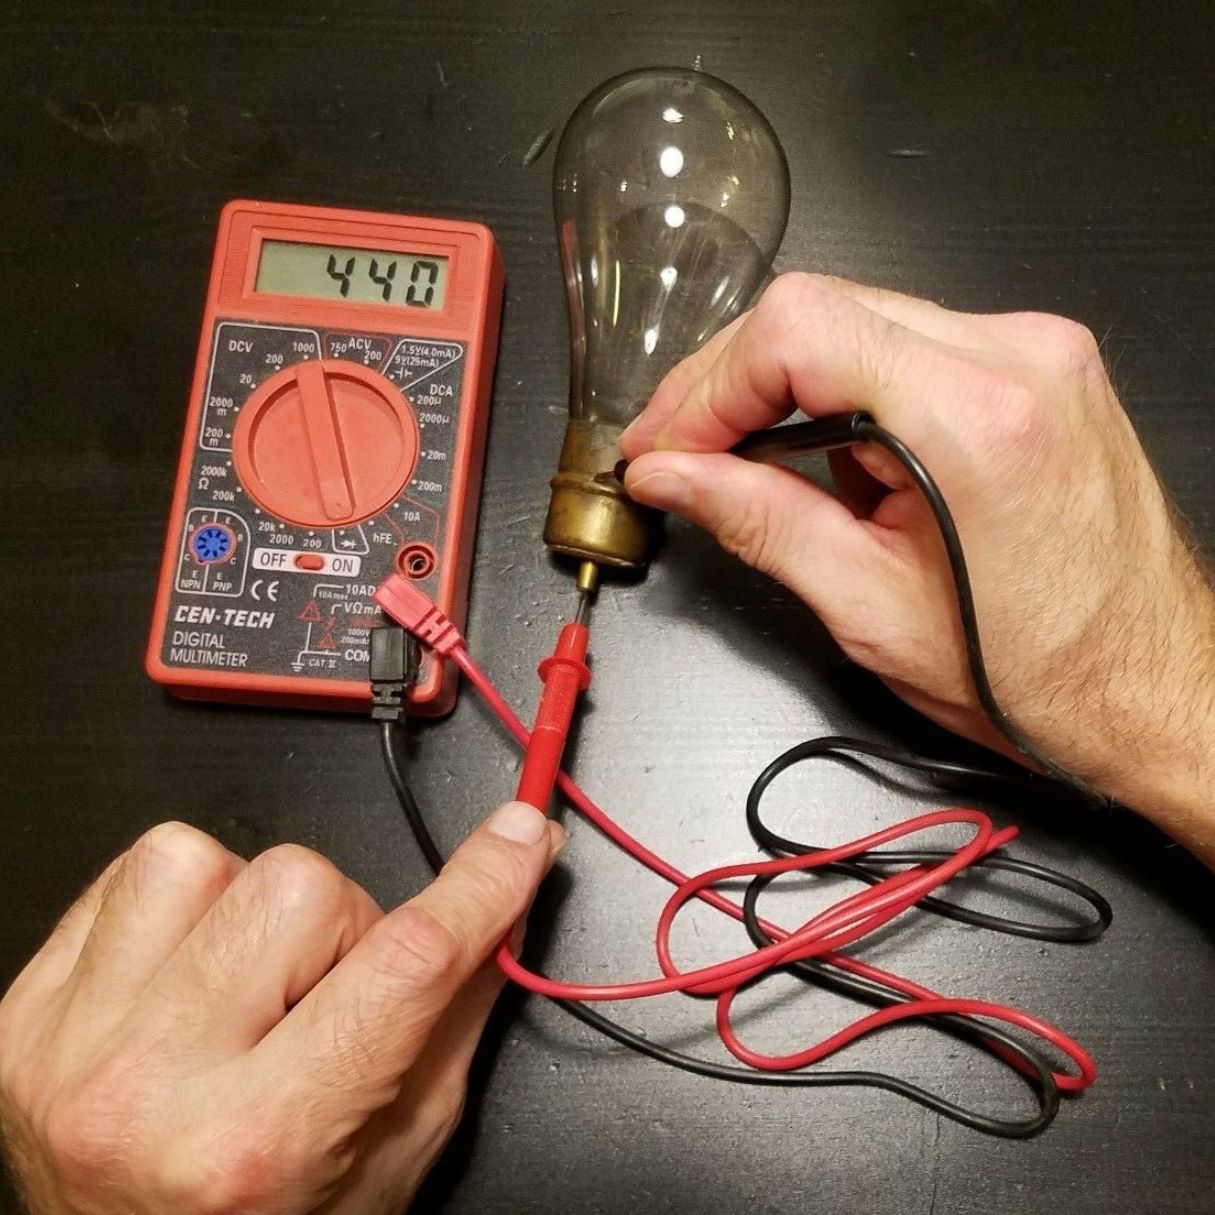
When testing an extension cord with a multimeter, set the multimeter to the AC voltage setting and insert the red probe into the hot slot and the black probe into the neutral slot. The reading should be close to the voltage rating of the cord.
Step 2: Testing for Continuity
Continuity testing is an important step in determining if the electrical circuit in your extension cord is complete or if there are any breaks or interruptions that could cause electrical issues. Follow these steps to test for continuity:
1. Ensure safety precautions: Before beginning the continuity test, make sure the extension cord is unplugged and disconnected from any power source. Put on your protective gloves to reduce the risk of electrical shocks.
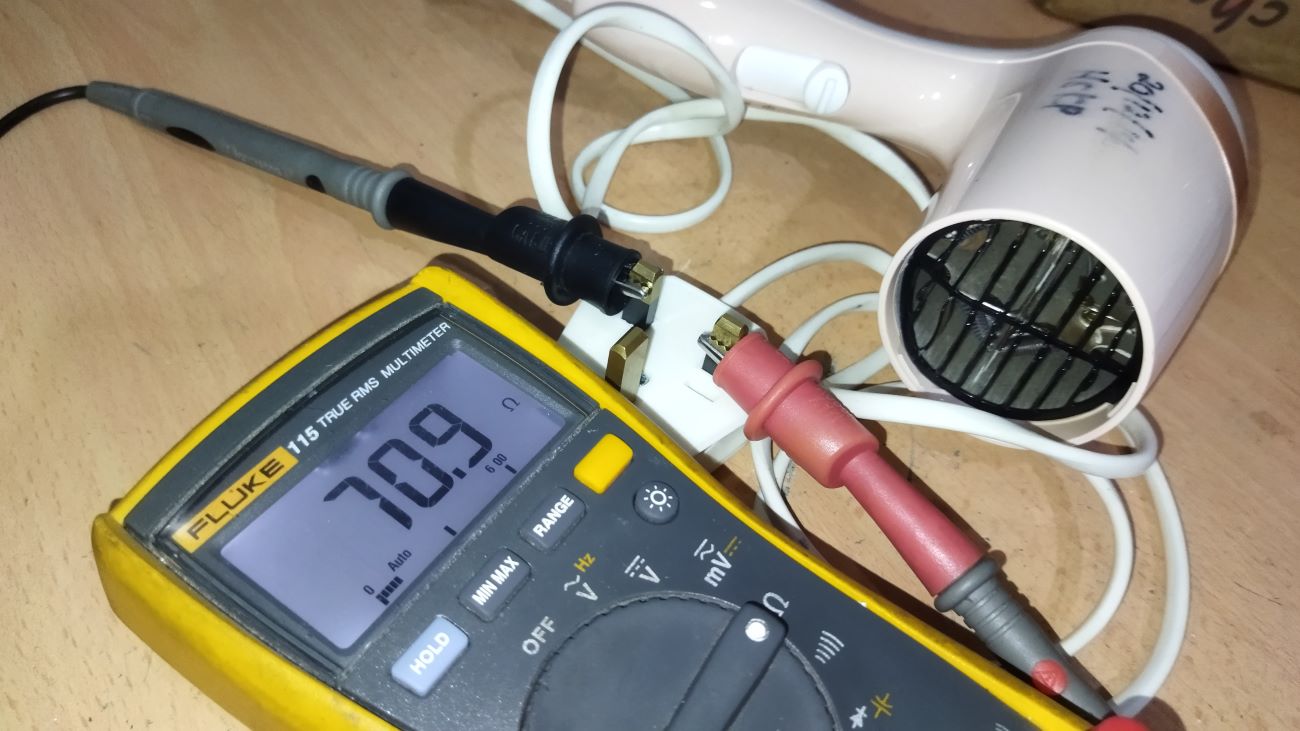
2. Prepare the multimeter: With the multimeter set to the continuity or resistance mode, touch the probes together. The multimeter should emit a beep or display a reading close to zero ohms, indicating a complete circuit.
3. Identify the conductors: Locate the end of the extension cord where the wires are exposed. Identify the two conductors: the hot/live wire (usually black, red, or any color other than green or white) and the neutral wire (usually white or any color other than green or red).
4. Connect the multimeter probes: Take one probe and touch it to the metal part of the male plug’s prongs (where you would normally insert the plug into an outlet). This will test the continuity between the metal prongs and the exposed wires. Now, take the other probe and touch it to the exposed end of the hot/live wire. The multimeter should indicate continuity with a beep or a reading close to zero ohms. Repeat this process to test continuity with the neutral wire.
5. Check continuity throughout the cord: Slowly move the probes along the length of the extension cord, testing continuity at different points. Pay close attention to the connections at the plug and any junctions or splices in the cord. If there are any breaks or interruptions in the circuit, the multimeter will not indicate continuity.
6. Inspect the cord for continuity issues: If the multimeter does not indicate continuity at certain points, it may indicate a break or damage in the cord. Carefully examine the cord for any signs of wear, exposed wires, melted insulation, or other visible damage. These issues may require repair or replacing the extension cord if the damage is severe.
By performing a continuity test, you can identify any breaks or interruptions in the electrical circuit of your extension cord. This is essential in ensuring the safe and reliable operation of your electrical devices. If there are no continuity issues, you can proceed to the next step of testing for voltage.
Step 3: Testing for Voltage
Testing for voltage in your extension cord allows you to verify if the cord is supplying the expected electrical power. Follow these steps to test for voltage:
1. Double-check safety precautions: Before proceeding with voltage testing, ensure that the extension cord is still unplugged and safely disconnected from any power source. Be cautious and wear protective gloves for added safety.
2. Prepare the multimeter: With the multimeter set to the appropriate voltage range, typically AC voltage, ensure that the probes are securely attached and the settings are accurate. Take note of the maximum voltage range supported by your multimeter and set it accordingly.
3. Identify the conductors: Using the exposed end of the extension cord, identify the hot/live wire and the neutral wire. The hot/live wire is typically labeled with a color other than green (e.g., black, red) and the neutral wire is usually white.
4. Testing the hot/live wire: Take one multimeter probe and touch it to the exposed end of the hot/live wire. Take the other probe and touch it to the exposed end of the neutral wire. Ensure the probes are making direct contact with bare wire sections for accurate readings.
5. Read the voltage: Once the probes are in place, carefully plug in the extension cord to a power source and switch it on. Observe the multimeter’s display to read the voltage measurement. The voltage reading should be within the expected range for your specific power source (e.g., 120V in North America or 230V in Europe).
6. Confirm voltage stability: While monitoring the multimeter’s display, wiggle or twist the extension cord gently to ensure that the recorded voltage remains stable. Any sudden changes or fluctuations could indicate loose connections or damaged wiring.
7. Unplug the cord: Once you have completed the voltage test, unplug the extension cord from the power source and turn off the power supply. Ensure all connections are secure and that the probes are removed from the exposed wire ends.
8. Record the voltage reading: Make a note of the voltage reading for future reference or troubleshooting purposes. This can be helpful in comparing the voltage output with the electrical requirements of your devices.
By conducting a voltage test on your extension cord, you can ensure that it is delivering the expected electrical power. This step is crucial in maintaining the safety and efficiency of your electrical devices. If you observe any voltage discrepancies or irregularities, it may indicate a malfunctioning extension cord that should be repaired or replaced.
Step 4: Checking for Grounding
Checking for grounding in your extension cord is important for electrical safety. Grounding provides a path for fault current to flow safely to the ground, protecting users and preventing electrical shocks. Follow these steps to check for grounding:
1. Ensure safety precautions: Before beginning the grounding check, ensure the extension cord is unplugged and disconnected from any power source. Put on your protective gloves for added safety.
2. Identify the grounding wire: Look for a wire in the extension cord that is typically green or exposed copper. This wire is the grounding wire and is essential for providing a path for fault current.
3. Prepare the multimeter: With the multimeter set to the continuity or resistance mode, touch the probes together. The multimeter should emit a beep or display a reading close to zero ohms to confirm continuity.
4. Test the grounding wire: Touch one probe of the multimeter to the exposed end of the grounding wire of the extension cord. Touch the other probe to the metal part of the male plug’s prongs (where you would normally insert the plug into an outlet).
5. Check for continuity: The multimeter should indicate continuity by emitting a beep or displaying a reading close to zero ohms. This confirms that the grounding wire is properly connected and providing a path for fault current.
6. Inspect the grounding connection: If the multimeter does not indicate continuity, it may indicate a faulty or disconnected grounding wire. Inspect the grounding wire along the entire length of the extension cord for any signs of damage, breaks, or loose connections. Make sure the grounding wire is securely connected at both ends of the cord.
7. External grounding test: If you have access to a grounded outlet or known grounded surface, you can perform an additional test by plugging in the extension cord and using a plug-in outlet tester. This will verify if the grounding is properly connected to the outlet’s ground.
8. Repeat the test if necessary: If you encounter any issues during the grounding test, such as the absence of continuity or visible damage to the grounding wire, it is recommended to replace the extension cord or repair the faulty grounding connection.
Checking for grounding ensures that the extension cord is properly equipped to handle electrical faults and protect against potential electrical shocks. It is an essential step in maintaining electrical safety. If you encounter any grounding issues, it is important to address them promptly to prevent any potential hazards.
Step 5: Inspecting for Damages
Inspecting your extension cord for damages is crucial to ensure its safety and proper functionality. Over time, extension cords can experience wear and tear, which can lead to potential hazards. Follow these steps to inspect your extension cord for damages:
1. Unplug the extension cord: Before conducting any inspection, make sure the extension cord is unplugged and disconnected from any power source. This will ensure your safety during the inspection process.
2. Examine the entire length of the cord: Carefully inspect the entire length of the extension cord, looking for any visible signs of damage. This includes cuts, tears, fraying, or exposed wiring. Pay close attention to areas near the plugs and junction points, as they are more prone to damage.
3. Check the plugs: Inspect both ends of the extension cord where the plugs are located. Look for any signs of damage, such as bent or broken prongs, loose connections, or cracked housing. Ensure the prongs are straight and not bent, as this can affect the proper functioning of the cord.
4. Look for melting or overheating: Check for any signs of melting or discoloration on the cord or plugs. This can indicate overheating, which is a serious safety concern. If you notice any discoloration or melting, it is best to replace the extension cord.
5. Inspect the insulation: Examine the insulation coating of the extension cord for any cracks, splits, or exposed wires. The insulation is designed to protect the wiring and prevent electrical shocks. If you find any damage to the insulation, it is important to replace the cord.
6. Check for moisture or water damage: Moisture or water damage can compromise the safety of an extension cord. Look for any signs of moisture, corrosion, or rust on the plugs or wires. If you detect any traces of moisture, it is important to replace the cord as soon as possible.
7. Test the cord: After visual inspection, you can perform continuity and voltage tests as mentioned in the earlier steps. This will further ensure the functionality and safety of the extension cord.
8. Replace or repair: If you discover any damages that cannot be repaired or if the extension cord fails the tests, it is highly recommended to replace the cord with a new one. Using a damaged or faulty extension cord can pose significant safety risks.
By conducting a thorough inspection of your extension cord, you can identify any damages or potential issues that could compromise its safety. Regular inspections and timely replacement of damaged cords are essential for maintaining electrical safety and preventing accidents.
Read more: How To Test An LED Bulb With A Multimeter
Conclusion
Testing your extension cord with a multimeter is a crucial step in ensuring electrical safety and preventing potential hazards. Regularly testing your extension cords helps identify any faults, damages, or issues that may pose risks to your safety or electrical devices. By following the steps outlined in this guide, you can confidently test your extension cords and take appropriate actions to maintain their safety and functionality.
Throughout the testing process, remember to prioritize safety by wearing protective gloves, ensuring the extension cord is unplugged, and taking precautions to avoid contact with live wires. Properly setting up your multimeter and following the correct procedures for testing continuity, voltage, and grounding will provide accurate and reliable results.
If you discover any issues during the testing process, such as failed continuity, incorrect voltage readings, faulty grounding, or visible damages, it is important to address them promptly. Depending on the severity of the issues, you may need to repair or replace the extension cord to ensure its safe and reliable use.
Remember, electrical safety is paramount, and it is always better to err on the side of caution. If you have any doubts about the safety or effectiveness of your extension cords, it is recommended to consult a qualified electrician or replace the cords with newer ones that meet the necessary safety standards.
Regularly testing your extension cords not only protects you and your electrical devices but also provides peace of mind. By being proactive in maintaining the safety and functionality of your extension cords, you can enjoy their convenience and reliability for all your power needs.
Frequently Asked Questions about How To Test Extension Cord With Multimeter
Was this page helpful?
At Storables.com, we guarantee accurate and reliable information. Our content, validated by Expert Board Contributors, is crafted following stringent Editorial Policies. We're committed to providing you with well-researched, expert-backed insights for all your informational needs.

0 thoughts on “How To Test Extension Cord With Multimeter”