Articles
How To Wrap Long Extension Cord
Modified: December 7, 2023
Learn how to properly wrap a long extension cord in this comprehensive article. Avoid tangles and damage with these step-by-step instructions.
(Many of the links in this article redirect to a specific reviewed product. Your purchase of these products through affiliate links helps to generate commission for Storables.com, at no extra cost. Learn more)
Introduction
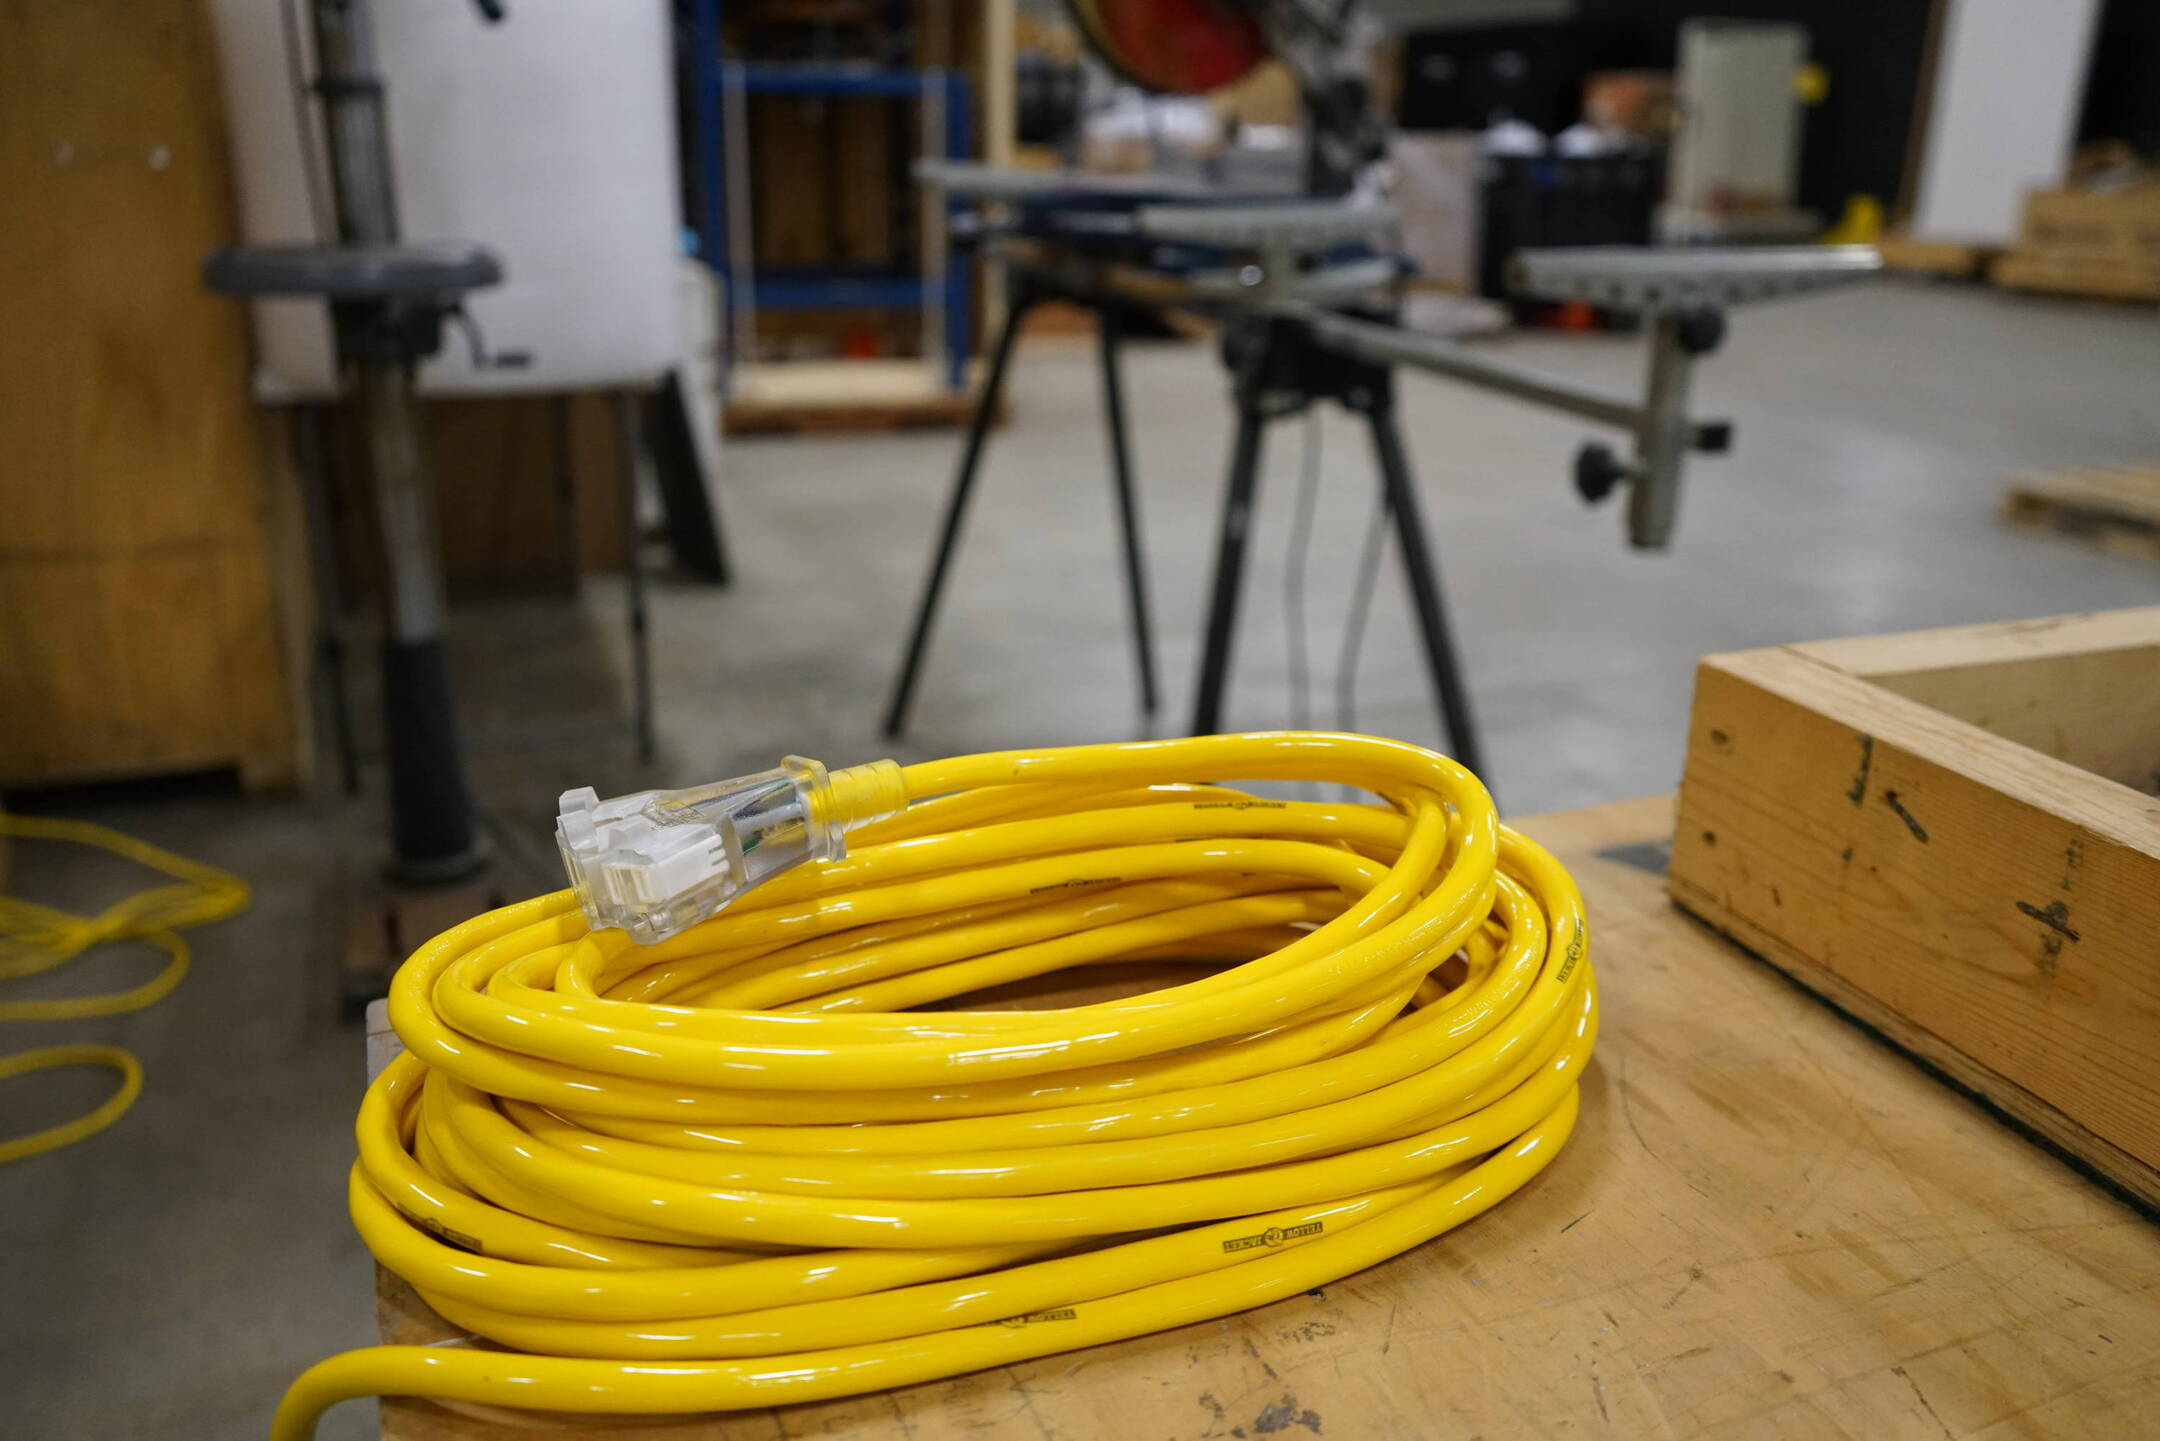
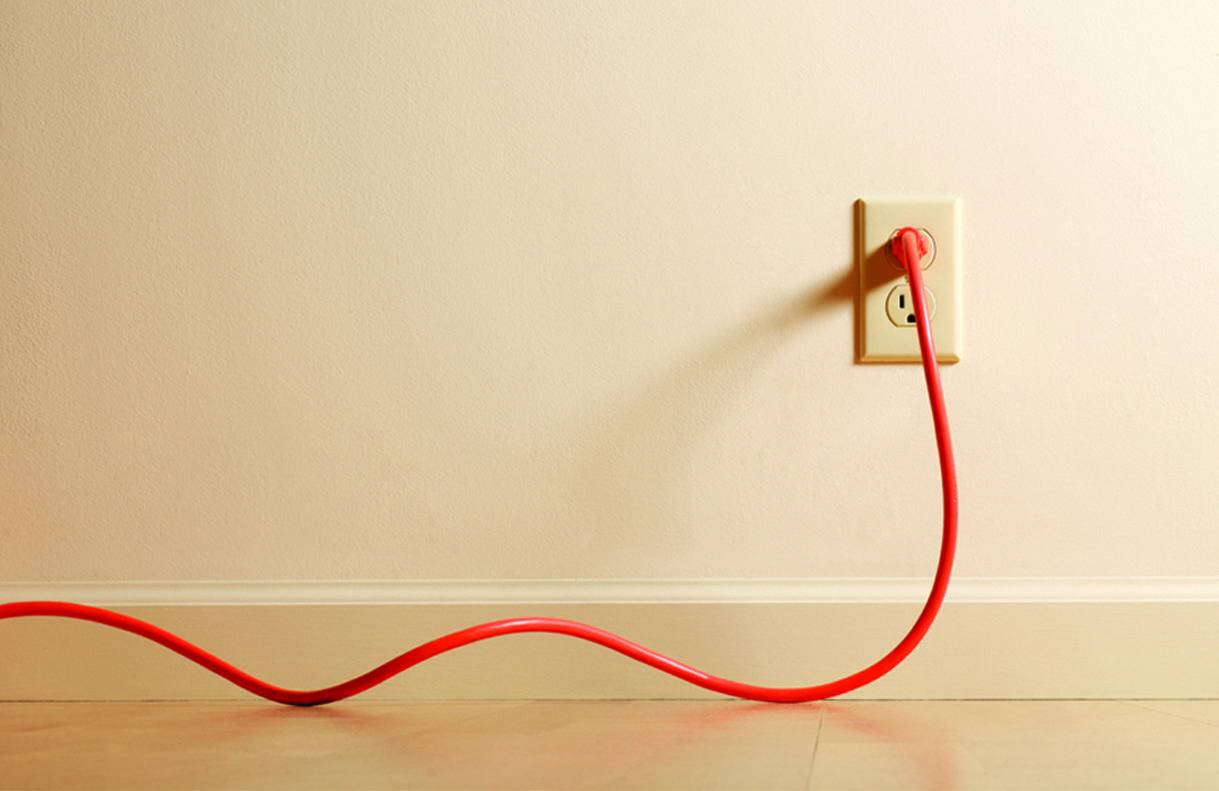
Extension cords are essential tools that provide a convenient way to extend the reach of electrical devices. However, when not properly organized and stored, they can become a frustrating mess of tangles and knots. This not only makes them difficult to use but also increases the risk of damage and accidents.
To avoid these hindrances, it’s important to know how to properly wrap a long extension cord. This article will guide you through the step-by-step process of wrapping and securing your extension cord to keep it organized and tangle-free.
By following these simple techniques, you can save yourself time and frustration, ensuring that your extension cord is always ready for use. So, let’s dive in and learn how to wrap a long extension cord!
Key Takeaways:
- Keep your extension cords organized and tangle-free by following these simple steps to wrap and secure them. Untangle, create a loop, wrap the cord, secure the wrap, and store it properly for easy access and extended lifespan.
- Properly wrapping and storing your extension cord not only saves time and frustration but also ensures safety and longevity. Take the time to follow these steps and enjoy a clutter-free and organized cord that’s always ready for use.
Read more: How To Wrap Rope Around Electrical Cord
Necessary Supplies
Before we begin wrapping the extension cord, let’s gather the necessary supplies:
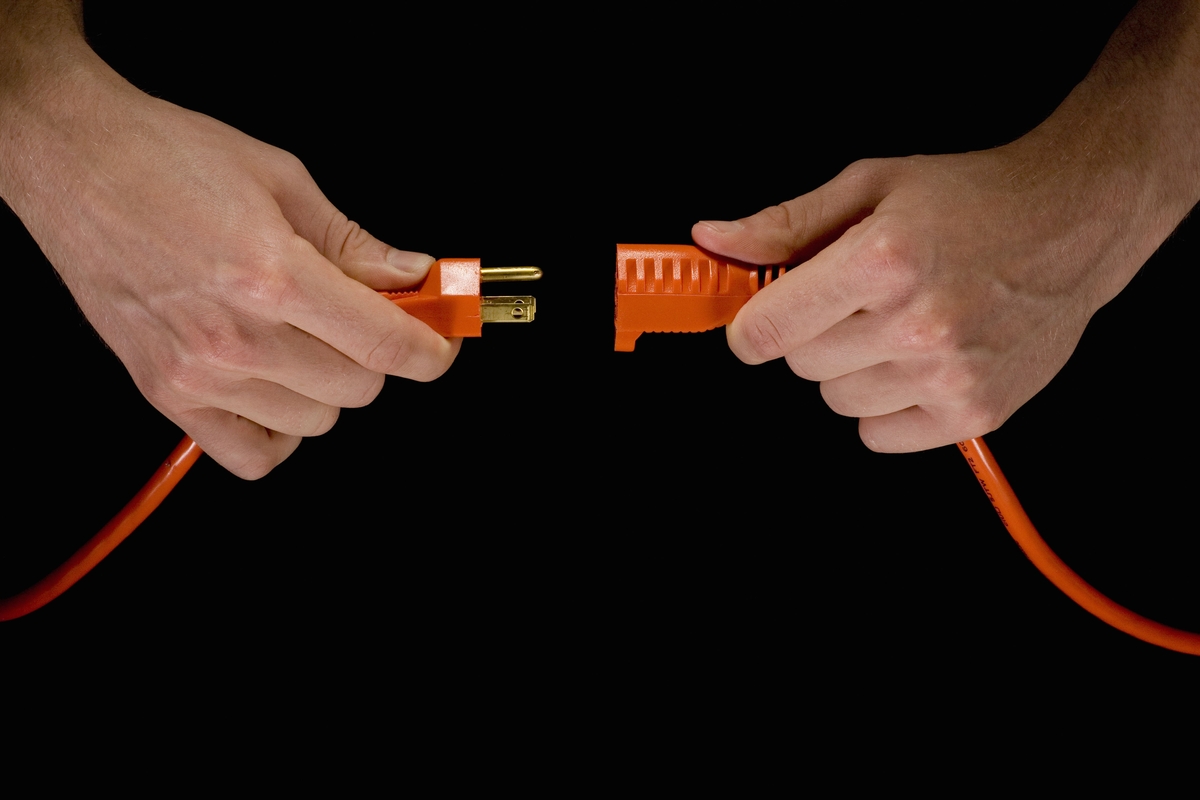
- A long extension cord: Ensure that the cord is clean, dry, and free from any damages.
- A clean and flat surface: Find a spacious area, such as a table or a clean floor, where you can easily spread out the extension cord.
- A twist tie or hook and loop strap: This will be used to secure the wrapped cord.
Once you have these supplies ready, you’re all set to start wrapping your extension cord!
Step 1: Untangling the Extension Cord
Before you can begin wrapping the extension cord, it’s important to ensure that it is free from any tangles or knots. Here’s how you can untangle your extension cord:
- Lay the extension cord on a clean, flat surface.
- Inspect the cord for any visible tangles or knots.
- If you spot any tangles, gently hold the cord near the tangle with one hand.
- With your other hand, start loosening the tangle by pulling the cord away from the knot. Avoid pulling forcefully, as this may cause damage to the cord.
- Continue working your way through the tangle, slowly untwisting and untangling the cord until it is completely smooth and free.
This step is crucial to ensure that your extension cord wraps smoothly and without any snags. Taking the time to untangle the cord properly will save you from frustration in the future.
Once you have untangled your extension cord, you’re ready to move on to the next step.
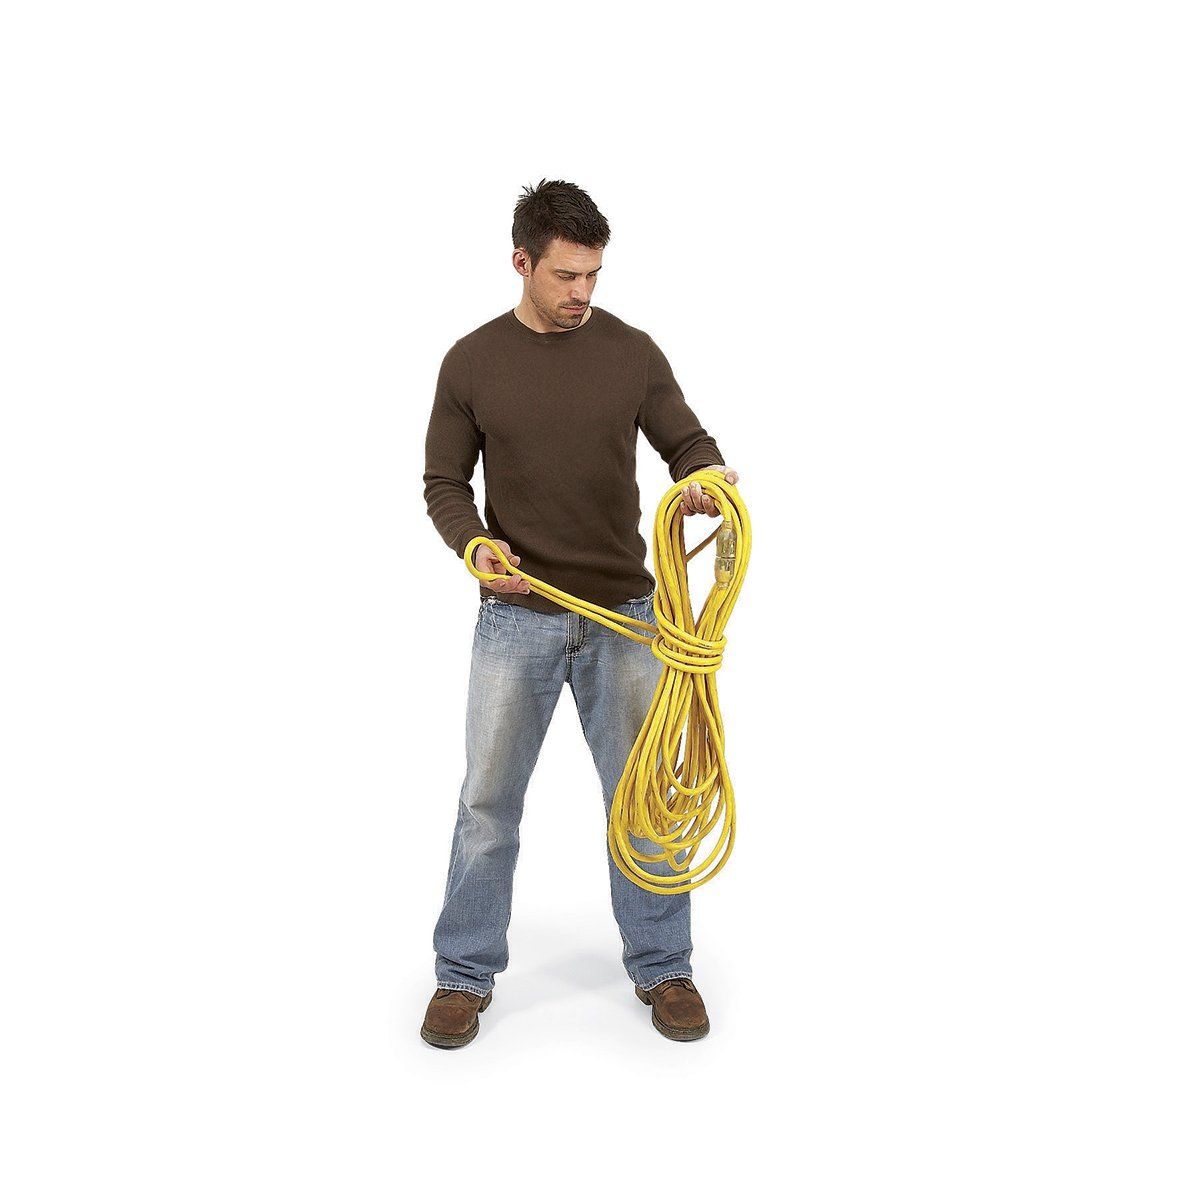
Step 2: Creating a Loop
Now that your extension cord is untangled, it’s time to create a loop to start wrapping the cord around. Follow these steps to create a loop:
- Pick up one end of the extension cord.
- Hold the end of the cord firmly in one hand.
- Using your other hand, bring the cord towards your hand, making a loop.
- Ensure that the loop is big enough to accommodate the entire length of the cord.
- Hold the looped cord securely with one hand to keep it in place.
By creating a loop, you establish a starting point for wrapping the cord and ensure that it remains organized during the process.
With the loop created, you’re now ready to move on to the next step and begin wrapping the extension cord.
When wrapping a long extension cord, use the over-under technique to prevent tangles. Start by making a small loop and continue alternating the direction of the loops to keep the cord organized.
Step 3: Wrapping the Cord Around the Loop
With the loop in place, it’s time to start wrapping the extension cord around it. Follow these steps to wrap the cord around the loop:
- Hold the looped cord securely in one hand.
- With your other hand, start wrapping the extension cord around the loop.
- Keep the wraps tight and close together to prevent the cord from coming loose.
- Continue wrapping the cord around the loop until you reach the end.
- Make sure that the entire length of the cord is wrapped around the loop.
As you wrap the cord, you may need to adjust your grip on the looped cord to keep it secure and prevent it from unraveling. Take your time and ensure that each wrap is tight and snug.
Remember, neat and tight wraps will prevent the cord from tangling and make it easier to store and handle in the future.
Once you’ve wrapped the entire length of the cord around the loop, you’re ready to proceed to the next step and secure the wrap.
Read more: How Long Can A 220V Extension Cord Be
Step 4: Securing the Wrap
Now that you have wrapped the extension cord around the loop, it’s time to secure the wrap to keep it in place. Follow these steps to secure the wrap:
- Hold the wrapped cord securely in one hand.
- With your other hand, grab a twist tie or a hook and loop strap.
- Place the twist tie or hook and loop strap around the wrapped cord, near the looped end.
- Tighten the twist tie or hook and loop strap to secure the wrapped cord in place.
- Ensure that the twist tie or hook and loop strap is snug enough to prevent the cord from coming undone.
By securing the wrap, you ensure that the cord remains organized and doesn’t unravel when stored or during transportation. It provides added stability and keeps the cord neat and tidy.
Take a moment to adjust the position of the twist tie or hook and loop strap if needed to ensure that it is holding the wrapped cord securely. This will ensure that your extension cord remains tangle-free and ready for use.
With the wrap securely fastened, you’re now ready to move on to the next step and secure both ends of the extension cord.
Step 5: Securing Both Ends
Once you have secured the wrap of the extension cord, it’s important to secure both ends as well to prevent them from unraveling. Follow these steps to secure both ends:
- Pick up one end of the extension cord.
- Holding the end firmly in one hand, locate the looped end where you initially created the loop.
- Take the looped end and pass it through the loop in the opposite direction.
- Gently pull the looped end to tighten it around the wrapped cord.
- Repeat the same process with the other end of the extension cord.
Securing both ends of the cord will add extra stability and ensure that the wrap stays intact. It prevents the ends from coming loose and keeps the entire cord organized.
Make sure to tighten both ends securely but avoid pulling too tightly, as this may put unnecessary strain on the cord. The goal is to keep the wrap secure without damaging the cord in the process.
By securing both ends, you can have peace of mind knowing that your extension cord will remain tightly wrapped and ready for use.
With both ends secured, it’s time to move on to the final step and learn how to store the wrapped extension cord.
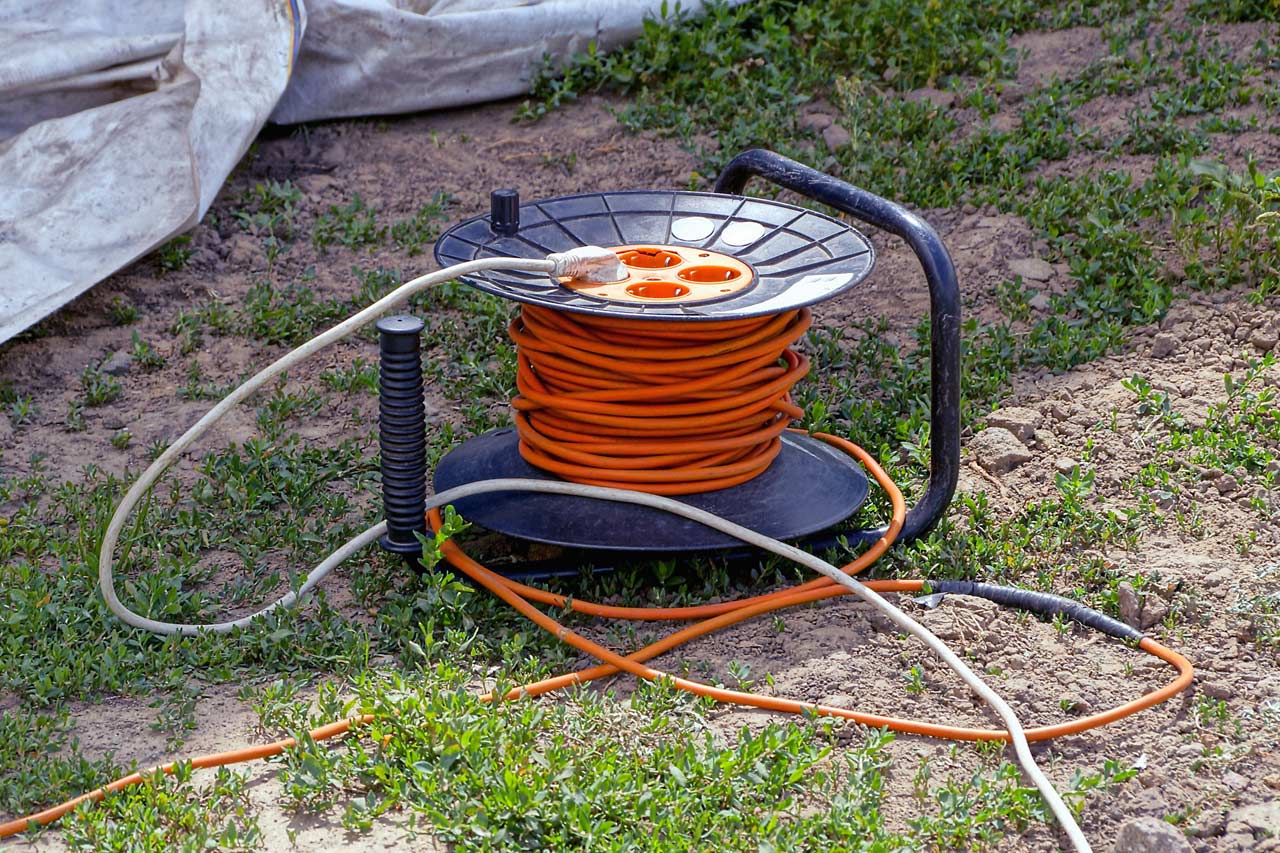
Step 6: Storing the Wrapped Extension Cord
After properly securing both ends of the wrapped extension cord, it’s time to store it in a safe and organized manner. Follow these steps to store the wrapped extension cord:
- Choose a suitable storage location: Find a dry and clean area where you can store the wrapped extension cord. This can be a garage shelf, a designated cord storage bin, or a tool cabinet.
- Position the wrapped cord: Place the wrapped cord in the storage location, ensuring that it is laying flat and not under any heavy objects or sharp edges that may cause damage.
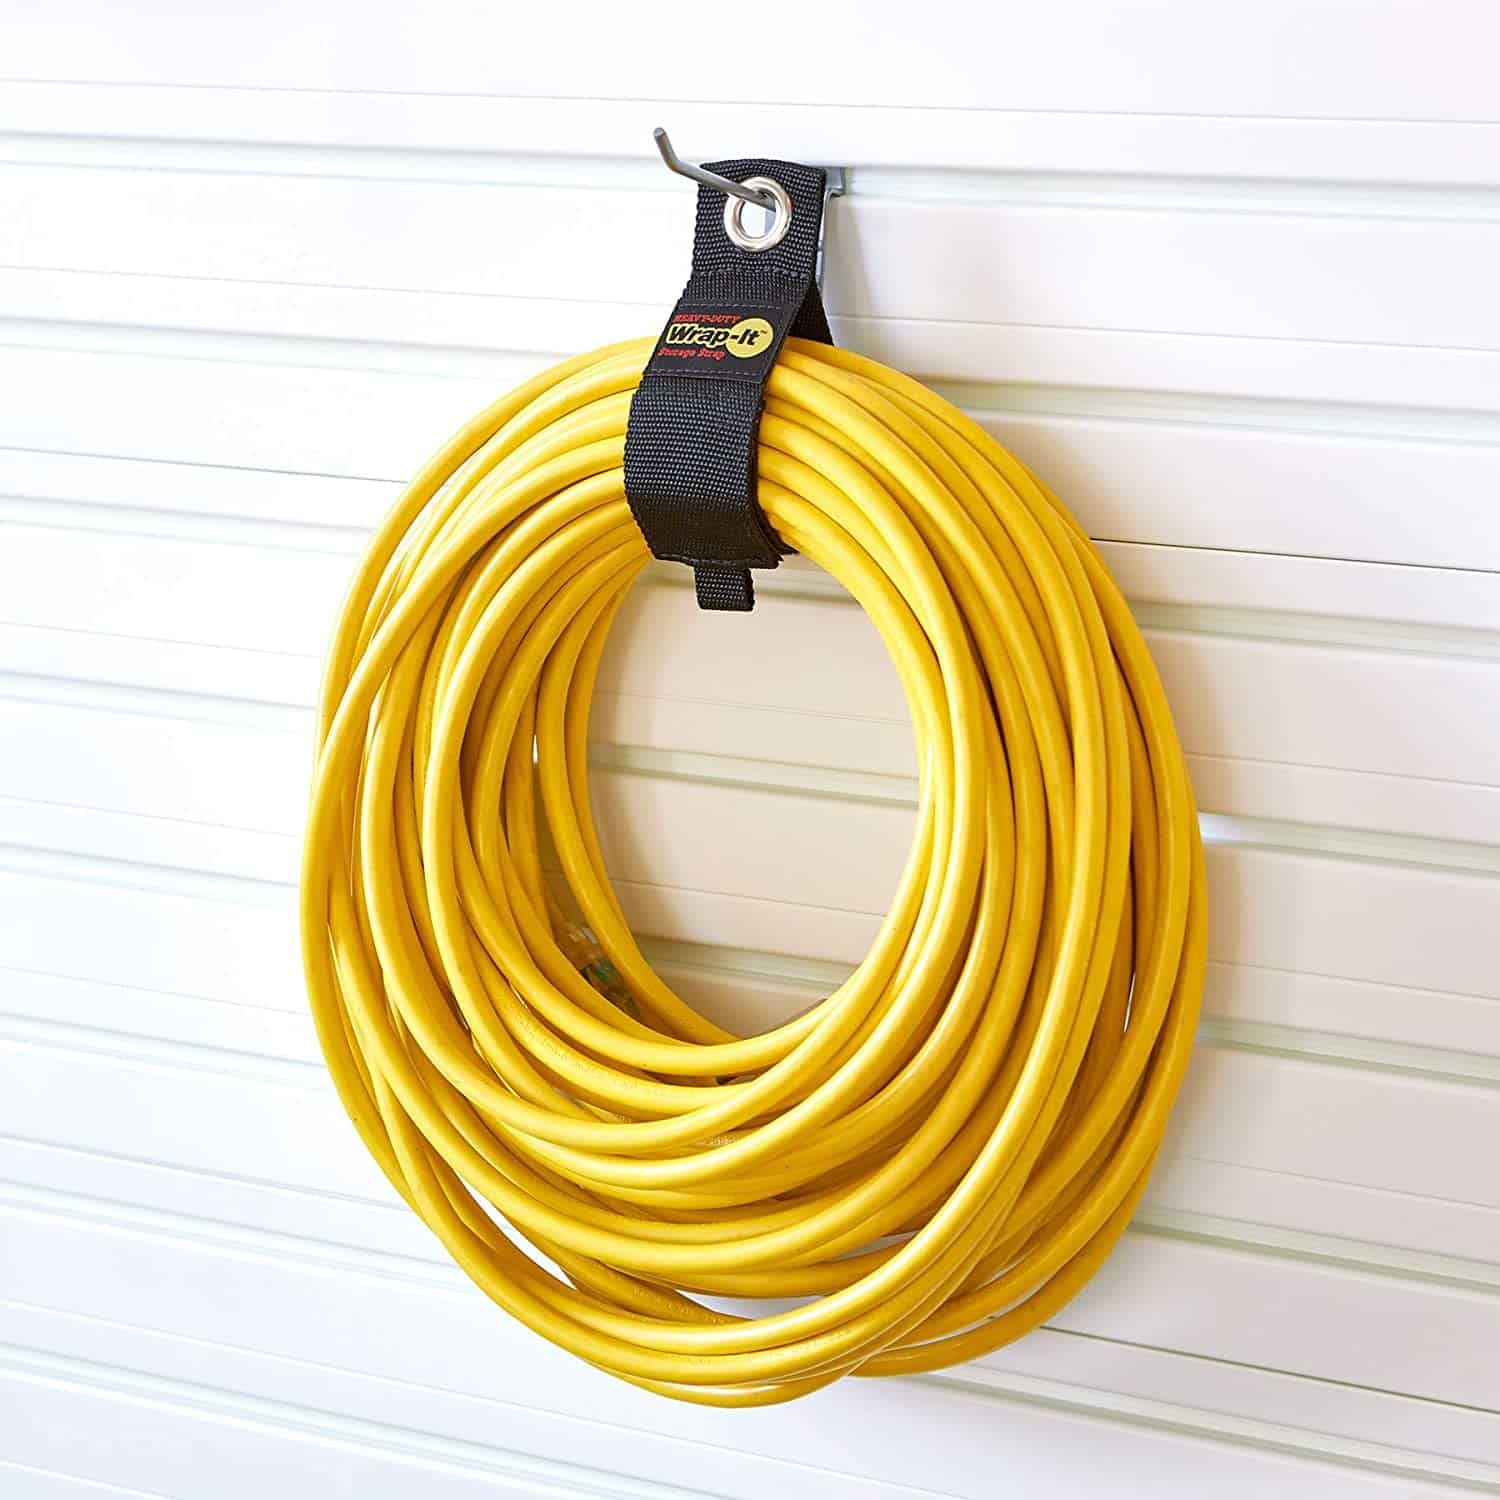
- Store it away: If you have multiple wrapped cords, you can stack them neatly on top of each other, using a separator or piece of cardboard between each cord to prevent tangling. Alternatively, you can hang the wrapped cord on hooks or cord hangers.
- Label or tag the cord: To easily identify the cord later, consider labeling or tagging it with relevant information, such as the length or specific usage.
Properly storing your wrapped extension cord will not only keep it organized but also prolong its lifespan. By protecting it from dust, moisture, and potential damage, you can ensure that it remains in optimal condition for future use.
Remember to periodically check the stored cords for any signs of wear or damage. If you notice any issues, it’s important to repair or replace the cord to maintain safety during use.
With these steps, you have successfully wrapped, secured, and stored your extension cord. By practicing this method, you will save time and eliminate frustration when it comes to using your extension cord for various electrical needs.
Now, go ahead and enjoy a clutter-free and organized extension cord that is always ready for use!
Frequently Asked Questions about How To Wrap Long Extension Cord
Was this page helpful?
At Storables.com, we guarantee accurate and reliable information. Our content, validated by Expert Board Contributors, is crafted following stringent Editorial Policies. We're committed to providing you with well-researched, expert-backed insights for all your informational needs.


0 thoughts on “How To Wrap Long Extension Cord”