Home>Furniture>Bedroom Furniture>How To Put On Bed Sheets

Bedroom Furniture
How To Put On Bed Sheets
Modified: October 20, 2024
Learn the easy and efficient way to put on bed sheets with our step-by-step guide. Explore our collection of bedroom furniture for a comfortable and stylish sleep space.
(Many of the links in this article redirect to a specific reviewed product. Your purchase of these products through affiliate links helps to generate commission for Storables.com, at no extra cost. Learn more)
Introduction
Welcome to our comprehensive guide on how to put on bed sheets. Whether you’re a seasoned pro or a complete beginner in the realm of bedroom decor, mastering the art of bed sheet placement is essential for creating a cozy and inviting sleep sanctuary. In this article, we’ll walk you through the step-by-step process of properly fitting your bed with fitted sheets, flat sheets, and pillowcases. By the end, you’ll have all the knowledge and skills necessary to make your bed look and feel like a dream.
Gone are the days of wrestling with unruly sheets that refuse to stay in place. With a little know-how and some simple techniques, you’ll be able to achieve a beautifully made bed in no time. So, gather your supplies and let’s dive into the world of bed sheet perfection!
Before we get started, it’s important to note that the instructions provided in this guide are applicable to standard bed sizes such as twin, full, queen, and king. If you have an unconventional bed shape or size, you may need to modify the techniques to suit your specific needs.
Now, let’s gather the supplies you’ll need to make putting on bed sheets a breeze!
Key Takeaways:
- Master the art of bed sheet placement with our step-by-step guide, creating a cozy and inviting sleep sanctuary with ease and style.
- Transform your bed into a welcoming oasis by paying attention to the final touches, adding comfort, style, and personality to your bedroom.
Read more: How To Put A Flat Sheet On A Bed
Gathering Supplies
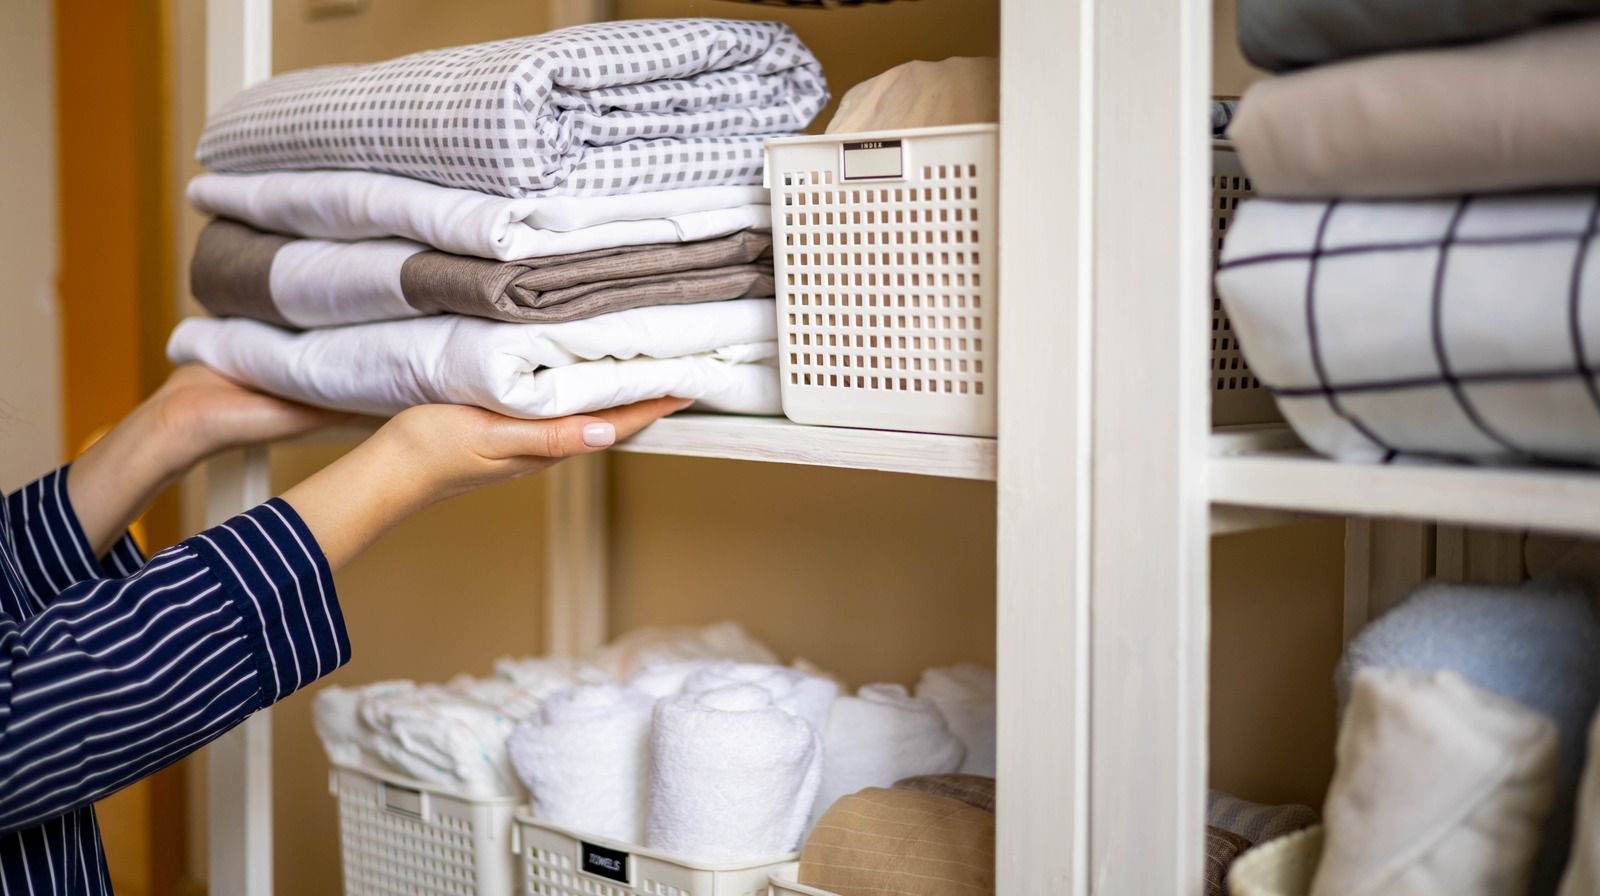
Before you begin the process of putting on bed sheets, it’s essential to gather all the necessary supplies. Having everything readily available will save you time and ensure a smooth and seamless experience. Here’s a list of the supplies you’ll need:
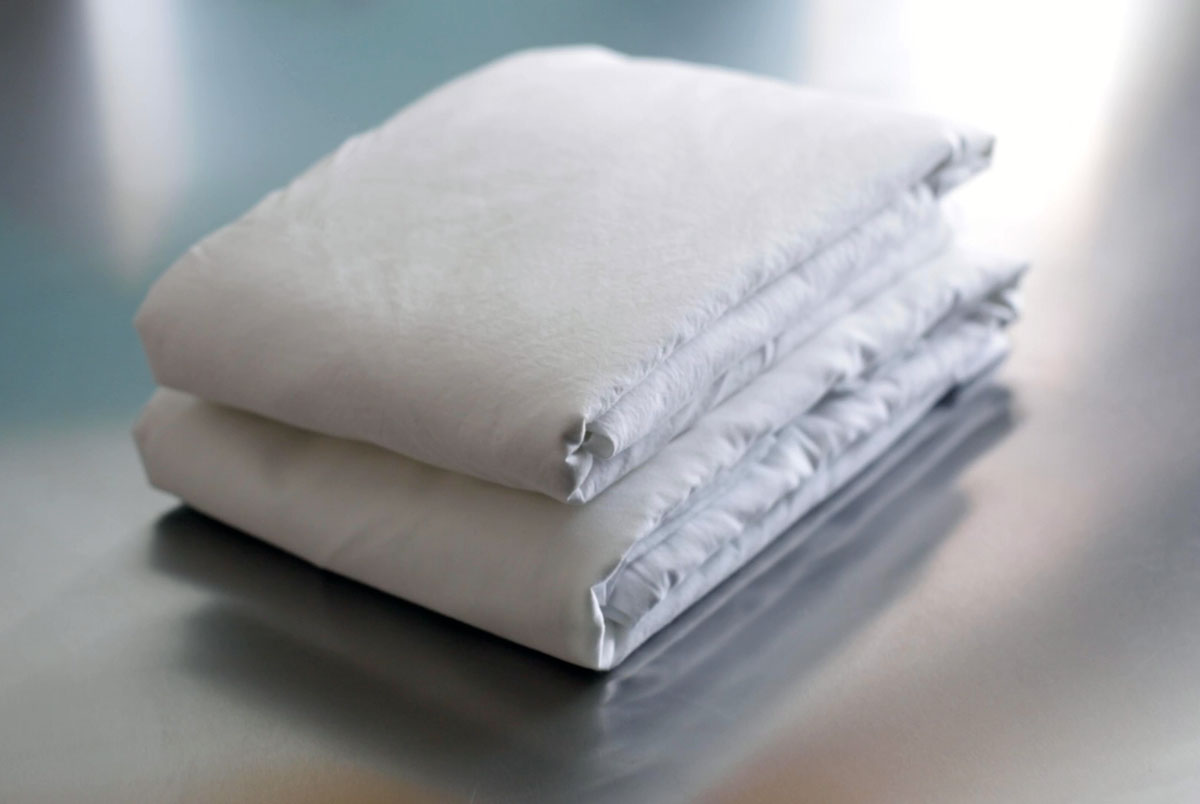
- Fitted Sheet: Make sure you have a fitted sheet that fits your bed size. It has elasticized corners that grip the mattress, keeping the sheet securely in place.
- Flat Sheet: This is the sheet that goes on top of the fitted sheet. It adds an extra layer of comfort and can be tucked in for a neater appearance.
- Pillowcases: Prepare pillowcases to cover your pillows. Match the material and color to your sheets for a cohesive look.
- Mattress Protector: Although not essential, a mattress protector can help keep your mattress clean and extend its lifespan. If you have one, have it ready for installation.
- Iron or Steamer: To ensure your sheets look crisp and wrinkle-free, have an iron or steamer on hand to remove any creases.
- Optional Extras: Depending on your preferences, you may want additional items like a bed skirt, decorative pillows, or a duvet cover.
Once you have gathered all the necessary supplies, you’re ready to move on to the next step: preparing the bed.
Preparing the Bed
Before you begin putting on the bed sheets, it’s important to prepare the bed to ensure a clean and organized foundation. Follow these steps to prepare your bed:
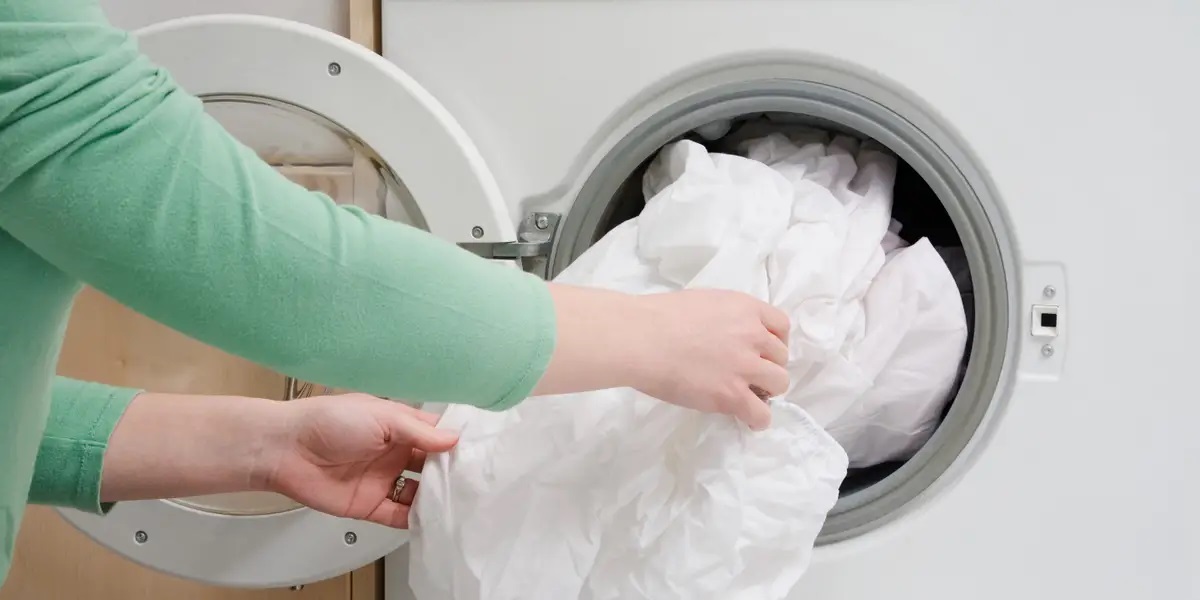
- Remove any existing sheets and pillowcases from the bed and launder them if necessary. This will give you a fresh start.
- Dust off the mattress and use a vacuum cleaner if needed to remove any debris or dirt.
- If you have a mattress protector, now is the time to put it on. Stretch it evenly over the mattress, ensuring a snug fit.
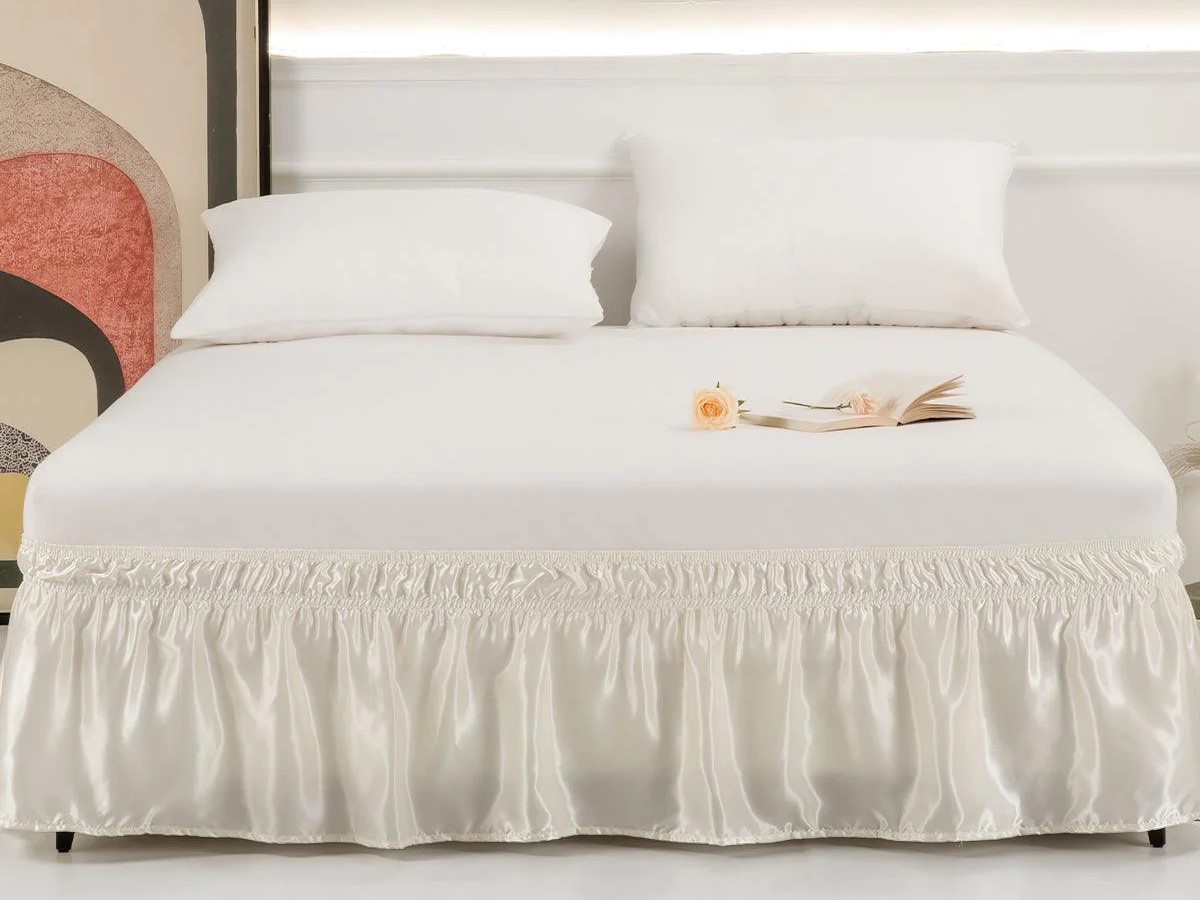
- If you prefer using a bed skirt, you can install it now. A bed skirt adds a decorative touch and hides the space underneath the bed.
- Smooth out any wrinkles or lumps on the mattress before laying the fitted sheet. This will provide a smooth and comfortable sleeping surface.
By preparing the bed properly, you’ll create a clean and inviting space to start dressing it with fresh bed sheets. Now let’s move on to fitting the fitted sheet.
Fitting the Fitted Sheet
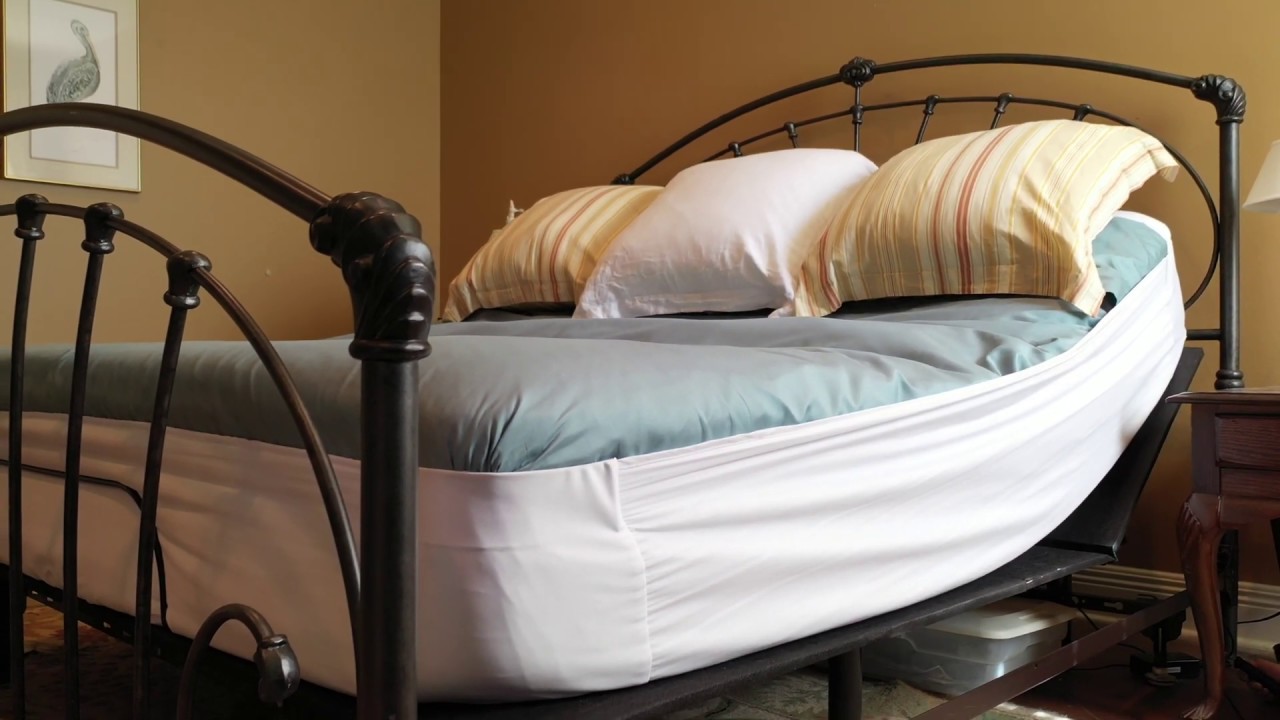
Now that the bed is prepared, it’s time to put on the fitted sheet. Follow these steps for a snug and secure fit:
- Start by identifying the corners of the fitted sheet. Most fitted sheets have elasticized corners, making it easier to identify.
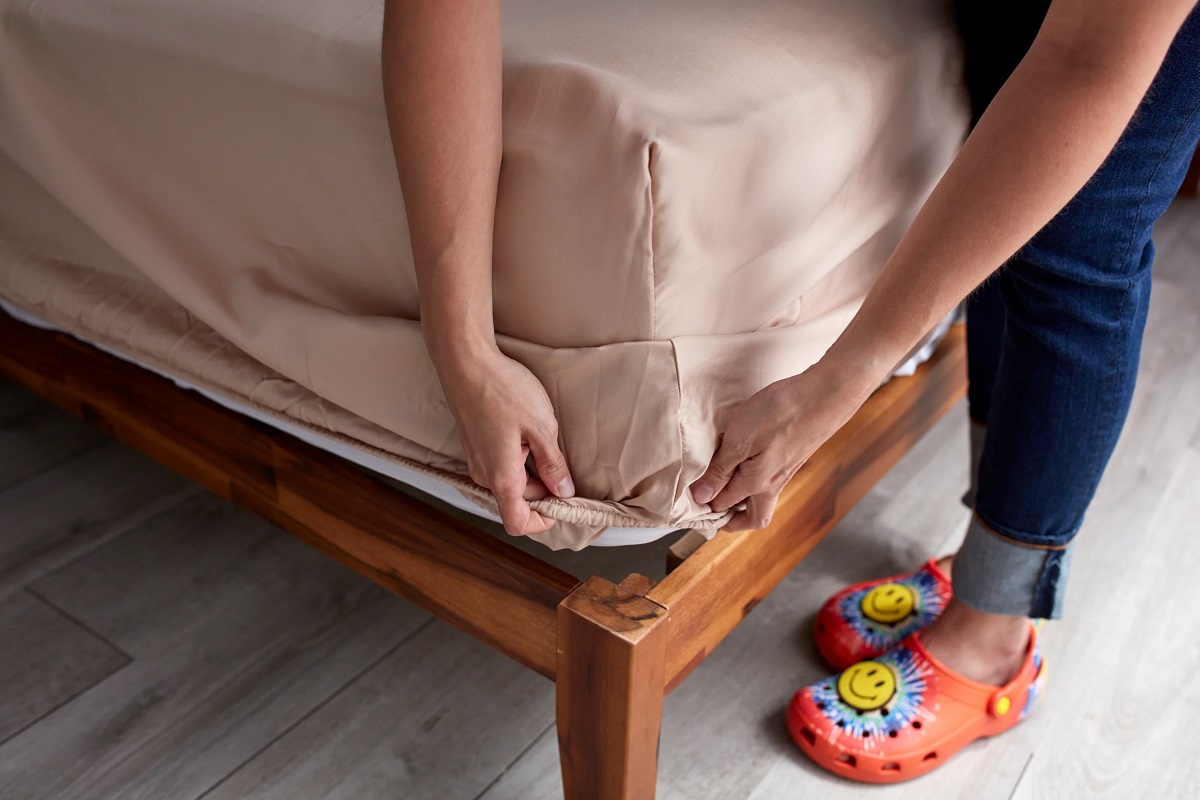
- Hold one corner of the fitted sheet and lift it up, positioning it over the corresponding corner of the mattress.
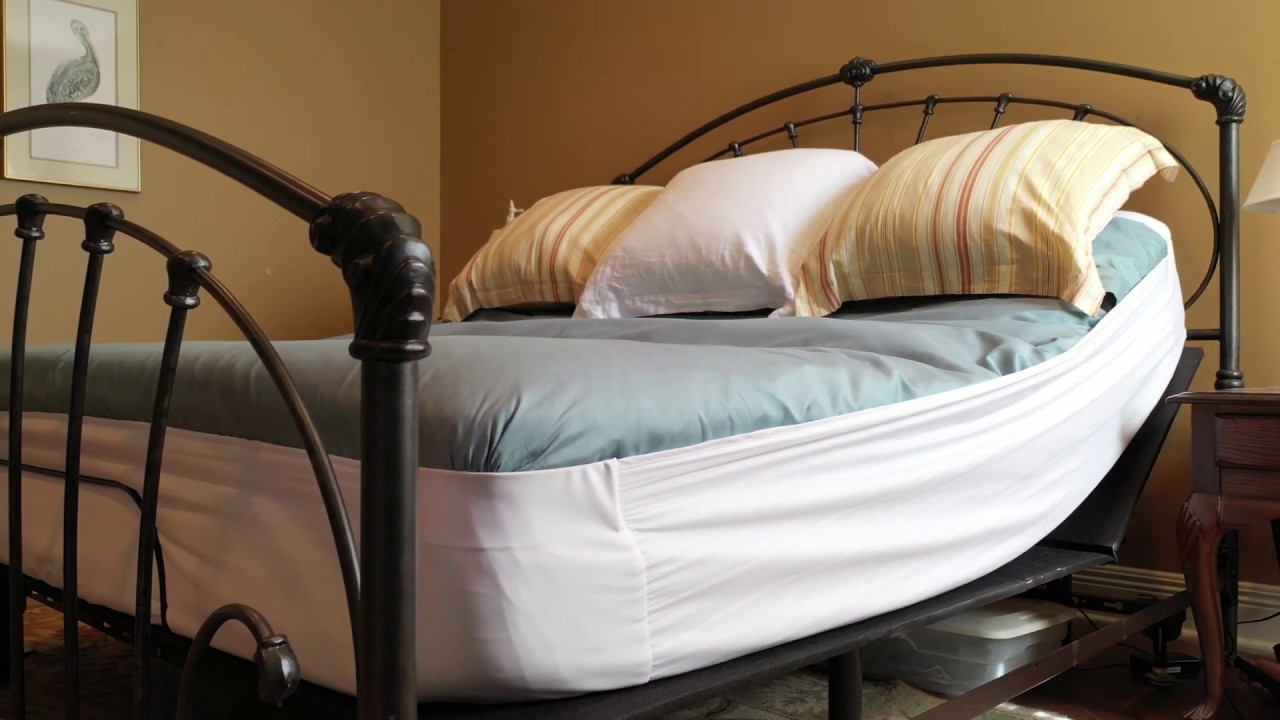
- Gently pull the corner of the sheet over the mattress corner, ensuring that the elastic is snugly fitted underneath. Repeat this step for the remaining three corners.
- Once all the corners are in place, slowly work your way around the mattress, tucking in any excess fabric under the mattress while ensuring the sheet is evenly stretched.
- Smooth out any wrinkles or folds in the sheet, taking care to make the surface as flat as possible.
When fitting the fitted sheet, it’s important to keep it taut and secure to prevent it from slipping off during sleep. If you find that the sheet keeps coming loose, consider using sheet straps or clips to hold it in place.
Once the fitted sheet is securely in place, it’s time to move on to adding the flat sheet.
Placing the Flat Sheet
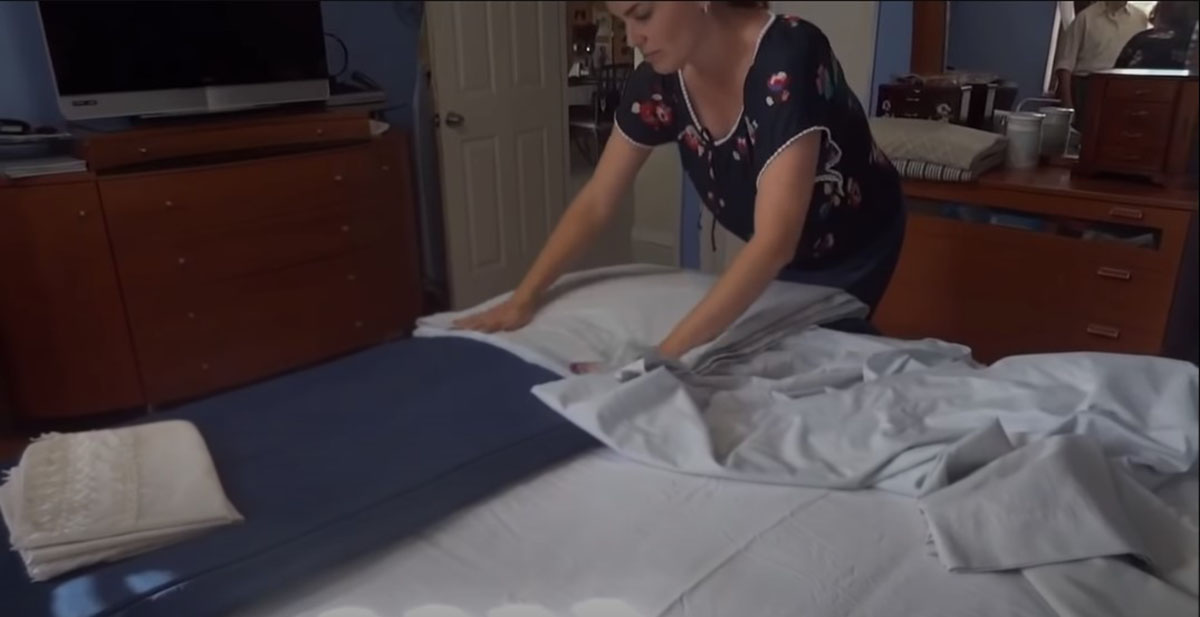
After fitting the fitted sheet, it’s time to add the flat sheet. The flat sheet adds an extra layer of comfort and can be tucked in for a neat and polished look. Follow these steps to place the flat sheet:
- Spread the flat sheet evenly over the fitted sheet, ensuring that it covers the entire surface of the mattress with even overhang on all sides.
- Align the top edge of the flat sheet with the top edge of the mattress, making sure it hangs evenly over both sides.
- If the flat sheet has a pattern or design, make sure it is facing down towards the mattress.
- Starting at the head of the bed, tuck the sheet snugly under the mattress, making hospital corner folds at the foot of the bed for a neat and secure fit.
- Move to the sides of the bed and tuck the sheet under the mattress, following the same hospital corner fold technique, if desired.
- Smooth out any wrinkles or folds in the sheet, ensuring a crisp and neat appearance.
Placing the flat sheet not only adds an aesthetic touch but also helps keep you comfortable throughout the night by providing an additional layer of warmth and softness. Next, let’s move on to adding pillowcases.
When putting on bed sheets, start with the fitted sheet, then the flat sheet, and finish with the pillowcases. Tuck the corners of the fitted sheet tightly to ensure a smooth and secure fit.
Read more: What Are Bed Sheets
Adding Pillowcases
Pillowcases are the final touch to complete your bed sheet ensemble. Follow these steps to add pillowcases:
- Take one pillowcase and turn it inside out, with the opening facing towards you.
- Insert the pillow into the pillowcase, aligning one end of the pillow with the opening of the pillowcase.
- Hold onto the pillow and grab the edges of the pillowcase, rolling it over the pillow until the entire pillow is covered.
- Smooth out any wrinkles or creases in the pillowcase, ensuring a clean and neat appearance.
- If you have multiple pillows, repeat the process for each pillowcase, ensuring consistency in material and color.
Adding pillowcases not only completes the look of your bed but also provides a clean and comfortable surface for resting your head. Make sure to fluff your pillows before placing them on the bed to achieve a plump and inviting appearance.
Now that the fitted sheet, flat sheet, and pillowcases are in place, it’s time to move on to the finishing touches.
Tucking in the Sheets
Once the bed sheets and pillowcases are neatly in place, you can add an extra touch of polish by tucking in the sheets. This step not only enhances the overall look of the bed but also helps keep the sheets secure and prevent them from shifting during sleep. Follow these steps to tuck in the sheets:
- Stand at the foot of the bed and pull the sheet and blanket or duvet up to create a clean and even fold at the top.
- Starting at one side of the bed, tuck the sheet and blanket or duvet under the mattress, ensuring a snug fit.
- Go to the other side of the bed and repeat the tucking process, making sure the sheet is taut and the fold at the top remains intact.
- Move to the foot of the bed and tuck in any excess fabric, folding it neatly under the mattress for a crisp and tidy appearance.
- Smooth out any wrinkles or lumps in the sheet and blanket or duvet, ensuring a smooth and inviting surface.
Tucking in the sheets not only adds a touch of elegance but also helps keep the bed looking tidy and organized. This step is especially useful if you prefer a more streamlined and hotel-like look for your bed.
With the sheets securely tucked in, it’s time for the final touches to complete the bed-making process.
Final Touches
Now that your bed is beautifully made with properly fitted sheets, there are a few final touches you can add to enhance the overall aesthetic and comfort:
- Fluff and arrange your pillows: Take a moment to plump up your pillows and arrange them in an appealing manner. This will give your bed a more inviting and luxurious look.
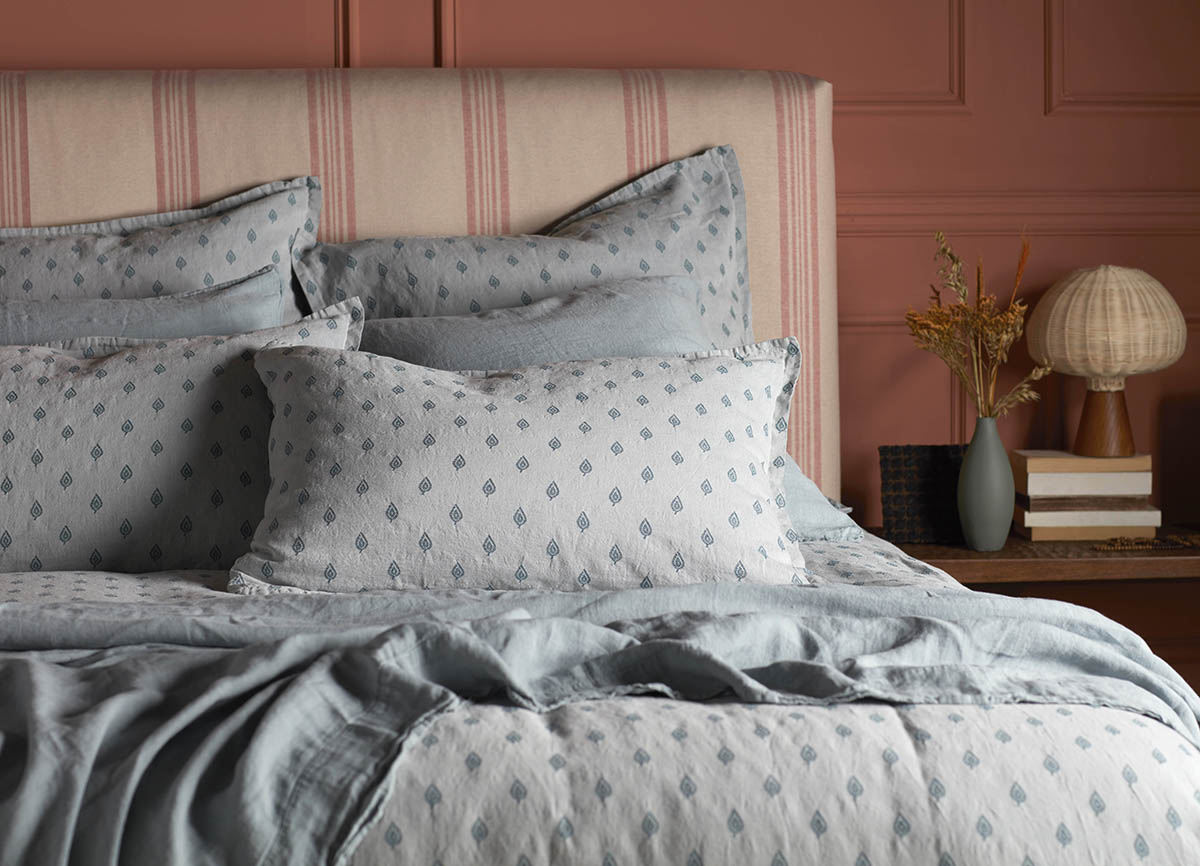
- Add decorative pillows or cushions: If you want to elevate the visual appeal of your bed even further, consider adding decorative pillows or cushions in coordinating colors or patterns. This can add an extra layer of style and personality to your bedroom.
By paying attention to these final touches, you can transform your bed into a welcoming and comfortable oasis that you’ll look forward to sinking into at the end of each day.
Now that you’re armed with the knowledge of how to properly put on bed sheets and add those finishing touches, you can enjoy the satisfaction of a beautifully made bed. Dive in, get creative, and have fun with your bedding arrangements to create a cozy and inviting sleep sanctuary that reflects your personal style. Sweet dreams!
Conclusion
Putting on bed sheets may seem like a simple task, but with a little attention to detail and the right techniques, you can transform your bed into a cozy and inviting oasis. By following the step-by-step process outlined in this guide, you’ll be able to achieve a beautifully made bed that not only looks exquisite but also provides optimum comfort for a restful night’s sleep.
From gathering the necessary supplies to tucking in the sheets and adding those final touches, every step plays a vital role in creating a well-made bed. Take the time to choose sheets that fit your bed properly, ensure the sheets are smooth and wrinkle-free, and consider adding decorative elements to enhance the overall aesthetic of your bedroom.
Remember, bed-making is not just about creating a visually appealing space but also cultivating an environment that promotes a peaceful and rejuvenating sleep experience. By investing a little time and effort into making your bed, you can start and end each day feeling relaxed and pampered.
So, whether you’re a seasoned pro or a complete beginner in the realm of bedroom decor, this guide has equipped you with the knowledge and skills to put on bed sheets with ease and style. Embrace your newfound expertise, get creative, and make your bed a place that you can’t wait to dive into at the end of a long day.
Now, it’s time to apply what you’ve learned and enjoy the satisfaction of a well-made bed. Sweet dreams!
Frequently Asked Questions about How To Put On Bed Sheets
Was this page helpful?
At Storables.com, we guarantee accurate and reliable information. Our content, validated by Expert Board Contributors, is crafted following stringent Editorial Policies. We're committed to providing you with well-researched, expert-backed insights for all your informational needs.



0 thoughts on “How To Put On Bed Sheets”