Home>Furniture>Bedroom Furniture>How To Remove Bed Bugs From A Bed Frame

Bedroom Furniture
How To Remove Bed Bugs From A Bed Frame
Modified: October 28, 2024
Learn how to effectively remove bed bugs from your bed frame with these easy steps. Protect your bedroom furniture and keep your home pest-free.
(Many of the links in this article redirect to a specific reviewed product. Your purchase of these products through affiliate links helps to generate commission for Storables.com, at no extra cost. Learn more)
Introduction
Bed bugs are pesky little creatures that can infest your bed frame and make your nights uncomfortable and sleepless. These tiny insects are known for their ability to hide in various crevices and multiply rapidly, making them a challenge to eradicate. However, with the right approach and tools, you can successfully remove bed bugs from your bed frame and regain a peaceful night’s sleep.
In this article, we will guide you through a step-by-step process on how to remove bed bugs from a bed frame. From identification to treatment and preventive measures, we will cover all the essential aspects to ensure a thorough and effective elimination of these unwelcome pests.
Before we begin, it’s important to understand that bed bugs are not a sign of uncleanliness. They can infest any home, regardless of cleanliness or hygiene standards. Bed bugs are excellent hitchhikers and can easily be transported via luggage, clothing, or furniture. So, if you notice any signs of bed bugs in your bed frame, don’t panic. Follow the steps below to eliminate them and restore comfort to your bedroom.
Key Takeaways:
- Identifying bed bugs, prepping the bed frame, and using a combination of vacuuming, sprays, and steam cleaning are crucial steps to effectively remove bed bugs from a bed frame and prevent re-infestation.
- Regular monitoring, maintaining cleanliness, and considering professional pest control assistance can help minimize the risk of future bed bug infestations, ensuring a peaceful and bed bug-free sleep environment.
Read more: How To Remove Bolts From A Bed Frame
Step 1: Identify the presence of bed bugs
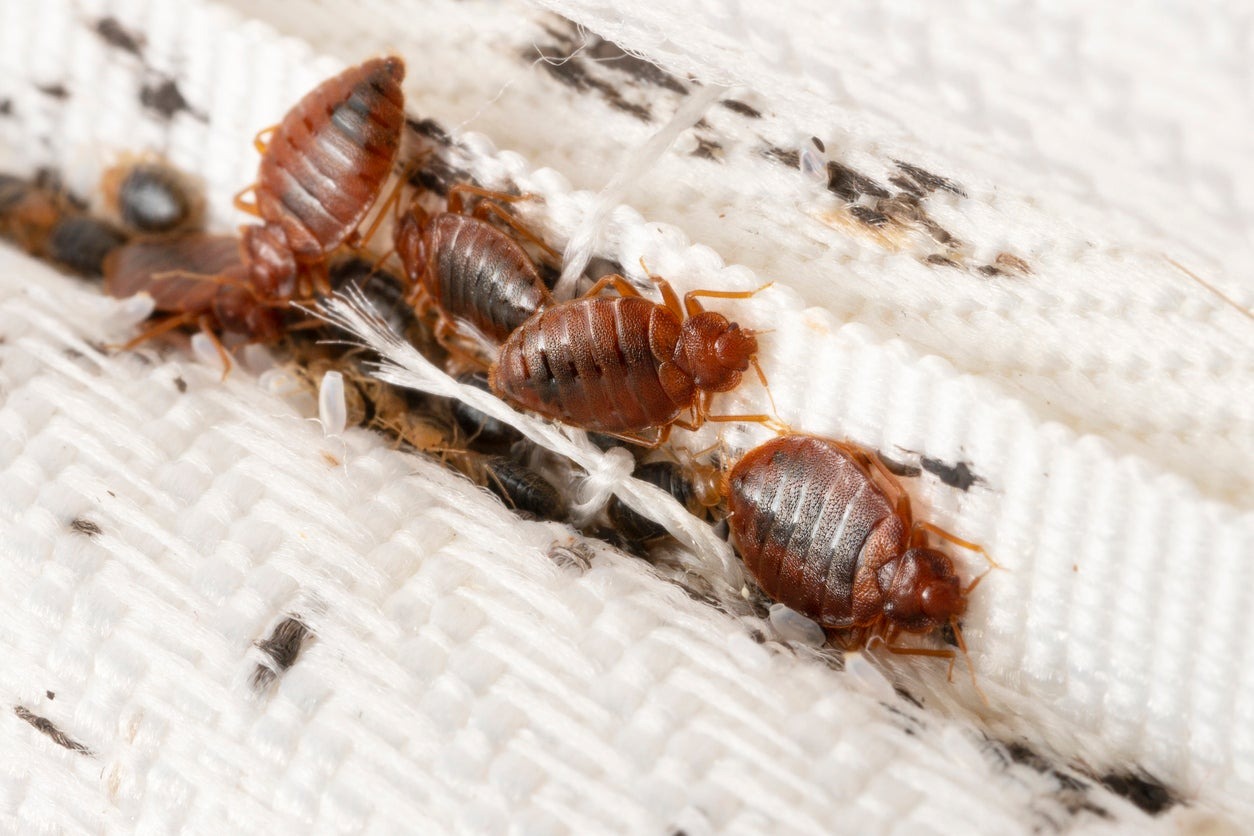
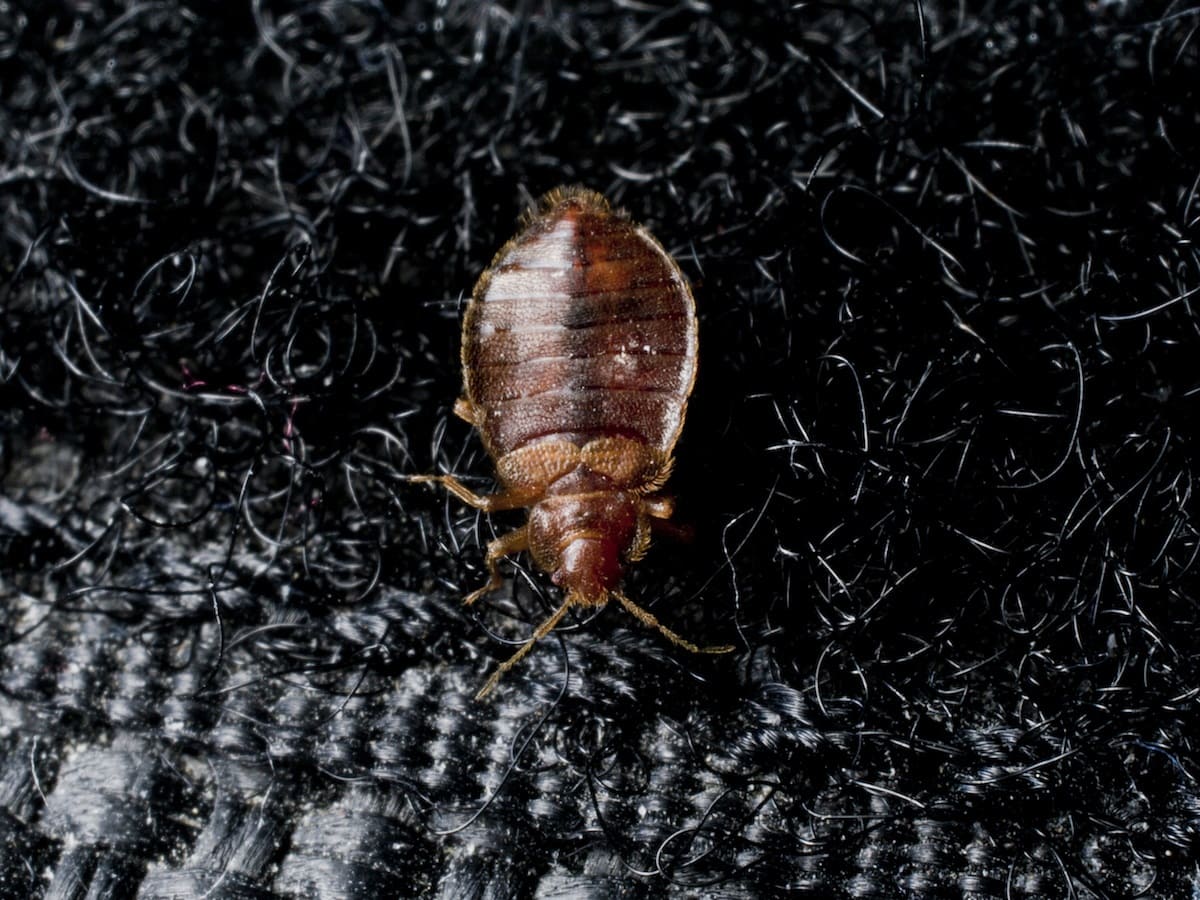
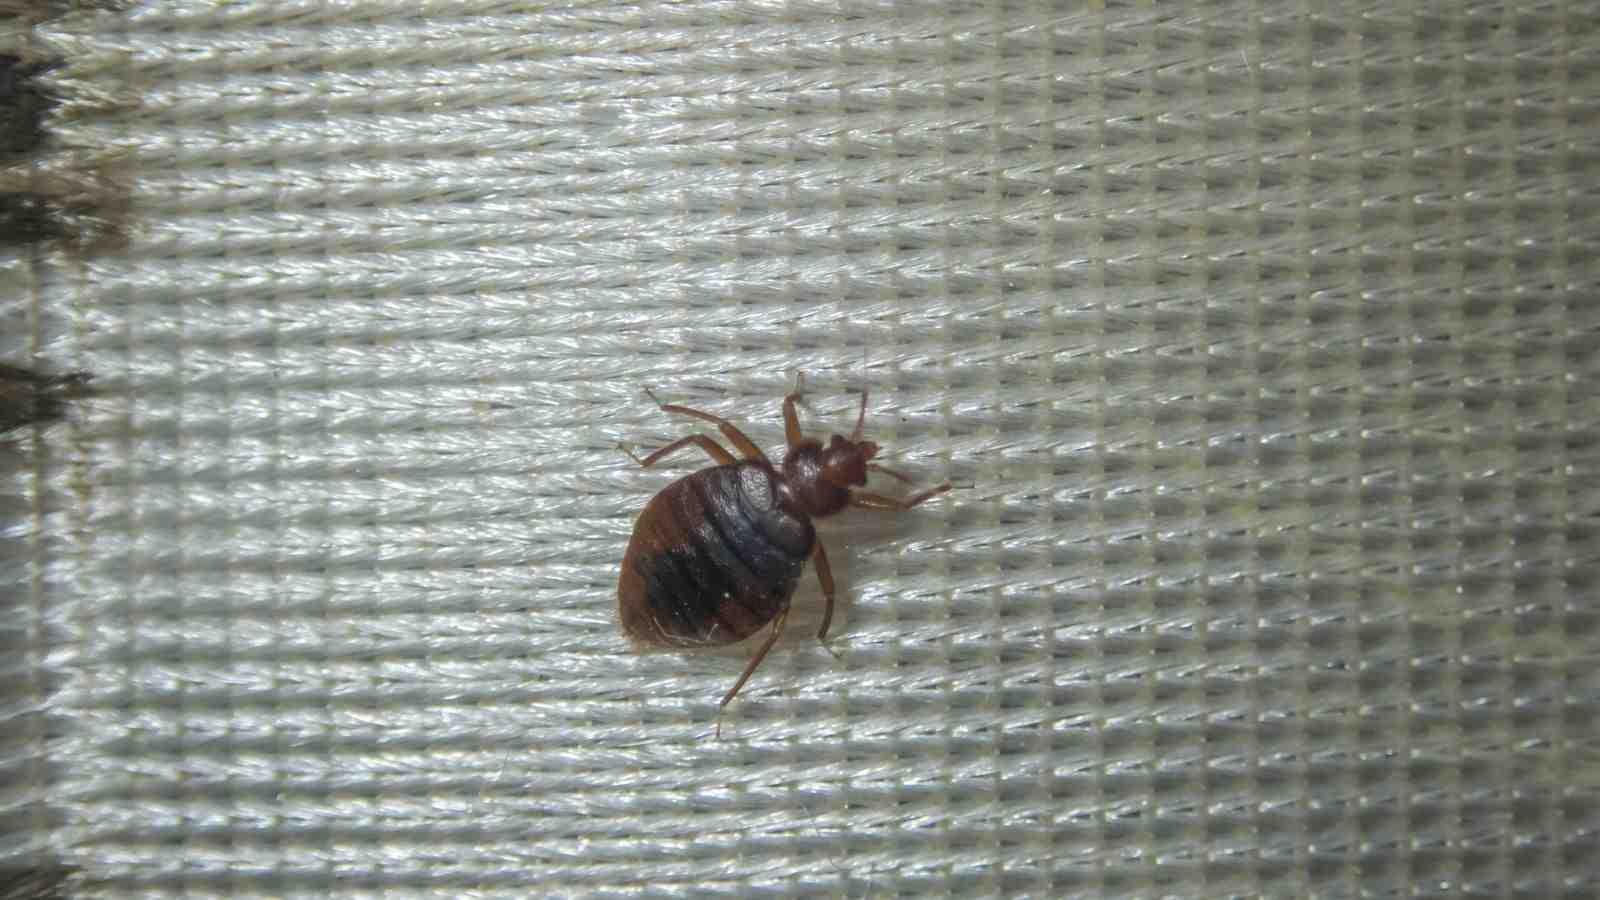
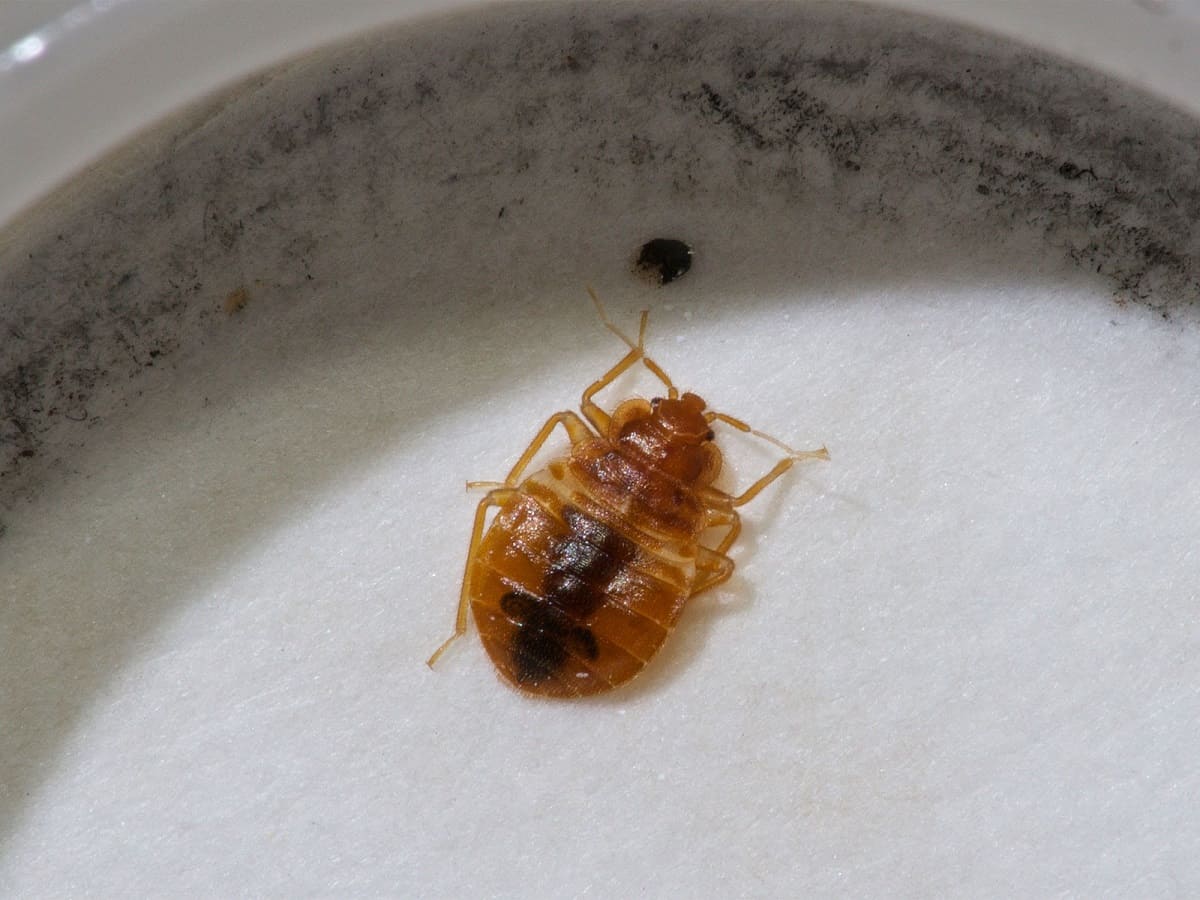
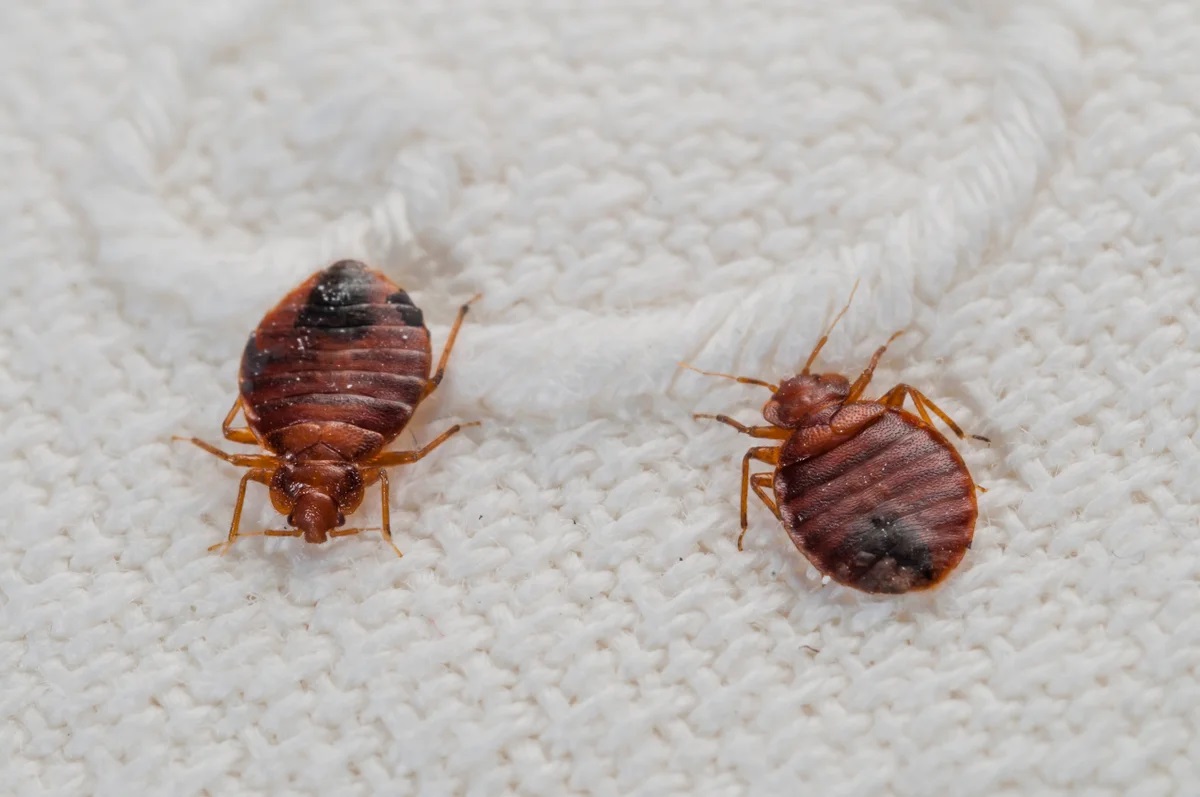
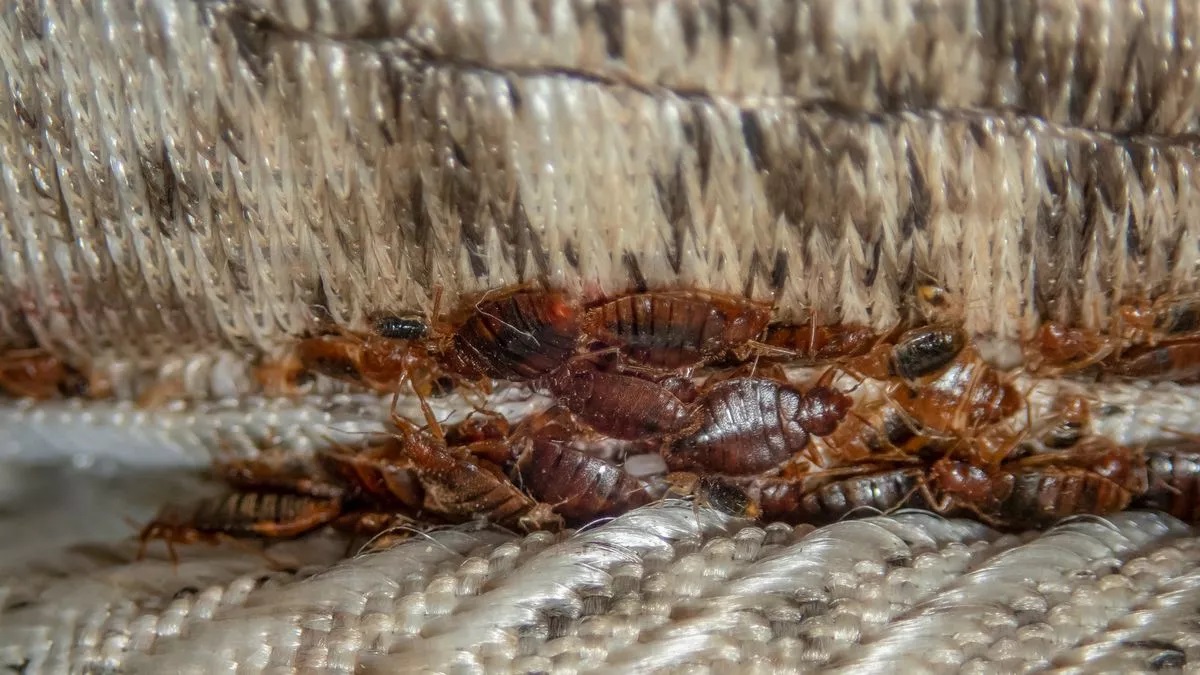
The first step in removing bed bugs from your bed frame is to confirm their presence. Bed bugs are small, flat, oval-shaped insects that are reddish-brown in color. They are typically around 4-5 mm in length, but can vary depending on their age and feeding habits.
One of the most common signs of a bed bug infestation is waking up with itchy red welts or bites on your body. While these bites are not exclusive to bed bugs and can also be caused by other insects, they can be a strong indicator of their presence, especially if the bites are in a linear pattern.
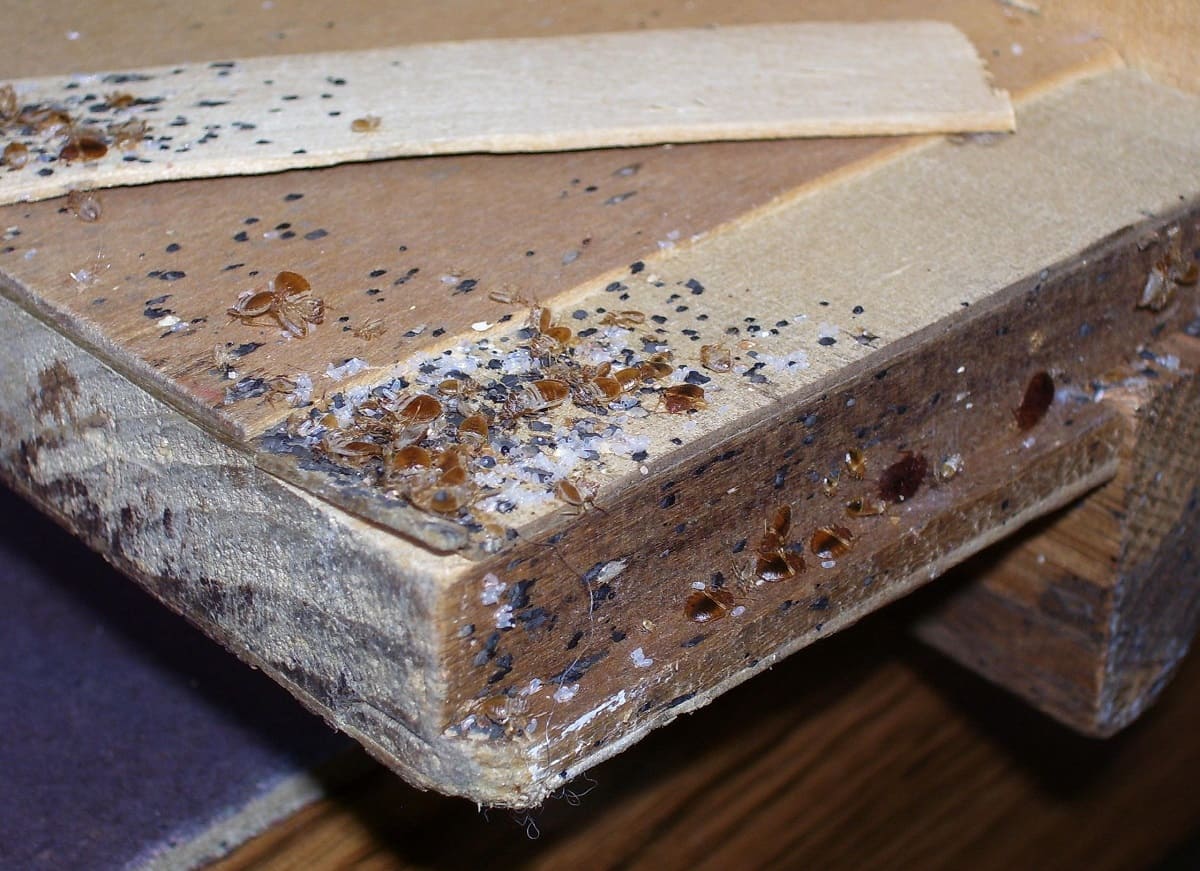
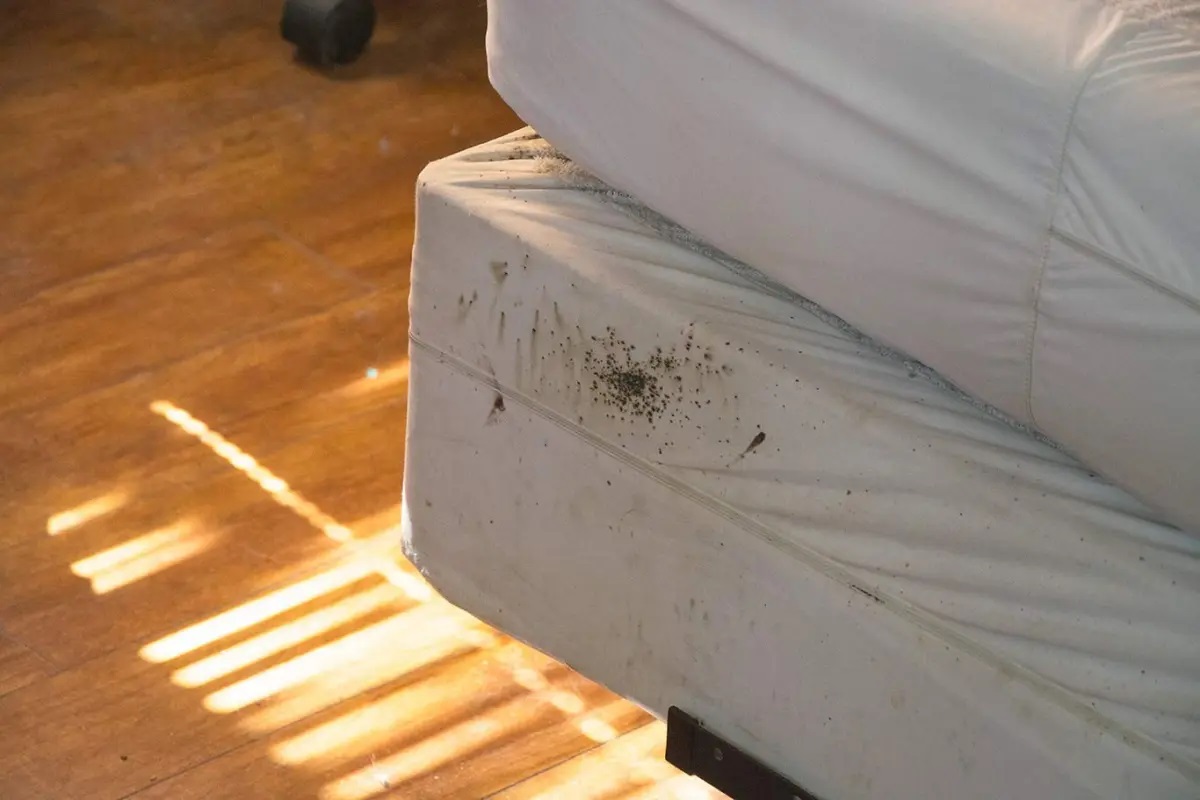
Inspecting your bed frame is crucial in identifying the presence of bed bugs. Start by removing all bedding, including sheets, pillows, and blankets. Carefully examine the seams, tufts, and corners of your mattress for any signs of live bugs or their excrement, which appears as small dark spots. Also, check the crevices and joints of your bed frame, as bed bugs often hide in these areas during the day.
Other signs of a bed bug infestation include the presence of tiny, translucent eggs along the seams and edges of your mattress, the shedding of bed bug skins, and a musty odor in your bedroom.
If you find any of these signs, it is highly likely that you have a bed bug infestation. It is essential to act quickly to prevent the infestation from spreading and causing further discomfort. Proceed to the next step to prepare your bed frame for treatment.
Step 2: Prep the bed frame for treatment
Before you can effectively treat the bed frame, it is crucial to properly prepare it. This step will help ensure that the treatment is successful and that all bed bugs and their eggs are eradicated.
Start by removing all bedding, including sheets, pillows, and blankets, and launder them on high heat to kill any bed bugs or eggs present. Seal them in plastic bags afterward to prevent any potential reinfestation.
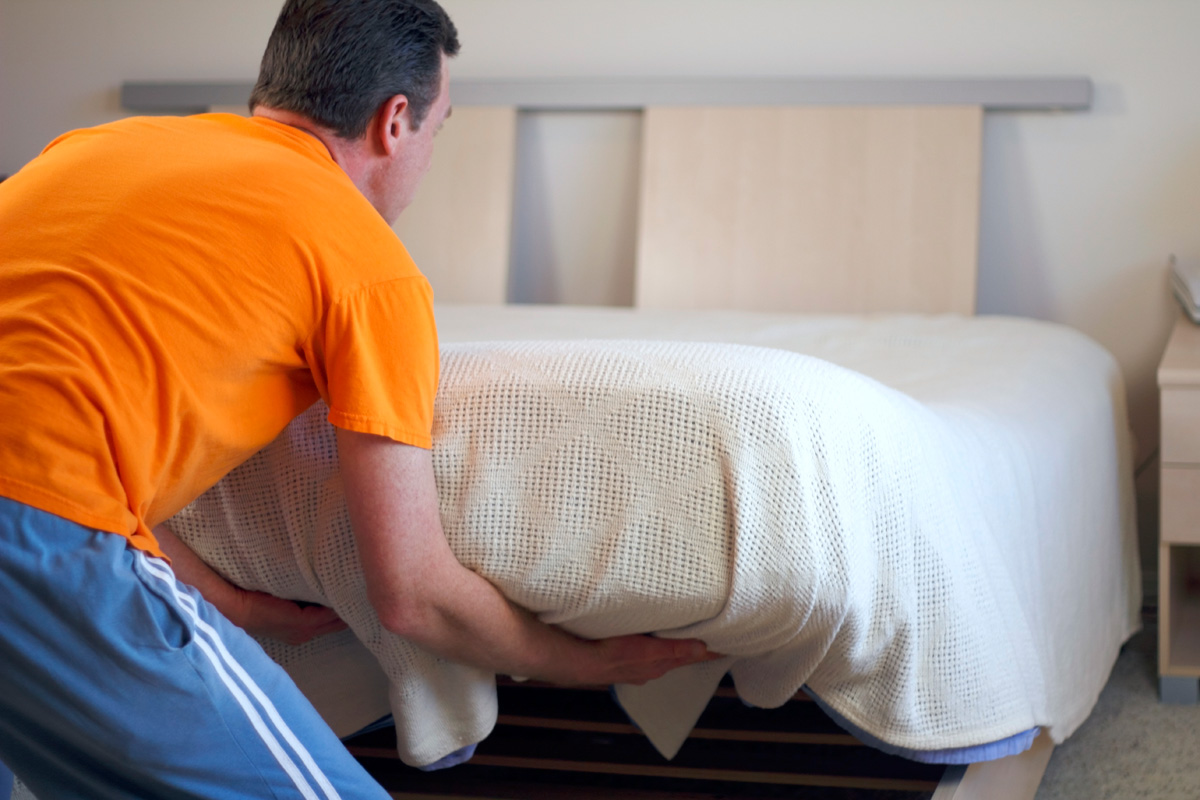
Next, take apart the bed frame, if possible. Remove the mattress and box spring and set them aside for treatment. Disassemble any removable parts such as headboards, footboards, and slats. Place these parts in plastic bags or containers to prevent any bed bugs from spreading to other areas of your home.
Use a vacuum cleaner with a brush attachment to thoroughly vacuum the entire bed frame, paying close attention to the seams, joints, and cracks where bed bugs like to hide. Make sure to dispose of the vacuum bag or empty the canister immediately after vacuuming to prevent bed bugs from escaping.
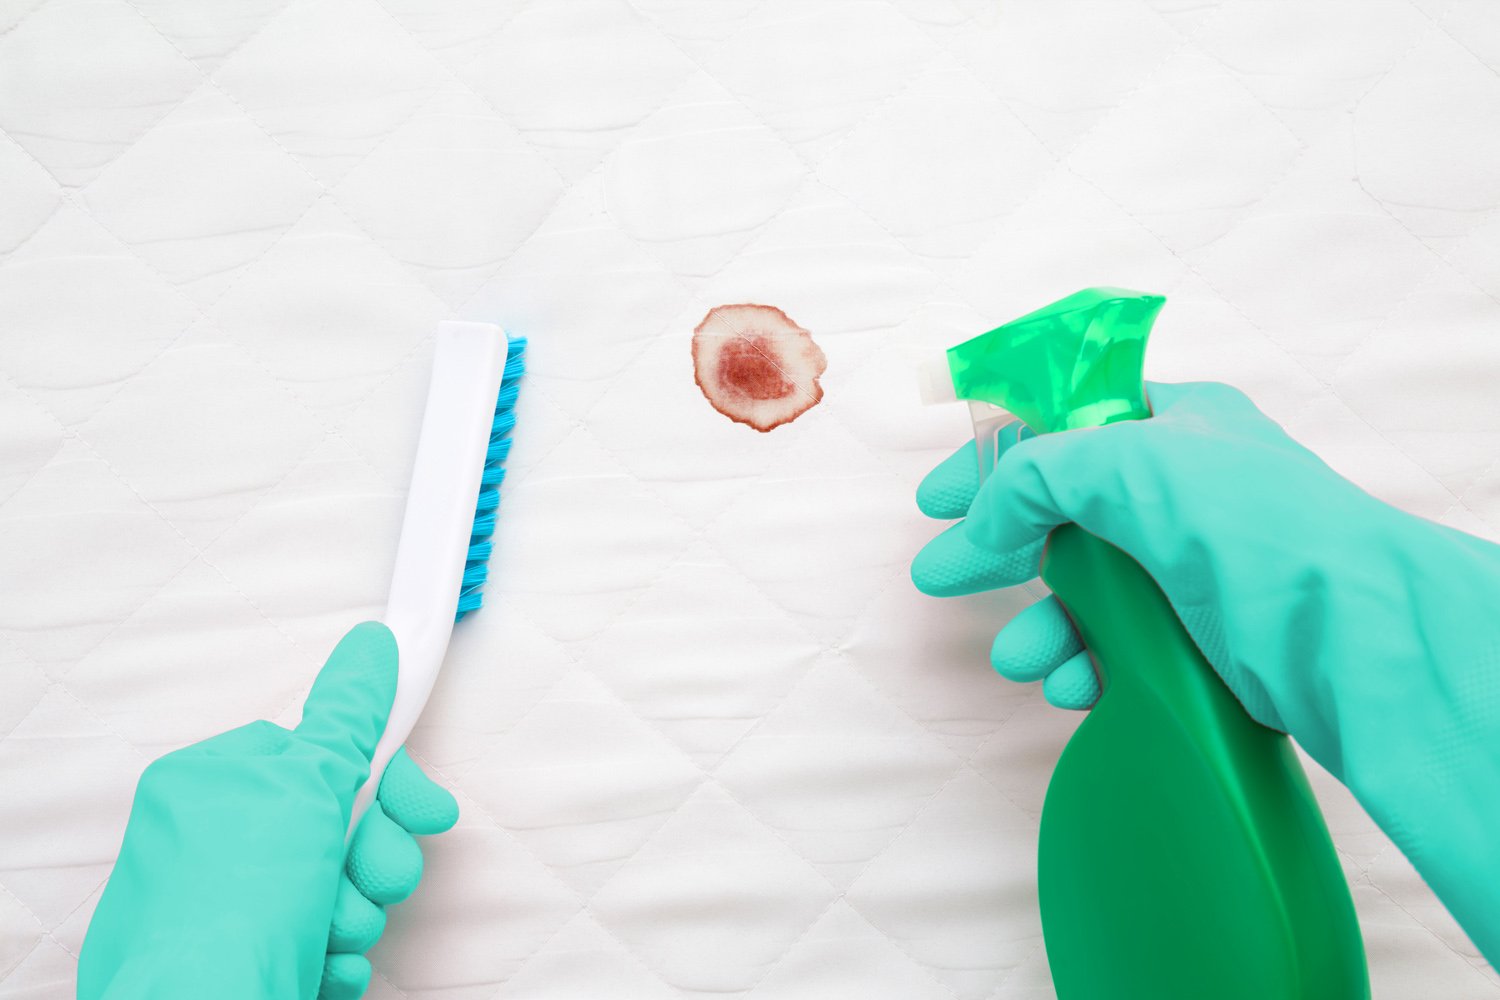
Once the bed frame has been vacuumed, use a stiff brush to scrub the surface of the frame, loosening any eggs or bugs that may be hiding. This will also help to expose any remaining bed bugs and make them easier to eliminate.
After cleaning the bed frame, it’s essential to create a barrier between the frame and the floor. Apply a thin layer of petroleum jelly or double-sided tape to the legs and other contact points of the bed frame. This will prevent bed bugs from climbing up onto the frame and re-infesting it.
By properly prepping the bed frame, you are setting the stage for effective treatment and ensuring that all bed bugs are targeted and eliminated. Now that the bed frame is ready, it’s time to move on to the next step: vacuuming.
Step 3: Vacuum the bed frame
Now that you have prepped the bed frame, it’s time to tackle the next crucial step: vacuuming. Vacuuming is an effective method for physically removing bed bugs and their eggs from the surfaces of the bed frame.
Start by using the brush attachment on your vacuum cleaner to go over the entire surface of the bed frame. Make sure to pay special attention to the seams, joints, and crevices, as bed bugs tend to hide in these areas. Move the brush attachment slowly and methodically to ensure that you cover every inch of the frame.
While vacuuming, be sure to also vacuum any surrounding areas, such as the floor, baseboards, and nearby furniture. Bed bugs can easily crawl and hide in these areas, so it’s important to thoroughly clean and remove any potential hiding spots.
When vacuuming, it’s important to use a vacuum cleaner with a bag, as opposed to a bagless model. This will prevent any bed bugs from escaping and re-infesting your home. Additionally, use a HEPA (high-efficiency particulate air) filter to trap and contain any microscopic particles, including bed bug eggs.
After you have finished vacuuming, carefully remove and seal the vacuum bag in a plastic bag. If you are using a bagless vacuum, empty the canister into a plastic bag and seal it tightly. Dispose of the bag or canister in an outdoor trash bin to prevent any potential reinfestation.
It’s important to note that vacuuming alone may not completely eliminate a bed bug infestation. However, it plays a crucial role in removing a significant portion of the bed bugs and reducing their population. Vacuuming should be followed by additional treatment methods to ensure full eradication.
Now that the bed frame has been vacuumed, it’s time to proceed to the next step: applying a bed bug spray or powder.
Step 4: Apply a bed bug spray or powder
After vacuuming the bed frame, it’s time to apply a bed bug spray or powder. These products are specifically designed to kill bed bugs on contact or through ingestion, effectively eliminating the infestation.
When choosing a bed bug spray or powder, opt for one that is specifically labeled for use on bed frames and furniture. Look for products that contain ingredients such as pyrethroids or neonicotinoids, as these are effective in killing bed bugs.
Before applying the spray or powder, carefully read and follow the instructions provided by the manufacturer. Some sprays may require dilution, while others can be used directly. Wear gloves and a mask to protect yourself from the chemicals, and ensure that the area is well-ventilated during application.
Start by spraying or applying the product to the entirety of the bed frame, paying close attention to the seams, joints, and other hiding spots. Use a brush or cloth to work the spray or powder into the surfaces, ensuring maximum coverage. Allow the product to dry thoroughly, and make sure to follow the recommended waiting time before reassembling the bed frame.
In addition to treating the bed frame, it’s also important to treat the mattress and box spring. Use the spray or powder to thoroughly treat both sides of the mattress and box spring, paying extra attention to the seams and edges. Allow these items to air out and fully dry before encasing them in protective covers.
After the treatment, monitor the bed frame and surrounding area for any signs of continued infestation. If you still notice bed bugs or signs of their presence, consider seeking professional pest control assistance to ensure complete eradication.
Remember to always follow the safety precautions and instructions provided by the product manufacturer when using bed bug sprays or powders. These treatments, when used properly, can be highly effective in combating bed bug infestations and providing long-term relief.
With the bed frame treated, it’s time to move on to the next step: using a steam cleaner.
Vacuum and steam clean the bed frame thoroughly to remove bed bugs and their eggs. Use a stiff brush to dislodge any eggs or bugs hiding in crevices.
Step 5: Use a steam cleaner
Using a steam cleaner is an effective method to eliminate bed bugs and their eggs from your bed frame. The high temperature of the steam can penetrate deep into the surfaces, killing bed bugs instantly upon contact.
Before using a steam cleaner, make sure to read and follow the manufacturer’s instructions carefully. Fill the steam cleaner with water and allow it to heat up to the appropriate temperature for bed bug eradication. Typically, a temperature of at least 120°F (49°C) is required to kill bed bugs and their eggs.
Start by slowly moving the steam cleaner over the entire surface of the bed frame, paying close attention to seams, joints, and cracks. The steam should be applied directly to the areas where bed bugs are likely to hide and lay their eggs. Allow the steam to penetrate the surface for a few seconds before moving to the next area.
It’s important to note that steam cleaners may not be suitable for all types of bed frames. Avoid using them on delicate or sensitive materials that may be damaged by high heat or moisture. If you’re unsure about using a steam cleaner on your bed frame, consult the manufacturer or consider seeking professional help.
After steaming the bed frame, use a cloth or towel to wipe away any excess moisture. Ensure that the bed frame is completely dry before reassembling it and placing the mattress and box spring back on top.
Using a steam cleaner not only kills bed bugs but also sanitizes the bed frame, eliminating any bacteria or allergens that may be present. This step is essential for creating a healthy and hygienic sleeping environment.
After steaming the bed frame, it’s time to move on to the next step: encasing the mattress and box spring.
Step 6: Encase the mattress and box spring
Encasing the mattress and box spring is an important step in preventing future bed bug infestations and protecting your bed from re-infestation. Mattress and box spring encasements create a barrier that prevents bed bugs from accessing these areas and hiding within them.
When choosing encasements, opt for ones specifically designed for bed bug protection. These encasements are made of a tightly woven fabric that is bite-proof and impenetrable by bed bugs. Make sure the encasements are labeled as “bed bug-proof” or “bed bug encasements” to ensure their effectiveness.
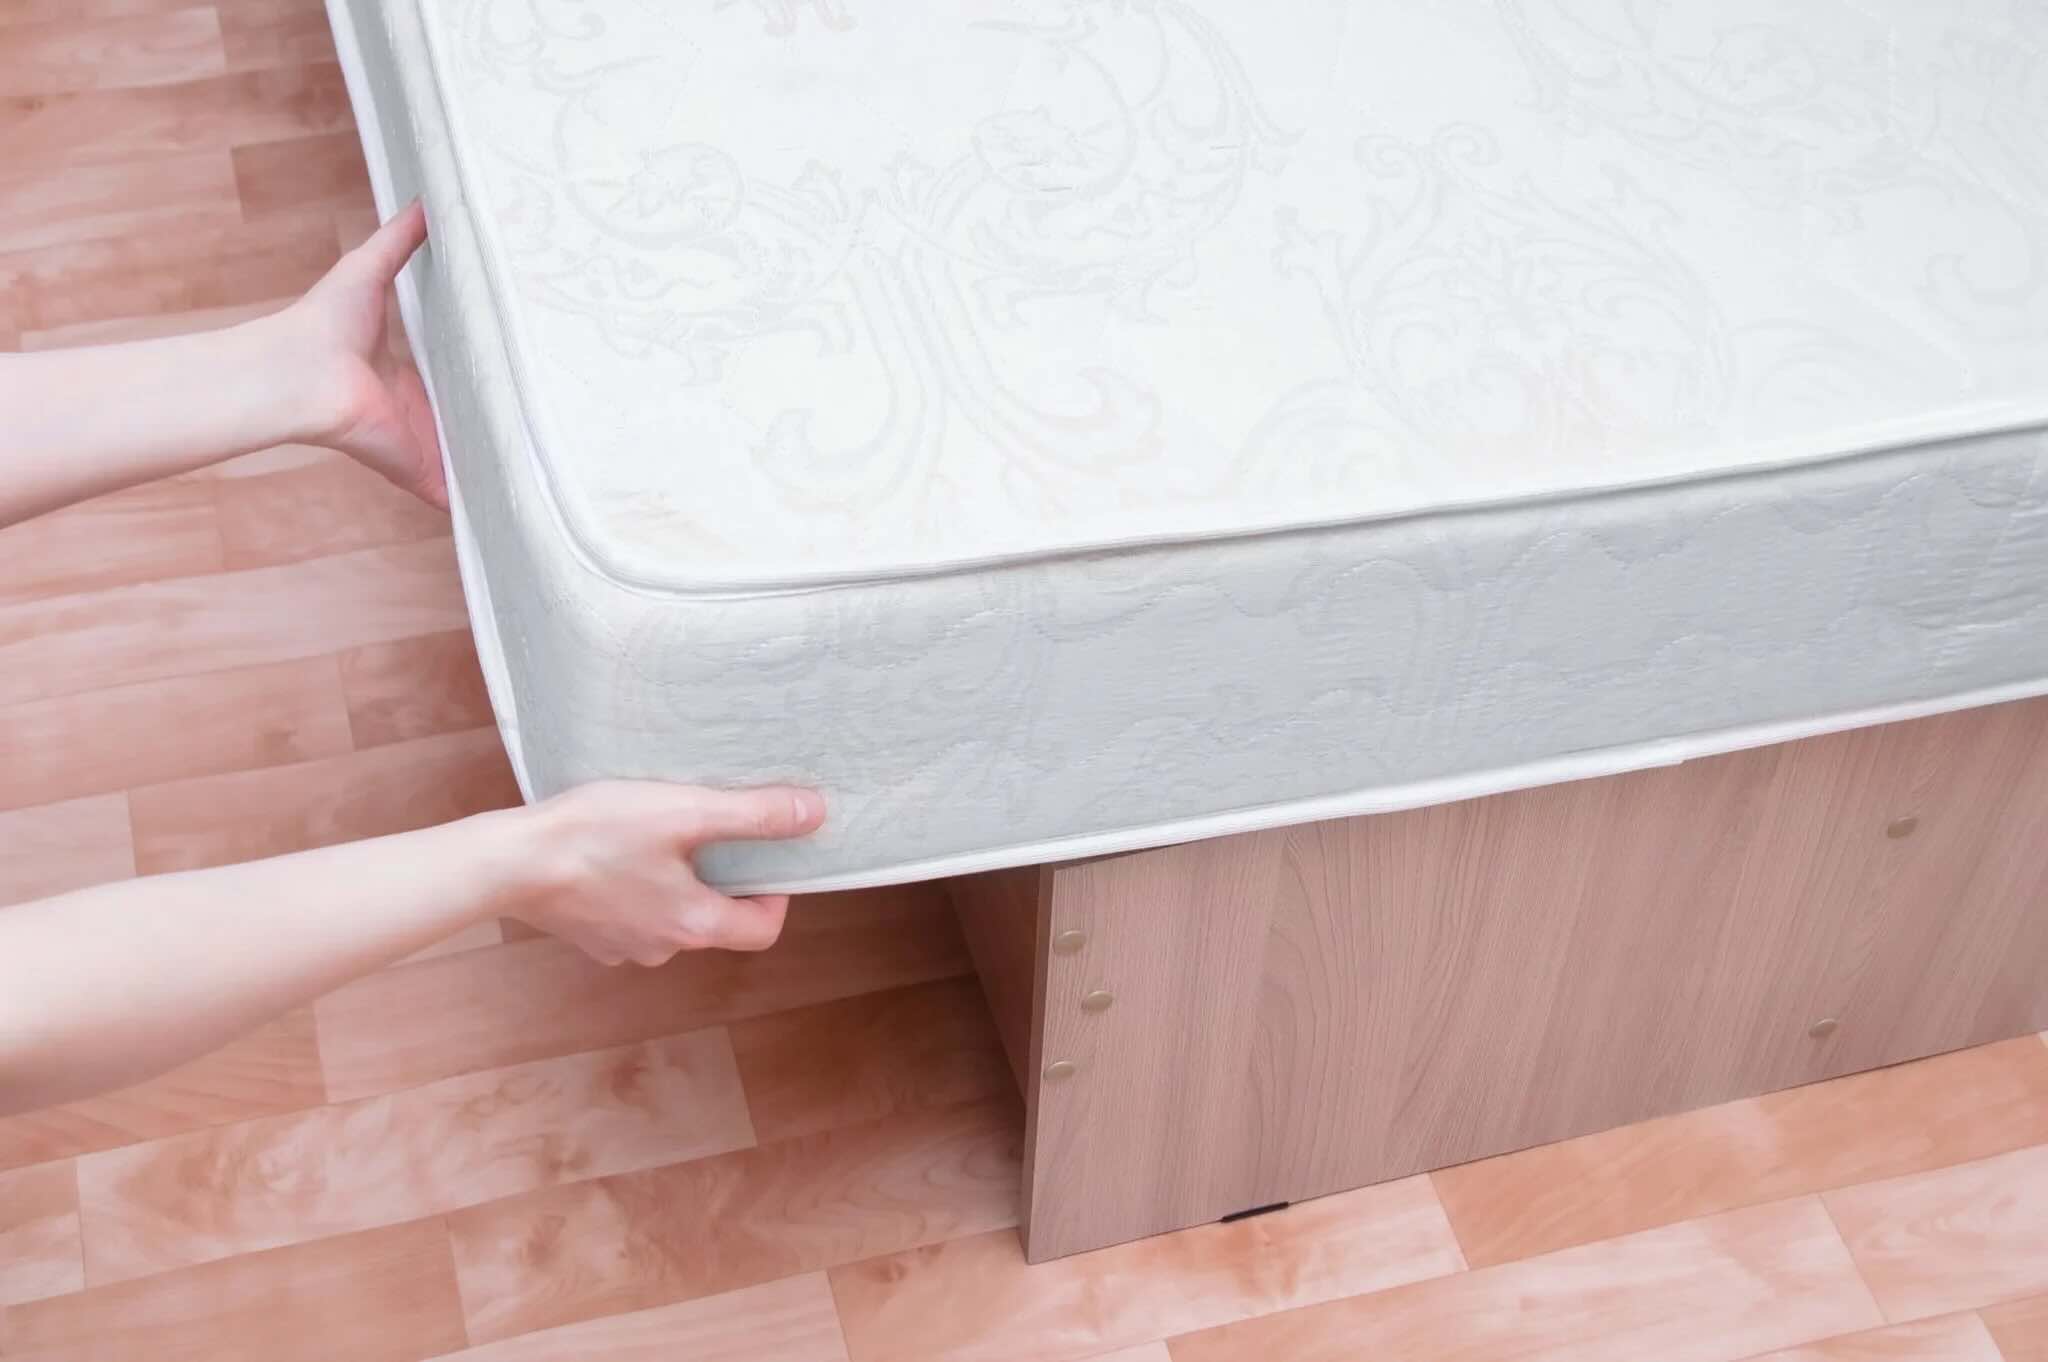
Start by removing the mattress and box spring from the bed frame. Carefully slide the encasements over each item, ensuring a snug fit. The encasement should completely cover the mattress or box spring, leaving no gaps or openings for bed bugs to enter.
Once the encasements are in place, seal them securely using the provided zipper or closure mechanism. Check that the zipper is fully closed and inspect for any gaps or openings. Bed bugs are incredibly small and can easily squeeze through the tiniest openings, so it’s crucial to ensure a tight seal.
Encasing the mattress and box spring not only prevents bed bugs from accessing these areas but also traps any existing bed bugs inside. Any bed bugs that were present within the mattress or box spring will eventually die off, unable to feed or reproduce inside the encasements.
In addition to protecting against bed bugs, encasements can also help prolong the lifespan of your mattress and box spring by shielding them from stains and spills. They are usually waterproof and can be easily removed and washed, further maintaining cleanliness and hygiene.
With the mattress and box spring encased, you have taken an important step in preventing bed bug infestations and safeguarding your sleeping environment. Now, it’s time to move on to the next step: sealing cracks and crevices.
Step 7: Seal cracks and crevices
To ensure that bed bugs do not have any hiding spots in your bed frame, it is important to seal any cracks and crevices where they could potentially reside. Bed bugs are excellent at finding small hiding spots, so sealing these openings will help prevent them from re-infesting your bed frame.
Start by thoroughly inspecting the bed frame for any cracks, crevices, or gaps where bed bugs could hide. Common areas to check include the joints, seams, and corners of the frame. Pay attention to any loose or damaged parts that may create potential hiding spots.
Once you have identified these areas, use an appropriate sealant to close off the openings. Silicone-based caulking or sealants are often recommended for this purpose, as they are durable, flexible, and can withstand the movement of the bed frame.
Apply the sealant directly into the cracks and crevices, ensuring that it fills the entire gap. Use a putty knife or your finger to smooth out the sealant and create an even surface. Allow the sealant to dry according to the manufacturer’s instructions before reassembling the bed frame.
By sealing cracks and crevices, you are eliminating any potential hiding spots for bed bugs and reducing the chances of a re-infestation. This step, combined with the previous measures taken, creates a highly inhospitable environment for these pests.
In addition to sealing the bed frame, it’s important to also inspect and seal any cracks or gaps in the surrounding walls, baseboards, and nearby furniture. Bed bugs are known for their ability to travel and hide in adjacent areas, so sealing these potential entry points will further fortify your defense against them.
With the cracks and crevices securely sealed, it’s time to move on to the final step: monitoring and maintaining cleanliness.
Step 8: Monitor and maintain cleanliness
After taking steps to remove bed bugs from your bed frame, it is important to actively monitor and maintain cleanliness to prevent any future infestations. Bed bugs are resilient pests, and vigilance is key to preventing their return.
Regularly inspect the bed frame, mattress, and surrounding areas for any signs of bed bugs. Keep an eye out for live bugs, eggs, shed skins, or dark spots of bed bug excrement. If you notice any signs of bed bugs, take immediate action to address the issue.
Continue to vacuum the bed frame regularly, paying attention to the seams, joints, and other potential hiding spots. Dispose of the vacuum bag or empty the canister in a sealed plastic bag to prevent any potential reinfestation. Maintaining cleanliness will ensure that any stray bed bugs are promptly removed.
Wash your bedding, including sheets, pillowcases, and blankets, on a regular basis. Use hot water and a high-temperature dryer setting to kill any bed bugs or eggs that may be present. Dispose of any infested bedding or items that cannot be treated effectively.
Consider using bed bug interceptors or traps under the legs of your bed frame. These devices are designed to capture bed bugs as they attempt to climb up onto the bed. Regularly check the interceptors or traps for any signs of bed bug activity.
If you frequently travel or have recently had guests stay overnight, take extra precautions to ensure that bed bugs are not inadvertently brought into your home. Inspect your luggage and clothing before bringing them inside, and consider using bed bug-proof encasements for your luggage when traveling.
Lastly, consider seeking professional pest control assistance if you continue to experience bed bug issues. Professionals have the knowledge, experience, and specialized treatments to effectively eliminate bed bugs and prevent their return.
By monitoring and maintaining cleanliness in your bedroom, you can minimize the risk of future bed bug infestations and ensure a restful and peaceful sleep environment.
With the completion of step 8, you have successfully gone through all the necessary steps to remove bed bugs from your bed frame. By following these steps diligently and taking preventative measures, you can enjoy a bed bug-free sleeping experience. Remember, early detection and immediate action are key to effectively addressing and preventing bed bug infestations.
Read more: How To Store Clothes From Bed Bugs
Conclusion
Dealing with a bed bug infestation in your bed frame can be a daunting task, but by following the steps outlined in this guide, you can successfully remove these pesky insects and restore comfort to your bedroom. Identifying the presence of bed bugs, prepping the bed frame, vacuuming, applying sprays or powders, using a steam cleaner, encasing the mattress and box spring, sealing cracks and crevices, and maintaining cleanliness are all essential in the process of eliminating bed bugs.
Remember, bed bugs are persistent pests, and it may take time and effort to completely eradicate them. It’s important to stay vigilant and continue monitoring your bed frame and surrounding areas for any signs of a potential re-infestation. Regular cleaning, laundering bedding, and maintaining a clutter-free environment can greatly reduce the risk of bed bug infestations.
While DIY methods can be effective for small infestations, it’s important to consult a professional pest control company if you have a severe or persistent problem. Professional exterminators have the expertise and specialized treatments to effectively eliminate bed bugs and prevent their return.
Lastly, remember that bed bugs are not a reflection of uncleanliness. They can infest any home, regardless of hygiene. The most important thing is to take prompt action and implement preventative measures to prevent their spread and ensure a peaceful, bed bug-free sleep environment.
By following this comprehensive guide and incorporating these steps into your bed bug removal process, you can successfully reclaim your bed frame from these unwelcome pests and enjoy restful nights of sleep once again.
Frequently Asked Questions about How To Remove Bed Bugs From A Bed Frame
Was this page helpful?
At Storables.com, we guarantee accurate and reliable information. Our content, validated by Expert Board Contributors, is crafted following stringent Editorial Policies. We're committed to providing you with well-researched, expert-backed insights for all your informational needs.


0 thoughts on “How To Remove Bed Bugs From A Bed Frame”