Home>Furniture>Bedroom Furniture>How To Wash A Nectar Mattress Cover
Bedroom Furniture
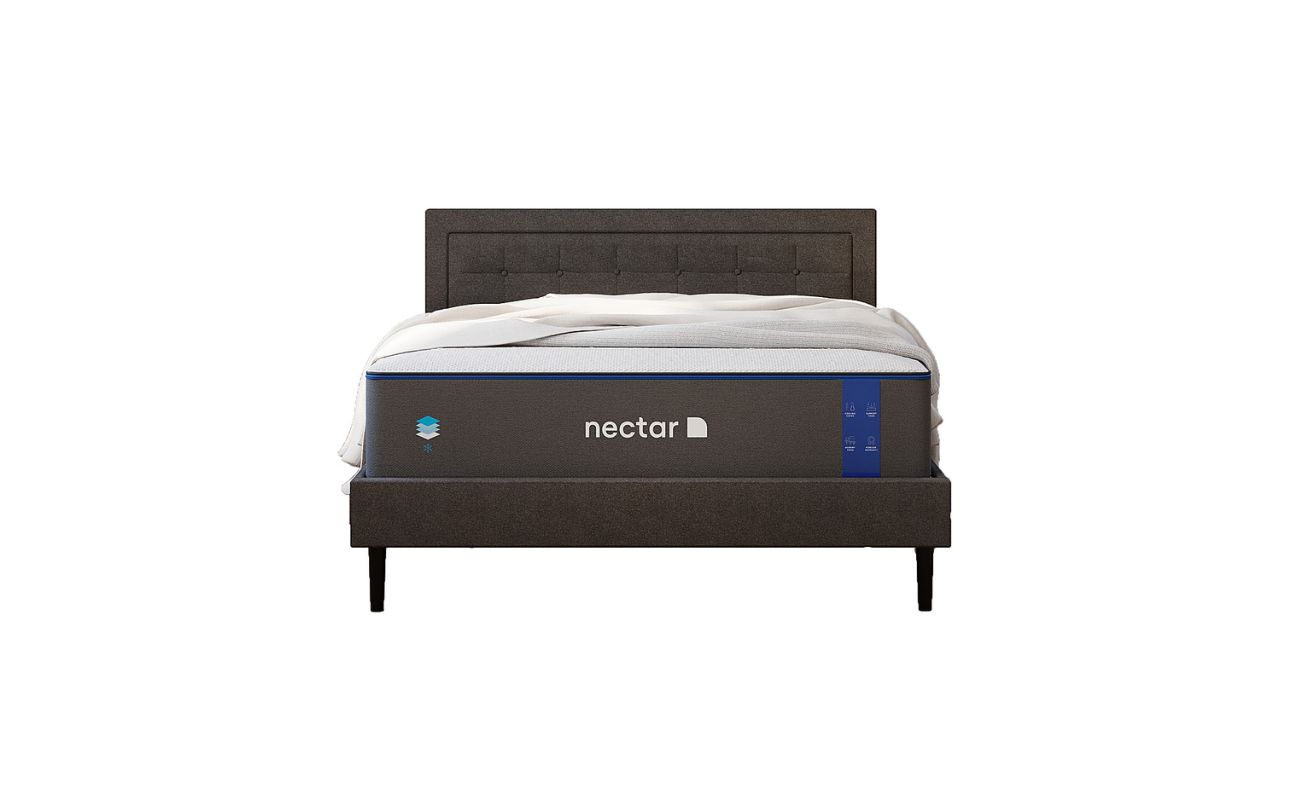
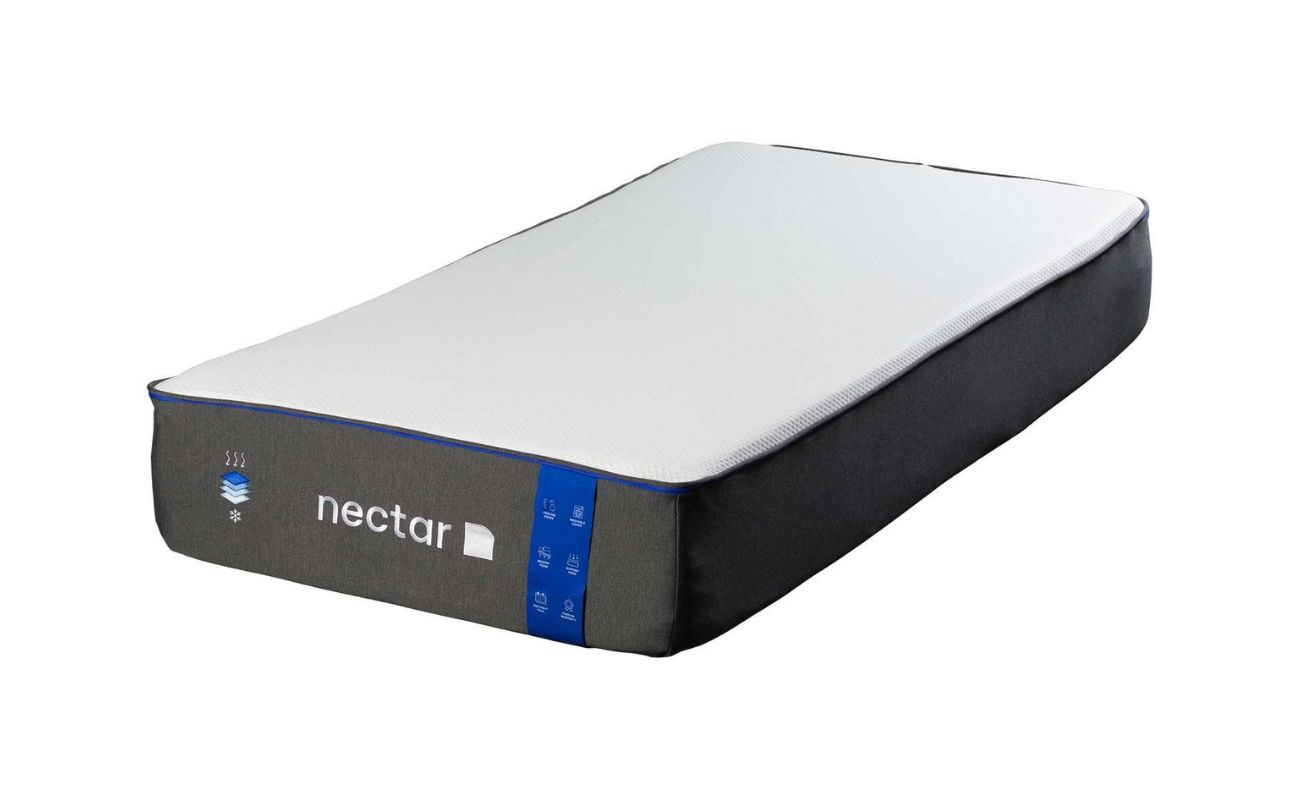
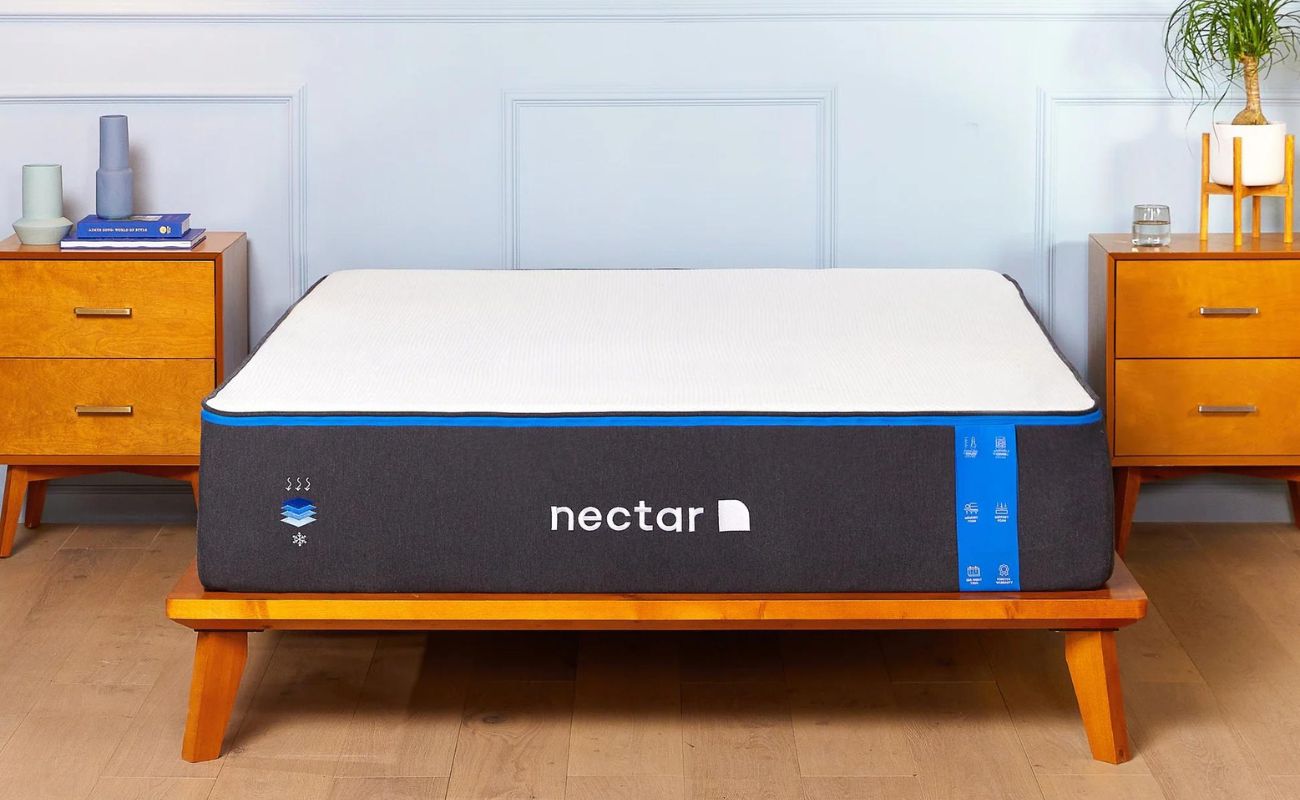
How To Wash A Nectar Mattress Cover
Modified: October 20, 2024
Learn the proper way to wash your Nectar mattress cover and keep your bedroom furniture fresh and clean. Our step-by-step guide will help you maintain the longevity of your mattress cover.
(Many of the links in this article redirect to a specific reviewed product. Your purchase of these products through affiliate links helps to generate commission for Storables.com, at no extra cost. Learn more)
Introduction
Welcome to the ultimate guide on how to wash your Nectar mattress cover! Your bedroom should be a sanctuary of comfort and relaxation, and your mattress plays a crucial role in creating that cozy ambiance. While regular cleaning and maintenance of your mattress are important, it’s equally essential to give attention to the mattress cover. The Nectar mattress cover provides an additional layer of protection, keeping your mattress fresh and free from stains, dirt, and allergens.
In this comprehensive guide, we will take you through the step-by-step process of washing your Nectar mattress cover. Whether you’re dealing with spills, stains, or just want to give your cover a thorough clean, we’ve got you covered. Just follow these simple instructions, and your Nectar mattress cover will be looking and feeling as good as new!
Please keep in mind that washing the Nectar mattress cover may slightly differ from washing other mattress covers, so it’s essential to follow the manufacturer’s instructions. Let’s dive right into it and learn how to properly clean your Nectar mattress cover to maintain its durability and extend its lifespan.
Key Takeaways:
- Keep your Nectar mattress cover fresh and clean by following these simple steps for washing and maintaining it. Regular cleaning extends its lifespan and promotes a hygienic sleep environment.
- Properly preparing, washing, and drying your Nectar mattress cover ensures a cozy and inviting sleep environment. Regular maintenance contributes to better sleep quality and a longer-lasting investment in your mattress.
Read more: What Is A Nectar Mattress
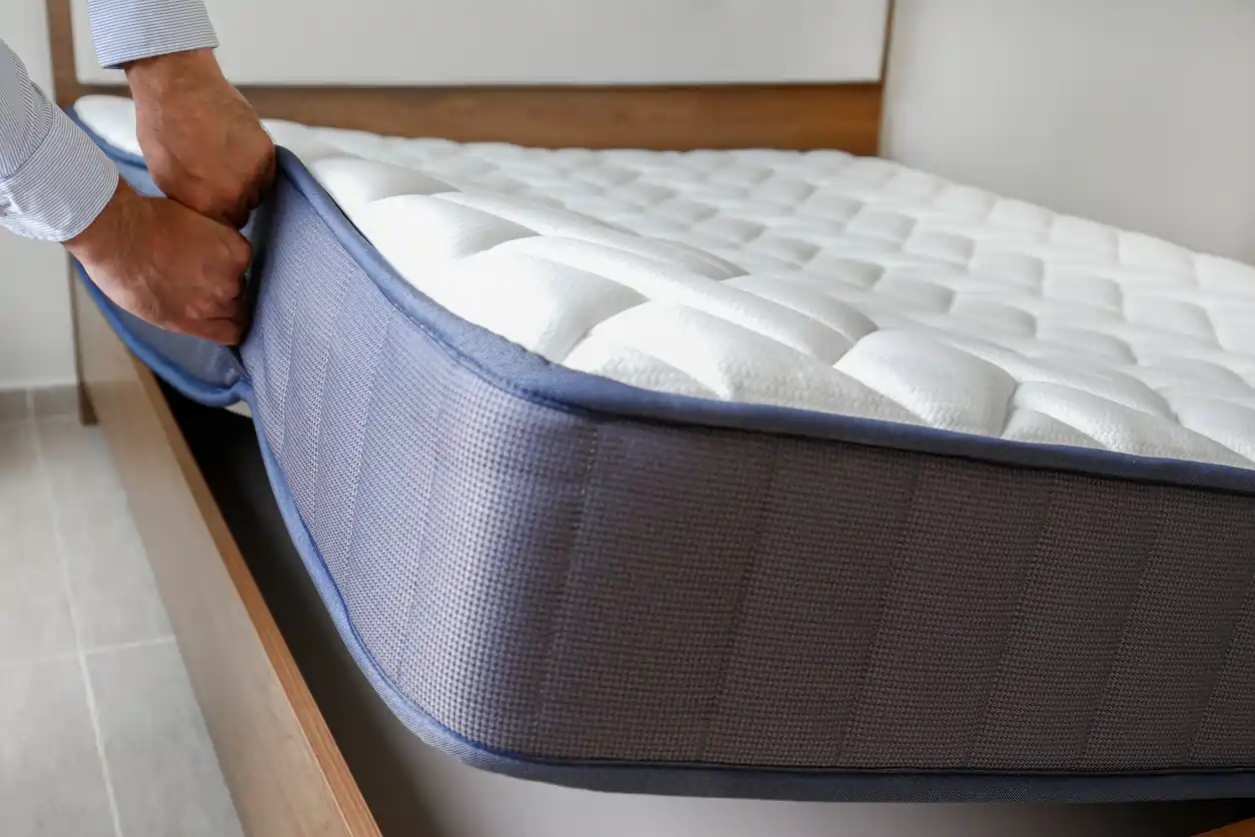
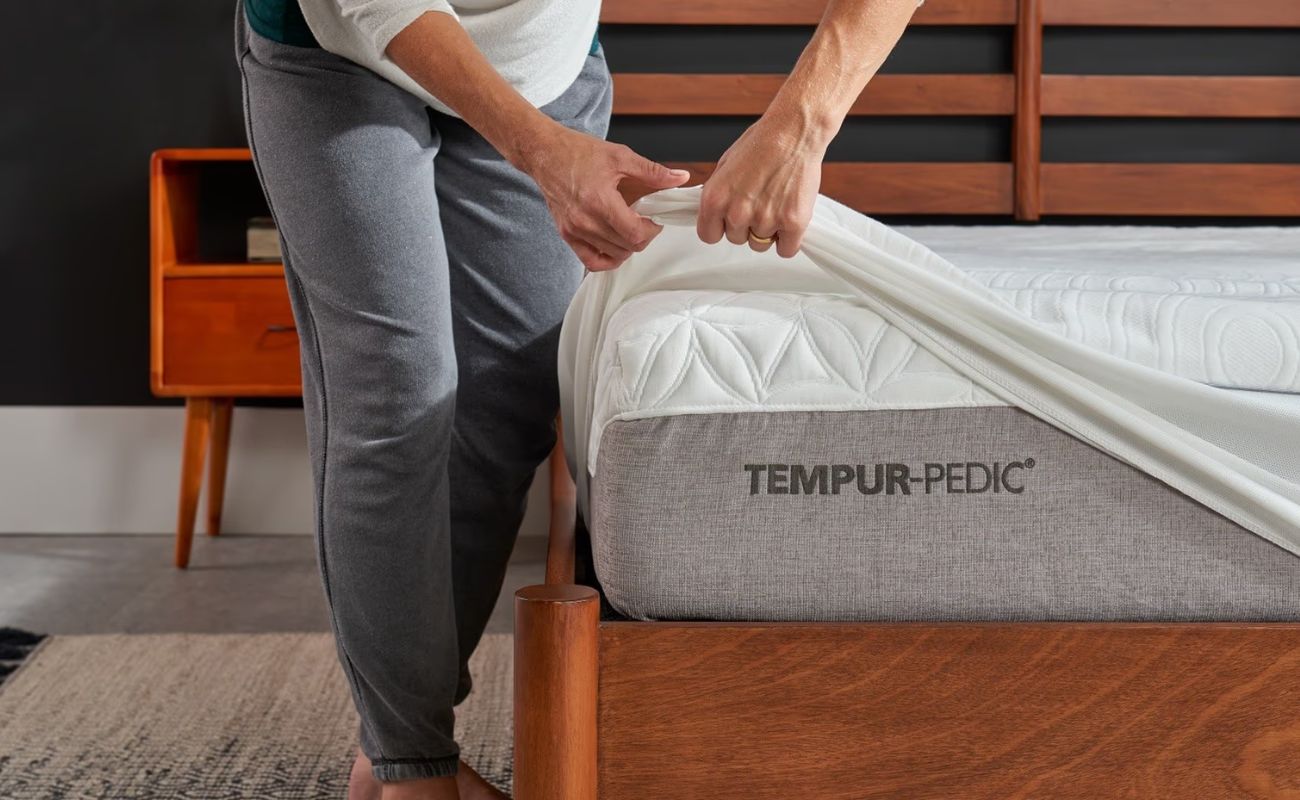
Step 1: Preparing the Mattress Cover for Washing
Before you start the washing process, it’s important to properly prepare the Nectar mattress cover. Here’s what you need to do:
- Remove any bedding: Start by removing all sheets, pillowcases, and other bedding from your mattress. This will allow you to focus solely on the mattress cover without any obstructions.
- Vacuum the mattress: Before removing the cover, it’s a good idea to vacuum the mattress surface to remove any loose dirt or debris. Use a handheld vacuum or a vacuum cleaner with an upholstery attachment to thoroughly clean the surface.
- Inspect for stains or spills: Carefully examine the mattress cover for any visible stains, spills, or spots. If you notice any, take note of their location as you will need to treat them later in the cleaning process.
- Check the care instructions: Take a moment to review the care instructions provided by Nectar for washing the mattress cover. These instructions will provide valuable information on the appropriate washing temperature, detergent type, and any specific precautions to take.
By following these preparatory steps, you set the stage for a successful and thorough cleaning of your Nectar mattress cover. Now that you have prepared the mattress cover, it’s time to move on to the next step: removing stains and odors.
Step 2: Removing Stains and Odors
Stains and odors on your Nectar mattress cover can be unsightly and unpleasant. Fortunately, there are effective methods you can use to remove these stains and odors. Here’s what you need to do:
- Pre-treat stains: For any visible stains on the mattress cover, pre-treat them before washing. You can use a specialized stain remover or create a DIY solution by mixing mild detergent with water. Apply the solution directly to the stained area and gently rub it in using a soft cloth or sponge. Allow it to sit for a few minutes to penetrate the stain.
- Spot clean: For localized stains, it’s best to spot clean rather than washing the entire cover. Use a clean cloth dampened with the stain remover solution or a mixture of mild detergent and water. Blot the stained area gently, working from the outside inwards, to avoid spreading the stain further.
- Dealing with odors: If your mattress cover has developed unwanted odors, you can freshen it up by sprinkling baking soda over the surface. Let the baking soda sit for several hours or overnight to absorb and neutralize the odors. Then, vacuum the baking soda residue using a handheld vacuum or a vacuum cleaner with an upholstery attachment.
By following these steps, you can effectively remove stains and odors from your Nectar mattress cover. Once you have addressed any issues, it’s time to move on to the next step: washing the mattress cover.
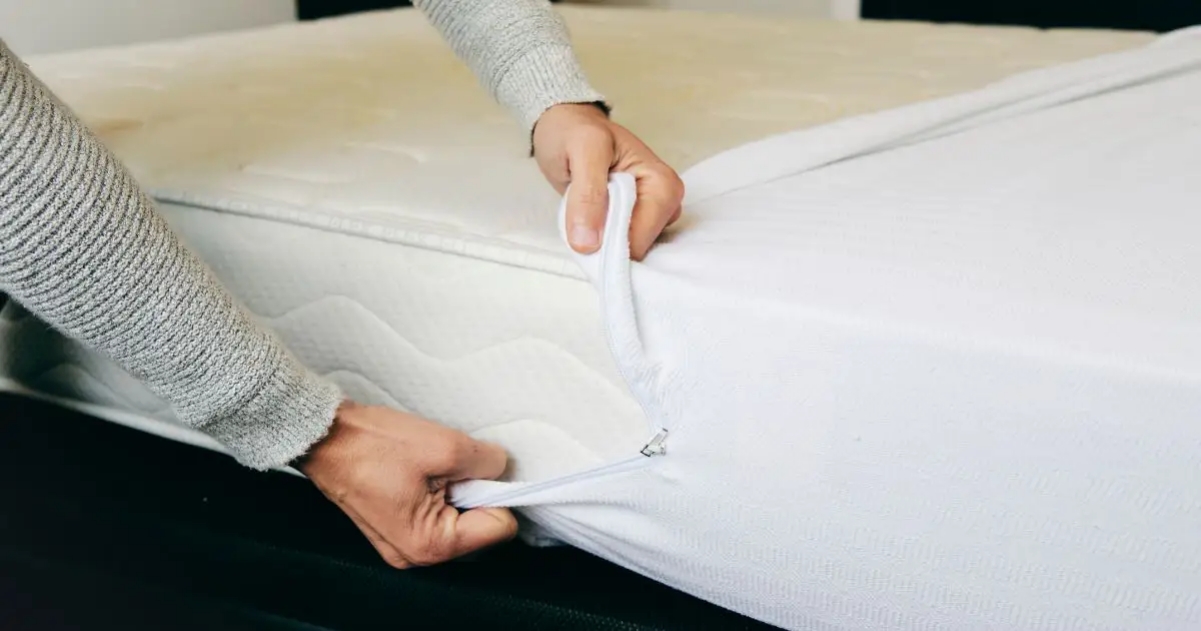
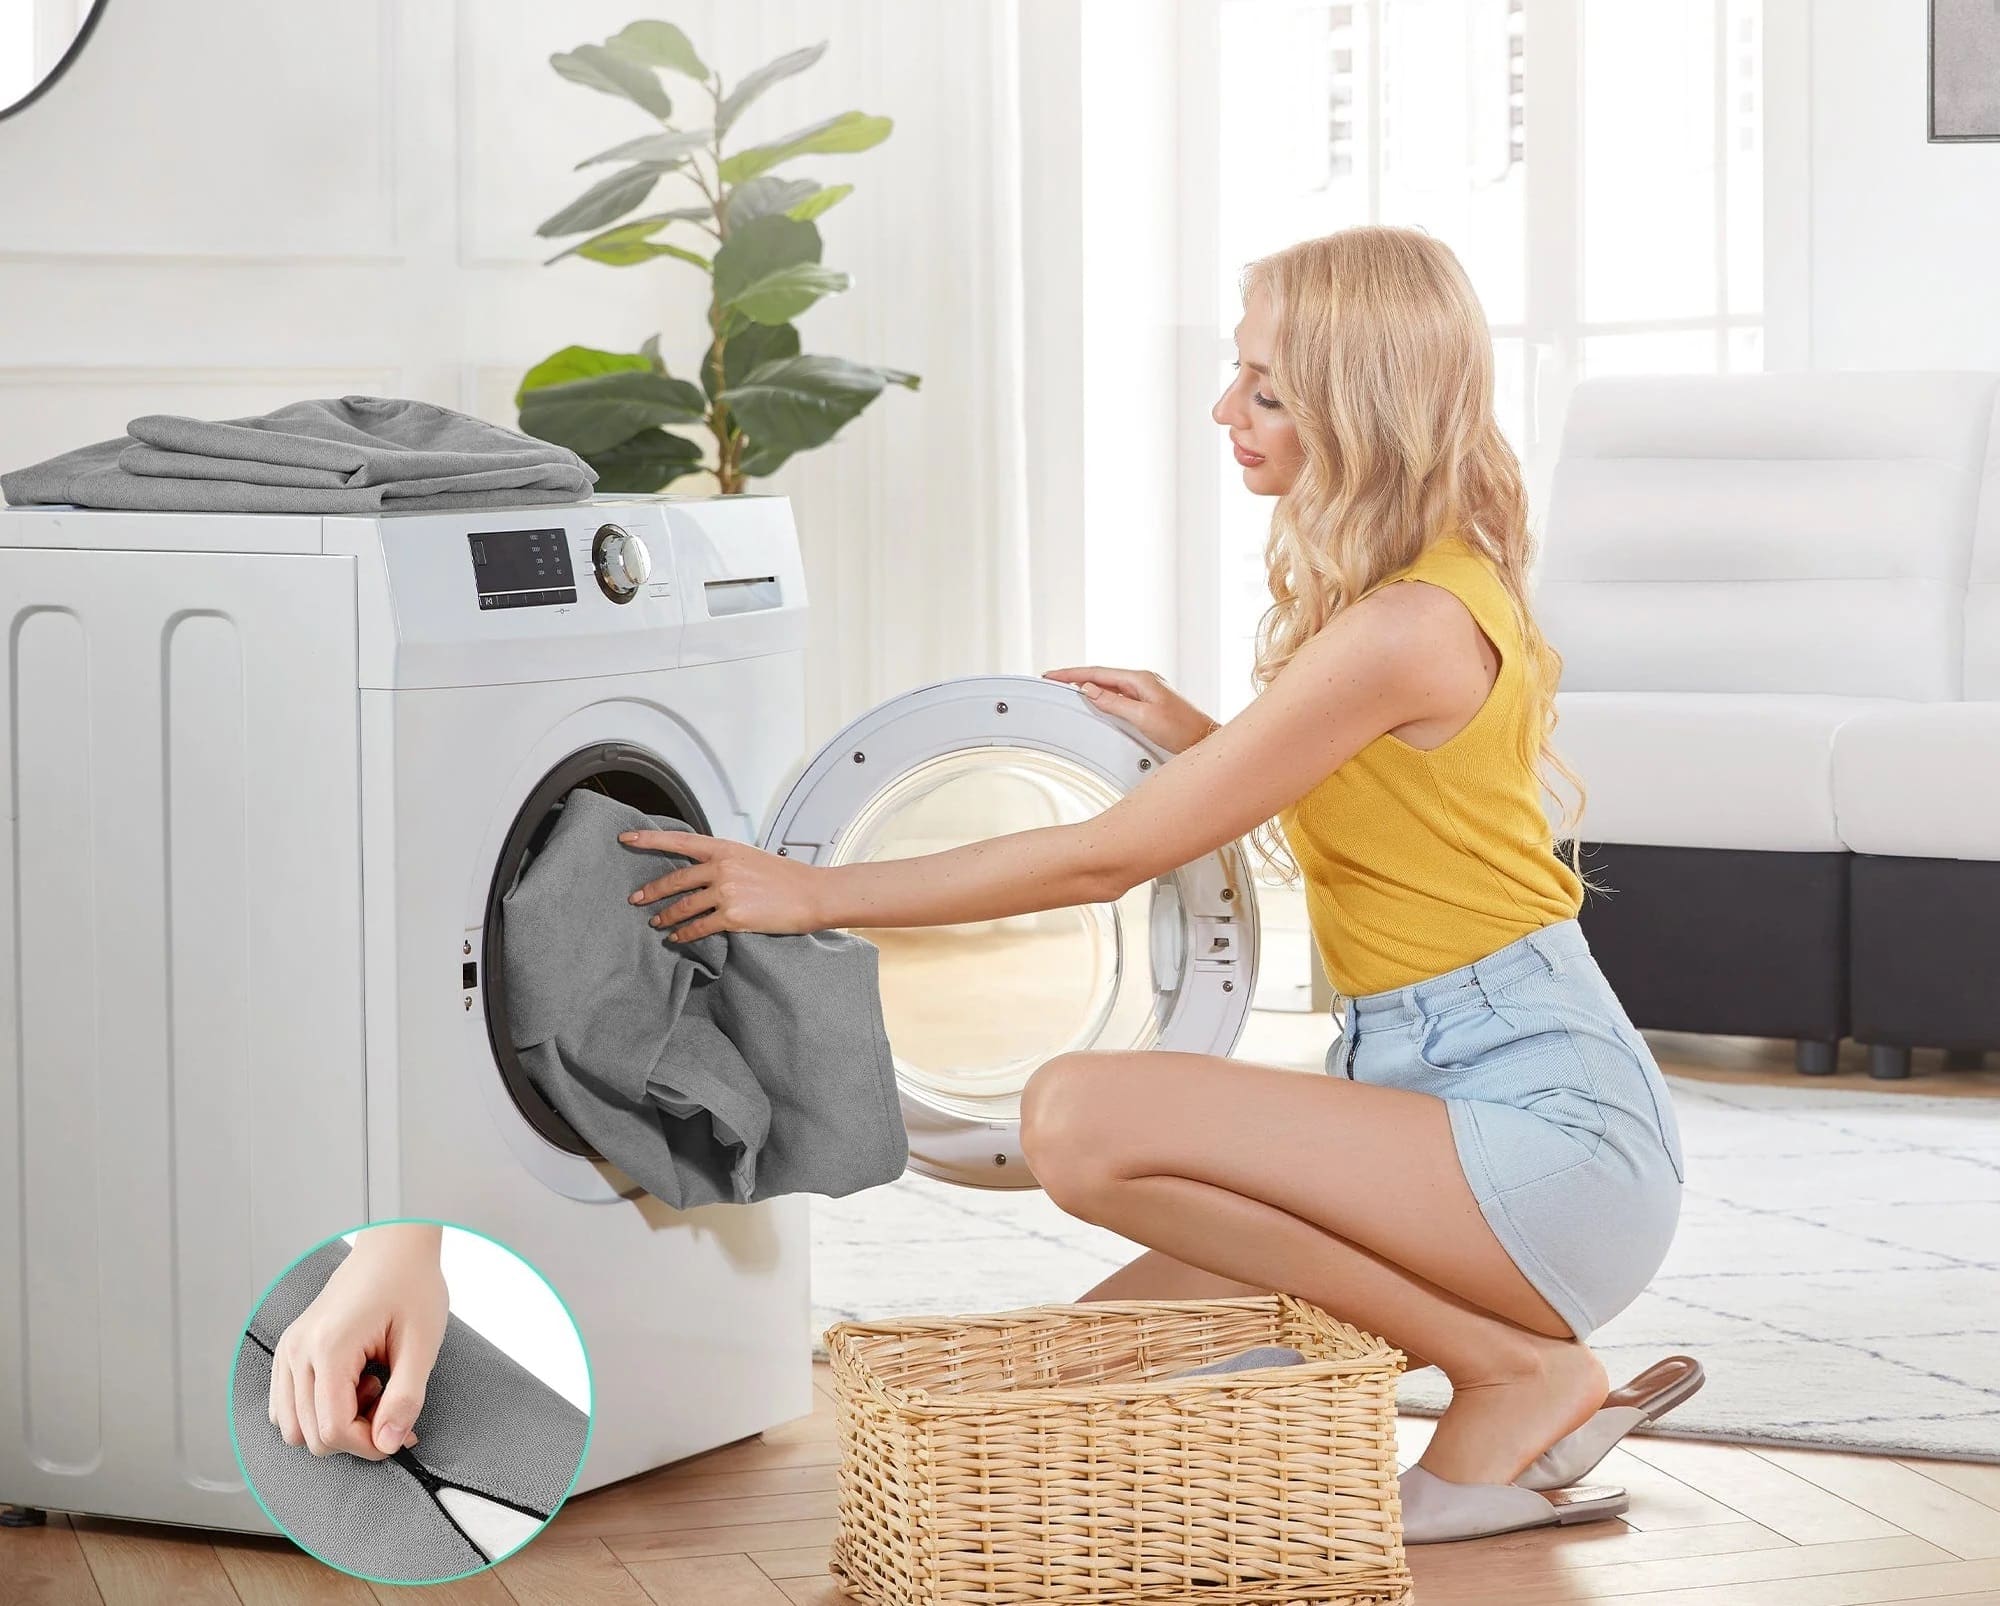
Step 3: Washing the Nectar Mattress Cover
Now that you have prepared the Nectar mattress cover and tackled any stains or odors, it’s time to proceed with the washing process. Follow these steps to ensure a successful and thorough clean:
- Check the care label: Before washing, carefully read the care label attached to the mattress cover. This label will provide specific instructions regarding the recommended washing temperature, detergent type, and any additional precautions to take.
- Machine wash: If the care label permits, machine wash the Nectar mattress cover on a gentle cycle with cold or lukewarm water. Use a mild detergent that is suitable for delicate fabrics. Avoid using bleach or harsh chemicals, as they can damage the cover’s material.
- Load balancing: To ensure an even and thorough wash, it’s best to wash the mattress cover separately or with other lightweight items. This will prevent it from getting tangled or stretched due to the weight of heavier items.
- Gentle cycle: Select the gentle or delicate cycle on your washing machine to minimize the risk of damage to the mattress cover. This cycle is designed to be less agitating and helps preserve the longevity of the fabric.
- Avoid excessive spinning: When the washing cycle is complete, remove the mattress cover from the machine promptly to avoid excessive spinning. Excessive spinning can cause the cover to become misshapen or stretched out.
Following these steps will help ensure that your Nectar mattress cover receives a gentle yet effective cleaning. With the washing process complete, it’s time to move on to the next step: drying the mattress cover.
To wash a Nectar mattress cover, remove it from the mattress and machine wash it in cold water with a mild detergent. Tumble dry on low heat or air dry to prevent shrinkage. Avoid using bleach or high heat.
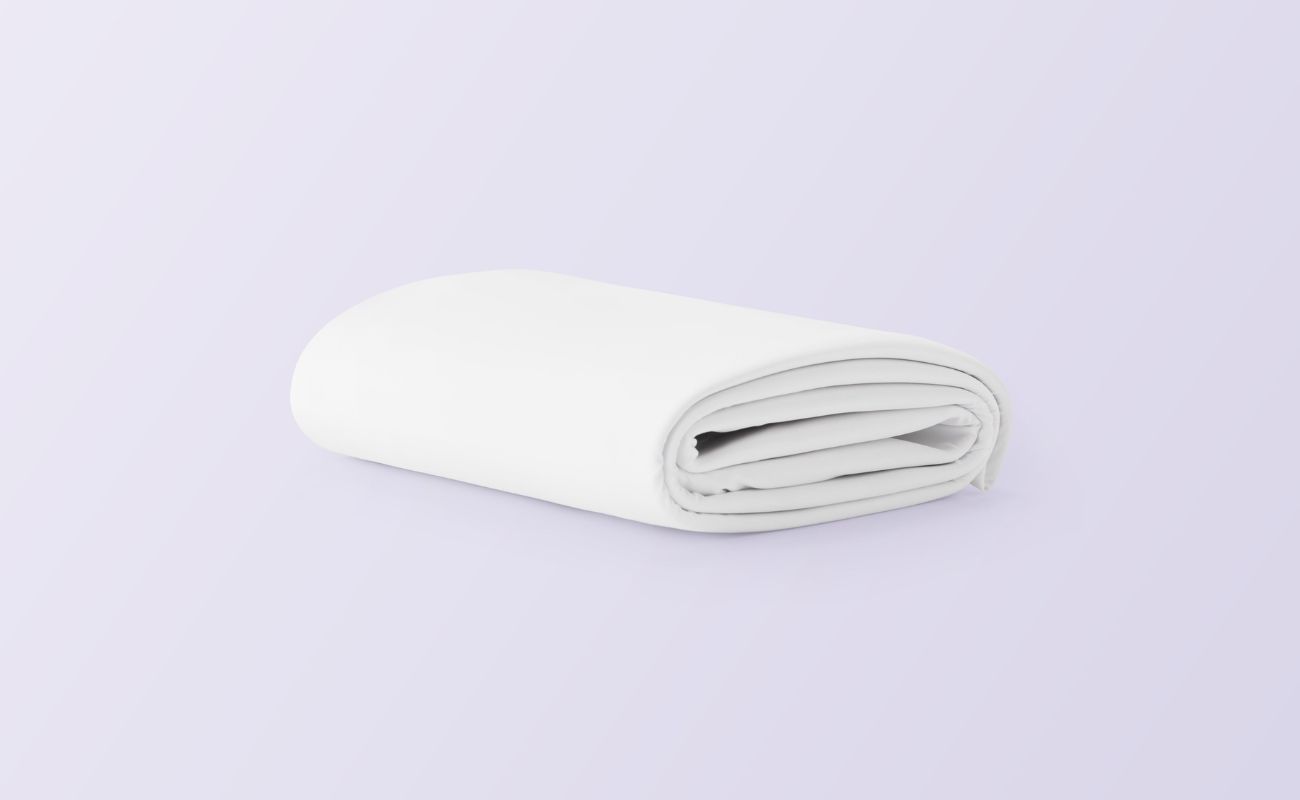
Step 4: Drying the Mattress Cover
After washing your Nectar mattress cover, it’s important to properly dry it to prevent any damage or mold growth. Follow these steps to ensure a thorough and safe drying process:
- Read the care label: Before drying, refer to the care label on the mattress cover for specific instructions regarding drying methods. This label will indicate whether the cover is safe to tumble dry or if it requires air drying.
- Tumble drying: If the care label allows for tumble drying, set your dryer to a low or delicate heat setting. This gentle heat will help prevent shrinkage or fabric damage. Avoid using high heat, as it can cause the cover to shrink or lose its shape.
- Air drying: If air drying is recommended, lay the mattress cover flat on a clean and dry surface, such as a clothesline or a drying rack. Make sure to adequately support the entire cover to prevent it from stretching or becoming misshapen during the drying process.
- Rotate and flip: Periodically rotate and flip the mattress cover during the drying process to ensure even drying. This will prevent any areas from remaining damp or taking longer to dry than others.
- Patience is key: Allow sufficient time for the mattress cover to dry completely. This may take a few hours to a full day, depending on the drying method used and the fabric’s thickness.
By following these drying steps, your Nectar mattress cover will be free from excess moisture and ready to be reassembled onto your mattress. Speaking of reassembly, let’s move on to the final step: putting the mattress cover back in place.
Read more: How To Return A Nectar Mattress
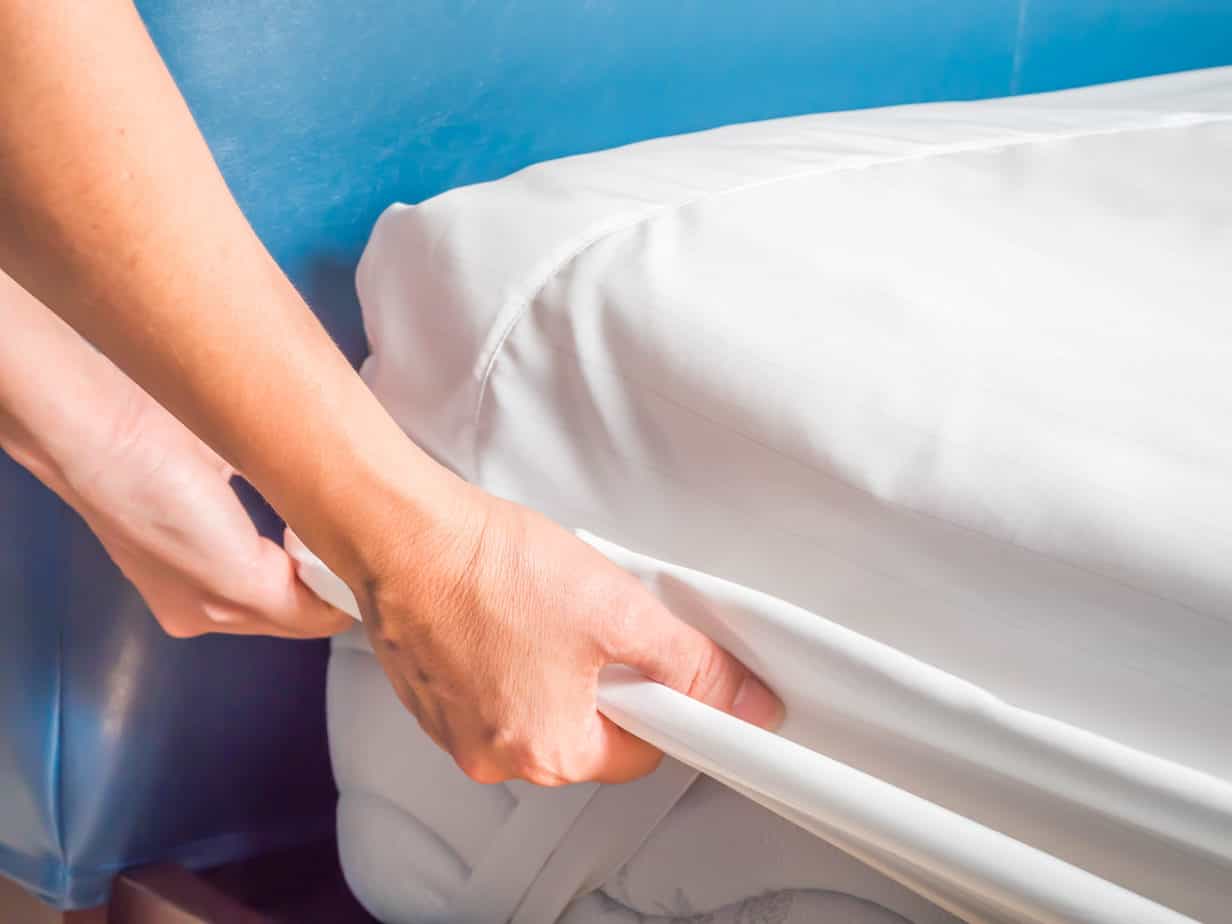
Step 5: Reassembling the Mattress Cover
Once your Nectar mattress cover is clean and dry, it’s time to reassemble it onto your mattress. Follow these steps to properly put the mattress cover back in place:
- Make sure the cover is fully dry: Before reassembling, double-check that the mattress cover is completely dry. Moisture trapped inside the cover can lead to the growth of mold or mildew, which can be harmful to both the cover and your mattress.
- Align the corners: Start by aligning the corners of the mattress cover with the corresponding corners of your mattress. This will ensure a snug and proper fit.
- Stretch and smooth: Gently stretch the cover over the mattress, ensuring that it reaches all sides and edges. Smooth out any wrinkles or creases to achieve a neat and tidy appearance.
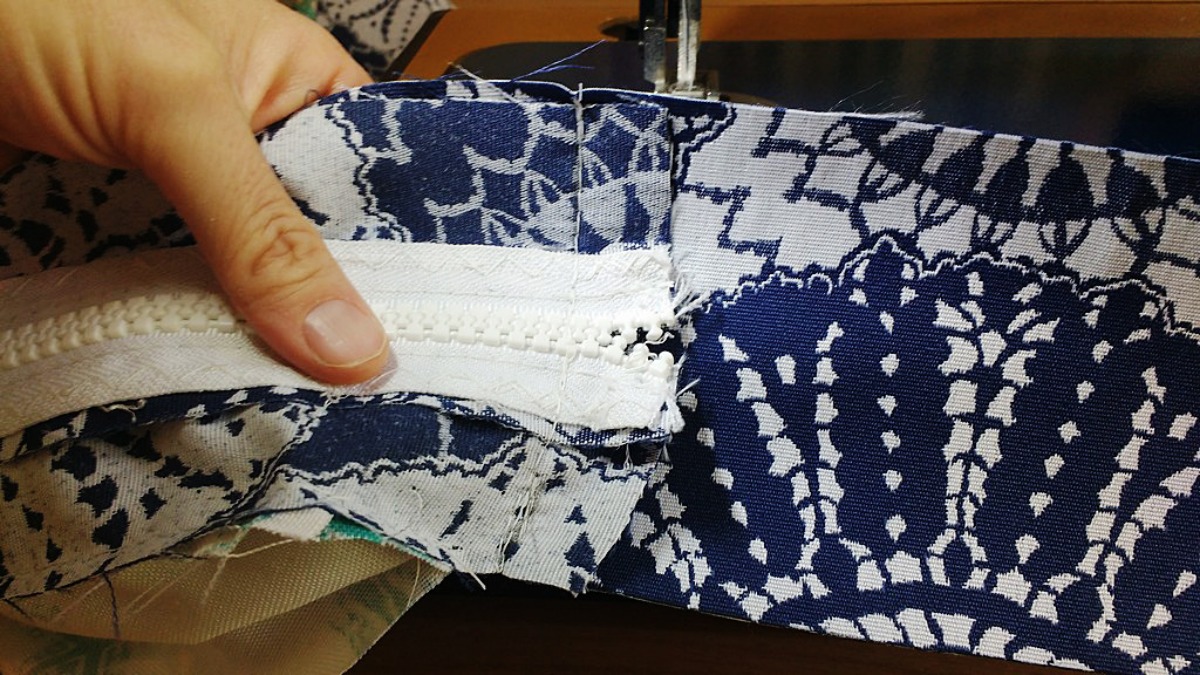
- Secure the cover: If your mattress cover features elastic straps or a zipper enclosure, secure them to keep the cover in place during use. This will prevent shifting or slippage of the cover while you sleep.
- Layer bedding: Once the mattress cover is in place, layer your preferred bedding such as fitted sheets, flat sheets, and pillowcases. These layers will further protect the mattress cover and provide additional comfort.
When reassembling your Nectar mattress cover, take your time to ensure a proper fit and appearance. By following these steps, you can enjoy a clean and fresh mattress cover every time you make your bed.
Now that you’ve gone through all the steps of washing and reassembling your Nectar mattress cover, you can rest easy knowing that your sleep environment is clean and hygienic. Regularly washing your mattress cover not only helps maintain its appearance but also extends its lifespan.
Remember to periodically check your mattress cover for any signs of wear or damage. If you notice any rips, tears, or significant staining, it may be time to replace the cover. Keeping your mattress and cover clean and in good condition will contribute to better sleep quality and a healthier sleep environment.
With these steps completed, you can now enjoy the fresh and comfortable feeling of your newly cleaned Nectar mattress cover. Sleep tight!
Conclusion
Congratulations! You have successfully learned how to wash your Nectar mattress cover like a pro. By following the steps outlined in this guide, you can keep your mattress cover looking clean, fresh, and inviting. Regularly cleaning the mattress cover not only maintains its appearance but also promotes a hygienic sleep environment.
Remember, before starting the cleaning process, always check the care instructions provided by Nectar for specific washing and drying guidelines. This ensures that you use the appropriate temperature, detergent, and method for your mattress cover.
From preparing the mattress cover to removing stains and odors, washing and drying, to reassembling it onto your mattress, each step is crucial to achieve the best results. Take your time, follow the instructions, and be gentle when handling the cover to avoid causing any damage.
Regular maintenance and cleaning of your mattress cover will not only extend its lifespan but also contribute to a healthier and more comfortable sleep environment. Protecting your mattress from stains, dirt, and allergens will enhance its durability, ensuring a longer-lasting investment in your sleep quality.
Remember to periodically inspect your mattress cover for signs of wear and tear. If you notice any significant damage or excessive staining that cannot be cleaned, it may be time to replace the cover to maintain optimal sleep hygiene.
Now that you’re armed with the knowledge of how to properly wash your Nectar mattress cover, you can enjoy a fresh and clean sleep environment for years to come. Say goodbye to stains, odors, and dirt, and hello to a rejuvenating and hygienic sleep experience.
Rest easy, knowing that your Nectar mattress and its cover are well taken care of. Sweet dreams!
After mastering how to care for your Nectar mattress cover, why stop there? Dive into our guide on cleaning tips, where you'll find practical advice for tackling every nook and cranny of your refrigerator. Freshen up your space like never before! Curious about what sets Nectar mattresses apart? Our detailed article on Nectar mattress offers insightful details that help you understand why this choice might just be what your bedroom needs. Keep your home in top shape with our easy-to-follow advice.
Frequently Asked Questions about How To Wash A Nectar Mattress Cover
Was this page helpful?
At Storables.com, we guarantee accurate and reliable information. Our content, validated by Expert Board Contributors, is crafted following stringent Editorial Policies. We're committed to providing you with well-researched, expert-backed insights for all your informational needs.