Home>Furniture>Bedroom Furniture>How To Sew A Mattress Cover
Bedroom Furniture
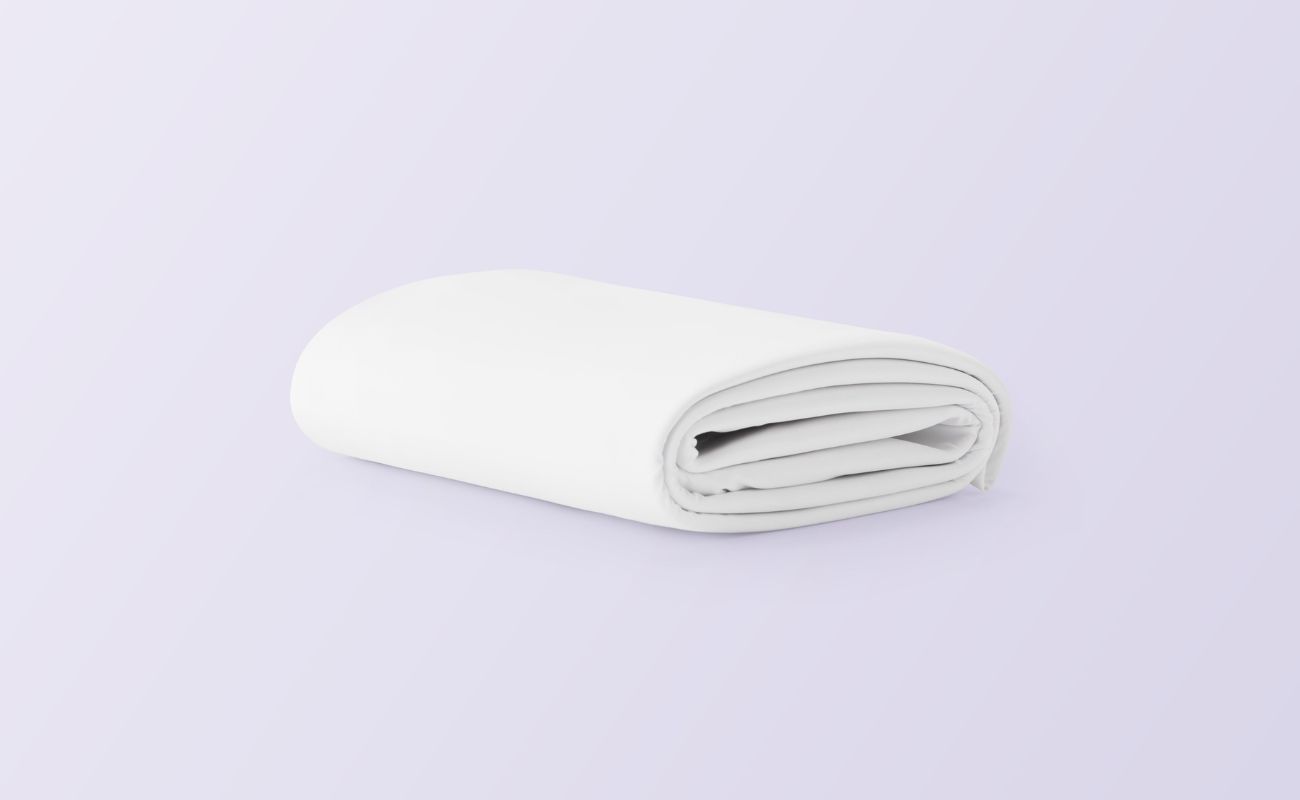
How To Sew A Mattress Cover
Modified: January 4, 2024
Learn how to sew a mattress cover for your bedroom furniture. Follow our step-by-step guide for a custom and stylish addition to your bedding ensemble.
(Many of the links in this article redirect to a specific reviewed product. Your purchase of these products through affiliate links helps to generate commission for Storables.com, at no extra cost. Learn more)
Introduction
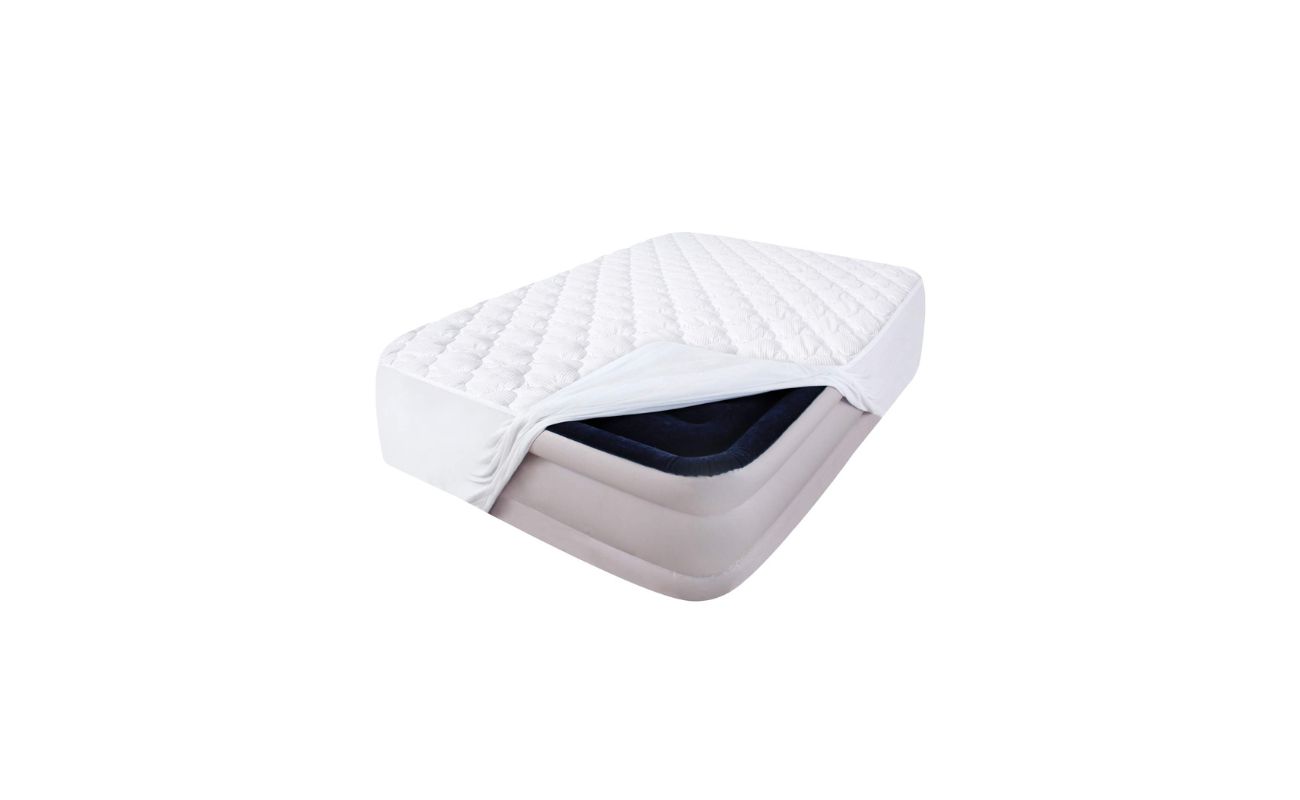
Welcome to our comprehensive guide on how to sew a mattress cover! A well-fitted mattress cover not only protects your precious mattress from spills, stains, and wear but also adds a touch of style to your bedroom. Whether you are looking to personalize your bedroom decor or simply want to give your old mattress a new lease on life, sewing a mattress cover is a fun and rewarding project that you can easily tackle at home.
In this article, we will walk you through the step-by-step process of sewing a mattress cover. From measuring your mattress to adding the finishing touches, we will provide detailed instructions, tips, and tricks to ensure a successful and professional-looking outcome. So, grab your sewing machine, gather your fabrics, and let’s get started!
Before we dive into the process, let’s quickly go over the materials you will need for this project.
Key Takeaways:
- Protect and personalize your mattress with a custom-sewn cover using durable fabric, precise measurements, and secure stitching. Add closures for easy removal and enjoy a stylish, practical bedroom upgrade.
- Sewing a mattress cover is a rewarding DIY project that adds a personal touch to your bedroom decor. Measure accurately, sew with care, and unleash your creativity to create a beautiful and functional cover.
Read more: How To Sew A Kitchenaid Mixer Cover
Materials needed
Before you begin sewing your mattress cover, make sure you have the following materials on hand:
- Fabric: Choose a durable and breathable fabric that will protect your mattress and withstand regular washing. Cotton or cotton-blend fabrics are popular choices for mattress covers.
- Measuring tape: A measuring tape will help you accurately measure the dimensions of your mattress.
- Sewing machine: While you can sew a mattress cover by hand, using a sewing machine will save you time and ensure neat and sturdy seams.
- Thread: Select a thread color that complements your fabric choice.
- Pins or clips: These will be used to hold the fabric in place during sewing.
- Scissors: A good pair of fabric scissors is essential for cutting the fabric to the correct size.
- Elastic bands: Elastic bands will be necessary if you want to create a fitted mattress cover that stays securely in place.
- Iron and ironing board: Ironing the fabric before sewing will help remove wrinkles and ensure smooth and even seams.
- Decorative trim or closures (optional): If you want to add a decorative touch to your mattress cover, consider using trim or closures such as buttons or Velcro.
Once you have gathered all the necessary materials, you are ready to move on to the next step: measuring your mattress.
Step 1: Measuring the mattress
Before you start cutting the fabric for your mattress cover, you need to accurately measure the dimensions of your mattress. This step is crucial to ensure a perfect fit for your cover. Follow these steps to measure your mattress:
- Remove any bedding or existing mattress cover from your mattress so that you can measure it in its natural state.
- Take a measuring tape and measure the length of the mattress from the top edge to the bottom edge. Ensure that you measure from the furthest point on each side.
- Next, measure the width of the mattress, from one side edge to the opposite side edge. Again, measure from the furthest point.
- If your mattress has a significant depth or thickness, measure this as well. Place the measuring tape at the top edge of the mattress, and measure down to the bottom edge. This will give you the depth of your mattress.
- Write down the measurements and double-check them to ensure accuracy. It’s always a good idea to measure twice to be sure.
Now that you have the measurements of your mattress, you can move on to gathering the fabric for your mattress cover. Remember to leave some extra fabric for seam allowances and a snug fit.
Step 2: Gathering the fabric
Now that you have your mattress measurements, it’s time to gather the fabric for your mattress cover. Here’s what you need to do:
- Using the measurements you took in Step 1, calculate the amount of fabric you will need. To determine the length, add twice the depth measurement to the length of the mattress. For the width, add twice the depth measurement to the width of the mattress. This will give you enough fabric for the top, bottom, and sides of the cover.
- Visit your local fabric store or search online for a fabric that meets your preferences in terms of color, pattern, and durability. Remember to choose a fabric that is suitable for a mattress cover and can withstand repeated washing.
- Once you have your fabric, lay it out on a flat surface. Use your measuring tape and fabric scissors to carefully cut out the fabric according to the measurements you calculated earlier. Make sure to leave extra fabric for seam allowances.
- If your fabric has a pattern, consider how you want it to align on the mattress cover. You may want to center the pattern or align it in a specific way for aesthetic purposes.
With the fabric gathered and cut to size, you’re now ready to move on to the next step: sewing the sides of the mattress cover.
Step 3: Cutting the fabric
Now that you have gathered the fabric for your mattress cover, it’s time to cut it to the appropriate size. Follow these steps to ensure accurate and neat cuts:
- Start by spreading out the fabric on a clean and flat surface. Smooth out any wrinkles or creases so that the fabric lies flat.
- Using your measuring tape and fabric scissors, carefully measure and mark the dimensions of the mattress cover on the fabric. Make sure to leave enough extra fabric for seam allowances.
- If your mattress cover is intended to have a snug fit, you may need to cut additional fabric strips to create overlapping flaps on the sides. These flaps will ensure that the cover fits tightly over the mattress without shifting.
- Double-check your measurements and markings before proceeding to cut the fabric. Take your time and use long, smooth cuts to achieve clean edges.
- Once all the pieces have been cut, neatly stack them together and set them aside. You’re now ready to move on to the next step: sewing the sides of the mattress cover.
By carefully cutting the fabric to the correct size, you’ll ensure a proper fit for the mattress cover and create a professional-looking finished product. Take your time during this step to ensure accuracy and precision.
Read more: How To Sew Patio Cushion Covers
Step 4: Sewing the sides
With the fabric cut to size, it’s time to start sewing the sides of your mattress cover. Follow these steps to stitch the sides together:
- Take the two long sides of the fabric and align them together, with the right sides facing each other. Pin or clip the edges together to secure them in place.
- Using your sewing machine, sew a straight stitch along the pinned edges, leaving a seam allowance of about half an inch. Backstitch at the beginning and end of your stitch to secure it.
- Once the sides are sewn, remove the pins or clips and unfold the fabric to reveal the stitched seam. Use an iron to press open the seam and create a neater finish.
- Repeat this process for the two shorter sides of the fabric, sewing them together with right sides facing and leaving a seam allowance.
- After sewing all the sides, trim any excess fabric and threads to clean up the edges and improve the overall appearance.
By sewing the sides together, you are creating the basic structure of the mattress cover. Take your time to ensure smooth and even stitches, and remember to press open the seams for a polished result. With the sides stitched, it’s time to move on to the next step: sewing the corners of the mattress cover.
When sewing a mattress cover, be sure to use a durable and washable fabric to ensure longevity. Additionally, reinforce the seams and corners for added strength and durability.
Step 5: Sewing the corners
Now that the sides of your mattress cover are sewn together, it’s time to focus on sewing the corners. Follow these steps to create neat and professional-looking corners:
- Take one corner of the fabric and fold it inward, aligning the edges of the side and bottom seams. This will create a triangle-shaped fold in the corner.
- Pin or clip the folded corner to secure it in place.
- Measure a distance of about half an inch from the folded corner along the side seam and mark it with a pin or a fabric marker. This mark will serve as your stitching guide.
- Using your sewing machine, stitch along the marked line, starting from the folded corner and ending at the edge of the fabric. Backstitch at the beginning and end to secure the stitch.
- Repeat this process for all four corners of the mattress cover.
- Trim any excess fabric and threads from the corners to clean them up and ensure a tidy finish.
By sewing the corners in this manner, you are creating a fitted shape that will snugly cover your mattress. Be careful not to sew across the entire corner, as this will result in a box-like shape that won’t fit properly. Take your time to align the seams and stitch along the marked line for each corner.
Now that the corners are sewn, you’re ready to move on to the next step: creating the mattress pockets.
Step 6: Creating the mattress pockets
Creating the mattress pockets is an essential step in sewing a fitted mattress cover. These pockets will ensure that the cover stays securely in place on your mattress. Follow these steps to create the pockets:
- Start by turning your sewn fabric inside out so that the wrong side is facing outwards.
- Measure the depth of your mattress and add an additional inch to that measurement. This will be the depth of your pockets.
- Using your measuring tape and fabric marker, mark the depth measurement along the sides of the mattress cover at regular intervals. These marks will indicate where the pockets will be sewn.
- Starting from one side, fold the fabric inward along the marked line to create a pocket. Pin or clip it in place.
- Using your sewing machine, sew along the pinned or clipped edge to secure the pocket. Backstitch at the beginning and end to reinforce the stitch.
- Repeat this process for all the marked lines, creating pockets all around the mattress cover. Make sure the pockets are the same depth and evenly spaced.
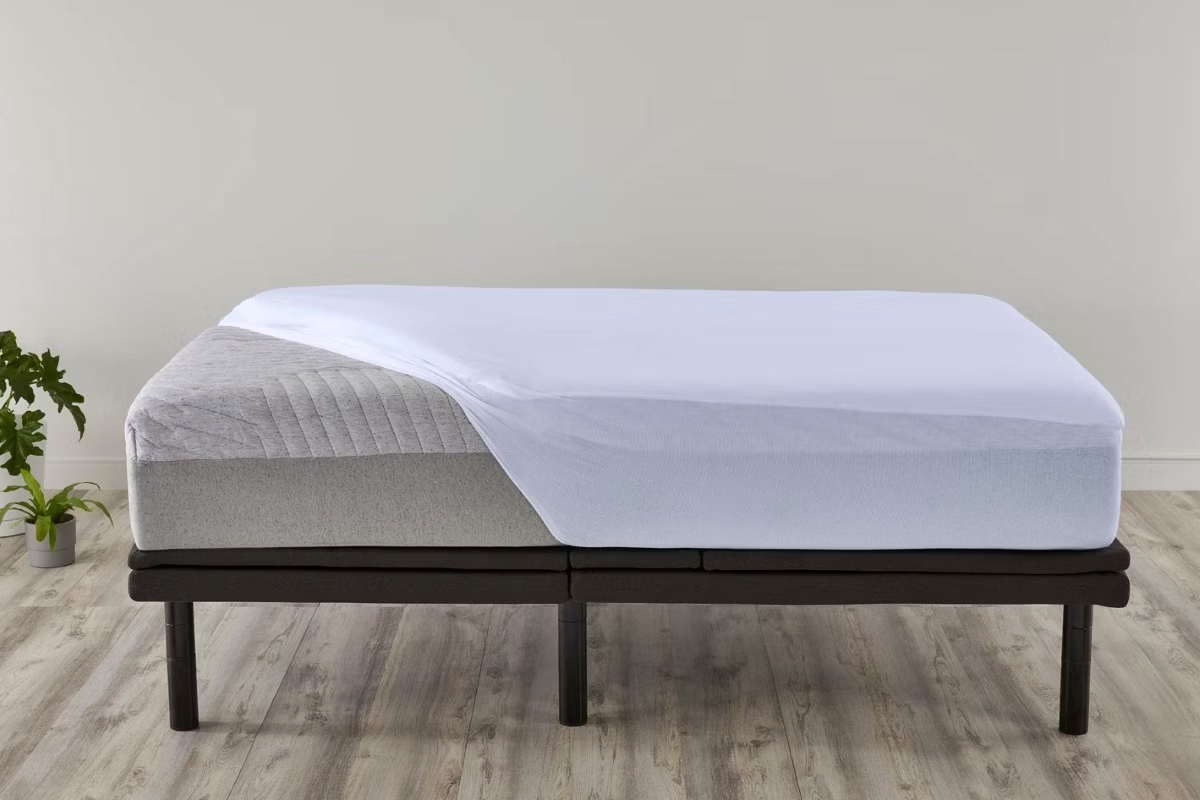
Creating the pockets will allow you to slip the mattress cover onto your mattress with ease and ensure a snug fit that won’t shift or come loose. Take your time when sewing the pockets, and make sure your stitch is sturdy and secure.
With the mattress pockets in place, it’s time to move on to the next step: hemming the edges of the mattress cover.
Step 7: Hemming the edges
Hemming the edges of your mattress cover will give it a polished and finished look. Follow these steps to hem the edges:
- Start by folding over the raw edge of the fabric by about half an inch towards the wrong side of the cover.
- Pin or clip the folded edge in place to secure it.
- Using your sewing machine, stitch along the folded edge, creating a straight and even hem. Backstitch at the beginning and end to reinforce the stitch.
- Repeat this process for all the edges of the mattress cover.
- Trim any excess threads and fabric to give the edges a clean and tidy appearance.
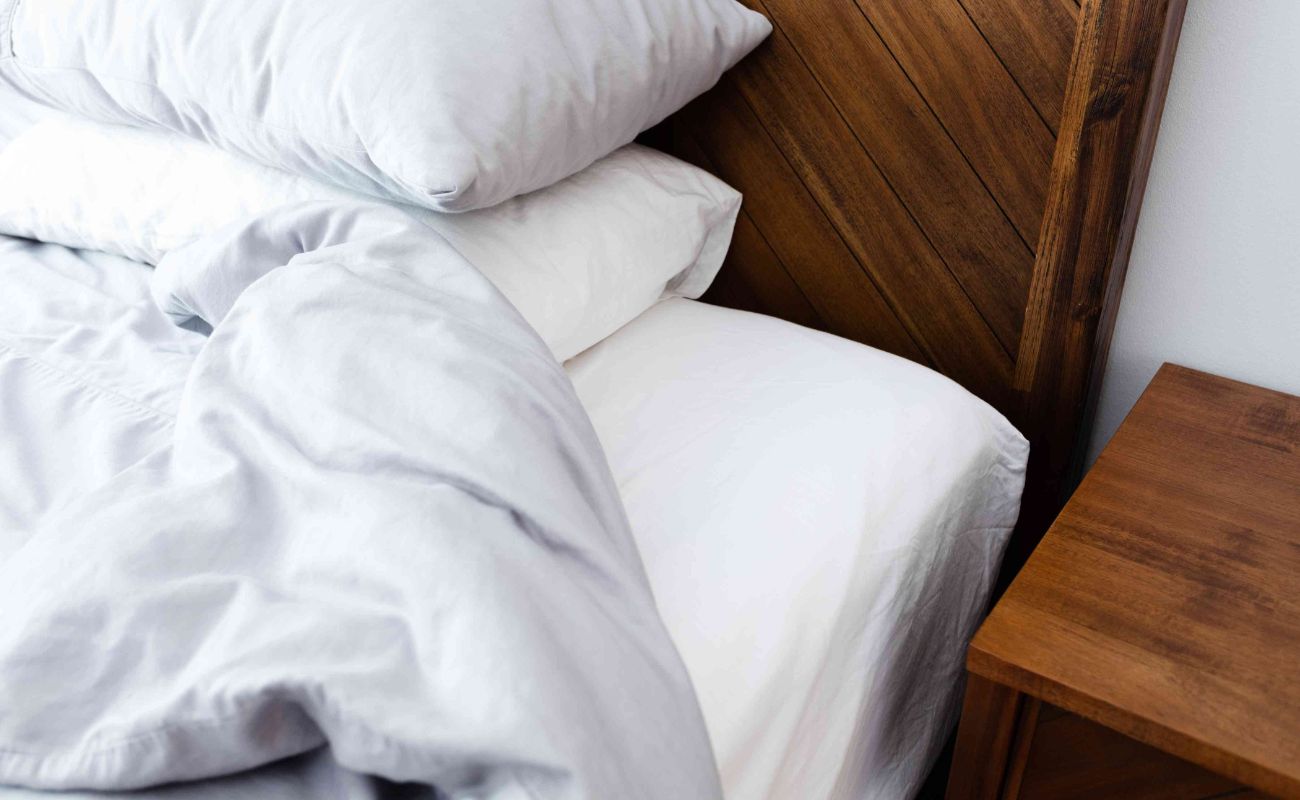
Hemming the edges will not only give your mattress cover a professional finish but will also prevent the fabric from fraying over time. Take your time when folding and stitching the hems to ensure that they are neat and even. An iron can be used to press the folded edge before sewing for better accuracy and a polished result.
Now that the edges are hemmed, you can move on to the final step of this project: adding a closure, if desired.
Read more: How To Put On Mattress Cover
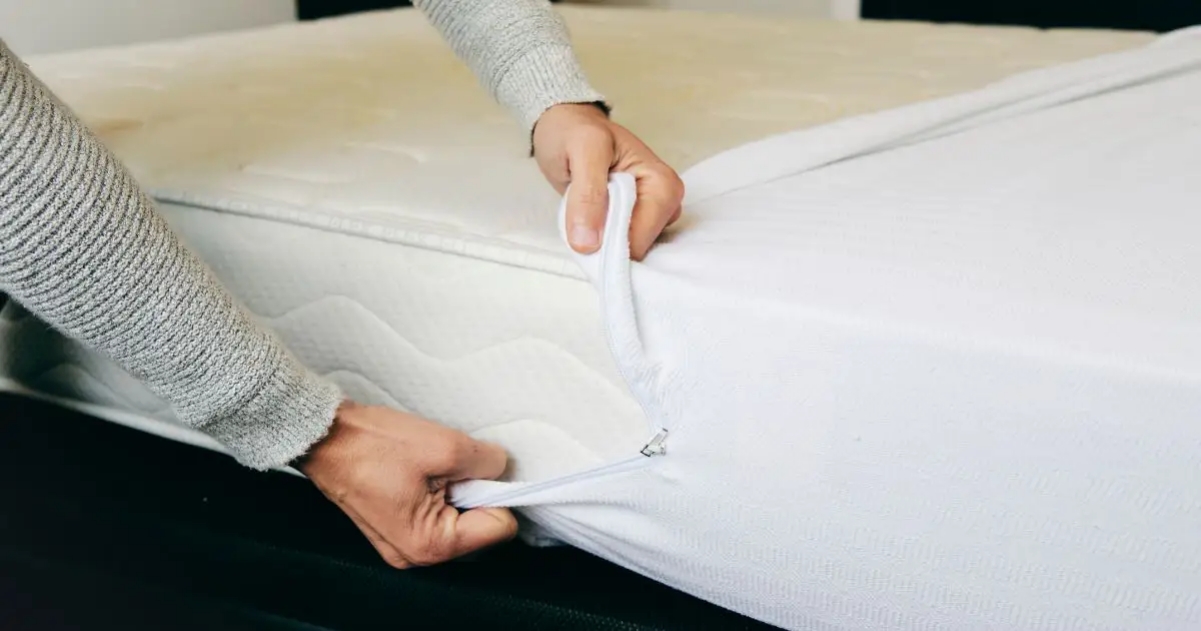
Step 8: Adding closure (optional)
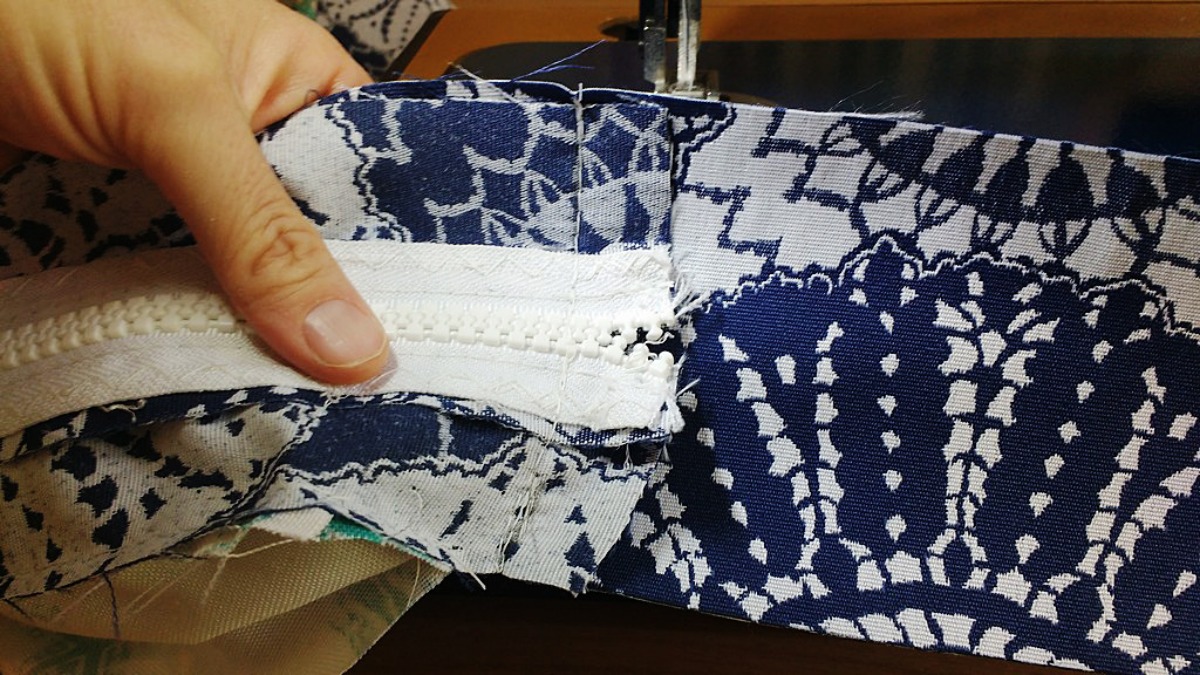
If you would like to have a closure on your mattress cover, such as a zipper or Velcro, you can follow these steps to add it:
- Decide on the type of closure you want to use. Options include zippers, Velcro, buttons, or snaps.
- If you choose to use a zipper, measure the length of the opening where you want to insert it.
- Pin or mark the placement of the zipper on the fabric, making sure it is aligned properly.
- Using a zipper foot on your sewing machine, stitch the zipper in place, following the manufacturer’s instructions.
- If you prefer to use Velcro, cut the Velcro into appropriate lengths and sew one piece onto the inside of one edge of the opening, and the corresponding piece onto the opposite side.
- You can also sew buttons or snaps onto the edges for a secure closure.
Adding a closure to your mattress cover is optional but can be useful for keeping the cover securely in place and easily removable for washing. Choose a closure type that suits your preference and sewing skills.
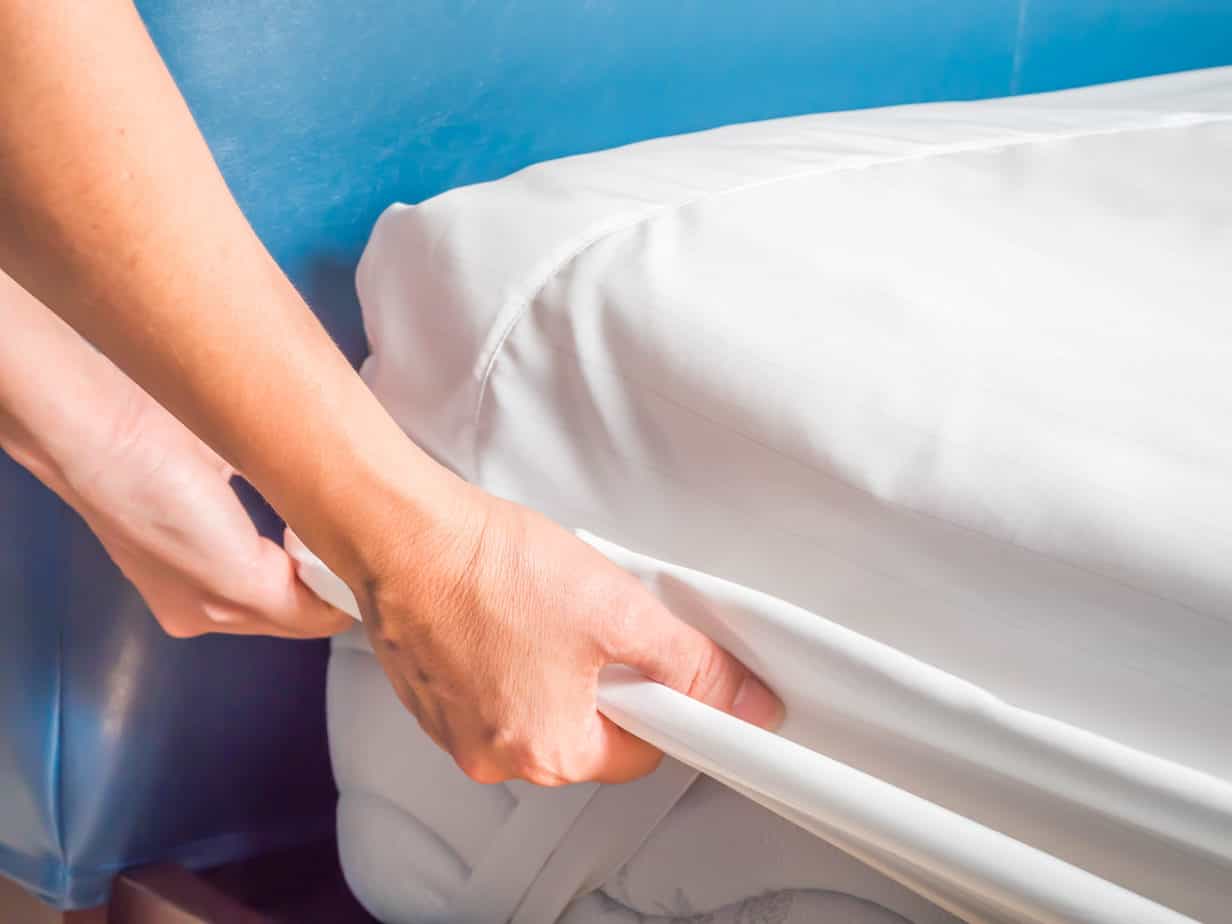
Congratulations! You have now completed all the steps to sew a mattress cover. Once you have added the closure, or if you decided to omit it, flip the cover right-side out and slip it over your mattress. Enjoy the fresh new look and the added protection to your mattress!
We hope this guide has been helpful in guiding you through the process of sewing a mattress cover. Remember to take your time, measure accurately, and sew with attention to detail. Happy sewing!
Conclusion
Sewing your own mattress cover is a fantastic way to add a personal touch to your bedroom decor while also protecting your mattress. By following the step-by-step instructions in this guide, you can create a beautiful and custom-fitted cover that will not only enhance the look of your bed but also prolong the life of your mattress.
Throughout this process, we have explored how to measure your mattress accurately, gather the appropriate fabric, cut and sew the fabric to create the sides and corners, and create pockets to ensure a snug fit. We also discussed the importance of hemming the edges for a polished look and the optional step of adding a closure for easy removal and cleaning.
Remember, creativity is key in making a mattress cover that reflects your personal style. Choose fabrics that complement your bedroom decor, experiment with different closure options, and consider adding decorative trims or embellishments to make your cover truly unique.
Now that you have learned the art of sewing a mattress cover, you can confidently take on this project and enjoy the satisfaction of creating something practical and beautiful with your own hands. So, let your creativity soar, bring your vision to life, and enjoy the comfort and beauty of your newly sewn mattress cover!
Frequently Asked Questions about How To Sew A Mattress Cover
Was this page helpful?
At Storables.com, we guarantee accurate and reliable information. Our content, validated by Expert Board Contributors, is crafted following stringent Editorial Policies. We're committed to providing you with well-researched, expert-backed insights for all your informational needs.