Home>Furniture>Living Room Furniture>How To Restuff Attached Leather Couch Cushions

Living Room Furniture
How To Restuff Attached Leather Couch Cushions
Modified: April 22, 2024
Learn how to restuff attached leather couch cushions and bring life back to your living room furniture. Our step-by-step guide will have your cushions looking and feeling brand new.
(Many of the links in this article redirect to a specific reviewed product. Your purchase of these products through affiliate links helps to generate commission for Storables.com, at no extra cost. Learn more)
Introduction
Having a comfortable couch is essential for creating a cozy and inviting living room. Over time, however, the cushions of your attached leather couch may start to lose their shape and support, leaving you with saggy and uncomfortable seating. The good news is that you can easily restuff attached leather couch cushions to revive the comfort and appearance of your couch.
In this guide, we will walk you through the step-by-step process of restuffing your attached leather couch cushions. You’ll learn how to assess the condition of your cushions, choose the right materials, and methodically restuff them to restore their shape and comfort. So let’s get started!
Key Takeaways:
- Revive the comfort and appearance of your attached leather couch by restuffing the cushions with foam or fiberfill stuffing. Follow the step-by-step process to easily revitalize your living room furniture.
- Assess the condition of your cushions, choose the right stuffing material, and methodically restuff to achieve a balanced and comfortable feel across the entire cushion. Keep your living room cozy and inviting for years to come.
Read more: How To Reupholster Attached Couch Cushions
Materials Needed
Before you begin restuffing your attached leather couch cushions, gather the following materials:
- Foam or fiberfill stuffing: This will be the main material used to add volume and support to your cushions. You can choose between foam inserts or fiberfill, depending on your personal preference and desired level of firmness.
- Scissors or seam ripper: You’ll need one of these tools to remove the cushion covers and access the interiors. If your cushions have zippers, you may need a small screwdriver or a zipper pull to unfasten them.
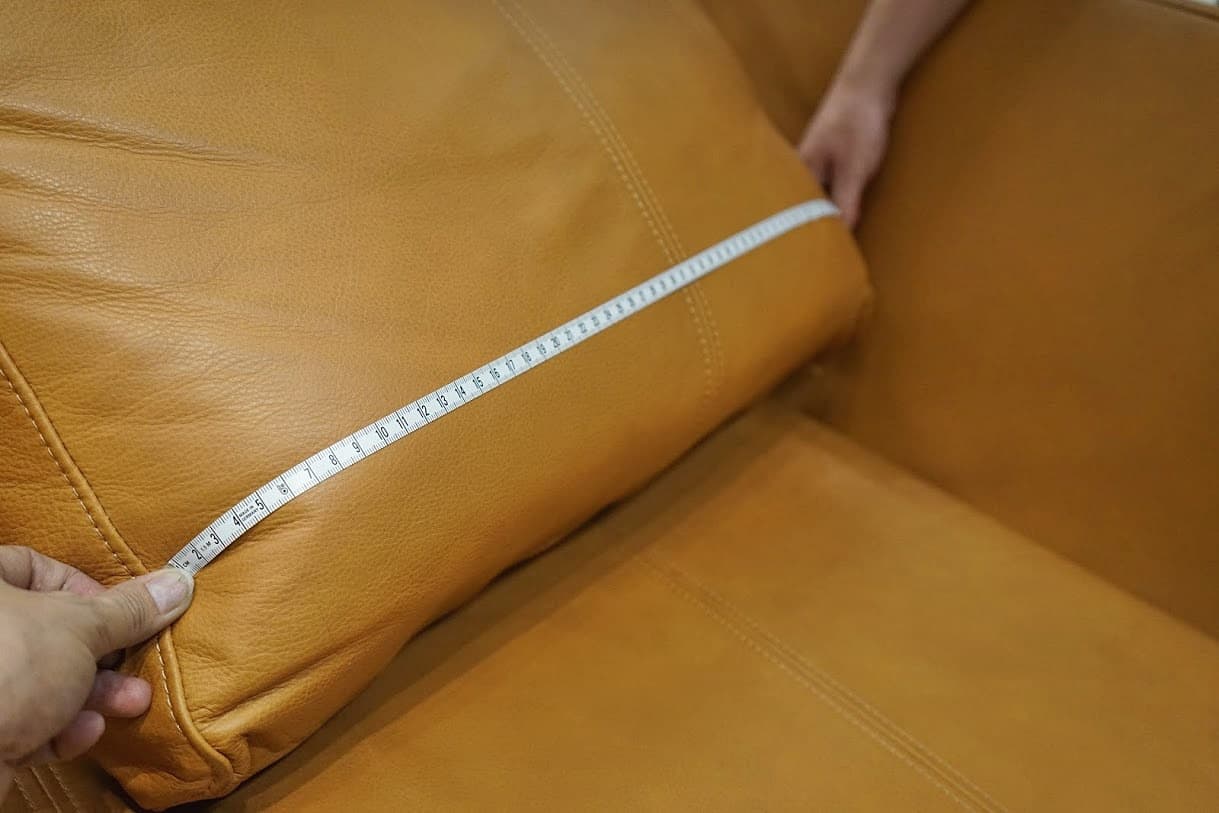
- Tape measure: This tool will come in handy for measuring the dimensions of your cushion interiors and determining the amount of stuffing needed.
- Marker or chalk: Use this to mark any areas that require repair or restitching on the cushion covers.
- Needle and thread: These will be necessary for repairing any tears or loose seams on the cushion covers.
- Pins: They can help secure the cushion covers in place while you’re working on them.
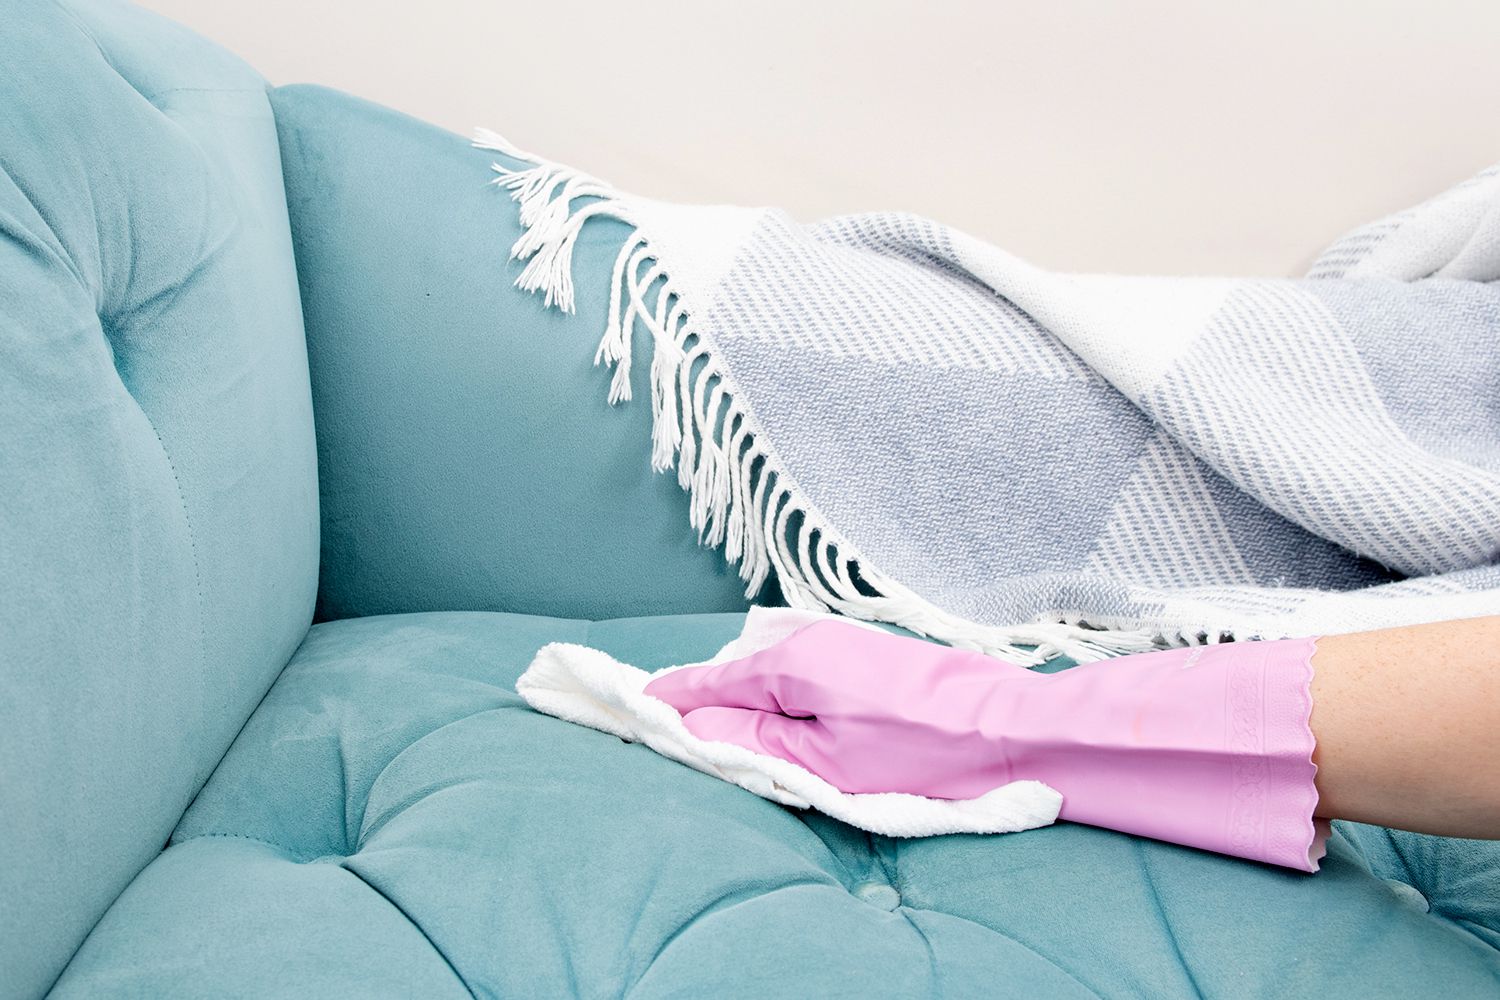
- Optional: Upholstery cleaner or leather conditioner, if you want to clean or rejuvenate the leather upholstery during the process.
Make sure you have all these materials on hand before you start, as it will make the restuffing process much smoother and efficient.
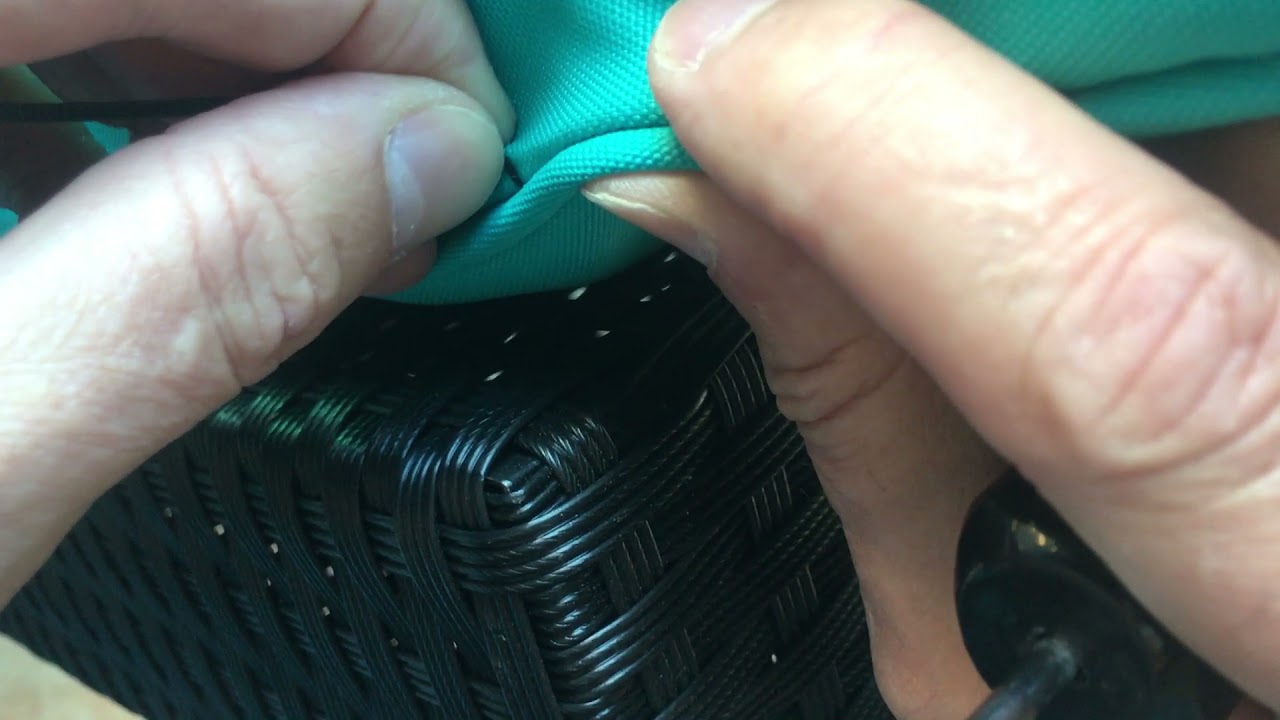
Step 1: Remove Cushion Covers
The first step in restuffing your attached leather couch cushions is to remove the cushion covers. This will allow you to access the interiors and replace the stuffing.
Start by flipping your couch cushions over, exposing the bottom or back side of the cushions. Look for any seams, zippers, or fasteners that hold the cushion covers in place. If there are zippers, use a small screwdriver or a zipper pull to open them. If there are no visible openings, you may need to locate any stitching that holds the cushion covers together.
Once you’ve located the opening or stitching, use scissors or a seam ripper to carefully cut or remove the stitches. Take extra care if you’re working with delicate leather upholstery to avoid damaging the material. Slowly and gently separate the cushion cover from the interior foam or fiberfill, making sure not to rip or tear the cover in the process.
Once you’ve removed the cushion cover, set it aside for cleaning or repairs if needed. Be sure to keep track of the orientation, as some cushion covers may have a specific top and bottom.
Repeat this process for all the attached leather couch cushions that you are restuffing.
Removing the cushion covers allows you to have full access to the interiors, making it easier to replace the stuffing and restore the cushion’s shape and support.
Step 2: Assess Cushion Condition
Once you have removed the cushion covers, take some time to assess the condition of the cushions themselves. This will help you determine if any additional repairs or adjustments are needed before restuffing.
Start by examining the foam or fiberfill stuffing. Check for any signs of wear and tear such as sagging, flattening, or lumps. If the stuffing seems significantly compressed or worn out, it may be necessary to replace it entirely.
Next, inspect the cushion covers for any tears, loose seams, or other damages. Use a marker or chalk to mark these areas so that you can repair them later. It’s important to address any visible damages before restuffing to ensure the longevity and durability of the cushions.
If your cushions have any odors or stains, this is also a good time to address them. Consider using an upholstery cleaner or a leather conditioner to freshen up the cushions and remove any dirt or stains. Follow the manufacturer’s instructions for the specific cleaner or conditioner you choose.
By thoroughly assessing the cushion condition, you can address any issues and ensure that the restuffing process will result in a comfortable and visually appealing final result.
Step 3: Purchase Foam or Fiberfill
After assessing the condition of your cushions, it’s time to determine the type and amount of stuffing material you will need to restuff them. The two main options are foam or fiberfill. Each has its own characteristics, so choose the one that best suits your preferences and desired level of comfort.
Foam: Foam inserts are known for their firmness and durability. They provide excellent support and help maintain the shape of the cushions over time. When purchasing foam, consider the density and thickness that will be suitable for your cushions. Measure the dimensions of your cushions and choose foam inserts that match those measurements.
Fiberfill: Fiberfill, also referred to as polyester stuffing, is a synthetic material that offers a plush and soft feel. It is a more affordable option compared to foam inserts. Fiberfill is available in rolls or loose stuffing. The amount needed will depend on the size and firmness you desire for your cushions. Consider the thickness and loft of the fiberfill when making your selection.
Visit a local upholstery or craft store to purchase the desired type and amount of stuffing material. If you prefer to shop online, there are numerous websites that offer foam inserts and fiberfill for upholstery projects. Be sure to measure your cushions accurately and consult the store or website’s guidelines for determining the appropriate size and quantity to purchase.
By choosing the right type and amount of stuffing material, you can ensure that your restuffed cushions will provide the right level of comfort and support for years to come.
Use a seam ripper to carefully open the seams of the cushion. Remove the old stuffing and replace it with new foam or batting. Use a needle and thread to sew the seams back together.
Step 4: Restuffing the Cushions
Now that you have your foam or fiberfill stuffing and have prepared your cushions, it’s time to begin the restuffing process.
Start by taking the foam or fiberfill and cutting it into smaller pieces that will fit more easily into the cushions. If you are using foam inserts, trim them to the exact size of the cushion interiors. If you are using fiberfill, you can loosely stuff it into the cushions.
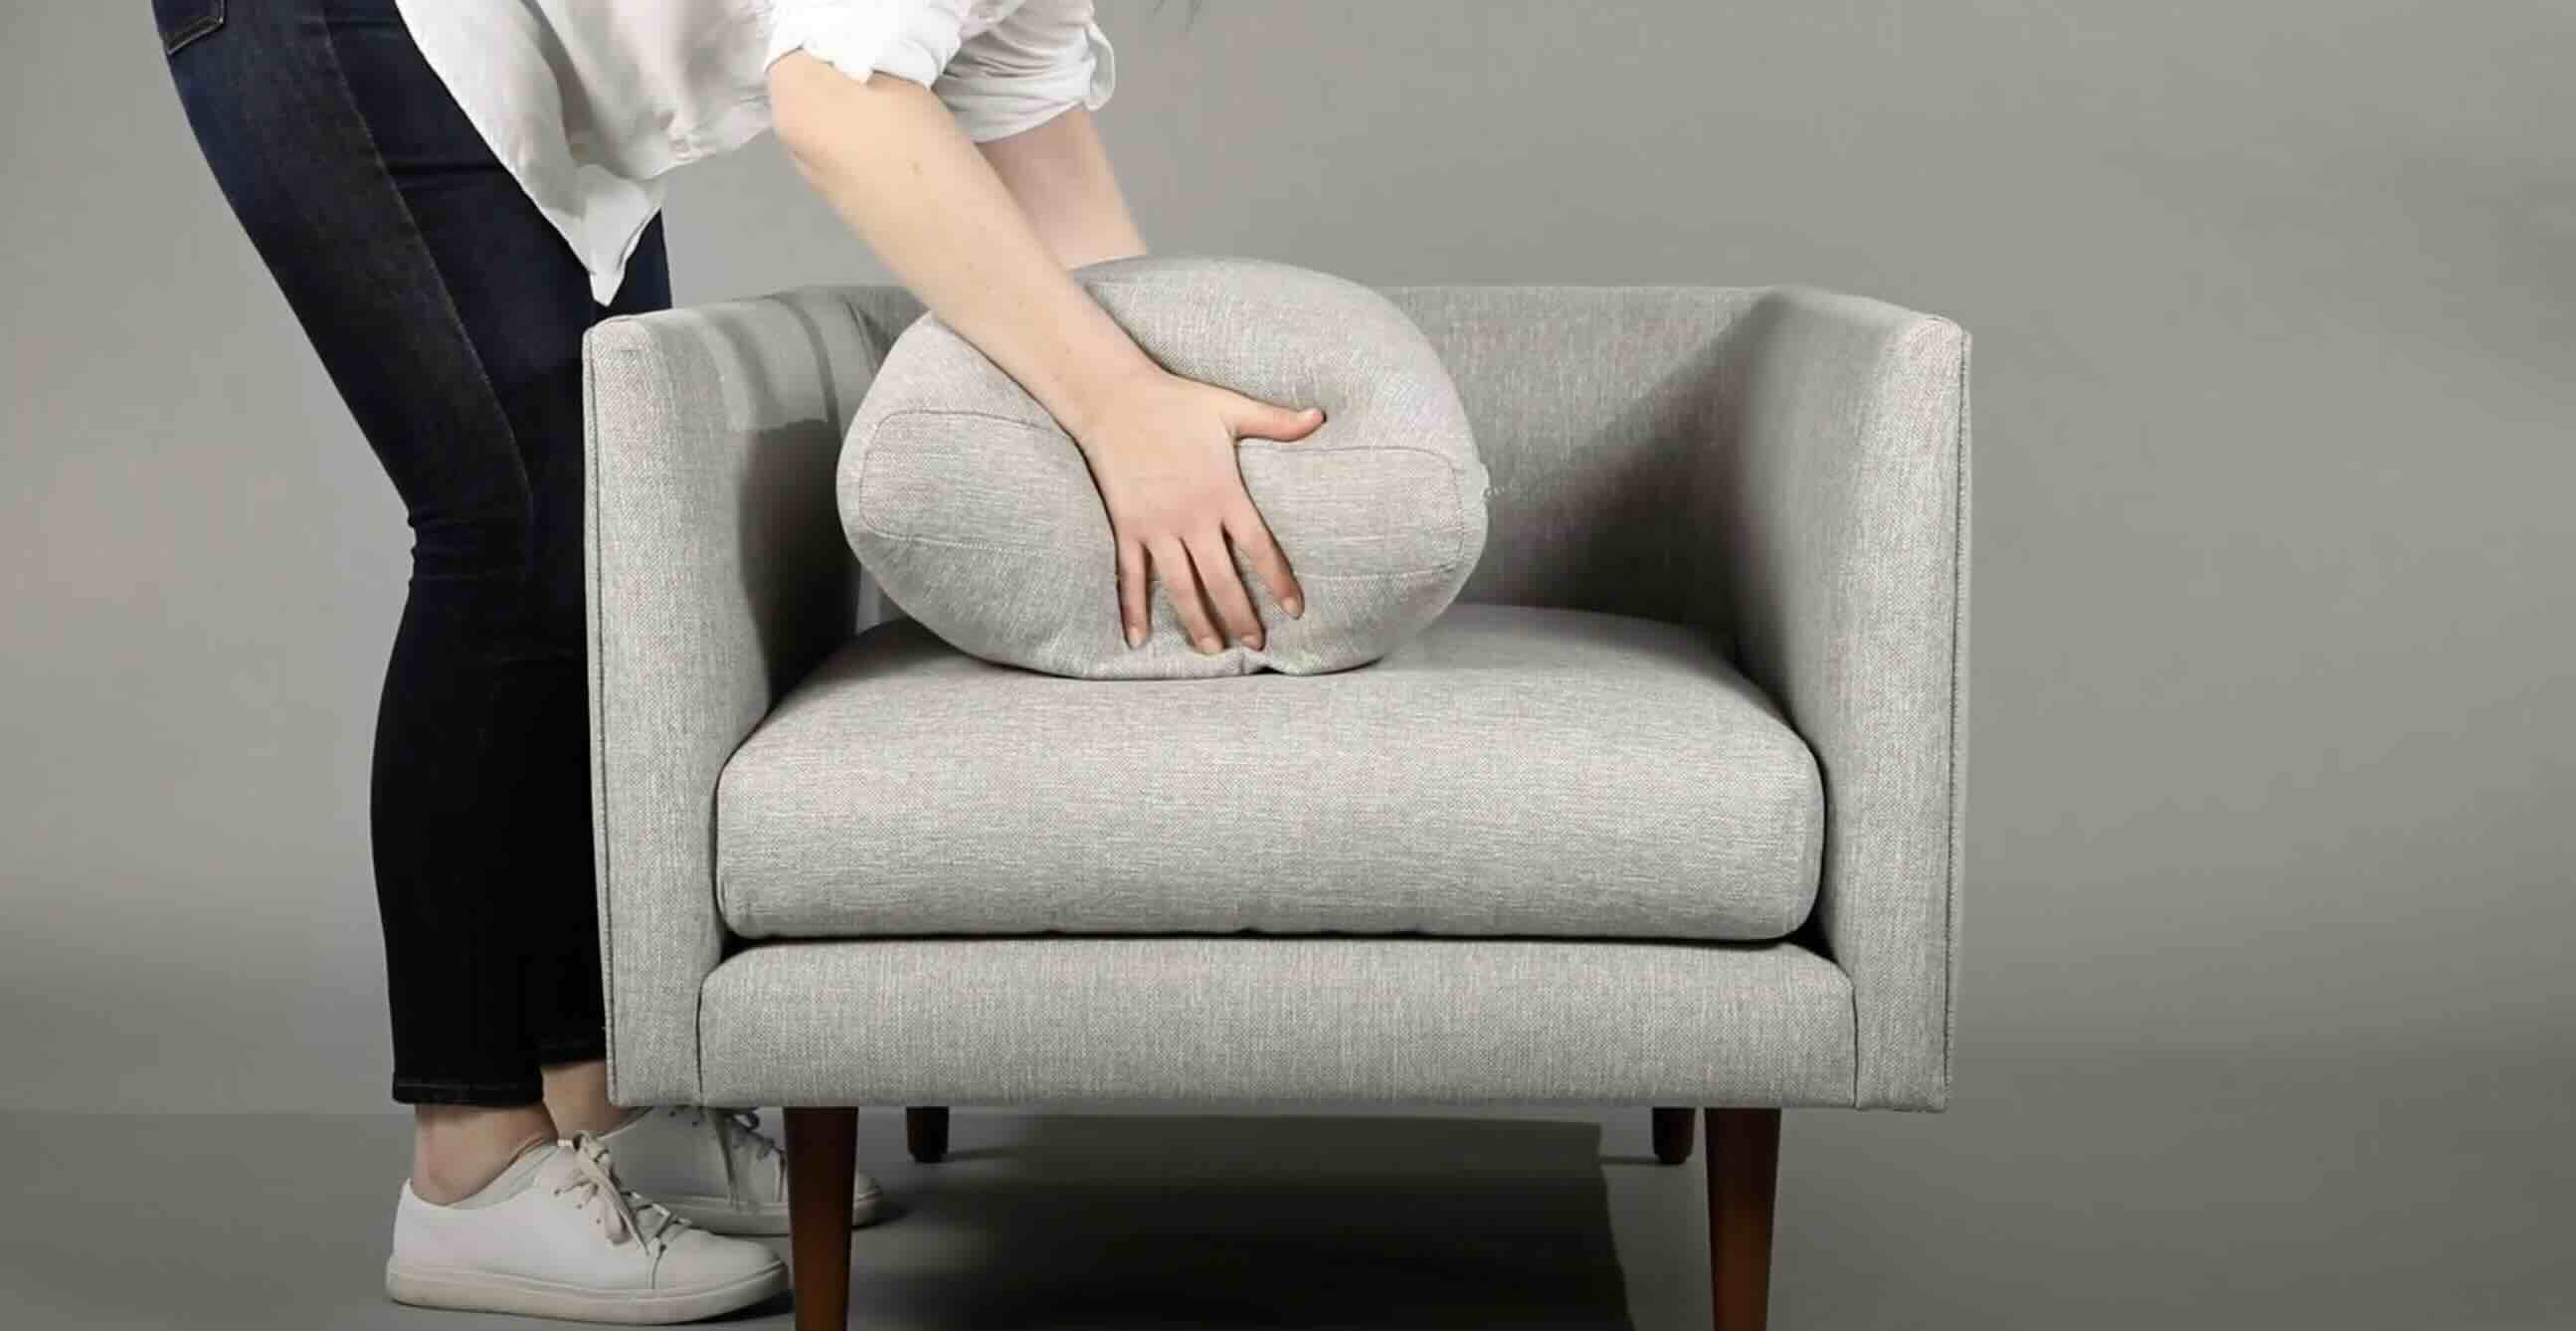
Begin by placing the foam or fiberfill into the cushions, starting with the corners and edges. Make sure to distribute the stuffing evenly to prevent lumps or uneven padding. Use your hands to gently shape and mold the stuffing as you go, ensuring a smooth and consistent appearance.
Continue adding stuffing until you reach the desired level of firmness and fullness. You may need to add more stuffing to certain areas that require more support or have become flattened over time.
As you restuff, periodically press down on the cushion to check for any areas of uneven padding. If you notice any, adjust the stuffing accordingly to create a smooth and uniform appearance.
Once you are satisfied with the amount of stuffing, give the cushions a gentle shake or pat to settle the stuffing into place.
Remember, the goal is to achieve a balanced and comfortable feel across the entire cushion. Take your time and make any necessary adjustments to ensure an even and supportive result.
Now that the cushions are properly restuffed, you can move on to the next step of closing the cushion covers.
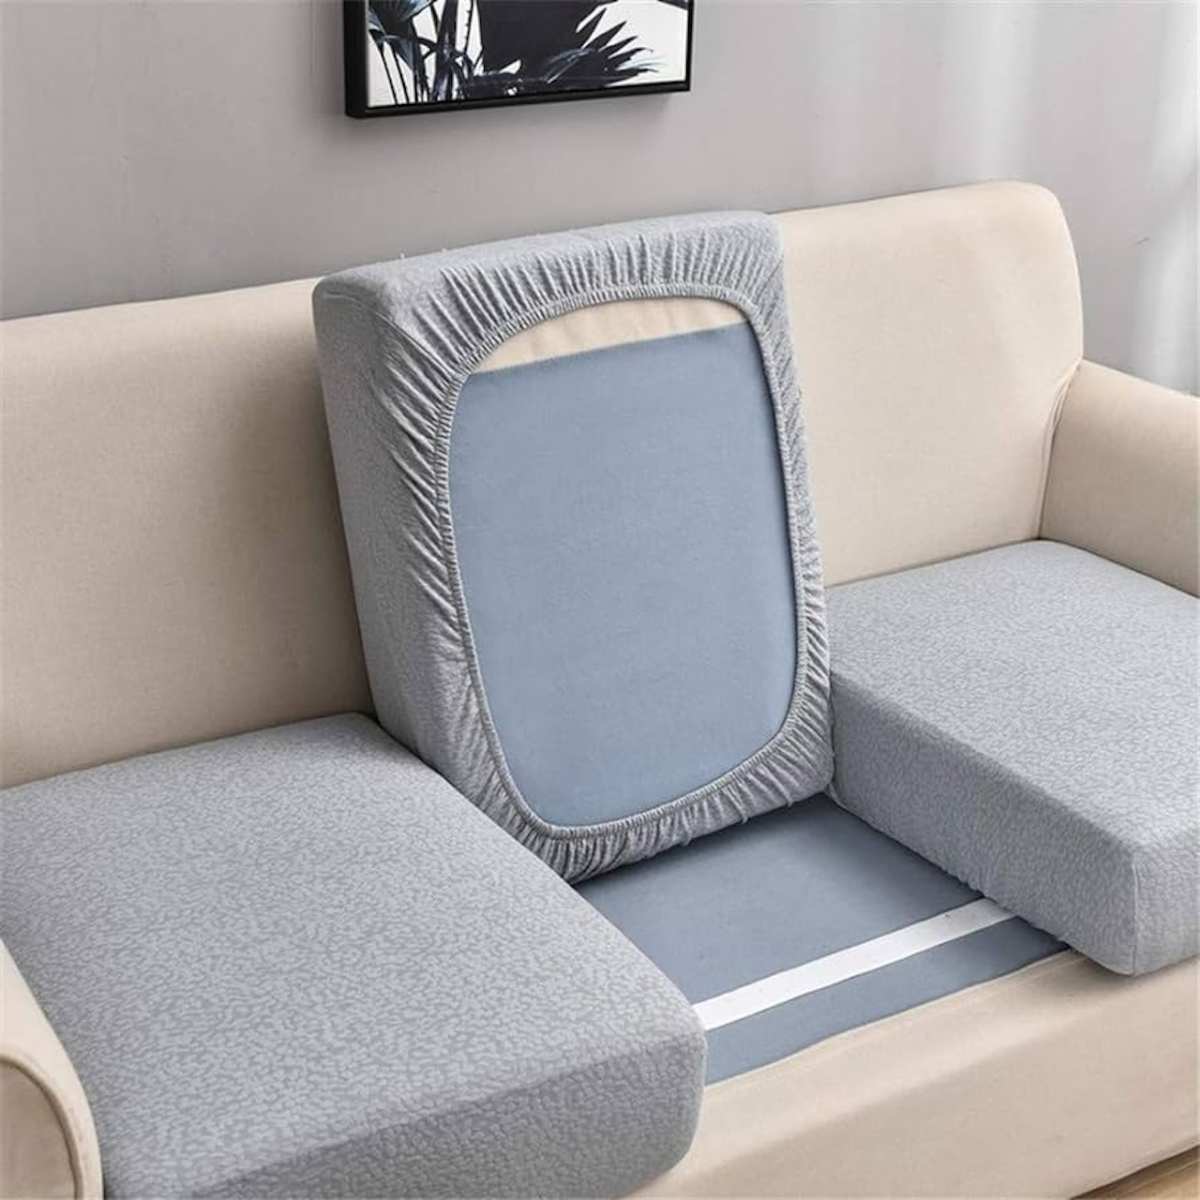
Step 5: Close Cushion Covers
With your cushions properly restuffed, it’s time to close the cushion covers to complete the restuffing process. This step will not only give your cushions a finished look but also provide protection for the stuffing.
If your cushion covers have zippers, simply align the edges of the cover and zip it closed. Make sure the zipper is securely fastened, and gently tug on it to ensure it is properly sealed.
If your cushion covers do not have zippers, you will need to sew them back together. Thread a needle with matching thread, and starting at one end, carefully stitch the edges of the cushion cover back together using a whipstitch or a straight stitch. Make small, tight stitches for durability, and tie off the thread securely when you reach the end.
If you had marked any areas of damage or loose seams earlier, now is the time to mend them. Thread the needle again, and using a threaded backstitch or a ladder stitch, repair any tears or loose seams. Make sure to knot the thread securely at the beginning and end of the repair to reinforce the seams.
Once you have closed the cushion covers and made any necessary repairs, give them a final gentle shake or pat to distribute the stuffing evenly and ensure a smooth appearance.
By closing the cushion covers, you not only protect the newly restuffed cushions but also give them a polished and finished look that will seamlessly integrate with your couch’s design.
Now that your cushion covers are closed, it’s time to move on to the final step of placing your restuffed cushions back in the couch.
Step 6: Placing Restuffed Cushions
Now that you have successfully restuffed and closed your cushion covers, it’s time to place the restuffed cushions back into your attached leather couch.
Begin by flipping your couch cushions over to their original position. Align the corners of the cushions with the corresponding corners of the couch’s seating area. Gently press the cushions down to ensure they are securely in place.
If your couch has Velcro strips or fasteners to hold the cushions in place, attach them accordingly. This will provide additional stability and prevent the cushions from moving around during use.
Take a moment to check that the cushions are aligned properly and sitting evenly on the couch. Adjust them as needed to create a uniform appearance.
Once the cushions are in place, give them a few gentle pats or fluffs to distribute the stuffing and shape them to your liking. This will help the cushions settle and provide optimal comfort.
Lastly, take a step back and admire your work. Your attached leather couch now has beautifully restuffed cushions that are not only comfortable to sit on but also restore the overall aesthetics of your living room.
Keep in mind that over time, the cushions may naturally compress and require additional restuffing. Regularly maintain and assess the condition of your cushions to ensure they remain comfortable and supportive.
With your restuffed cushions securely in place, your attached leather couch is ready to provide you and your guests with a cozy and inviting seating experience for years to come.
Job well done!
Conclusion
Restuffing your attached leather couch cushions is a worthwhile endeavor that can restore the comfort and appearance of your living room furniture. By following the step-by-step process outlined in this guide, you can easily revitalize your cushions and enjoy a cozy seating experience again.
Remember to gather all the necessary materials, including foam or fiberfill stuffing, scissors or seam ripper, tape measure, marker or chalk, needle and thread, and optional upholstery cleaner or leather conditioner. These tools will make the restuffing process smooth and efficient.
Start by removing the cushion covers, carefully assessing the condition of the cushions, and making any necessary repairs. Purchase the appropriate type and amount of stuffing material, whether it’s foam inserts or fiberfill.
Restuff the cushions methodically, distributing the stuffing evenly and adjusting as needed. Close the cushion covers either by zipping them up or sewing them back together, mending any damages in the process.
Finally, place the restuffed cushions back into your attached leather couch, ensuring proper alignment and stability. Give the cushions a few fluffs to distribute the stuffing and enjoy the rejuvenated comfort of your couch.
Regularly assess and maintain your cushions to keep them in optimal condition. Over time, they may require additional restuffing to maintain their shape and support.
With a little time and effort, you can transform your attached leather couch cushions from saggy and uncomfortable to plush and inviting. Rediscover the joy of relaxation and make your living room the perfect place to unwind.
So go ahead, take the leap and give your attached leather couch cushions the restuffing they deserve. Your comfort and satisfaction await!
Frequently Asked Questions about How To Restuff Attached Leather Couch Cushions
Was this page helpful?
At Storables.com, we guarantee accurate and reliable information. Our content, validated by Expert Board Contributors, is crafted following stringent Editorial Policies. We're committed to providing you with well-researched, expert-backed insights for all your informational needs.


0 thoughts on “How To Restuff Attached Leather Couch Cushions”