Home>Furniture>Living Room Furniture>How To Reupholster Attached Couch Cushions
Living Room Furniture
How To Reupholster Attached Couch Cushions
Modified: March 16, 2024
Learn how to reupholster couch cushions that are attached with our comprehensive guide. Transform your living room furniture with this easy DIY project.
(Many of the links in this article redirect to a specific reviewed product. Your purchase of these products through affiliate links helps to generate commission for Storables.com, at no extra cost. Learn more)
Introduction
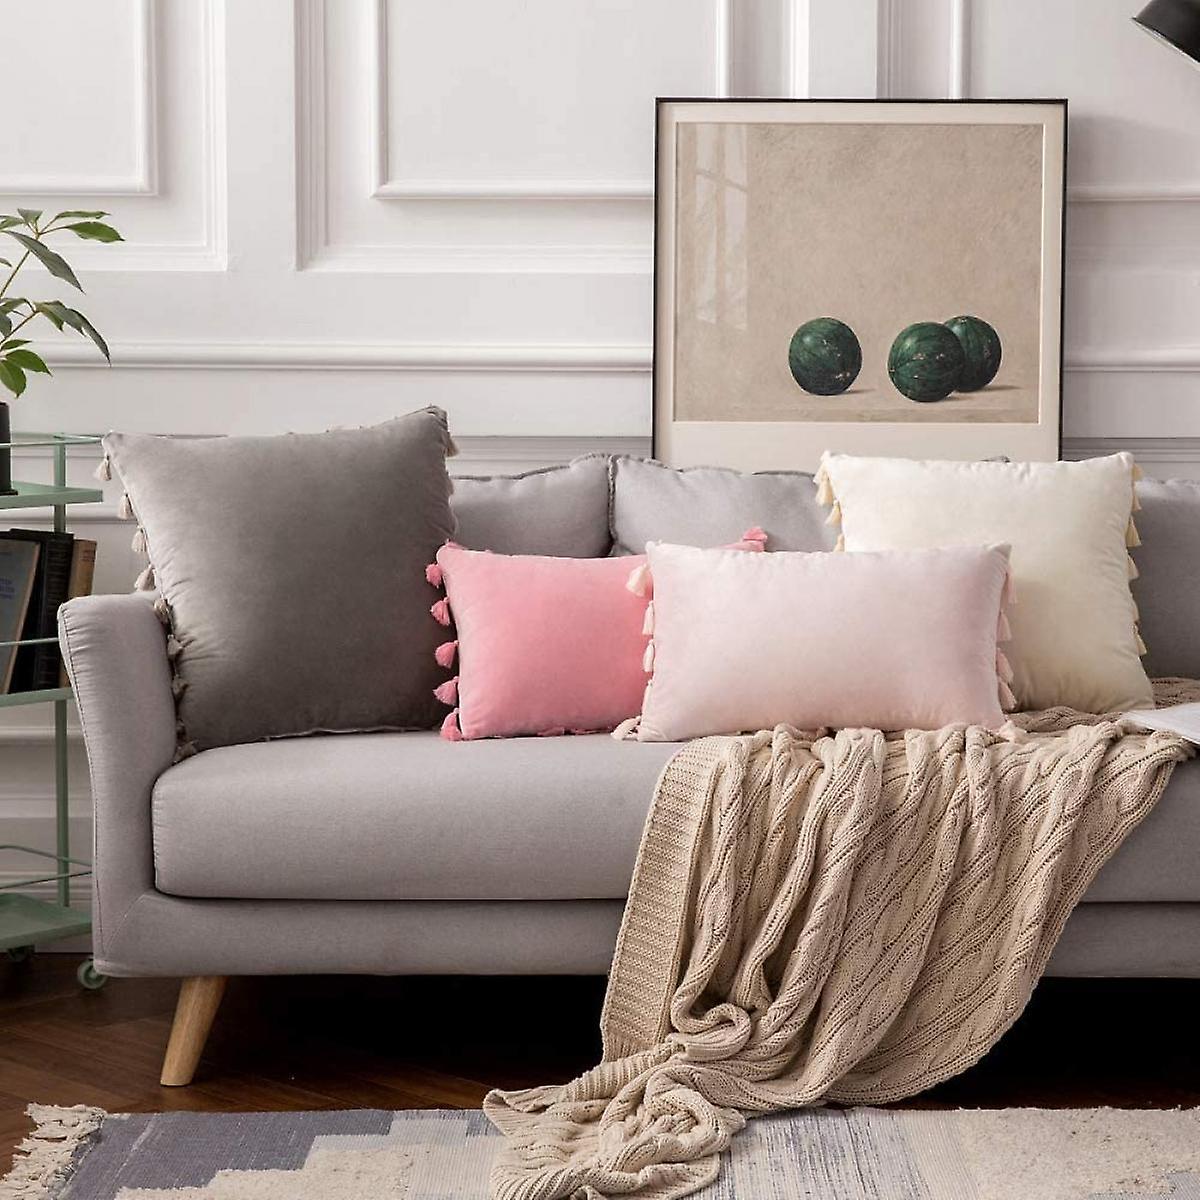
Welcome to the world of reupholstering couch cushions! If you have a beloved couch with attached cushions that have seen better days, reupholstering them can give your furniture a fresh look and extend its lifespan. Whether your cushions are worn out, stained, or you simply want to change their appearance, this step-by-step guide will provide you with the knowledge and skills to revitalize your living room furniture.
Reupholstering couch cushions may seem like a daunting task, but with the right tools, materials, and a little patience, it can be a rewarding DIY project. Not only can you customize the fabric to match your style and decor, but reupholstering can also save you money compared to the cost of buying new cushions.
Before we dive into the process, it’s important to note that reupholstering attached cushions differs from reupholstering loose cushions. Attached cushions are typically sewn onto the couch frame, making the process a bit more intricate. However, with the right techniques and attention to detail, you’ll be able to achieve professional-looking results.
In this guide, we will walk you through each step of the process, from assessing the condition of the cushions to reattaching them to the couch frame. We will provide tips and tricks to help you overcome common challenges and guide you on choosing the right materials for your reupholstering project.
So, grab your tools, put on your creative hat, and let’s transform your worn-out couch cushions into stylish and comfortable seating that you can be proud of!
Key Takeaways:
- Revitalize your worn-out couch cushions by reupholstering them with a fresh fabric, saving money and customizing the look to match your style and decor.
- With patience and attention to detail, transform your living room furniture with a rewarding DIY reupholstering project, giving new life to old cushions and contributing to furniture sustainability.
Tools and Materials Needed
Before you embark on your reupholstering journey, it’s important to gather all the necessary tools and materials. Having everything prepared and within easy reach will ensure a smooth and efficient process. Here are the essential items you’ll need:
- Fabric – Choose a durable and high-quality fabric that suits your style and complements your living room decor. Make sure to measure the dimensions of your cushions to calculate the required yardage.
- Scissors – A pair of sharp, fabric scissors is essential for cutting the new upholstery fabric and removing the old fabric.
- Upholstery Tack or Staple Remover – This tool will make the process of removing the old upholstery fabric and any tacks or staples much easier and faster.
- Staple Gun – You’ll need a staple gun to attach the new fabric to the cushions. Choose a heavy-duty staple gun for better stability and longevity.
- Staples – Make sure to have plenty of staples on hand. Thicker upholstery fabrics may require longer staples for a secure hold.
- Tape Measure – Accurate measurements are crucial for calculating the amount of fabric needed and ensuring a precise fit.
- Pliers – Pliers will come in handy for removing any stubborn staples or tacks left behind during the upholstery removal process.
- Screwdriver – Some couches may have screws that need to be removed in order to detach the cushions from the frame. Having a screwdriver with different sizes and types of heads will help you tackle any fasteners you encounter.
- Foam Padding – If your cushions have lost their shape or support, you may need to replace the foam padding as well. Measure the dimensions of the existing foam or consult with an upholstery supplier to determine the appropriate thickness and density for your cushions.
- Extra Supplies – It’s always a good idea to have some extra supplies on hand, such as fabric glue, a seam ripper, a fabric marker or chalk, and a ruler. These additional tools can help with any unforeseen challenges that may arise during the reupholstering process.
By gathering all the necessary tools and materials before you begin, you’ll save time and ensure that you have everything you need to complete your reupholstering project seamlessly.
Step 1: Assessing the Condition of the Couch Cushions
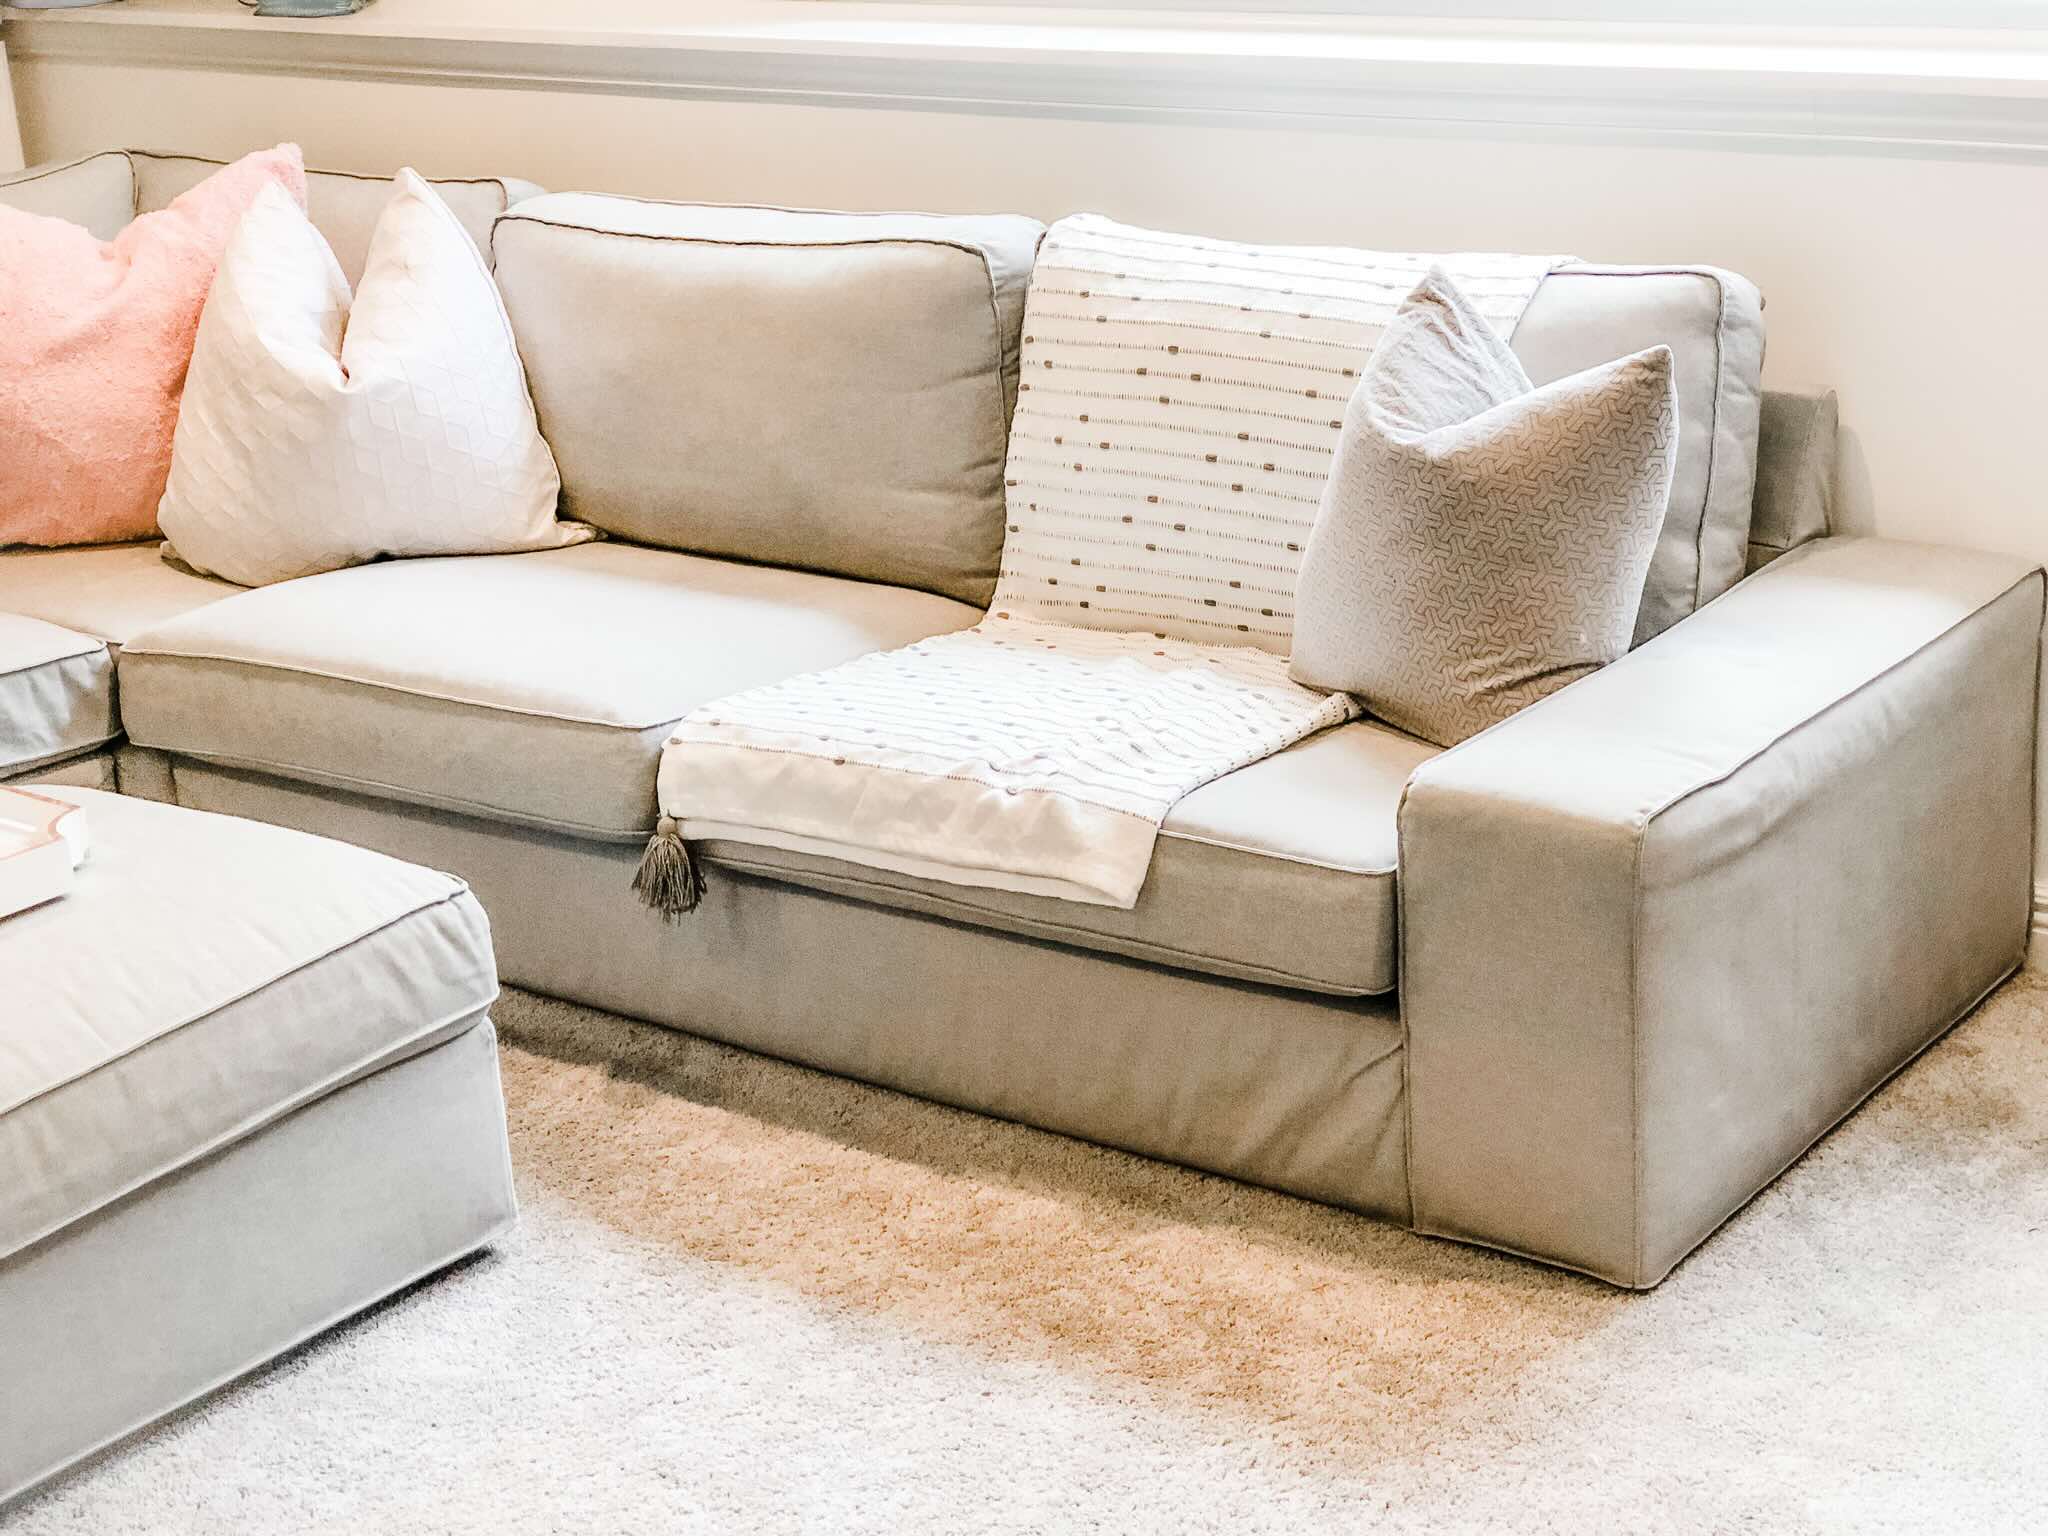
Before you start the reupholstering process, it’s crucial to assess the condition of your couch cushions. This will help you determine whether any additional steps, such as replacing the foam padding, are necessary to ensure optimal comfort and durability.
Begin by inspecting the cushions for any signs of wear and tear. Are they sagging? Do they lack support? Are there any stains or damage to the existing upholstery fabric? Take note of any issues you observe, as these will guide your next steps.
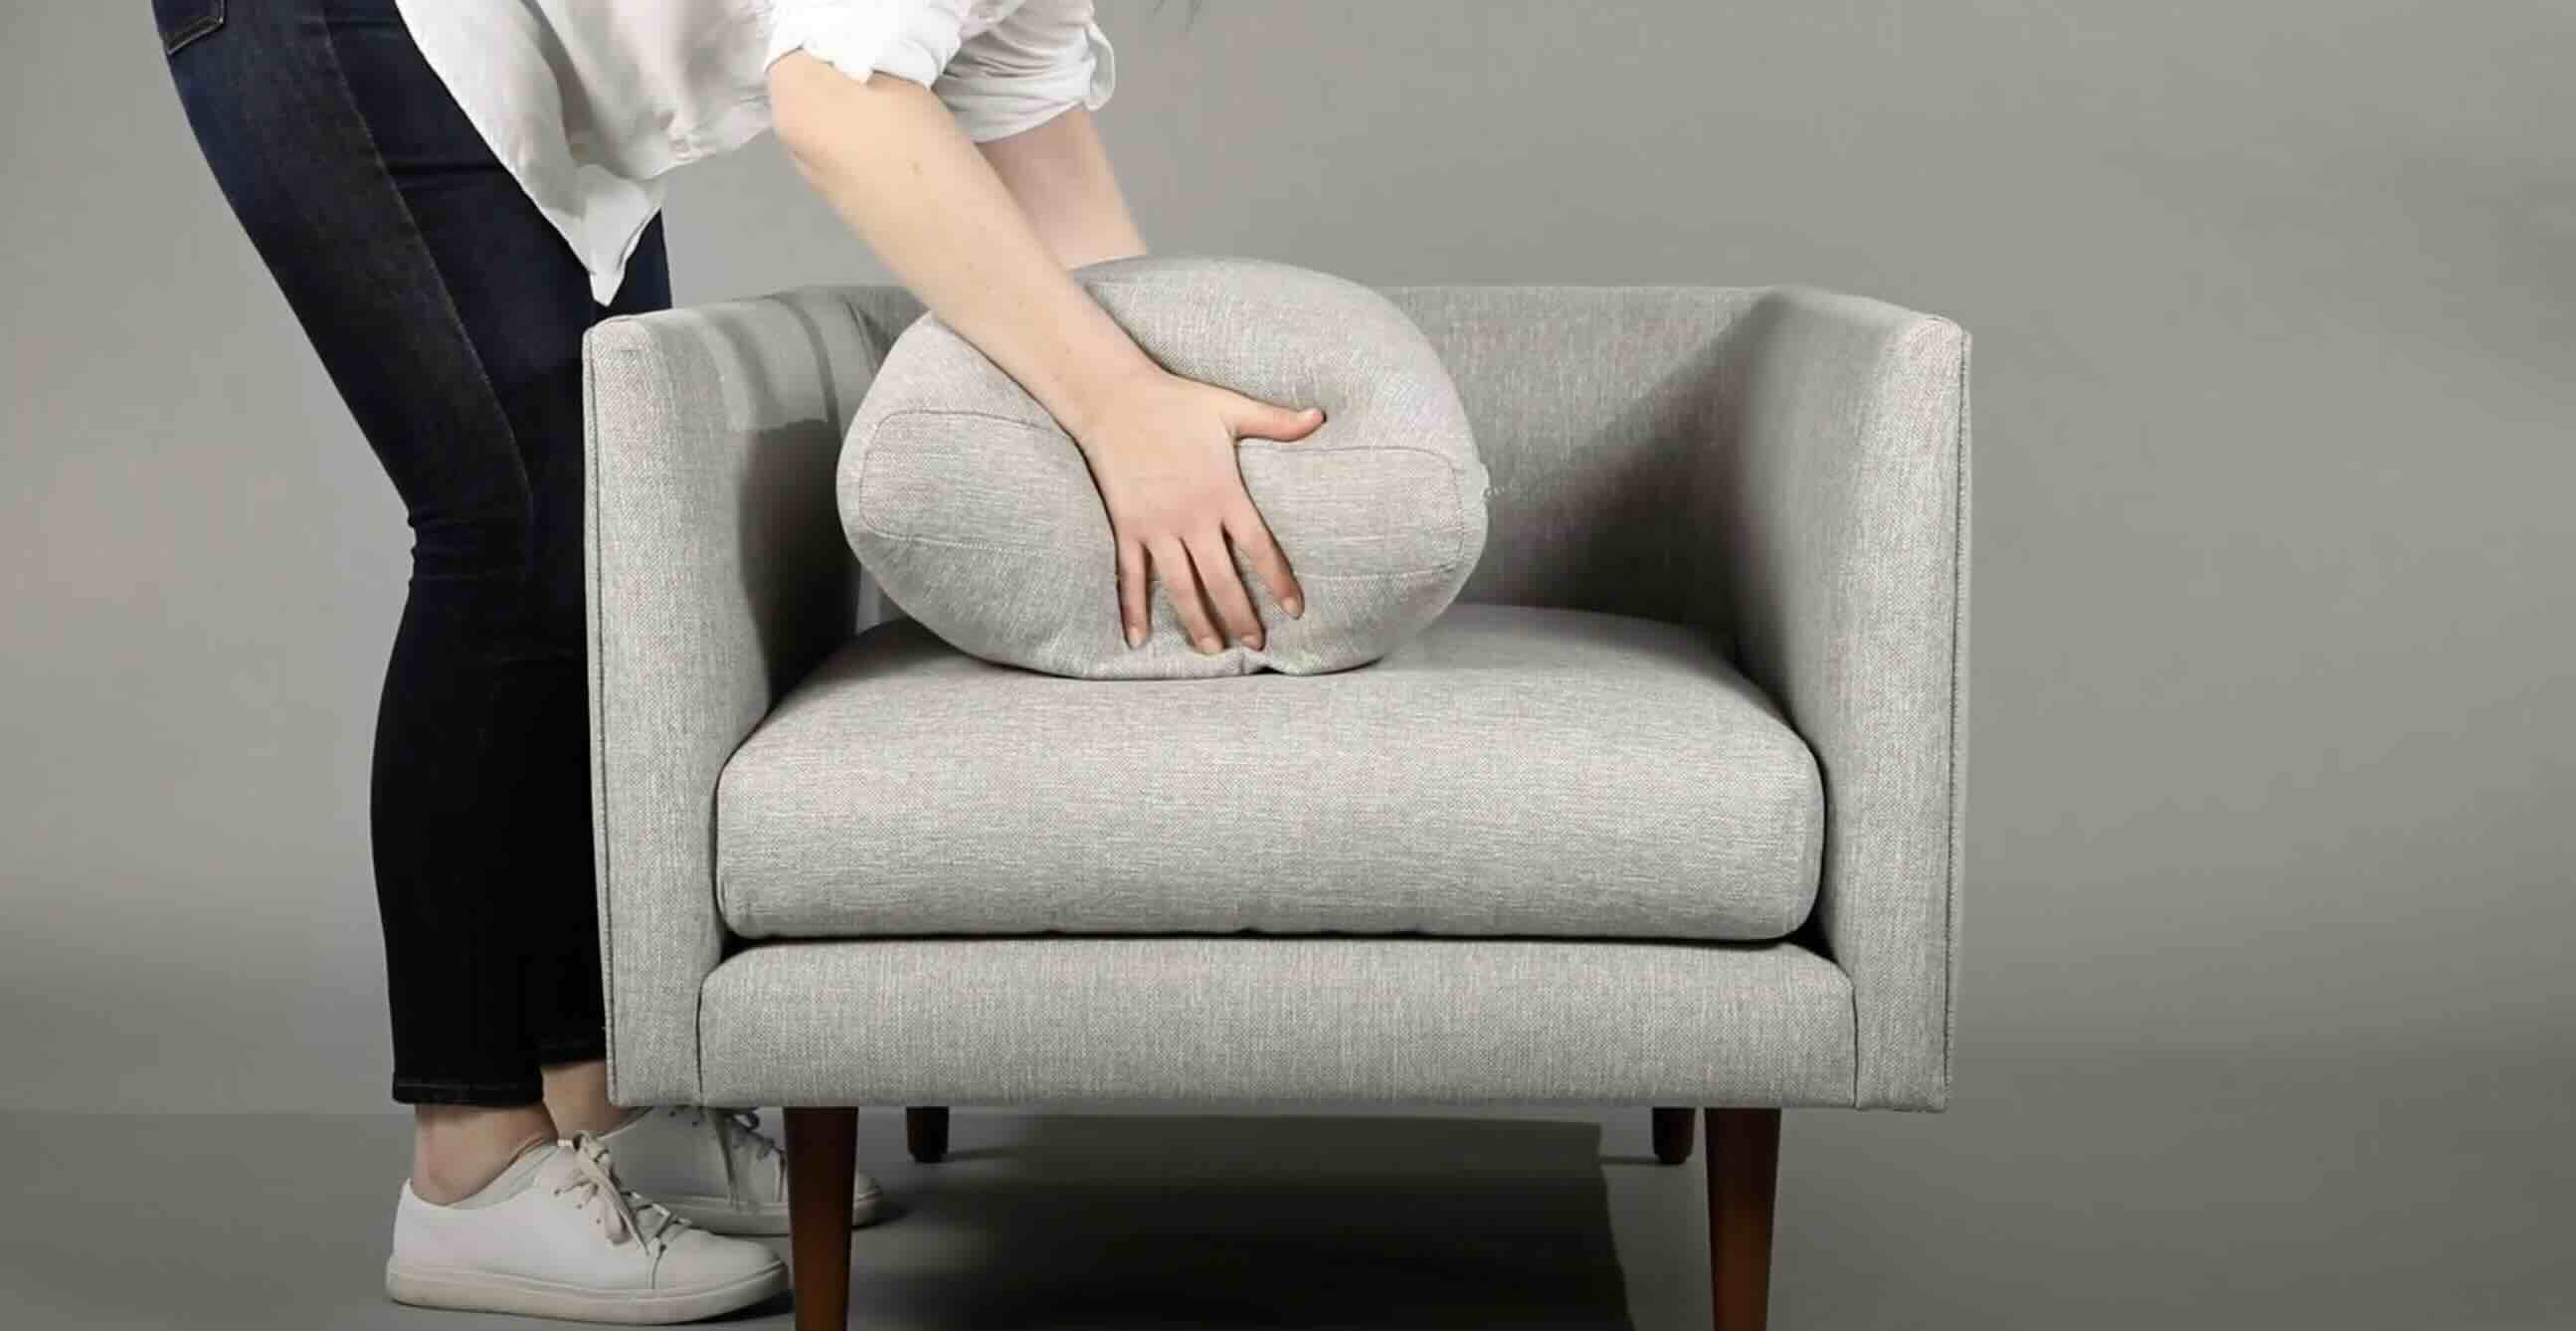
If your cushions have lost their shape or support, it may be necessary to replace the foam padding. Remove the cushions from the couch frame and carefully unzip the covers to examine the foam. If it is flattened, discolored, or has visible damage, it’s time to replace it. Measure the dimensions of the existing foam or take it to an upholstery supplier to ensure you purchase the correct size and density for your replacement foam.
Additionally, assess the condition of the existing upholstery fabric. If it is stained, torn, or worn out, it’s ideal to remove it during the reupholstering process. However, if the fabric is still in good condition and you simply want to update the look, you can proceed with reupholstering over the existing fabric.
Remember to also check the condition of any tacks, staples, or fasteners used to secure the existing upholstery. If they are loose or damaged, it’s important to remove and replace them to ensure a secure and professional finish.
By thoroughly assessing the condition of your couch cushions at the beginning of the process, you’ll be able to make informed decisions about the necessary steps to achieve the best results. Whether it’s replacing the foam padding, removing the existing fabric, or addressing any structural issues, taking the time to assess the condition of the cushions will set you up for a successful reupholstering experience.
Step 2: Removing the Old Upholstery Fabric
Now that you’ve assessed the condition of your couch cushions, it’s time to remove the old upholstery fabric. This step will give you a clean canvas to work with and ensure a professional-looking finish.
Before you begin, make sure you have your upholstery tack or staple remover, pliers, and scissors handy. Here’s a step-by-step guide to help you remove the old fabric:
- Start by flipping the cushion over to access the underside. If there is a dust cover or fabric covering the bottom, use your scissors to cut it away and expose the staples or tacks.
- Using your upholstery tack or staple remover, carefully pry up the staples or tacks that are attaching the old fabric to the cushion. Take your time and be gentle to avoid damaging the underlying foam or cushion material.
- If there are any stubborn staples or tacks that refuse to come out, use pliers to grip them and gently twist and pull until they are completely removed. Dispose of the old staples or tacks in a safe container.
- Once all the staples or tacks have been removed, you can begin pulling the old fabric away from the cushion. Take care not to tear the fabric if you plan to reuse it as a template for cutting the new fabric.
- If the old fabric is in poor condition or you simply want a fresh start, use your scissors to carefully cut along the seams and remove the old fabric entirely.
Remember to take note of the order in which the upholstery was attached to the cushion. This will help you during the reupholstering process by serving as a guide for attaching the new fabric. You can also take photos or mark the pieces to ensure proper alignment later on.
By removing the old upholstery fabric, you’re one step closer to transforming your couch cushions. Take your time in this step to ensure a smooth and even surface for attaching the new fabric. Remove any remnants of old staples or tacks to avoid discomfort or damage when seated on the reupholstered cushions.
Step 3: Measuring and Cutting the New Upholstery Fabric
Now that you’ve removed the old upholstery fabric, it’s time to measure and cut the new fabric for your couch cushions. Accurate measurements and precise cutting are essential to ensure a proper fit and professional-looking finish.
Here’s a step-by-step guide to help you measure and cut the new upholstery fabric:
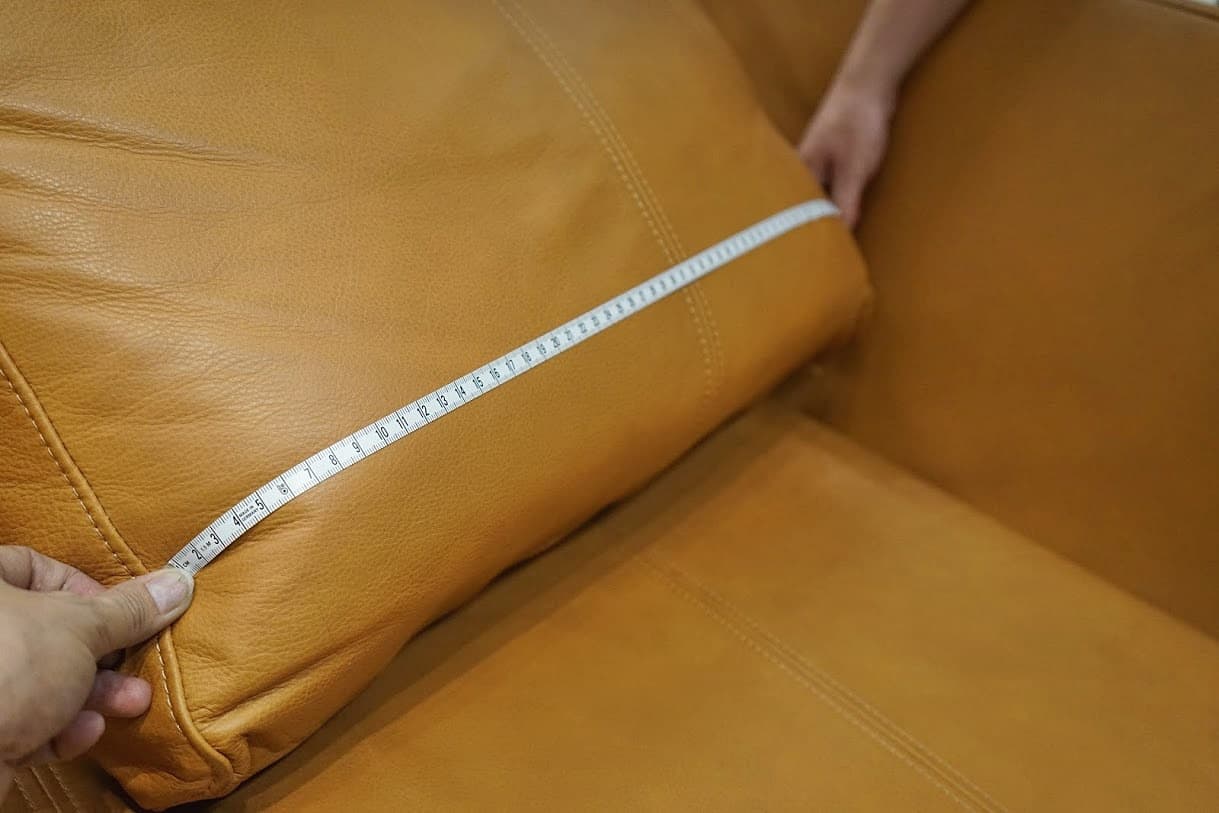
- Start by measuring the dimensions of the cushion. Use a tape measure to carefully measure the length, width, and height of each cushion. It’s important to measure the cushion at its widest points to ensure the fabric will cover it completely.
- Add extra fabric for seam allowances and wrapping around the edges of the cushion. This will provide a secure and clean finish. Typically, adding 1 to 2 inches to each side is sufficient, but you can adjust this measurement based on the thickness of your cushion or personal preference.
- Transfer the measurements to your new upholstery fabric. Lay the fabric out on a flat surface, ensuring that it is free from wrinkles or folds. Use a straight edge, such as a ruler or measuring tape, to mark the measurements directly onto the fabric using a fabric marker or chalk.
- If you plan to reuse the old fabric as a template, lay it flat on top of the new fabric and trace around it using a fabric marker or chalk. Make sure to align the edges and corners accurately to ensure a proper fit.
- Once you have marked the measurements or traced the template onto the new fabric, use a pair of sharp fabric scissors to cut along the marked lines. Take your time and cut smoothly to ensure clean and even edges.
It’s important to note that if your cushion has curved edges or unique shapes, you may need to make small incisions or notches in the fabric to allow for a smooth and seamless fit. Take your time with these details to ensure a professional-looking finish.
By taking accurate measurements and cutting the new upholstery fabric with precision, you’ll set yourself up for a seamless reupholstering process. Remember to double-check your measurements before cutting and make any necessary adjustments to ensure a perfect fit.
When reupholstering couch cushions that are attached, carefully remove the old fabric, measure and cut the new fabric to size, and use a staple gun to secure the new fabric in place, making sure to pull it taut for a smooth finish.
Step 4: Attaching the New Upholstery Fabric to the Cushions
With the new upholstery fabric cut and ready, it’s time to attach it to the cushions and bring your reupholstering project to life. This step requires attention to detail and precision to ensure a smooth and professional finish.
Follow these steps to attach the new upholstery fabric to your couch cushions:
- Start by positioning the cushion on top of the new fabric, making sure the fabric is aligned with the cushion’s edges. If you marked the fabric with the template from the old upholstery, use the lines as a guide for positioning.
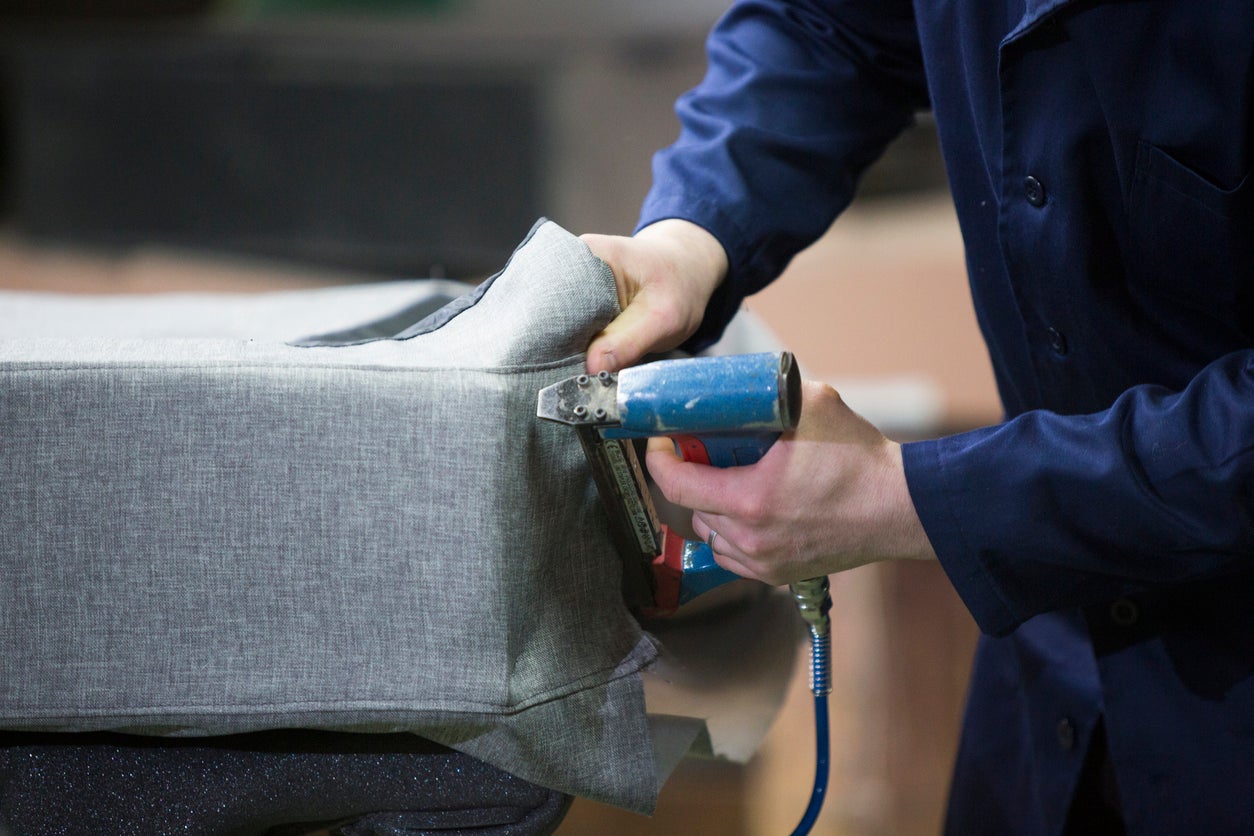
- Starting at one side of the cushion, pull the fabric taut and secure it in place with a staple gun. Place the first staple approximately 1 inch from the edge of the cushion. Be sure to aim the staples at a slight angle towards the center of the cushion for better hold.
- Continue stapling along the same side, spacing the staples approximately 1 to 2 inches apart. Pull the fabric tightly as you go to ensure a smooth and wrinkle-free surface.
- Move to the opposite side of the cushion and repeat the stapling process, pulling the fabric taut and placing staples at regular intervals. This will help ensure that the fabric is evenly distributed and secure.
- Repeat the above steps for the remaining sides of the cushion, taking care to keep the fabric taut and the staples spaced evenly.
- If your cushion has curved edges or corners, make small pleats or folds in the fabric as you staple, allowing it to conform to the shape of the cushion. This will help create a neat and tailored appearance.
As you work your way around each side of the cushion, take time to smooth out any wrinkles or puckers in the fabric, adjusting the tension as needed. Properly align the fabric pattern, if applicable, to ensure a visually appealing result.
Once you’ve stapled all four sides of the cushion, check the fabric for any loose areas or wrinkles. If necessary, carefully remove the staples and readjust the fabric before restapling. Take your time with each stapling to ensure a secure and professional finish.
By following these steps, you’ll be well on your way to transforming your couch cushions with the new upholstery fabric. The careful and precise attachment will result in a polished and durable reupholstered surface for years to come.
Step 5: Securing the Edges and Corners of the Fabric
Now that the new upholstery fabric is securely attached to the main surface of the cushion, it’s time to focus on securing the edges and corners. This step is crucial for achieving a clean and professional-looking finish, ensuring that the fabric stays in place and withstands regular use.
Follow these steps to secure the edges and corners of the fabric:
- Starting with one side of the cushion, fold the fabric over the edge, creating a neat and clean edge. Use your hand to smooth out any wrinkles or creases in the fabric.
- Use the staple gun to secure the folded fabric to the underside of the cushion, placing staples approximately every 1 to 2 inches. Aim the staples at a slight angle towards the center of the cushion for better hold.
- Continue folding and stapling the fabric along each side of the cushion, ensuring that the edges are secure and the fabric is taut. Take your time to smooth out any wrinkles or excess fabric as you go.
- When you reach the corners of the cushion, fold the fabric neatly to create a clean and crisp corner. Depending on the shape of the cushion, you may need to make small pleats or folds to achieve a smooth and tailored appearance.
- Secure the corner folds with staples, ensuring that the fabric is firmly in place. Take extra care to create a seamless transition from one side to another, maintaining the alignment of the fabric pattern if applicable.
As you secure the edges and corners, check for any loose or wrinkled areas of fabric and make any necessary adjustments before stapling. The goal is to create a smooth and uniform surface that enhances the overall appearance of the cushions.
It’s important to note that if your cushions have piping or trim, you may need to remove the existing piping and replace it with new piping made from the new fabric. This will give the reupholstered cushions a finished and polished look.
By taking the time to secure the edges and corners of the fabric, you’ll ensure that the new upholstery stays in place and retains its professional appearance. It’s the final touch that completes the reupholstering process and leaves you with beautifully transformed couch cushions.
Step 6: Reattaching the Cushions to the Couch Frame
Congratulations! You’re in the final stretch of your reupholstering project. After successfully attaching the new upholstery fabric to your couch cushions, it’s time to reattach them to the couch frame for a complete and polished transformation.
Follow these steps to reattach the cushions to the couch frame:
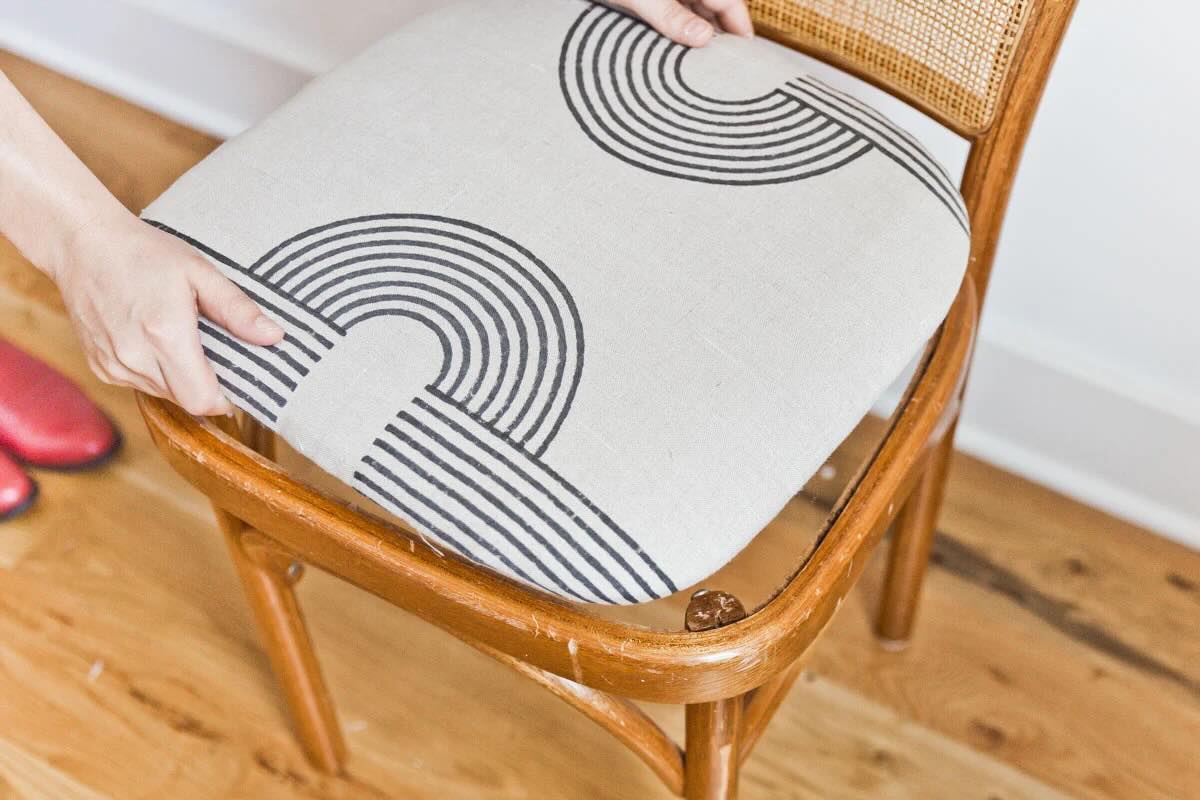
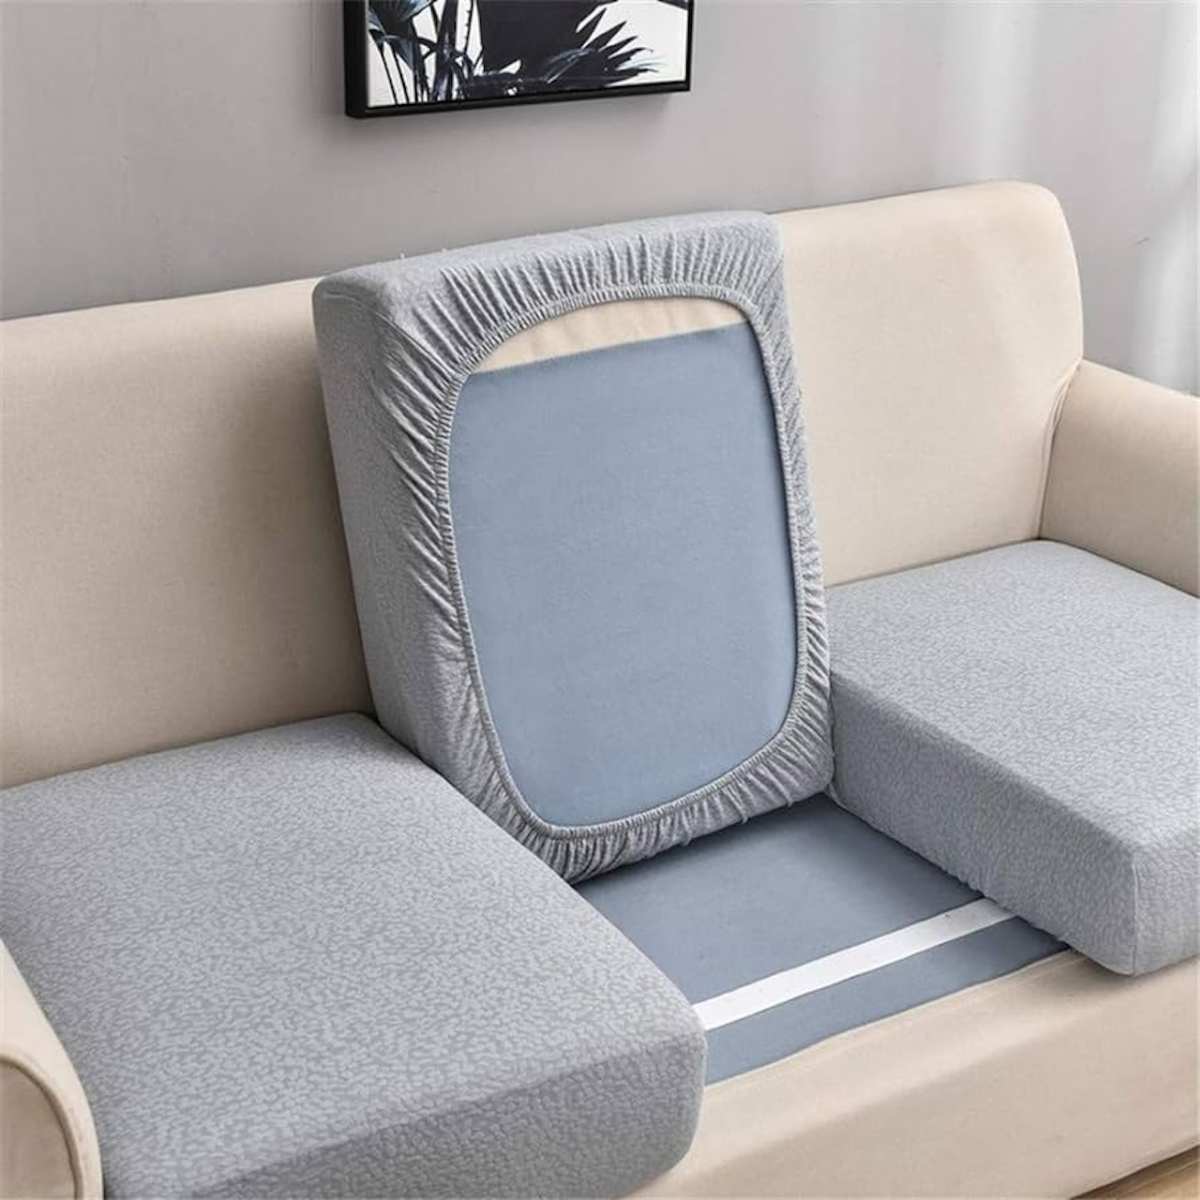
- With the new fabric facing up, carefully flip each cushion over and position them back onto the couch frame. Ensure that the cushions fit snugly and align properly with the frame.
- If your couch cushions were initially secured with screws, use a screwdriver to reattach them to the frame. Take care not to overtighten the screws, as this can damage the cushions or the frame. Use the same screws that were removed during the dismantling stage.
- Once the cushions are securely reattached to the frame, take a moment to smooth out any wrinkles or loose areas of fabric on the top surface. Adjust the fabric as needed to achieve a seamless and visually appealing appearance.
- If you removed any additional trim or piping during the upholstery process, now is the time to reattach it. Use fabric glue or a staple gun, depending on the type of trim, to secure it in place along the edges of the cushions. This will provide a finished and polished look.
Once you’ve reattached the cushions and addressed any final adjustments, step back and admire your newly reupholstered couch. Take a moment to appreciate the transformation and the hard work you’ve put into reviving your living room furniture.
Lastly, give the cushions a final inspection to ensure that everything is secure and in place. Smooth out any fabric wrinkles or unevenness and make any necessary adjustments to achieve the desired finish.
With the cushions securely reattached to the couch frame, you can now enjoy your refreshed and rejuvenated living room furniture. Sit back, relax, and relish in the satisfaction of a successful reupholstering project!
Conclusion
Congratulations on completing your reupholstering journey! You have successfully transformed your worn-out couch cushions into stylish and comfortable pieces of furniture that you can be proud of. By following the step-by-step process outlined in this guide, you have learned how to assess the condition of the cushions, remove the old upholstery fabric, measure and cut the new fabric, attach it securely to the cushions, secure the edges and corners, and reattach the cushions to the couch frame.
Reupholstering attached couch cushions may have seemed like a daunting task at first, but with the right tools, materials, and patience, you have achieved professional-looking results. Your attention to detail, from assessing the condition of the cushions to securing the edges and corners, has ensured a polished and long-lasting finish.
Not only have you revitalized your living room furniture, but you have also saved money compared to buying new cushions. Plus, the ability to choose your own fabric and customize your cushions to match your style and decor is a bonus.
Remember, reupholstering is a skill that can be applied to other furniture pieces as well. With the knowledge and experience gained from this project, you can confidently tackle future reupholstering projects, whether it’s chairs, ottomans, or even headboards.
Now it’s time to sit back, relax, and enjoy your revamped couch. Take pride in knowing that you not only saved money, but also contributed to the sustainability of furniture by giving new life to something that might have otherwise ended up in a landfill.
Thank you for joining us on this reupholstering journey. We hope you’ve enjoyed the process and found it both informative and satisfying. Happy lounging in your newly reupholstered living room!
Frequently Asked Questions about How To Reupholster Attached Couch Cushions
Was this page helpful?
At Storables.com, we guarantee accurate and reliable information. Our content, validated by Expert Board Contributors, is crafted following stringent Editorial Policies. We're committed to providing you with well-researched, expert-backed insights for all your informational needs.


0 thoughts on “How To Reupholster Attached Couch Cushions”