Home>Garden Essentials>How Do You Plant Seeds

Garden Essentials
How Do You Plant Seeds
Modified: March 16, 2024
Learn how to plant seeds in your garden with this step-by-step guide. Start growing your own vegetables and flowers today!
(Many of the links in this article redirect to a specific reviewed product. Your purchase of these products through affiliate links helps to generate commission for Storables.com, at no extra cost. Learn more)
Introduction
Planting seeds is a fundamental step in garden cultivation. Whether you’re starting a vegetable garden or adding some colorful flowers to your landscape, knowing how to properly plant seeds is crucial. It’s an exciting process that allows you to witness the transformation of a tiny seed into a flourishing plant.
In this article, we will guide you through the essential steps of planting seeds and provide valuable tips to help you achieve success in your gardening endeavors. We’ll cover everything from choosing the right seeds to nurturing and protecting your seedlings. So, let’s dig in!
Key Takeaways:
- Choose seeds that match your garden’s needs, climate, and your preferences. Prepare the soil, provide water and sunlight, and protect seedlings from pests to ensure healthy plant growth.
- Harvest at the right time, handle produce gently, and enjoy the fruits of your labor. Gardening requires patience, observation, and adapting to your plants’ needs.
Read more: How Do You Plant Avocado Seeds
Choosing the right seeds
When it comes to selecting seeds for your garden, there are a few factors to consider. First and foremost, think about the type of plants you want to grow. Are you interested in growing vegetables, herbs, or perhaps some vibrant flowers? Determine the purpose of your garden and make a list of the plants that align with your goals.
Next, consider the climate and growing conditions in your area. Certain plants thrive better in specific climates, so it’s essential to choose seeds that are suitable for your region. Research and consult with local gardeners or nurseries to find out which plants are best adapted to your climate.
Additionally, pay attention to the characteristics of the seeds. Look for high-quality, organic seeds that are free from genetic modifications. These seeds are more likely to produce healthy and resilient plants. Consider the growth habit, size, and care requirements of the plants to ensure they fit well in your garden and align with your gardening skills.
Furthermore, explore the variety of seeds available. There are countless options when it comes to plant varieties, each with its own unique features. Experiment with different heirloom or hybrid varieties to discover flavorsome vegetables or dazzling flowers that are sure to impress.
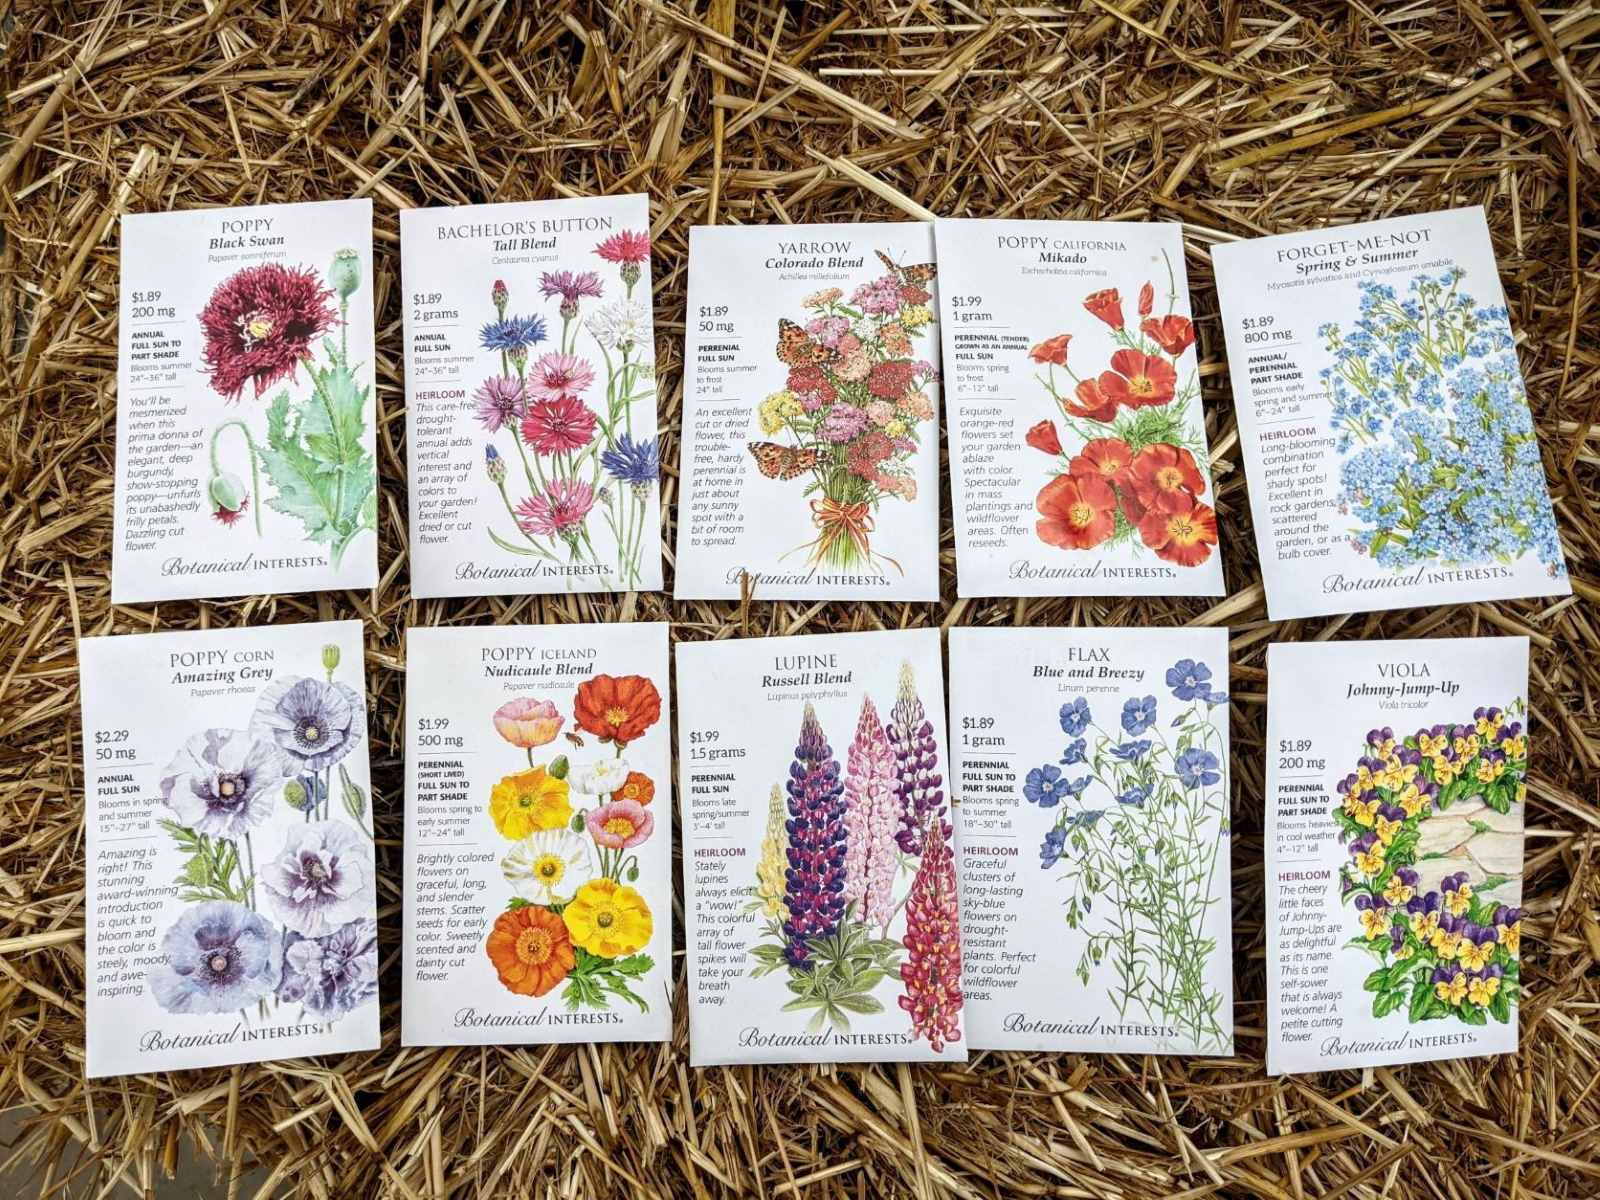
Lastly, consider the availability of seeds. You can find seeds at local garden centers, nurseries, or through online websites. Take note of the price, quantity, and any additional information provided by the seed supplier. Some suppliers may offer specific instructions for germination or provide helpful gardening tips along with the seeds.
By carefully choosing the right seeds, you lay a strong foundation for a successful garden. So take your time, do some research, and select seeds that suit your garden’s purpose, climate, and personal preferences.
Selecting the planting location
The success of your plants greatly depends on the location where they are planted. The right planting spot can provide the optimal conditions for growth, while the wrong spot can hinder their development. Here are some tips for selecting the perfect planting location:
- Assess sunlight exposure: Most plants require ample sunlight to thrive. Observe the area you have in mind and determine how much sunlight it receives throughout the day. Full sun exposure typically means at least six hours of direct sunlight, while partial shade or full shade areas receive less direct sunlight. Choose plants that match the sunlight conditions of your chosen location.
- Consider soil condition: The quality and composition of the soil greatly impact plant growth. Conduct a soil test to determine its pH level, nutrient content, and drainage capabilities. Different plants have different soil requirements, so choose a location with soil that is suitable for the plants you intend to grow. If the soil needs improvement, amend it with organic matter such as compost or well-rotted manure.
- Observe drainage: Excessive water retention can lead to root rot and other issues, so it’s important to choose a location with good drainage. Avoid areas that are prone to standing water, as this can drown the plants. However, if you’re growing water-loving plants like bog plants or water lilies, a moist location may be ideal.
- Consider proximity to water source: Plants require consistent watering, so it’s convenient to choose a location near a water source. This can be a garden hose, irrigation system, or a nearby water feature like a pond or rain barrel. Easy access to water will make it simpler to maintain optimal moisture levels for your plants.
- Check microclimates: Microclimates are localized climate variations within a larger region. These variations can be caused by factors such as elevation, wind patterns, or nearby structures. Assess your garden for any microclimates that may affect plant growth. For example, a sheltered area near a wall may be warmer and more suitable for heat-loving plants.
By carefully selecting the planting location, you can ensure that your plants have the best possible conditions to thrive. Consider factors such as sunlight exposure, soil condition, drainage, water source proximity, and microclimates to give your plants the optimal environment for growth.
Preparing the soil
Properly preparing the soil before planting seeds is crucial for creating a nutrient-rich environment that promotes healthy plant growth. Here are some steps to follow when preparing your soil:
- Clear the area: Start by removing any weeds, rocks, or debris from the planting area. This will give your seeds a clean and unobstructed space to grow.
- Loosen the soil: Use a garden fork or a tiller to loosen the soil to a depth of at least 8-12 inches. This loosening process helps to improve drainage, promotes root penetration, and allows the plants to access necessary nutrients.
- Amend the soil: Assess the soil quality by conducting a soil test. This will provide you with valuable information about the soil’s pH level and nutrient content. Based on the results, you may need to amend the soil to make it more suitable for your plants. For example, if the pH level is too high or too low, you can add amendments such as lime or sulfur to adjust it. Incorporate well-rotted compost or organic matter to improve soil fertility, structure, and water-holding capacity.
- Level the surface: After amending the soil, rake the area to level the surface. This will create a more even planting bed and provide a better foundation for your seeds.
- Remove large clumps and stones: Take the time to remove any large clumps of soil or stones that may interfere with seed germination or plant growth.
By properly preparing the soil, you create an ideal growing environment for your seeds. Loosening the soil, amending it with organic matter, and leveling the surface help ensure that your plants have access to the essential nutrients and moisture they need to thrive. Taking these steps before planting sets the stage for a successful garden.
Planting the seeds
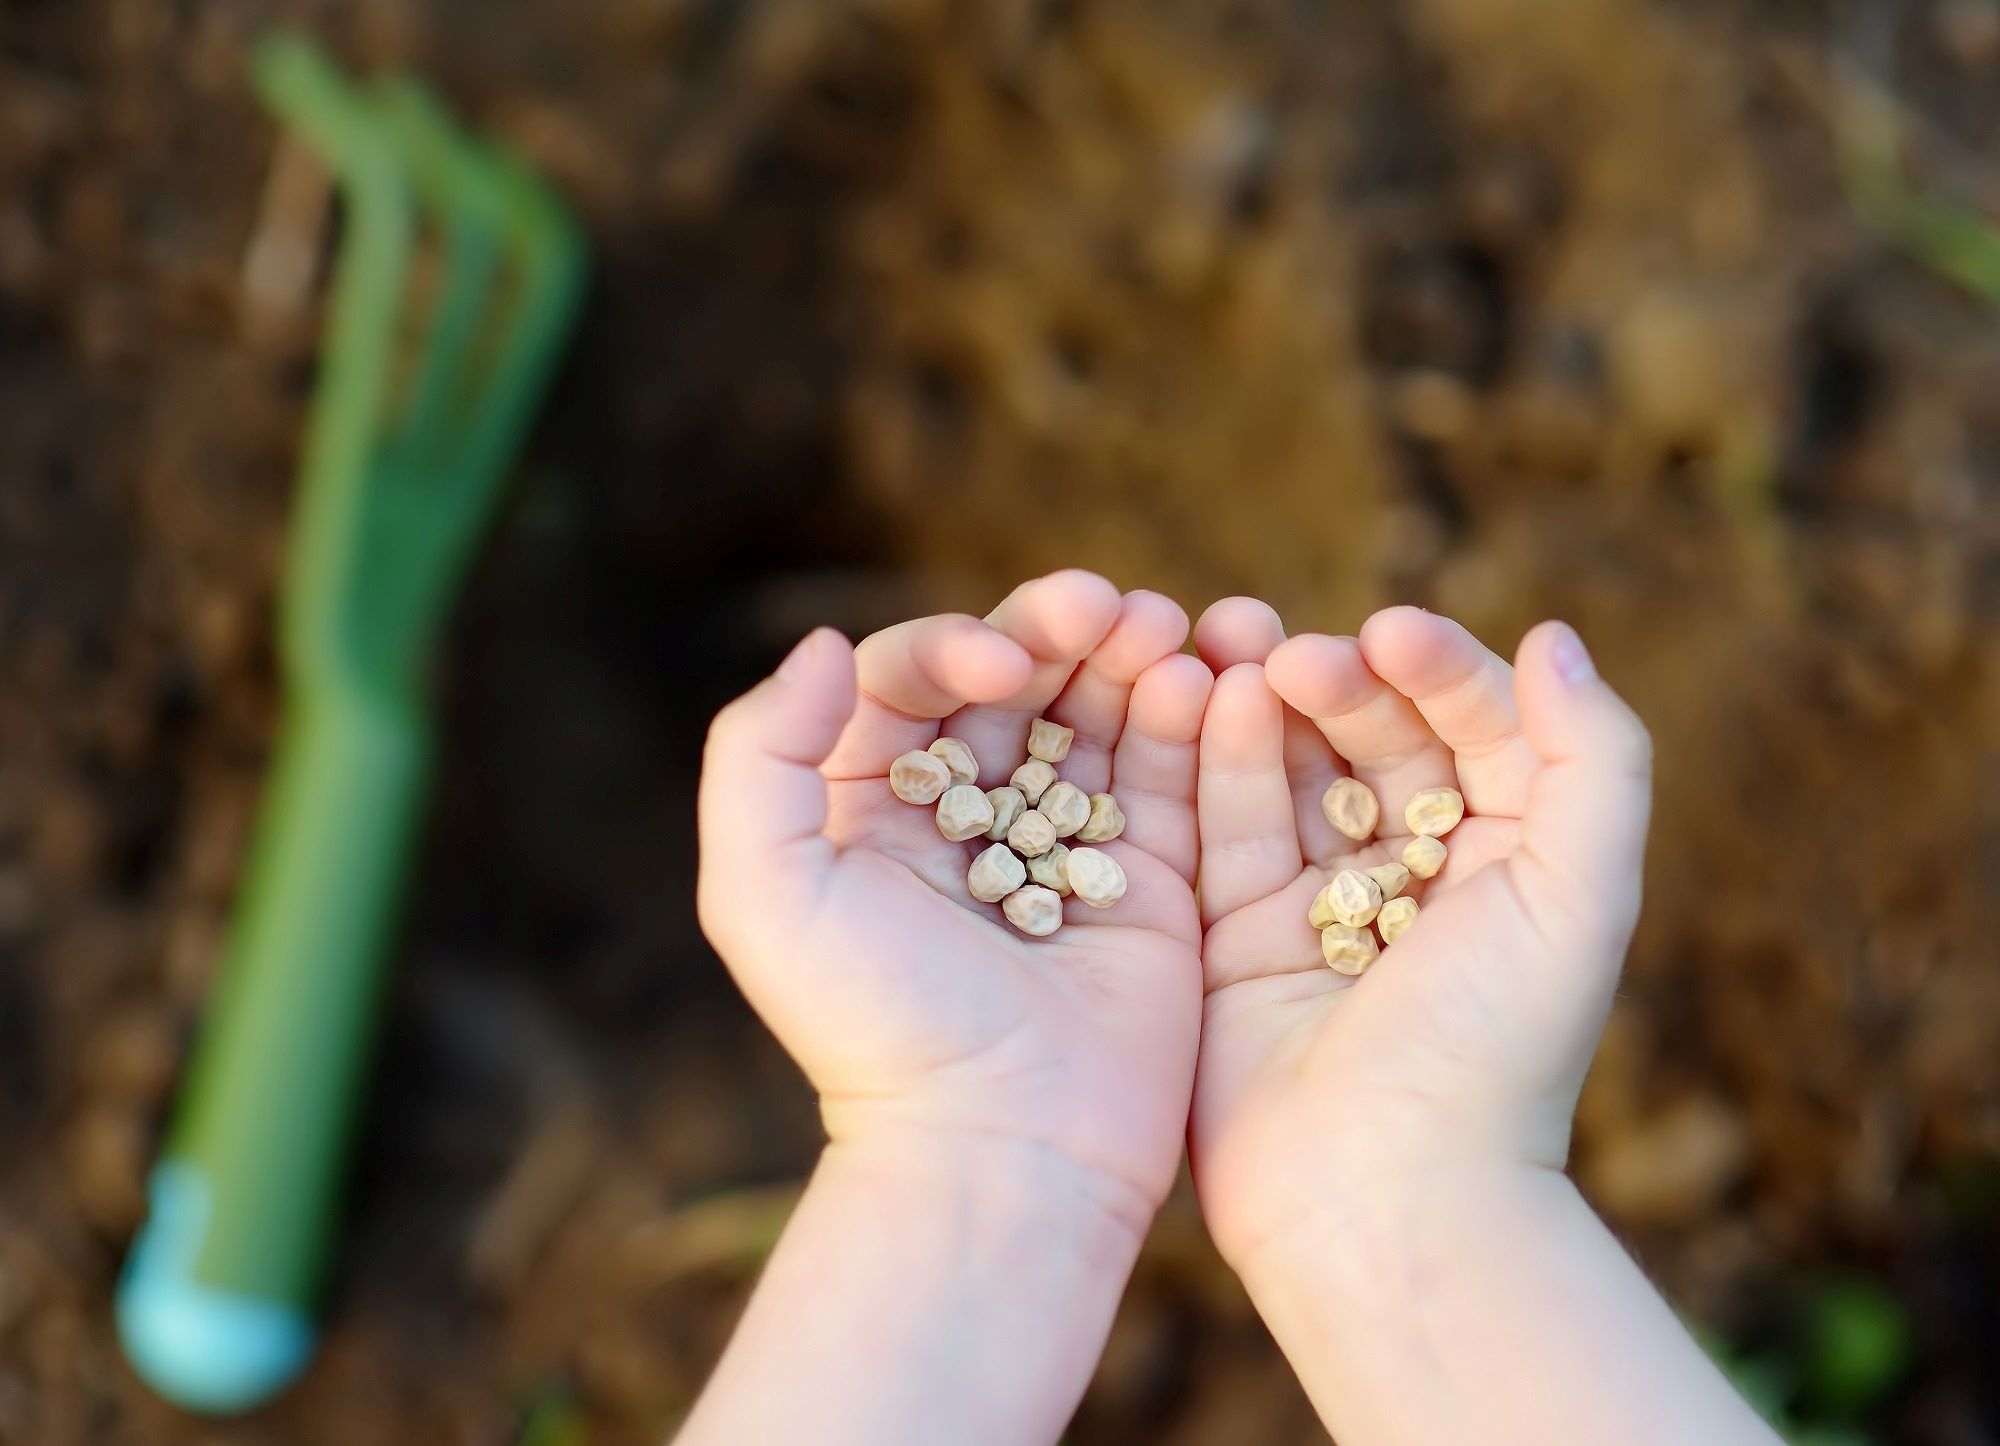
Now that you’ve chosen the right seeds and prepared the soil, it’s time to plant your seeds. Follow these steps to ensure proper planting:
- Read the seed packet instructions: Each seed packet comes with specific instructions on the planting depth and spacing requirements. Follow these guidelines to give your seeds the best chance of germination and growth.
- Make furrows or holes: Use a garden trowel, your finger, or a dibber to create furrows or holes in the soil. The depth should correspond to the recommended planting depth on the seed packet.
- Space the seeds: Place the seeds in the furrows or holes, following the recommended spacing guidelines. This ensures that the plants have enough room to grow and access the necessary nutrients without competing with each other.
- Cover the seeds: Gently cover the seeds with soil or vermiculite, depending on the recommended covering depth. Pat down the soil lightly to ensure good seed-to-soil contact.
- Label the planting area: To avoid confusion, label the planting area with the name of the seeds or use plant markers. This will help you keep track of what was planted where, especially if you have multiple types of seeds in the garden.
- Water the seeds: After planting, give the seeds a gentle watering. Use a watering can or a gentle spray from a hose to moisten the soil without washing away the seeds. Keep the soil consistently moist but not saturated during the germination process.
It’s important to follow the instructions on the seed packet and provide the right conditions for germination. By planting the seeds at the appropriate depth, spacing them correctly, and ensuring they have adequate moisture, you set the stage for successful seed germination and healthy plant growth.
Read more: How Do You Plant Watermelon Seeds
Providing adequate water and sunlight
Water and sunlight are two essential factors for the growth of your plants. Properly managing these elements will help your seeds germinate and your plants thrive. Follow these guidelines for providing adequate water and sunlight:
Water:
Water is vital for seed germination and plant growth. Here are some tips to ensure proper watering:
- Consistent moisture: Keep the soil consistently moist, but not waterlogged, during the germination period. This helps the seeds sprout and establish roots. As the plants grow, adjust the watering schedule based on their specific needs.
- Deep watering: Water deeply rather than lightly sprinkling the surface. This encourages the roots to grow deeper into the soil, making the plants more resilient to drought conditions.
- Water in the morning: Water your plants in the morning to allow for efficient absorption and to minimize the risk of diseases that thrive in damp conditions. Avoid watering in the evening, as prolonged moisture on the leaves can lead to fungal issues.
- Avoid overhead watering: Direct the water towards the base of the plants rather than overhead to reduce the risk of foliar diseases and to ensure that the roots receive adequate moisture.
- Use mulch: Apply a layer of organic mulch around your plants to retain moisture, suppress weed growth, and regulate soil temperature. This also helps reduce water evaporation from the soil.
Sunlight:
Sunlight is essential for photosynthesis, which is the process by which plants convert sunlight into energy. Here’s how to ensure plants receive adequate sunlight:
- Check sunlight requirements: Determine the sunlight requirements for your specific plants. Some plants thrive in full sun, while others prefer partial shade or full shade. Place your plants in an area that receives the appropriate amount of sunlight based on their needs.
- Monitor sunlight exposure: Regularly monitor the sunlight exposure in your garden. Observe how the sun moves across different areas throughout the day to identify spots with optimal sunlight or potential shade caused by nearby structures or trees.
- Rotate plants: If certain areas of your garden receive more sunlight than others, consider rotating your plants periodically to ensure balanced light exposure and prevent uneven growth.
- Provide shade if needed: In extreme heat or during scorching summer months, certain plants may benefit from partial shade or protection from intense sunlight. Use shade cloth or plant taller plants nearby to provide some respite.
By providing adequate water and sunlight, you give your plants the resources they need to grow strong and healthy. Consistent watering, deep watering, morning watering, and using mulch help maintain soil moisture, while monitoring and adjusting sunlight exposure ensures that your plants receive the right amount of light for optimal growth.
When planting seeds, make sure to follow the instructions on the seed packet for proper depth and spacing. Water the seeds regularly and provide adequate sunlight for healthy growth.
Taking care of seedlings
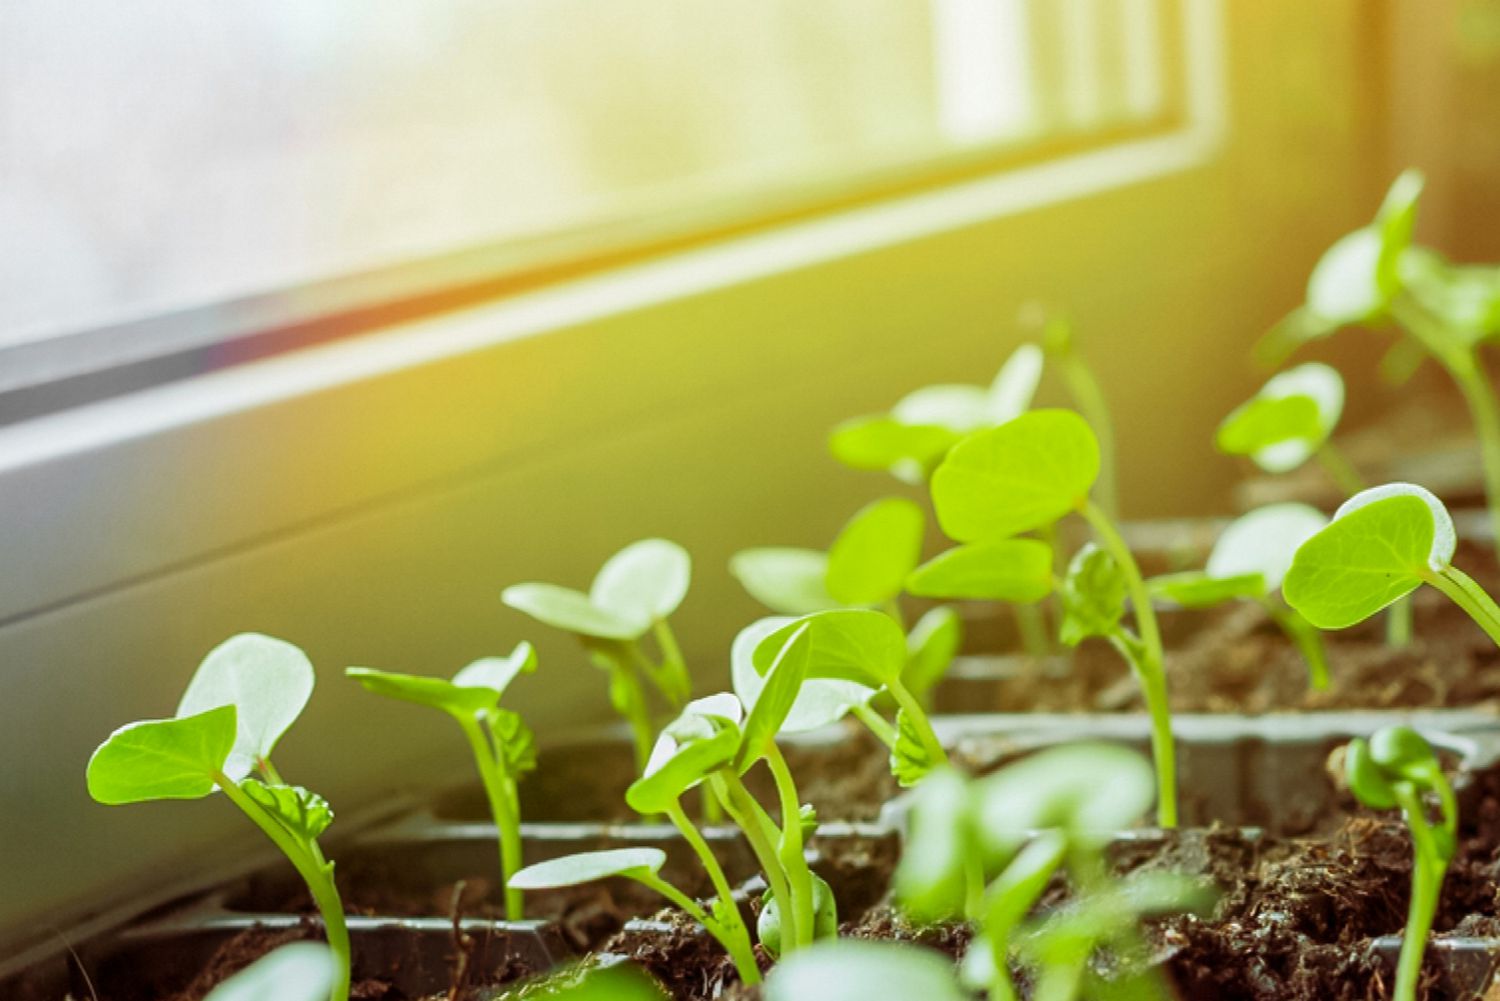
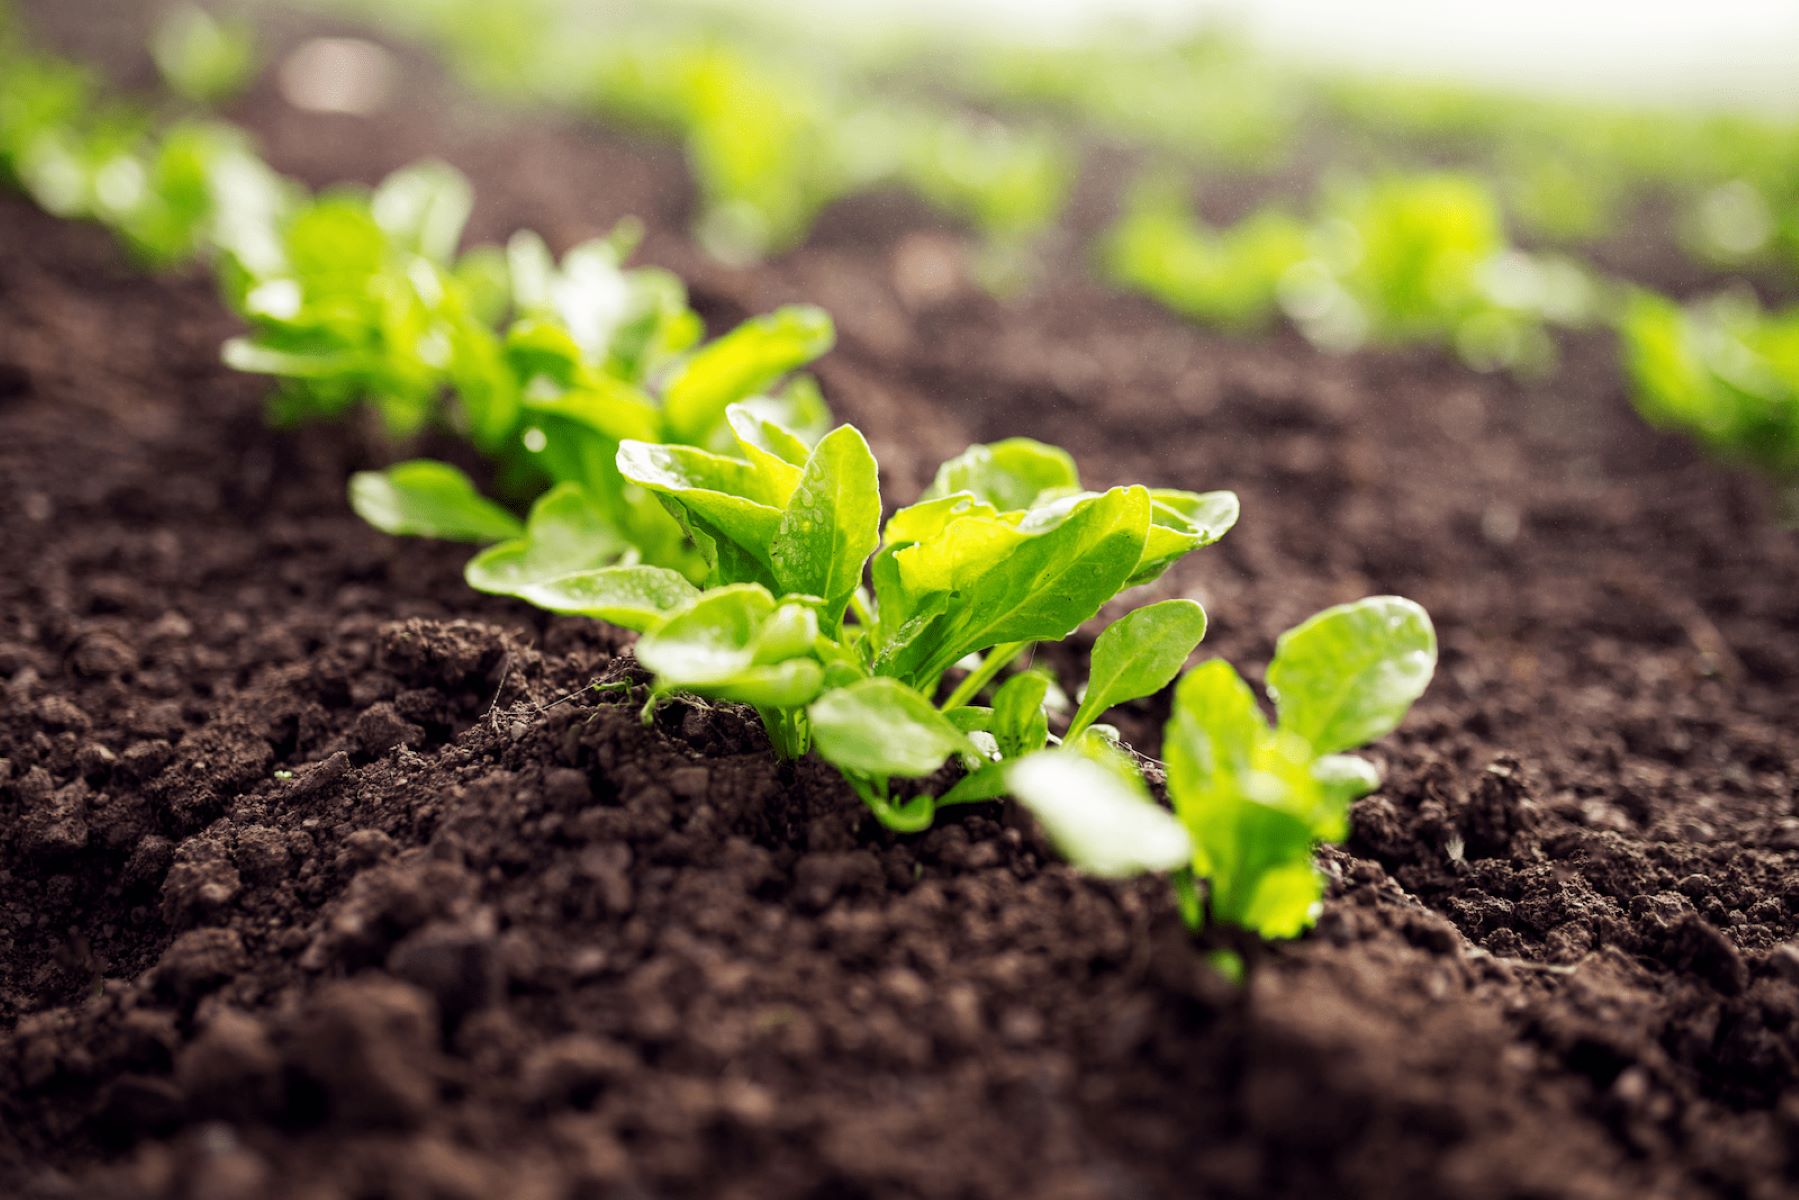
Once your seeds have germinated and sprouted into seedlings, it’s important to provide them with proper care to ensure their healthy growth. Here are some tips for taking care of your seedlings:
- Thinning seedlings: If you have planted multiple seeds close together, thin out the weaker seedlings to provide more space, nutrients, and sunlight for the stronger ones. This prevents overcrowding and promotes better growth.
- Watering: Continue to water your seedlings regularly, keeping the soil moist but not waterlogged. Use a watering can or a gentle spray to avoid damaging delicate young plants.
- Transplanting: As the seedlings grow, they may outgrow their small containers or need to be transferred to a more permanent location. Follow proper transplanting techniques, being careful not to damage the fragile roots. Harden off the seedlings by gradually exposing them to outdoor conditions before transplanting them into the garden.
- Fertilizing: Once the seedlings have developed their first set of true leaves, you can start fertilizing them with a diluted organic fertilizer. Follow the instructions on the fertilizer package to avoid over-fertilization, which can damage the plants.
- Support: If you’re growing taller plants like tomatoes or beans, provide support such as stakes or trellises to help them grow vertically and prevent them from bending or breaking.
- Weeding: Keep the area around your seedlings free from weeds that can compete for nutrients and hinder their growth. Be careful when weeding not to disturb the delicate roots of the seedlings.
- Monitor for pests and diseases: Regularly inspect your seedlings for any signs of pests or diseases. It’s easier to catch and address problems early on, preventing them from spreading to other plants.
- Adjust watering and care: As the seedlings mature, adjust their watering and caring routine based on their specific needs. Pay attention to their growth rate, leaf color, and overall health to ensure they receive the appropriate care.
Taking care of your seedlings is crucial for their successful transition into strong and thriving plants. By thinning seedlings, providing proper watering, fertilizing, supporting taller plants, preventing weeds, monitoring for pests and diseases, and adjusting care as necessary, you give your seedlings the best chance for healthy growth and productive yields.
Read more: How Do You Plant Avocado Seed
Protecting seedlings from pests
Protecting your seedlings from pests is an important aspect of gardening to ensure their healthy development. Here are some effective ways to safeguard your seedlings:
- Identify common pests: Learn about the common pests that can affect your seedlings, such as aphids, snails, slugs, cutworms, and caterpillars. Understanding their habits and life cycles will help you determine the best approach to manage them.
- Physical barriers: Install physical barriers such as fences, netting, or row covers to keep larger pests, such as rabbits or birds, from accessing your seedlings. These barriers also help protect against wind damage.
- Companion planting: Planting certain flowers, herbs, or vegetables as companions nearby can help deter pests. For example, marigolds can repel aphids, while basil can deter flies and mosquitoes.
- Natural predators: Attract natural predators like ladybugs, lacewings, or birds to your garden. These beneficial insects and birds feed on pests, helping to keep their populations in check.
- Organic pest control: Use organic pest control methods like neem oil, insecticidal soap, or diatomaceous earth to treat pest infestations. These methods are safe for the environment and help minimize chemical exposure.
- Handpicking: Inspect your seedlings regularly and handpick any pests you come across. This method can be effective for larger pests like caterpillars or slugs. Dispose of the pests away from your garden to prevent their return.
- Mulching: Apply a layer of organic mulch around your seedlings. This helps prevent weed growth, which can serve as hiding places for pests, and also helps retain soil moisture.
- Cultural practices: Practice good garden hygiene by removing plant debris and fallen leaves, as these can harbor pests. Proper spacing between plants allows for good air circulation, reducing the risk of fungal diseases.
- Monitor consistently: Regularly inspect your seedlings for any signs of pest damage or disease. Early detection and intervention can prevent infestations from spreading and causing significant harm.
- Rotate crops: Practicing crop rotation each year helps disrupt pest life cycles and reduces the buildup of pests in the soil.
By employing these proactive and preventive measures, you can protect your seedlings from pests and ensure their healthy growth. Mix and match these strategies based on your unique situation and continue to monitor your garden to maintain a pest-free environment for your seedlings.
Harvesting the plants
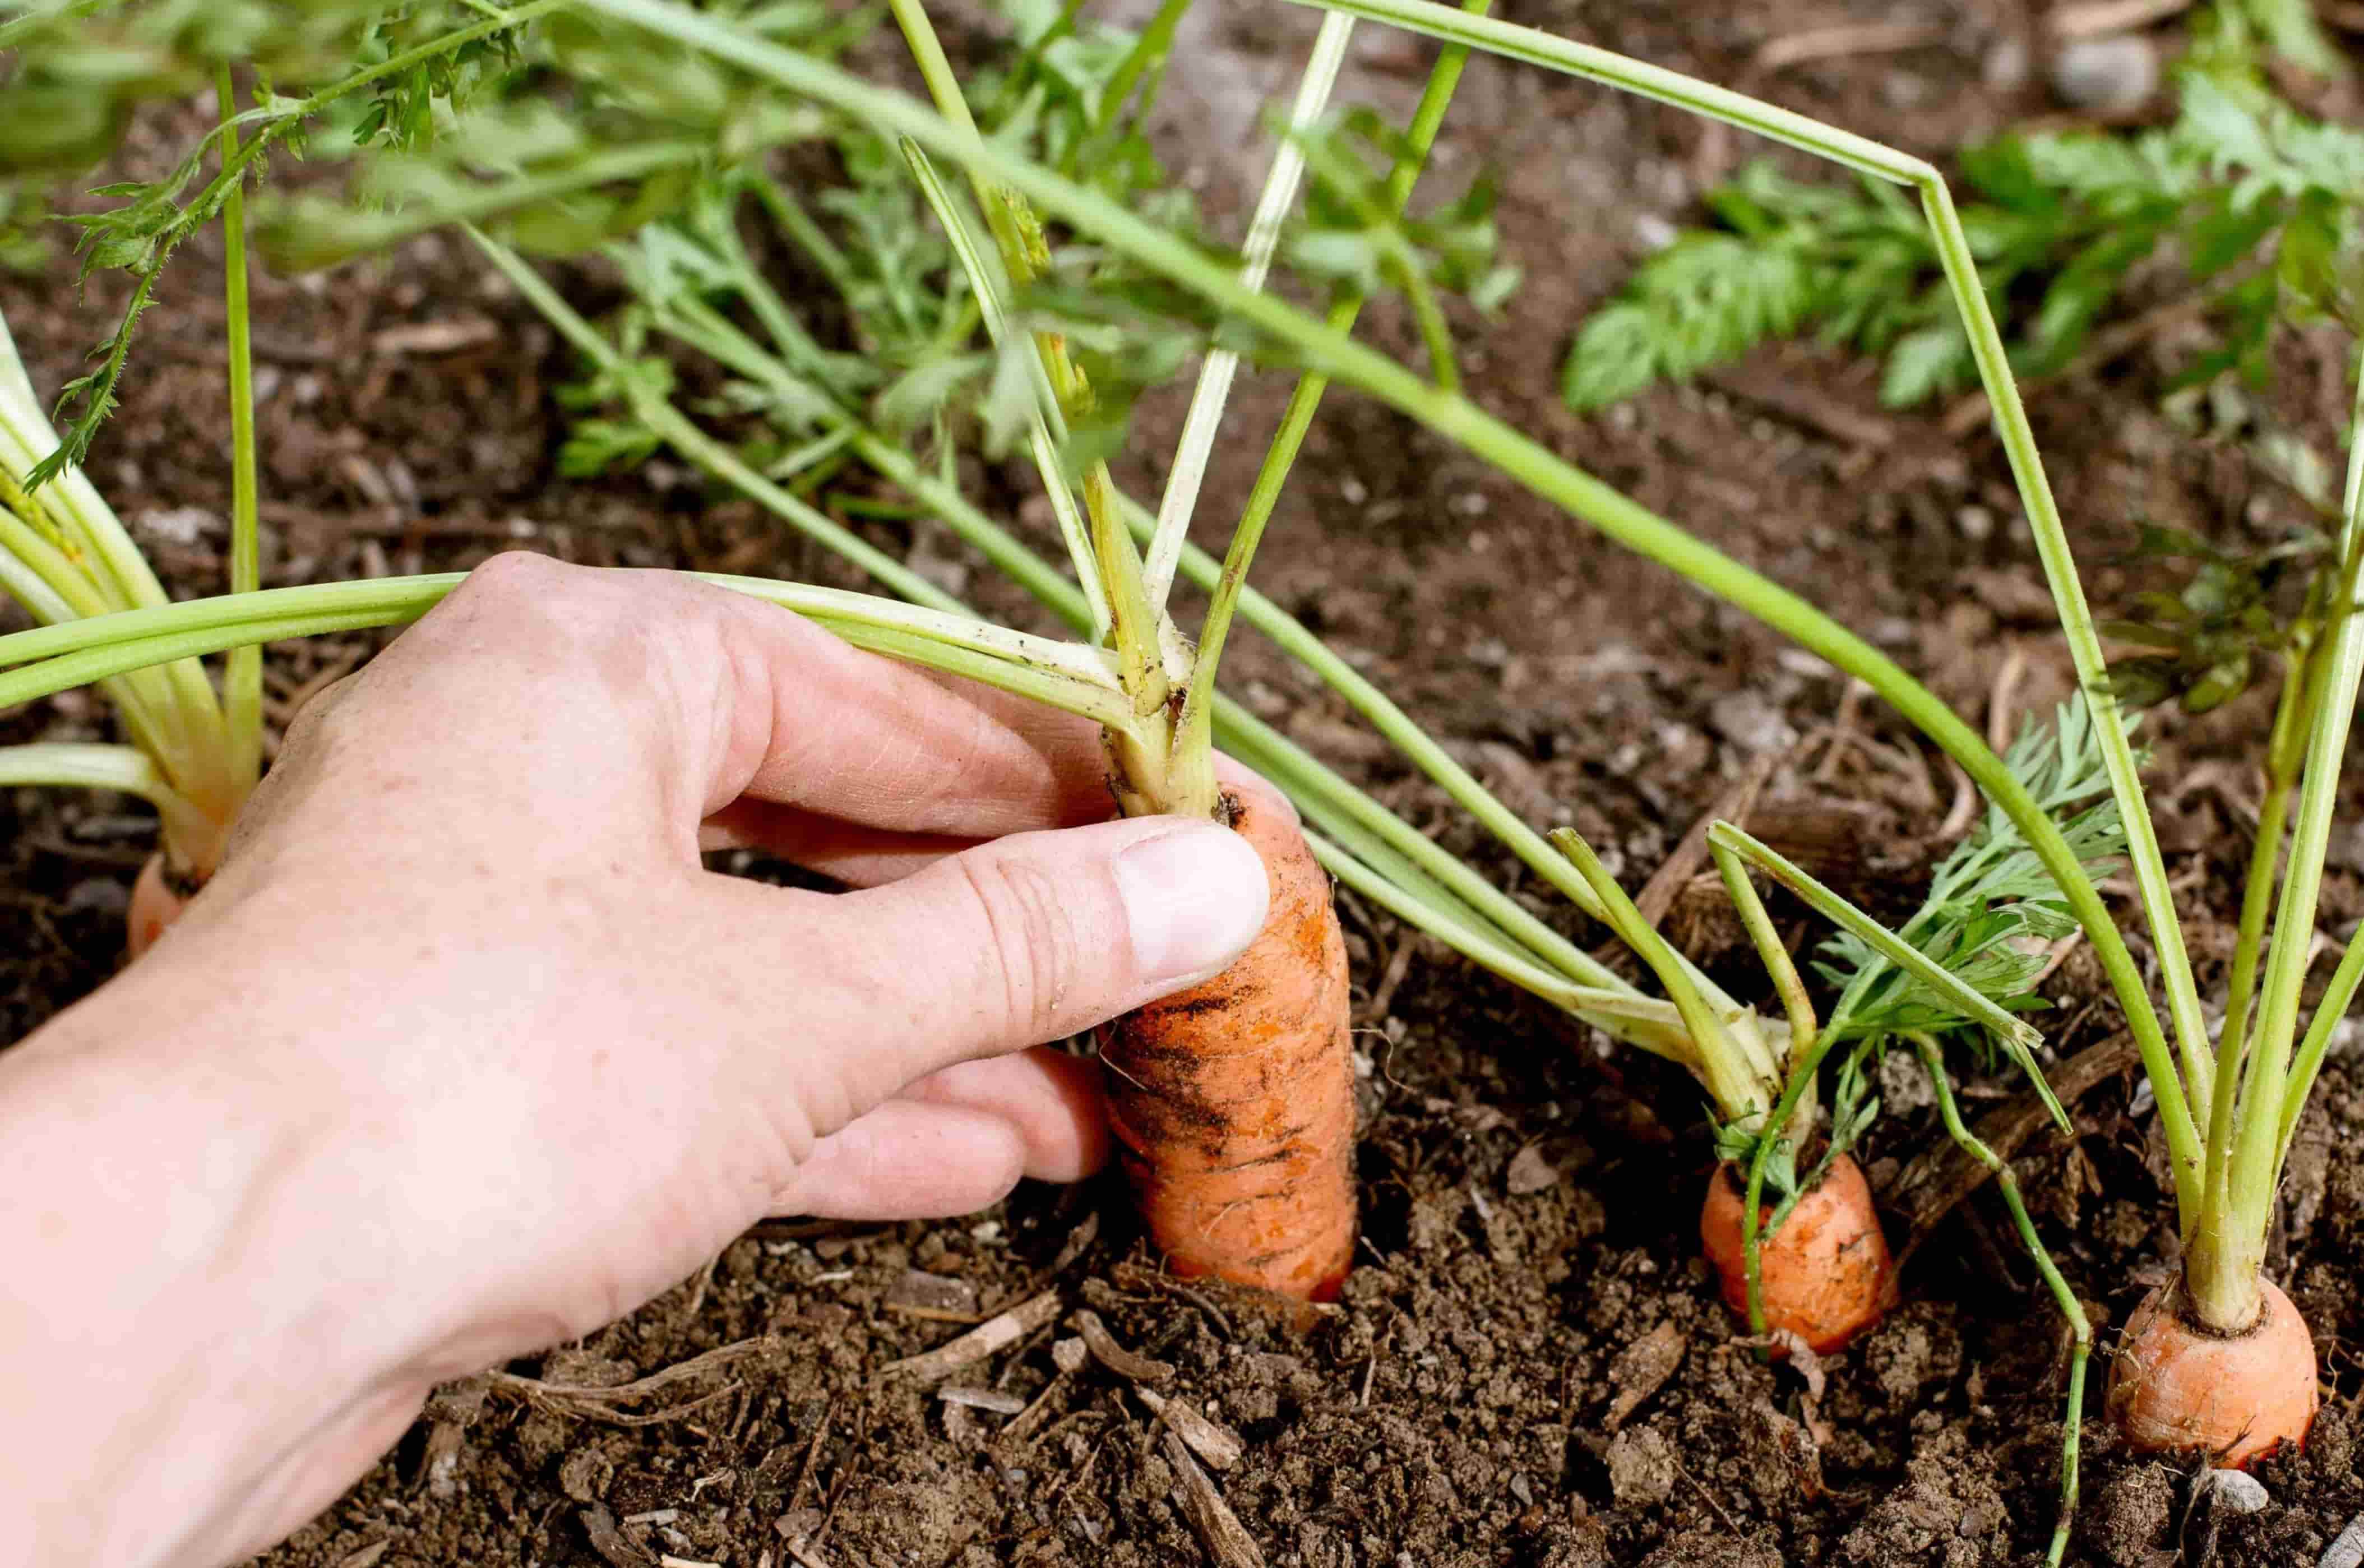
After putting in all the hard work of planting and nurturing your plants, the time will come to enjoy the fruits (or vegetables!) of your labor by harvesting them. Proper harvesting techniques are important to ensure the best flavor, nutritional value, and longevity of your plants. Here are some tips for harvesting your plants:
- Refer to plant-specific guidelines: Different plants have different indicators for when they are ready to be harvested. Refer to specific guidelines on seed packets or gardening resources for information on harvesting times.
- Observe appearance and feel: Look for visual cues such as color changes, size, and texture. For example, ripe fruits may show vivid colors and have a slight give when gently squeezed. Vegetables may reach a desirable size or firmness.
- Timing is crucial: Harvest at the right time to ensure the best taste and texture. If you wait too long, some fruits and vegetables may become overripe and lose their flavor or become tough and fibrous.
- Use the right tools: Use appropriate tools such as garden shears, pruners, or scissors to harvest your plants. These tools help prevent damage to the plants and make the process more efficient.
- Harvest in the morning: Harvesting in the early morning when the weather is cool can help preserve the flavor and nutritional value of your crops.
- Handle with care: Handle harvested produce gently to prevent bruising or damage. Place them in a basket or container lined with a soft cloth or paper to protect them during transport.
- Store properly: If you’re not consuming the harvested produce immediately, store them properly to maximize their shelf life. Some vegetables, like root crops, can be stored in a cool, dry place. Others, such as leafy greens, may need to be refrigerated.
- Continuous harvesting: Some plants, like herbs or certain vegetables, have a continuous harvesting period. Harvest regularly by selectively picking mature leaves or fruits, allowing the plant to continue producing.
- Enjoy the harvest: Finally, savor the fruits of your labor! Use your freshly harvested produce in delicious recipes, share with friends and family, or preserve them for future enjoyment.
Harvesting your plants is a rewarding experience that allows you to enjoy the flavors and benefits of your garden. By following these tips and paying attention to the specific requirements of each plant, you can ensure the best harvest and make the most of your gardening efforts.
Conclusion
Planting seeds and watching them grow into thriving plants is a gratifying experience for any gardener, whether you’re a seasoned pro or just starting out. By following the proper steps and providing the necessary care, you can set the stage for a successful garden filled with beautiful flowers, delicious vegetables, or whatever plant varieties you choose to cultivate.
In this article, we explored the essential aspects of planting seeds and nurturing seedlings. We discussed the importance of choosing the right seeds, selecting the appropriate planting location, and preparing the soil for optimal growth. We also covered the significance of providing adequate water and sunlight, taking care of seedlings, protecting them from pests, and finally, harvesting the plants.
Throughout the process, it’s important to be patient and attentive. Gardening requires observation, learning, and adapting to the needs of your plants. As you gain experience, you’ll discover what works best for your particular garden and develop your own gardening style.
Remember to keep in mind the importance of sustainability and being environmentally conscious. Opt for organic seeds, use natural fertilizers and pest control methods, and practice good garden hygiene.
Whether you have a small backyard garden, a rooftop oasis, or even just a few pots on your balcony, the joy of gardening lies in watching your seeds transform into beautiful and productive plants. So get your hands dirty, enjoy the process, and embrace the bountiful rewards that come with growing your own garden.
Happy planting!
Frequently Asked Questions about How Do You Plant Seeds
Was this page helpful?
At Storables.com, we guarantee accurate and reliable information. Our content, validated by Expert Board Contributors, is crafted following stringent Editorial Policies. We're committed to providing you with well-researched, expert-backed insights for all your informational needs.

0 thoughts on “How Do You Plant Seeds”