Home>Garden Essentials>How Do You Plant Watermelon Seeds
Garden Essentials
How Do You Plant Watermelon Seeds
Modified: March 15, 2024
Learn how to plant watermelon seeds in your garden with these step-by-step instructions. Start growing your own juicy watermelons today!
(Many of the links in this article redirect to a specific reviewed product. Your purchase of these products through affiliate links helps to generate commission for Storables.com, at no extra cost. Learn more)
Introduction
Welcome to the wonderful world of gardening! If you’re an avid gardener or a beginner ready to get your hands dirty, planting watermelon seeds can be a rewarding and enjoyable experience. Watching these juicy fruits grow from tiny seeds to luscious, sweet treats is not only satisfying but also a great way to add some fresh produce to your garden. Whether you have a large backyard or limited space in a container garden, watermelons can thrive and bring joy to your harvest.
In this article, we will guide you through the process of planting watermelon seeds, step by step. From selecting the right seeds to caring for the plants and harvesting the fruits, we’ll cover everything you need to know to ensure a successful and bountiful watermelon harvest.
But before we jump into the planting process, let’s take a moment to understand the basics of watermelon cultivation. Watermelons, scientifically known as Citrullus lanatus, are warm-season fruits that require plenty of sunlight, warmth, and water to grow. They belong to the gourd family and are native to Africa. Today, they are cultivated worldwide, and their sweet, juicy flesh is enjoyed by people of all ages.
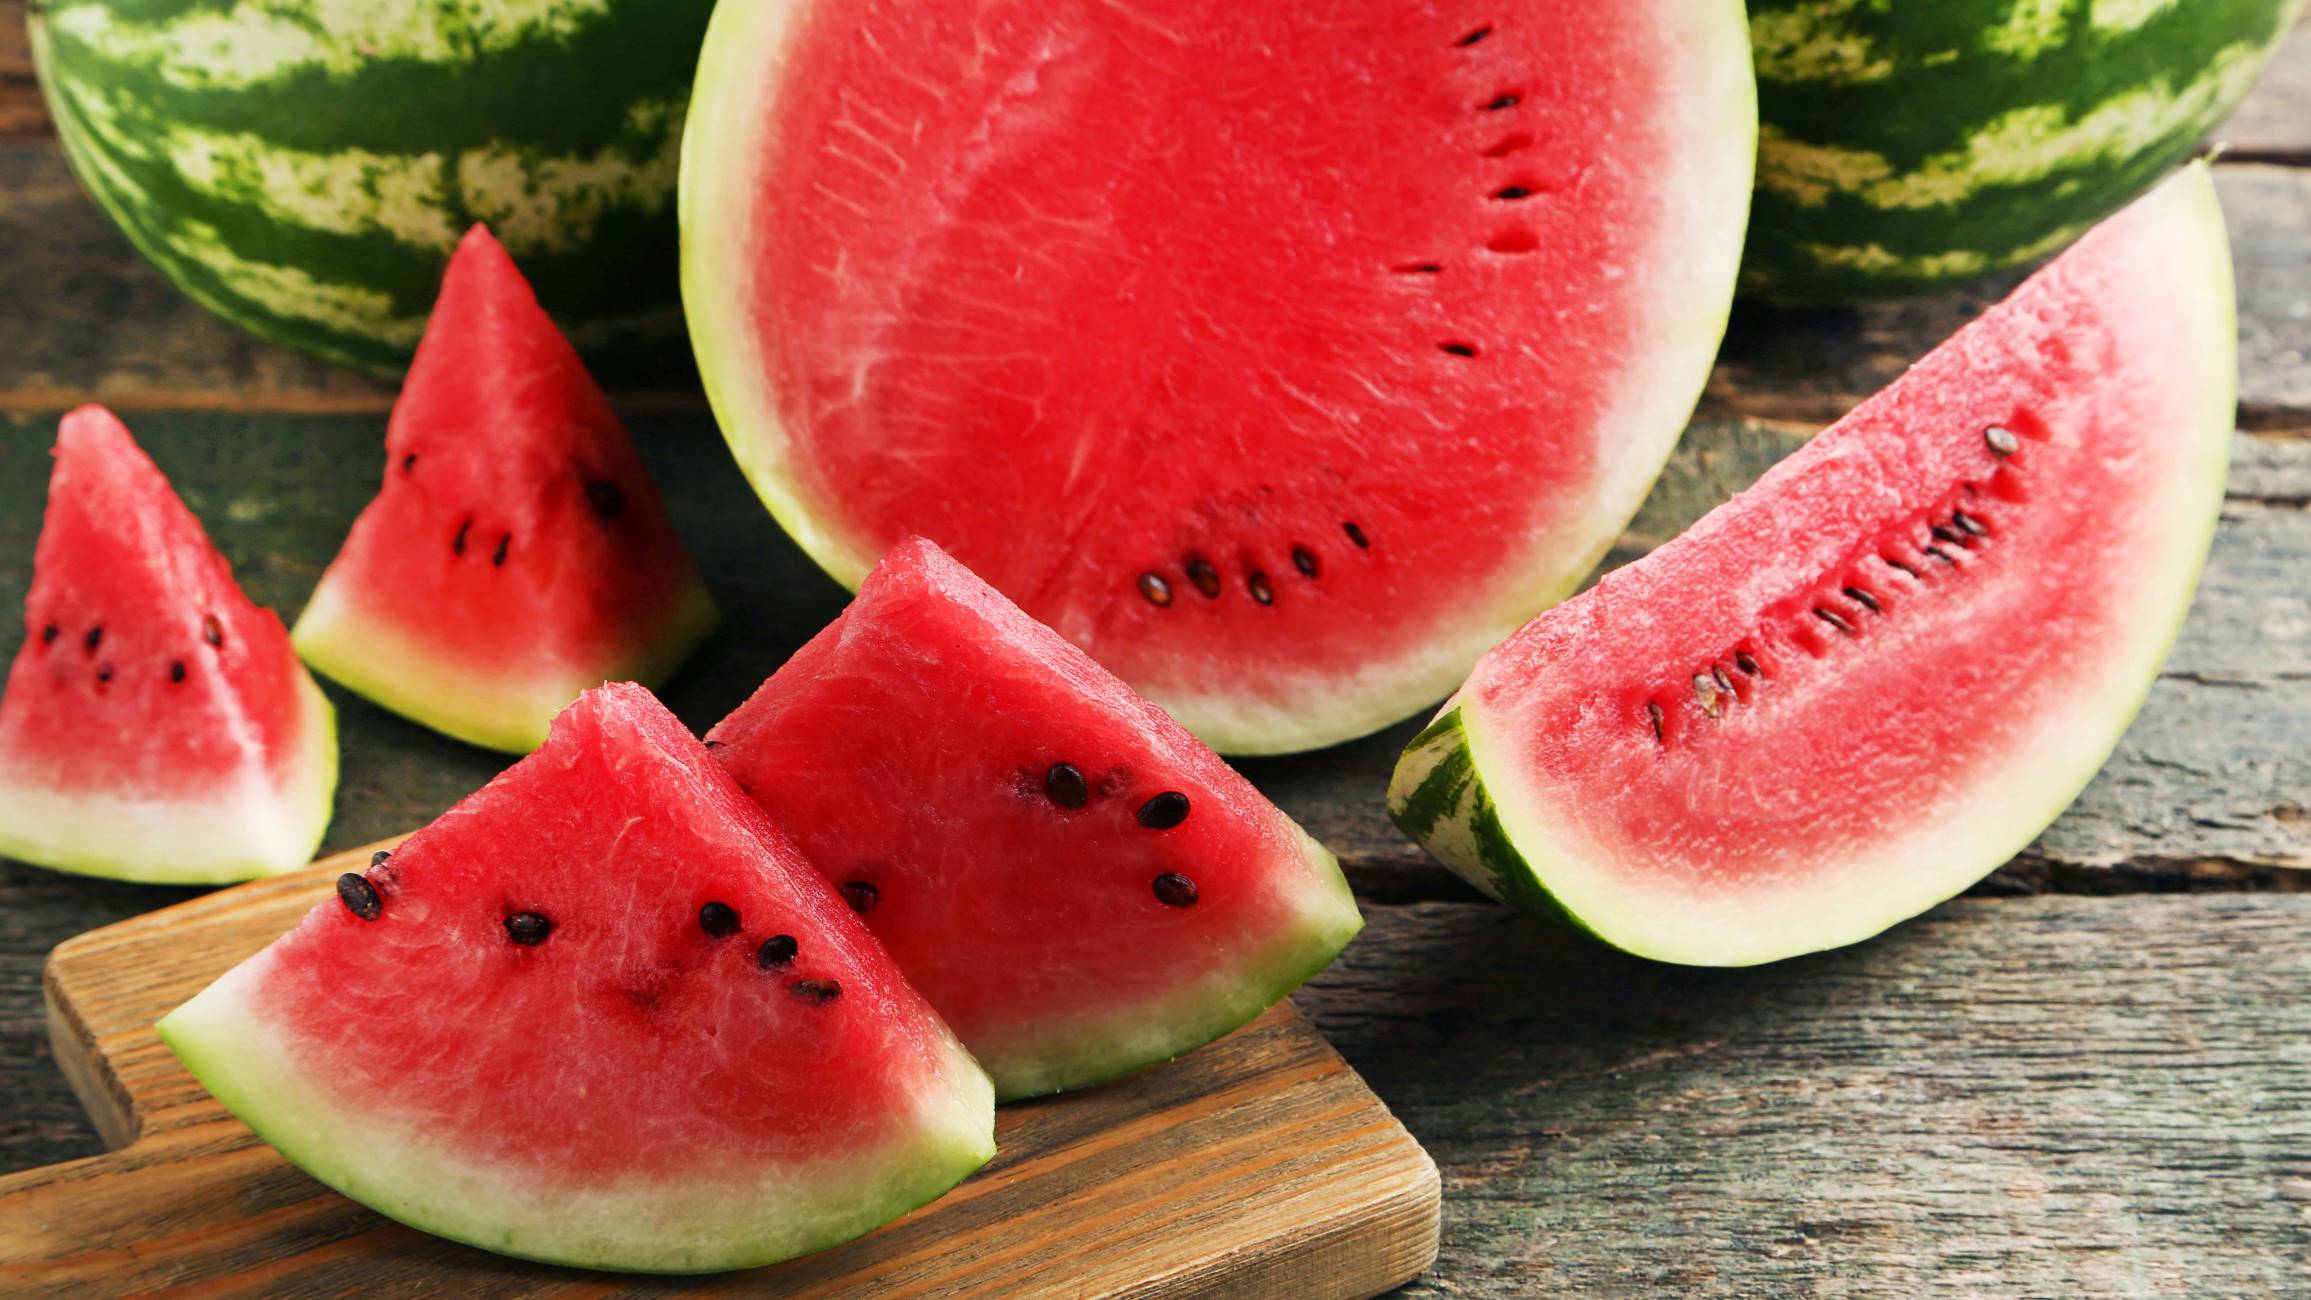
Watermelons come in various shapes, sizes, and colors, including round, oval, or oblong fruits with a range of rind colors, such as dark green, light green, or even yellow. They can have red, pink, or yellow flesh, and some varieties even have seedless or limited-seed options.
Now that we have a brief introduction to watermelons, let’s dive into the step-by-step process of planting watermelon seeds and enjoying the fruits of your labor.
Key Takeaways:
- Choose watermelon seeds based on your space, climate, and preferences. Prepare the soil with organic matter, and plant the seeds at the right depth and spacing for a successful and enjoyable growing experience.
- Care for watermelon plants by providing proper watering, fertilization, and pest control. Harvest ripe fruits by monitoring maturity signs and handling them with care for a delicious homegrown treat.
Read more: When Do You Plant Watermelon Seeds
Step 1: Selecting the right watermelon seeds
Choosing the right watermelon seeds is crucial for a successful harvest. With so many varieties available, it’s essential to consider a few factors before making your selection.
Firstly, consider the space you have available for growing watermelons. If you have a large garden or farm, you can opt for standard varieties that produce large fruits. However, if you have limited space or are growing watermelons in containers, you may want to choose compact or dwarf varieties that require less space but still produce flavorful fruits.
Next, think about the average climate and weather conditions in your area. Watermelons thrive in warm temperatures, typically between 75°F and 85°F (24°C and 29°C), so it’s important to select seeds that are adapted to your climate. Some varieties are more heat-tolerant, while others are better suited for cooler regions. Read the seed packets or do some research to find suitable varieties for your specific climate.
You may also want to consider the maturity period of the watermelon plants. If you have a short growing season, look for varieties that have a shorter maturity period, around 70 to 90 days from planting the seeds to harvesting the fruits. On the other hand, if you have a long growing season, you can choose varieties with longer maturity periods.
Lastly, consider your personal preferences for the watermelon’s characteristics. Do you prefer sweeter, juicier fruits with a specific flesh color, such as red or yellow? Do you want seedless or limited-seed varieties? Knowing your preferences will help you select the right watermelon seeds that align with your taste.
When purchasing watermelon seeds, opt for reliable sources such as local nurseries, reputable online seed stores, or seed catalogs. Make sure to check the seed packets for information on planting instructions, seed viability, and variety characteristics. Organic seeds are a great choice if you prefer to grow your watermelons without synthetic chemicals.
By putting some thought into selecting the right watermelon seeds, you’ll set yourself up for a successful and enjoyable growing experience. Let’s move on to the next step: preparing the soil.
Step 2: Preparing the soil
Now that you have selected the perfect watermelon seeds, it’s time to prepare the soil to provide the best growing conditions for your plants. Healthy soil is the foundation for robust growth, so it’s essential to ensure it is well-prepared before planting.
Watermelons thrive in loose, well-draining soil with a pH level between 6.0 and 7.0. Start by clearing the area where you plan to plant the watermelons. Remove any weeds, rocks, or debris that may hinder the growth of your plants. It’s a good idea to turn over the soil to a depth of about 12 inches (30 cm) to break up compacted soil and improve aeration.
Once the soil is prepared, it’s important to enrich it with organic matter. Incorporating compost or well-rotted manure into the soil will enhance its fertility and improve its water-holding capacity. Spread a layer of organic matter over the planting area and gently mix it into the soil using a garden fork or tiller. Aim to have the organic matter evenly distributed throughout the soil.
Before planting, it’s a good idea to perform a soil test to determine its nutrient content and pH level. This will help you identify any deficiencies or imbalances that need to be addressed. Soil test kits are readily available at garden centers and can provide valuable insights into the soil composition.
If the soil pH is too low (acidic), you can raise it by incorporating lime into the soil. Conversely, if the soil pH is too high (alkaline), you can lower it by adding elemental sulfur or acidic organic matter like peat moss. Adjusting the soil pH to the optimal range will promote nutrient availability and ensure the watermelon plants can absorb necessary minerals for healthy growth.
Before moving on to the next step, make sure to level the soil surface using a rake. This will create a smooth and even planting bed, providing a uniform environment for the watermelon seeds to germinate.
With the soil prepared and enriched, you are now ready to move on to the exciting part: planting the watermelon seeds. Let’s dive into the next step together!
Step 3: Planting the watermelon seeds
Now that you have prepared the soil, it’s time to plant the watermelon seeds and start the journey towards a fruitful harvest. Follow these steps to ensure proper planting:
1. Determine the planting method: There are two common methods for planting watermelon seeds – direct seeding and starting seeds indoors. Direct seeding involves planting the seeds directly into the prepared soil, while starting seeds indoors allows for earlier planting and protection from unfavorable weather conditions. Choose the method that suits your preferences and growing conditions.
2. Spacing: Place the watermelon seeds in rows, spacing them at least 2 to 3 feet (60 to 90 cm) apart. This will provide enough room for the vines to spread out and allow air circulation around the plants.
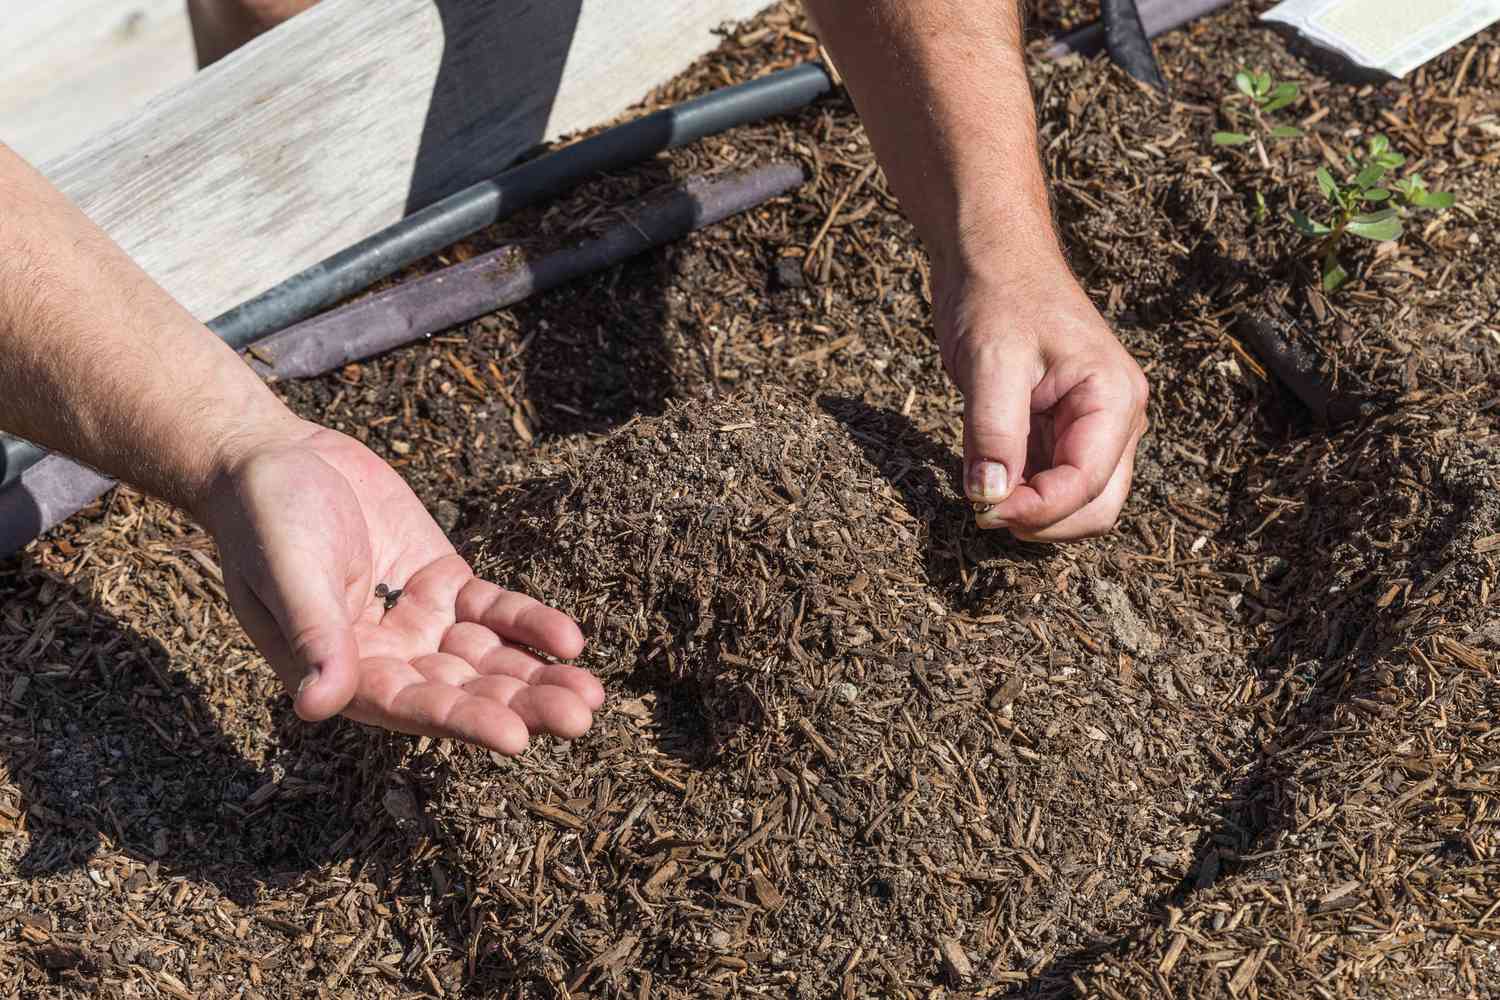
3. Planting depth: Watermelon seeds should be planted at a depth of about 0.5 to 1 inch (1.3 to 2.5 cm). Create small holes with your finger or a garden tool, drop a few seeds into each hole, and cover them lightly with soil. If you are starting seeds indoors, use biodegradable pots or seed trays, and plant one seed per container.
4. Watering: After planting the seeds, give the soil a gentle watering to ensure moisture reaches the seeds. Avoid over-watering, as excessive moisture can lead to seed rot or fungal diseases. It’s important to keep the soil consistently moist during the germination period.
5. Providing warmth: Watermelon seeds require warm soil for successful germination. Make sure the soil temperature is at least 70°F (21°C) before planting the seeds. Using black plastic mulch or row covers can help raise the soil temperature and create a favorable environment for germination.
6. Marking the rows: To keep track of your watermelon plants and maintain proper spacing, consider placing markers or stakes at the end of each row. This will make it easier to distinguish the watermelon plants from any weeds that may emerge.
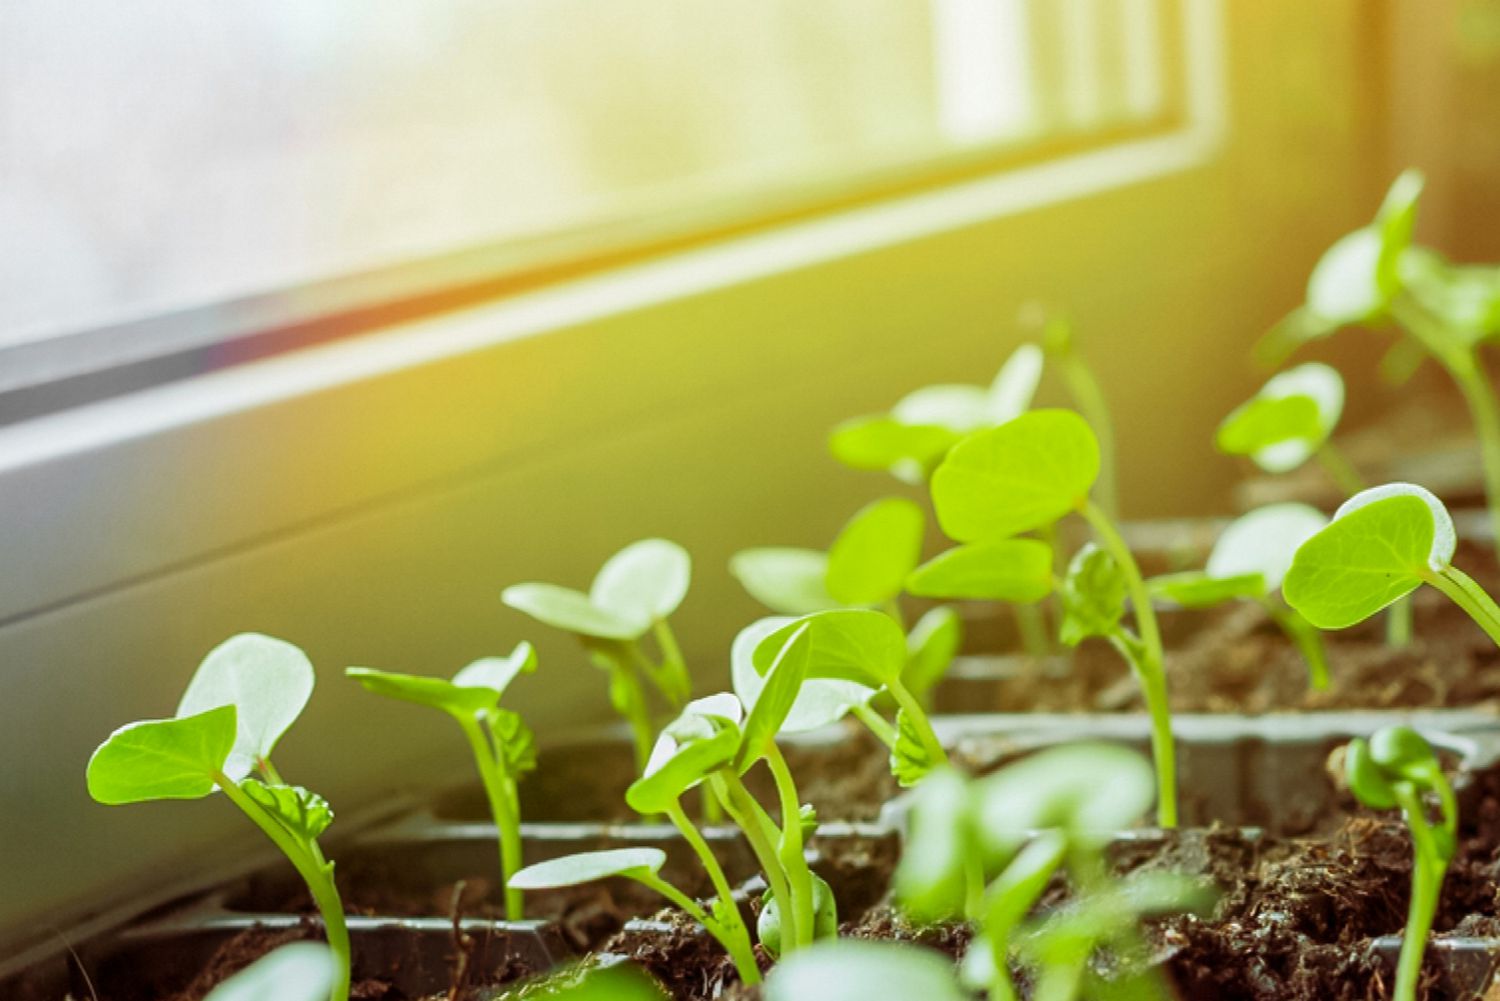
7. Thin out the seedlings: Once the seedlings have emerged and have grown to a few inches in height, it’s important to thin them out. Remove the weaker or crowded seedlings, leaving the strongest and healthiest ones spaced according to the recommended distance for the variety you are growing.
Remember to check the seed packet or conduct research for specific planting recommendations for the watermelon variety you have chosen. With the seeds planted, the next crucial steps involve adequate watering and ongoing care to ensure optimal growth. We will cover these in the upcoming steps.
When planting watermelon seeds, make sure to choose a sunny spot with well-drained soil. Plant the seeds 1 inch deep and 3 feet apart. Keep the soil moist and watch for sprouts in 7-10 days.
Step 4: Providing proper watering and drainage
Water is essential for the healthy growth of watermelon plants, and providing proper watering and drainage is crucial to their success. Here are some guidelines to follow:
1. Watering frequency: Watermelons thrive when the soil is consistently moist, especially during the early stages of growth and fruit development. Water deeply and thoroughly, making sure the water reaches the root zone. Aim for about 1 to 2 inches (2.5 to 5 cm) of water per week, either from rainfall or supplemental irrigation.
2. Watering method: To prevent fungal diseases and promote deep root growth, it’s best to water the soil directly at the base of the plants and avoid wetting the foliage. Drip irrigation or soaker hoses are ideal for delivering water to the roots. If using overhead sprinklers, water in the early morning to allow the foliage to dry during the day.
3. Mulching: Apply a layer of organic mulch, such as straw, wood chips, or compost, around the watermelon plants. Mulch helps conserve moisture, suppress weeds, and regulate soil temperature. It also prevents direct contact between the watermelon fruits and the soil, reducing the risk of rot or damage.
4. Avoid overwatering: While watermelons need consistent moisture, it’s important to avoid overwatering, as it can lead to root rot and other diseases. Make sure the soil has good drainage to prevent waterlogged conditions. If the soil feels excessively wet or if you notice yellowing leaves or wilting despite adequate moisture, reduce watering frequency.
5. Monitor soil moisture: Regularly check the soil moisture level by inserting your finger into the soil. If it feels dry at a depth of 1 to 2 inches (2.5 to 5 cm), it’s time to water. However, if the soil feels moist, you can delay watering for a day or two. The goal is to keep the soil consistently moist, but not soggy.
In addition to proper watering, ensuring good drainage is essential for watermelon plants. If the soil tends to become waterlogged or has poor drainage, it can lead to root rot and other fungal diseases. To improve drainage, you can amend the soil with organic matter, such as compost, to loosen it and enhance moisture absorption.
Proper watering and drainage are key to maintaining healthy watermelon plants and promoting optimal fruit development. With these practices in place, your plants will be well-prepared to grow and produce delicious watermelons. In the next step, we’ll discuss the ongoing care required for the plants.
Read more: How To Save Watermelon Seeds For Planting
Step 5: Caring for the watermelon plants
Watermelon plants require ongoing care to ensure healthy growth and a bountiful harvest. Here are some essential tasks to keep in mind:
1. Fertilizing: Watermelons are heavy feeders and benefit from regular fertilization. Before planting, incorporate a balanced organic fertilizer into the soil. As the plants grow, additional applications of fertilizer may be necessary. Choose a fertilizer specifically formulated for vegetables or fruits, and follow the package instructions for application rates and timing.
2. Weed control: Weeds can compete with watermelon plants for nutrients, water, and sunlight. Regularly remove weeds from the planting area to minimize their impact on plant growth. Mulching around the plants can also suppress weed growth and reduce the need for frequent weeding.
3. Trellising or support: Some watermelon varieties, especially smaller or compact types, can benefit from trellising or support. This can help save space and keep the fruits off the ground, reducing the risk of rot and pest damage. Use a sturdy trellis or support system and gently secure the vines as they grow.
4. Pest management: Watermelon plants can be susceptible to pests such as aphids, cucumber beetles, and squash bugs. Regularly inspect the plants for signs of pest infestation, including yellowing leaves, wilting, or chewed foliage. Use organic pest control methods, such as handpicking, companion planting, or natural insecticides if necessary.
5. Disease prevention: Watermelons can be affected by fungal diseases, such as powdery mildew and downy mildew. To minimize the risk, provide good air circulation by spacing the plants properly and avoiding overhead watering. If you notice signs of disease, such as white powdery patches or yellow spots on the leaves, treat the plants with organic fungicides as directed.
6. Pruning: Watermelon vines have a tendency to sprawl and can take up a lot of space. Consider pruning the vines to manage their growth and keep them from overtaking other plants or areas of your garden. Prune off any dead or diseased portions of the plants and limit the number of fruits per vine to promote larger, more flavorful watermelons.
7. Regular monitoring: Keep a close eye on your watermelon plants throughout the growing season. Pay attention to any changes in foliage, signs of pests or diseases, and overall plant health. Making small adjustments or addressing issues early on can help maintain the plants’ vitality and ensure a successful harvest.
By providing proper care and attention, you’ll set your watermelon plants up for success. With healthy plants, it won’t be long before you can enjoy the fruits of your labor. In the final step, we will talk about the much-anticipated harvesting of watermelons.
Step 6: Harvesting the watermelon
One of the most exciting moments in the watermelon growing journey is the time to harvest the ripened fruits. Here are some guidelines to help you determine when and how to harvest your watermelons:
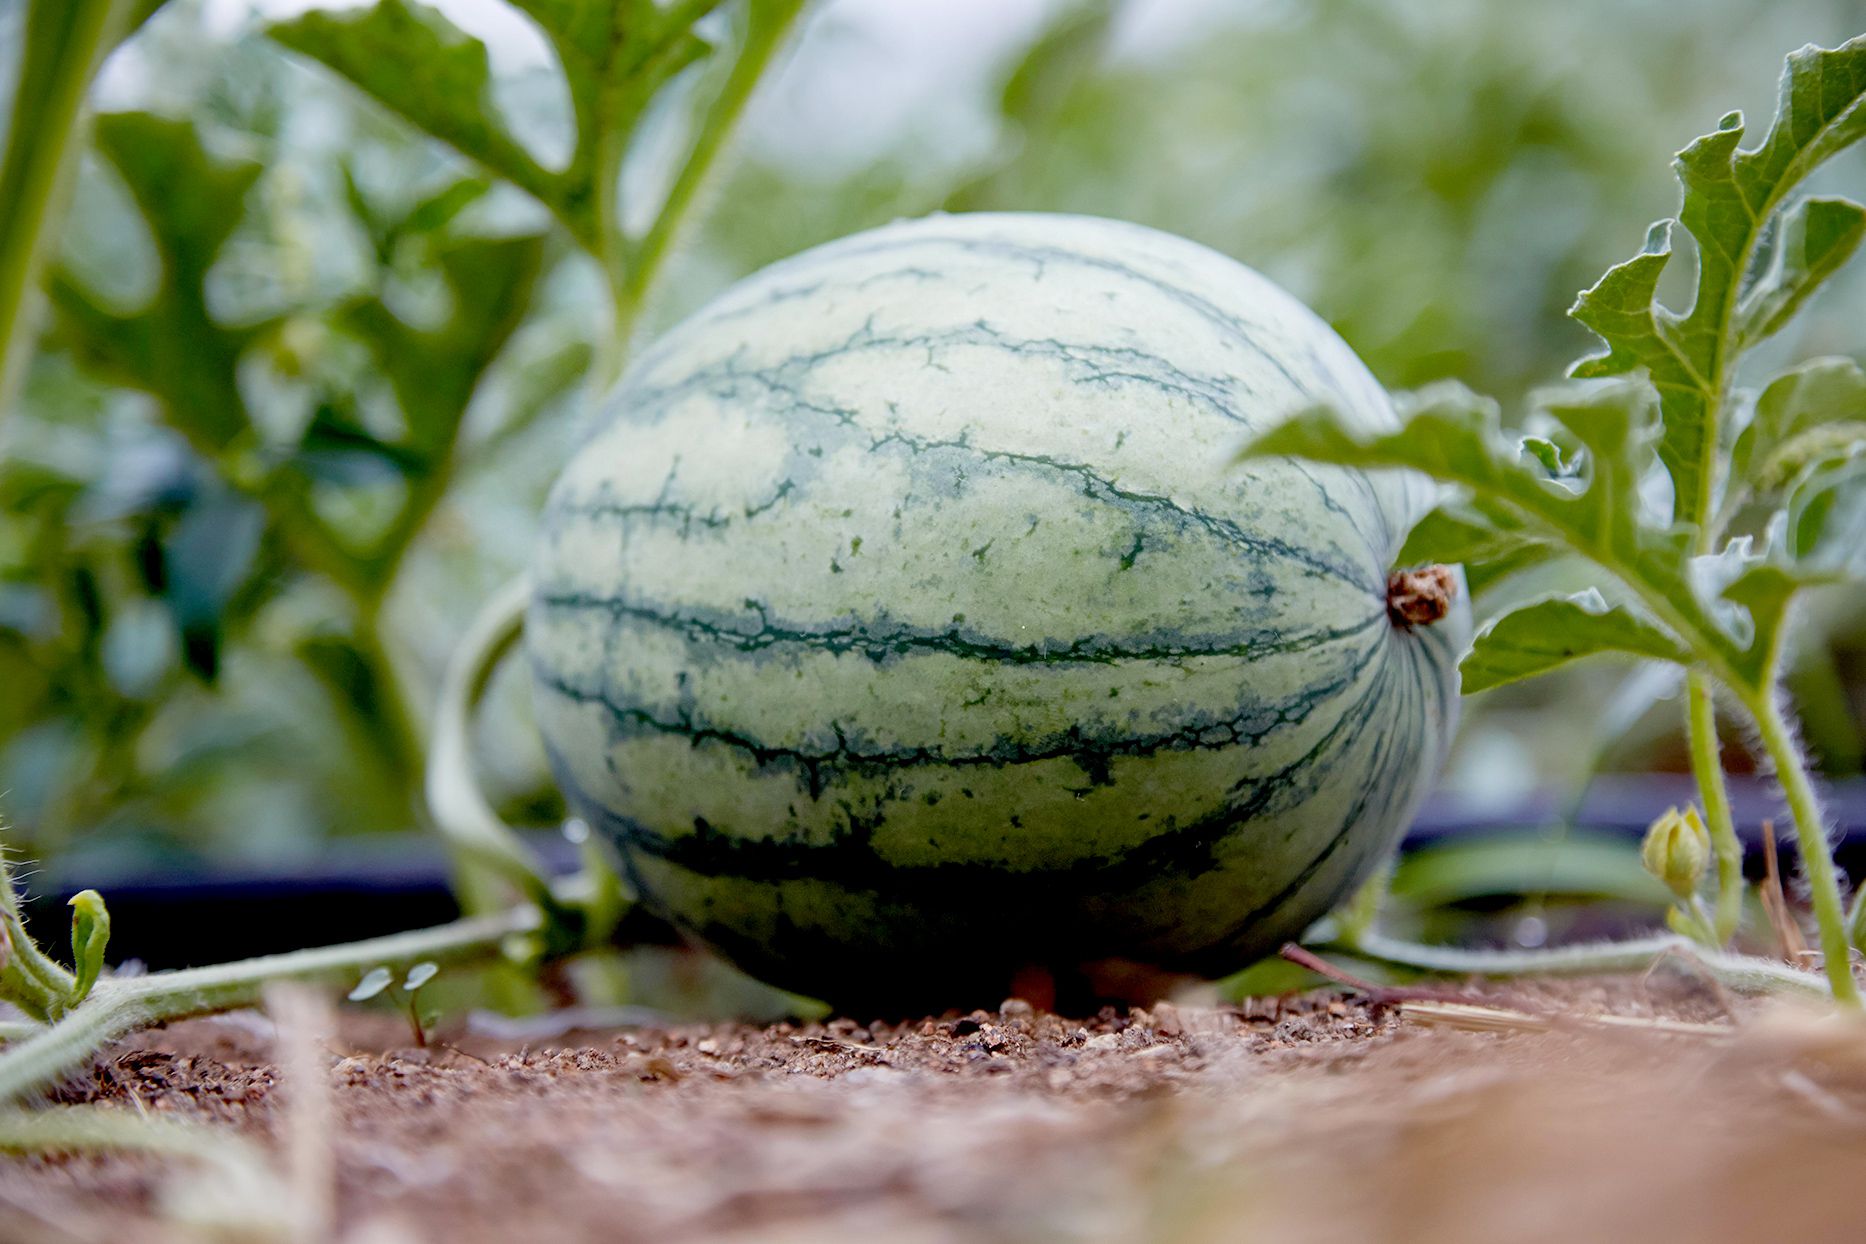
1. Monitor fruit development: Keep a close eye on the watermelon fruits as they grow. They will go through several stages, starting with the small fruit formation and progressing to the mature stage when they are ready for harvest. The fruits should reach their full size and have a firm, solid feel when gently tapped.
2. Check the maturity signs: Look for signs of maturity in the watermelon. The underside, also known as the ‘belly’ or ‘ground spot,’ should have a creamy yellow color. The tendrils nearest the fruit should turn brown and dry. Additionally, the stem connecting the fruit to the vine should become brown and brittle.
3. Perform the ‘thump’ test: While not foolproof, the ‘thump’ test can help determine if a watermelon is ripe. Gently tap the watermelon with your knuckles, and if you hear a deep, hollow sound, it is a good indication that the fruit is ripe. If the sound is dull or flat, the watermelon may need more time to ripen.
4. Cut rather than pull: When harvesting a watermelon, it is best to use a sharp knife or shears to cut the fruit from the vine. Avoid pulling or twisting the watermelon, as this can damage the vine or the fruit itself. Leave a few inches of stem attached to the fruit.
5. Handle with care: Watermelons are delicate fruits, and rough handling can lead to bruising or damage. Lift the watermelon gently and support its weight with both hands to prevent any mishaps. Place the harvested watermelons in a basket or container lined with a soft material to avoid unnecessary pressure on the fruits.
6. Post-harvest storage: If you are not planning to consume the watermelons immediately, they can be stored for a short time under the right conditions. Keep them in a cool, dry place such as a basement or refrigerator. However, keep in mind that watermelons taste best when consumed fresh, so it is recommended to enjoy them as soon as possible after harvest.
Remember, the ripeness and sweetness of watermelons may vary based on the variety you are growing, so it is essential to monitor the individual characteristics of each cultivar. By following these guidelines, you can ensure that your watermelons are harvested at their peak ripeness, providing you with delicious, juicy treats.
Congratulations! You have reached the final step of the watermelon growing process. Now it’s time to savor the fruits of your labor and enjoy the refreshing taste of homegrown watermelons. Happy harvesting!
Conclusion
Congratulations on completing the journey of planting and harvesting watermelons! By following the steps outlined in this guide, you have gained the necessary knowledge to successfully grow your own delicious watermelon fruits. From selecting the right seeds to providing proper care and harvesting at the optimal time, each step plays a crucial role in ensuring a bountiful and rewarding harvest.
Remember, watermelons are warm-season fruits that require plenty of sunlight, warmth, and water to thrive. By selecting the right seeds that are adapted to your climate, preparing the soil with organic matter, and providing proper watering and drainage, you have set strong foundations for healthy plant growth. Caring for your watermelon plants by fertilizing, controlling pests and diseases, and regular monitoring will contribute to their overall vitality and productivity.
Lastly, the anticipation of harvesting the ripe watermelons is truly exciting. With a keen eye for maturity signs, such as color, tendril dryness, and the ‘thump’ test, you can confidently harvest the fruits at their peak flavor. Remember to handle the watermelons with care, cut them from the vine rather than pulling, and store them appropriately if needed.
Growing watermelons is a rewarding experience that offers the opportunity to enjoy the sweet, juicy flavors of your homegrown produce. Whether you have a large garden, a small plot, or even just a few containers, watermelons can thrive and bring joy to your gardening journey. So, get your seeds, prepare the soil, plant with care, and watch as your watermelon plants flourish into beautiful vines, ultimately rewarding you with the fruits of your labor.
Thank you for joining us on this watermelon-growing adventure, and we hope you have a fruitful and enjoyable experience. Happy gardening and happy watermelon harvesting!
Frequently Asked Questions about How Do You Plant Watermelon Seeds
Was this page helpful?
At Storables.com, we guarantee accurate and reliable information. Our content, validated by Expert Board Contributors, is crafted following stringent Editorial Policies. We're committed to providing you with well-researched, expert-backed insights for all your informational needs.
0 thoughts on “How Do You Plant Watermelon Seeds”