Home>Garden Essentials>How Do You Plant Plum Seeds
Garden Essentials
How Do You Plant Plum Seeds
Modified: August 20, 2024
Learn how to plant plum seeds in your garden and grow your own delicious plums. Find step-by-step instructions and tips for successful planting
(Many of the links in this article redirect to a specific reviewed product. Your purchase of these products through affiliate links helps to generate commission for Storables.com, at no extra cost. Learn more)
Introduction
Welcome to the world of gardening! If you’ve ever enjoyed a juicy plum straight from the tree and thought about growing your own, you’re in the right place. Planting plum seeds is an exciting and rewarding endeavor that allows you to witness the entire lifecycle of this delicious fruit.
While growing plum trees from seeds may take longer than purchasing a grafted tree from a nursery, it’s a fulfilling process that can be a fun project for garden enthusiasts. In this guide, we’ll take you through the step-by-step process of planting plum seeds, from gathering and preparing the seeds to caring for the seedlings and transplanting them into your garden.
Before we dive into the details, it’s important to keep in mind that growing plum trees from seeds can be a bit unpredictable. Plum trees grown from seeds may not produce the exact same fruit as the parent tree. However, this doesn’t detract from the joy of watching your seedlings grow and eventually bear fruit.
So, put on your gardening gloves, grab some plum seeds, and let’s get started on this exciting journey of planting and growing your very own plum trees!
Key Takeaways:
- Planting plum seeds is a rewarding journey, but it requires patience and care. From gathering seeds to nurturing seedlings, each step is crucial for growing healthy plum trees.
- While growing plum trees from seeds may not guarantee identical fruit, the joy of nurturing your own tree and enjoying homegrown plums is unmatched. With proper care, your plum trees will flourish and bring bountiful harvests.
Read more: How To Plant Plum Tree From Seed
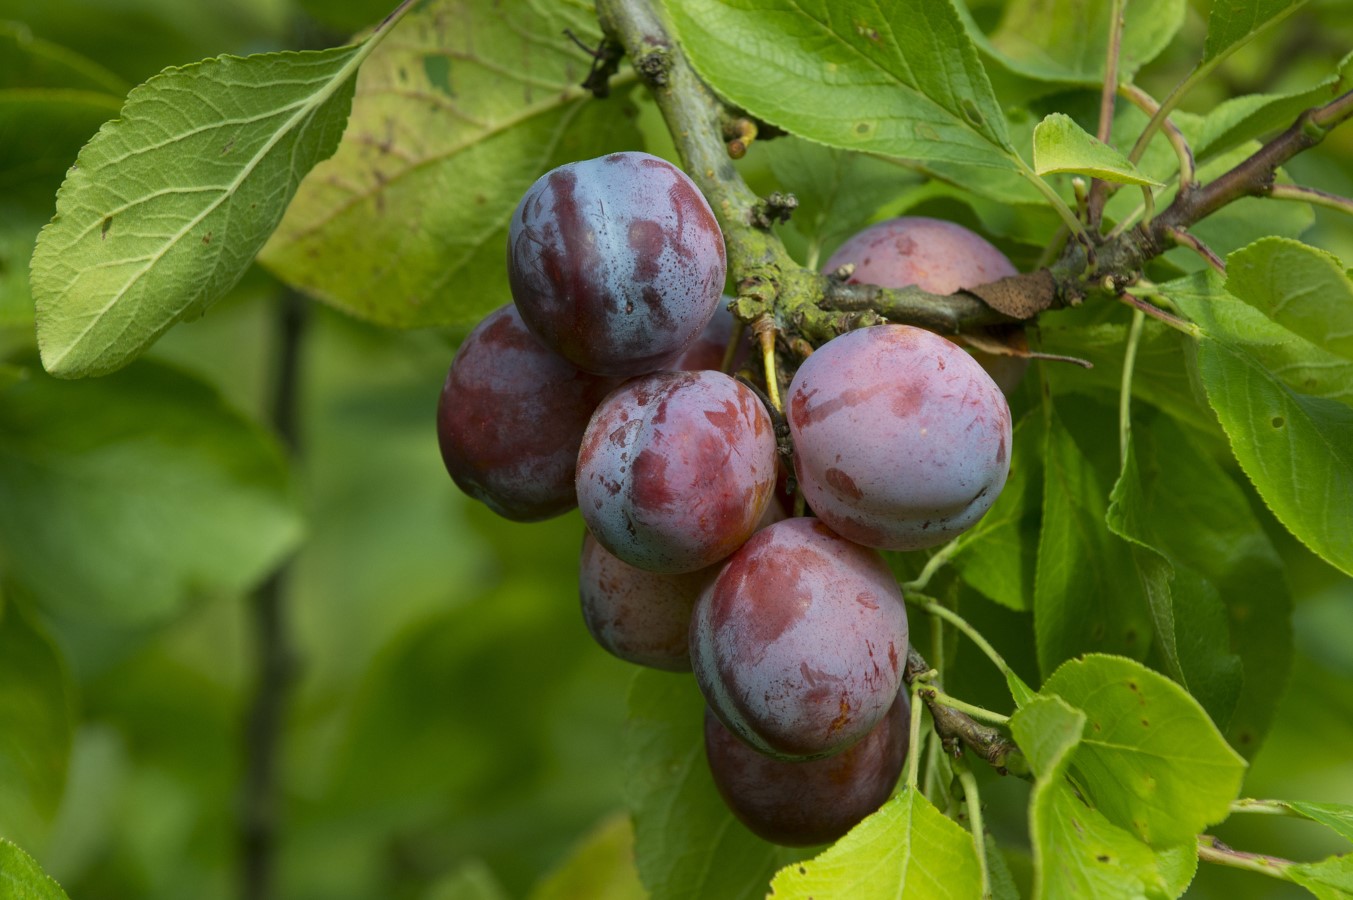
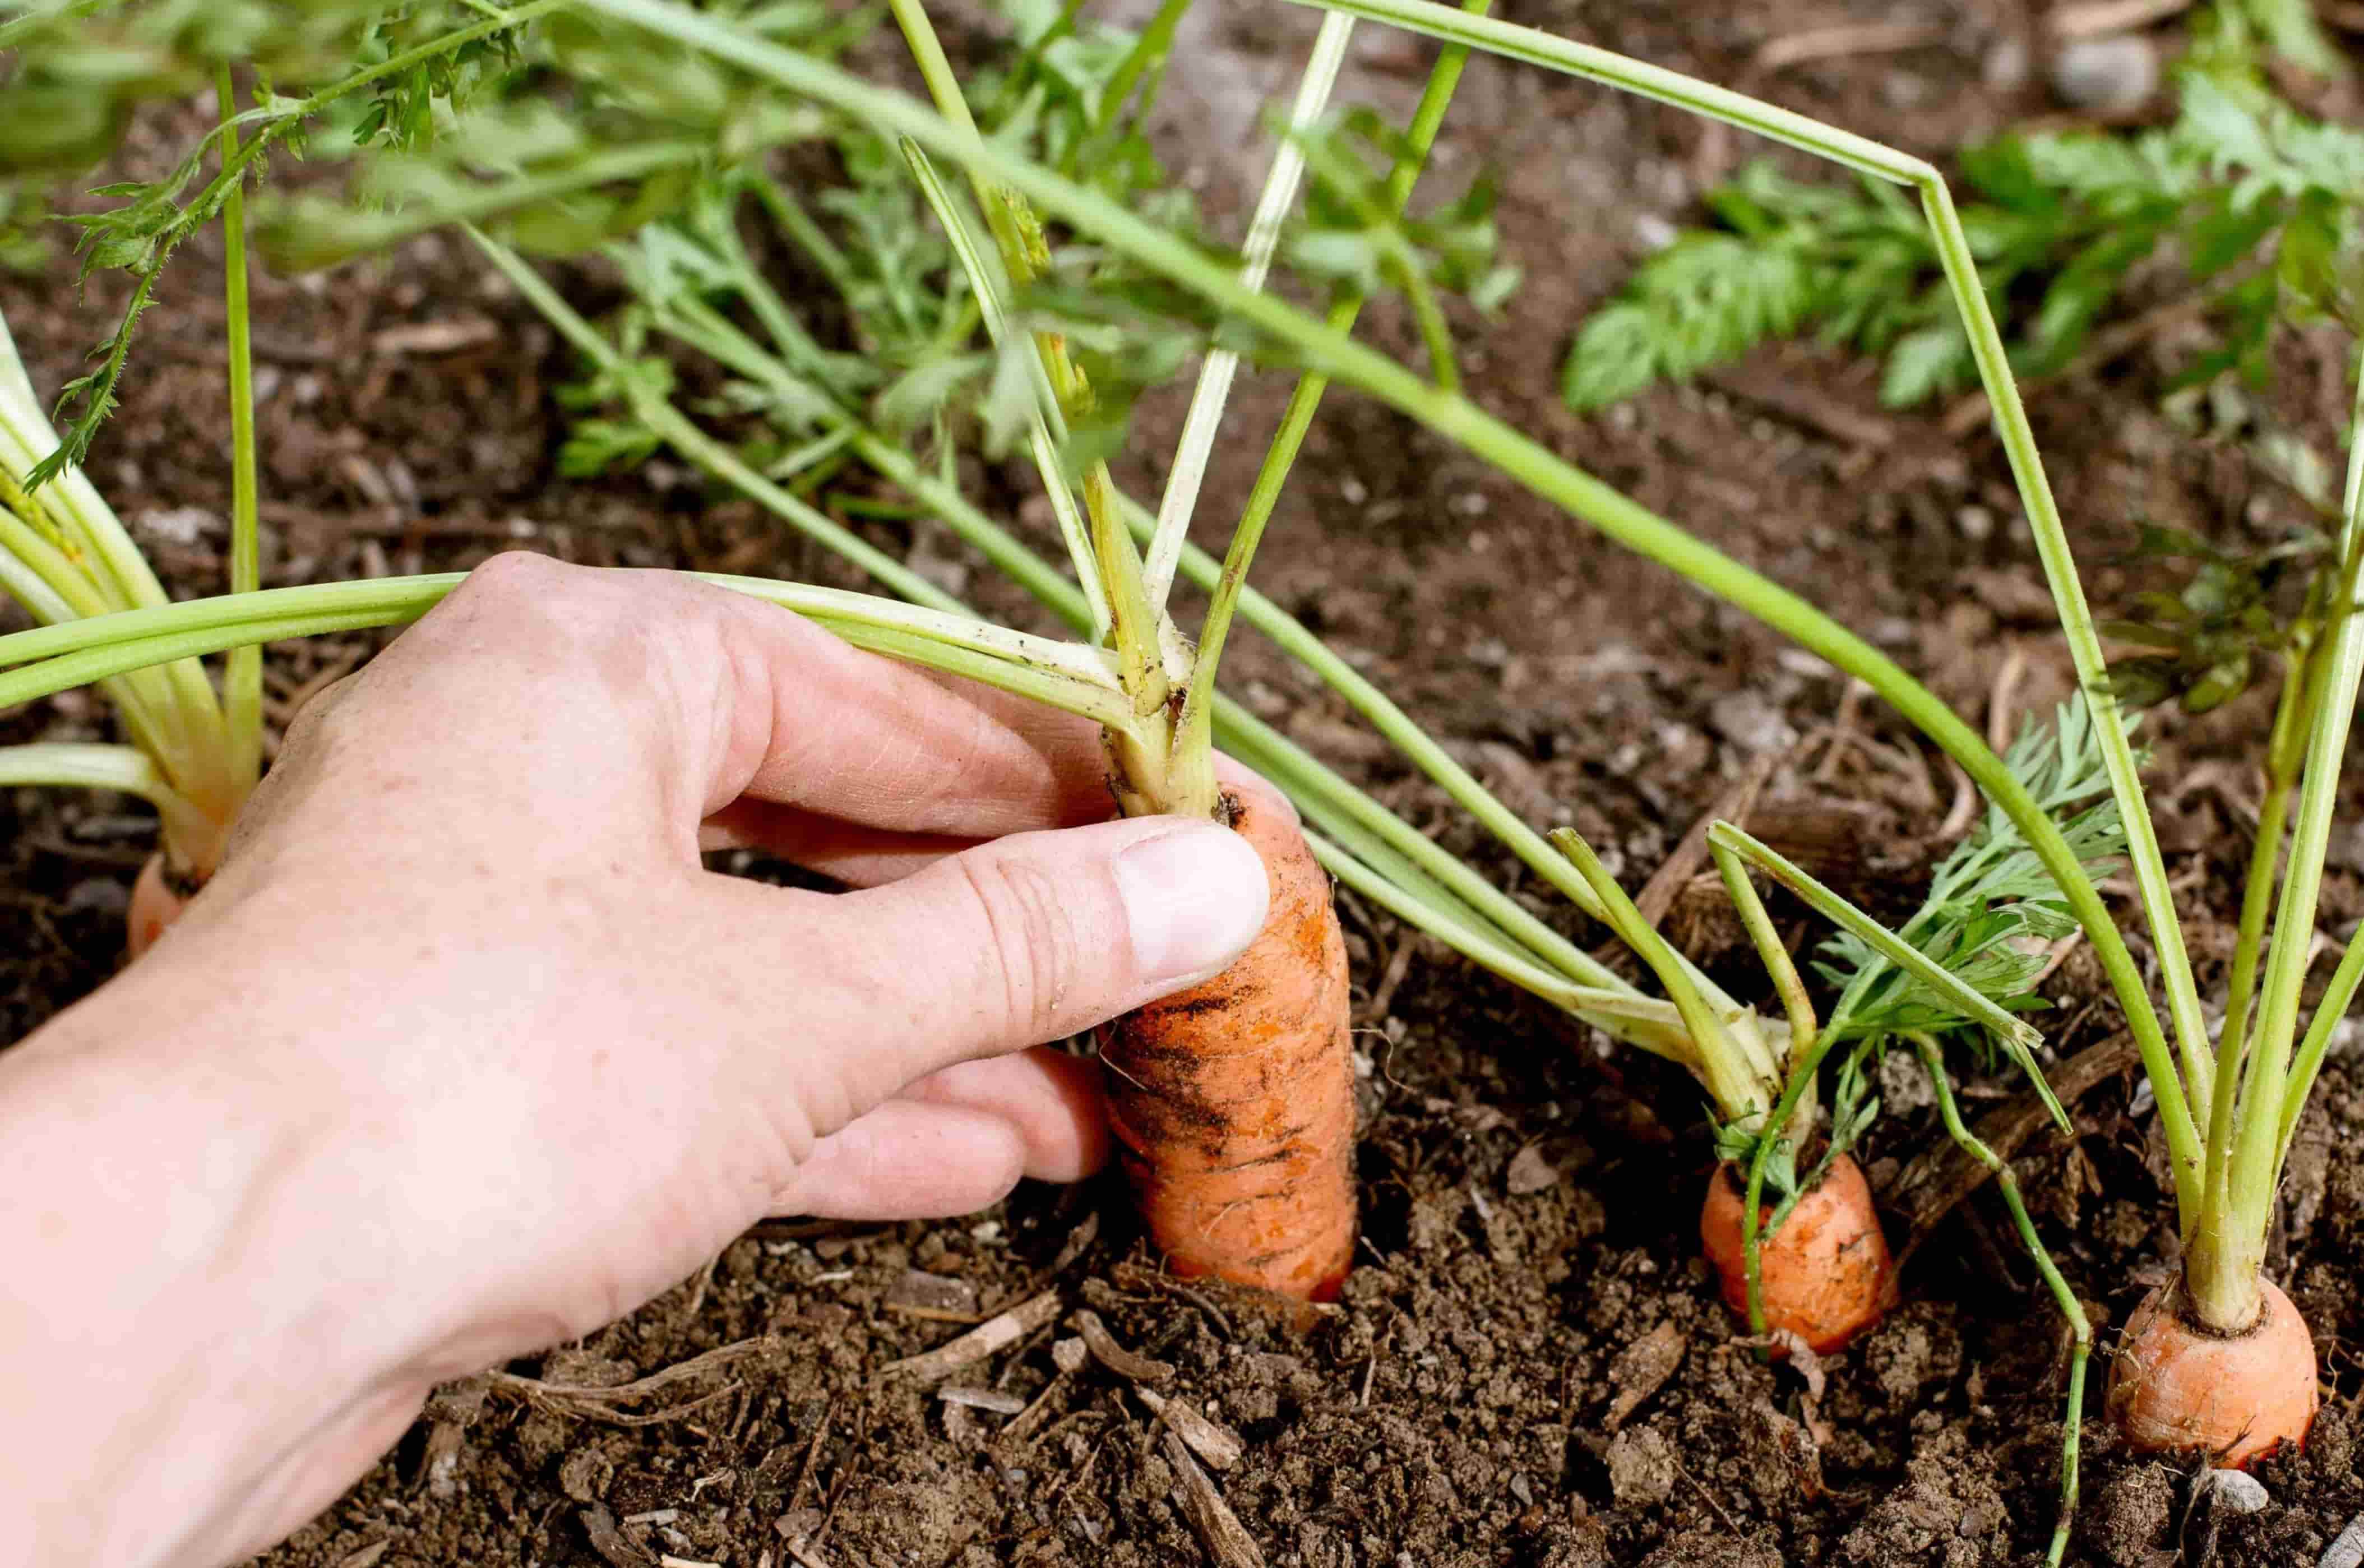
Gathering Plum Seeds
The first step in planting plum seeds is, of course, gathering the seeds themselves. To do this, you’ll need to harvest ripe plums from a healthy and well-established plum tree. Here’s how:
- Select plums at their peak of ripeness. Look for plums that are fully colored and slightly soft to the touch. Avoid overripe or damaged plums.
- Twist or gently tug the plums from the tree, ensuring that the seeds inside are undamaged. Alternatively, you can use a small knife or scissors to carefully cut the plum open and extract the seeds.
- Rinse the plums thoroughly under running water to remove any residue or debris.
- Dry the plums with a clean towel and allow them to air dry completely. This will help prevent mold or rot during the seed extraction process.
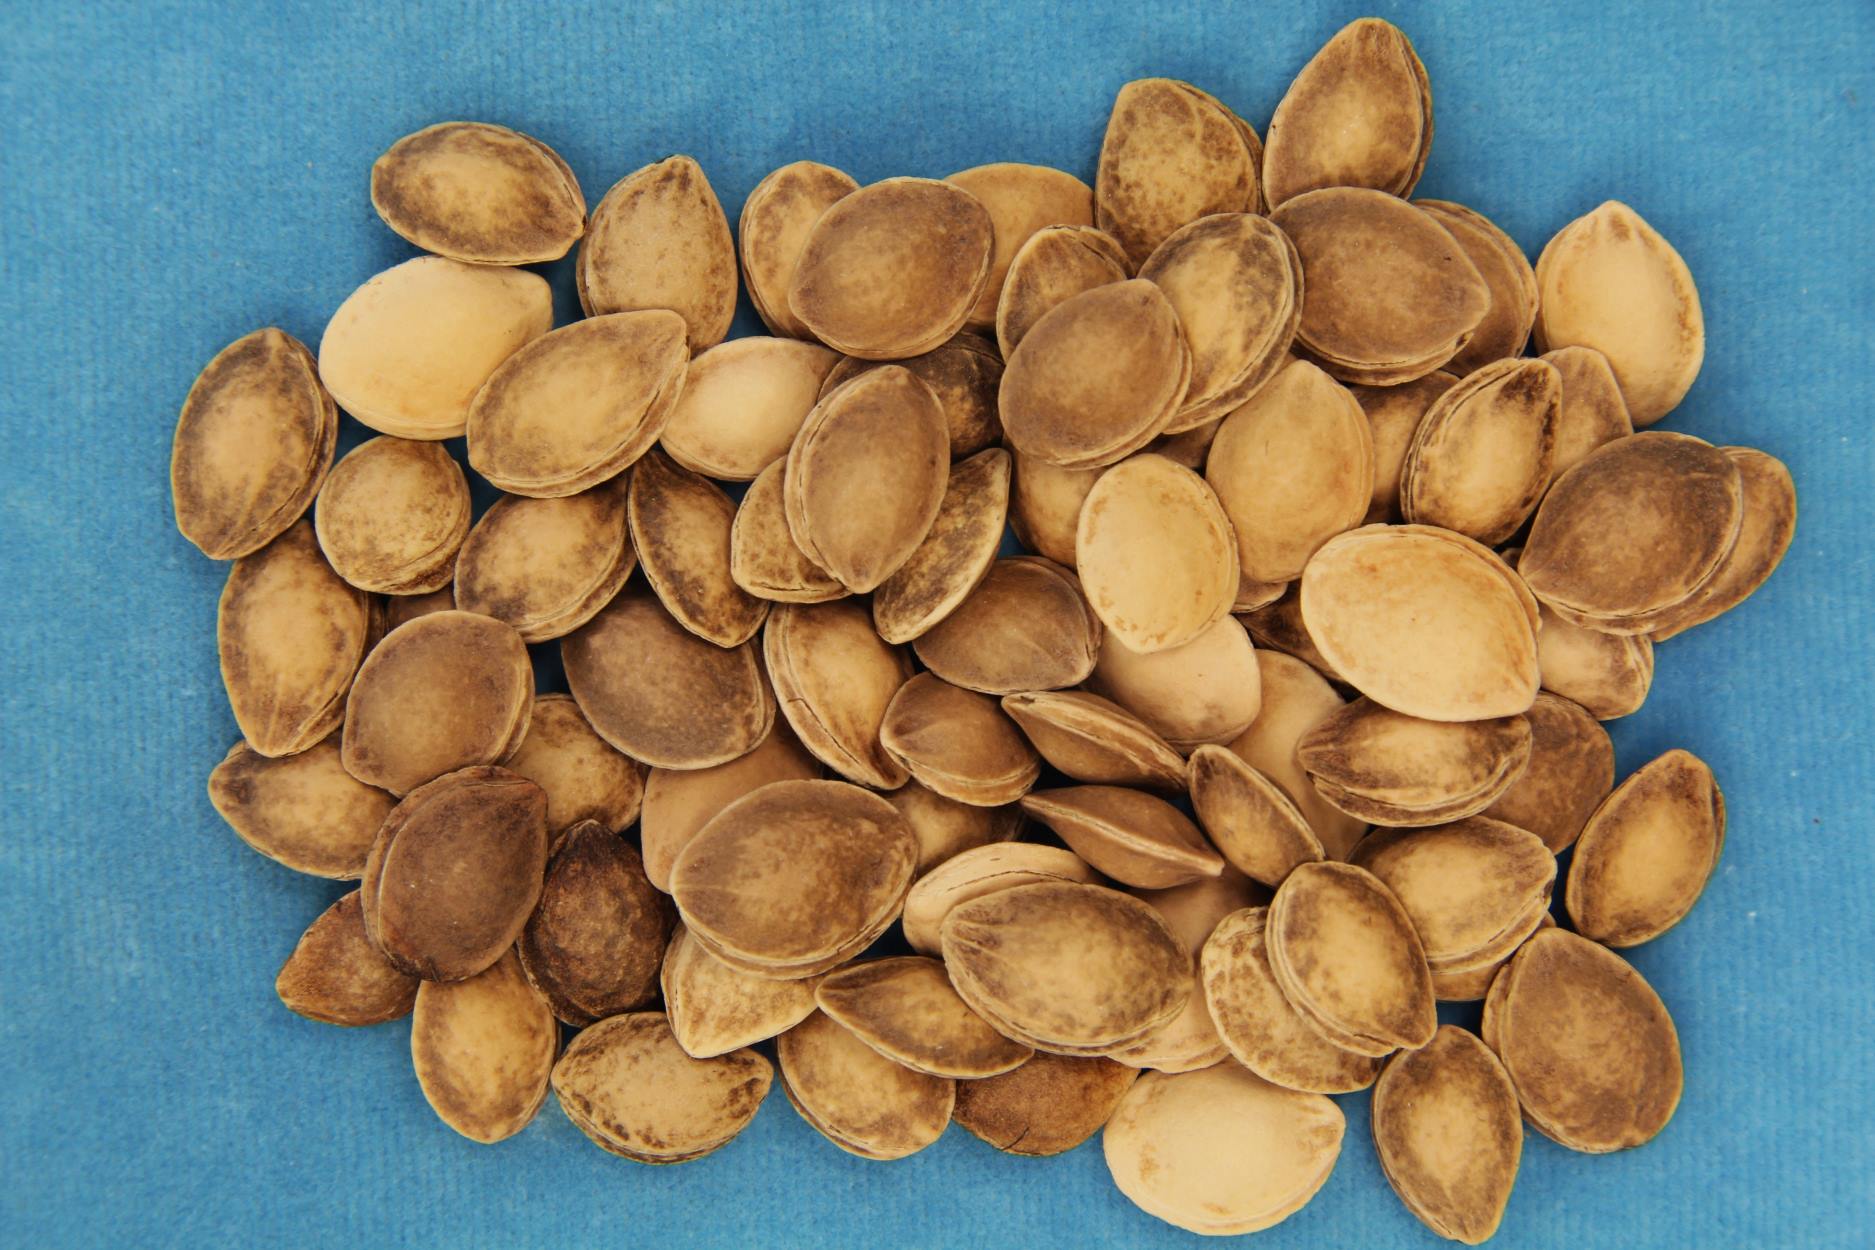
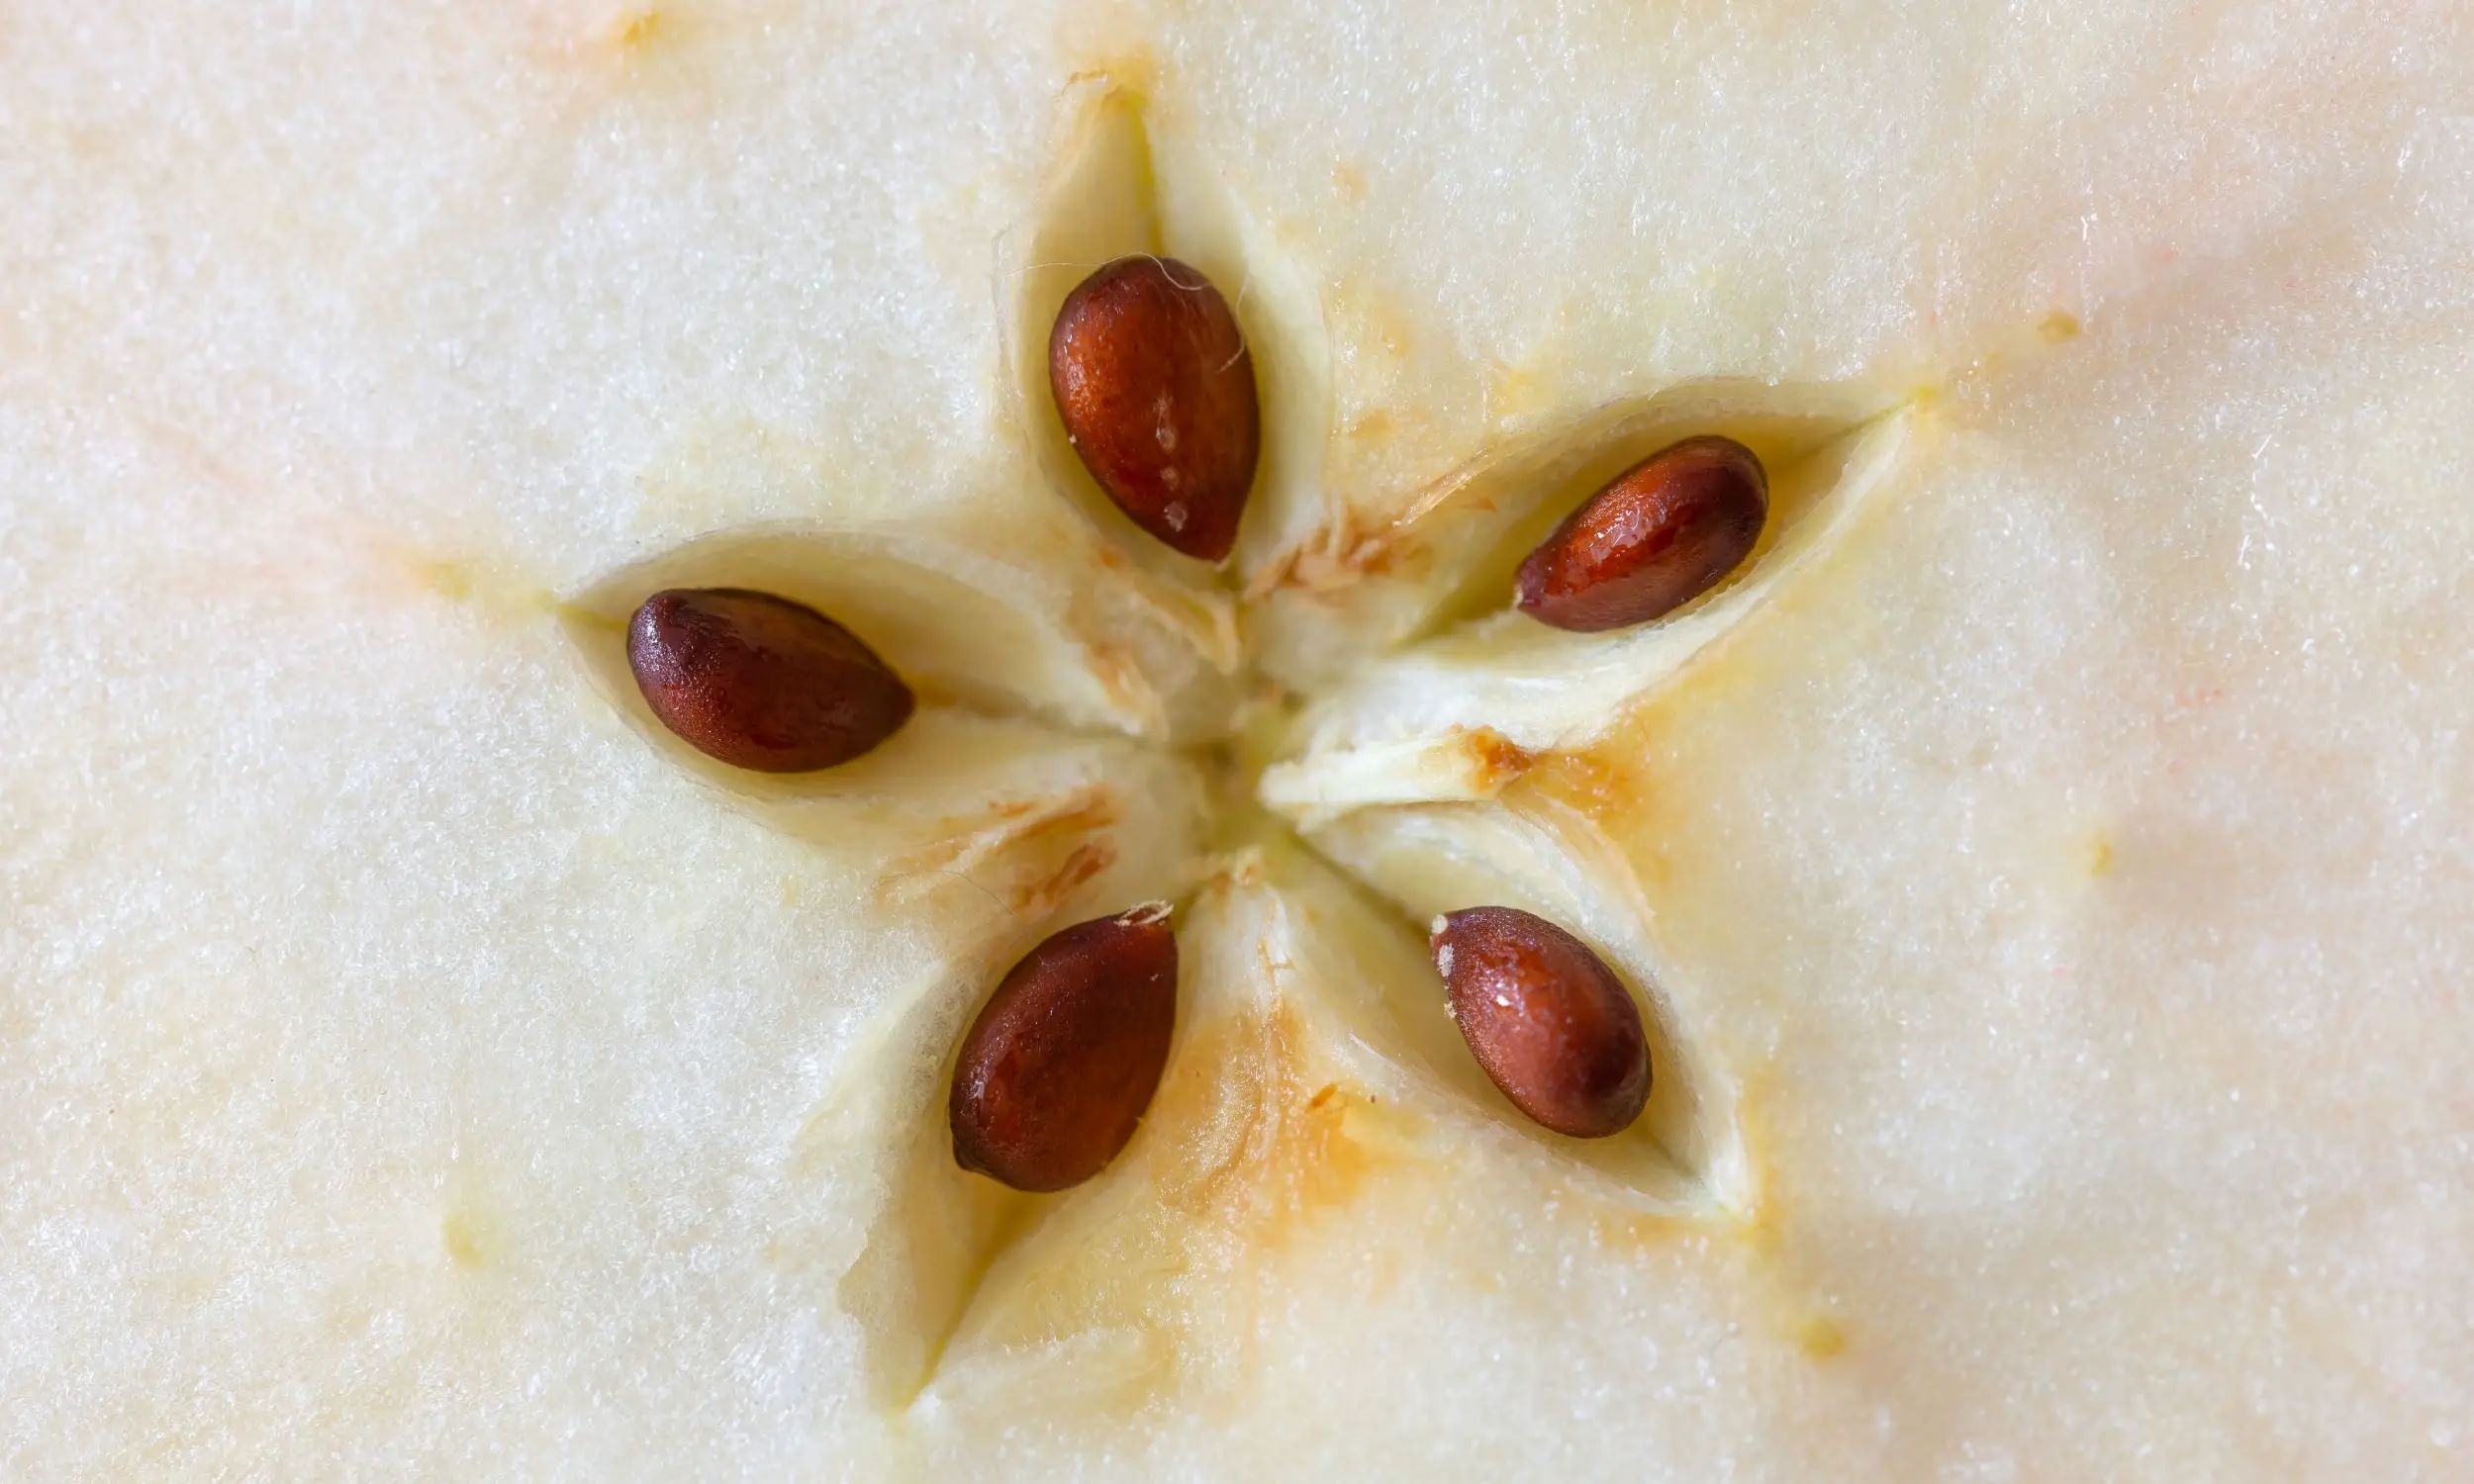
- Once the plums are dry, cut them open and carefully remove the seeds. Plum seeds are typically found in the center of the fruit, surrounded by the flesh.
It’s important to note that not all plum seeds will germinate successfully. To increase your chances of successful germination, it’s recommended to collect a larger number of seeds. This way, even if some fail to sprout, you’ll still have plenty to work with.
Now that you have your plum seeds, it’s time to prepare them for the next stage of the planting process: stratification.
Preparing the Seeds
Before you can plant plum seeds, it’s crucial to give them the best possible start by preparing them properly. This process, known as seed preparation, helps to break seed dormancy and encourages successful germination. Here’s how you can prepare your plum seeds:
- Start by gently cleaning the seeds. Rinse them under running water to remove any residue or pulp that may be clinging to the surface. Avoid using any harsh chemicals or detergents.
- Once the seeds are clean, you can choose to scarify them. Scarification involves creating small scratches or nicks on the seed coat to help water and oxygen penetrate the seed more easily. This can be done by gently rubbing the seeds against fine sandpaper or using a small knife to make shallow cuts on the seed coat.
- After scarification, you can choose to soak the seeds overnight. Place them in a bowl or container filled with room temperature water and let them soak for about 24 hours. This step helps to further soften the seed coat and can improve germination rates.
- Once the soaking period is complete, remove the seeds from the water and pat them dry with a clean towel. Avoid excess moisture, as this can lead to fungal growth.
By following these steps, you are preparing the plum seeds for the next stage of the process: stratification. Stratification mimics the natural winter conditions necessary for the seeds to germinate. So, let’s move on to the stratification process!
Stratification Process
Stratification is a crucial step in the germination process for plum seeds. It involves subjecting the seeds to a period of cold and moist conditions, similar to what they would experience in their natural environment during winter. This helps to break seed dormancy and prepares the seeds for successful germination. Follow these steps to stratify your plum seeds:
- Moisten a handful of peat moss or vermiculite, ensuring that it’s damp but not overly wet.
- Place the moistened peat moss or vermiculite in a sealable plastic bag or airtight container.
- Add the plum seeds to the bag or container, making sure they are evenly distributed and not overcrowded.
- Seal the bag or container and store it in the refrigerator. Make sure to choose a location where the temperature remains consistently around 4-5°C (39-41°F).
- Leave the seeds in stratification for a period of 8-12 weeks. Check on them occasionally to ensure that the peat moss or vermiculite remains moist. If it starts to dry out, add a little water to maintain the moisture level.
The stratification period mimics the cold winter months and helps to break down the seed coat, allowing the embryo inside to develop and prepare for germination. After the recommended stratification period, the seeds are now ready for planting.
Next, let’s move on to selecting the ideal location for planting your plum seeds.
Choosing the Planting Location
When it comes to choosing the right location for planting your plum seeds, there are a few key factors to consider. Creating the optimal environment for your seedlings will greatly increase their chances of successful growth and development. Keep the following in mind when selecting a planting location:
- Sunlight: Plum trees require ample sunlight to thrive and produce fruit. Choose a location that receives full sun, ideally at least 6-8 hours of direct sunlight per day.
- Soil Drainage: Plum trees prefer well-draining soil to prevent waterlogged roots. Avoid areas with heavy clay soil or poor drainage. If your soil doesn’t drain well, consider amending it with organic matter or planting your seedlings in raised beds.
- Space: Plum trees can grow to be quite large, so it’s important to give them enough space to spread out. Ensure that the planting location has enough room for the tree to grow without being crowded by other plants or structures.
- Pollination: Plum trees may require cross-pollination with another compatible plum variety to produce fruit. Consider planting multiple plum trees or check if your chosen variety is self-pollinating or compatible with other plum trees in your vicinity.
By taking these factors into account, you can select an optimal planting location that meets the needs of your plum seedlings and sets them up for success.
With the planting location in mind, it’s time to move on to the exciting part: planting the plum seeds!
After removing the seeds from the plum, wash and dry them. Then, place the seeds in a plastic bag with damp peat moss and store in the refrigerator for 8-12 weeks. After this cold stratification period, plant the seeds in a pot with well-draining soil and keep them moist. Place the pot in a sunny location and wait for the seeds to germinate.
Read more: How Do You Plant Bamboo Seeds
Planting the Plum Seeds
Now that you have prepared your plum seeds and chosen the perfect planting location, it’s time to get your hands dirty and plant those seeds! Follow these steps to ensure successful planting:
- Prepare the soil: Before planting, prepare the soil in the chosen location by loosening it with a garden fork or tiller. Remove any weeds or debris and ensure that the soil is well-draining.
- Dig a hole: Dig a hole that is approximately twice the size of the root ball of your plum seedling. Make sure the hole is deep enough to accommodate the entire root system without bending or crowding the roots.
- Plant the seeds: Place the plum seedling gently into the hole, ensuring that it’s positioned at the same depth it was in the container or seed starting tray. Fill the hole with soil, gently firming it around the base of the seedling.
- Water thoroughly: After planting, give the newly planted seedling a good watering. This helps settle the soil and ensures that the roots make good contact with the surrounding soil.
- Mulch: Apply a layer of organic mulch, such as wood chips or straw, around the base of the seedling. Mulch helps conserve moisture, suppresses weed growth, and insulates the soil.
Remember to space your plum seedlings adequately, allowing enough room for them to grow and spread. This will prevent overcrowding and competition for resources.
Now that you’ve planted your plum seeds, it’s time to move on to caring for your seedlings to ensure their healthy growth and development.
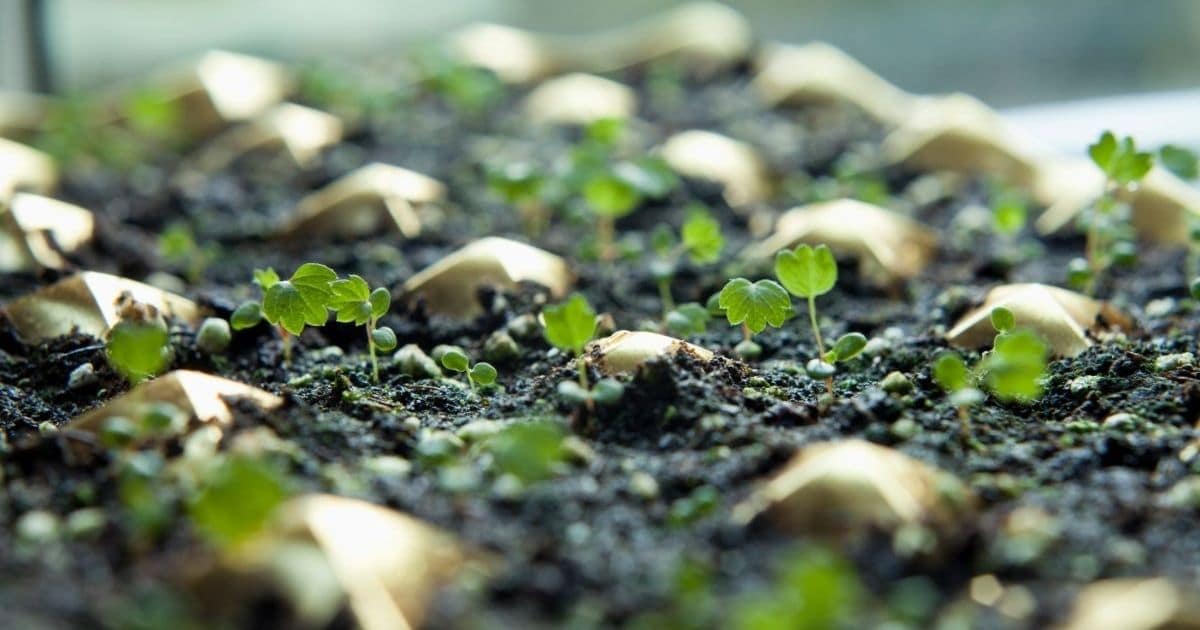
Caring for Plum Seedlings
Once you have planted your plum seeds and they have started to sprout into seedlings, it’s essential to provide proper care to ensure their healthy growth and development. Here are some important aspects to consider when caring for your plum seedlings:
- Watering: Irrigate your plum seedlings regularly, especially during dry periods. Keep the soil evenly moist but not waterlogged. Avoid overwatering, as it can lead to root rot, and underwatering, as it can cause the seedlings to dry out.
- Fertilization: Feed your plum seedlings with a balanced fertilizer during the growing season. Follow the instructions on the fertilizer packaging and apply it according to the recommended dosage. This will provide the necessary nutrients for robust growth.
- Weeding: Keep the area around your plum seedlings free from weeds, as they can compete with the young plants for nutrients and water. Regularly remove any weeds that sprout near your seedlings.
- Pest and Disease Control: Monitor your plum seedlings for any signs of pest infestation or disease. Common pests that affect plum trees include aphids, scale insects, and plum curculio. Treat any infestations or diseases promptly using organic or chemical controls, if necessary.
- Support: As your plum seedlings grow, they may require additional support to prevent bending or breaking due to windy conditions. Consider staking or tying the seedlings to bamboo stakes for added support.
- Pruning: Once your plum seedlings have grown a bit, you can start pruning them to promote a strong and well-shaped tree structure. Remove any dead, diseased, or crossed branches to encourage proper airflow and light penetration.
Regular monitoring and care will help your plum seedlings establish a strong foundation for healthy growth and increase their chances of producing abundant fruit in the future.
Now that you have successfully cared for your plum seedlings, let’s move on to the next step of the process: transplanting the seedlings into your garden.
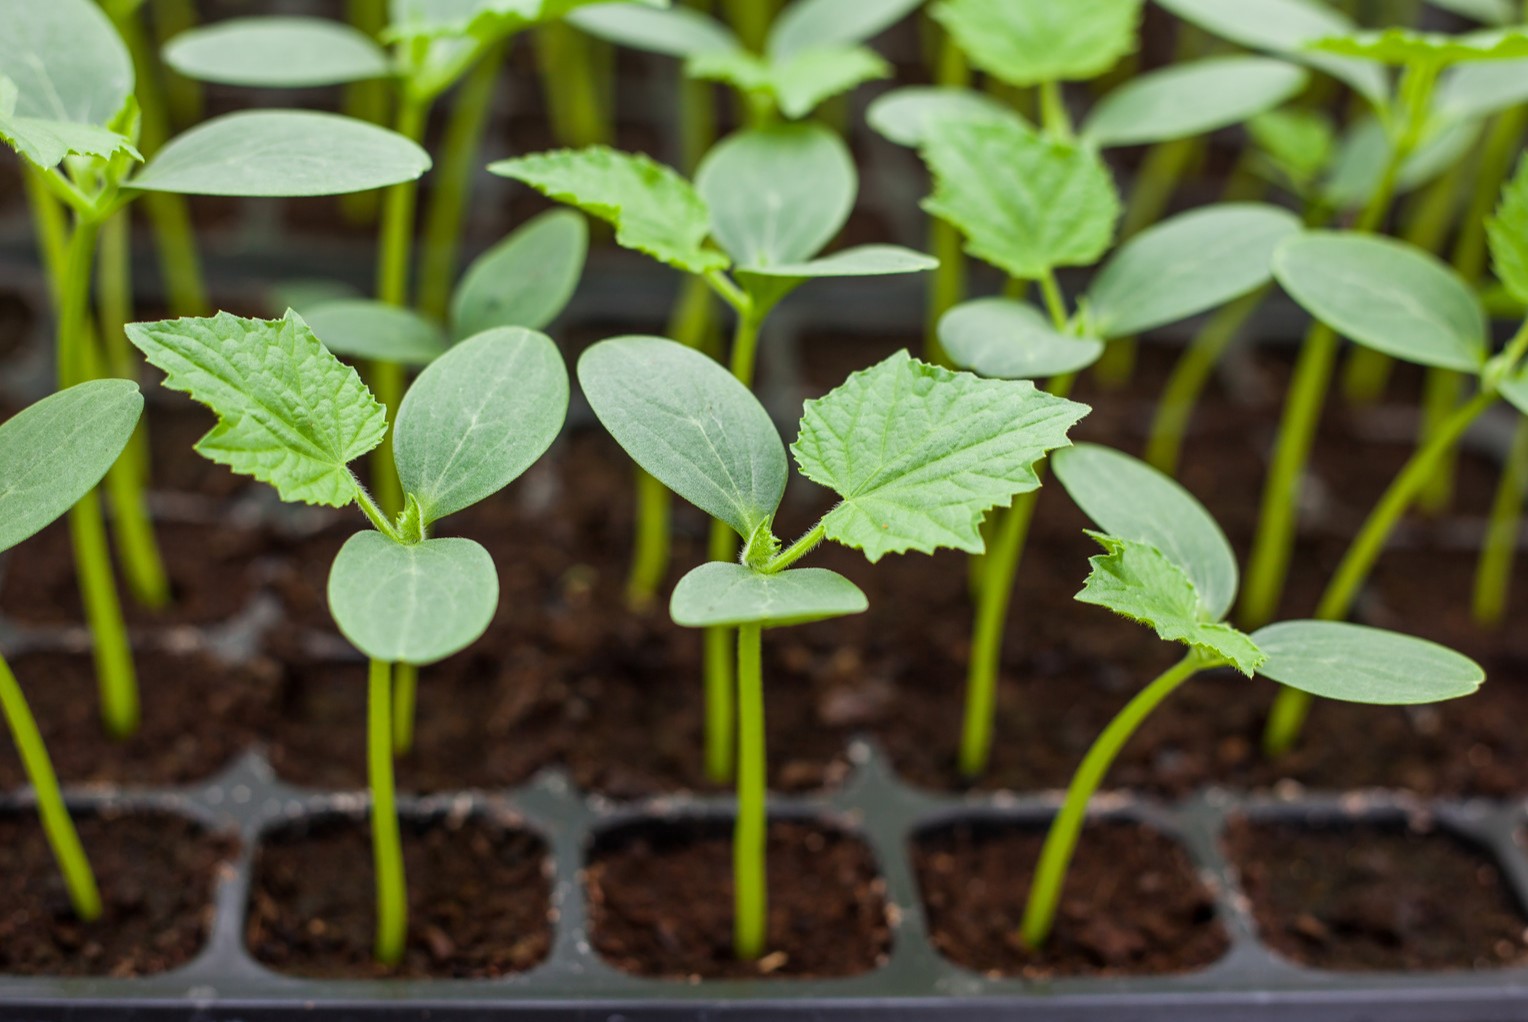
Transplanting Plum Seedlings
As your plum seedlings continue to grow and mature, there may come a time when they outgrow their pots or temporary planting containers. Transplanting your plum seedlings into their permanent location in the garden is an important step to ensure their healthy development and fruit production. Here’s how to transplant your plum seedlings:
- Choose the right timing: Wait until your plum seedlings have developed a strong root system and are at least 1-2 feet tall before transplanting them. It’s best to do this in early spring or fall when the weather is mild and there is less stress on the plants.
- Prepare the planting hole: Dig a hole in the ground that is wider and slightly deeper than the root ball of your plum seedling. This will give the roots plenty of room to spread out and establish in the new location.
- Gently remove the seedling from its container: Carefully remove the plum seedling from its pot or container, taking care not to damage the roots. If the root ball is tightly bound, you can loosen it slightly with your fingers or a small gardening tool.
- Place the seedling in the planting hole: Position the plum seedling in the center of the hole, making sure that it’s at the same depth it was in the container. The root collar, where the roots meet the stem, should be level with or slightly above the ground surface.
- Backfill the hole: Fill the hole with soil, gently firming it around the base of the seedling to eliminate any air pockets. Avoid compacting the soil too tightly, as this can hinder root growth.
- Water thoroughly: Give the freshly transplanted plum seedling a good watering to settle the soil and help the roots establish. Continue to water regularly, especially during the first few weeks after transplanting.
- Apply mulch: Apply a layer of organic mulch around the base of the seedling, taking care not to mound it against the stem. Mulch helps conserve moisture, regulate soil temperature, and suppress weed growth.
After transplanting, continue to monitor and care for your plum seedlings, providing them with adequate water and fertilizer as needed. With time, they will grow into beautiful, fruit-bearing plum trees that will bring you joy for years to come.
Congratulations on successfully transplanting your plum seedlings! With the right care and patience, you’ll soon be enjoying the bountiful harvest of your own homegrown plums.
Before we conclude, let’s summarize the key steps we covered in this guide.
Conclusion
Congratulations on completing the journey of planting plum seeds and nurturing them into healthy seedlings! While growing plum trees from seeds requires time and patience, it is a rewarding endeavor that allows you to witness the magical transformation of a tiny seed into a flourishing tree.
Throughout this guide, we have covered various important steps in the process, from gathering plum seeds to preparing them, stratifying, choosing a planting location, and caring for the seedlings. By following these steps and providing the right conditions, you have set your plum seedlings on the path to success.
While it’s important to note that plum trees grown from seeds may not produce the exact same fruit as the parent tree, the joy of growing your own plum tree and enjoying the abundance of homegrown fruit is unparalleled. So, keep nurturing your plum trees with love and care, and you will be rewarded with delicious, juicy plums in due time.
Remember to continue monitoring your plum trees for any signs of pests or diseases and take timely action to protect them. Regular pruning and maintenance will ensure that your trees remain healthy and vigorous.
Now that you have the knowledge and skills to plant plum seeds, why not explore other gardening adventures? You can experiment with different varieties of fruits and vegetables, or even try your hand at growing flowers or herbs. The possibilities are endless!
Thank you for joining us on this gardening journey. We hope this guide has been informative and inspiring. Happy gardening and may your plum trees thrive and bring you bountiful harvests for years to come!
Frequently Asked Questions about How Do You Plant Plum Seeds
Was this page helpful?
At Storables.com, we guarantee accurate and reliable information. Our content, validated by Expert Board Contributors, is crafted following stringent Editorial Policies. We're committed to providing you with well-researched, expert-backed insights for all your informational needs.

0 thoughts on “How Do You Plant Plum Seeds”