Home>Garden Essentials>How Long Do You Soak Seeds Before Planting

Garden Essentials
How Long Do You Soak Seeds Before Planting
Modified: October 18, 2024
Discover the best practices for soaking garden seeds before planting. Learn how long to soak seeds for optimal germination and successful gardening.
(Many of the links in this article redirect to a specific reviewed product. Your purchase of these products through affiliate links helps to generate commission for Storables.com, at no extra cost. Learn more)
Introduction
Gardening is a rewarding activity that allows us to connect with nature and bring beauty to our surroundings. Whether you’re a seasoned gardener or a beginner, one fundamental aspect of successful gardening is starting with healthy and viable seeds. While some seeds can be planted directly into the soil, there are certain types of seeds that benefit from a process called seed soaking before planting.
Seed soaking involves immersing the seeds in water for a specific period of time before sowing them. This process helps to soften the seed coat and initiate germination, increasing the chances of successful and faster seedling emergence. However, the soaking time and method may vary depending on various factors such as the type of seed, its hardiness, and the specific requirements of the plant.
In this article, we will delve into the details of seed soaking, including the factors that affect soaking time, the types of seeds that benefit from soaking, and the proper methods to ensure successful outcomes. Whether you’re interested in starting a vegetable garden, growing flowers, or simply nurturing houseplants, understanding the benefits of seed soaking can greatly enhance your gardening experience.
Key Takeaways:
- Soaking seeds before planting helps improve germination rates, speed up seedling emergence, and enhance overall seedling vigor, leading to healthier and more productive plants in your garden.
- Factors like seed hardness, size, age, and variety determine the appropriate soaking time for different seeds. Avoid common mistakes like over-soaking and using extreme temperatures to ensure successful seed soaking.
Factors Affecting Seed Soaking Time
The soaking time for seeds can vary depending on several factors. It’s important to consider these factors to determine the optimal soaking duration for different types of seeds. Here are some of the key factors that can affect seed soaking time:
- Seed Hardness: The hardness of a seed’s outer layer, also known as the seed coat, influences the length of time needed for soaking. Hard-coated seeds, such as beans and peas, generally require longer soaking periods to help soften their outer shells and promote germination. On the other hand, seeds with softer coats, like lettuce or petunia seeds, may require shorter soaking durations.
- Seed Size: The size of the seed can also affect the soaking time. Smaller seeds, such as those of carrots or radishes, typically require shorter soaking periods due to their smaller size and thinner seed coats. Larger seeds, like those of watermelon or sunflowers, may need longer soaking times to allow water to penetrate and initiate the germination process.
- Seed Age: The age of the seed can impact its germination rate and the duration of soaking. Fresh seeds generally have higher germination rates, while older seeds may have reduced viability. Older seeds may require longer soaking periods to improve germination, or they may need additional techniques like scarification, which involves nicking or scratching the seed coat, to help break dormancy.
- Seed Variety: Different plant varieties may have specific requirements when it comes to soaking time. Some varieties of seeds may be more tolerant of longer soaking periods, while others may be sensitive and require shorter durations. It’s essential to research the specific requirements of the seeds you are planning to soak to achieve optimal results.
- Environmental Factors: Environmental conditions can also influence the seed soaking time. Factors such as temperature and the quality of water used for soaking can impact the effectiveness and duration of soaking. It’s generally recommended to use room temperature water to soak seeds, as extreme temperatures can potentially damage or inhibit germination.
By taking into account these factors, you can determine the appropriate soaking time needed to prepare your seeds for successful germination. Now that we understand the factors that affect seed soaking time, let’s explore the types of seeds that commonly benefit from this pre-planting treatment.
Types of Seeds That Require Soaking
While not all seeds require soaking before planting, there are certain types of seeds that greatly benefit from this pre-planting treatment. Soaking can help improve germination rates, reduce the time it takes for seeds to sprout, and increase overall seedling vigor. Here are some common types of seeds that often require soaking:
- Hard-coated seeds: Seeds with hard outer coats, such as beans, peas, and morning glories, typically have a tough protective layer that can inhibit water absorption. By soaking these seeds, you can soften the hard coat and provide an environment conducive to germination. This can significantly enhance the germination rates and speed up the sprouting process.
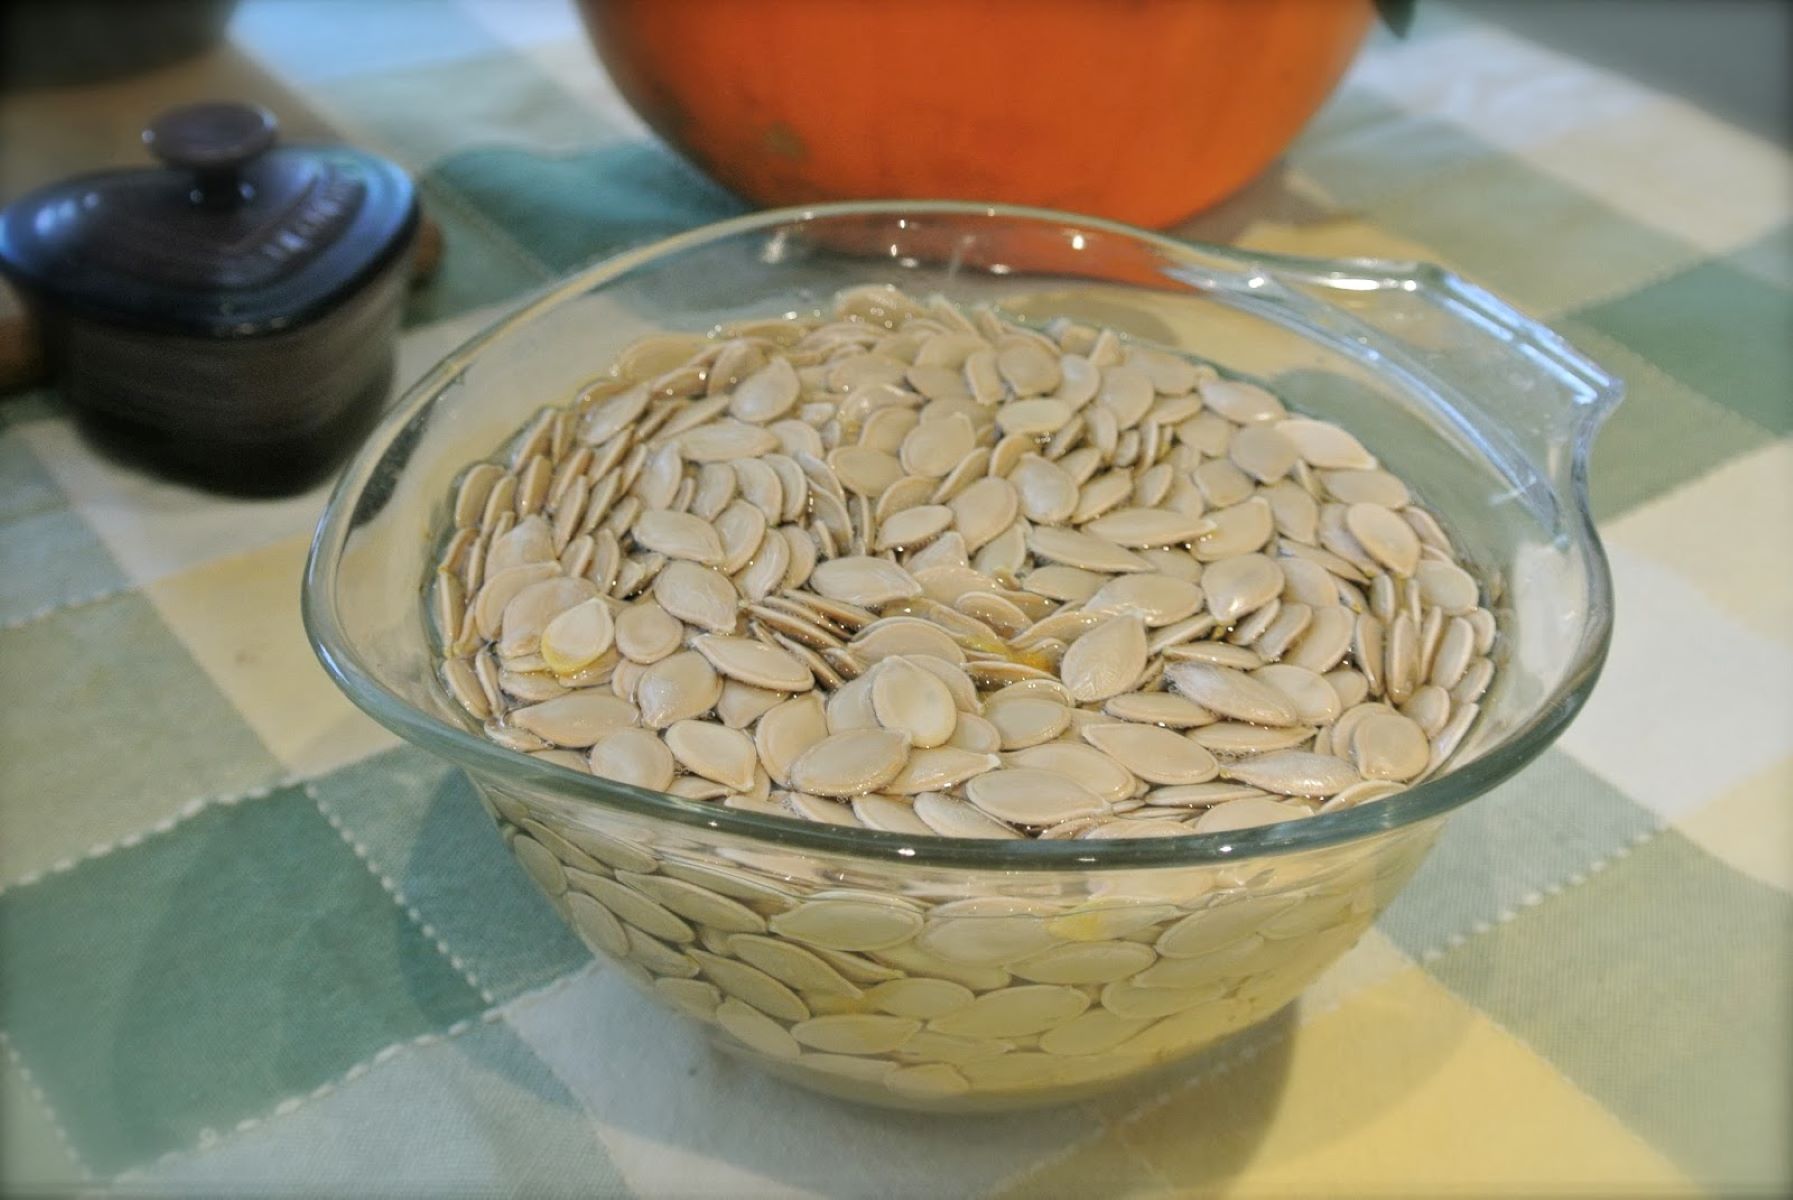
- Large seeds: Some larger seeds, like those of watermelons, sunflowers, and pumpkins, require soaking to increase water absorption and kickstart the germination process. The soaking process helps to soften the seed coat, allowing water to penetrate and reach the embryo inside the seed. This enables the seed to initiate germination more efficiently.
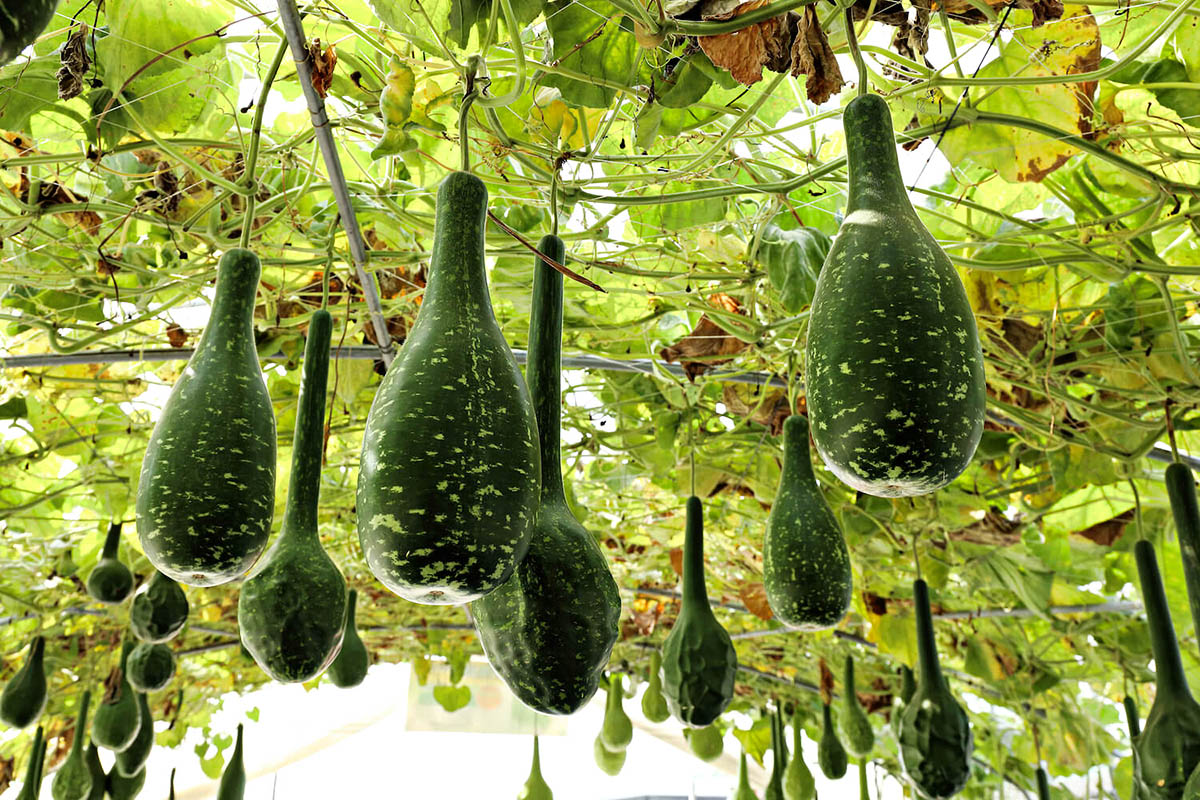
- Seeds with long germination times: Certain seeds naturally have longer germination periods, and soaking can help expedite the process. Examples include gourd seeds, which can take several weeks to sprout. Soaking these seeds can reduce the germination time and provide more consistent and successful results.
- Seeds with high dormancy: Seeds with high levels of dormancy, such as certain wildflowers or tree seeds, often require strategies to break their dormancy and improve germination rates. Soaking is one such method that can weaken the seed coat and stimulate the seed to emerge from its dormant state, increasing the chances of successful germination.
- Older seeds: As seeds age, their germination rates may naturally decline. Soaking older seeds can help revive their viability by rehydrating them. The soaking process provides the necessary moisture to reawaken the dormant embryo and encourage germination.
Keep in mind that not all seeds within these categories will require soaking, and each seed may have specific preferences and requirements. It’s always a good practice to consult reliable sources, seed catalogs, or gardening guides for specific instructions on soaking different types of seeds.
Now that we’ve covered the types of seeds that often benefit from soaking, let’s explore the numerous benefits of this pre-planting treatment.
Benefits of Soaking Seeds Before Planting
Soaking seeds before planting offers a range of benefits that can greatly enhance the germination and growth of your plants. Understanding these advantages can motivate gardeners to incorporate this pre-planting treatment into their gardening routines. Here are some notable benefits of soaking seeds before planting:
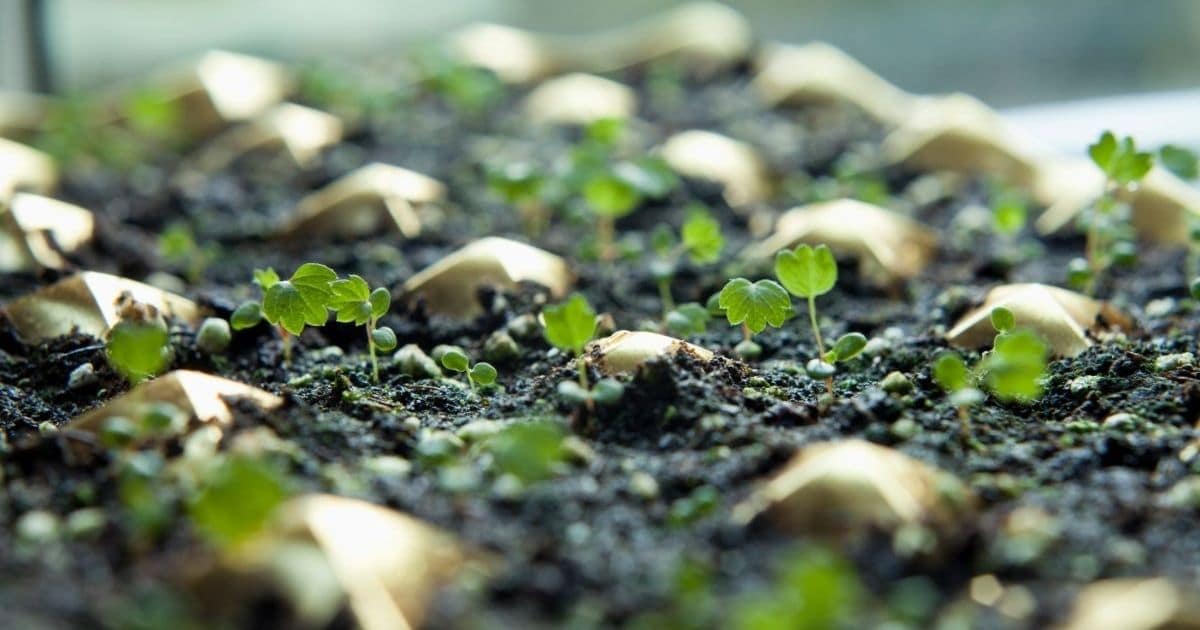
- Improved germination rates: Soaking seeds helps to break down the seed coat, allowing water to penetrate and reach the embryo inside. This stimulates the germination process and leads to higher germination rates. It helps seeds overcome dormancy and facilitates quicker and more uniform germination.
- Quicker seedling emergence: By softening the seed coat and initiating germination, soaking can significantly reduce the time it takes for seeds to sprout. This means quicker seedling emergence and a head start in the growth process. Faster sprouting is especially beneficial for plants with a longer growing season or in regions with shorter growing periods.
- Enhanced seedling vigor: Soaking seeds provides them with the hydration and nutrients they need to kickstart their growth. This results in healthier and more robust seedlings. Seedlings that emerge from soaked seeds often have stronger roots, improved nutrient uptake, and a higher chance of overall survival and success in the garden.
- Overcoming seed dormancy: Many seeds have natural mechanisms of dormancy to ensure survival until suitable conditions exist for germination. Soaking can help overcome this dormancy by providing the necessary conditions for germination. It helps to weaken the seed coat and trigger the seed’s internal processes that signal it’s time to grow.
- Uniform germination: Soaking seeds promotes more uniform germination, resulting in evenly spaced and consistent seedlings. This is particularly advantageous in garden beds or containers where even spacing is desired for aesthetic reasons or when planning for efficient plant growth and maintenance.
- Increase in seed viability: Soaking older seeds can boost their viability by replenishing moisture and reinvigorating dormant embryos. This can be particularly beneficial when working with seeds that are past their prime but still worth planting. Soaking gives older seeds a better chance of germination and successful growth.
- Minimize transplant shock: When transplanting seedlings that have been grown from soaked seeds, they tend to have well-developed root systems. This minimizes transplant shock and increases the likelihood of the seedlings successfully adapting to their new growing environment.
By taking advantage of these benefits, you can give your seeds a head start and set the stage for healthy and productive plants in your garden. Now that we understand the advantages of soaking seeds before planting, let’s explore how to properly soak seeds for optimal results.
How to Soak Seeds Properly
Soaking seeds before planting is a relatively simple process that can greatly benefit the germination and growth of your plants. Here are some steps to follow to ensure you soak your seeds properly:
- Select the right seeds: Determine which seeds will benefit from soaking based on factors such as seed hardness, size, germination time, and dormancy levels. Refer to seed packets or reputable gardening resources to identify if the seeds require soaking.
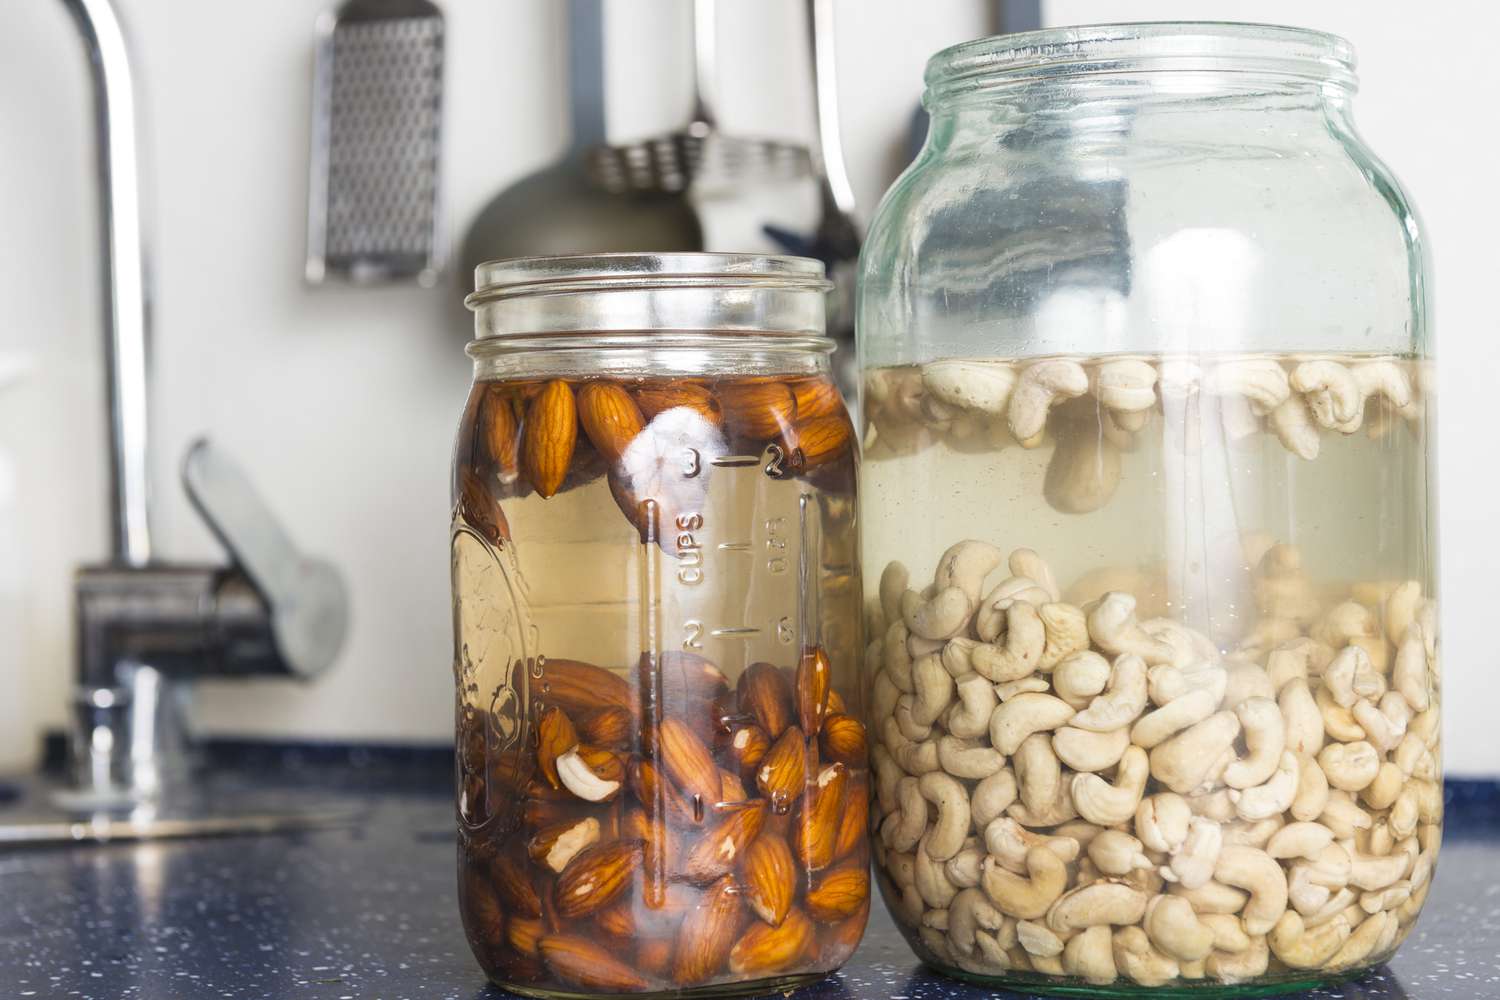
- Gather the materials: Prepare a clean container, such as a bowl or a glass jar, and fill it with room temperature water. Ensure the container is large enough to comfortably accommodate the seeds you’re soaking.
- Measure the soaking time: Each type of seed may require a specific soaking time. Refer to the instructions provided by the seed supplier or reputable gardening resources for guidance. As a general rule, most seeds benefit from soaking for 4 to 12 hours, but some may require longer durations.
- Place the seeds in the water: Gently place the seeds into the container with water. Ensure they are fully submerged and there is enough water to cover them adequately. Do not overcrowd the container to allow each seed to soak properly.
- Set a timer: Use a timer or set an alarm to keep track of the soaking time. This will help ensure you don’t exceed or cut short the recommended soaking duration for the specific seeds you are soaking.
- Monitor the process: While the seeds are soaking, periodically check the container to ensure the water remains at room temperature. Avoid exposing the soaking seeds to extreme temperatures, as it can potentially damage them.
- Drain and proceed to planting: After the recommended soaking time, carefully drain the water from the container. Avoid rinsing the seeds directly under running water, as this can potentially damage delicate seed coatings. Once drained, the seeds are ready to be planted in their desired growing medium.
- Dispose of any floating or damaged seeds: While draining the water, inspect the seeds for any signs of damage or floating seeds, as these may be non-viable. Discard any seeds that appear damaged or float to the surface, as they are unlikely to germinate.
Remember, not all seeds require soaking, so it’s important to research and identify the specific requirements for each type of seed you are working with. Following these steps will help ensure you soak your seeds properly, resulting in improved germination rates and healthier plants.
However, it’s crucial to note that there are also alternative methods of pre-planting seed treatments that can be used in conjunction with or instead of soaking. Let’s explore some of these methods in the next section.
Soak larger seeds for 12-24 hours and smaller seeds for 4-8 hours before planting. This can help speed up germination and improve overall plant growth.
Read more: How To Soak Seeds Before Planting
Common Mistakes to Avoid When Soaking Seeds
While seed soaking can be a beneficial process for promoting germination, there are some common mistakes that gardeners should be aware of and avoid. By understanding these mistakes, you can ensure the best results when soaking your seeds. Here are some common mistakes to avoid:
- Over-soaking: Leaving seeds in water for too long can have detrimental effects. It’s important to follow the recommended soaking time for each type of seed. Over-soaking can lead to excessive water absorption, which may cause the seeds to become waterlogged and potentially rot.
- Using extreme temperatures: Exposing seeds to extreme temperatures, whether hot or cold, during the soaking process can harm their viability. It’s crucial to use room temperature water for soaking to avoid shocking or damaging the seeds.
- Not following specific seed requirements: Different seeds have different soaking requirements. It’s important to research and understand the specific requirements for each type of seed you are working with. Skipping or disregarding these requirements may hinder germination or lead to poor seedling development.
- Overcrowding the soaking container: It’s important to give each seed enough space to soak properly. Overcrowding the container can prevent proper water circulation around the seeds and may hinder the soaking process. Ensure there is enough room for the seeds to be fully submerged and surrounded by water.
- Skipping seed viability tests: Soaking can revive the viability of some older seeds, but it’s essential to evaluate the seeds’ viability before soaking. Using non-viable or low-quality seeds can result in poor germination rates, regardless of the soaking process.
- Failure to maintain hygiene and cleanliness: It’s crucial to use clean containers and ensure proper hygiene during the soaking process. Contaminated containers or water can introduce pathogens or harmful substances that could affect seed viability and lead to disease in the seedlings.
- Ignoring the specific needs of delicate seeds: Some seeds have delicate outer coatings or are sensitive to water absorption. It’s important to be gentle when handling and soaking these types of seeds to avoid damage to their outer protective layers.
- Not adjusting soaking times for different seeds: Each type of seed may have a different recommended soaking time. It’s important to take note of these variations and adjust the soaking time accordingly. Following the recommended soaking durations will help ensure the seeds receive the optimal treatment.
By avoiding these common mistakes, you can maximize the effectiveness of the soaking process and increase the chances of successful germination and healthy seedling growth.
Now that we have covered common mistakes to avoid, let’s explore the recommended soaking times for different types of seeds.
Soaking Time for Different Types of Seeds
The soaking time for seeds varies depending on the type of seed, its hardness, and other factors. It’s important to follow the recommended soaking times for each specific seed to achieve optimal results. Here are some general guidelines for soaking times for different types of seeds:
- Beans and peas: Hard-coated seeds like beans and peas benefit from overnight soaking. Soak them for about 8 to 12 hours to soften the seed coat and promote germination.
- Morning glories: These seeds also have hard coats and generally benefit from soaking for around 24 hours. Soak them overnight or up to a full day to improve germination rates.
- Lettuce: Lettuce seeds have softer coats and shorter soaking times are sufficient. Soak them for about 2 to 4 hours to hydrate the seeds before planting.
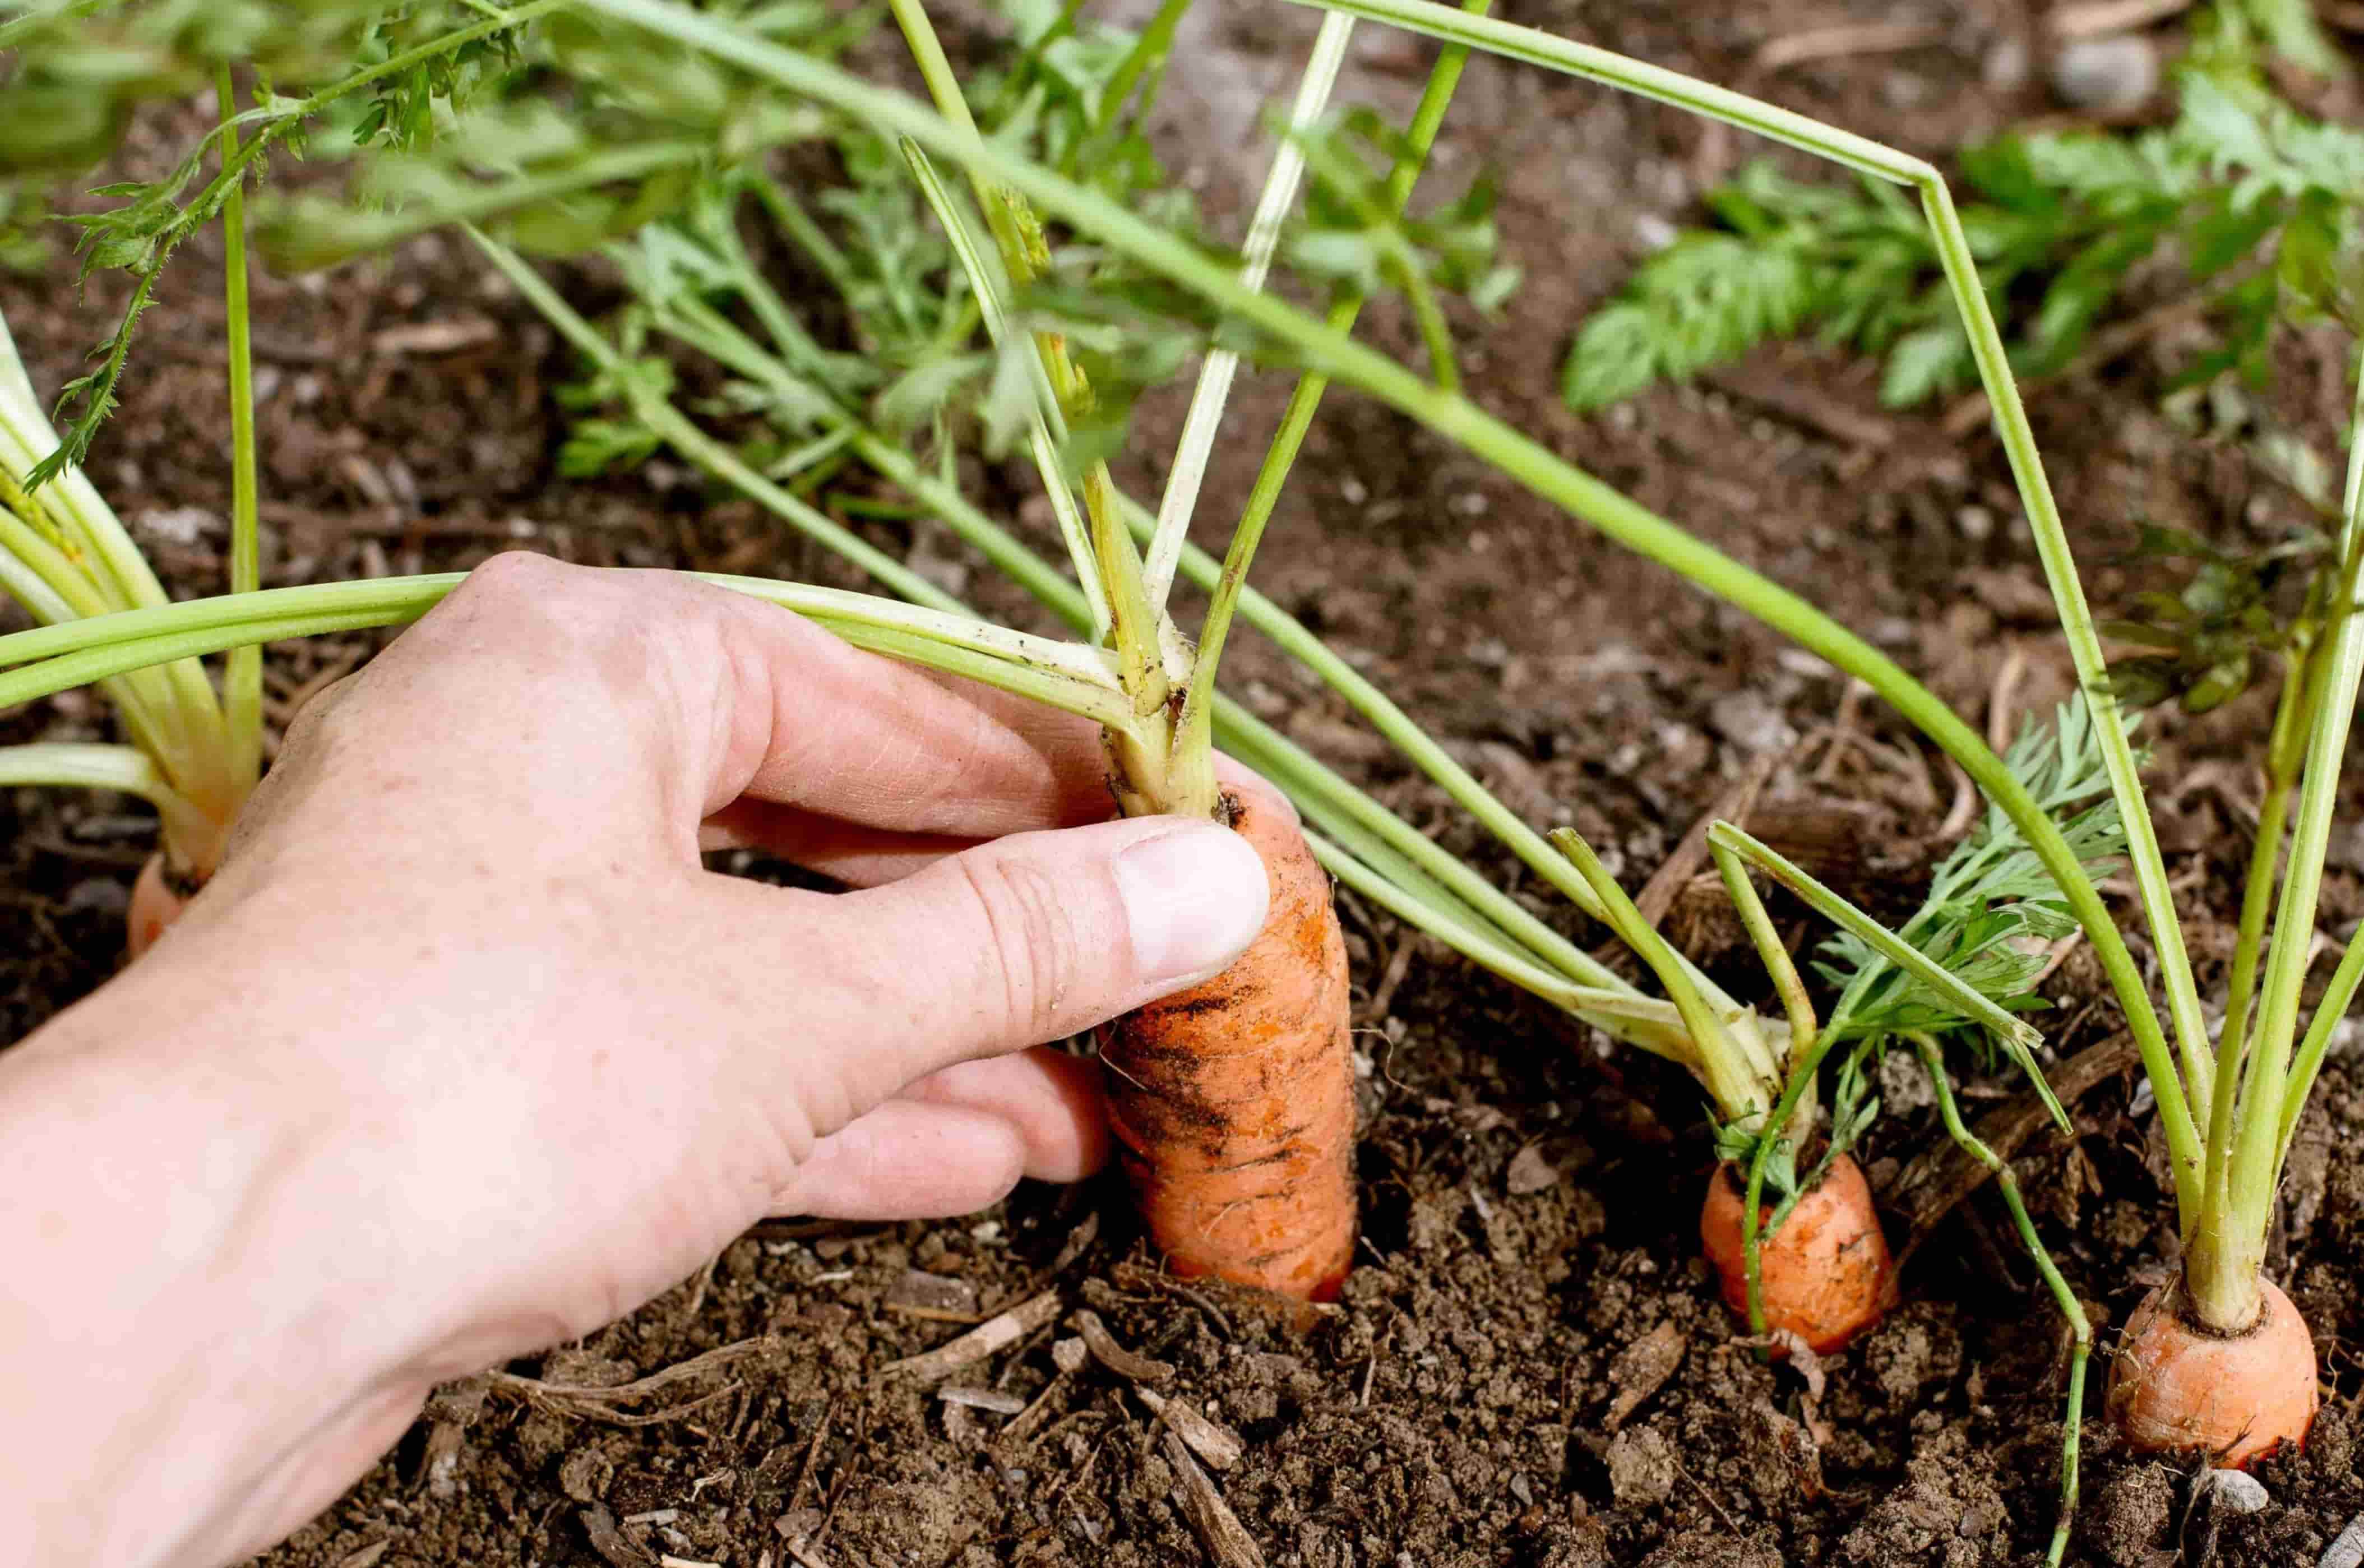
- Carrots: Carrot seeds are small and have thinner coats. Soaking them for about 30 minutes to 1 hour before planting can help to soften the seed coat and improve germination rates.
- Radishes: Radish seeds are similar to carrots and can benefit from a similar soaking time of about 30 minutes to 1 hour.
- Watermelons: Larger seeds like watermelon seeds may require longer soaking periods. Soak them for around 12 to 24 hours to increase water absorption and stimulate germination.
- Sunflowers: Sunflower seeds benefit from soaking for about 4 to 6 hours. Be sure to check if the variety of sunflower seeds you have prefers soaking or has specific requirements mentioned on the seed packet.
- Pumpkins: Similar to sunflower seeds, pumpkins benefit from soaking for about 4 to 6 hours before planting.
- Wildflowers: Different types of wildflower seeds may have varying soaking requirements. Some may require scarification or stratification along with soaking to improve germination rates. Refer to specific instructions for each wildflower species you plan to grow.
These are general guidelines, and it’s essential to refer to specific instructions provided by the seed supplier or reputable gardening resources for accurate soaking times for each type of seed. Following the recommended soaking durations will ensure that the seeds receive the necessary hydration to promote successful germination.
It’s worth noting that these soaking times are approximate, and seeds may still germinate if soaked for slightly shorter or longer durations. However, it’s crucial to avoid over-soaking, which could potentially harm the seeds’ viability.
Now, let’s explore alternative methods of pre-planting seed treatment that can be used alongside or instead of soaking.
Alternative Methods of Pre-Planting Seed Treatment
While seed soaking is a commonly used method to improve germination rates, there are alternative pre-planting seed treatments that can complement or replace soaking. These methods can help overcome seed dormancy, enhance germination, and promote healthy plant growth. Here are some alternative methods of pre-planting seed treatment:
- Scarification: Scarification involves breaking or weakening the seed coat to promote germination. This can be done through various methods, such as nicking the seed coat with a nail file or sandpaper, lightly scratching it with a knife, or soaking the seeds in hot water to soften the coat. Scarification helps seeds absorb water more effectively and allows the embryo to emerge more readily.
- Stratification: Stratification is a process used for seeds that naturally undergo a period of cold weather before they can germinate. It simulates the natural conditions the seeds would experience during winter. Seeds that benefit from stratification, such as many tree and perennial flower seeds, are typically moistened and chilled in the refrigerator for a certain period. This helps break dormancy and prepares the seed for germination when planted in favorable growing conditions.
- Nick or file the seed coat: Some seeds with hard coats can benefit from nicking or filing the seed coat slightly before planting. This process helps to break the seed dormancy and allows water to penetrate the seed more easily, promoting germination.
- Soak in growth-promoting substances: Instead of soaking in water alone, some gardeners choose to soak seeds in growth-promoting substances. This can include solutions of seaweed extract, compost tea, or diluted liquid fertilizer. These substances provide additional nutrients and growth hormones that can enhance seed germination and seedling development.
- Smoke treatment: Some native plant seeds, especially those from regions with fire-prone ecosystems, require exposure to smoke to break dormancy and initiate germination. Mimicking this natural process can be done by using commercially available smoke-treated seed products or by lightly smoking the seeds over a flame before sowing.
- Hot water treatment: For seeds that have hard coats or natural inhibitors that prevent germination, hot water treatment can be effective. By pouring hot water (around 120°F or 50°C) over the seeds and allowing them to soak for a short period, the seed coat can soften, allowing water to penetrate and germination to occur more easily.
These alternative seed treatment methods can be valuable tools in your gardening arsenal, especially when dealing with hard-coated seeds, seeds with natural dormancy mechanisms, or seeds from specific plant species. It’s important to research and understand the specific requirements of each seed type and follow the recommended methods for best results.
By utilizing these alternative pre-planting treatments, you can further improve seed germination rates, break dormancy, and promote healthy seedling growth. Experimenting with different methods can help you find the best approach for each type of seed you work with in your garden.
Now that we’ve explored a range of seed treatments, let’s summarize the key points covered in this article.
Conclusion
Soaking seeds before planting is a beneficial practice that can greatly enhance the germination and growth of your plants. By understanding the factors that affect seed soaking time, the types of seeds that require soaking, and the benefits it offers, you can improve the success of your gardening endeavors.
Factors such as seed hardness, size, age, and variety play a role in determining the appropriate soaking time for different seeds. Hard-coated seeds, large seeds, and those with long germination times or high dormancy levels often benefit from soaking to soften the seed coat and stimulate germination.
Soaking seeds before planting offers numerous advantages, including improved germination rates, quicker seedling emergence, enhanced seedling vigor, and the ability to overcome seed dormancy. By soaking seeds properly, you create an environment that promotes successful germination and increases the chances of healthy plant growth.
However, it’s crucial to avoid common mistakes such as over-soaking, using extreme temperatures, overcrowding the soaking container, and ignoring specific seed requirements. Following the recommended soaking times and maintaining cleanliness and hygiene throughout the process are essential for achieving the best results.
In addition to soaking seeds, alternative methods of pre-planting seed treatment, such as scarification, stratification, nicking the seed coat, and using growth-promoting substances, can further enhance germination rates and break seed dormancy. These methods offer additional options for promoting successful germination, especially with challenging seeds or specific plant species.
In conclusion, understanding the importance of seed soaking, the factors that influence soaking time, and alternative seed treatment methods can greatly improve your gardening success. By applying these techniques, you can maximize the germination rates, vigor, and overall health of your seedlings, leading to thriving plants and a bountiful garden.
Frequently Asked Questions about How Long Do You Soak Seeds Before Planting
Was this page helpful?
At Storables.com, we guarantee accurate and reliable information. Our content, validated by Expert Board Contributors, is crafted following stringent Editorial Policies. We're committed to providing you with well-researched, expert-backed insights for all your informational needs.

0 thoughts on “How Long Do You Soak Seeds Before Planting”