Home>Garden Essentials>When Do You Plant Watermelon Seeds

Garden Essentials
When Do You Plant Watermelon Seeds
Modified: March 15, 2024
Discover the best time to plant watermelon seeds in your garden and ensure a bountiful harvest. Learn expert tips for successful watermelon cultivation.
(Many of the links in this article redirect to a specific reviewed product. Your purchase of these products through affiliate links helps to generate commission for Storables.com, at no extra cost. Learn more)
Introduction
Welcome to the world of watermelon cultivation! If you are a gardening enthusiast, you might have considered growing your own juicy and refreshing watermelons. This delightful fruit is not only mouth-watering but also relatively easy to grow, making it a popular choice for gardeners of all levels of experience.
In this article, we will explore the key factors to consider when planting watermelon seeds, including soil preparation, planting techniques, watering and fertilizing requirements, pest and disease management, and harvesting and storage tips. By the end, you’ll be equipped with the knowledge and confidence to grow your own bountiful watermelon patch.
Before diving into the details, it’s important to note that watermelons thrive in warm climates with a long growing season. While they can be grown in cooler regions, it may require additional care and precautions to ensure successful cultivation. Now, let’s explore the factors you need to consider before planting your watermelon seeds.
Key Takeaways:
- Grow watermelons in warm climates with well-draining soil, ample space, and proper pollination for a bountiful harvest. Consider variety selection and soil preparation for successful cultivation.
- Provide consistent moisture, balanced fertilization, and pest management for healthy watermelon plants. Harvest ripe fruits and store them properly to enjoy the sweet rewards of homegrown watermelons.
Read more: When Do You Plant Carrot Seeds
Factors to Consider
When it comes to growing watermelons, there are several factors to consider to ensure optimal growth and yield. Let’s take a closer look at each of these factors:
- Climate: Watermelons thrive in warm climates with plenty of sunshine. Ideally, the temperature should be between 70-90°F (21-32°C) during the day and above 60°F (15°C) at night. If you live in a cooler climate, you can still grow watermelons by utilizing sheltered areas, using black plastic mulch to increase soil temperature, or starting seeds indoors and later transplanting them outside.
- Variety Selection: There are numerous varieties of watermelons available, each with its own characteristics. Consider factors such as fruit size, flesh color, and days to maturity when selecting a variety. Choose a variety that suits your taste preferences and fits well with your growing conditions.
- Soil Quality: Watermelons require well-draining soil with a pH level between 6 and 7. Before planting, amend the soil with organic matter, such as compost or well-rotted manure, to improve its fertility and drainage. Avoid heavy clay or waterlogged soil, as it can lead to poor growth and disease issues.
- Space Requirements: Watermelon plants need ample space to spread their vines and produce large fruits. Ensure you have enough room in your garden for the spreading vines and plan a distance of at least 6-10 feet (1.8-3 meters) between plants. If you have limited space, consider growing bush-type watermelon varieties that require less space.
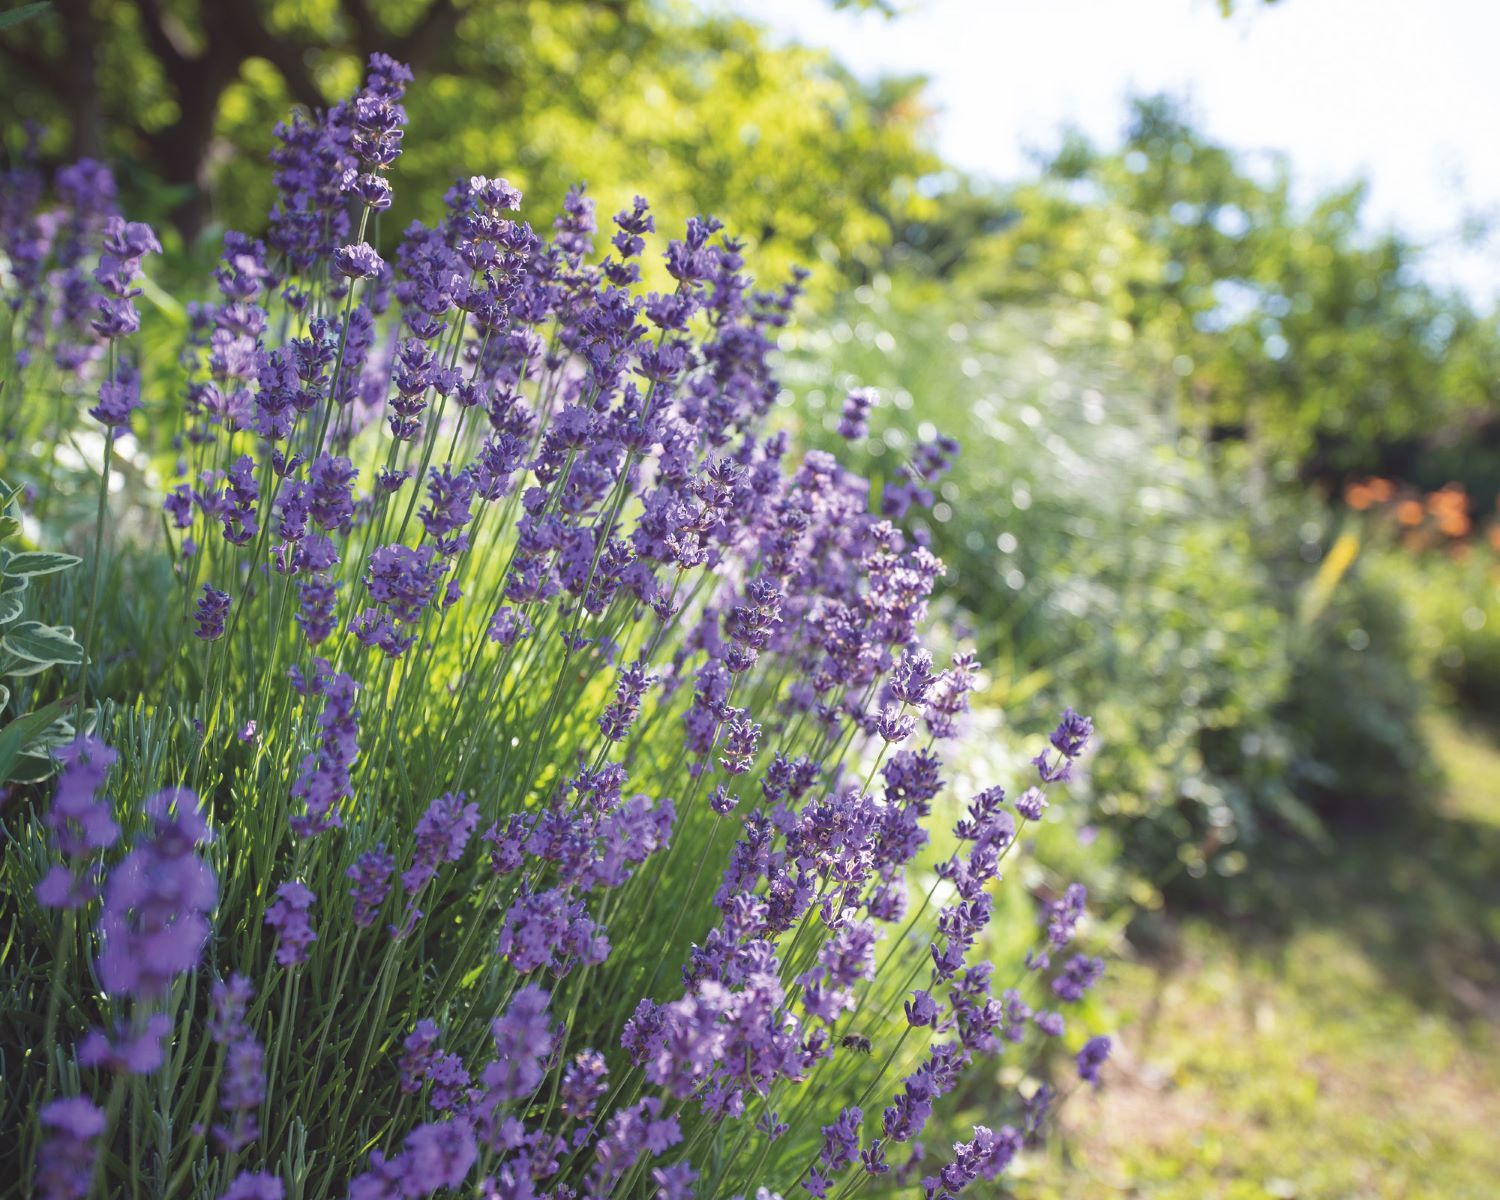
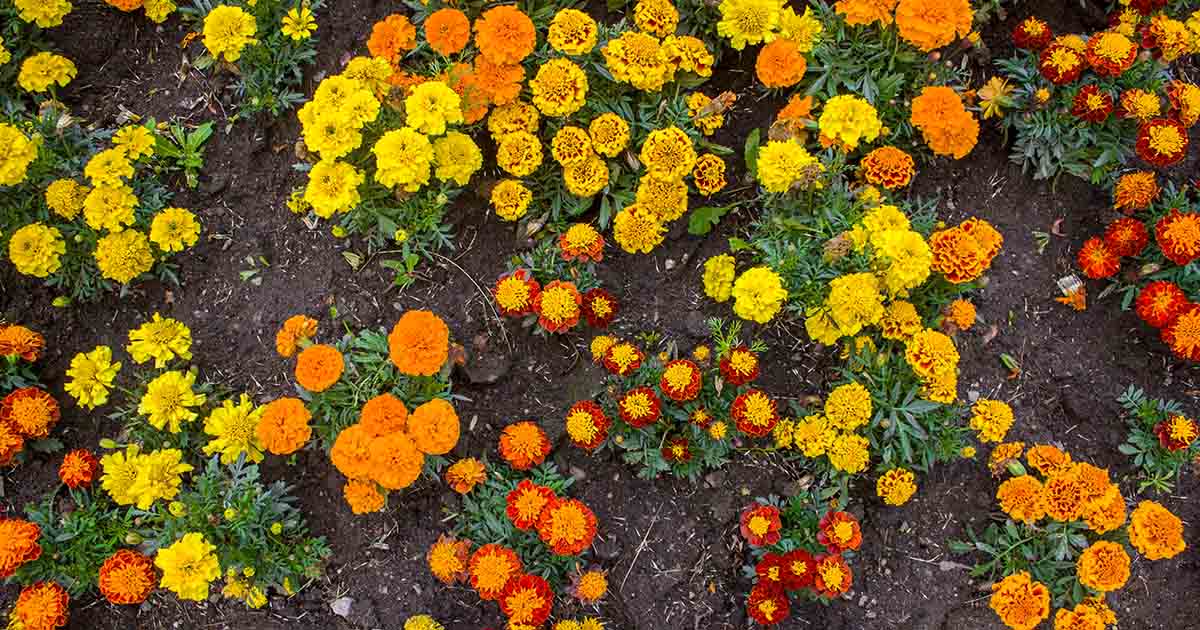
- Pollination: Watermelons require proper pollination for fruit set. Bees are the primary pollinators for watermelons, so it’s crucial to maintain a pollinator-friendly environment in your garden. Avoid using pesticides harmful to bees and consider planting flowers that attract pollinators nearby.
- Days to Maturity: Pay attention to the days to maturity of the watermelon variety you choose. This information will help you plan when to start planting and determine when the fruits will be ready for harvest. Keep in mind that different varieties have varying days to maturity, ranging from 70 to 100 days.
By taking these factors into consideration, you will set a solid foundation for a successful watermelon growing journey. Next, let’s explore the steps involved in preparing the soil for planting watermelon seeds.
Soil Preparation
Proper soil preparation is crucial for the successful growth of watermelon plants. By providing the right conditions, you can ensure that your plants have access to essential nutrients, good drainage, and a healthy root environment. Here are the steps involved in preparing the soil for watermelon planting:
- Choose the Right Location: Select a sunny spot in your garden that receives at least 6-8 hours of direct sunlight each day. Watermelons thrive in warmth, so choose a location that has good airflow and is protected from strong winds.
- Clear the Area: Start by removing any weeds, rocks, or debris from the planting area. Clearing the area ensures that the watermelon plants have the necessary space and reduces competition for resources.
- Test the Soil: It’s recommended to conduct a soil test to determine the pH level and nutrient content of your soil. This will help you identify any deficiencies or imbalances and make appropriate amendments. Most watermelons prefer a soil pH between 6 and 7.
- Amend the Soil: Based on the soil test results, you may need to make amendments to improve the soil quality. Organic matter such as compost, well-rotted manure, or peat moss can be incorporated into the soil to enhance its fertility and drainage. Work the amendments into the top 6-8 inches of soil.
- Provide Adequate Drainage: Watermelons require well-drained soil to prevent waterlogging, which can lead to root rot and other diseases. If you have heavy clay soil that tends to retain water, consider adding sand or perlite to improve drainage.
- Apply Fertilizer: Before planting, add a balanced fertilizer or one specifically formulated for fruits and vegetables to provide essential nutrients for the watermelon plants. Follow the recommended application rates on the fertilizer package, and mix it into the soil thoroughly.
Once the soil preparation is complete, you’re ready to move on to the next step: planting the watermelon seeds. Ensure that the soil is well-prepared and optimal for the growth and development of your watermelon plants. In the next section, we’ll cover the planting techniques for watermelon seeds.
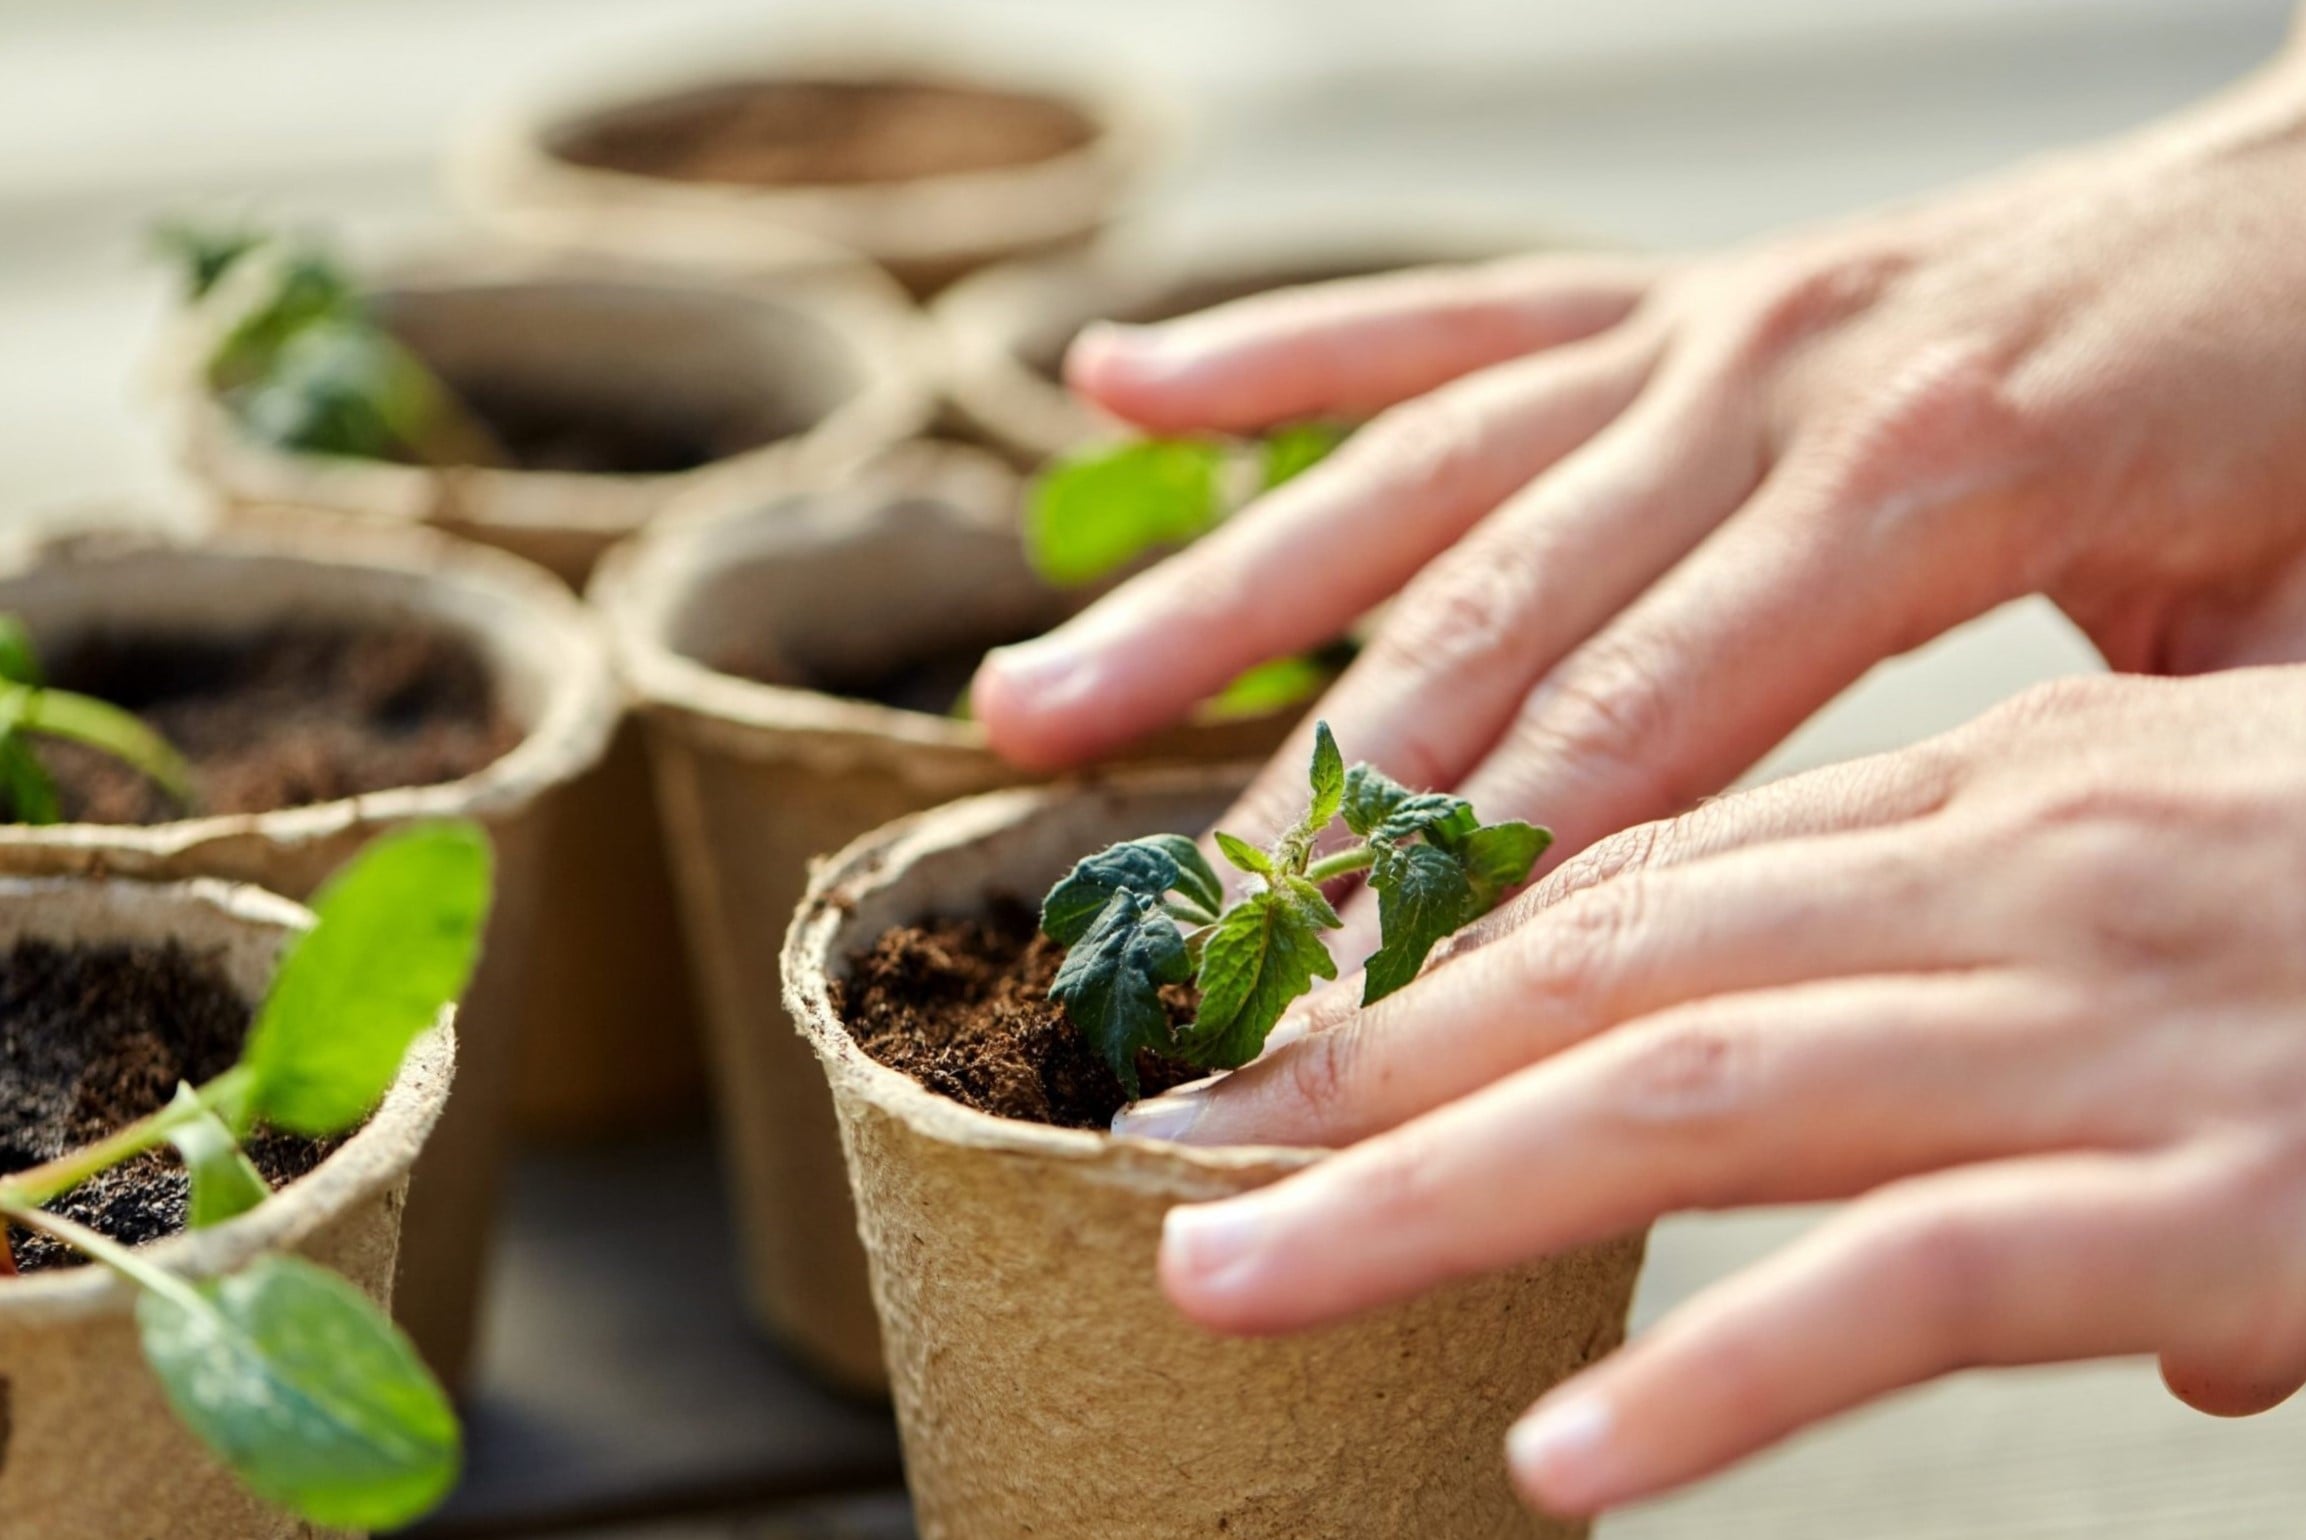
Planting Watermelon Seeds
Planting watermelon seeds is an exciting step in the journey of growing your own watermelons. Follow these guidelines to ensure successful seed germination and healthy plant establishment:
- Timing: Watermelons are warm-season crops, so it’s important to wait until the soil has warmed up before planting the seeds. The soil temperature should be at least 60°F (15°C) for optimal germination. In most regions, this occurs in late spring or early summer.
- Spacing: Watermelon plants require ample space to grow and spread their vigorous vines. Leave 6-10 feet (1.8-3 meters) of space between each plant to allow for proper airflow and prevent overcrowding. If you have limited space, consider growing bush-type watermelon varieties that require less space.
- Planting Depth: Sow the watermelon seeds at a depth of 1 inch (2.5 cm) in well-prepared soil. If the soil is too compacted or heavy, plant the seeds at a slightly shallower depth to promote better germination and seedling emergence.
- Hill or Rows: Watermelon seeds can be planted in either hills or rows, depending on your preference and available space. If planting in hills, create mounds of soil that are about 2-3 feet (61-91 cm) in diameter and plant 3-5 seeds in each hill. Space the hills at least 6-10 feet (1.8-3 meters) apart. If planting in rows, space the seeds about 2-3 feet apart within the row and leave 6-10 feet (1.8-3 meters) between rows.
- Watering: After planting, gently water the soil to ensure adequate moisture for seed germination. Avoid over-watering, as excessive moisture can lead to rotting. Once the seedlings emerge, provide regular, deep watering to encourage healthy root development.
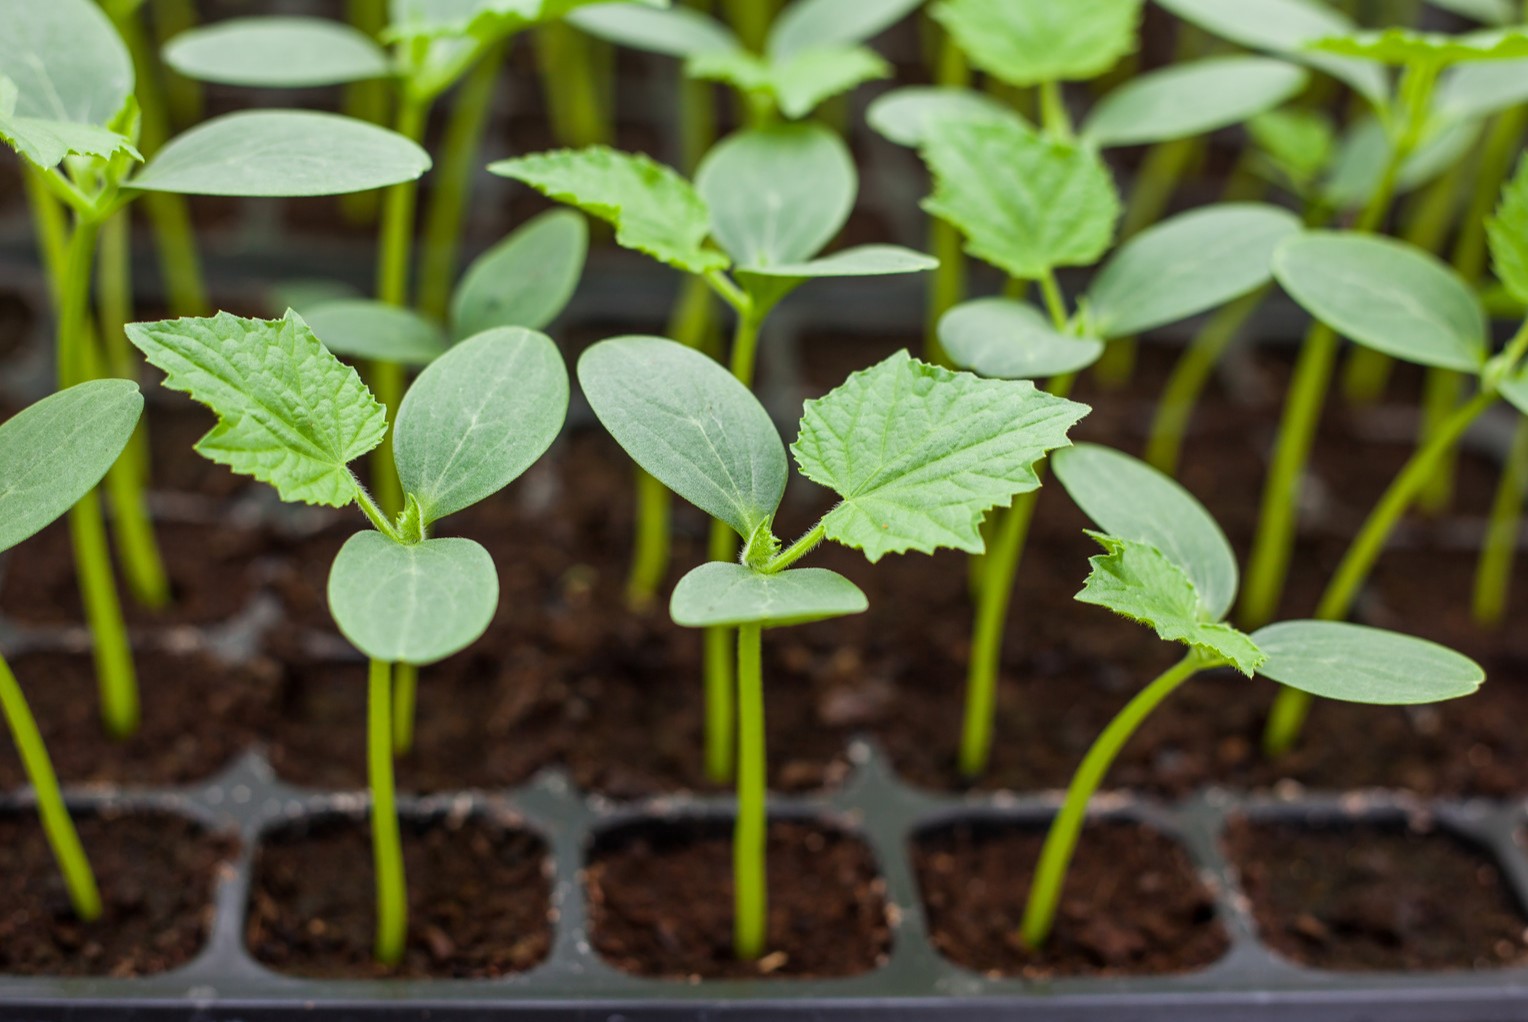
- Protecting Seedlings: Young watermelon seedlings can be vulnerable to pests, extreme temperatures, and excessive moisture. Consider using row covers or protective barriers to shield the seedlings from pests and provide some protection from unpredictable weather conditions.
- Thinning: Once the seedlings have established and true leaves have formed, thin them out to allow for proper spacing between plants. Keep the healthiest and strongest seedling in each hill or space them according to the recommended spacing for rows.
Remember to follow the specific instructions provided on the seed packet, as planting methods may vary slightly depending on the variety. With proper planting techniques, your watermelon seeds will soon sprout and grow into healthy and productive plants. The next section will focus on essential practices for watering and fertilizing your watermelon plants.
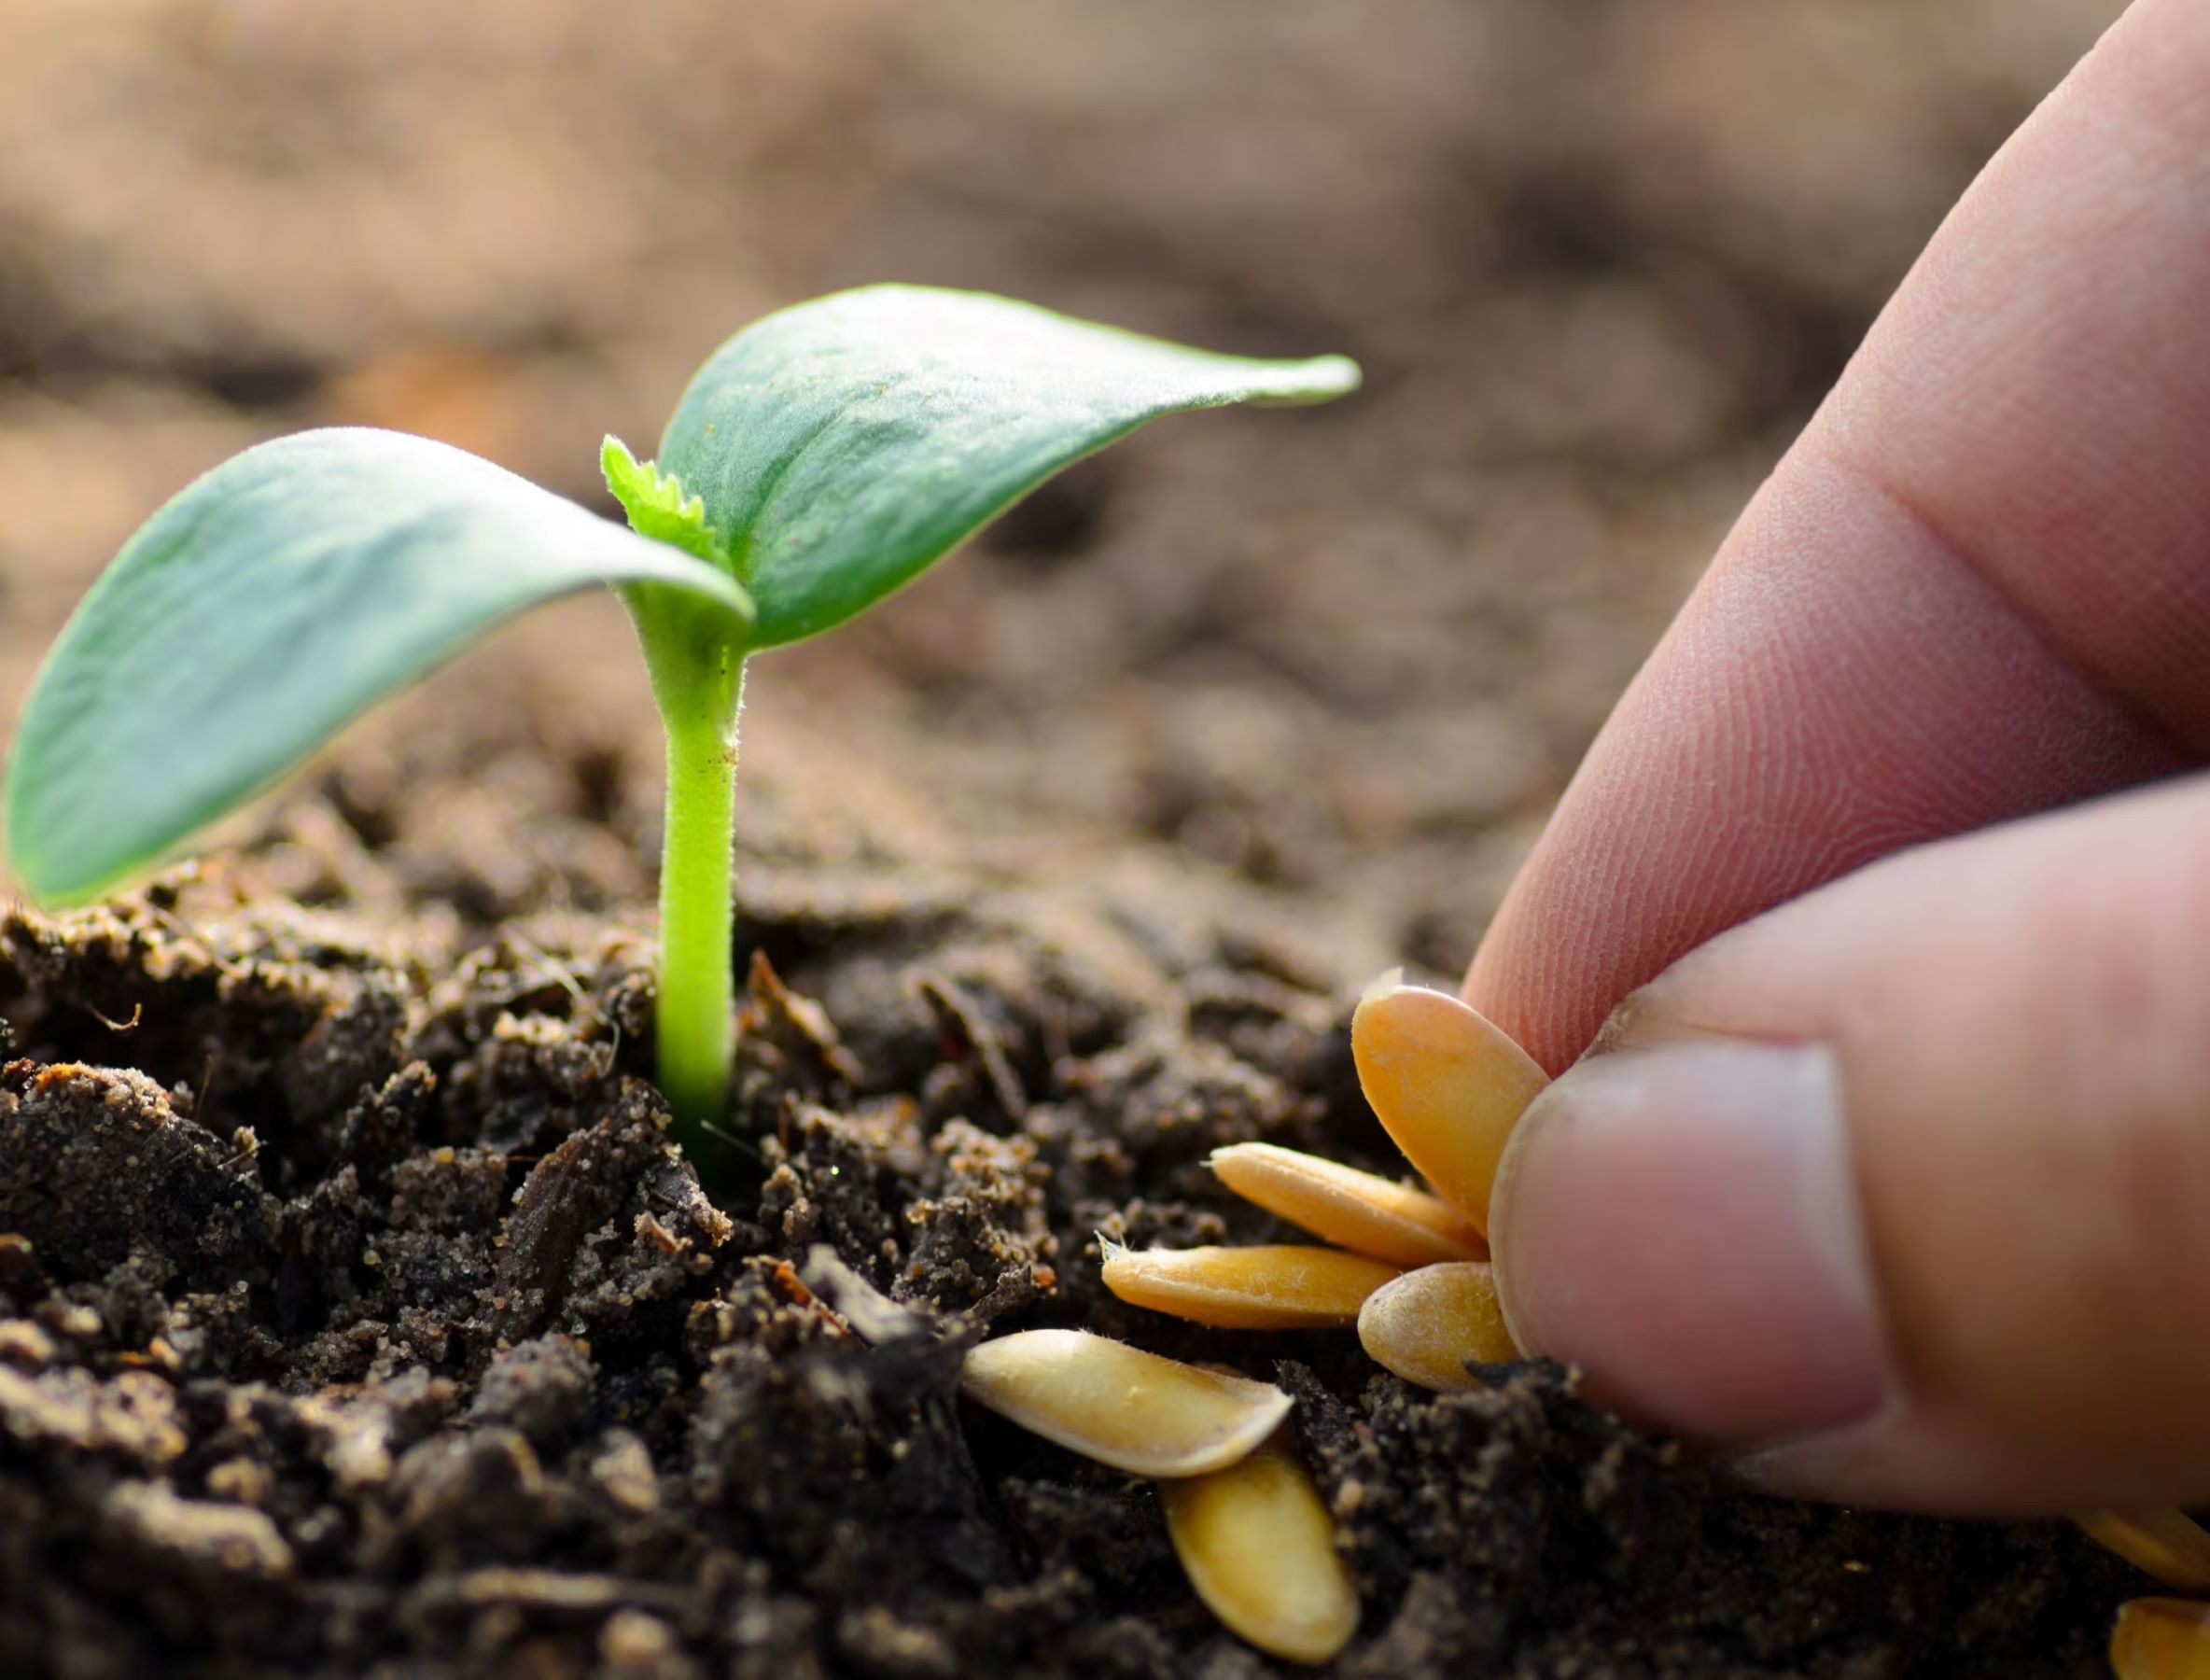
Plant watermelon seeds in late spring or early summer, when the soil temperature is consistently above 70°F. This will ensure optimal growing conditions for your watermelon plants.
Watering and Fertilizing
Proper watering and fertilizing are key factors in ensuring healthy growth and a bountiful harvest of watermelon plants. Here are some guidelines to help you maintain optimal moisture levels and provide the necessary nutrients to your plants:
Watering:
- Watermelon plants require consistent moisture throughout the growing season, especially during hot and dry periods. Aim to provide 1-2 inches (2.5-5 cm) of water per week, either through rainfall or supplemental irrigation.
- When watering, it’s important to focus on the root area of the plants. Avoid wetting the foliage excessively, as this can lead to disease issues.
- Consider using a drip irrigation system or soaker hoses to deliver water directly to the root zone without wetting the leaves.
- Water deeply and less frequently rather than shallowly and frequently. This encourages the roots to grow deeper into the soil, making them more resilient to dry spells.
- Monitor the moisture levels regularly by checking the soil. Watermelon plants prefer evenly moist soil, but be careful not to overwater, as this can lead to root rot and other problems.
Fertilizing:
- Watermelons are heavy feeders and require regular fertilization to support their vigorous growth and fruit development.
- Before planting, incorporate organic matter, such as compost or well-rotted manure, into the soil. This provides a slow-release source of nutrients.
- Once the plants have established and started to vine, apply a balanced fertilizer or one specifically formulated for vegetables according to the manufacturer’s instructions. Look for fertilizers with a slightly higher percentage of nitrogen (N) for vegetative growth and potassium (K) for fruit development.
- Apply fertilizer every 2-3 weeks throughout the growing season, being careful not to over-fertilize, as this can lead to excessive foliage growth at the expense of fruit production.
- Consider conducting a soil test midway through the season to assess the nutrient levels and make adjustments if necessary.
By providing proper watering and regular fertilization, you’ll ensure that your watermelon plants have the essential nutrients and moisture they need for healthy growth and abundant fruit production. In the next section, we’ll discuss essential practices for managing pests and diseases to protect your watermelon crop.
Read more: When Do You Plant Strawberry Seeds
Pest and Disease Management
Protecting your watermelon plants from pests and diseases is crucial to ensure a successful harvest. By implementing preventive measures and timely interventions, you can minimize the damage caused by common pests and diseases. Here are some essential practices for managing pests and diseases in your watermelon patch:
Pest Management:
- Aphids: These small, soft-bodied insects can cluster on the undersides of leaves and suck sap from the plants. Use insecticidal soap or neem oil spray to control aphids.
- Slugs and Snails: These mollusks can feed on young watermelon plants, leaving behind chewed leaves and slimy trails. Apply organic slug and snail baits or create physical barriers, such as copper tape, around your plants to keep them away.
- Cucumber Beetles: These yellow and black striped beetles can transmit diseases and damage the foliage. Handpick them from the plants or use row covers at the beginning of the season to prevent their infestation.
- Squash Bugs: These pests can cause significant damage to watermelon plants by sucking the sap and injecting toxins. Remove egg masses found on the undersides of leaves and use insecticidal soap or neem oil spray to control squash bugs.
Disease Management:
- Powdery Mildew: This fungal disease appears as a white powdery coating on the leaves, inhibiting photosynthesis and reducing plant vigor. Water the plants at ground level, avoid overhead watering, and apply fungicides labeled for powdery mildew control if necessary.
- Downy Mildew: This disease causes yellowing and wilting of leaves, often accompanied by a fuzzy grayish mold on the undersides. Improve air circulation around the plants by spacing them properly and apply appropriate fungicides for downy mildew control.
- Anthracnose: This fungal disease can cause sunken, dark lesions on watermelon fruits and foliage. Practice good sanitation, including removing infected plant debris, and apply copper-based fungicides to manage anthracnose.
- Fusarium Wilt: This soilborne disease can cause wilting, stunting, and yellowing of leaves. Use disease-resistant varieties, rotate crops, and avoid overwatering to prevent fusarium wilt.
Regularly monitor your watermelon plants for signs of pests and diseases. Early detection allows for prompt intervention and minimizes the risk of widespread damage. Remember to follow integrated pest management (IPM) practices, which involve a combination of cultural, biological, and chemical control methods.
Now that you are equipped with the knowledge of pest and disease management, let’s talk about harvesting your watermelons and proper storage techniques in the next section.
Harvesting and Storage
Harvesting watermelons at the right time ensures optimal taste and sweetness. Here are some guidelines for harvesting and storing your watermelon crop:
Harvesting:
- Watermelons are typically ready for harvest when the fruit reaches full size and the underside (where it touches the ground) turns from light green to creamy yellow.
- Gently tap the watermelon with your knuckles—ripe ones will produce a dull, hollow sound, while unripe ones will sound solid.
- Use pruning shears or a sharp knife to cut the fruit from the vine, leaving a couple of inches of stem attached to the watermelon.
- Be careful when handling and transporting watermelons, as they can be heavy and fragile.
Storage:
- Store watermelons in a cool, dry place, preferably between 50-60°F (10-16°C).
- If storing multiple watermelons, keep them separated to allow for good air circulation and to prevent the spread of any potential rot.
- Uncut watermelons can be stored for up to two weeks, depending on the ripeness at harvest.
- Once a watermelon is cut, it should be refrigerated and consumed within a few days.
- If you have an excess of watermelons, consider preserving them by making juice, sorbet, or freezing the fruit for later use.
Remember that watermelons are best enjoyed when they are fresh and ripe. The taste of a homegrown, vine-ripened watermelon is incomparable to store-bought ones. So, be sure to savor the mouthwatering sweetness of your hard-earned harvest!
Now that you have a comprehensive understanding of the growth, care, and harvesting of watermelons, you are ready to embark on your own watermelon-growing journey. Enjoy the rewarding experience of growing your own delicious and refreshing watermelons!
Remember, gardening is both a science and an art, so don’t hesitate to experiment, learn from your experiences, and enjoy the process of nurturing plants and witnessing them thrive.
Conclusion
Growing watermelons can be a fulfilling and rewarding experience for gardeners of all skill levels. With the right knowledge and care, you can cultivate delicious, juicy watermelons right in your own backyard. By considering important factors such as climate, variety selection, soil preparation, and proper planting techniques, you can set the stage for successful watermelon cultivation.
Throughout this article, we explored the essential steps for growing watermelons, from soil preparation to pest and disease management. We discussed the importance of providing adequate watering and regular fertilization to support healthy plant growth. We also touched on key practices for managing pests and diseases, which are crucial for protecting your watermelon crop.
When it’s time to harvest your watermelons, be sure to look for signs of ripeness and use proper harvesting techniques to ensure the best flavor and quality. And remember, storing watermelons in a cool, dry place will help extend their shelf life, allowing you to enjoy the fruits of your labor for an extended period.
Gardening is not only a practical hobby but also a source of joy, relaxation, and connection with nature. The act of nurturing plants and witnessing them grow and thrive is a gratifying experience. So, whether you’re a seasoned gardener or just starting out, growing watermelons adds a fun and tasty element to your gardening repertoire.
Now armed with the knowledge and understanding of watermelon cultivation, it’s time to put what you’ve learned into action. Select your desired watermelon varieties, prepare your soil, plant the seeds, and watch your watermelon patch come to life.
Remember, each gardening journey is unique, and there is always more to learn and discover. Don’t be afraid to experiment and adapt to the specific conditions of your garden. Embrace the process, be patient, and enjoy the delightful experience of growing your own succulent watermelons.
So go ahead, get your hands dirty, and savor the sweet rewards of a thriving watermelon harvest. Happy gardening!
Frequently Asked Questions about When Do You Plant Watermelon Seeds
Was this page helpful?
At Storables.com, we guarantee accurate and reliable information. Our content, validated by Expert Board Contributors, is crafted following stringent Editorial Policies. We're committed to providing you with well-researched, expert-backed insights for all your informational needs.
0 thoughts on “When Do You Plant Watermelon Seeds”