Home>Garden Essentials>How To Soak Seeds Before Planting
Garden Essentials
How To Soak Seeds Before Planting
Modified: August 27, 2024
Learn the best techniques for soaking garden seeds before planting to ensure healthy and thriving plants. Discover how to prepare your seeds for optimal germination and growth.
(Many of the links in this article redirect to a specific reviewed product. Your purchase of these products through affiliate links helps to generate commission for Storables.com, at no extra cost. Learn more)
Introduction
Welcome to the wonderful world of gardening! Whether you are an experienced gardener or just starting out, it is important to understand the various techniques that can help you achieve success in growing your plants. One such technique is soaking seeds before planting. This simple yet effective method can significantly improve the germination rate and overall health of your plants. In this article, we will explore the benefits of soaking seeds, guide you through the step-by-step process, offer tips for choosing the right soaking method, highlight common mistakes to avoid, and provide some additional tips for successful seed soaking.
So why should you consider soaking your seeds before planting? Well, the answer lies in the science behind the process. Seeds contain a protective coating that helps them stay dormant until conditions are right for germination. However, this coating can also create a barrier that hinders water absorption and nutrient uptake, leading to slower and less successful germination. By soaking the seeds, you are essentially softening this protective coating, allowing water and nutrients to penetrate more easily.
The benefits of soaking seeds before planting are numerous. Firstly, it can help to speed up the germination process. When seeds are soaked, they absorb water more readily, causing the seed coat to break open and germination to occur faster. This can be especially beneficial for slow-growing seeds or those with hard outer shells.
Secondly, soaking seeds can enhance seed viability. Some seeds can lose their vitality over time, especially if they have been stored for a long period. Soaking can help revive the seeds and increase the chances of successful germination.
Moreover, soaking seeds can improve the overall health and vigor of the emerging seedlings. By providing them with an initial burst of hydration and nutrients, you are giving them a head start in their growth journey. This can result in stronger and more robust plants.
Now that we understand the benefits of soaking seeds, let’s delve into the step-by-step process of how to do it effectively. Remember, each type of seed may have different soaking requirements, so it’s always a good idea to refer to the specific instructions provided by the seed supplier. However, the general steps outlined below will give you a good starting point.
Key Takeaways:
- Soaking seeds before planting can speed up germination, enhance seed viability, and improve seedling health. It’s a simple yet powerful technique for a successful garden.
- Choose the right soaking method, avoid common mistakes, and follow tips for successful seed soaking to ensure optimal germination and healthy plant growth.
Benefits of Soaking Seeds Before Planting
Soaking seeds before planting is a simple yet powerful technique that can offer numerous benefits to your gardening efforts. Let’s explore some of the key advantages of this practice:
- Improved germination rate: Soaking seeds can significantly improve the germination rate. When seeds are soaked, they absorb water, which softens the seed coat and activates the germination process. This leads to faster and more successful germination, ensuring a higher rate of seeds sprouting into healthy seedlings.
- Enhanced seed viability: Over time, some seeds may lose their viability and struggle to germinate. Soaking can help to revive these dormant seeds by providing them with the necessary hydration and nutrients. This increases their chances of successful germination, giving you a higher yield of viable plants.
- Accelerated germination process: Certain types of seeds, such as those with hard outer shells or slow germination rates, can benefit greatly from soaking. By softening the seed coat, soaking speeds up the germination process, allowing the seeds to sprout and establish roots more quickly.
- Improved seedling health and vigor: When seeds are soaked, they absorb water and essential nutrients, which jump-starts their growth. This initial burst of hydration and nutrients provides the emerging seedlings with the resources they need for healthy development. As a result, you can expect stronger, more robust seedlings that are better prepared to face potential challenges.
- Increased uniformity: Soaking seeds can help promote uniform germination and growth among your plants. By ensuring that all seeds receive the same level of hydration and nutrients, you create a more consistent growing environment. This can lead to plants of similar size and vigor, making it easier to manage and maintain your garden.
- Prevention of seedling diseases: Soaking seeds in a diluted hydrogen peroxide solution can help eliminate or reduce the presence of pathogens that may be present on the seed surface. This can minimize the risk of seedling diseases, leading to healthier plants overall.
Overall, soaking seeds before planting is a valuable technique that can greatly improve the success of your gardening endeavors. From increased germination rates to enhanced seedling health, the benefits are clear. Incorporating this simple step into your planting process can make a significant difference in the overall productivity and quality of your garden.
Step-by-Step Guide on How to Soak Seeds Before Planting
Now that you understand the benefits of soaking seeds before planting, let’s dive into a step-by-step guide on how to effectively soak seeds:
- Choose the right container: Select a container that is large enough to accommodate the seeds and allow for water circulation. A shallow dish or a glass jar works well for most types of seeds.
- Clean the container: Ensure that the container you choose is clean and free from any residues or contaminants. You can wash it with mild soap and water or sanitize it with a diluted bleach solution to eliminate any potential pathogens.
- Prepare the soaking solution: Fill the container with lukewarm water. You can also add a natural seed soak solution, such as seaweed extract or compost tea, to provide additional nutrients. Be sure to follow the instructions on the product label for proper dilution.
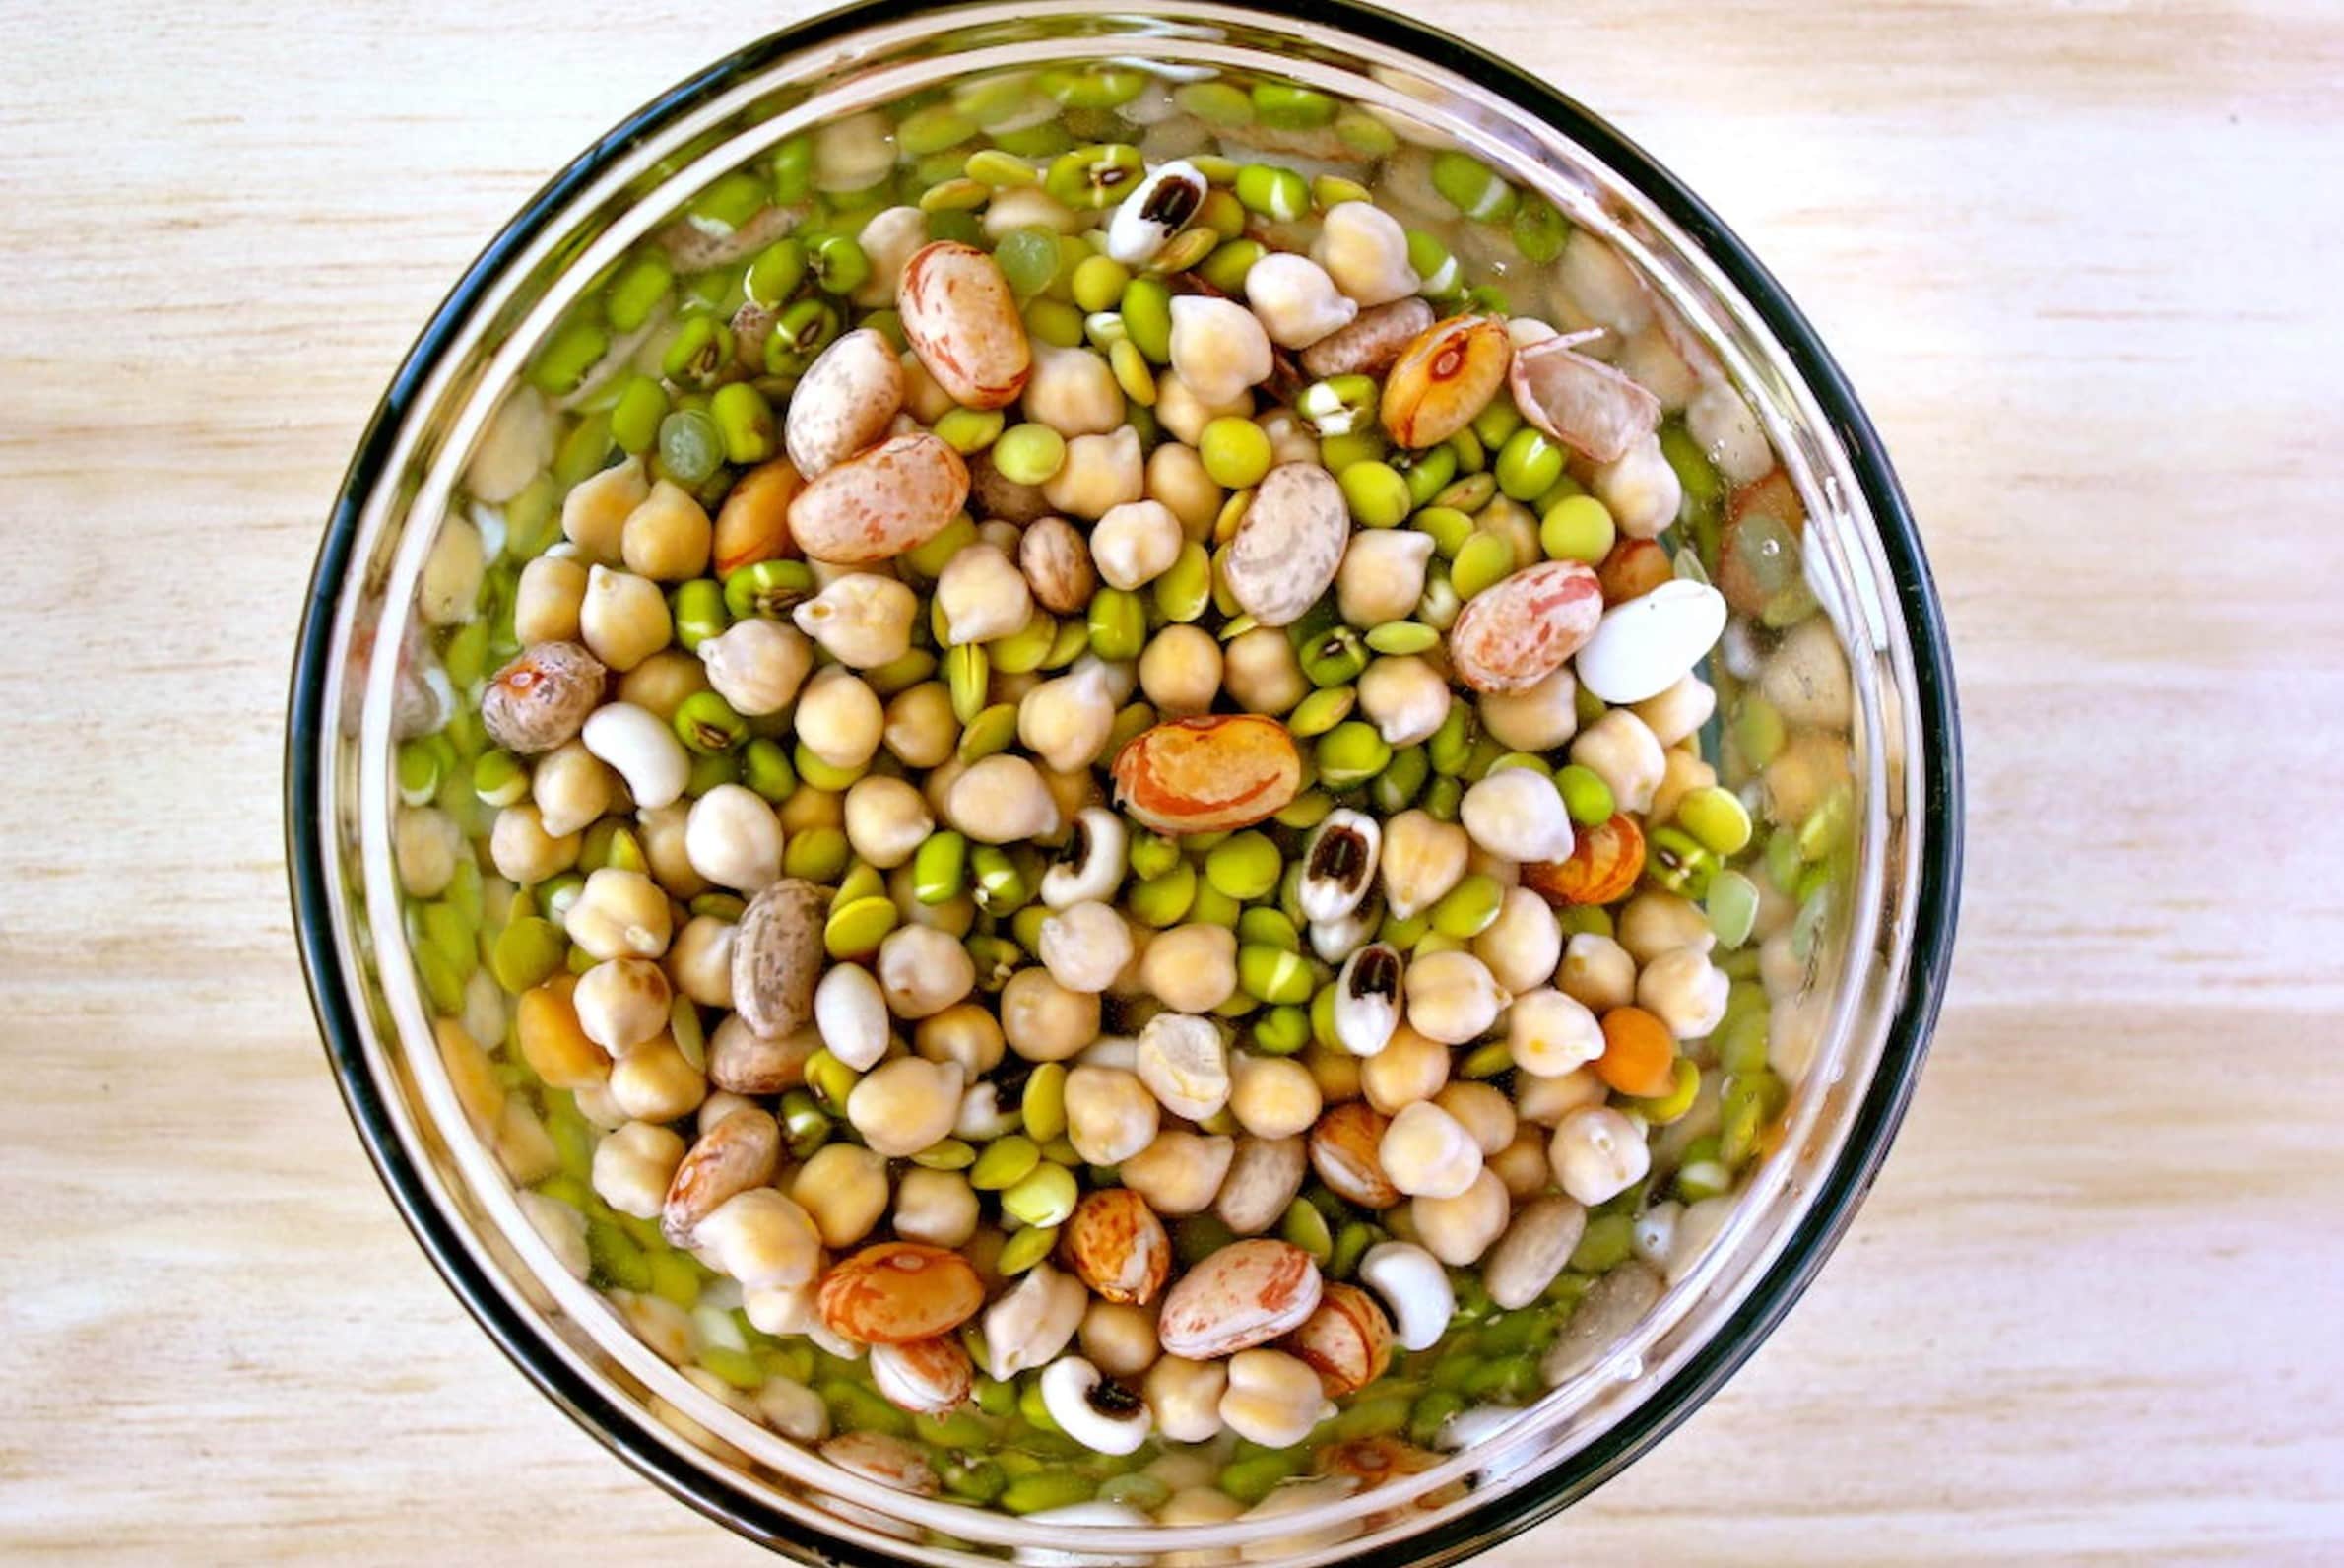
- Add the seeds: Place the seeds into the container with the soaking solution. Make sure all the seeds are fully submerged in the water.
- Soak the seeds: Allow the seeds to soak for the recommended amount of time. This can vary depending on the seed type and its specific soaking requirements. Generally, soaking times range from a few hours to overnight. Consult the seed packet or supplier’s instructions for the optimal soaking duration.
- Monitor the soaking process: During the soaking period, periodically check the seeds to ensure they remain submerged and that the water is not stagnant. If necessary, gently stir the seeds to improve water circulation.
- Drain and rinse the seeds: After the soaking period is complete, carefully pour out the soaking solution and rinse the seeds with fresh water. This step helps remove any residual chemicals or impurities from the soaking solution.
- Plant the seeds: Once the seeds have been drained and rinsed, you can proceed with planting them according to their specific planting instructions. Whether you plant them directly in the garden or in seed trays, the soaking process has primed them for successful germination.
- Dispose of the soaking solution: Dispose of the used soaking solution responsibly, following local guidelines. If you used a natural seed soak solution, such as compost tea, it can be safely poured onto your garden as a nutrient-rich fertilizer.
By following these steps, you can ensure that your seeds are effectively soaked and ready for optimal germination. Remember to adjust the soaking time and process based on the specific requirements of the seeds you are working with. With a little care and attention, you’ll be on your way to a successful germination and a thriving garden!
Choosing the Right Soaking Method
When it comes to soaking seeds before planting, there are a few different methods you can choose from. The right method for you will depend on various factors, including the type of seeds you are working with, your available resources, and personal preference. Here are some popular soaking methods to consider:
- Water Soaking: This is the most common and straightforward method of seed soaking. It involves immersing the seeds in water for a designated period. Water soaking works well for most seeds and is especially effective for those with thin seed coats.
- Tea Soaking: Soaking seeds in a tea solution can provide additional benefits, as certain teas contain natural compounds that can aid in seed germination. For example, chamomile tea has been found to have anti-fungal properties, which can help prevent seedling damping-off disease. Brew a weak tea solution, let it cool, and soak the seeds for the recommended time.
- Hydrogen Peroxide Soaking: Soaking seeds in a diluted hydrogen peroxide solution can be beneficial in reducing the risk of seed-borne diseases. Hydrogen peroxide acts as a natural disinfectant, helping to eliminate any pathogens present on the seed surface. Dilute one part hydrogen peroxide with nine parts water and soak the seeds for a short period, usually no more than 30 minutes.
- Cold Stratification: Some seeds, particularly those from temperate climates, benefit from a process called cold stratification. This involves exposing the seeds to a period of cold temperature to simulate the winter season. Cold stratification can break seed dormancy and promote germination. To cold stratify seeds, place them in a moist substrate, such as peat moss or vermiculite, and store them in the refrigerator for the recommended time.
- Pre-soaking in Compost Tea: If you have access to compost tea, pre-soaking your seeds in this nutritious liquid can give them an extra boost. Compost tea is rich in beneficial microbes and nutrients that can enhance seed germination and support healthy seedling development.
When choosing the right soaking method, consider the specific requirements and characteristics of the seeds you are working with. Delicate or thin-coated seeds may benefit from gentler soaking methods, while hard-coated or disease-prone seeds may require a more intensive approach. Additionally, take into account the resources and ingredients you have readily available.
Remember to follow the recommended soaking times and instructions for each method, as different seeds may have different requirements. Pay attention to any precautions or warnings specified by the seed supplier or gardening experts to ensure the best results.
Experimenting with different soaking methods can be an exciting part of your gardening journey. By finding the method that works best for your seeds and the conditions of your garden, you can give your plants the head start they need for successful germination and growth.
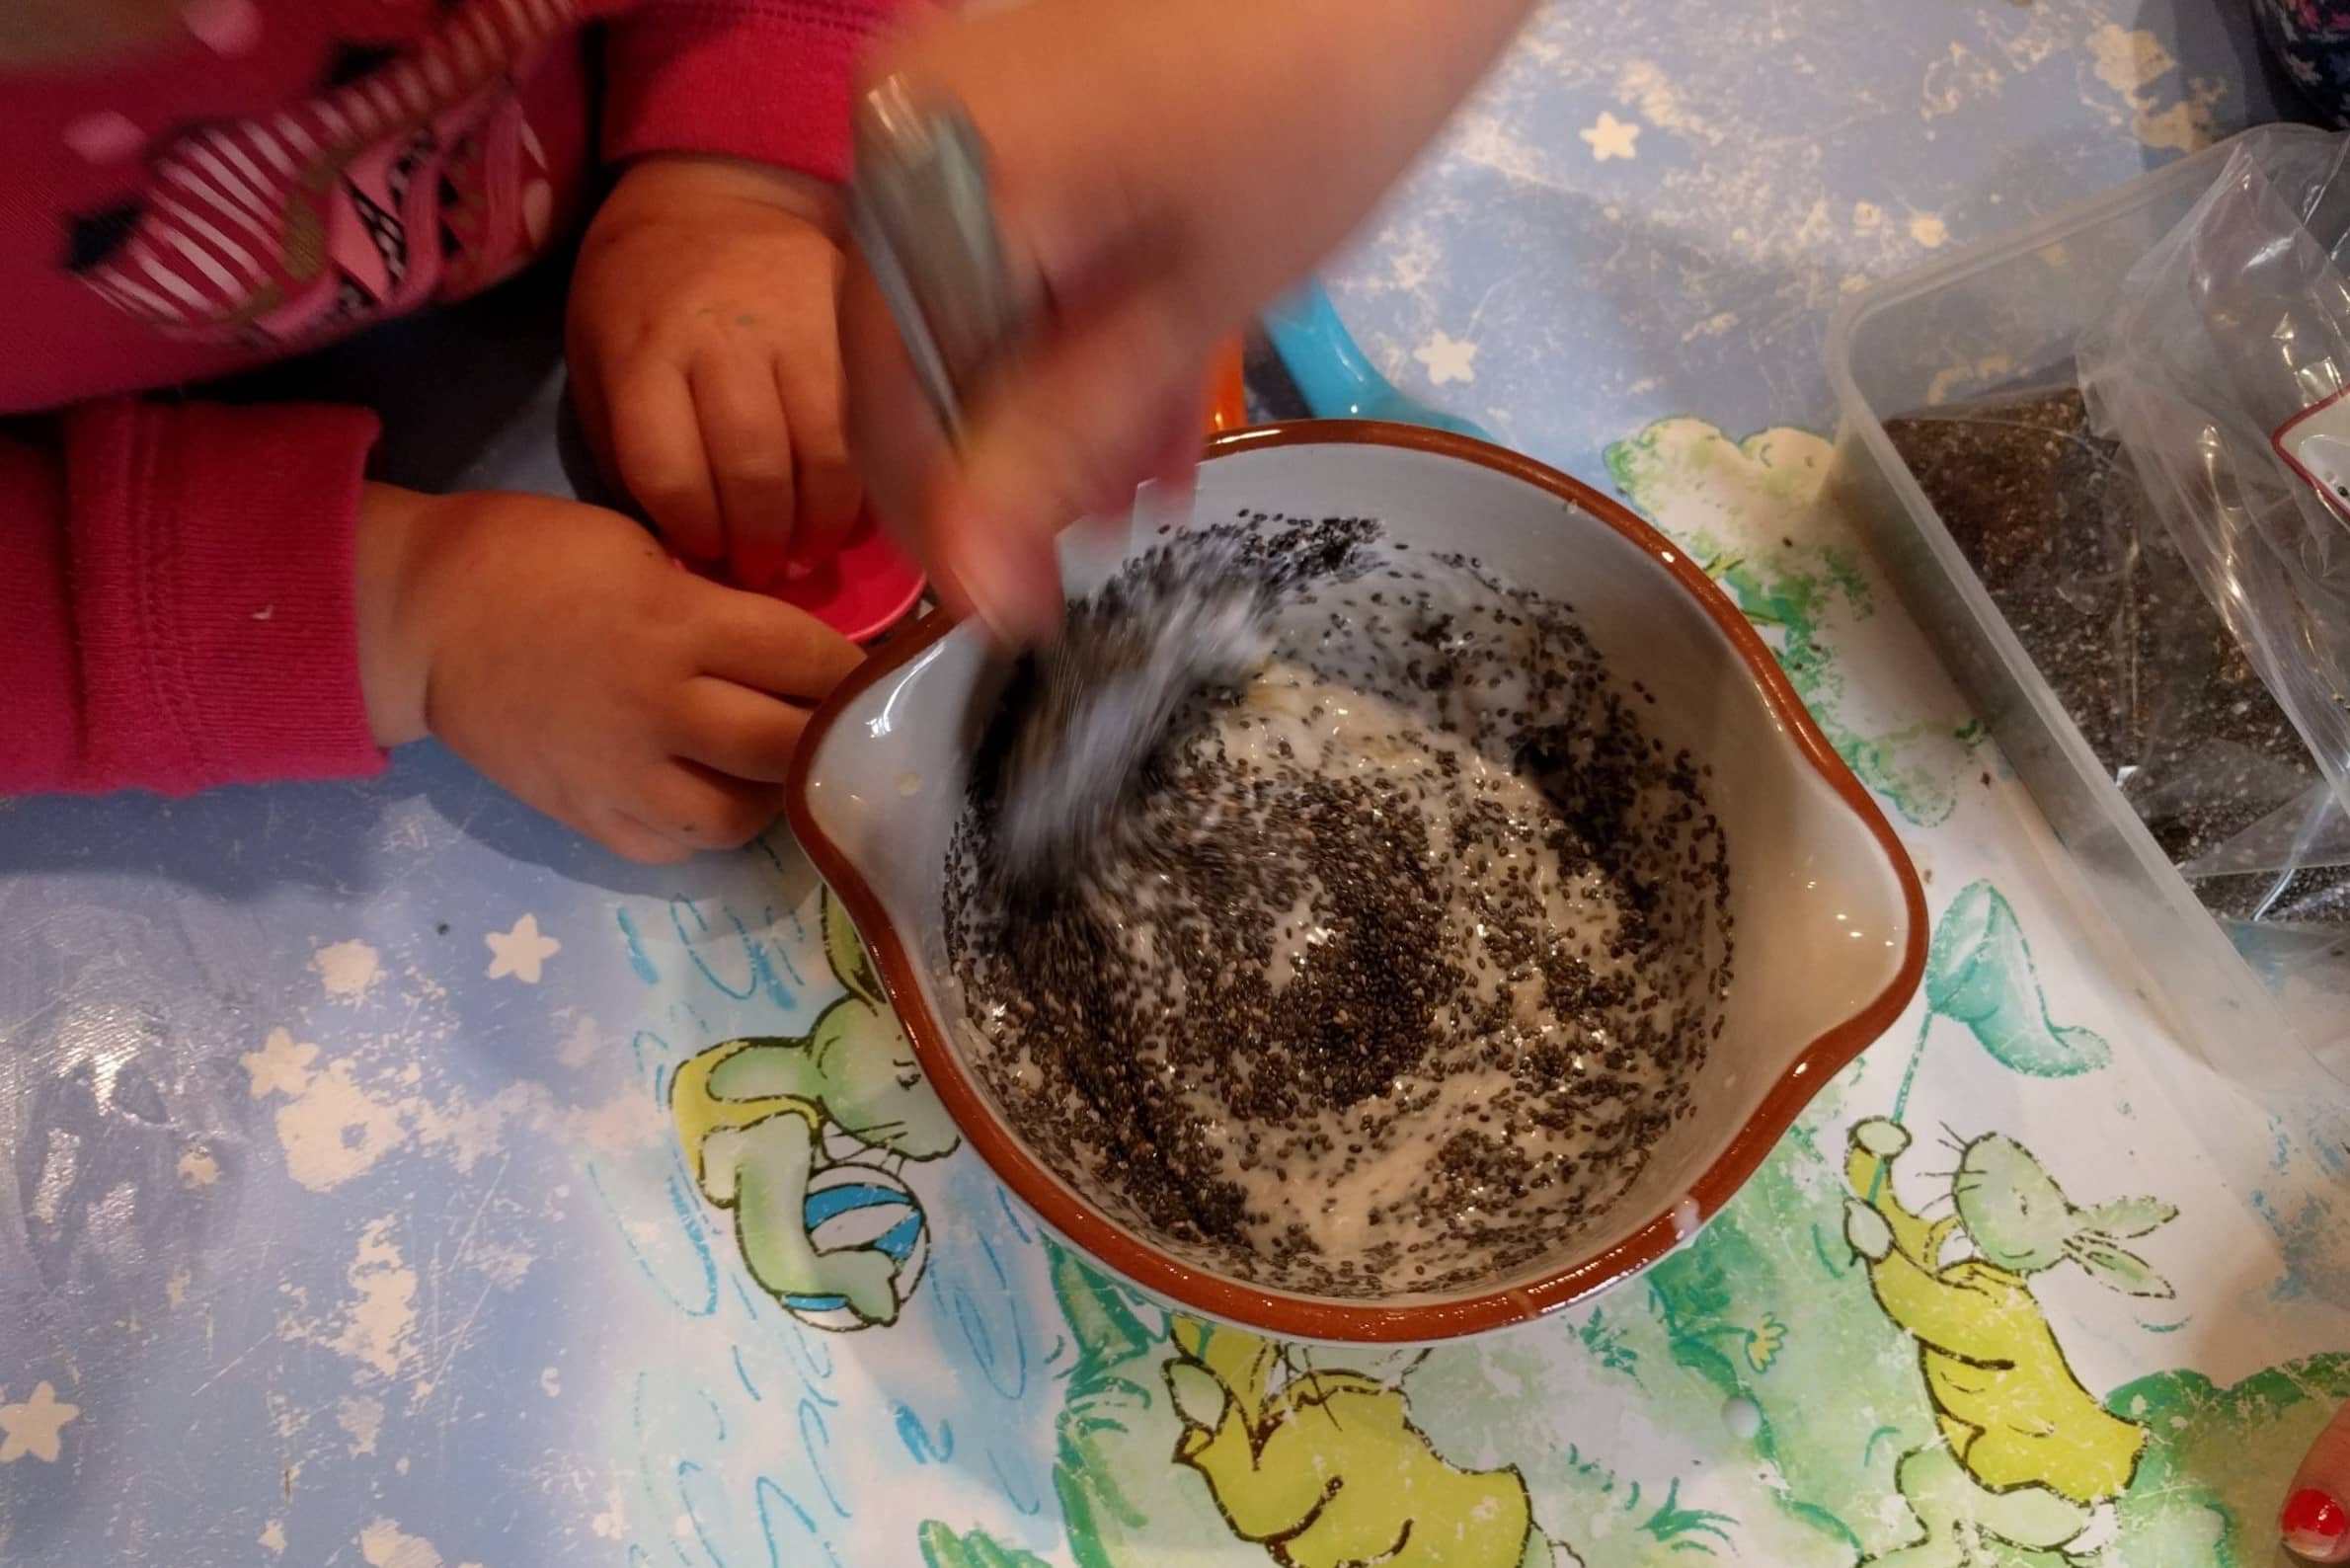
Soak seeds in room temperature water for 12-24 hours before planting to help soften the seed coat and promote faster germination.
Common Mistakes to Avoid When Soaking Seeds
While soaking seeds before planting can greatly benefit your gardening efforts, it’s important to be aware of some common mistakes that can hinder the process. By avoiding these errors, you can maximize the success of your seed soaking and ensure optimal germination. Here are some common mistakes to watch out for:
- Over-soaking: Leaving seeds to soak for too long can have negative consequences. Over-soaking can cause the seeds to become waterlogged, leading to rot or fungal growth. Each type of seed has its own recommended soaking time, so be sure to follow the instructions provided by the seed supplier.
- Using hot water: Avoid using hot water to soak seeds as it can damage the seed or even kill it. Lukewarm water is usually the best choice, as it provides a gentle and ideal soaking environment for most seeds.
- Not rinsing the seeds: After soaking, it’s crucial to thoroughly rinse the seeds with fresh water to remove any residual chemicals or impurities from the soaking solution. Failure to rinse the seeds can potentially harm their germination or even inhibit their growth once planted.
- Ignoring specific soaking requirements: Different types of seeds may have specific soaking requirements, such as cold stratification or pre-soaking in a particular solution. It’s essential to understand and follow these requirements to ensure successful results. Refer to the seed packet or supplier’s instructions for any specific instructions.
- Using contaminated or dirty containers: Using dirty or contaminated containers for seed soaking can introduce harmful pathogens or chemicals to the seeds. Before soaking, make sure the container is clean and sanitized to provide a safe and suitable environment for the seeds.
- Not monitoring the soaking process: It’s vital to periodically check on the seeds during the soaking process to ensure they remain submerged and that the water is not stagnant. Stagnant water can lead to oxygen deprivation and negatively impact seed viability.
- Skipping the recommended soaking method: Different seeds may require different soaking methods, such as tea soaking or hydrogen peroxide soaking. Skipping or disregarding the recommended method can result in suboptimal germination and hinder the overall success of the seed soaking process.
- Not adjusting for seed size: Larger seeds may require a longer soaking time compared to smaller seeds. Be mindful of the size of the seeds you’re working with and adjust the soaking time accordingly to ensure maximum effectiveness.
By avoiding these common mistakes and following the proper guidelines for seed soaking, you can increase the chances of successful germination and optimize the growth of your plants. Take the time to research the specific requirements of the seeds you’re working with and provide them with the care and attention they need for a healthy start.
Read more: How Long Do You Soak Seeds Before Planting
Tips for Successful Seed Soaking
To ensure successful seed soaking and maximize the chances of germination, consider the following tips:
- Read the instructions: Always refer to the seed packet or supplier’s instructions for specific recommendations on soaking time, method, and any additional requirements for successful germination.
- Use clean, sanitized containers: Clean containers free from contaminants are essential for the health of your seeds. Prior to soaking, wash containers with mild soap and warm water, or sanitize them with a diluted bleach solution, then rinse thoroughly.
- Opt for lukewarm water: Lukewarm water is generally the best option for soaking seeds. Avoid using hot water, which can damage or even kill the seeds, and cold water, which may slow down the soaking process.
- Time it right: Follow the recommended soaking time for each type of seed. Under-soaking may lead to poor germination, while over-soaking can cause damage or rot. Set a timer to ensure you don’t exceed the suggested soaking period.
- Monitor temperature and humidity: For successful germination, it’s important to maintain a suitable environment. Keep the soaking container in an area with a stable temperature and moderate humidity levels to avoid extremes that could impede seed soaking and germination.
- Adjust soaking methods for specific seeds: Some seeds may benefit from specific soaking methods, such as cold stratification or tea soaking. Research the requirements of the seeds you’re working with and apply the appropriate method to enhance germination.
- Rinse the seeds: After soaking, thoroughly rinse the seeds with fresh water to remove any residual chemicals or impurities. This step helps ensure clean and healthy seeds for optimal germination.
- Label and organize: Keep track of the seeds you’ve soaked by labeling the containers with the seed variety and soaking date. This will help you stay organized and manage your planting schedule effectively.
- Experiment and learn: Gardening is a continuous learning process. Don’t be afraid to experiment with different soaking techniques and observe the results. Take note of what works well for certain seeds and adjust your approach accordingly.
- Consider seed storage conditions: If you have stored your seeds for a long time, they may have lost some viability. Soaking can help revive dormant seeds, but it’s important to assess the storage conditions and the age of the seeds to determine the chances of successful germination.
By following these tips, you can increase the success rate of seed soaking and give your plants the best possible start. Remember that each type of seed may have specific requirements, so take the time to research and accommodate those needs. With patience, observation, and proper care, you’ll be rewarded with healthy and thriving seedlings.
Conclusion
Soaking seeds before planting is a simple and effective technique that can greatly improve the chances of successful germination and the overall health of your plants. By softening the seed coat and providing an initial burst of hydration and nutrients, seed soaking sets the stage for robust growth and vigorous plants.
Throughout this article, we have explored the benefits of soaking seeds, provided a step-by-step guide on how to soak them effectively, discussed different soaking methods, and highlighted common mistakes to avoid. Additionally, we have shared tips to enhance your seed soaking process and increase your gardening success.
Remember to read the instructions provided by the seed packet or supplier, as each type of seed may have specific soaking requirements. Use clean and sanitized containers, opt for lukewarm water, and monitor the soaking time to ensure optimal results. Rinse the seeds after soaking, label and organize them, and consider the storage conditions of older seeds.
Through careful attention and experimentation, you can perfect your seed soaking technique and witness improved germination rates, healthier seedlings, and ultimately, a bountiful and thriving garden. So don’t hesitate to incorporate seed soaking into your gardening routine and give your plants the best possible start on their journey to growth and productivity.
Happy gardening!
Frequently Asked Questions about How To Soak Seeds Before Planting
Was this page helpful?
At Storables.com, we guarantee accurate and reliable information. Our content, validated by Expert Board Contributors, is crafted following stringent Editorial Policies. We're committed to providing you with well-researched, expert-backed insights for all your informational needs.


0 thoughts on “How To Soak Seeds Before Planting”