Home>Garden Essentials>How Long Should Seeds Soak Before Planting

Garden Essentials
How Long Should Seeds Soak Before Planting
Modified: March 16, 2024
Learn how long seeds should soak before planting in your garden. Discover the best soaking techniques for successful germination and healthy plants.
(Many of the links in this article redirect to a specific reviewed product. Your purchase of these products through affiliate links helps to generate commission for Storables.com, at no extra cost. Learn more)
Introduction
When it comes to starting a garden from seeds, proper preparation is key to ensuring optimal growth and germination rates. One method that gardeners often use to kickstart the germination process is seed soaking. Soaking seeds before planting can offer several benefits, including faster germination, increased seed viability, and improved seedling establishment.
Seed soaking involves letting the seeds sit in water for a specific period, allowing them to absorb moisture and initiate the sprouting process. The soaking time required can vary depending on factors such as seed type, size, and hardiness. In this article, we will delve into the factors that affect seed soaking time, the types of seeds that benefit from soaking, common mistakes to avoid, and alternative methods for seed pre-treatment.
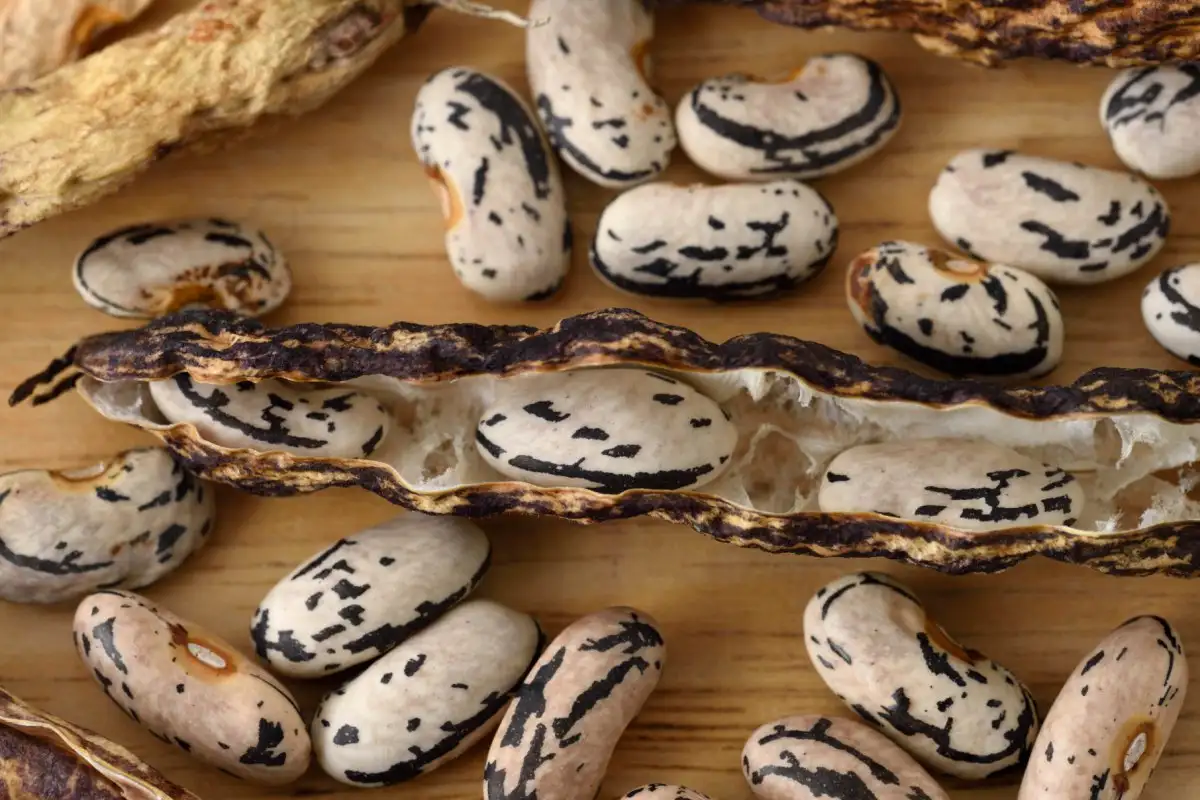
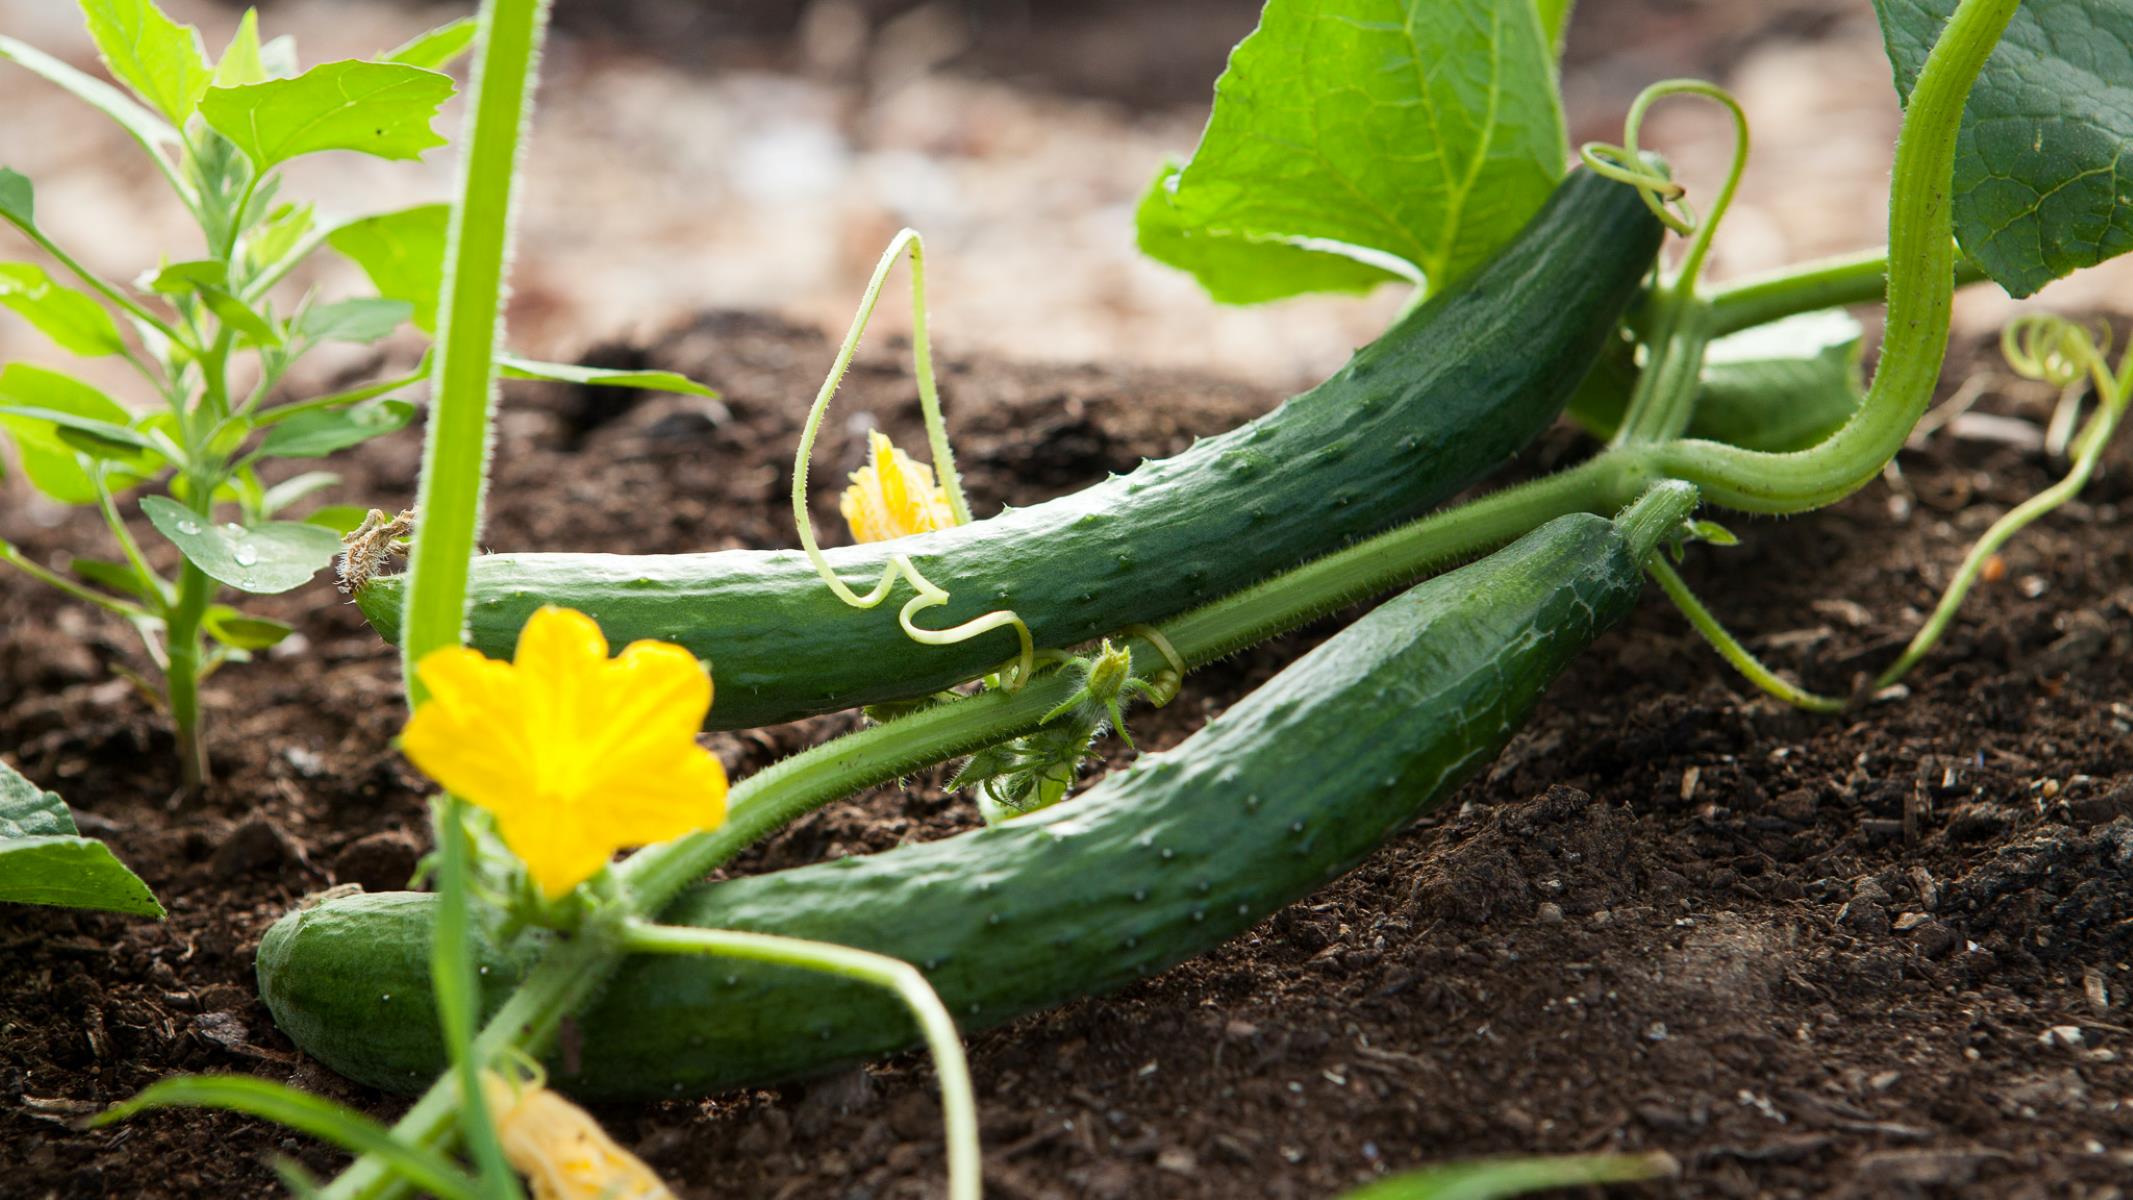
Before jumping into the details, it’s important to note that not all seeds require soaking. Many larger seeds, such as beans and peas, have a softer outer coat and can germinate successfully without any pre-soaking. On the other hand, smaller seeds or those with harder outer shells may benefit from soaking as it can help soften the seed coat and kickstart the germination process.
So, if you’re wondering how long you should soak your seeds before planting, read on to discover the factors that influence soaking time and gain valuable insights into the art of seed pre-treatment.
Key Takeaways:
- Soaking seeds before planting can speed up germination, improve seed viability, and help smaller or hard-coated seeds. It’s a simple way to give your garden a head start!
- Avoid common mistakes like over-soaking, using hot water, or skipping pre-treatment techniques to ensure successful seed soaking. Follow specific guidelines for each seed type for best results.
Factors Affecting Seed Soaking Time
The optimal soaking time for seeds can vary depending on several factors. Understanding these factors will help you determine the ideal duration for soaking your seeds. Here are some key factors that influence seed soaking time:
- Seed Type: Different types of seeds have varying levels of hardness and dormancy. Hard-coated seeds, such as morning glory or sweet peas, often require longer soaking periods to soften their outer shell and encourage germination. On the other hand, seeds with softer coats, like lettuce or basil, may have shorter soaking times as they readily absorb moisture.
- Seed Size: The size of the seed can impact soaking time. Smaller seeds typically have a greater surface area to volume ratio, allowing them to absorb water more quickly. Consequently, smaller seeds may require shorter soaking periods compared to larger seeds.
- Seed Hardiness: Some seeds have innate dormancy mechanisms that prevent immediate germination. These seeds may require more extended soaking periods or additional pre-treatment techniques to break their dormancy and promote germination. Examples of seeds with hard seed coats include morning glory, wisteria, or scarlet runner beans.
- Seed Age: Seed viability decreases over time, and older seeds may have a lower germination rate. Soaking older seeds may help overcome their reduced vigor and encourage germination. However, it’s important to note that soaking cannot revive severely damaged or non-viable seeds.
- Water Temperature: The temperature of the water used for soaking can also influence seed soaking time. Warmer water can help facilitate the absorption of moisture and stimulate the germination process. However, it is essential to avoid using water that is too hot, as it can damage the seeds.
- Seed Specific Requirements: Certain seeds have specific pre-soaking requirements. For example, some seeds, like sweet peas, benefit from an overnight soak followed by scarification, a process that involves nicking or scratching the seed coat to aid water absorption. Researching the specific needs of the seeds you intend to soak is crucial for achieving successful germination.
By considering these factors, you can determine the best soaking time for your seeds, ensuring successful germination and healthy seedlings. However, it is important to keep in mind that soaking times can be subjective, and experimentation may be necessary to find the ideal duration for your specific seeds. Now that we have explored the factors affecting seed soaking time, let’s move on to understanding the types of seeds that benefit from this pre-planting technique.
Types of Seeds and Their Soaking Requirements
Not all seeds require soaking before planting, but certain types can greatly benefit from this pre-germination technique. Let’s take a closer look at some common types of seeds and their soaking requirements:
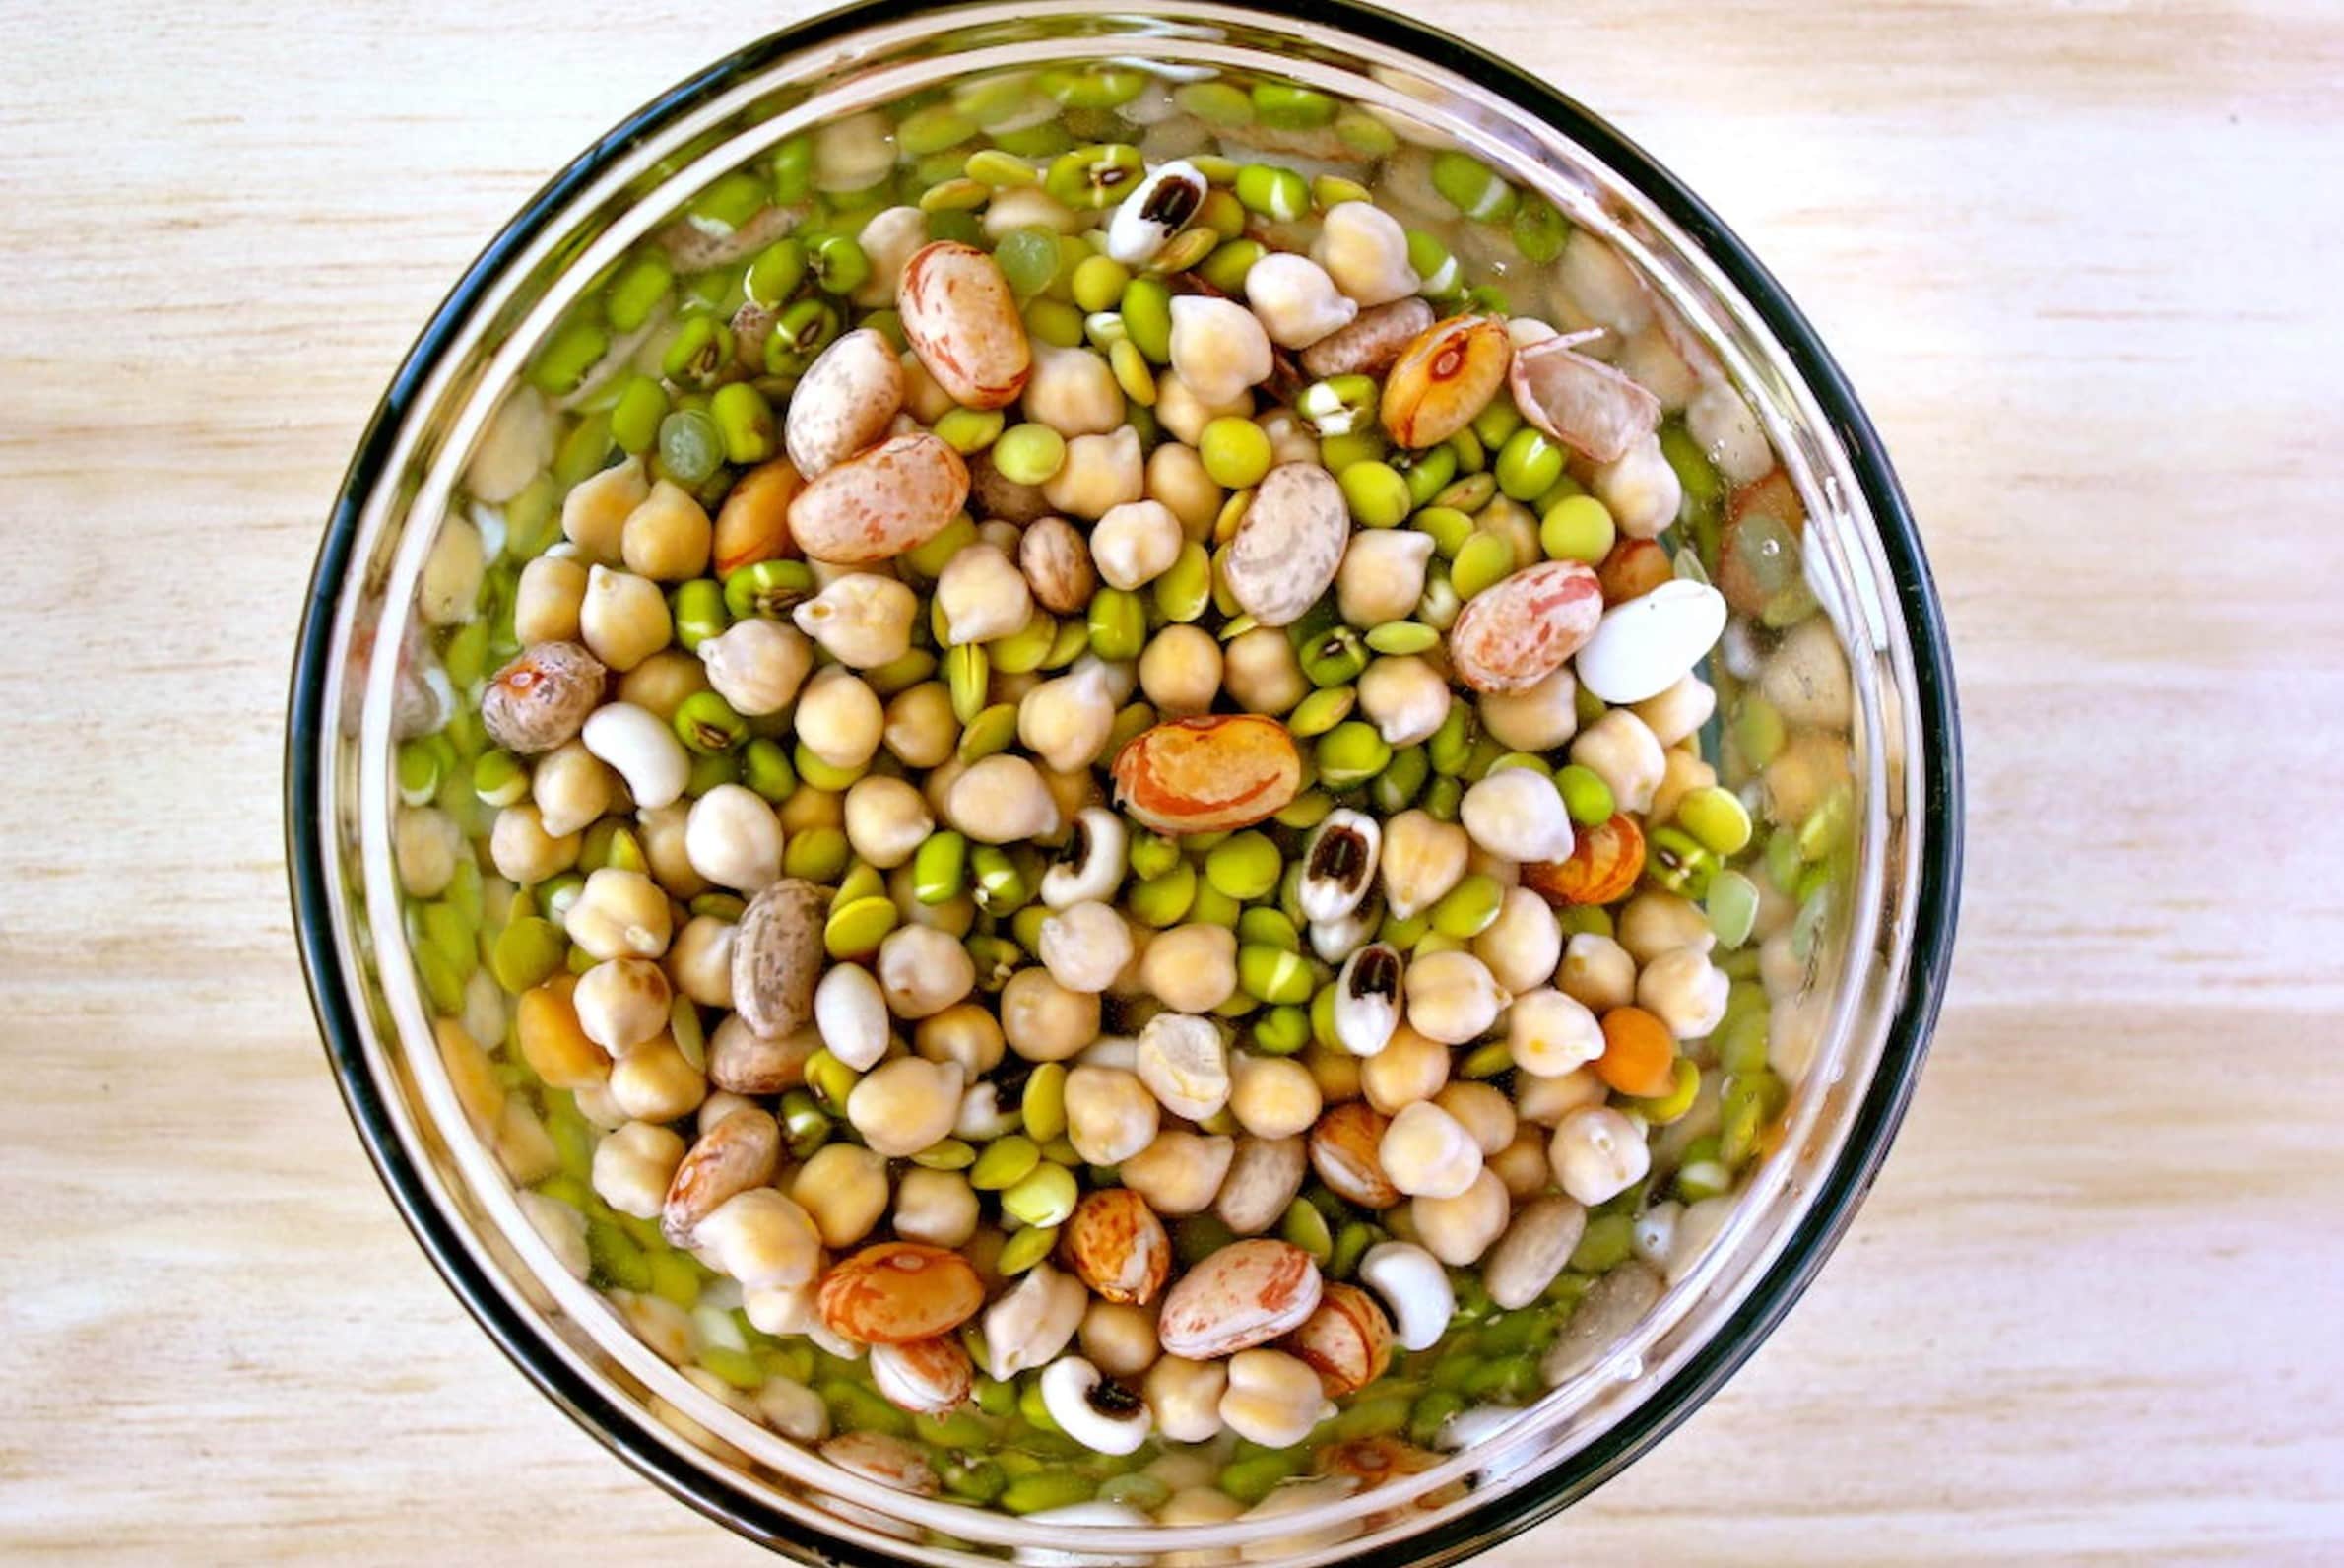
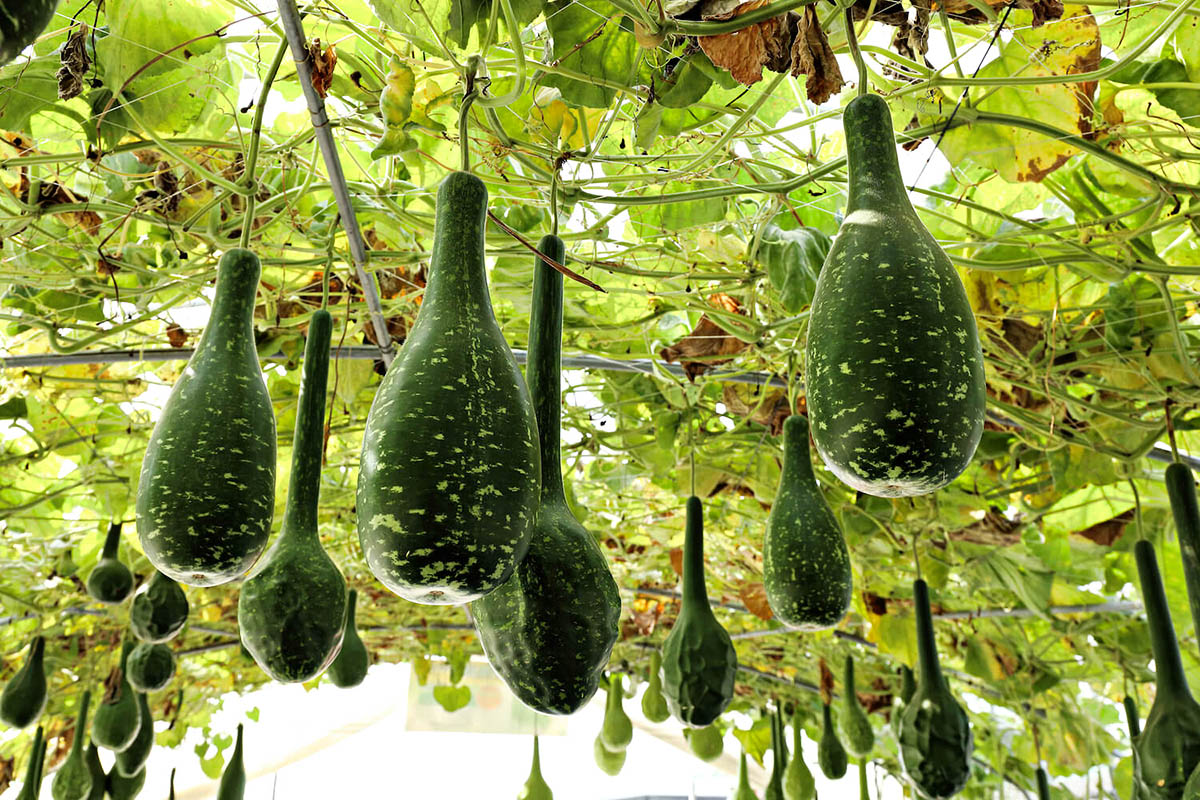
- Hard-Coated Seeds: Seeds with hard outer coats, such as morning glory, sweet peas, or scarlet runner beans, often have long germination times. Soaking these seeds for 24 to 48 hours in room temperature water can help soften the seed coat, improving water absorption and hastening the germination process.
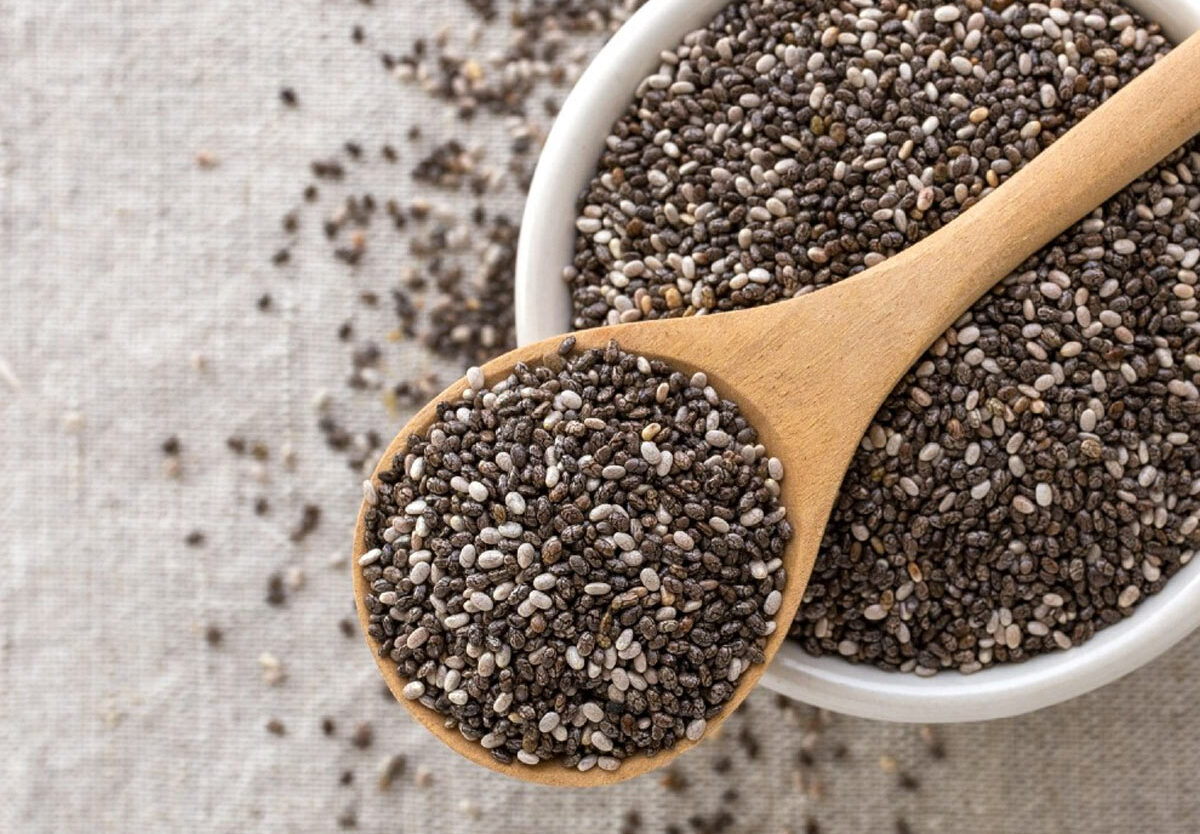
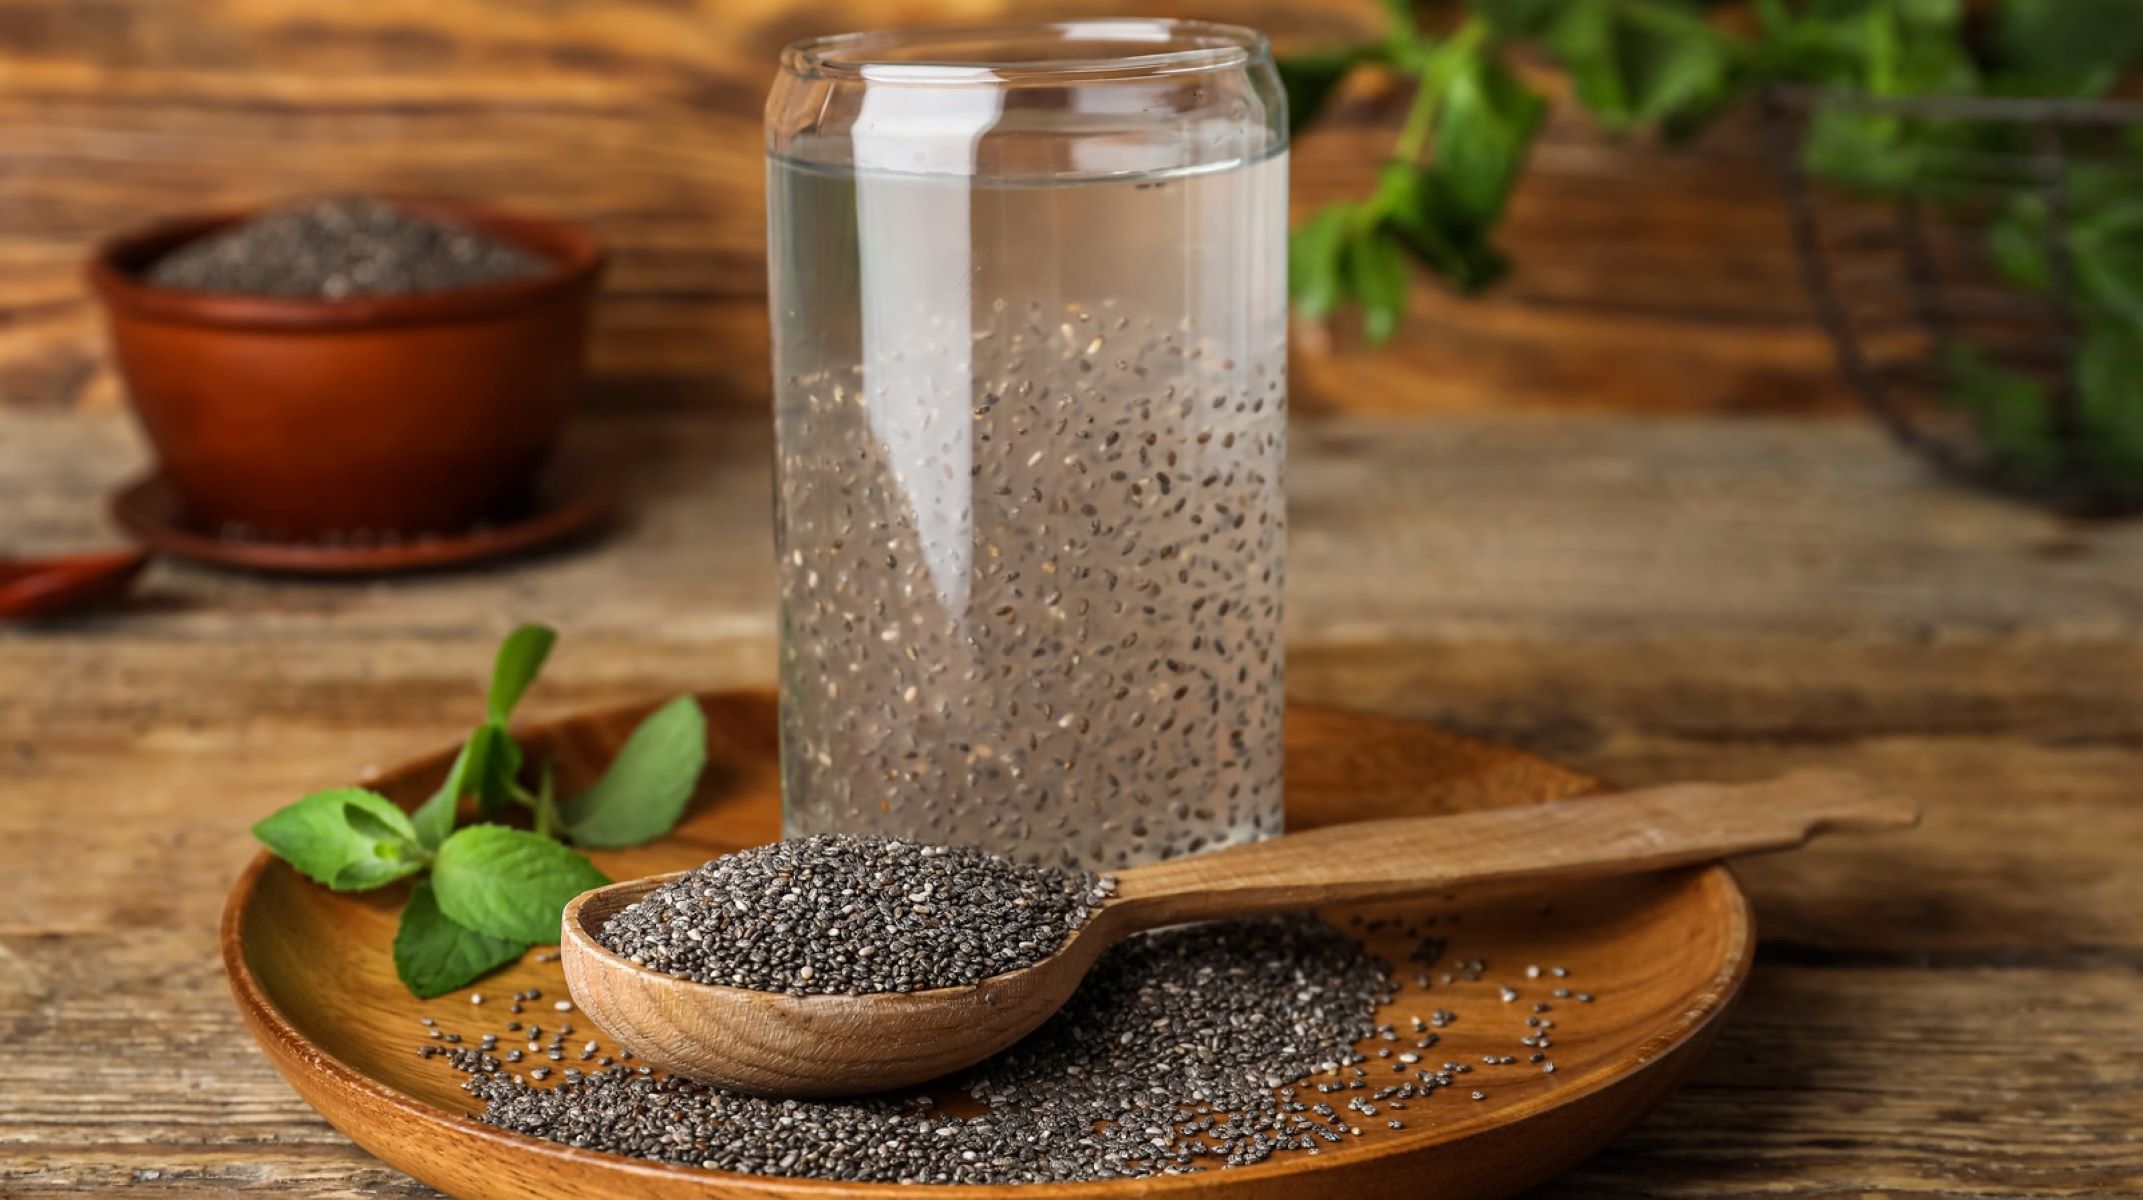
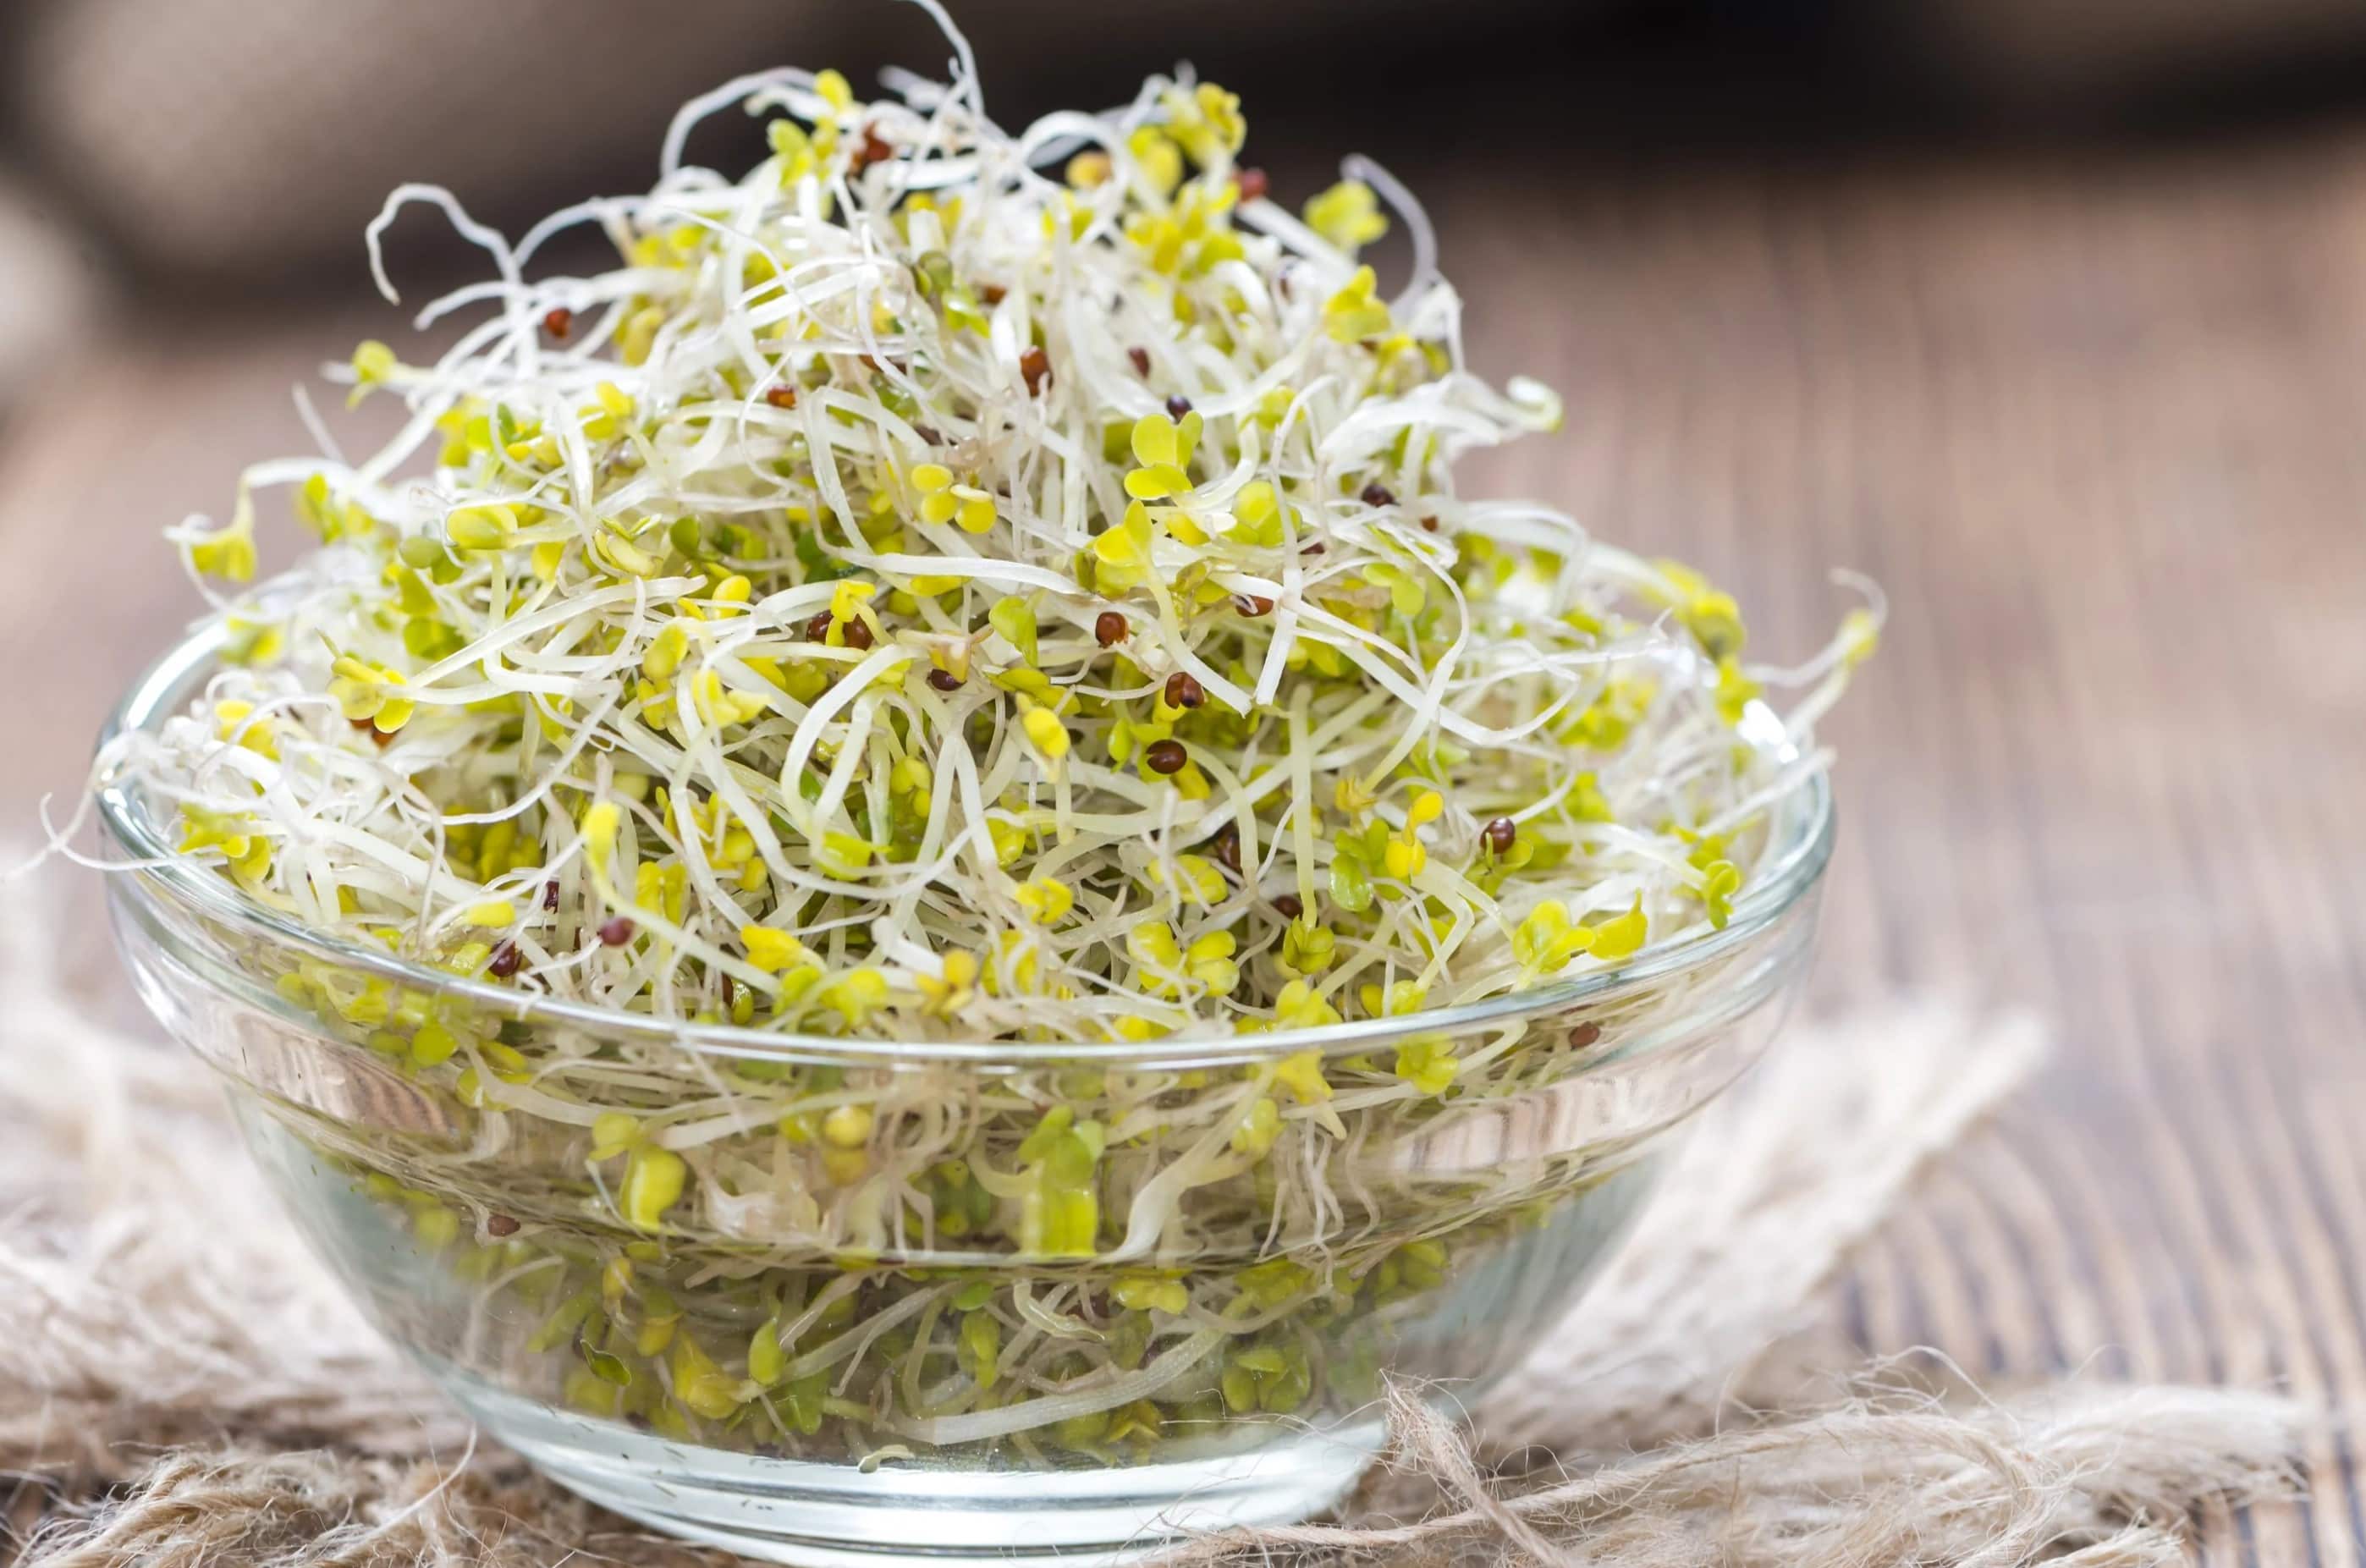
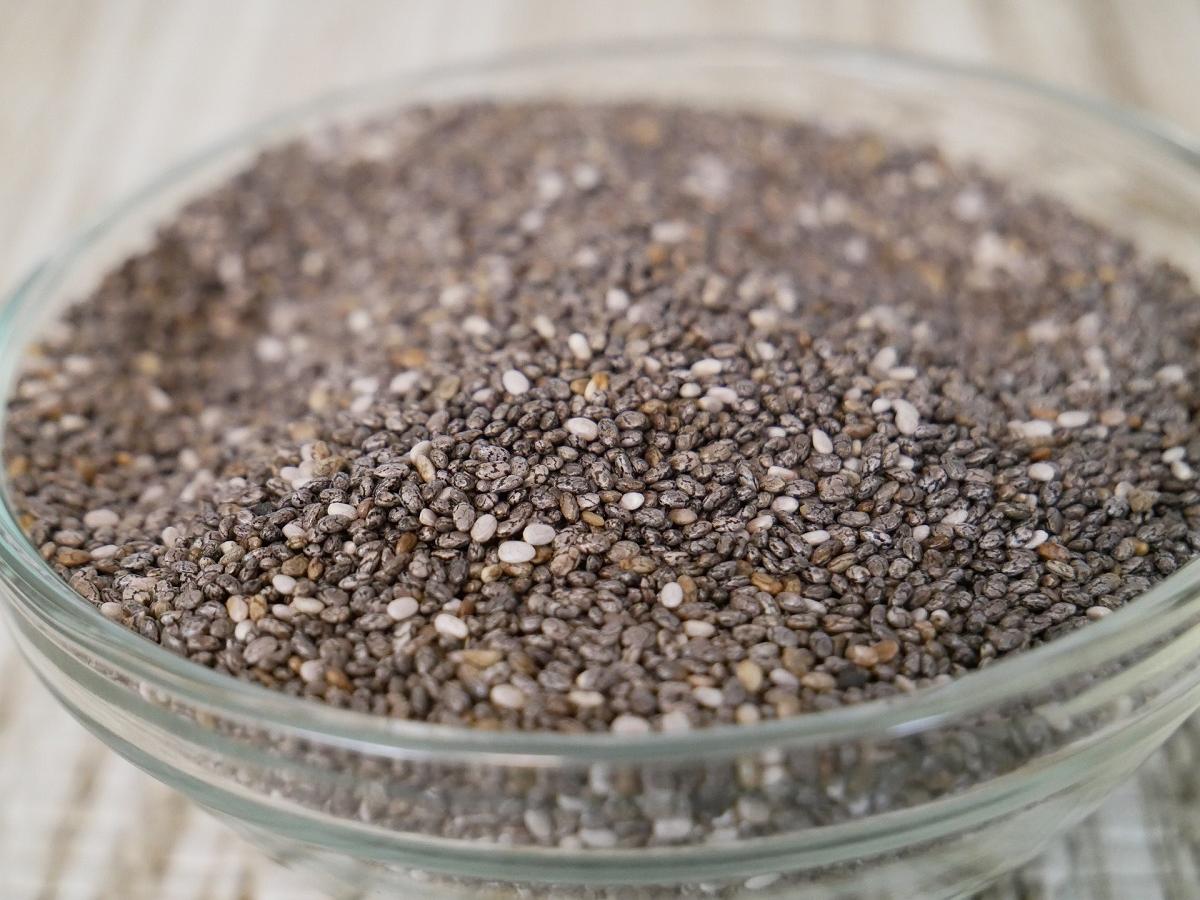
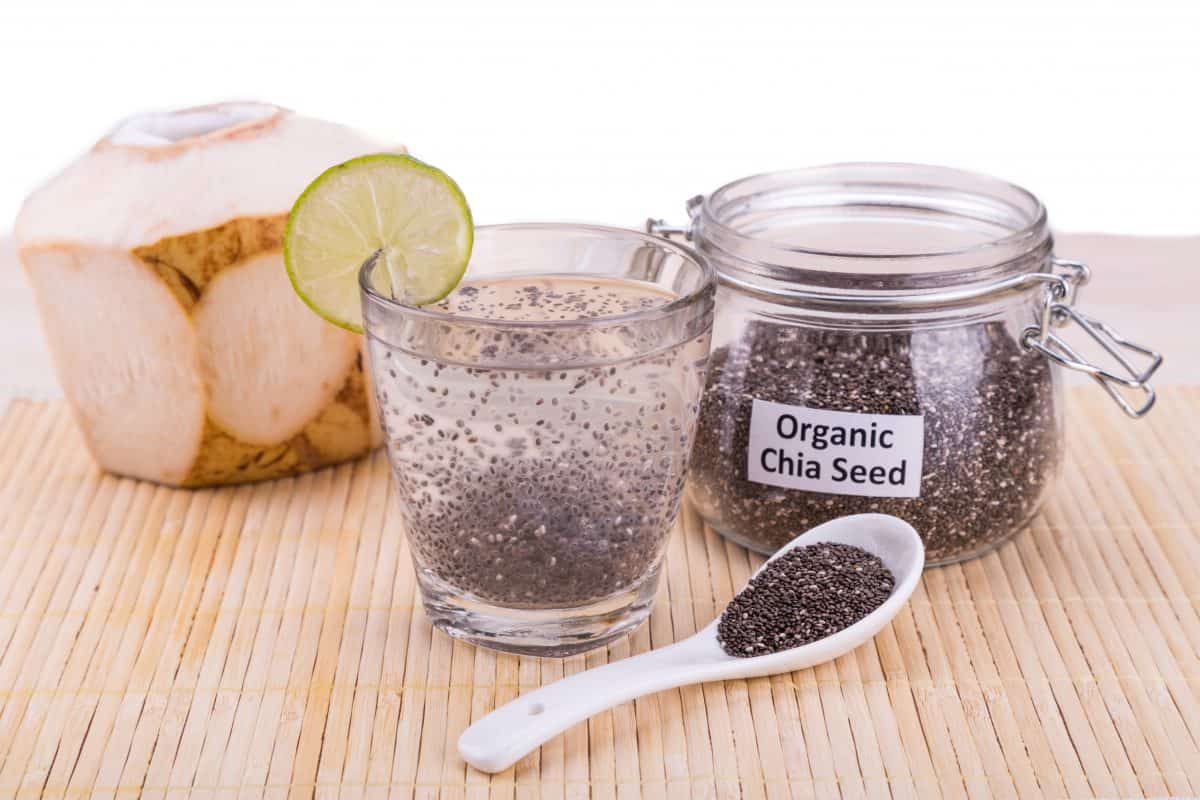
- Small Seeds: Smaller seeds, like lettuce, carrots, or basil, can benefit from soaking before planting. These seeds often have thin seed coats and quick absorption rates. Soaking small seeds for 1 to 4 hours in room temperature water can provide a moisture boost, aiding in faster and more uniform germination.
- Seeds with Dormancy Mechanisms: Some seeds have natural dormancy mechanisms that prevent immediate germination. For example, wisteria seeds have hard seed coats that require scarification, a process involving nicking or scratching the seed coat to improve water absorption. Soaking wisteria seeds overnight followed by scarification can enhance germination rates.
- Older Seeds: As seeds age, their germination rates and viability decline. Soaking older seeds for an extended period, such as 24 to 48 hours, can help revive their vigor and improve germination rates. However, it’s important to note that soaking cannot revive severely damaged or non-viable seeds.
- Aquatic Seeds: Certain aquatic seeds, such as water lilies or lotus plants, have outer coatings that are impermeable to water. To initiate germination, these seeds require a pre-soaking period of 24 to 48 hours in water. This process, known as stratification, allows these seeds to absorb moisture and begin the germination process.
It’s important to research the specific soaking requirements of the seeds you plan to grow. Some seeds may benefit from additional pre-treatment techniques, such as scarification or stratification, in combination with soaking. Understanding the unique needs of each seed type will help you provide the optimal conditions for successful germination.
Now that we have explored the types of seeds that benefit from soaking let’s move on to discussing common mistakes to avoid during the seed soaking process.
Common Mistakes to Avoid When Soaking Seeds
While seed soaking can be an effective technique for improving germination rates, there are some common mistakes that gardeners should avoid to ensure success. By avoiding these pitfalls, you can optimize the soaking process and increase the chances of successful seed germination. Here are some common mistakes to watch out for:
- Over-Soaking: Leaving seeds soaked for too long can cause damage or hinder germination. Different seeds have different soaking requirements, so it’s important to follow the recommended soaking times for each specific seed type. Over-soaking can lead to rotting or fungal growth, reducing the chances of successful germination.
- Using Hot Water: While warm water can aid seed absorption, using water that is too hot can damage the seeds. It’s essential to use room temperature water or slightly warm water for soaking. Avoid using boiling water, as it can cause irreversible damage to the seeds.
- Skipping Scarification or Stratification: Some seeds require scarification or stratification in addition to soaking to break dormancy and improve germination. Skipping these additional pre-treatment techniques can result in poor germination rates. Research the specific requirements of each seed and follow the recommended pre-soaking techniques to maximize the success of seed germination.
- Not Rinsing Seeds: After soaking, it’s important to thoroughly rinse the seeds with clean water to remove any residue or excess moisture. Rinsing will help eliminate any potential fungal or bacterial growth that can occur during the soaking process.
- Using Contaminated Water: The quality of water used for soaking is crucial. Avoid using tap water that contains high levels of chlorine or other contaminants that may inhibit germination. Opt for filtered or distilled water, or let tap water sit out overnight to allow any chlorine to dissipate before using it for soaking.
- Forgetting to Drain: After the recommended soaking time, it’s important to drain the soaked seeds thoroughly. Excess moisture can lead to rot or mold formation, hampering germination. Use a sieve or colander to drain the seeds and ensure proper airflow during the germination process.
By avoiding these common mistakes, you can improve the success rate of seed soaking and set the stage for healthy plant growth. Now that we have covered the common mistakes to avoid, let’s explore the benefits of soaking seeds before planting.
Soak larger seeds like beans and peas for 8-12 hours, and smaller seeds like lettuce and tomatoes for 4-6 hours before planting. This helps speed up germination.
Benefits of Soaking Seeds Before Planting
Soaking seeds before planting offers several benefits that can greatly improve the germination process and overall success of your garden. Here are some key advantages of soaking seeds:
- Faster Germination: Soaking seeds jumpstarts the germination process by providing the necessary moisture to trigger seed activation. This can lead to faster and more uniform germination, allowing you to see sprouts emerging from the soil earlier than if you had planted dry seeds.
- Increased Seed Viability: Some seeds, especially older ones, may have reduced viability due to age or suboptimal storage conditions. Soaking these seeds can help revitalize their internal moisture content, potentially increasing their germination rates and overall vigor.
- Improved Seedling Establishment: Soaked seeds start the germination process with a head start, allowing them to develop stronger roots and shoots. This enhanced growth can lead to healthier and more robust seedlings, giving them a better chance of surviving and thriving in the garden.
- Softening Hard Seed Coats: Certain seeds have hard outer coats, which can be a barrier to water absorption. Soaking these seeds softens the seed coat, making it easier for the embryo to absorb moisture. As a result, the germination process is initiated more efficiently.
- Enhanced Nutrient Availability: Soaking seeds can activate enzymes present in the seed, making it easier for the plant to access and utilize stored nutrients. This increased nutrient availability can contribute to stronger seedling growth and overall plant health.
- Improved Overall Germination Rate: By providing optimal moisture conditions, soaking seeds can significantly improve the overall germination rate. This means that a higher percentage of the seeds you plant will sprout successfully, resulting in a more abundant and productive garden.
While not all seeds require soaking, those that do can reap these benefits. It’s important to remember that soaking is only one aspect of successful seed germination. Providing the right environmental conditions, such as proper temperature, humidity, and light, along with good soil preparation, will also contribute to the success of your seeds.
Now that we have highlighted the benefits of soaking seeds, let’s move on to a step-by-step guide for properly soaking your seeds before planting.
Read more: How Long To Soak Pea Seeds Before Planting
Step-by-Step Guide for Soaking Seeds
Soaking seeds before planting is a straightforward process that can significantly improve germination rates. Here is a step-by-step guide to help you soak your seeds effectively:
- Gather Your Supplies: Start by gathering the necessary supplies, including your seeds, clean containers, room temperature water, and a sieve or colander for draining.
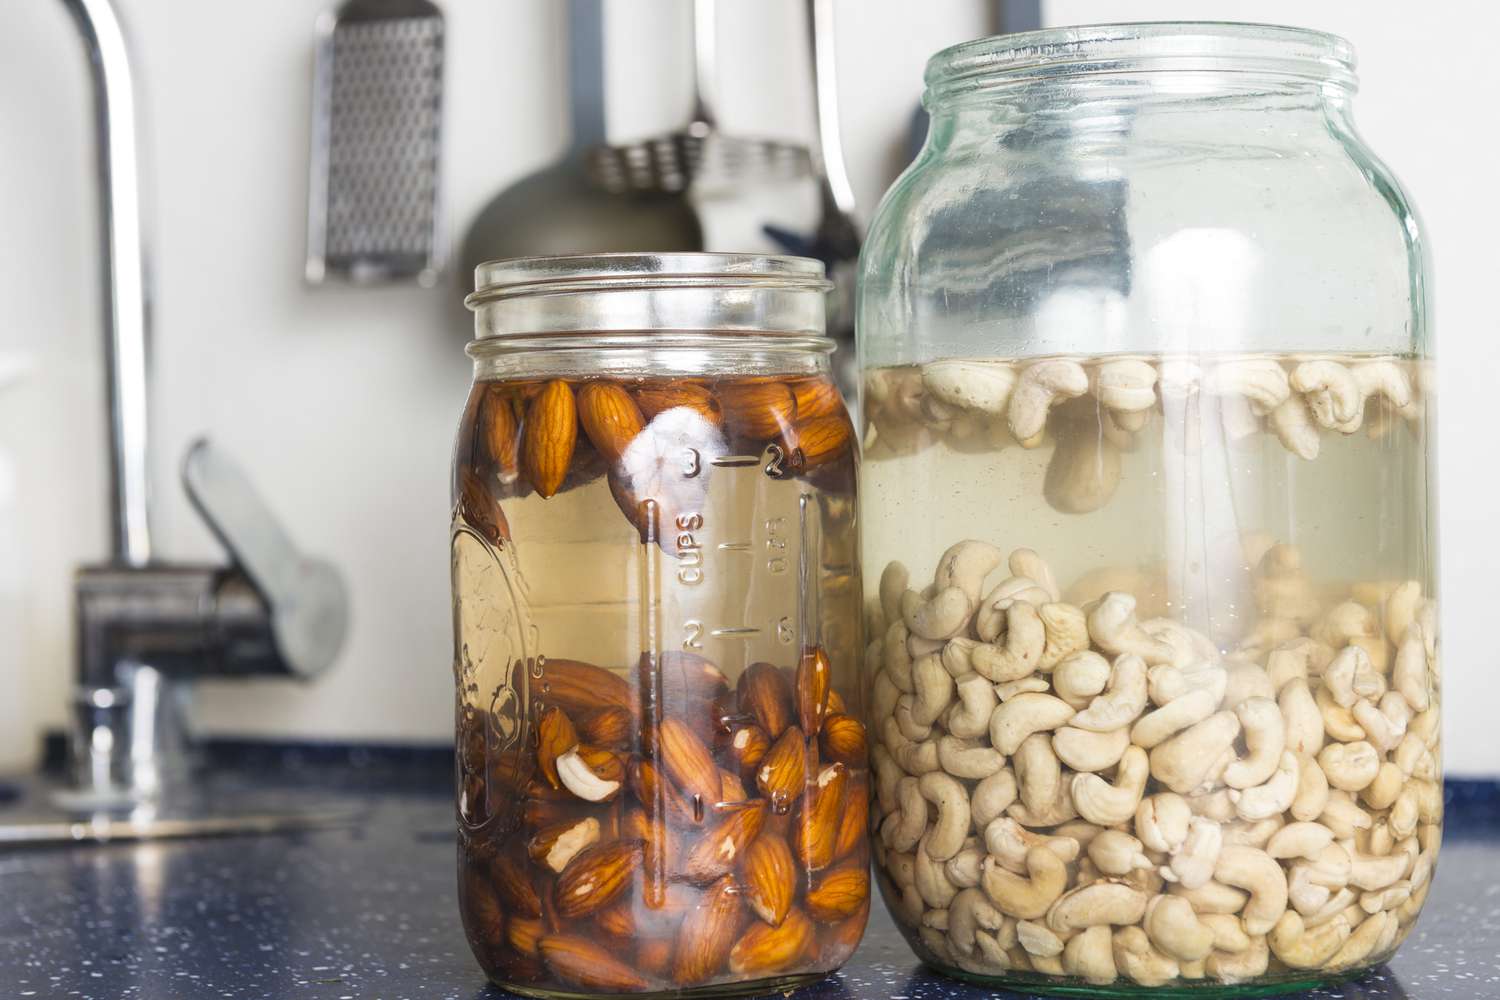
- Choose the Right Container: Select a container that is spacious enough to hold the seeds and provide ample room for water absorption. Glass jars or plastic containers with lids work well for soaking seeds.
- Add Seeds to the Container: Place the seeds into the container, ensuring that they are evenly spaced and not overcrowded. This allows each seed to receive adequate moisture during soaking.
- Add Room Temperature Water: Pour room temperature water into the container, ensuring that it covers the seeds completely. The water level should be approximately double the height of the seeds.
- Set a Soaking Time: Refer to the specific seed soaking recommendations or guidelines for the type of seeds you are using. Soaking times can vary from a few hours to overnight, depending on the seed type.
- Place the Lid: If using a container with a lid, securely place the lid on top. If not, cover the container with a clean cloth or plastic wrap to prevent dust or debris from getting into the soaking seeds.
- Allow Soaking: Leave the seeds to soak for the recommended duration. Set a timer or note the time to ensure you do not exceed the suggested soaking time.
- Drain and Rinse: Once the soaking time is complete, carefully drain the water from the container using a sieve or colander. Thoroughly rinse the soaked seeds with clean water to remove any residual water or debris.
- Prepare for Planting: After rinsing the seeds, they are ready for planting. Follow the specific planting instructions for the type of seeds you have soaked, such as sowing depth, spacing, and environmental conditions.
Following these steps will help ensure that your seeds receive the proper moisture for successful germination. Remember to adjust the soaking time based on the specific requirements of the seeds you are using. Now that we have covered the step-by-step guide, let’s explore some alternative methods for seed pre-treatment.
Alternative Methods for Seed Pre-Treatment
While seed soaking is a common method for pre-treating seeds, there are alternative techniques that can also improve germination rates and overcome seed dormancy. Here are some alternative methods for seed pre-treatment:
- Scarification: Some seeds have hard outer coats that impede water absorption. Scarification involves breaking or weakening the seed coat to allow moisture to enter and initiate germination. This can be done by gently scratching the seed coat with sandpaper, nicking it with a knife, or soaking the seeds in warm water for an extended period. Scarification helps to simulate natural weathering and aids in seed germination.
- Stratification: Certain seeds, especially those from cold climates, require a period of cold and moist conditions to overcome dormancy. This process is known as stratification. Seeds can be stratified by placing them in a damp paper towel or peat moss, sealing them in a plastic bag, and storing them in the refrigerator for a specific period. Stratification mimics the natural winter conditions these seeds would experience and prepares them for germination when planted.
- Smoke Treatment: Some seeds, particularly those from plants native to fire-prone habitats, require exposure to smoke to break dormancy. This process, known as smoke treatment or smoke stratification, can be achieved by treating the seeds with a smoke-water solution or using commercially available smoke products. Smoke treatment stimulates germination by replicating the natural fire-related cues that these seeds rely on for germination.
- Hot Water Treatment: Certain seeds, especially those with hard seed coats, can benefit from hot water treatment. This technique involves pouring near-boiling water over the seeds and allowing them to soak for a specific period. The hot water helps soften the seed coat, allowing for easier water absorption and germination. However, it’s important to be cautious and follow specific guidelines for each seed type, as excessive heat can damage the seeds.
- Acid Treatment: Some seeds have hard seed coats that are resistant to water absorption. Treating these seeds with a weak acid solution, such as diluted sulfuric acid or vinegar, can help break down the hard coating, improving water permeability and enabling germination. Acid treatments should be done with caution and following recommended guidelines to avoid damage to the seeds.
These alternative methods offer additional options for seed pre-treatment, especially for seeds with specific dormancy requirements. It’s important to research the specific needs of the seeds you are working with to determine the most suitable pre-treatment method.
Now that we have explored alternative seed pre-treatment methods, let’s conclude with a summary of the benefits and importance of soaking seeds before planting.
Conclusion
Soaking seeds before planting can be a valuable technique for gardeners looking to enhance their seed germination rates and ensure healthy plant growth. By understanding the factors that influence soaking time, the types of seeds that benefit from soaking, and common mistakes to avoid, you can optimize the pre-germination process and increase the chances of successful germination.
We have learned that factors such as seed type, size, hardiness, age, and water temperature play a crucial role in determining the optimal soaking time for seeds. Hard-coated seeds, small seeds, and those with dormancy mechanisms often require soaking to soften the seed coat, improve water absorption, and break dormancy barriers.
Avoiding common mistakes, such as over-soaking, using hot water, skipping pre-treatment techniques, not rinsing seeds, using contaminated water, and forgetting to drain, will ensure the success of the seed soaking process.
The benefits of soaking seeds before planting are numerous. Soaking leads to faster germination, increased seed viability, improved seedling establishment, softening of hard seed coats, enhanced nutrient accessibility, and overall improved germination rates – resulting in healthier, more productive plants. By giving seeds the optimal moisture conditions, you provide them with the best chance of reaching their full potential.
While soaking is a popular method, alternative pre-treatment techniques like scarification, stratification, smoke treatment, hot water treatment, and acid treatment offer additional options for breaking seed dormancy and improving germination rates for specific seed types.
Remember to research the specific requirements of the seeds you are working with to determine the most suitable pre-treatment method. Each seed has its unique characteristics, and understanding them will help you provide the best conditions for successful germination.
In conclusion, soaking seeds before planting is a simple yet effective practice that can significantly increase the success of your gardening endeavors. By investing a little extra time and effort up front, you’ll be rewarded with faster, healthier seed germination, and ultimately, a flourishing garden.
Frequently Asked Questions about How Long Should Seeds Soak Before Planting
Was this page helpful?
At Storables.com, we guarantee accurate and reliable information. Our content, validated by Expert Board Contributors, is crafted following stringent Editorial Policies. We're committed to providing you with well-researched, expert-backed insights for all your informational needs.

0 thoughts on “How Long Should Seeds Soak Before Planting”