Home>Garden Essentials>When Should You Plant Seeds
Garden Essentials
When Should You Plant Seeds
Modified: October 18, 2024
Learn when to plant seeds in your garden for optimal growth and harvest. Find expert advice and tips to ensure a successful gardening season.
(Many of the links in this article redirect to a specific reviewed product. Your purchase of these products through affiliate links helps to generate commission for Storables.com, at no extra cost. Learn more)
Introduction
Gardening is a hobby that brings joy, beauty, and a sense of accomplishment to many people. Whether you have a sprawling backyard or a small balcony, growing plants from seeds allows you to witness the entire life cycle of a plant, from a tiny seedling to a flourishing plant.
However, successful seed planting requires proper timing and an understanding of various factors that influence seed germination and growth. In this article, we will explore when you should plant seeds to maximize their chances of thriving. By considering factors such as hardiness zones, frost dates, and soil temperatures, you can ensure that your seeds are planted at the optimal time for success.
Next, we will delve into the specifics of each of these factors and explain how they affect the planting of seeds. Understanding these concepts will set you on the path to becoming a confident and knowledgeable gardener.
So get ready to embark on a journey through the intricate world of seed planting, and discover the secrets to creating a thriving garden filled with the beauty of nature.
Key Takeaways:
- Plant seeds according to your hardiness zone and frost dates for optimal growth. Choose the right seeds for your region to ensure a thriving garden.
- Consider soil preparation and specific timing for popular seeds to maximize gardening success. Enjoy the journey of nurturing your garden!
Read more: When Should You Plant Vegetable Seeds
Factors to Consider Before Planting Seeds
Before you start planting seeds, it’s important to take several factors into consideration. These factors will help you determine the right timing and conditions for successful seed germination and growth. Let’s explore some of the key considerations:
- Hardiness Zones: Understanding your hardiness zone is crucial for determining the appropriate planting times for seeds. Hardiness zones are geographical areas that indicate the average minimum temperatures and growing conditions in a specific region. The United States is divided into 13 hardiness zones, ranging from Zone 1 (coldest) to Zone 13 (warmest). You can find your hardiness zone through online resources or by consulting a local gardening expert.
- Frost Dates and Temperature Requirements: Frost dates play a vital role in seed starting. Many seeds, especially vegetables, have specific temperature requirements to germinate and grow. Some seeds require warmer soil temperatures, while others can tolerate cooler conditions. Understanding your region’s average last frost date and first frost date will help you determine when it’s safe to sow seeds directly in the ground or when to start seeds indoors.
- Soil Preparation: Preparing your soil before planting seeds is crucial for their successful growth. Ensure that the soil is well-draining, rich in organic matter, and properly amended with compost or fertilizer. This provides the necessary nutrients and a suitable environment for the seeds to germinate and establish strong root systems.
- Selecting the Right Seeds for Your Region: It’s important to choose seeds that are suitable for your specific climate and growing conditions. The packaging of seed packets often includes information about optimal planting times and the hardiness zones where the seeds will thrive. Selecting regionally adapted or heirloom varieties increases the chances of success in your garden.
By considering these factors, you can ensure that you’re making informed decisions when it comes to planting seeds. Next, we will dive deeper into the specifics of each factor and provide guidance on how to navigate them successfully.
Understanding your Hardiness Zone
When it comes to gardening, understanding your hardiness zone is essential. Hardiness zones are geographical areas that help gardeners determine which plants are most likely to thrive in their region. They provide valuable information about the average minimum temperatures and growing conditions in a specific area.
The United States Department of Agriculture (USDA) has divided the United States into 13 hardiness zones, ranging from Zone 1 (the coldest) to Zone 13 (the warmest). Each zone represents a 10-degree Fahrenheit difference in average annual minimum temperatures. Hardiness zone maps are available online or through local gardening centers to help you determine which zone you fall into.
Knowing your hardiness zone is crucial because it helps you select plants and seeds that are well-suited to your specific climate and growing conditions. Plants that are adapted to your hardiness zone have a better chance of surviving and thriving in your garden.
If you’re unsure about your hardiness zone, you can use your zip code to find this information on the USDA’s Plant Hardiness Zone Map website. Simply enter your zip code, and the map will provide you with the corresponding hardiness zone for your area.
Once you know your hardiness zone, you can confidently choose seeds and plants that are recommended for that particular zone. Seed packets and plant labels often provide information about the suitable hardiness zones for successful growth.
It’s important to remember that hardiness zones are just one factor to consider when planting seeds. The microclimates within your own garden, such as the amount of sun or shade, the presence of wind, and the availability of water, can create variations in growing conditions. So, be observant and attentive to the specific conditions within your garden.
Understanding your hardiness zone is a valuable tool that helps you make informed decisions when selecting and planting seeds. By taking this factor into account, you can create a garden that thrives and brings you years of gardening success.
Frost Dates and Temperature Requirements
Frost dates and temperature requirements play a crucial role when determining the optimal time to plant seeds. Understanding these factors is essential for ensuring the success of your seedlings.
The average last frost date and the average first frost date are two significant milestones in gardening. The last frost date represents the date after which it is unlikely to have a late-season frost in your area, while the first frost date marks the beginning of the colder season when frost becomes a risk again.
Planting seeds too early can expose them to the danger of frost, which can damage or kill delicate seedlings. On the other hand, planting seeds too late may not allow them enough time to grow and mature before the first frost arrives.
It is important to research and find out the average frost dates for your specific region, as they can vary significantly across different climates and locations. You can consult local gardening resources, agricultural extension offices, or online sources to determine the approximate dates for your area.
In addition to frost dates, understanding the temperature requirements of different plant species is crucial for successful seed germination and growth. Some seeds require warmer soil temperatures, while others can tolerate cooler conditions.
Typically, warm-season crops such as tomatoes, peppers, and cucumbers require higher soil temperatures to germinate successfully. These seeds generally thrive when the soil temperature is above 60°F (15.6°C).
On the other hand, cool-season crops like lettuce, spinach, and peas can tolerate cooler soil temperatures and can be planted earlier in the season when the soil is around 40°F (4.4°C) or above.
Before planting seeds, it is advisable to check the recommended soil temperature range on the seed packet or consult gardening references specific to the plant you are growing. This will help you determine the appropriate time to sow your seeds and provide them with the optimal growing conditions.
In colder regions, where the growing season may be shorter, starting seeds indoors is a common practice. This allows you to get a head start on the growing season before it is safe to plant seeds directly in the ground. Indoor seed starting involves planting seeds in containers and providing them with adequate light, warmth, and moisture until they are ready to be transplanted outdoors.
By understanding frost dates and temperature requirements, you can ensure that your seeds are planted at the right time and provided with the optimal conditions for germination and growth. This knowledge will increase your chances of success in growing healthy and productive plants in your garden.
Soil Preparation
Proper soil preparation is essential for creating an optimal environment for seed germination and plant growth. Taking the time to prepare your soil before planting seeds will set a strong foundation for healthy plants and a successful garden.
Here are some key steps to follow when preparing your soil:
- Clear the area: Start by removing any weeds, rocks, or debris from the planting area. Clearing the area will create a clean and open space for your seeds to grow without competition from unwanted plants.
- Loosen and aerate the soil: Use a garden fork or a tiller to loosen the soil and improve its structure. This will create pockets of air and help with drainage. Avoid over-tilling, as it can lead to compacted soil.
- Add organic matter: Incorporate organic matter, such as compost, well-rotted manure, or leaf mold, into the soil. Organic matter improves soil fertility, drainage, and moisture retention. Spread a layer of organic matter over the planting area and use a rake or garden fork to work it into the soil.
- Test and adjust soil pH: Test the pH level of your soil using a soil testing kit. Different plants have different pH preferences, so it’s important to ensure that your soil’s pH is within the appropriate range. If the pH is too acidic or alkaline, you can amend it by adding lime to raise the pH or sulfur to lower the pH.
- Provide adequate nutrients: Before planting seeds, replenish the soil with nutrients by adding a balanced fertilizer or organic amendments that contain essential nutrients. This will provide the necessary nutrition for healthy seedling development.
- Level the soil: Use a rake to level the soil surface. Leveling the soil ensures that water distribution is even and aids in planting seeds at a uniform depth.
By following these steps, you will create a well-prepared soil bed that is rich in nutrients, well-draining, and provides an ideal environment for seed germination and plant growth.
It is important to note that different plants may have specific soil requirements. Some plants prefer sandy soil, while others thrive in clay or loamy soil. Research the specific needs of the plants you intend to grow and make any necessary amendments to ensure that the soil composition aligns with their requirements.
Proper soil preparation sets the stage for successful seed planting. It creates an environment that allows roots to penetrate easily, access water and nutrients, and establish strong and healthy plants. With well-prepared soil, you’ll lay the groundwork for a flourishing garden.
Plant seeds in the spring after the last frost date for your area. This will give the seeds the best chance to germinate and grow into healthy plants.
Read more: When Should You Plant Marigold Seeds
Selecting the Right Seeds for Your Region
Choosing the right seeds for your region is a critical step in ensuring the success of your gardening endeavors. Different plants have varying temperature, light, and moisture requirements, making it essential to select varieties that are well-suited to your local growing conditions. Here are some key factors to consider when selecting seeds:
- Hardiness Zone Compatibility: Consider the hardiness zone of your region and choose seeds that are recommended for that zone. Seeds that are adapted to your specific zone are more likely to thrive and produce a bountiful harvest. Many seed catalogs and packets indicate the suitable hardiness zones for each variety, making it easier for you to make informed choices.
- Climate Adaptation: Take into account your regional climate. Some plants prefer hot and dry conditions, while others thrive in cooler and more humid climates. Research the specific climate preferences of the plants you wish to grow to ensure they will thrive in your area.
- Days to Maturity: Consider the length of your growing season and the time it takes for a plant to reach maturity. Some plants, such as lettuce or radishes, have a short maturity period and can be planted multiple times throughout the growing season. Others, like tomatoes or pumpkins, require a longer growing season and should be planted early to allow enough time for maturity.
- Disease Resistance: Look for seed varieties that offer resistance or tolerance to common diseases and pests in your area. Disease-resistant varieties are less likely to be affected by specific pathogens, reducing the risk of losses and the need for excessive chemical controls.
- Regional Favorites: Consider the plants that are traditionally grown and loved in your region. Local favorites are often well-suited to the specific conditions and can provide you with a greater chance of success. Additionally, growing regional favorites can help you connect with local gardening communities and exchange tips and advice.
- Heirloom vs. Hybrid: Decide between heirloom and hybrid seed varieties. Heirlooms are open-pollinated seeds that have been passed down through generations and maintain their unique characteristics. Hybrids, on the other hand, are cross-pollinated to produce specific traits, such as disease resistance or improved yield. Choose based on your preferences for taste, uniqueness, and seed-saving potential.
Avoid selecting seeds solely based on their attractive packaging or popularity in other regions. Instead, take the time to research and choose seeds that are well-suited to your local environment and growing conditions.
Local seed swaps, gardening clubs, and online forums can be valuable resources for obtaining regional seed varieties and connecting with experienced gardeners who have firsthand knowledge of growing in your area.
By selecting the right seeds for your region, you set yourself up for gardening success. Your plants will be better adapted to the climate and growing conditions, resulting in healthier, more productive, and more resilient crops.
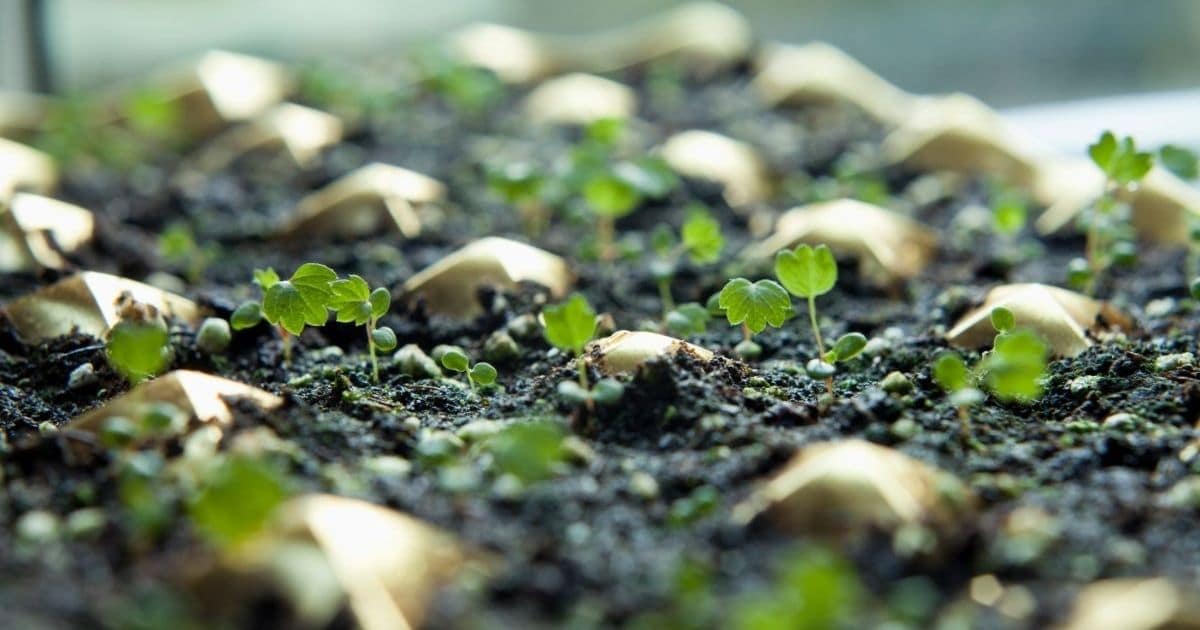
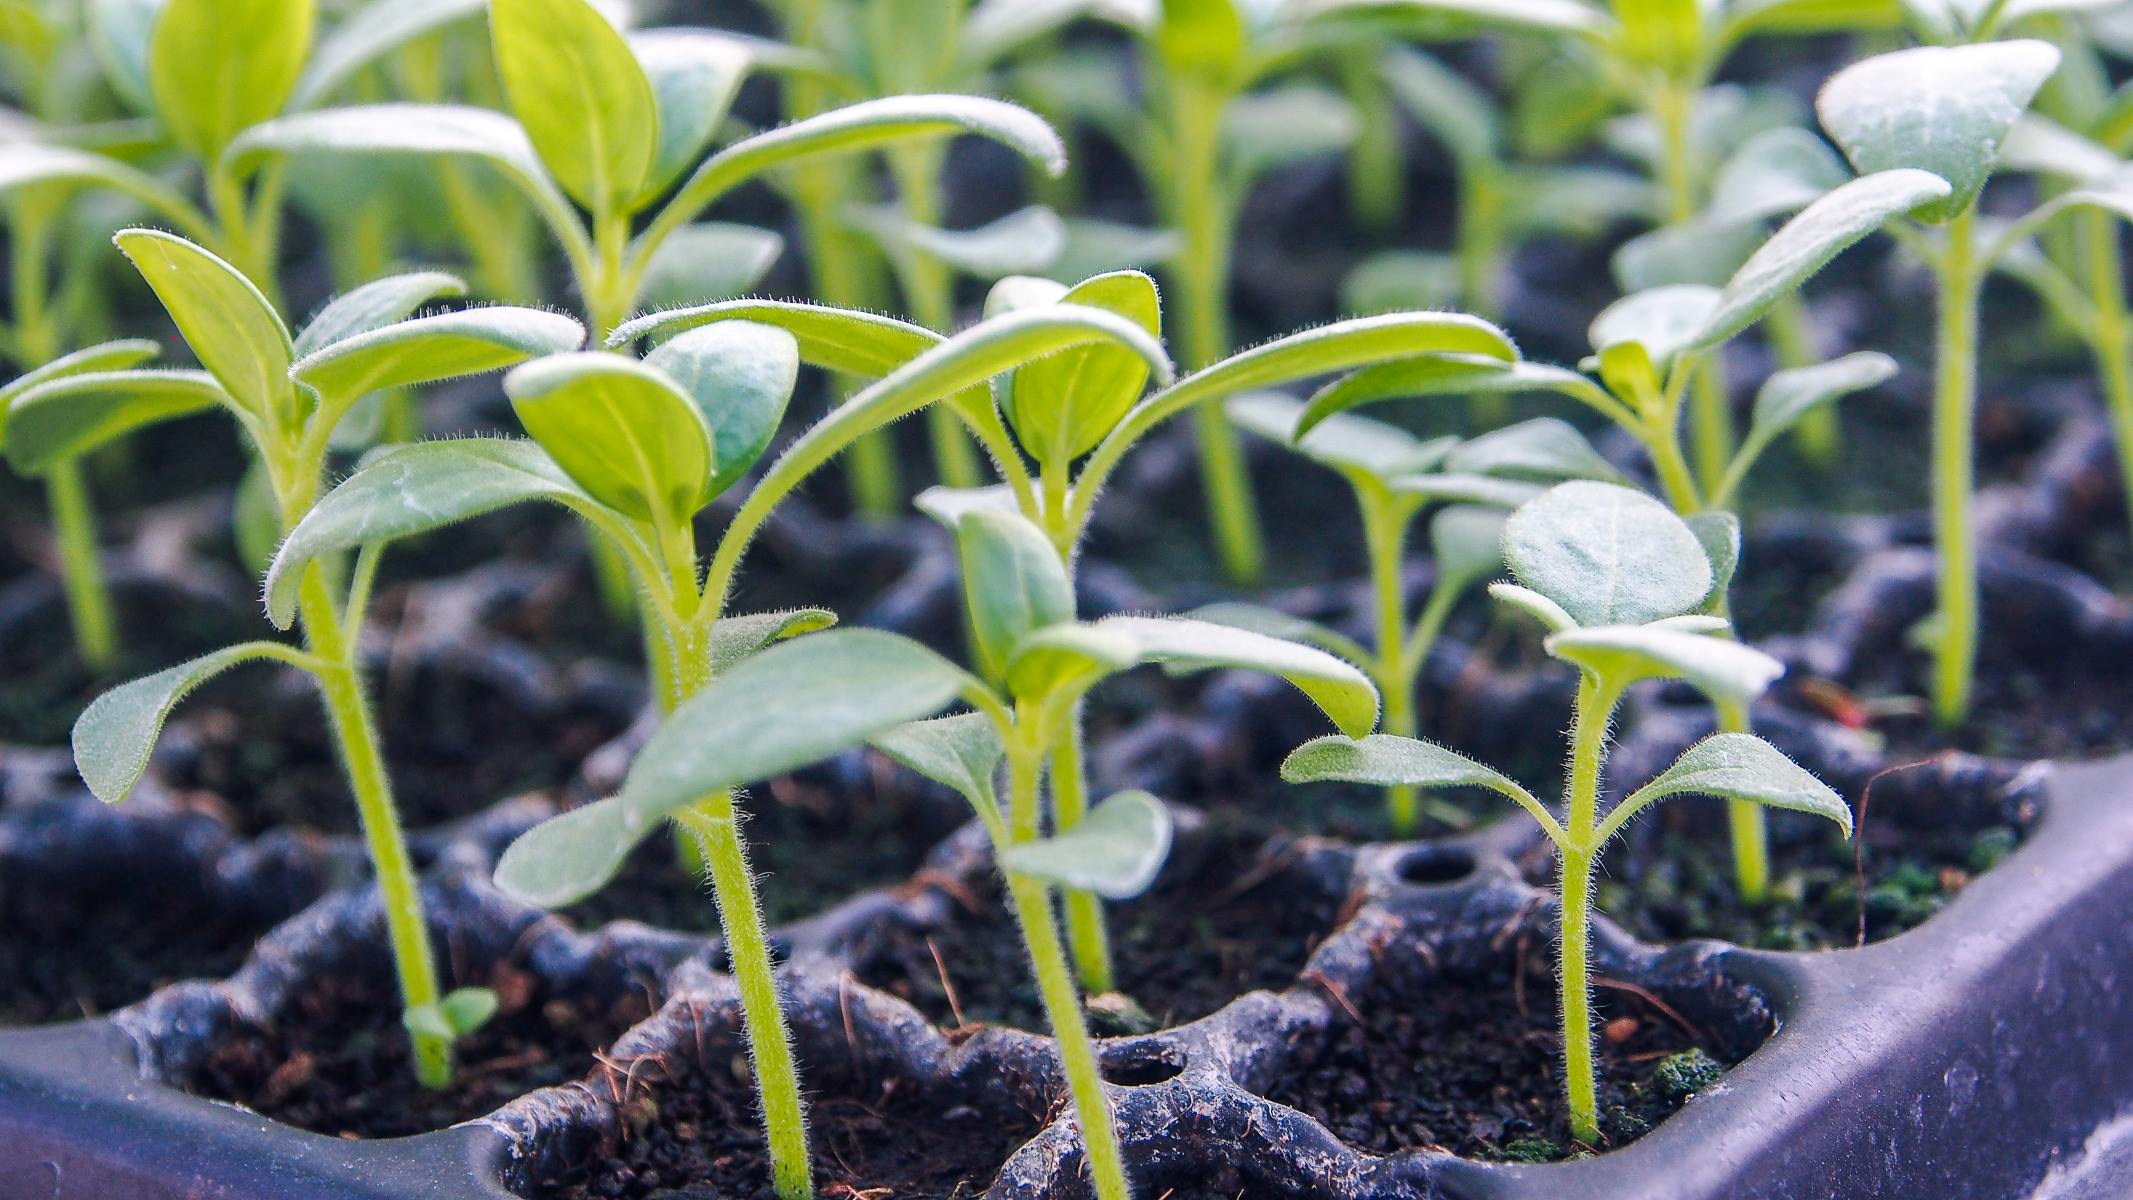
Indoor Seed Starting
Indoor seed starting is a popular method among gardeners to get a head start on the growing season and ensure successful seedlings. Starting seeds indoors allows you to take control of the germination process, provide optimal growing conditions, and extend the growing season.
Here are some key steps to follow when starting seeds indoors:
- Choose the right containers: Select containers that are suitable for seed starting, such as seed trays, peat pots, or cell packs. Ensure that the containers have drainage holes to prevent waterlogging.
- Use sterile starting mix: Fill the containers with a sterile seed-starting mix. Avoid using garden soil, as it can contain pathogens and weed seeds that can hinder seed germination and the growth of your seedlings.
- Sow the seeds: Follow the instructions on the seed packet for proper seed depth and spacing. Plant the seeds in the starting mix and gently press them into the soil. Mist the soil surface with water to provide moisture without disturbing the seeds.
- Provide optimal conditions: Place the containers in a warm and bright location. Seeds require consistent warmth and light to germinate. Consider using a heating mat to provide bottom heat and promote faster germination. Additionally, provide adequate light by placing the containers near a south-facing window or using artificial grow lights.
- Maintain moisture: Regularly check the moisture level of the starting mix. Keep it consistently moist, but avoid overwatering, as excessive moisture can cause seeds to rot. Use a spray bottle or a gentle watering can to ensure even moisture distribution.
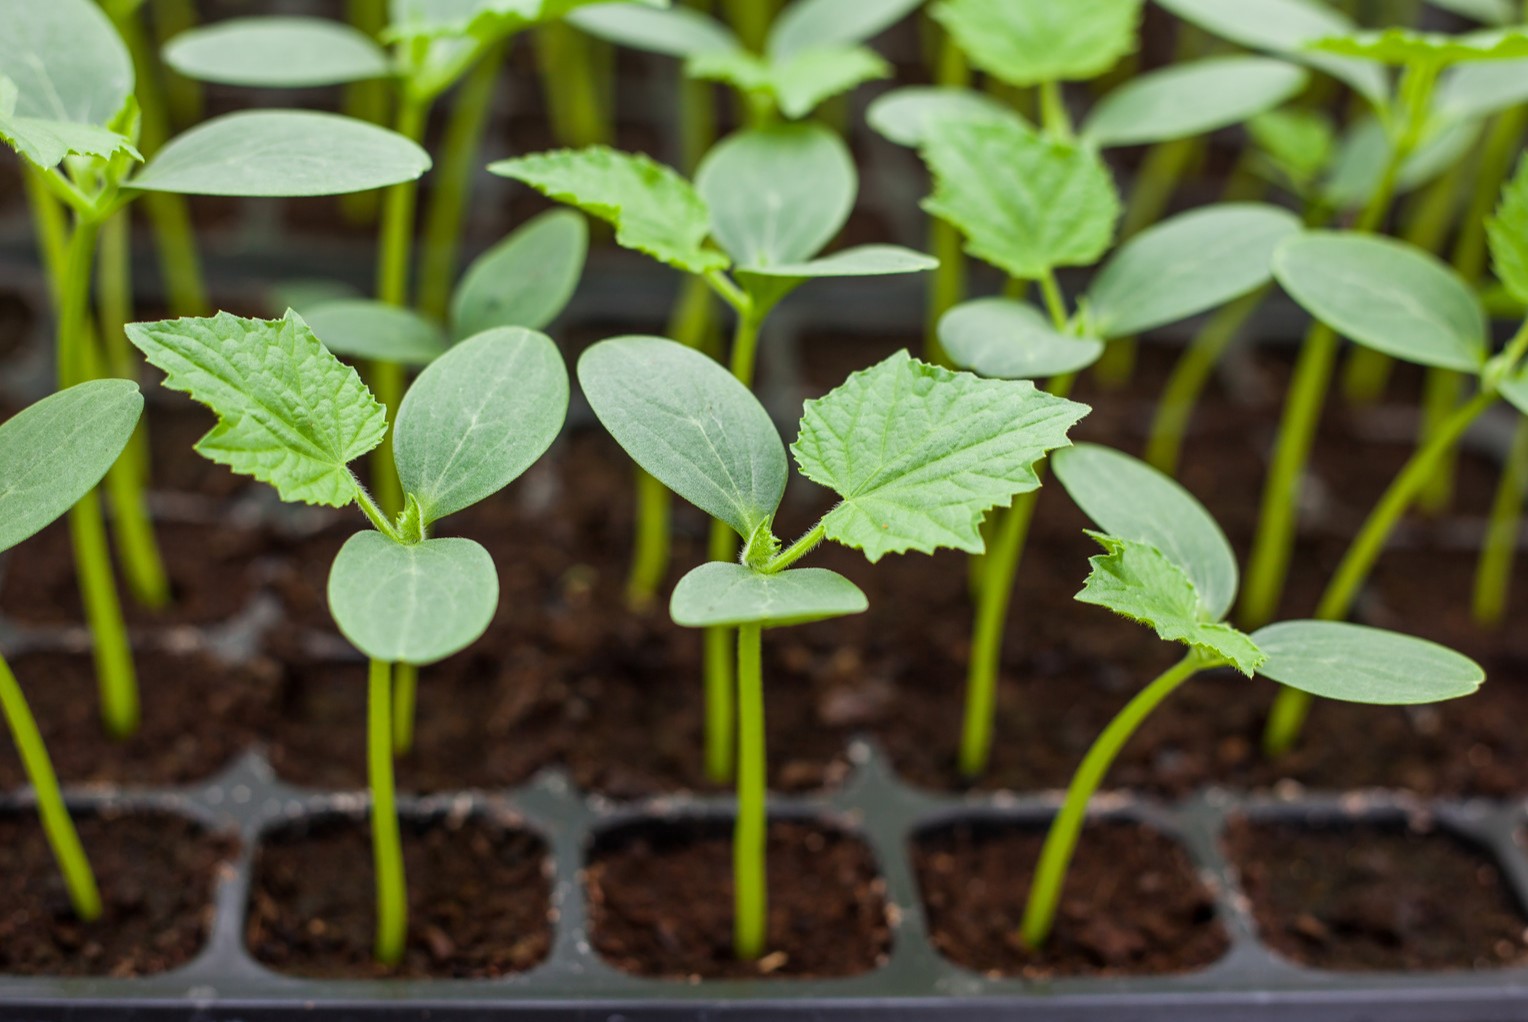
- Transplanting seedlings: Once the seedlings have developed their first set of true leaves, they are ready to be transplanted to larger containers or individual pots. Handle the seedlings carefully to avoid damaging the delicate roots.
- Acclimate seedlings: Before transplanting the seedlings outdoors, gradually expose them to outdoor conditions over a period of a week or two. This process, known as hardening off, helps the seedlings adjust to fluctuating temperatures, wind, and direct sunlight.
Indoor seed starting gives you the flexibility to start seeds earlier than you would be able to if you were planting directly in the garden. This is particularly useful for crops that require a long growing season or for gardeners in colder climates.
By providing optimal conditions and care during the indoor seed starting process, you can ensure that your seedlings develop strong roots and healthy growth. They will be ready to flourish as soon as they are transplanted into the garden.
Remember to label your seedlings to keep track of different plant varieties and their specific care requirements. This will help you maintain organization and ensure that each seedling receives the appropriate care as it grows.
Indoor seed starting can be an enjoyable and rewarding experience. It allows you to witness the entire life cycle of a plant from the very beginning, and it gives you a head start on seeing your garden thrive.
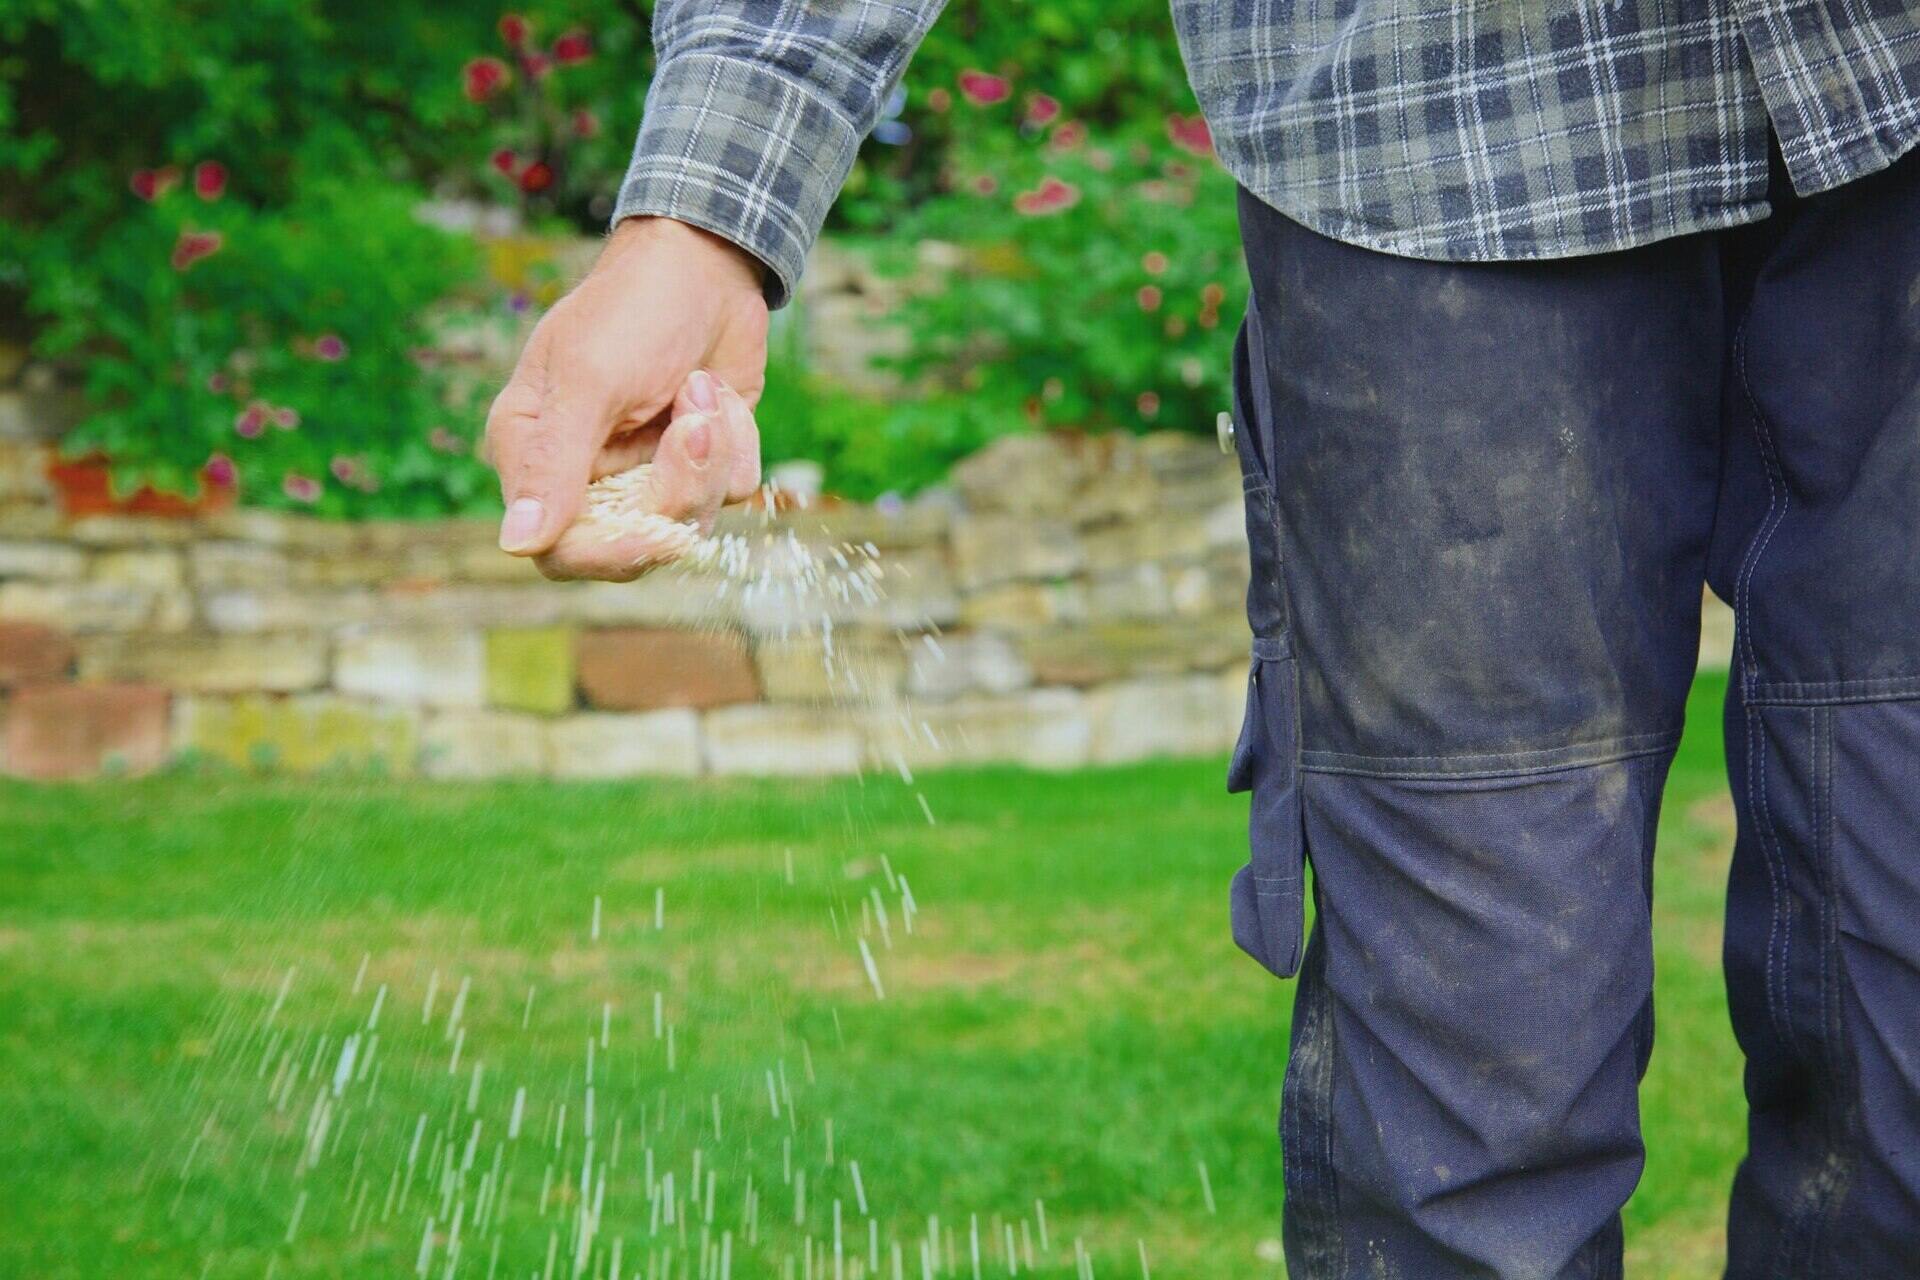
Direct Seeding in the Garden
Direct seeding in the garden is a straightforward and efficient method of planting seeds directly in the desired growing location in your garden. This method is suitable for many plant varieties, including vegetables, flowers, and herbs. By following a few simple steps, you can have seeds germinate and grow directly in the soil.
Here are some key steps to follow for direct seeding in the garden:
- Prepare the soil: Ensure that the soil is well-prepared by removing any weeds, rocks, or debris. Loosen the soil to allow for easy seed penetration and root growth.
- Read the seed packet instructions: Different seeds have different requirements for depth, spacing, and soil temperature. Read the instructions on the seed packet to determine the specific guidelines for each variety.
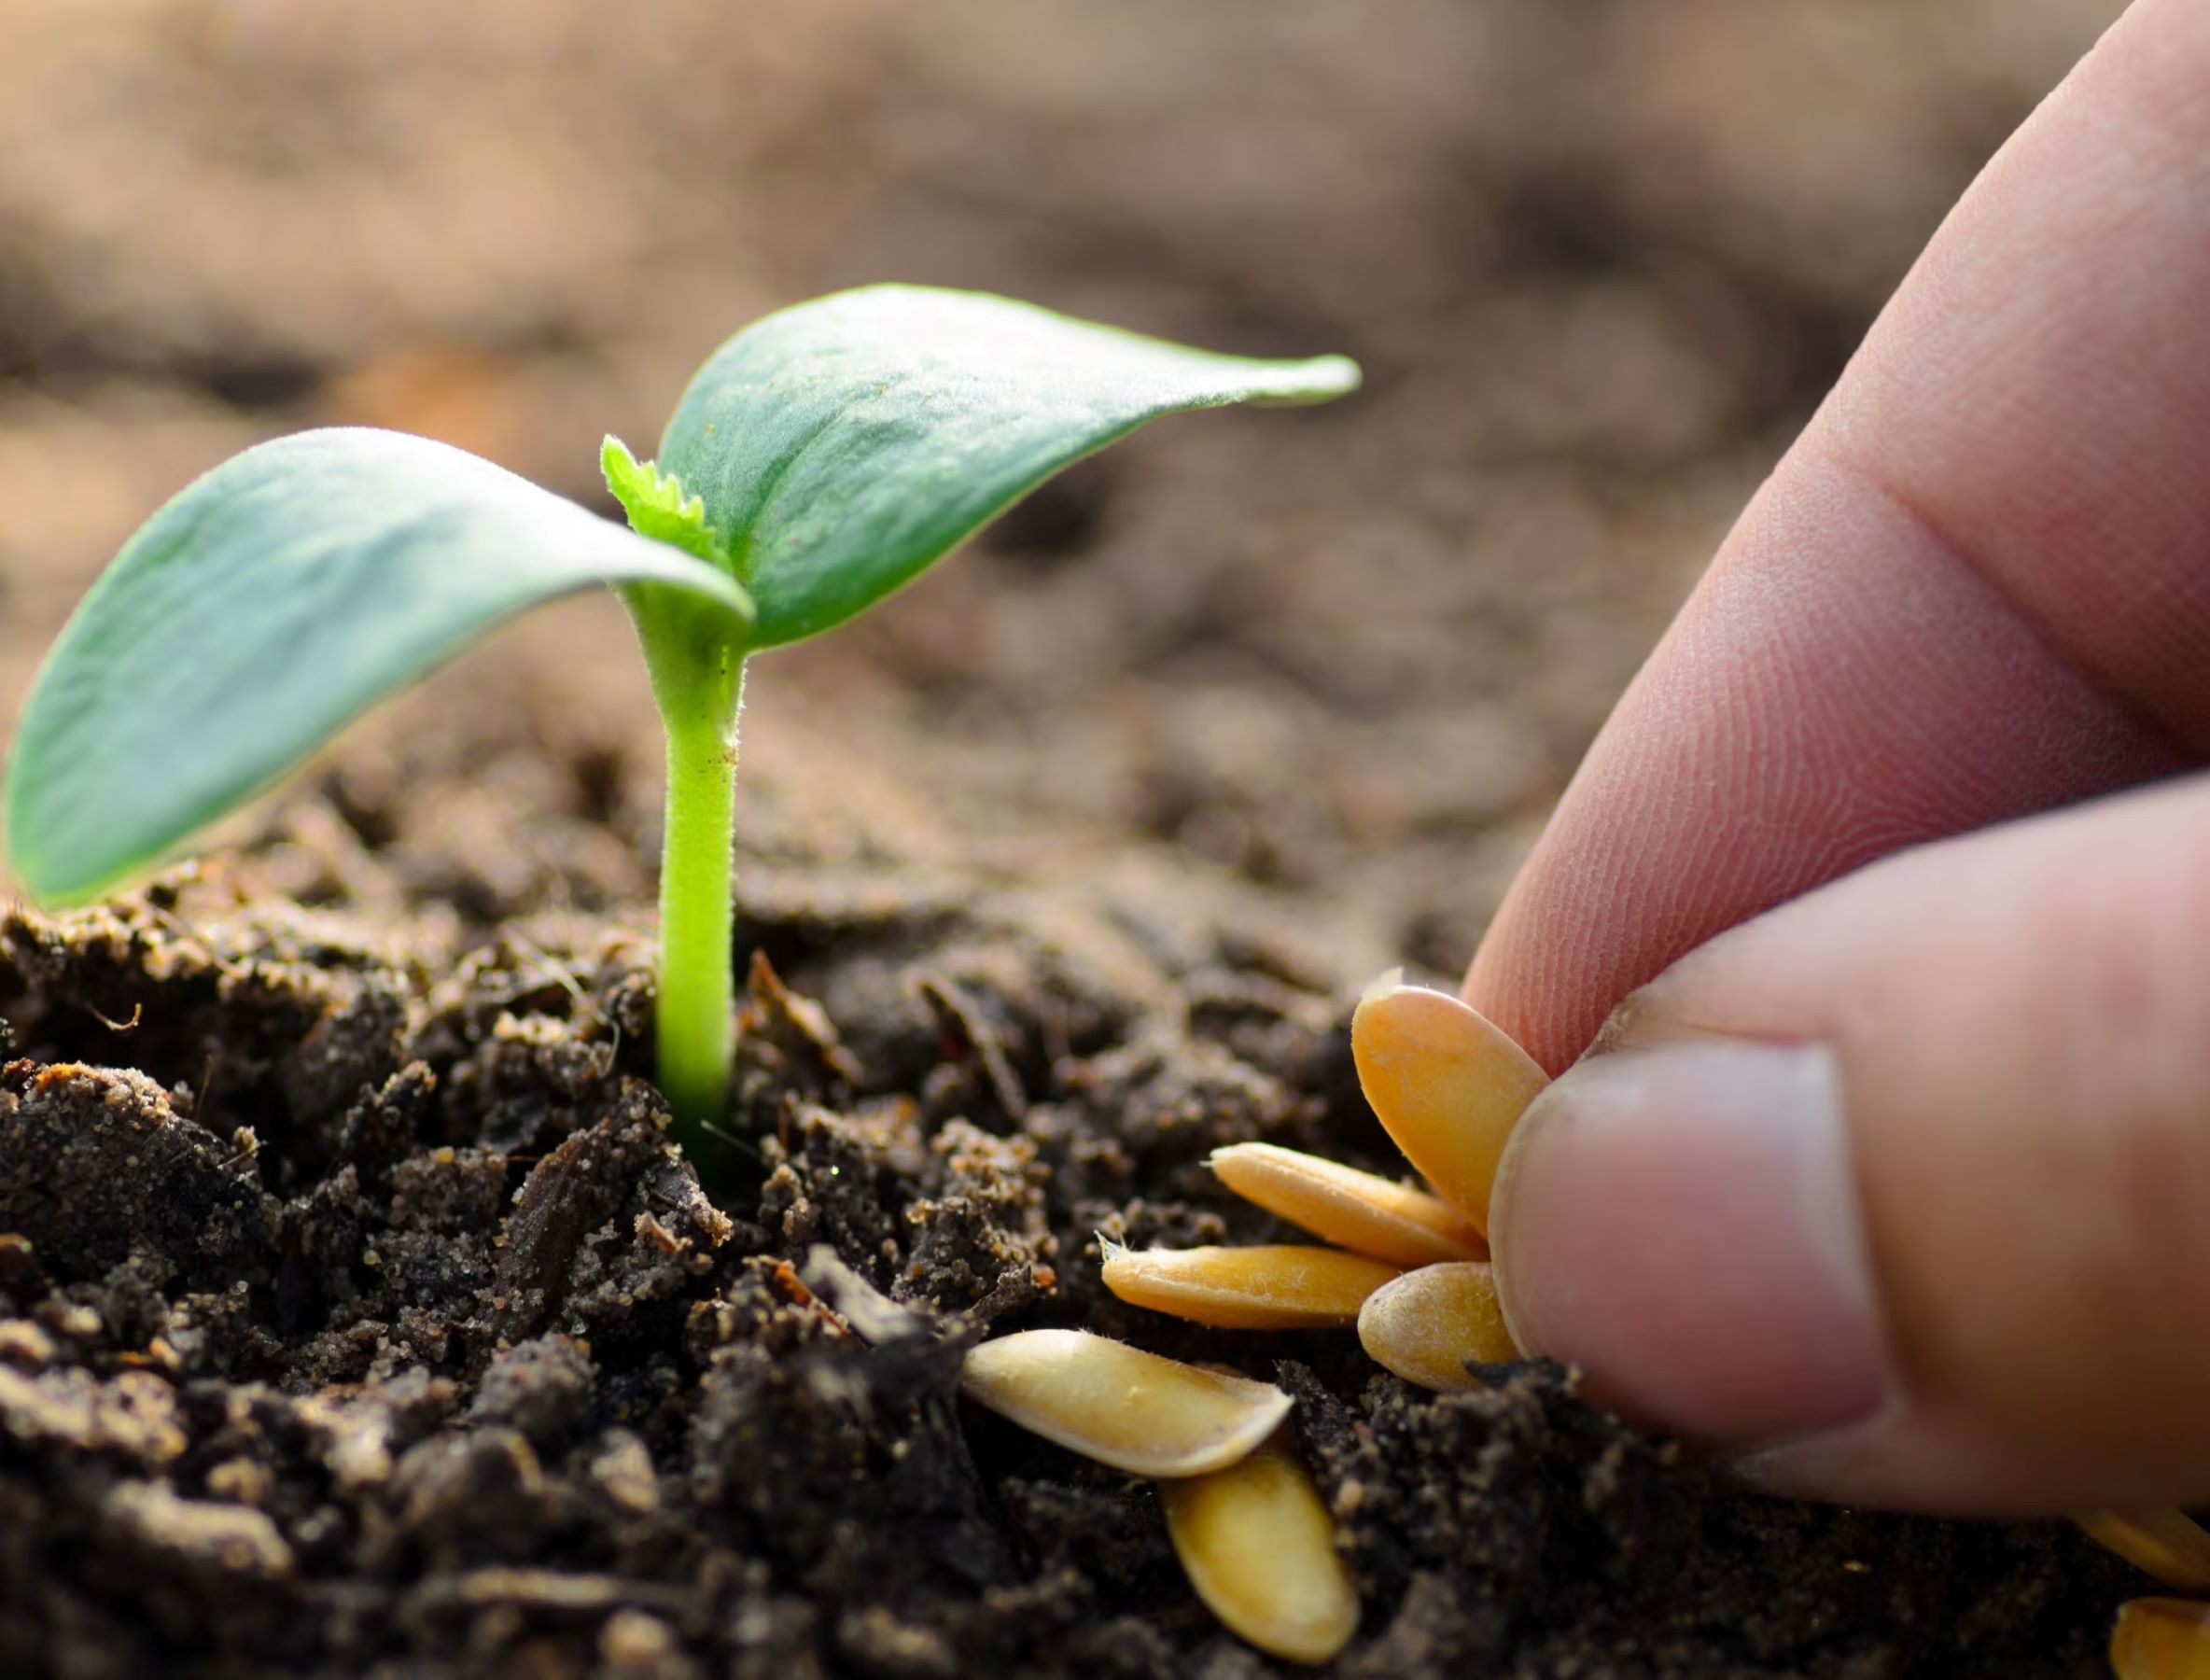
- Sow the seeds: Plant the seeds according to the recommended spacing and depth indicated on the seed packet. Make a hole or furrow in the soil using your finger or a small garden tool. Place the seeds into the hole and cover them lightly with soil. Press the soil gently to ensure good seed-to-soil contact.
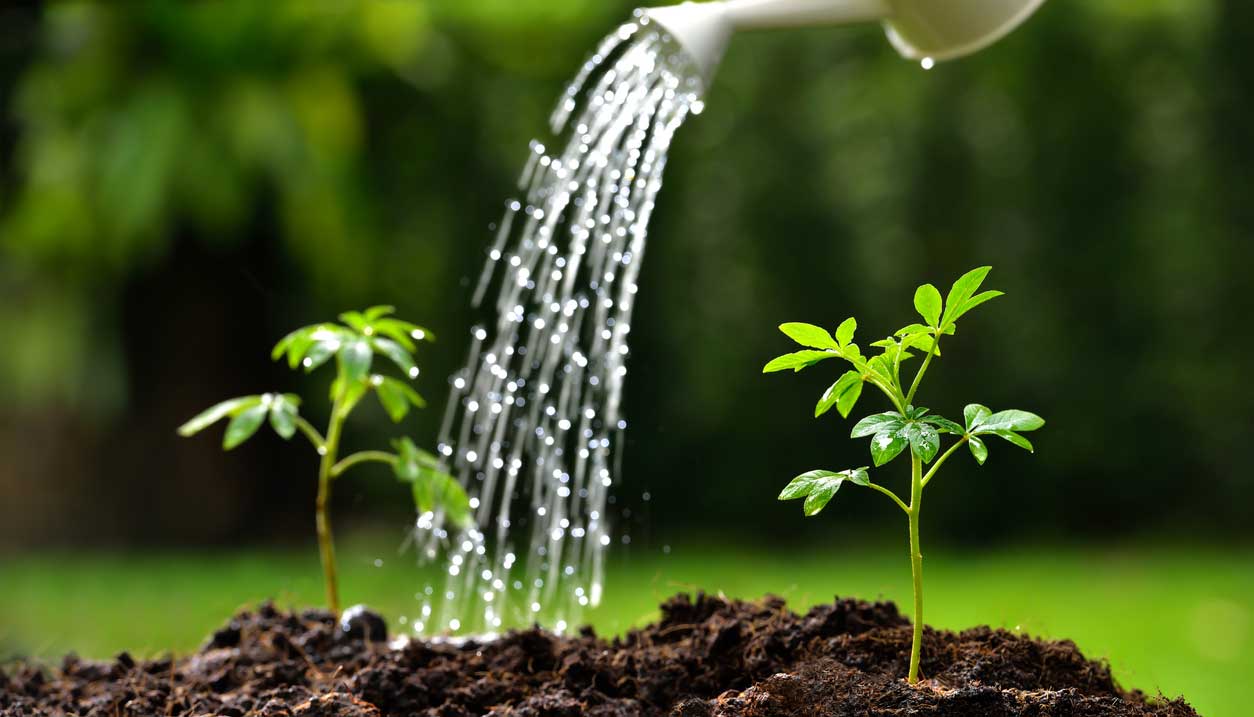
- Provide adequate water: After planting, water the seeded area thoroughly to ensure proper moisture penetration. Use a gentle spray or a watering can to avoid disturbing the seeds or washing them away.
- Monitor and protect: Keep an eye on the planted area and monitor moisture levels closely. Ensure that the soil remains consistently moist but not waterlogged. Protect the seeds from pests and birds by using row covers or netting if necessary.
- Thin seedlings if needed: Once the seedlings have emerged and developed their first true leaves, thin them out if they are overcrowded. Follow the recommended spacing guidelines to ensure adequate room for each plant to grow and thrive.
- Provide ongoing care: Continue to water and care for the seedlings as they grow. Keep an eye out for signs of nutrient deficiency or pest infestation and take appropriate measures to address any issues.
Direct seeding in the garden offers several advantages. It allows plants to establish their roots directly in their intended growing location and reduces the transplant shock that can occur when transplanting seedlings. Additionally, it saves time and effort, as there is no need for indoor seed starting or transplanting.
However, it’s important to note that not all plants are suitable for direct seeding. Some plants have a longer growing season and may require a head start through indoor seed starting. Additionally, certain delicate or slow-growing plants may benefit from the extra protection and controlled environment offered by indoor seed starting.
By following the proper techniques and providing the necessary care, you can achieve successful seed germination and healthy plant growth through direct seeding in your garden. Embrace this method as a convenient and efficient way to bring your garden to life.
Specific Timing for Popular Vegetable, Flower, and Herb Seeds
Timing is crucial when it comes to planting specific seeds. Each plant has its own preferred growing conditions and timing requirements for successful germination and growth. Here is a guide to help you understand the optimal planting times for popular vegetable, flower, and herb seeds:
Vegetables:
- Tomatoes: Start tomato seeds indoors 6-8 weeks before the last frost date in your area. Transplant the seedlings outdoors after the danger of frost has passed and soil temperatures have warmed to around 60°F (15.6°C).
- Zucchini: Directly sow zucchini seeds in the garden after the last frost date when the soil temperature is consistently above 60°F (15.6°C). Seeds can be planted around 1 inch deep and spaced about 3 feet apart.
- Cucumbers: Cucumber seeds should be sown directly in the garden after the last frost date. Plant them around 1 inch deep and space them about 1-2 feet apart. Cucumbers prefer warm soil temperatures above 70°F (21°C).
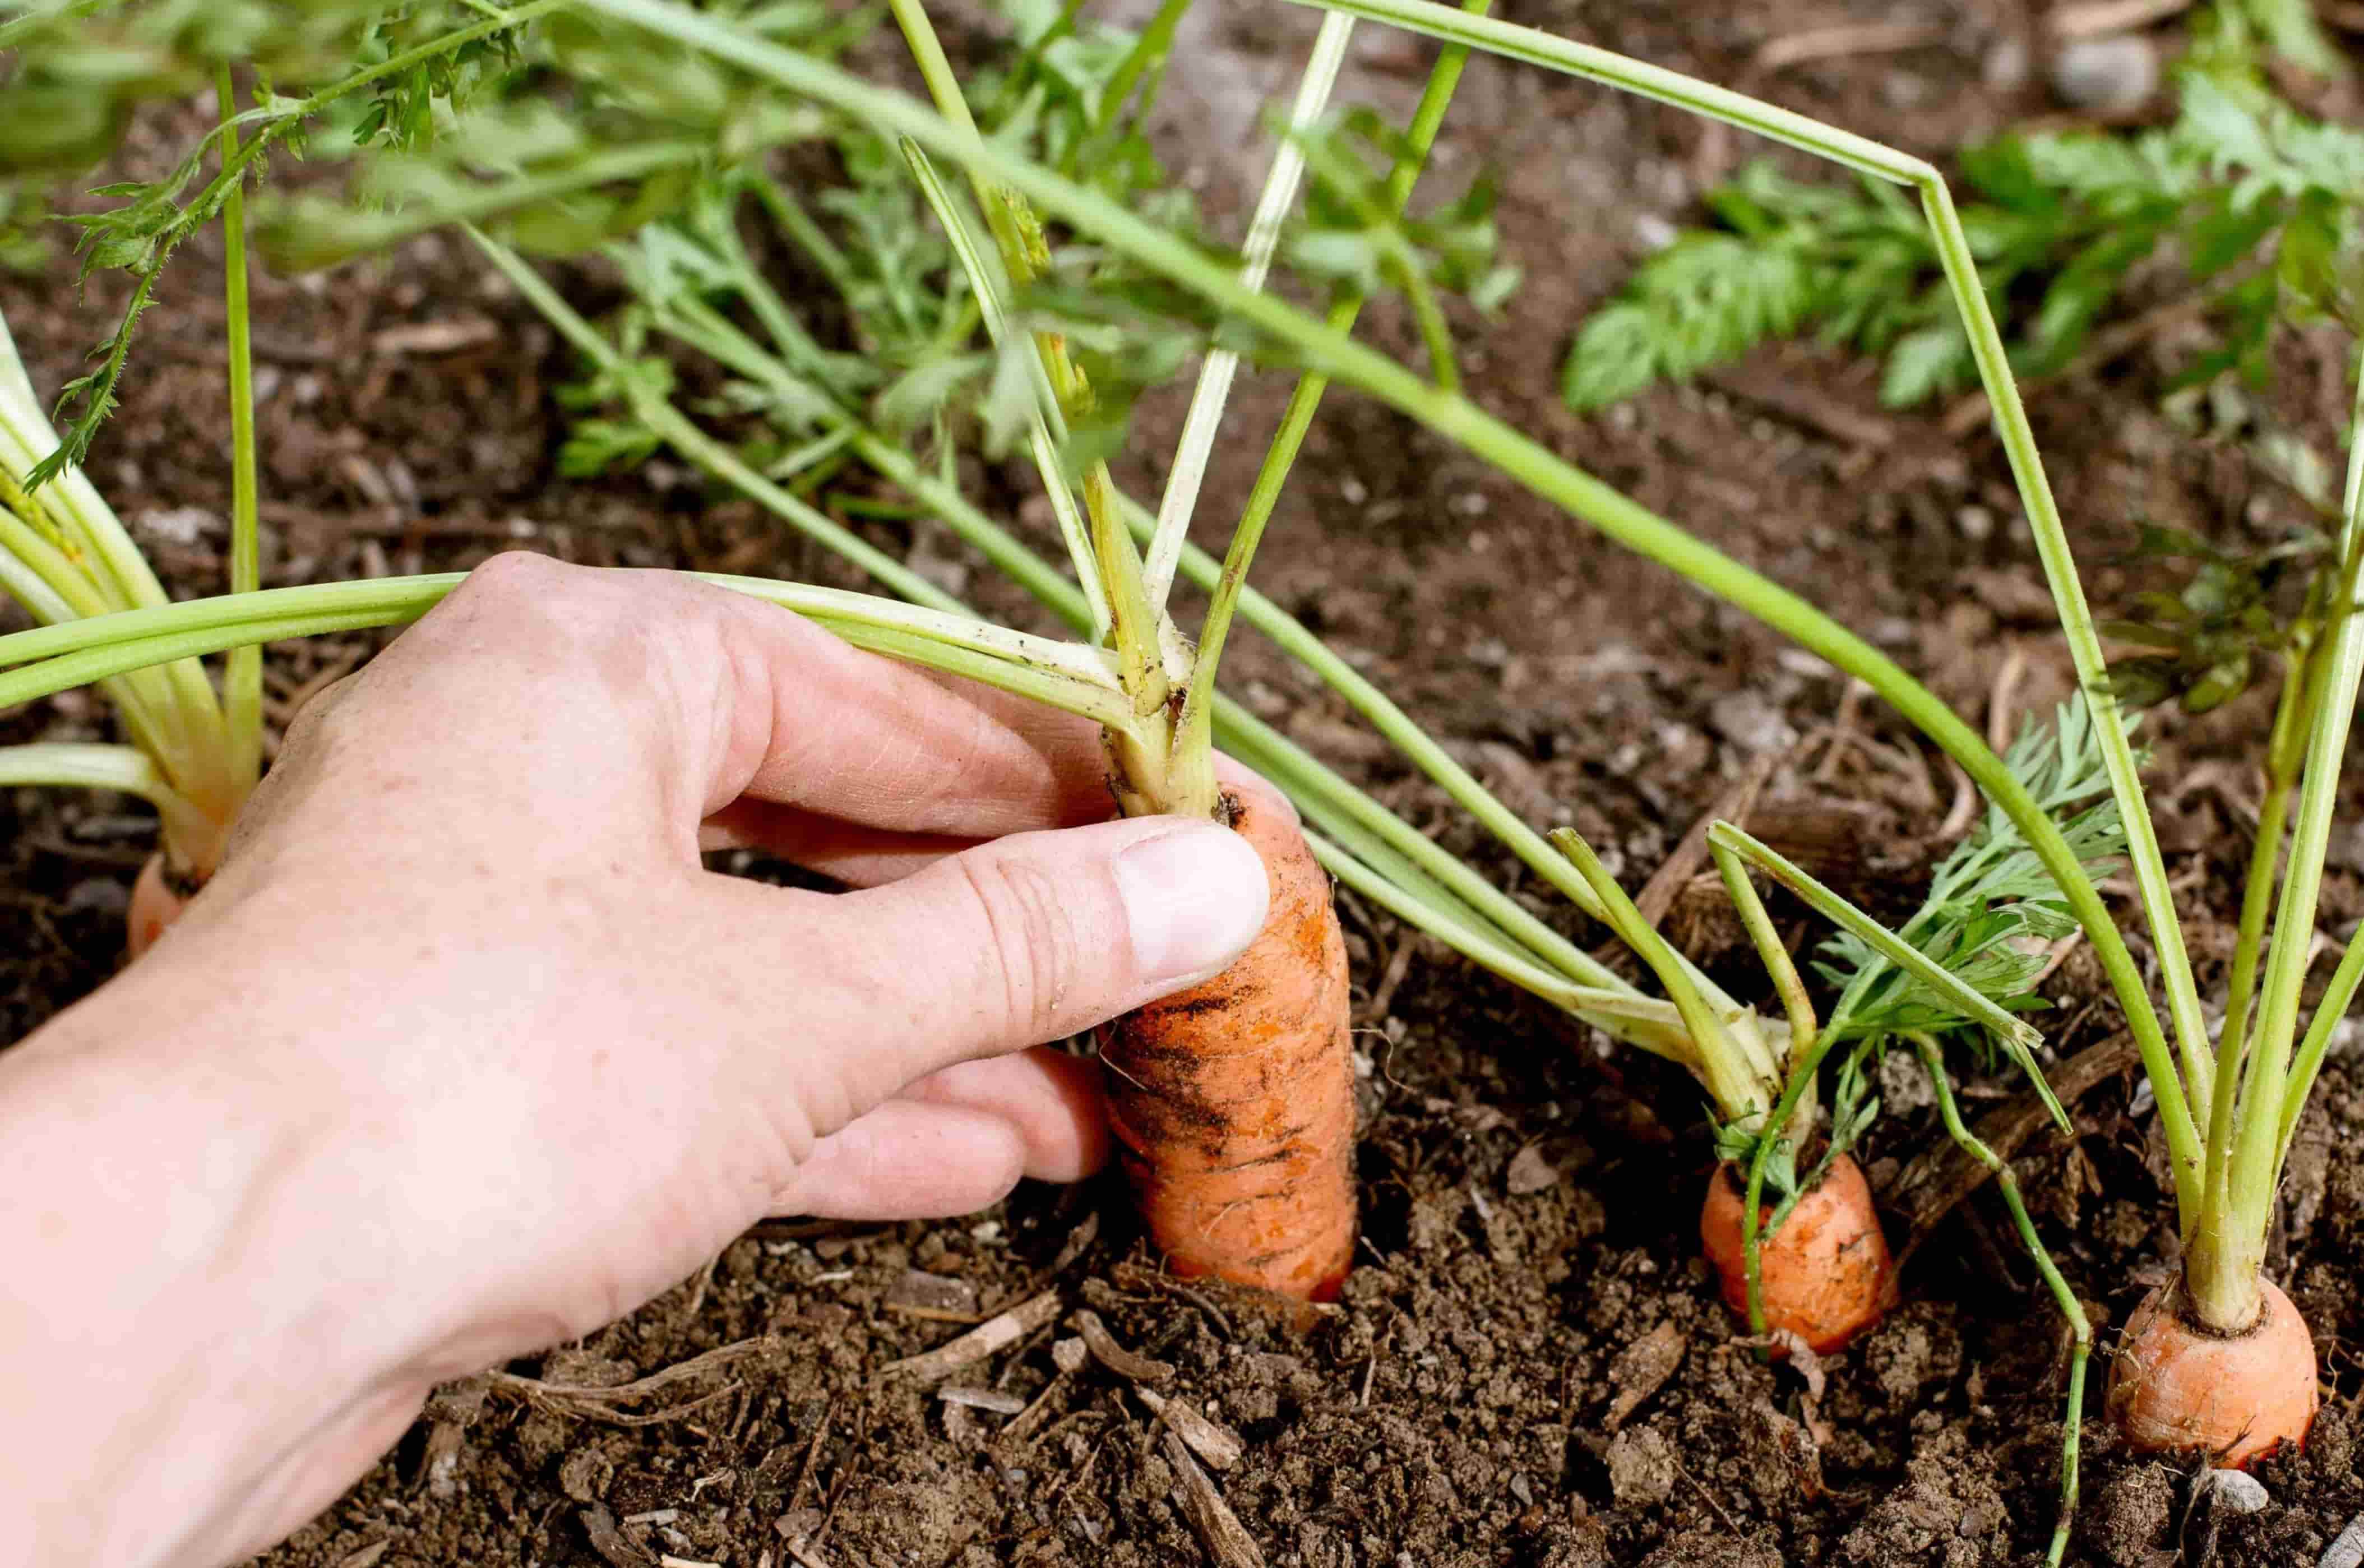
- Carrots: Carrot seeds can be directly sown in the garden as soon as the soil can be worked in early spring. Plant the seeds around ¼ inch deep and space them at least 2-3 inches apart. Carrots prefer cooler weather and can tolerate light frosts.
- Lettuce: Lettuce seeds can be directly sown in the garden as soon as the soil can be worked. Plant the seeds around ¼ inch deep and space them according to the lettuce variety. Lettuce prefers cooler temperatures, so avoid planting during hot summer months.
Flowers:
- Zinnias: Directly sow zinnia seeds in the garden after the last frost date. Plant them around ¼ inch deep and space them according to the specific variety. Zinnias prefer warm soil temperatures above 60°F (15.6°C).
- Sunflowers: Sunflower seeds can be directly sown in the garden after the last frost date. Plant them around 1 inch deep and space them according to the specific variety. Sunflowers thrive in full sun and warm soil conditions.
- Marigolds: Marigold seeds can be started indoors 6-8 weeks before the last frost date or directly sown in the garden after the danger of frost has passed. Plant them around ¼ inch deep and space them according to the specific variety.
- Petunias: Petunia seeds should be started indoors 8-10 weeks before the last frost date in your area. Transplant the seedlings outdoors after the danger of frost has passed. Petunias prefer warm weather and full to partial sun.
- Cosmos: Directly sow cosmos seeds in the garden after the last frost date. Plant them around ¼ inch deep and space them according to the specific variety. Cosmos attract pollinators and thrive in full sun.
Herbs:
- Basil: Basil seeds can be started indoors 6-8 weeks before the last frost date or directly sown in the garden after the danger of frost has passed. Basil prefers warm weather and full sun.
- Mint: Mint seeds can be started indoors or directly sown in the garden after the danger of frost has passed. Mint prefers moist soil and partial shade but can tolerate full sun in cooler climates.
- Parsley: Parsley seeds can be directly sown in the garden after the last frost date. Plant them around ¼ inch deep and space them about 6 inches apart. Parsley prefers cooler temperatures and well-drained soil.
- Thyme: Thyme seeds should be started indoors 8-10 weeks before the last frost date or directly sown in the garden after the danger of frost has passed. Thyme prefers well-drained soil and full sun.
- Dill: Dill seeds can be directly sown in the garden after the last frost date. Plant them around ½ inch deep and space them according to the specific variety. Dill prefers well-drained soil and ample sunlight.
These are just a few examples of popular vegetable, flower, and herb seeds. It’s important to refer to the specific instructions provided on the seed packets for accurate planting times and guidelines. By following the recommended timing for each seed variety, you can optimize your chances of a successful and productive garden.
Read more: When Should I Plant Wildflower Seeds
Conclusion
Planting seeds is a magical journey that allows us to witness the beauty of nature unfold right before our eyes. By understanding the factors that influence seed germination and growth, we can maximize the success of our gardens and create lush and vibrant landscapes.
In this article, we explored various factors to consider before planting seeds, including understanding your hardiness zone, frost dates, and soil preparation. We discussed the importance of selecting the right seeds for your region and provided specific timing guidelines for popular vegetables, flowers, and herbs.
Understanding your hardiness zone provides valuable insights into the average temperatures and growing conditions in your area, allowing you to choose seeds that are well-suited to your climate. Frost dates play a crucial role in determining when it’s safe to plant seeds outdoors, while soil preparation ensures that your seeds have a fertile and nurturing environment for growth.
When selecting seeds for your region, consider factors such as hardiness zone compatibility, climate adaptation, days to maturity, disease resistance, and regional favorites. By choosing the right seeds, you increase the chances of a successful and thriving garden.
We also explored the options of starting seeds indoors and directly sowing them in the garden. Starting seeds indoors gives you a head start on the growing season and allows for more controlled conditions, while direct seeding simplifies the process and reduces transplant shock.
Finally, we provided specific timing guidelines for popular vegetables, flowers, and herbs, giving you the information you need to plan your garden effectively and make the most of the growing season.
As you embark on your gardening journey, remember to enjoy the process and have patience. Gardening is a continuous learning experience, and each season presents new opportunities for growth and discovery.
So go ahead, plant those seeds, nurture them with care, and watch as your garden transforms into a lush oasis of beauty and abundance. Happy gardening!
Frequently Asked Questions about When Should You Plant Seeds
Was this page helpful?
At Storables.com, we guarantee accurate and reliable information. Our content, validated by Expert Board Contributors, is crafted following stringent Editorial Policies. We're committed to providing you with well-researched, expert-backed insights for all your informational needs.

0 thoughts on “When Should You Plant Seeds”