Home>Garden Essentials>How Much Rocks Do I Need For Landscaping

Garden Essentials
How Much Rocks Do I Need For Landscaping
Modified: March 7, 2024
Find out how much rocks you need for your garden landscaping project. Get helpful tips and advice to create the perfect garden with the right amount of rocks.
(Many of the links in this article redirect to a specific reviewed product. Your purchase of these products through affiliate links helps to generate commission for Storables.com, at no extra cost. Learn more)
Introduction
Landscaping is an essential part of creating an attractive and functional outdoor space. It not only adds aesthetic value but also increases the overall value of your property. One key element in landscaping design is the use of rocks. Rocks can be used in various ways, such as creating pathways, defining borders, or adding texture and visual interest to garden beds.
However, before you embark on your landscaping project, it’s important to determine how much rock you will need. Planning ahead and calculating the proper quantity of rocks will save you time, money, and effort. In this article, we will explore the factors to consider when determining the quantity of rocks needed for landscaping, the different types of rocks available, and helpful tips for a successful installation.
When it comes to calculating the amount of rocks required for your landscaping project, there are a few factors you need to take into account. These factors include the area you want to cover, the type of rocks you prefer, and the desired thickness or depth of the rock layer.
Calculating the area is the first step in determining the quantity of rocks you will need. Start by measuring the length and width of the space you want to cover with rocks. If the area is irregularly shaped, break it down into smaller sections and calculate each section separately. Add up the measurements to find the total area in square feet or square meters. This will give you a foundation for estimating the amount of rocks required.
Key Takeaways:
- Planning ahead and accurately measuring the area for your landscaping project will ensure you order the right amount of rocks, saving time and money.
- Mixing different types and sizes of rocks can create a visually appealing landscape, while proper installation and maintenance will keep your outdoor space looking beautiful and functional.
Factors to Consider
When determining the quantity of rocks needed for your landscaping project, there are several important factors to take into consideration. These factors will help ensure that you order the right amount of rocks and achieve the desired outcome for your outdoor space.
1. Area Size: The size of the area you want to cover with rocks is a crucial factor in determining the quantity needed. Measure the length and width of the space and multiply these numbers to find the total area. Keep in mind that irregularly shaped areas will require more precise measurements and potentially more rocks for complete coverage.
2. Thickness or Depth: Deciding on the desired thickness or depth of the rock layer is essential, as it will affect the amount of rocks required. Consider the purpose of the rock layer and the function you want it to serve. For decorative purposes, a thinner layer may be sufficient. However, if you intend to use the rocks as a pathway or to prevent weed growth, a thicker layer is recommended.
3. Type of Rocks: There are various types of rocks available for landscaping, each with its own unique characteristics and aesthetic appeal. Consider the style and theme of your outdoor space to determine the most suitable rocks for your project. Common types of landscaping rocks include pea gravel, river rocks, crushed stone, and flagstone. Each type may vary in size and density, which can affect the quantity needed.
4. Functionality: Think about the function you want the rocks to serve. Are they intended to create a visual focal point or define specific areas? Will they be used as a walking path or to create a low-maintenance garden bed? The intended use will determine the coverage area and the thickness of the rock layer, thereby influencing the quantity needed.
5. Budget: Consider your budget when determining the quantity of rocks needed. Different types of rocks come at varying costs, so understanding your budget constraints is essential. Calculate the quantity required and compare it to the cost per unit or weight to estimate the total cost of the rocks.
By taking these factors into account, you can make an informed decision about the quantity of rocks needed for your landscaping project. Planning ahead will help you avoid unnecessary expenses and ensure the successful completion of your outdoor space transformation.
Calculating the Area
Calculating the area is a crucial step in determining the quantity of rocks required for your landscaping project. By accurately measuring the space you want to cover, you can ensure that you order the right amount of rocks and achieve the desired coverage.
To calculate the area, you’ll need to measure the length and width of the space in question. This can be done using a measuring tape or a measuring wheel, depending on the size and shape of the area. It’s important to measure in the same units, whether it’s feet, meters, or yards, to avoid any inconsistencies.
If the area is rectangular or square in shape, simply multiply the length by the width to get the total area in square units. For example, if the length of the space is 10 feet and the width is 15 feet, the total area would be 150 square feet.
However, if the area is irregularly shaped, you’ll need to break it down into smaller sections and calculate each section separately. For instance, if the irregular space consists of multiple rectangles and triangles, measure and calculate the area of each individual shape and then sum them up to find the total area.
For circular areas, use the formula A = πr², where A represents the area and r is the radius of the circle. Measure the distance from the center of the circle to its edge to find the radius and then square it before multiplying by π. This will give you the total area of the circular space.
Once you have the total area in square units, you can use this as a reference point for estimating the quantity of rocks needed for your landscaping project. Keep in mind that the desired thickness or depth of the rock layer will also impact the amount of rocks required. Multiply the total area by the desired thickness to find the volume, and then convert it to the appropriate unit of measurement based on the supplier’s requirements.
Remember to add a little extra to your calculations to account for any potential wastage or irregularities in the shape of the area. It’s always better to have a little more than you need, rather than running out of rocks and having to order more.
By accurately calculating the area, you can ensure that you order the right quantity of rocks for your landscaping project. It will save you time, money, and effort, and help you achieve the desired look for your outdoor space.
Types of Rocks
When it comes to landscaping with rocks, there is a wide variety of options to choose from. Each type of rock has its own unique characteristics, colors, and textures, which can greatly impact the overall aesthetic of your outdoor space. Here are some common types of rocks used in landscaping:
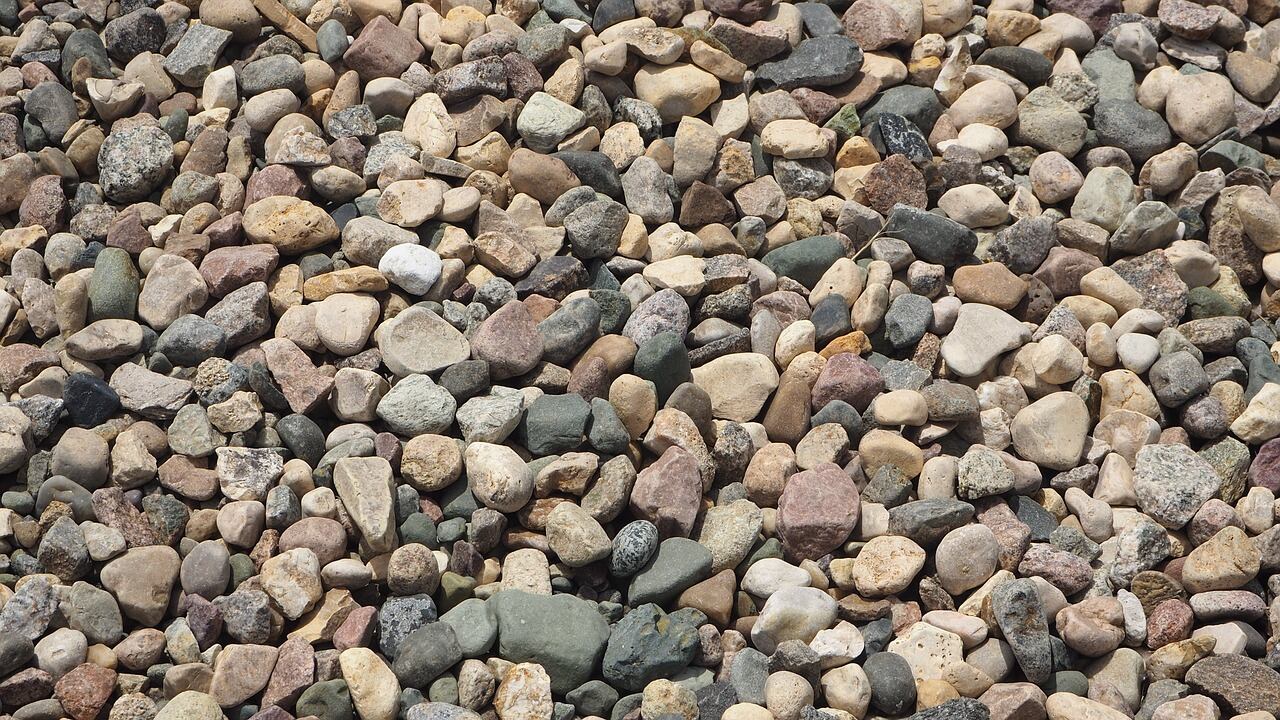
1. Pea Gravel: Pea gravel is a small, smooth rock that is typically round in shape. It is known for its versatility and can be used for various landscaping purposes, such as pathways, driveways, and decorative accents. Pea gravel comes in a range of colors, including beige, gray, and white.
2. River Rocks: River rocks are smooth and polished stones that are found naturally in river beds. They come in a variety of sizes, shapes, and colors, making them a popular choice for landscaping. River rocks can be used to create water features, accentuate garden beds, or line walkways.
3. Crushed Stone: Crushed stone is a versatile landscaping rock that is made by crushing larger stones into smaller pieces. It is available in different sizes, ranging from fine gravel to larger stones. Crushed stone is commonly used for driveways, walkways, and as a base for other landscaping materials.
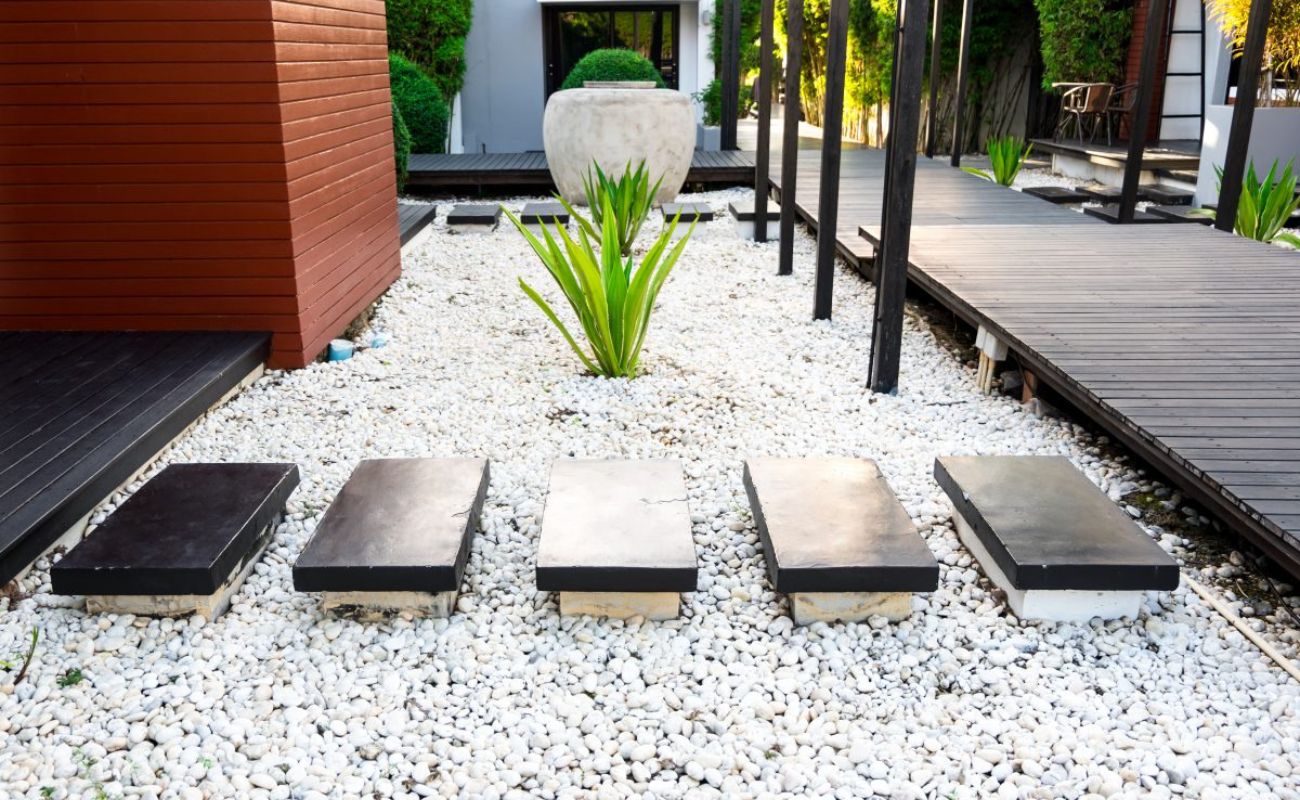
4. Flagstone: Flagstone is a flat and thin sedimentary rock that is popular for creating natural-looking pathways and patios. It is known for its durability and natural beauty. Flagstone can be installed in various patterns and colors to match your desired landscaping style.
5. Boulders: Boulders are large rocks that can make a bold statement in your landscape design. They come in various sizes and shapes and can be used as focal points, garden features, or to create natural barriers. Boulders add a sense of drama and visual interest to any outdoor space.
It’s important to select the right type of rock based on your landscaping goals and the overall aesthetic you want to achieve. Consider factors such as color, texture, durability, and maintenance when choosing rocks for your outdoor space. Consulting with a professional or visiting a local garden center can help you make an informed decision.
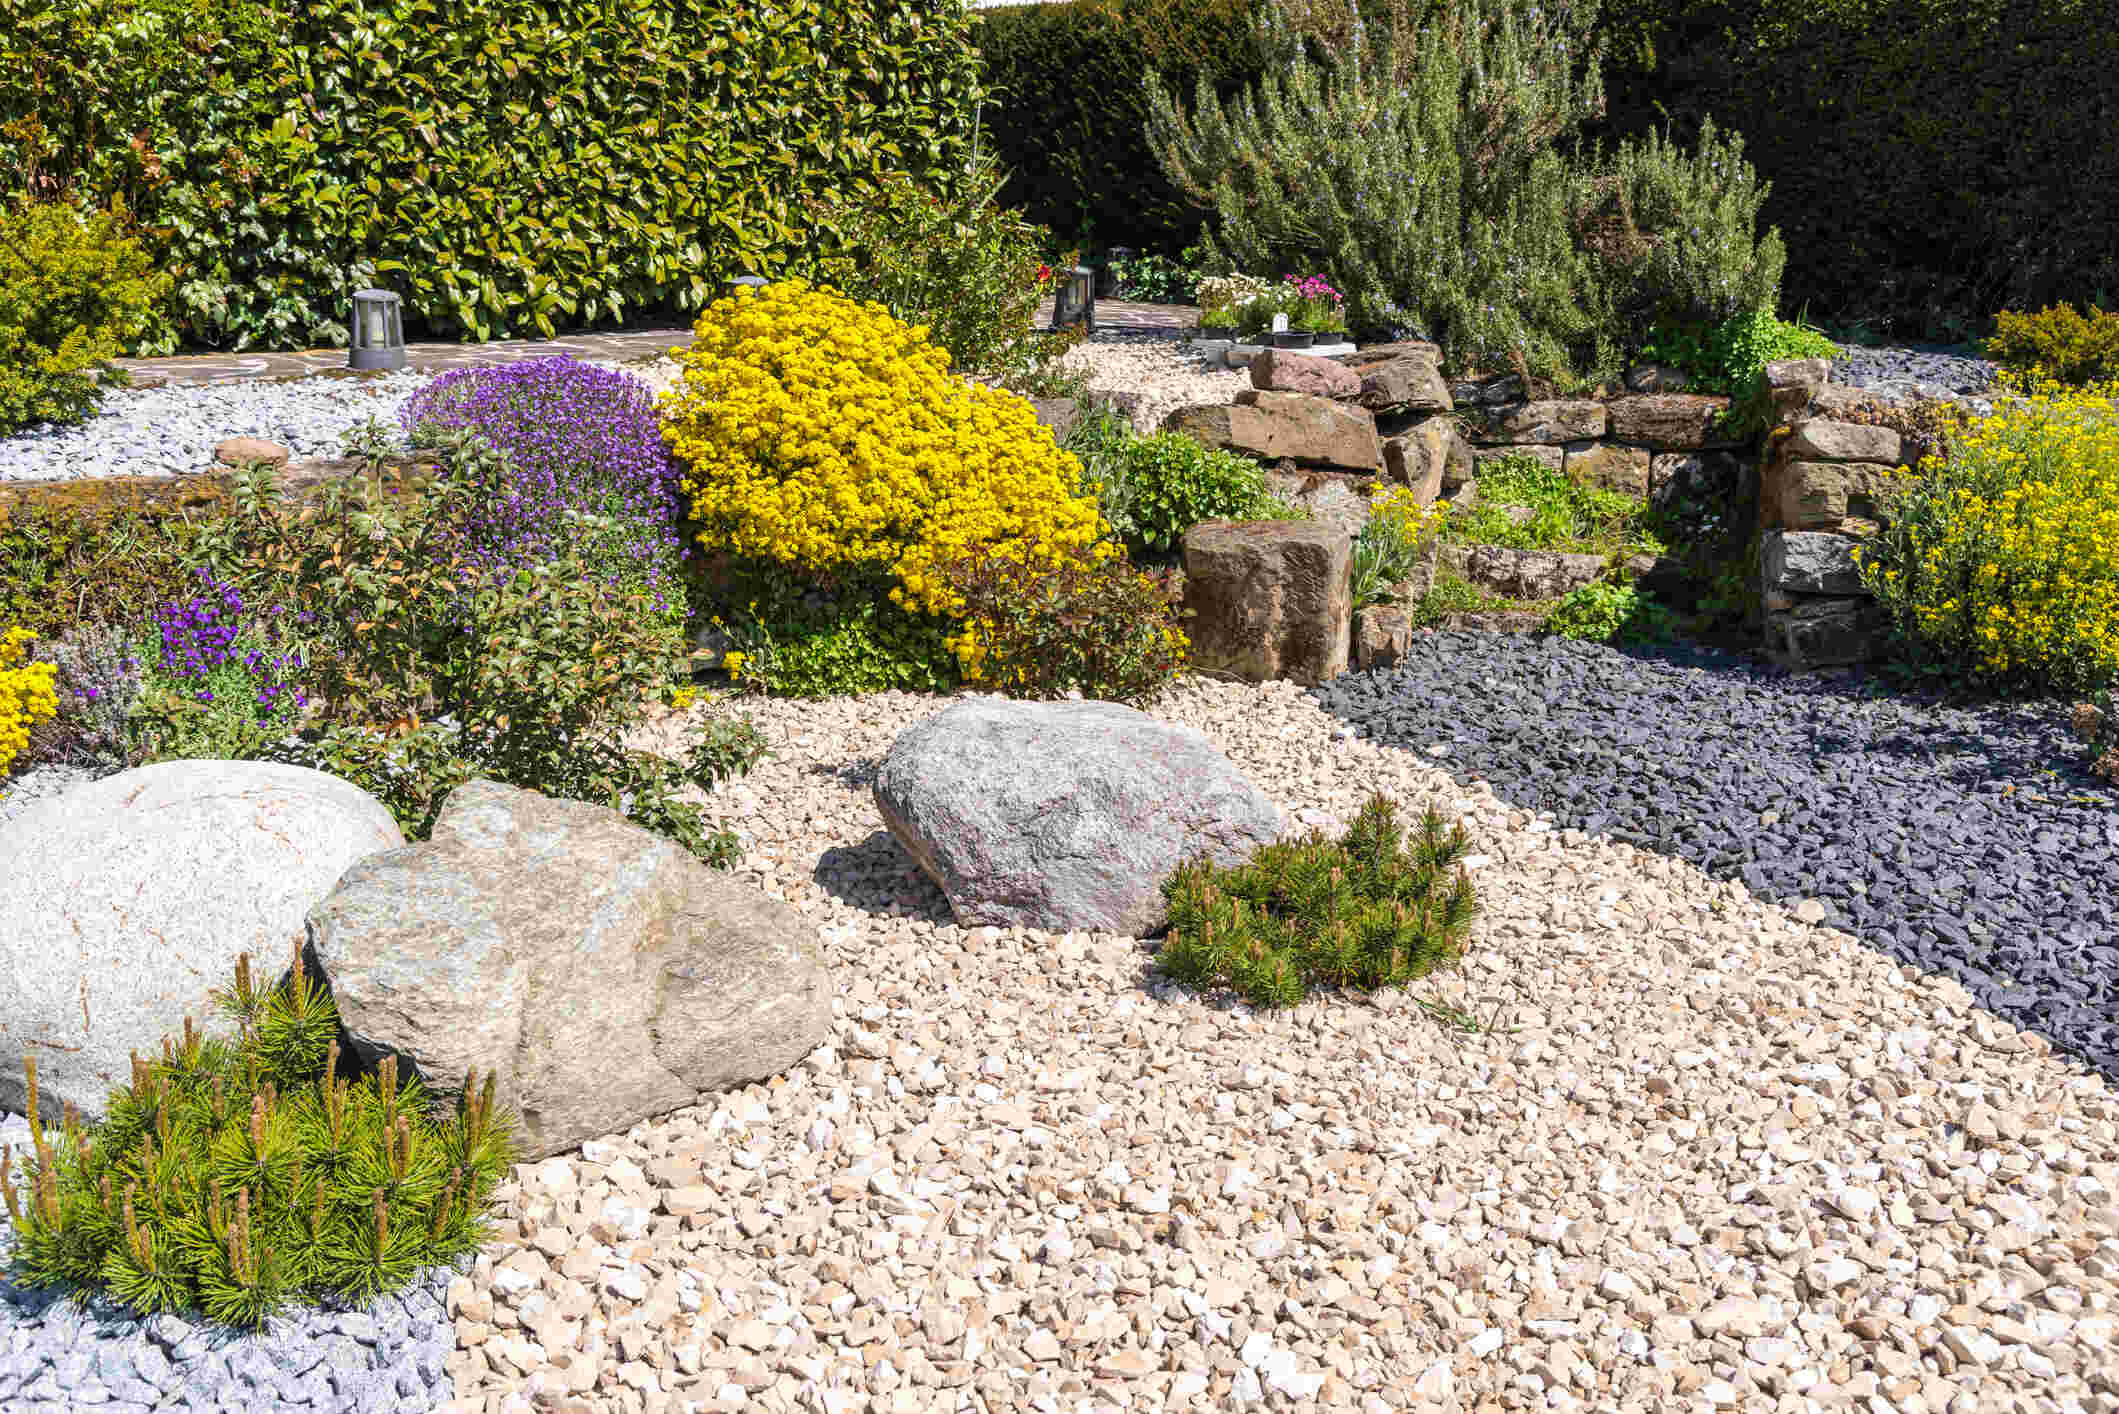
Don’t shy away from mixing different types of rocks to create a visually appealing and dynamic landscape. By combining different textures, colors, and sizes, you can create a natural and harmonious design that enhances the beauty of your outdoor space.
Measure the area you want to cover with rocks and calculate the square footage. Then, determine the depth of the rocks you want to use. Use an online rock calculator to estimate the amount of rocks needed for your landscaping project.
Determining the Quantity
Once you have calculated the area and selected the type of rocks for your landscaping project, the next step is to determine the quantity of rocks needed. This will ensure that you order the right amount to achieve the desired coverage and thickness for your outdoor space.
There are a few key factors to consider when determining the quantity of rocks:
1. Area Size: Start by referring back to the total area you calculated earlier. Multiply the area by the desired thickness or depth of the rock layer. This will give you the volume of rocks required for the entire area.
2. Type of Rocks: Different types of rocks have varying densities and weights. This means that a certain volume of one type of rock may weigh more or less than another type. Check with your supplier for the weight or volume per unit of your chosen rocks to accurately determine the quantity needed.
3. Conversion: Convert the volume of rocks from one unit of measurement to another, if necessary. For example, if your supplier sells rocks by weight but you have calculated the volume in cubic feet, you will need to convert the volume to the equivalent weight to order the correct quantity.
4. Extra Allowance: It’s always a good idea to add a little extra to your calculations to account for any wastage or irregularities. This is especially important if you are working with irregularly shaped areas, as you may need more rocks to fill in gaps or create a cohesive look. Adding a small percentage (around 5-10%) to your estimated quantity can help ensure that you have enough rocks to complete the project.
By considering these factors and accurately calculating the quantity of rocks needed, you can avoid running out of materials and ensure a successful landscaping project. Keep in mind that it’s better to have a slightly higher quantity than necessary, as leftover rocks can always be used for other purposes or future projects.
If you’re unsure about the quantity or conversion, reach out to your rock supplier or consult with a landscaping professional. They can provide guidance and help you order the right amount of rocks for your specific project.
Read more: How Much Are Large Rocks For Landscaping
Ordering and Delivery Options
Once you have determined the quantity of rocks needed for your landscaping project, the next step is to consider your ordering and delivery options. Getting the rocks to your location efficiently and in good condition is crucial for a smooth installation process. Here are some considerations to keep in mind:
1. Local Rock Suppliers: Start by researching local rock suppliers in your area. Look for companies that specialize in landscaping materials and have a variety of rocks available. Visit their websites or give them a call to inquire about their selection, pricing, and delivery options.
2. Online Suppliers: In addition to local suppliers, there are also online suppliers that offer a wide range of rocks for landscaping. This can be a convenient option if you have specific rock types in mind or if local options are limited. However, be sure to factor in shipping costs and delivery timeframes when considering online suppliers.
3. Delivery Services: Find out if the rock supplier offers delivery services. Some suppliers may offer their own delivery trucks, while others may work with third-party delivery companies. Inquire about delivery fees, minimum order requirements, and estimated delivery timelines. It’s important to schedule the delivery for a time when you or your landscaping team will be available to receive the rocks.
4. Ordering in Advance: Once you have determined the quantity of rocks needed, place your order in advance to ensure availability. Rocks may be in high demand during certain seasons or for specific landscaping projects, so it’s best to secure your order early.
5. Inspecting the Rocks: When the rocks are delivered, take the time to inspect them before the driver leaves. This way, you can ensure that the rocks meet your expectations and there are no damages or discrepancies in the order. If there are any issues, report them to the supplier immediately.
6. Storage: If you are not able to install the rocks immediately upon delivery, consider the storage options. Rocks should be stored in a dry area to prevent moisture-related issues. If you need to store the rocks for an extended period, cover them with a tarp or plastic sheeting to protect them from the elements.
By considering these ordering and delivery options, you can ensure a smooth and hassle-free process of obtaining the rocks for your landscaping project. It’s important to establish clear communication with the supplier and plan accordingly to ensure that the rocks arrive when you need them.
Tips for Proper Installation
Installing rocks for your landscaping project requires proper planning and execution to ensure a visually appealing and functional outdoor space. Here are some essential tips to follow for a successful rock installation:
1. Prepare the Area: Before laying down the rocks, prepare the area by clearing away any existing vegetation, debris, or obstacles. Level the ground and remove any weeds or grass to create a clean and even surface.
2. Use a Weed Barrier: To prevent weed growth, consider using a weed barrier underneath the rocks. This will help minimize maintenance efforts and keep your landscape looking pristine.
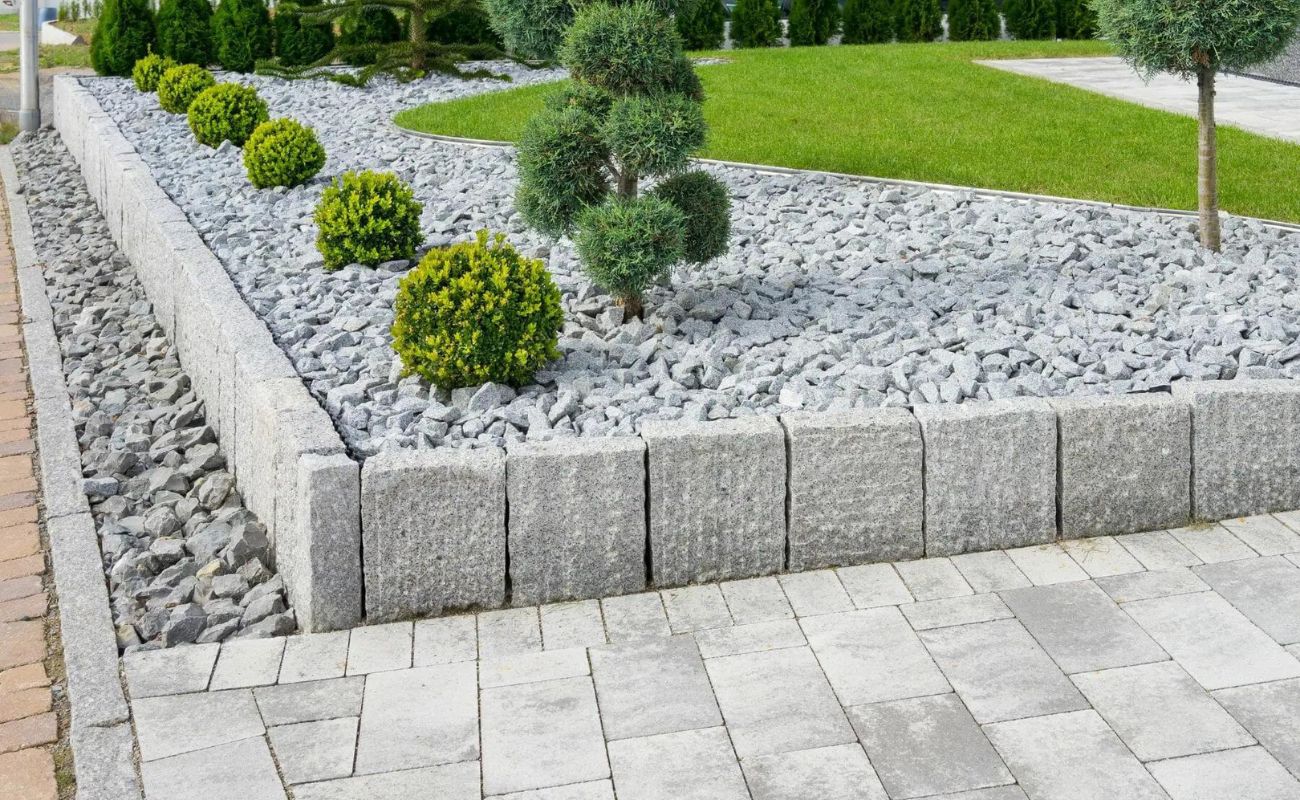
3. Create Edging: Define the borders of your rock area by installing edging materials. This can be done using bricks, stones, metal, or plastic edging. Edging helps to keep the rocks in place and provides a neat and polished appearance.
4. Start with a Base Layer: For better stability and drainage, start by laying down a base layer of compacted gravel or crushed stone. This will help create a solid foundation for the rocks and prevent shifting over time.
5. Arrange Rocks Strategically: Consider the overall design and purpose of your landscape when arranging the rocks. Place larger rocks as focal points or along the edges, and use smaller rocks to fill in gaps or create a natural-looking pattern.
6. Vary the Sizes and Shapes: Add visual interest to your landscape by using rocks of varying sizes and shapes. This will create texture and depth, making your outdoor space more appealing and dynamic.
7. Consider Safety: When creating pathways with rocks, ensure they are stable and safe to walk on. Use stepping stones or create a level surface with compacted base materials to prevent slips and falls.
8. Maintain Proper Drainage: Rocks can affect the drainage of your landscape, so ensure that water will flow properly. Consider adding drainage channels or creating a slight slope to direct water away from your home or unwanted areas.
9. Regular Maintenance: Keep your rock landscaping looking its best by performing regular maintenance. This may include removing debris, repositioning rocks, and checking for weed growth. Additionally, periodically check for any signs of erosion or settling and make necessary adjustments.
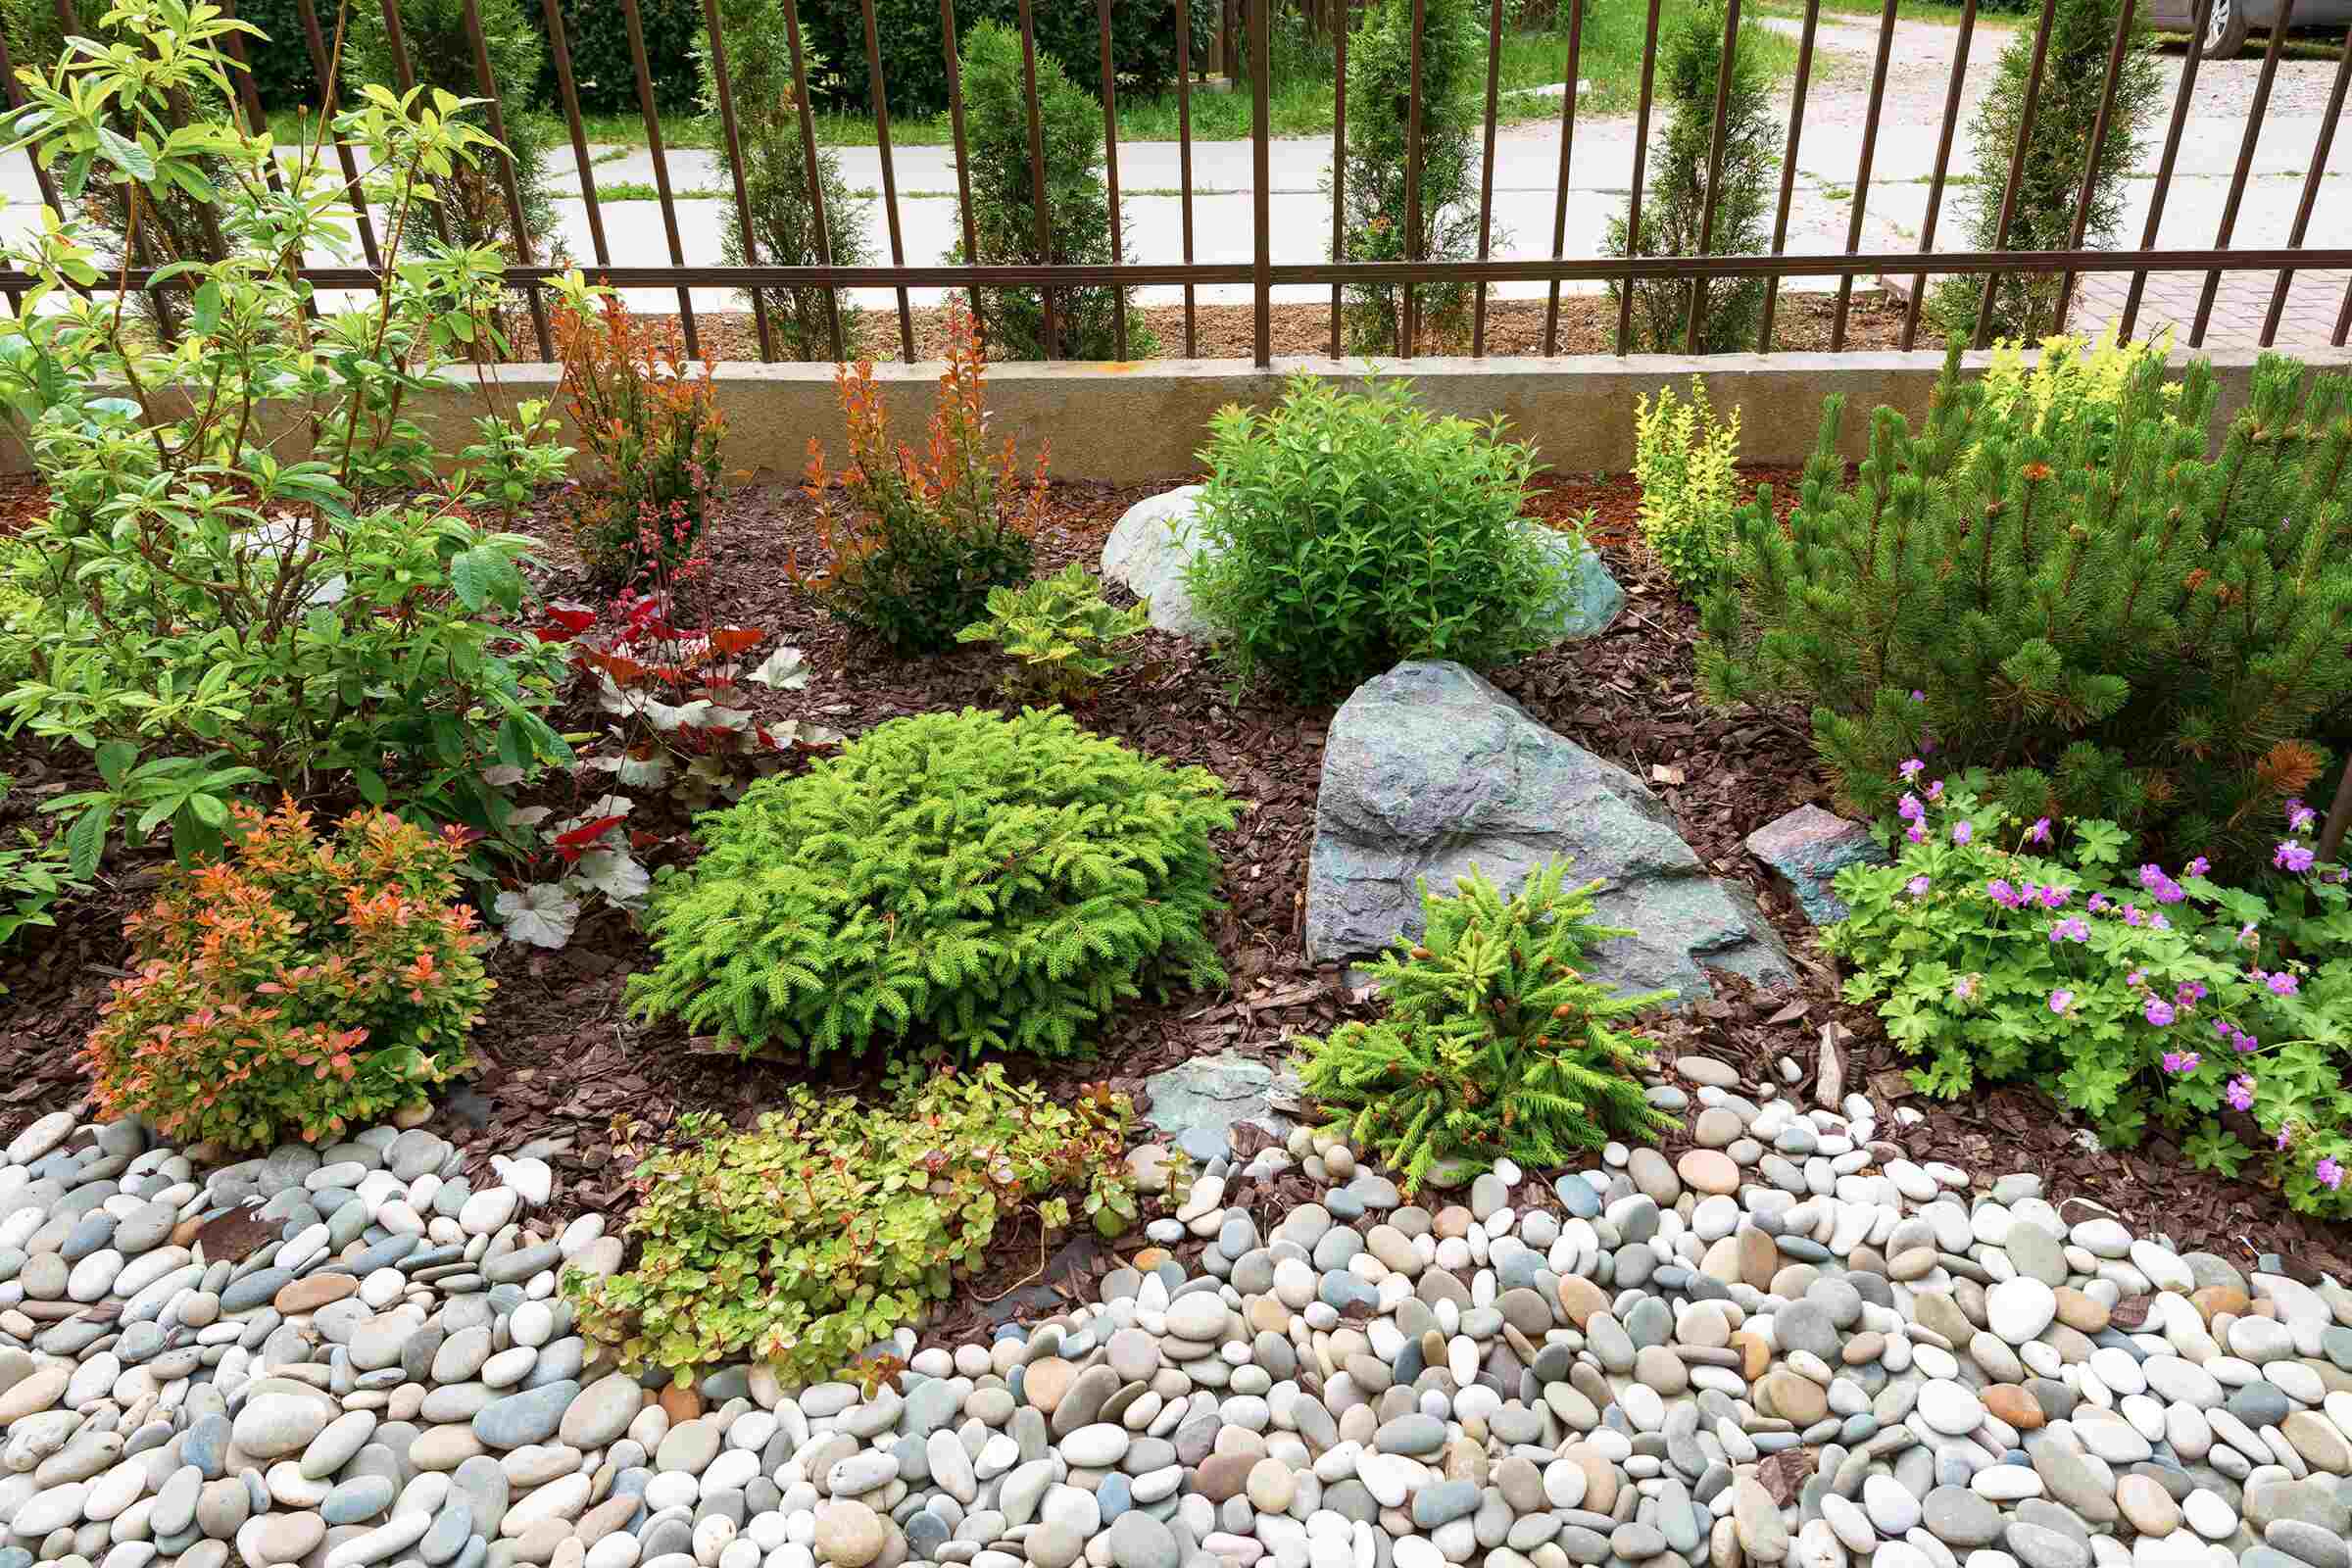
10. Personalize with Plants: Enhance the look of your rock landscaping by incorporating plants. Add colorful flowers, shrubs, or ornamental grasses between the rocks to soften the hardscape and create a balanced and harmonious environment.
By following these tips, you can ensure a proper and visually appealing installation of rocks in your landscaping project. Take your time, pay attention to detail, and be mindful of the overall design and functionality of your outdoor space.
Conclusion
Landscaping with rocks can transform your outdoor space, adding beauty, functionality, and a touch of nature to your surroundings. By carefully considering the factors involved in determining the quantity of rocks needed, selecting the appropriate types of rocks, and following proper installation techniques, you can achieve a stunning and harmonious landscape.
Calculating the area, choosing the right type of rocks, and determining the quantity required are essential steps in the planning process. By accurately measuring and considering the desired thickness or depth of the rock layer, you can ensure that you order the correct amount of rocks and avoid unnecessary expenses or running out of materials.
There are various types of rocks available for landscaping, each with its own unique characteristics and aesthetic appeal. Consider the style of your outdoor space and the function you want the rocks to serve when making your selection. Remember to mix different types and sizes of rocks to create a visually interesting and dynamic landscape.
When ordering the rocks, explore local and online suppliers, inquire about delivery options, and inspect the rocks upon arrival. Planning ahead, scheduling delivery, and proper storage can help ensure that the rocks are delivered in a timely manner and in good condition.
During installation, prepare the area, use a weed barrier, create borders with edging materials, and arrange the rocks strategically. Vary the sizes and shapes of the rocks to add depth and interest, and consider safety and proper drainage in your design. Regular maintenance and personalizing with plants will help keep your rock landscaping looking its best.
In conclusion, landscaping with rocks offers endless possibilities to enhance your outdoor space. By considering the factors mentioned in this article and following the tips for installation, you can create a beautiful, low-maintenance landscape that brings joy and relaxation for years to come.
Frequently Asked Questions about How Much Rocks Do I Need For Landscaping
Was this page helpful?
At Storables.com, we guarantee accurate and reliable information. Our content, validated by Expert Board Contributors, is crafted following stringent Editorial Policies. We're committed to providing you with well-researched, expert-backed insights for all your informational needs.





0 thoughts on “How Much Rocks Do I Need For Landscaping”