Home>Articles>How To Find A Stud In The Wall Without A Stud Finder
Articles
How To Find A Stud In The Wall Without A Stud Finder
Modified: February 25, 2024
Learn how to locate a stud in your wall without using a stud finder. Our informative articles provide step-by-step instructions for finding studs easily and accurately.
(Many of the links in this article redirect to a specific reviewed product. Your purchase of these products through affiliate links helps to generate commission for Storables.com, at no extra cost. Learn more)
Introduction
Finding a stud in a wall is essential when you need to hang heavy objects, such as shelves, mirrors, or artwork. A stud provides the necessary support and stability for securely mounting these items. While a stud finder is a popular tool to locate studs, not everyone has one readily available. So, what do you do when you need to find a stud without a stud finder?
Fortunately, there are several alternative methods you can use to locate studs in the wall. These methods rely on observation, common sense, and a bit of patience. In this article, we will explore seven different ways to find a stud without a stud finder. Whether you’re a seasoned DIY enthusiast or a beginner tackling your first home improvement project, these methods will come in handy and save you from purchasing a stud finder.
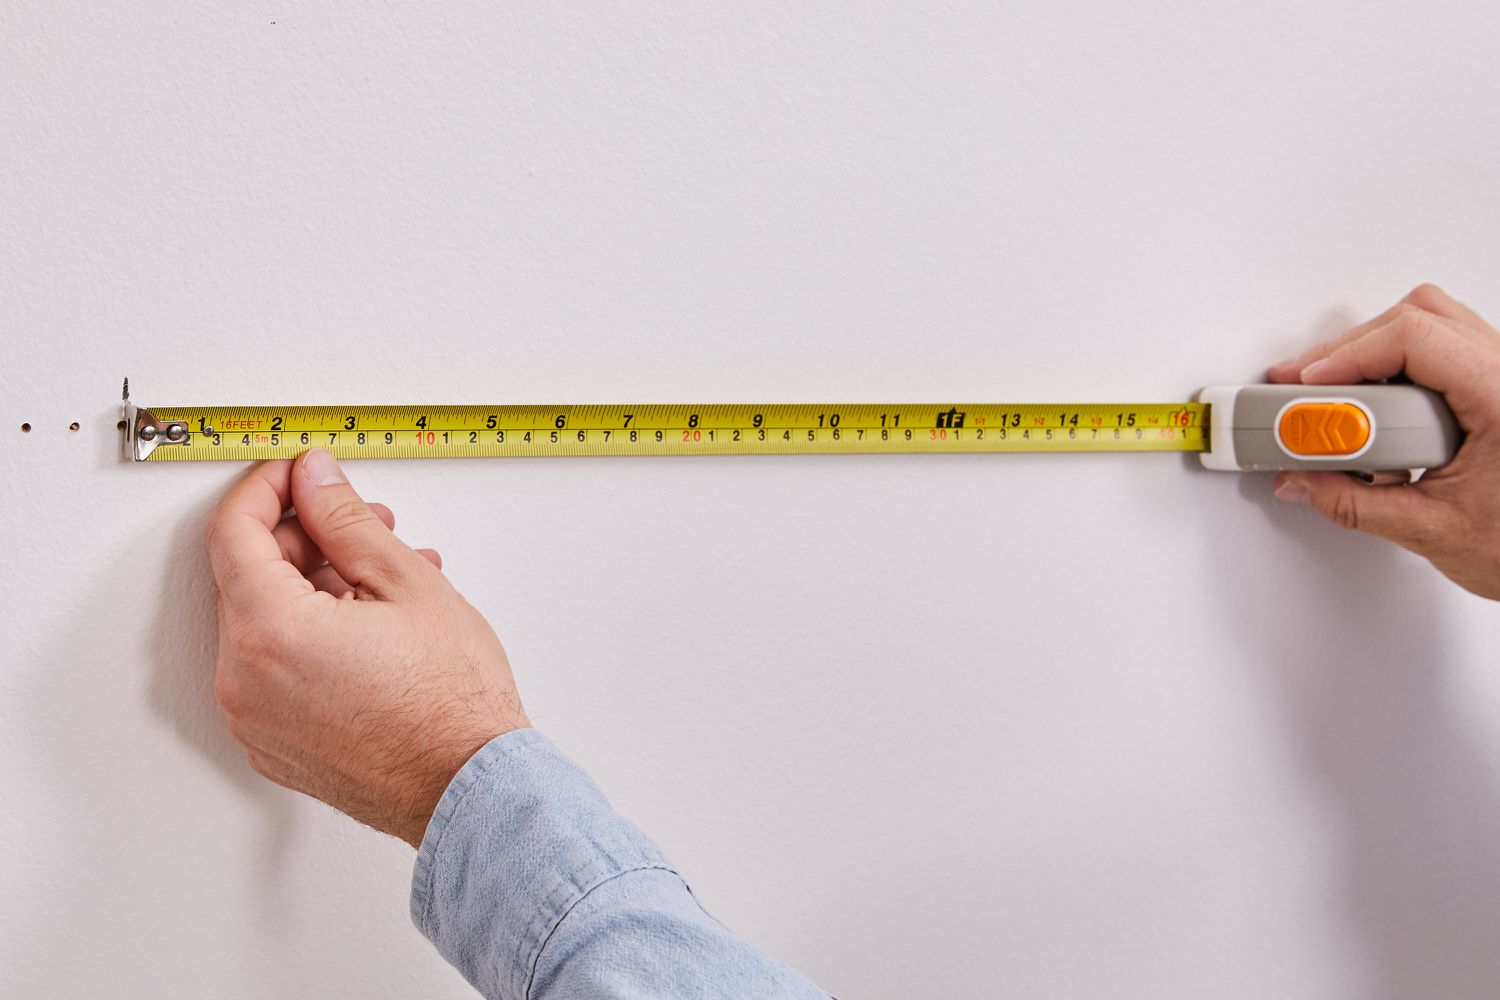
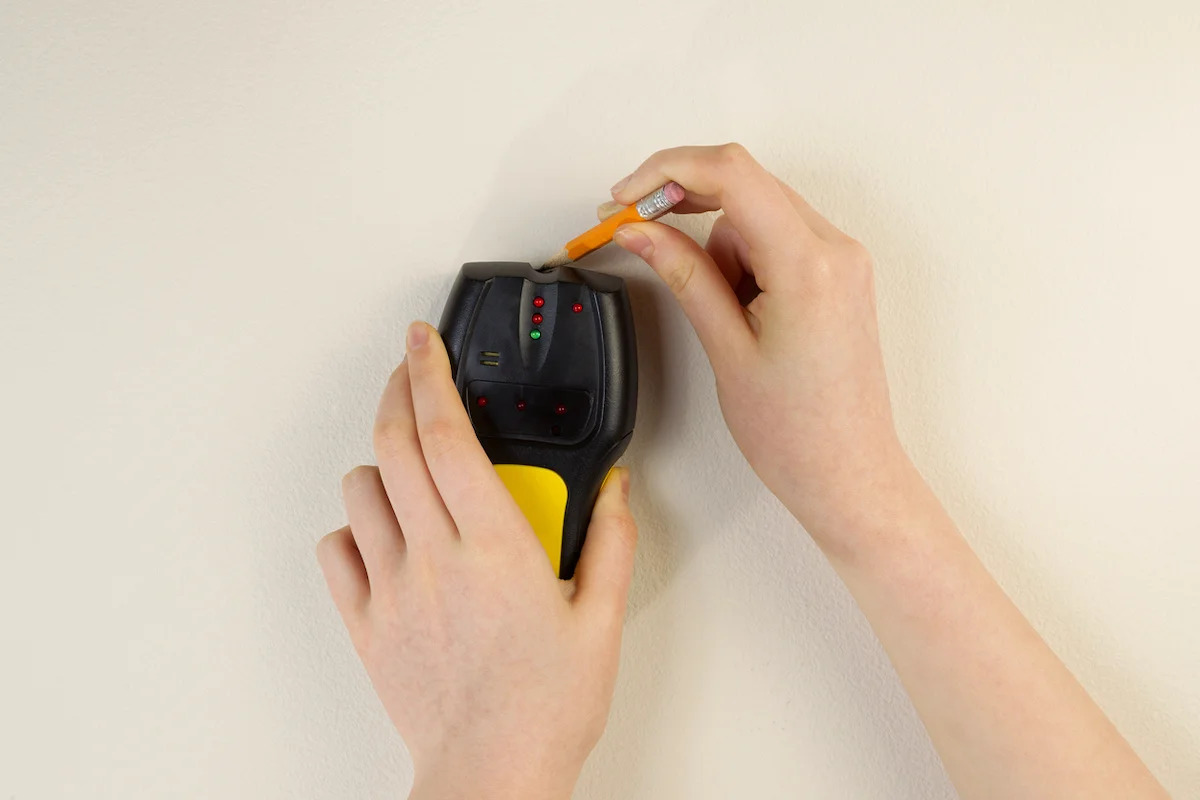
Before we dive into the methods, it’s important to note that the standard spacing between studs in most modern homes is 16 or 24 inches on center. This means that studs are typically positioned at regular intervals along the wall. By understanding this spacing, you can narrow down the search area and increase your chances of finding a stud.
So, if you’re ready to take on the challenge of finding a stud without a stud finder, let’s get started with our first method: visual inspection.
Key Takeaways:
- When you need to find a stud without a stud finder, visual inspection, tapping the wall, and using a magnet are effective methods. Combine techniques for increased accuracy and confidence in your wall-mounted projects.
- Identifying wall patterns, locating outlets or switches, and using a thin nail or awl are alternative ways to find a stud. Exercise caution, patience, and cross-reference methods for successful stud-finding endeavors.
Read more: How To Use Hart Stud Finder
Method 1: Visual Inspection
One of the simplest ways to find a stud in the wall without a stud finder is through visual inspection. This method requires keen observation and a bit of knowledge about typical wall construction.
Start by looking for any visible signs of a stud, such as dimples or nail pops. These are often indicators that a stud is located behind the wall. Additionally, you can examine the wall for any patches or repairs, as these areas may have been done over a stud.
Another clue to look for is the presence of baseboards or crown moldings. These decorative trim pieces are usually nailed into the studs, so locating them can help you identify the position of the studs. Use a flashlight and shine it parallel to the wall surface to create shadows that might reveal any irregularities or protrusions, indicating the presence of studs.
If there are no visible clues, you can also try tapping the wall with your knuckles. A hollow sound usually suggests that there is no stud, while a solid sound indicates the presence of a stud. However, keep in mind that this method is not foolproof and may require some experience to accurately determine the stud’s location.
Lastly, you can use a stud finding technique called “the baseboard method.” This involves measuring 16 or 24 inches from a corner or an existing stud and looking for any signs of a stud in that area. It’s important to note that this method relies on the assumption of standard stud spacing, which may not always be the case in older or custom-built homes.
While visual inspection may not guarantee precise stud location, it can certainly help narrow down the search area and increase your chances of finding a stud. If you don’t have any luck with this method, don’t worry. There are still more techniques to explore, such as using a magnet, which we will discuss next.
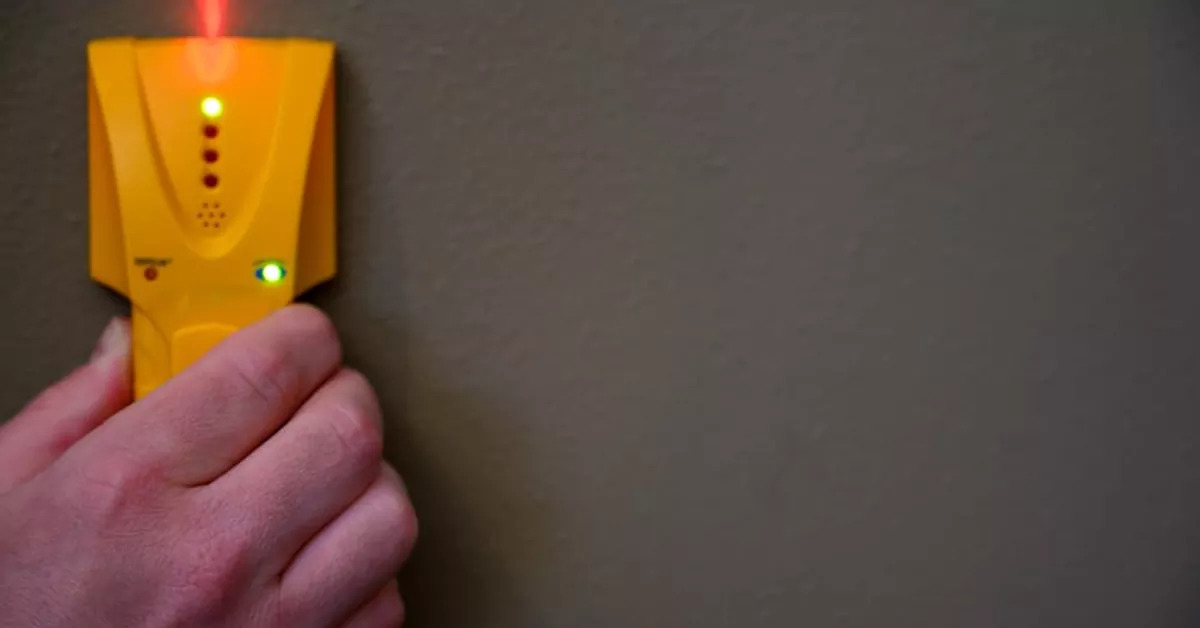
Method 2: Use a Magnet
If you’re looking for a simple and effective way to find a stud without a stud finder, using a magnet can be a viable option. This method exploits the fact that most screws or nails used to secure drywall are made of ferrous metals, which are attracted to magnets.
To utilize this method, you’ll need a strong magnet, such as a neodymium magnet or a rare earth magnet. These magnets have a powerful magnetic field and can easily detect metal objects behind the wall.
Start by placing the magnet against the wall and slowly moving it horizontally. As you do this, pay attention to any magnetic resistance or attraction experienced by the magnet. When the magnet pulls towards the wall or you start feeling resistance, it is likely that you’ve located a metal fastener, indicating a stud’s position.
It’s important to note that this method may not work as effectively if the wall has a thicker layer of drywall or multiple layers of paint. The magnet’s magnetic field may be weakened, making it harder to detect the metal fasteners. In such cases, you can try using a stud finding technique in conjunction with the magnet method to increase your chances of success.
While using a magnet is a relatively simple method, it may require some patience and trial-and-error to accurately locate a stud. Be sure to move the magnet slowly and carefully, noting any areas with increased magnetic attraction. By doing so, you’ll increase your chances of finding a stud and achieving a secure mount for your desired objects.
Now that you’re familiar with the magnet method, let’s move on to the next technique: tapping the wall.
Method 3: Tap the Wall
When you don’t have a stud finder at your disposal, a simple yet effective method to find a stud is by tapping the wall. This technique relies on the difference in sound produced when tapping on a hollow section of the wall versus tapping on a solid stud.
To use this method, start by tapping the wall lightly with your knuckles or a small hammer. Begin at a reasonable height and move horizontally across the wall, listening for variations in sound.
A hollow or empty space behind the wall will produce a dull and hollow sound, indicating the absence of a stud. Conversely, if you hear a solid and dense sound, it’s a good indication that you’ve found a stud.
Keep in mind that tapping the wall requires some practice to differentiate between the sounds accurately. It’s good practice to start by tapping on a known stud or area where you’re certain a stud is present. This will help you establish a baseline sound and familiarize yourself with the difference between hollow and solid areas.
Additionally, factors such as the thickness of the drywall, the type of wall construction, and the presence of insulation can affect the sound produced when tapping the wall. Walls with thicker materials or soundproofing may not give a clear distinction in sound, making this method less reliable.
If tapping alone doesn’t provide a clear indication of a stud, you can combine it with visual inspection or other methods to increase your chances of success. For example, you can look for common signs of a stud, such as nail pops or baseboards that may reveal the stud’s location, and then tap around that area to confirm.
While tapping the wall can be a hit-or-miss method, it’s worth a try when you don’t have access to a stud finder. With a bit of practice and careful listening, you can increase your chances of finding a stud and proceed with confidence in your wall-mounted projects.
Now that we’ve explored tapping the wall, let’s move on to our next method: looking for outlets or switches.
Method 4: Look for Outlets or Switches
If you’re searching for a stud without a stud finder, another method you can employ is to look for electrical outlets or switches on the wall. While not always guaranteed, these fixtures are often mounted directly onto a stud for support.
Start by examining the wall to identify any electrical outlets or switches. Typically, outlets are positioned around 12 inches above the floor, while switches are commonly installed around 48 inches from the floor. However, keep in mind that placement may vary depending on building codes or the installer’s preference.
Once you’ve located an outlet or switch, you can make an educated guess on the stud’s position. Studs are usually spaced 16 or 24 inches apart, so there’s a high likelihood that a stud is present somewhere between the outlets or switches on the same wall.
To confirm your hypothesis, utilize visual inspection techniques mentioned earlier. Look for signs of a stud, such as nail pops or baseboard trim, in the vicinity of the outlet or switch. Additionally, tapping the wall lightly around the area can help solidify your findings.
However, it’s important to note that not all outlets or switches are directly mounted on a stud. In some cases, installers may use special brackets or additional pieces of lumber to secure them. Therefore, while looking for outlets or switches can be a helpful clue, it doesn’t guarantee that you’ll find a stud in that specific location.
When using this method, it’s also important to exercise caution and avoid interfering with electrical wiring. If you’re unsure about the wiring behind the wall or uncomfortable working around electrical fixtures, it’s best to consult a professional.
Let’s move on to the next method, which involves identifying wall trim or baseboards as a guide to finding a stud.
Use a strong magnet to find a stud in the wall. Move the magnet along the wall until you feel it pull towards a metal screw or nail, indicating the presence of a stud.
Read more: How To Use Zircon Stud Finder
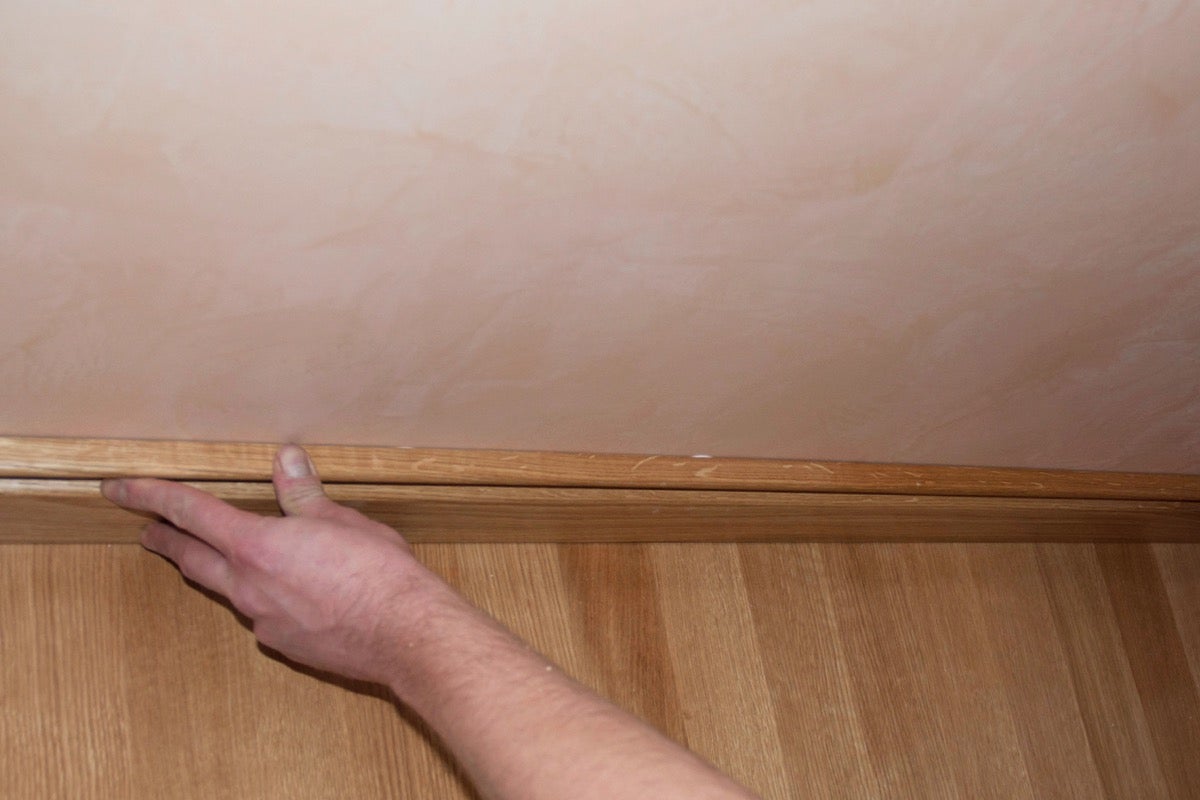
Method 5: Locate Wall Trim or Baseboards
When you need to find a stud without a stud finder, one effective method is to locate wall trim or baseboards. These decorative elements are typically attached to the wall studs, making them a reliable indicator of stud placement.
Start by examining the wall for any visible baseboards or wall trim. These can be found along the bottom of the wall or around door frames and windows. Baseboards are usually nailed directly into the studs, providing a secure attachment.
Once you’ve identified the presence of wall trim or baseboards, you can use them as a guide to locate the position of the studs. Measure the distance between the trim pieces or baseboards to get an idea of the stud spacing. In most cases, studs are spaced 16 or 24 inches apart.
While this method provides a general idea of where the studs may be, it’s vital to note that older houses or custom-built constructions may have non-standard stud spacing. Therefore, using this method in conjunction with other techniques, such as visual inspection or tapping the wall, can help ensure accuracy.
It’s important to keep in mind that in some cases, the wall trim or baseboards might be installed using different methods, such as adhesives or bracing. This can make finding the studs solely based on trim or baseboard placement less reliable. However, in most scenarios, you will find that these elements are secured to the studs, providing a helpful indication of their location.
By utilizing this method and paying attention to the placement of wall trim or baseboards, you can increase your chances of accurately pinpointing the stud positions. This, in turn, allows you to confidently hang heavy objects or carry out other wall-mounted projects.
Now that we’ve explored locating wall trim or baseboards as a guide, let’s move on to our next method: identifying wall patterns or texture.
Method 6: Identify Wall Patterns or Texture
If you’re looking for a stud without a stud finder, one method you can use is to identify wall patterns or texture. This method relies on the fact that the installation of drywall panels typically involves attaching them to the underlying studs.
Start by examining the wall for any visible patterns or texture. Common patterns include vertical seams or horizontal lines that indicate the placement of the drywall panels. These patterns are often aligned with the position of the studs.
Vertical seams are typically located at the edges of the drywall panels and are likely secured to the studs. By visually tracing these seams, you can get an idea of the stud locations along the wall.
In addition to seams, you can also look for patterns created by the drywall tape or joint compound. These patterns can appear as ridges or indents and provide clues about the underlying stud placement. Keep in mind that these patterns may only be visible if the wall has not been heavily textured or painted over.
It’s important to note that this method may be more reliable in older homes, as modern construction techniques may use techniques such as metal studs, which may not leave visible patterns. Additionally, if the wall has been repaired or modified, the patterns may be disrupted, making this method less effective.
For a more accurate determination of stud location, you can combine this method with other techniques, such as tapping the wall or using a magnet. By cross-referencing multiple methods, you can increase your chances of successfully finding a stud.
Remember that this method requires careful observation and may not always yield precise results. However, it can be a helpful tool in your quest to find a stud when a stud finder is not available.
Now that we’ve covered identifying wall patterns or texture, let’s move on to our final method: using a thin nail or awl.
Method 7: Use a Thin Nail or Awl
When you don’t have a stud finder handy, another method you can employ to find a stud is by using a thin nail or awl. This technique involves probing the wall to identify the presence of a stud by feeling for resistance.
Start by selecting a thin nail or awl, preferably one that is long enough to penetrate the drywall but not too thick to cause significant damage. Ensure that the tool is sharp to easily penetrate the wall.
Next, locate the area where you suspect a stud might be located. This can be based on previous methods discussed, such as visual inspection, tapping the wall, or identifying wall patterns. Once you have a general idea, hold the nail or awl at a slight angle and start gently inserting it into the wall.
As you push the nail or awl into the wall, pay attention to any resistance or change in feel. If you encounter a stud, you will feel the resistance as the tool penetrates into the solid wood. This is a good indication that you’ve found a stud.
It’s important to note that this method requires caution and precision to avoid damage to the wall or injuring yourself. Be sure to insert the nail or awl slowly and steadily, applying gentle pressure. Avoid applying excessive force or using a larger tool that could cause unnecessary damage.
In addition, it’s advisable to make the entry point for the nail or awl at a location that will be hidden, such as behind a piece of furniture or in an inconspicuous area. This will ensure that any small holes created during the probing are not visible and can be easily patched up if necessary.
While using a thin nail or awl can be an effective method to find a stud, it may require some trial and error to accurately locate the stud’s position. Be patient and persistent, and cross-reference your findings with other methods to increase your confidence in the stud’s location.
Now that we’ve explored the seven methods of finding a stud without a stud finder, you have a variety of techniques to choose from depending on your preferences and the tools available. Remember to exercise caution and practice these methods before undertaking any wall-mounted projects to ensure a secure and successful outcome.
Good luck with your stud-finding endeavors!
Conclusion
Finding a stud in the wall without a stud finder may seem like a daunting task, but with the right methods and techniques, it is certainly achievable. In this article, we have explored seven different ways to locate a stud without relying on a stud finder.
From visual inspection and tapping the wall to using a magnet and identifying wall patterns or texture, each method has its own advantages and considerations. By combining these methods or using them in conjunction with one another, you can increase your chances of accurately locating a stud and accomplishing your wall-mounted projects with confidence.
It’s important to approach each method with patience and attention to detail. While some methods may require practice and experience to master, they can save you from having to invest in a stud finder or waiting for a professional’s assistance.
Remember to be cautious when probing the wall using tools like nails or awls, to avoid causing any unnecessary damage to the wall or injuring yourself. Additionally, it’s always a good idea to cross-reference your findings from different methods to confirm the presence and position of the stud.
By understanding the standard stud spacing, observing visual cues, utilizing tools like magnets, and relying on your senses, you can successfully locate studs and proceed with confidence in your wall-mounted projects.
So, the next time you find yourself in need of finding a stud without a stud finder, refer back to this article and choose the method that best suits your situation and tools available. With a little practice and persistence, you’ll be on your way to securely mounting objects on the wall and completing your DIY projects with ease.
Happy stud finding!
Frequently Asked Questions about How To Find A Stud In The Wall Without A Stud Finder
Was this page helpful?
At Storables.com, we guarantee accurate and reliable information. Our content, validated by Expert Board Contributors, is crafted following stringent Editorial Policies. We're committed to providing you with well-researched, expert-backed insights for all your informational needs.


0 thoughts on “How To Find A Stud In The Wall Without A Stud Finder”