Home>Construction & Tools>Building Materials>How To Put Siding Over Stucco
Building Materials
How To Put Siding Over Stucco
Modified: August 20, 2024
Learn the step-by-step process of putting siding over stucco to transform your home's exterior. Find the best building materials and techniques for a successful renovation project.
(Many of the links in this article redirect to a specific reviewed product. Your purchase of these products through affiliate links helps to generate commission for Storables.com, at no extra cost. Learn more)
Introduction
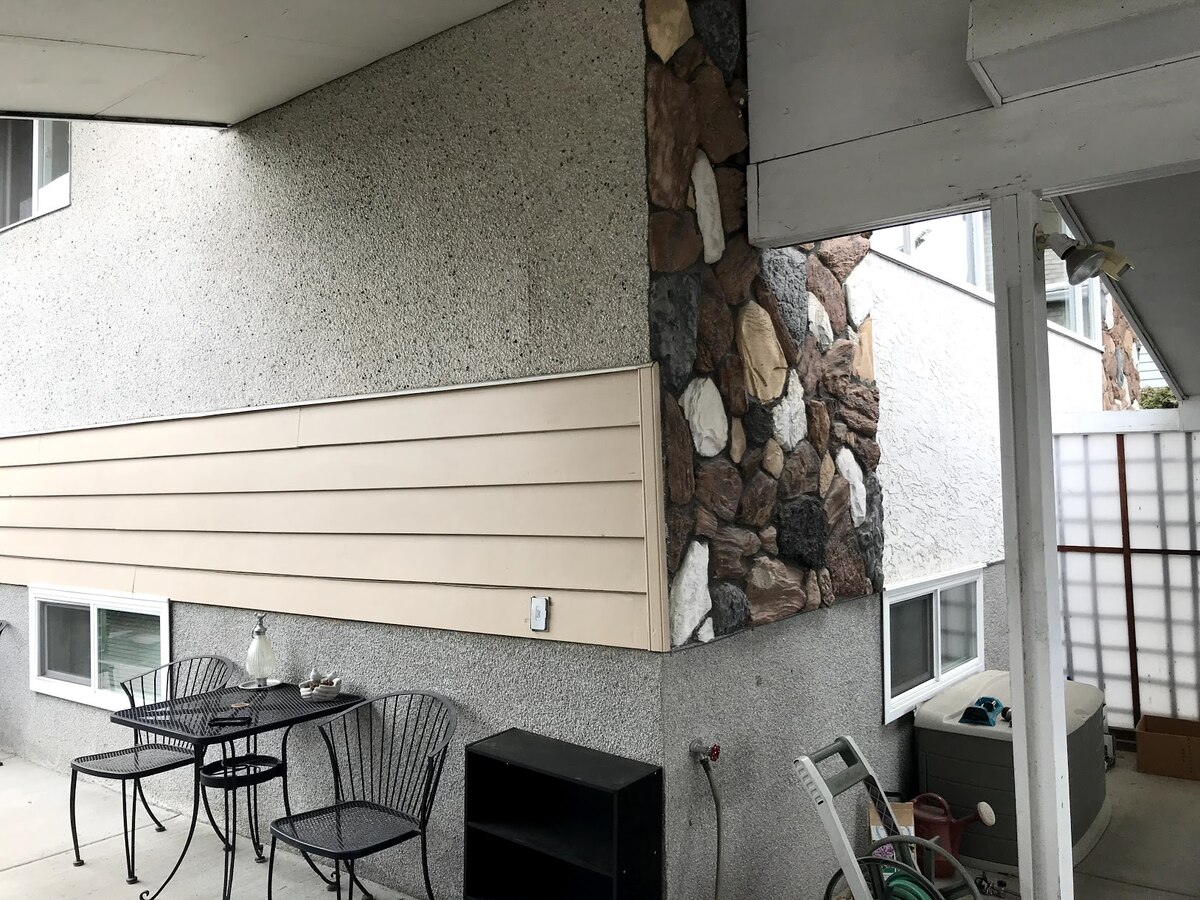
So, you've got a stucco exterior on your home, and you're considering giving it a fresh new look with siding. Perhaps the stucco has seen better days, or maybe you simply want to update the appearance of your home. Whatever the reason, putting siding over stucco can be a fantastic way to enhance your home's curb appeal and protect it from the elements.
Before you embark on this project, it's crucial to understand the process involved in putting siding over stucco. This comprehensive guide will walk you through the necessary steps, from assessing the condition of the stucco to installing the siding. By following these steps, you can ensure a successful and visually appealing transformation for your home.
In the following sections, we'll delve into the intricacies of this process, providing you with the knowledge and confidence to tackle this project. We'll discuss assessing the condition of the stucco, preparing the stucco surface, installing furring strips, applying house wrap, and finally, installing the siding. Each step plays a vital role in the overall outcome, so it's essential to approach this project with careful planning and attention to detail.
Whether you're a seasoned DIY enthusiast or a homeowner looking to understand the process before hiring a professional, this guide will equip you with the information you need to make informed decisions and achieve a stunning result. Let's dive into the world of siding over stucco and discover how to transform your home's exterior with confidence and precision.
Key Takeaways:
- Assess the stucco’s condition and fix any cracks or moisture issues before putting siding over it. This ensures a successful and long-lasting transformation of your home’s exterior.
- Properly prepare the stucco surface, install furring strips, apply house wrap, and then install the siding for a durable and visually appealing transition from stucco to siding.
Read more: How Much To Replace Stucco With Siding
Assessing the Condition of the Stucco
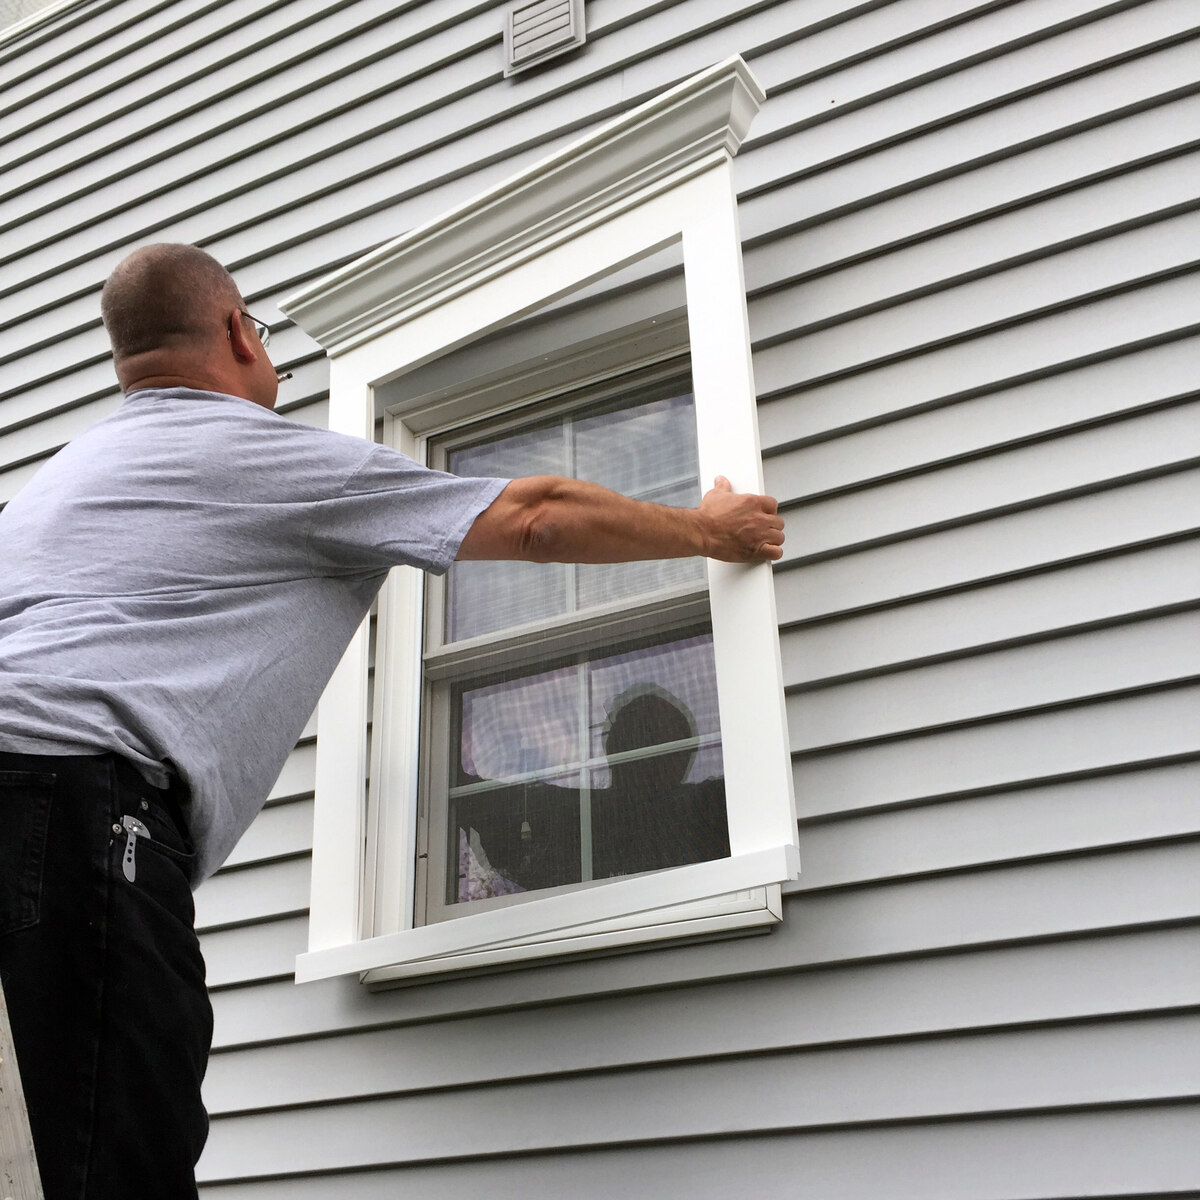
Before proceeding with the installation of siding over stucco, it’s crucial to assess the condition of the existing stucco surface. This step is essential for ensuring that the stucco is structurally sound and suitable for receiving the new siding. Here are the key aspects to consider when evaluating the stucco:
- Cracks and Damage: Carefully inspect the stucco for any cracks, chips, or other forms of damage. These imperfections can compromise the integrity of the siding installation and should be addressed before proceeding.
- Moisture Intrusion: Check for signs of moisture intrusion, such as water stains or mold growth on the stucco surface. Addressing any underlying moisture issues is crucial for preventing future damage to the siding and the underlying structure.
- Adhesion and Stability: Assess the adhesion of the stucco to the underlying substrate. Ensure that the stucco is firmly bonded and stable, as any areas of poor adhesion may require remediation before proceeding with the siding installation.
- Overall Condition: Take a holistic view of the stucco’s overall condition, considering factors such as age, maintenance history, and exposure to environmental elements. This assessment will help determine the extent of preparatory work required before installing the siding.
It’s important to note that while minor hairline cracks or cosmetic blemishes may not necessarily impede the siding installation, addressing any significant structural issues at this stage will contribute to the long-term success of the project.
If you’re uncertain about the condition of the stucco or if you encounter areas of concern during your assessment, consulting with a qualified contractor or stucco professional can provide valuable insights and guidance. Additionally, seeking professional assistance for a comprehensive stucco inspection may uncover underlying issues that require attention before proceeding with the siding installation.
By thoroughly assessing the condition of the stucco, you can identify any potential challenges and address them proactively, setting the stage for a successful transition to a new siding exterior.
Preparing the Stucco Surface
Once you’ve assessed the condition of the stucco and addressed any underlying issues, the next crucial step in the process of putting siding over stucco is preparing the stucco surface. Proper preparation is essential for ensuring a secure and durable foundation for the new siding. Here’s a detailed look at the key considerations for preparing the stucco surface:
- Cleaning and Repair: Begin by thoroughly cleaning the stucco surface to remove dirt, debris, and any loose material. Use a stiff-bristled brush or a pressure washer to clean the stucco, and address any remaining cracks or damaged areas by filling them with an appropriate stucco patching compound.
- Priming the Surface: After the stucco has been cleaned and repaired, it’s essential to apply a high-quality bonding primer to promote adhesion between the stucco and the new siding. The primer also helps seal the stucco surface and creates a uniform substrate for the siding installation.
- Leveling and Smoothing: Depending on the texture of the stucco, it may be necessary to level or smooth out certain areas to ensure a consistent surface for the siding. This can be achieved using a suitable leveling compound or by skimming the stucco with a specialized coating to create a smooth, even finish.
- Sealing Joints and Gaps: Inspect the stucco for any gaps, joints, or areas where moisture could potentially penetrate. Seal these areas with a high-quality elastomeric sealant to prevent water intrusion and enhance the overall weather resistance of the stucco surface.
By meticulously preparing the stucco surface, you can create an optimal environment for the successful installation of the siding. This preparatory phase not only ensures the structural integrity of the transition but also contributes to the long-term performance and aesthetics of the new siding.
It’s important to approach the preparation process with patience and attention to detail, as the quality of the stucco surface directly impacts the outcome of the siding installation. Taking the time to prepare the stucco diligently will set the stage for a seamless and visually appealing transition to the new siding exterior.
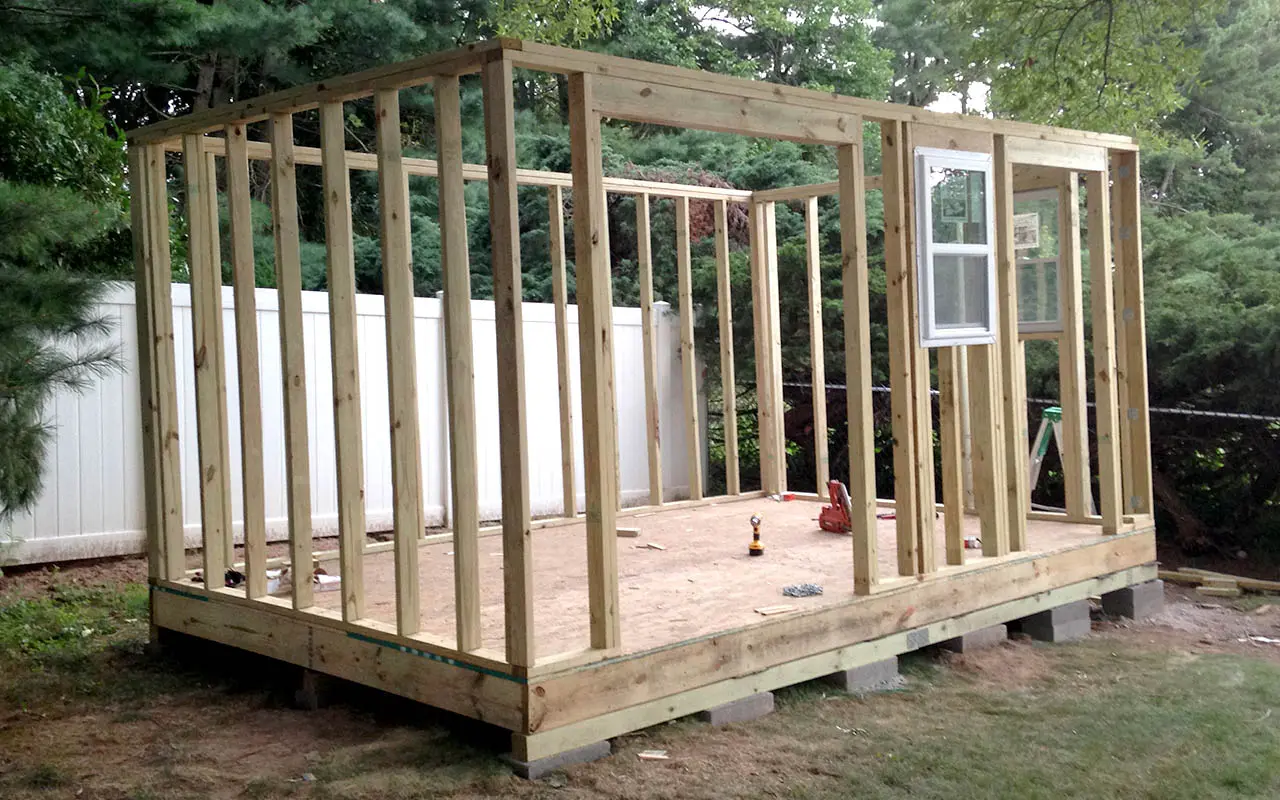
Installing Furring Strips
As you proceed with the process of putting siding over stucco, the installation of furring strips plays a pivotal role in creating a level and secure substrate for the siding. Furring strips are thin, elongated strips of wood or metal that are attached to the stucco surface to create a framework for mounting the siding. Here’s a detailed overview of the steps involved in installing furring strips over stucco:
- Material Selection: Choose furring strips made from treated wood or corrosion-resistant metal to ensure durability and longevity. Opt for materials that are designed for exterior applications and can withstand exposure to the elements.
- Spacing and Layout: Determine the spacing and layout of the furring strips based on the specific requirements of the chosen siding material. Typically, furring strips are installed vertically or horizontally, with spacing that accommodates the dimensions and mounting system of the siding panels.
- Attachment Method: Secure the furring strips to the stucco surface using appropriate fasteners, such as masonry screws or anchors. Ensure that the attachment points are structurally sound and capable of supporting the weight of the siding panels under various weather conditions.
- Leveling and Alignment: Use a level and straightedge to ensure that the furring strips are installed evenly and aligned correctly. This step is crucial for achieving a uniform and aesthetically pleasing installation of the siding panels.
- Weatherproofing: Consider incorporating a moisture barrier or flashing between the furring strips and the stucco surface to enhance weather resistance and prevent moisture intrusion behind the siding. This additional layer of protection contributes to the long-term integrity of the siding installation.
By installing furring strips with precision and attention to detail, you create a stable and level foundation for the siding, allowing for proper ventilation and drainage behind the panels. This step is essential for promoting air circulation and preventing moisture buildup, ultimately contributing to the longevity and performance of the siding system.
When executed meticulously, the installation of furring strips over stucco sets the stage for a seamless and visually appealing integration of the new siding, ensuring a durable and attractive exterior for your home.
Before putting siding over stucco, make sure the surface is clean and free of any loose material. Use a moisture barrier to prevent water damage, and install furring strips to create a flat surface for the siding to be attached to.
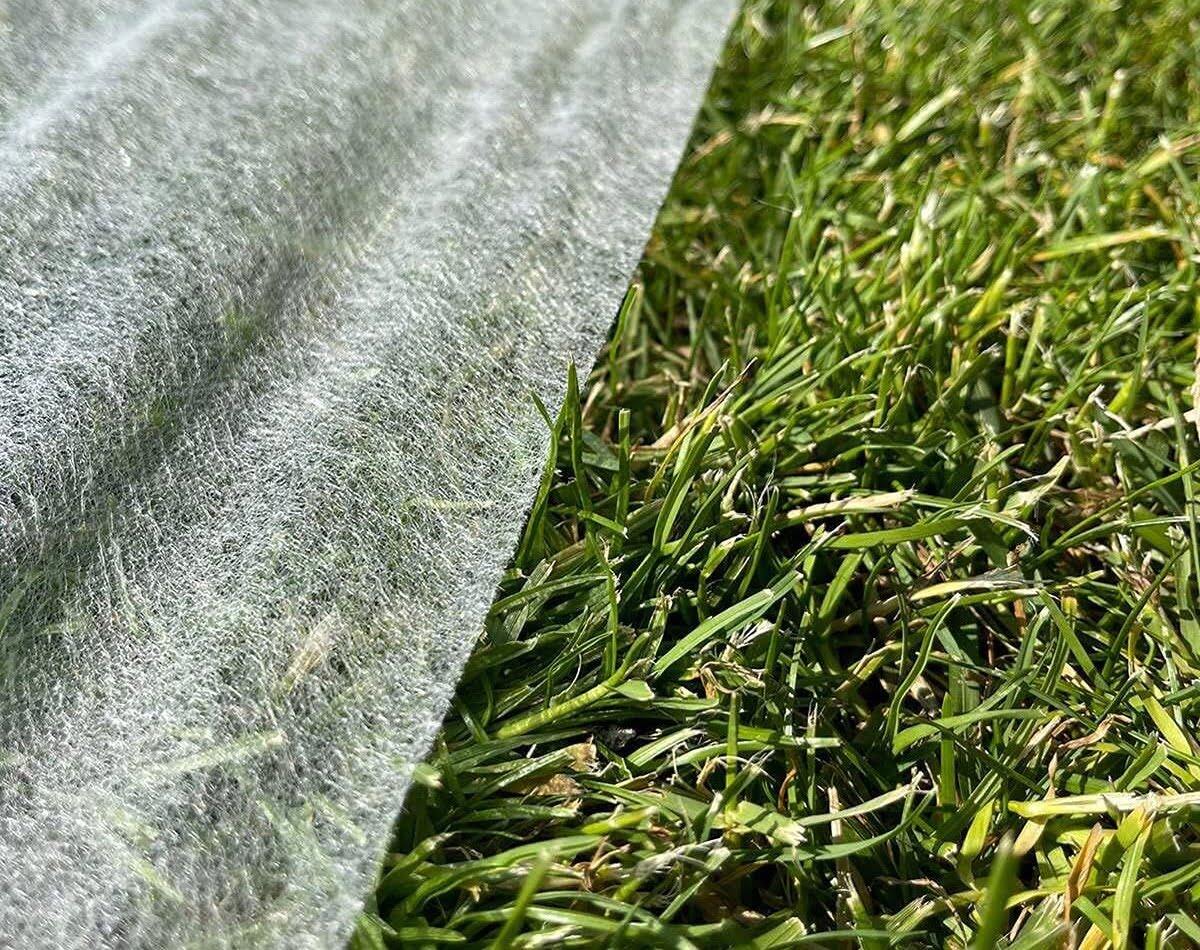
Applying House Wrap
Before proceeding with the installation of the siding, the application of house wrap serves as a critical step in enhancing the weather resistance and energy efficiency of the exterior wall assembly. House wrap, also known as weather-resistant barrier (WRB), acts as a protective layer that shields the underlying structure from moisture infiltration while allowing for the diffusion of water vapor. Here’s a comprehensive overview of the process of applying house wrap over the stucco surface:
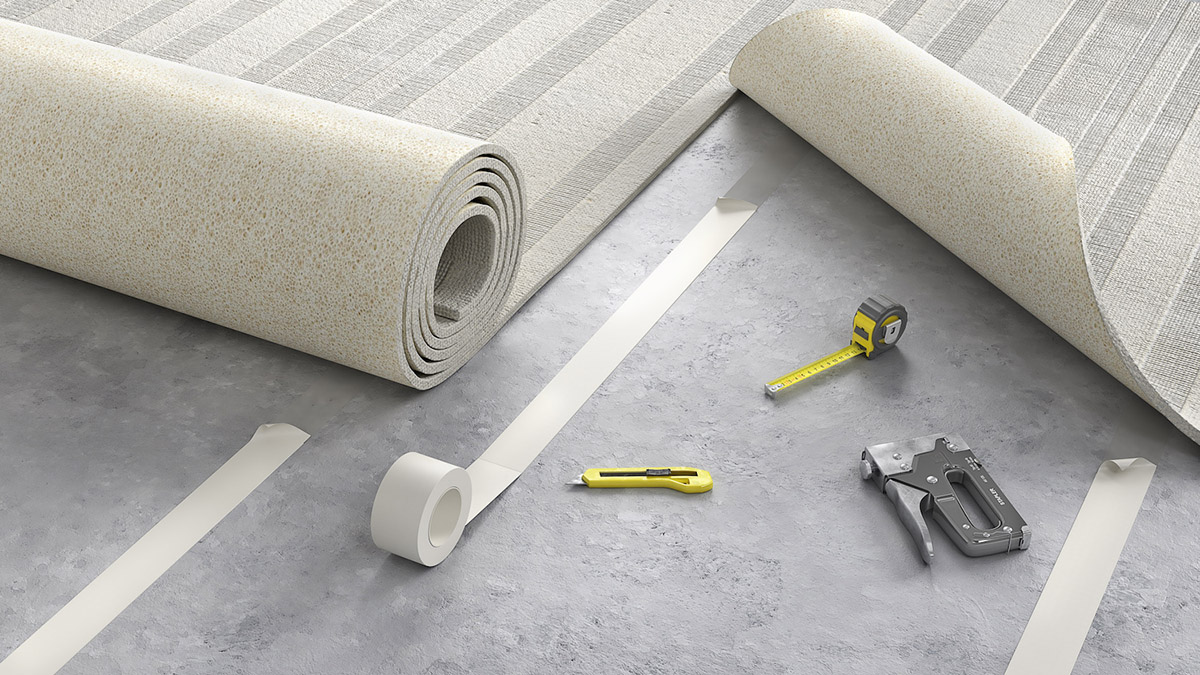
- Cutting and Fitting: Begin by cutting the house wrap to the appropriate lengths, allowing for sufficient overlap at the seams and edges. Carefully fit the house wrap over the furring strips, ensuring that it covers the entire stucco surface with a snug and wrinkle-free fit.
- Securing and Fastening: Use compatible fasteners, such as cap nails or plastic cap staples, to secure the house wrap to the furring strips and the underlying structure. The fasteners should be spaced according to the manufacturer’s recommendations, providing adequate support and preventing the formation of gaps or sagging in the house wrap.
- Sealing and Taping: Seal the seams and penetrations in the house wrap using high-quality weather-resistant tape or compatible adhesive. This step is crucial for creating a continuous and watertight barrier that prevents water intrusion while allowing for the release of water vapor from within the wall assembly.
- Flashing Integration: Ensure proper integration of flashing materials at critical areas, such as window and door openings, to provide additional protection against water intrusion. The flashing should be installed in a manner that directs water away from vulnerable areas and overlaps with the house wrap to create a seamless barrier.
- Overlap and Shingling: Overlap successive layers of house wrap and flashing materials in a manner that promotes proper drainage and shedding of water. The shingling technique helps prevent water from seeping behind the layers, contributing to the overall effectiveness of the weather-resistant barrier system.
By meticulously applying house wrap over the stucco surface, you establish a crucial line of defense against moisture infiltration and air leakage, contributing to the long-term durability and energy efficiency of the siding installation. This protective layer not only safeguards the underlying structure but also creates a conducive environment for the optimal performance of the new siding system.
With the house wrap in place, the stage is set for the final phase of the process: the installation of the siding panels, where the culmination of meticulous preparation and attention to detail will result in a visually striking and weather-resistant exterior for your home.
Read more: How To Install Stone Veneer Over Stucco
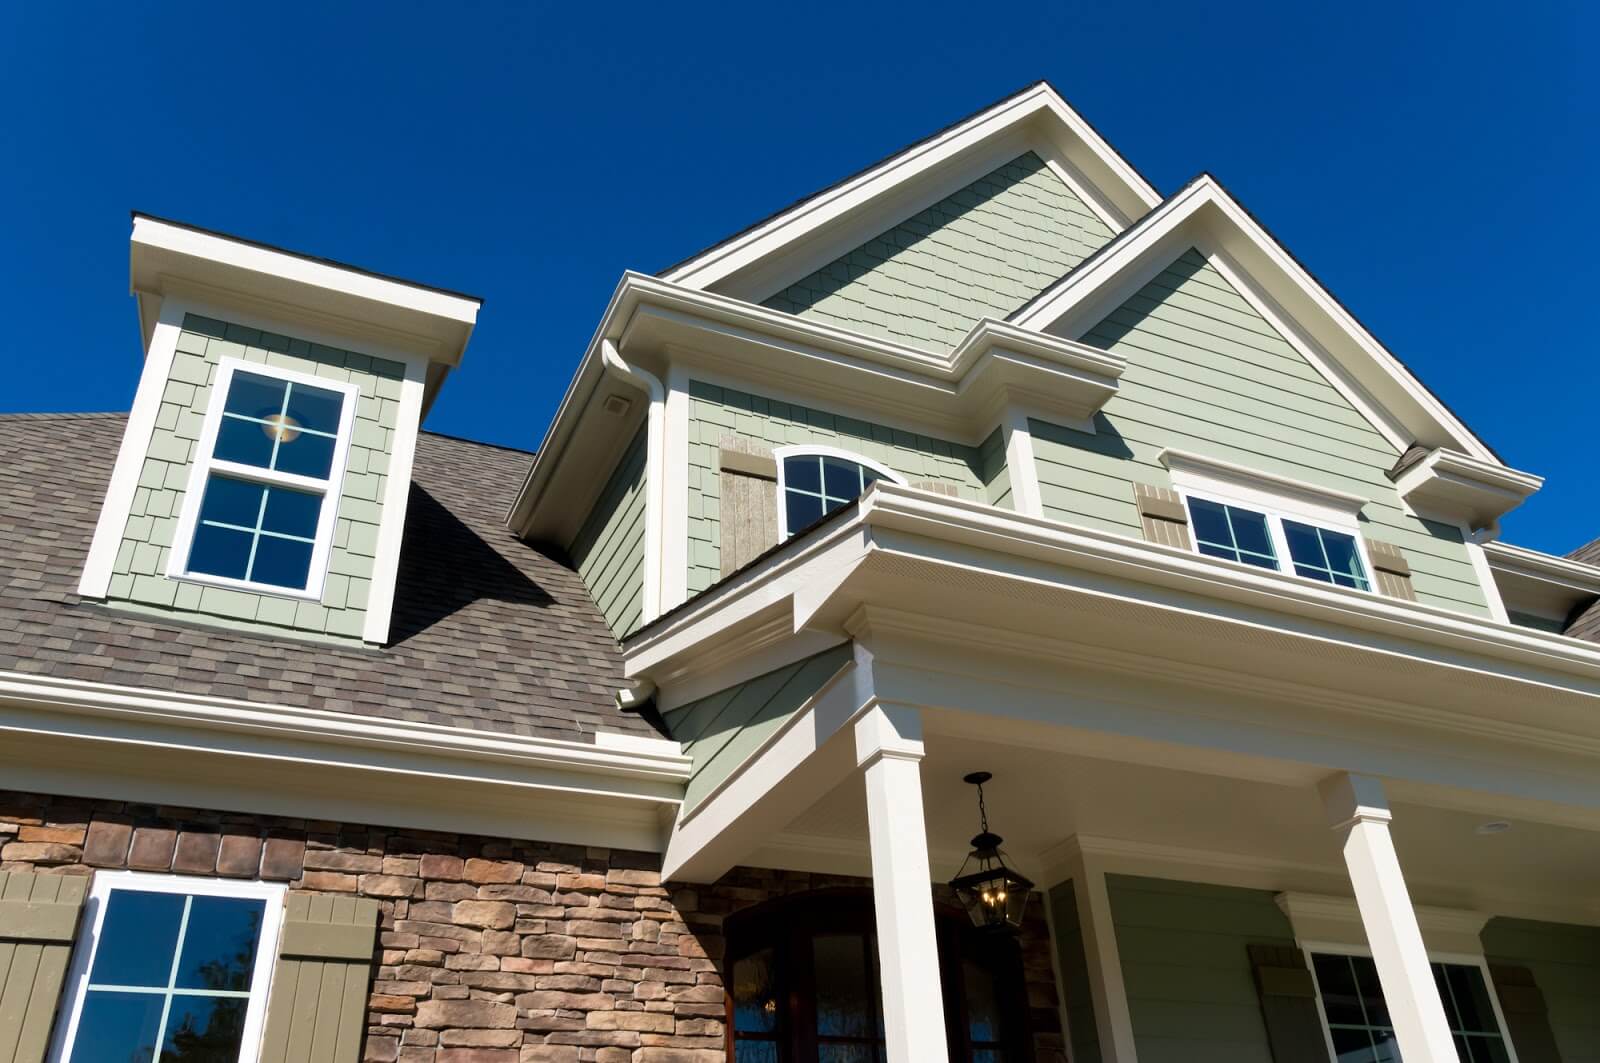
Installing the Siding
With the preparatory steps completed, the installation of the siding over the stucco surface marks the transformative phase of the project, where the visual impact and protective benefits of the new exterior take shape. Whether you’ve chosen vinyl, fiber cement, wood, or composite siding, the installation process involves meticulous attention to detail and precision. Here’s a comprehensive guide to installing the siding over stucco:
- Panel Layout and Alignment: Begin by planning the layout of the siding panels, considering factors such as exposure, orientation, and aesthetic considerations. Ensure that the first row of panels is installed level and aligned correctly, as it serves as the foundation for the entire siding system.
- Fastening and Attachment: Use appropriate fasteners, such as nails or screws, to secure the siding panels to the furring strips and underlying structure. Follow the manufacturer’s guidelines for fastener placement and spacing, ensuring a secure and uniform attachment of the panels.
- Trim and Corner Installation: Incorporate trim pieces and corner elements to provide a finished look and structural integrity to the siding installation. Properly installed trim and corner components contribute to the overall aesthetics and weather resistance of the exterior.
- Weathertight Sealing: Pay special attention to sealing joints, gaps, and penetrations in the siding system to prevent water intrusion and air leakage. Utilize compatible sealants and flashing materials to create a weathertight envelope that safeguards the underlying structure.
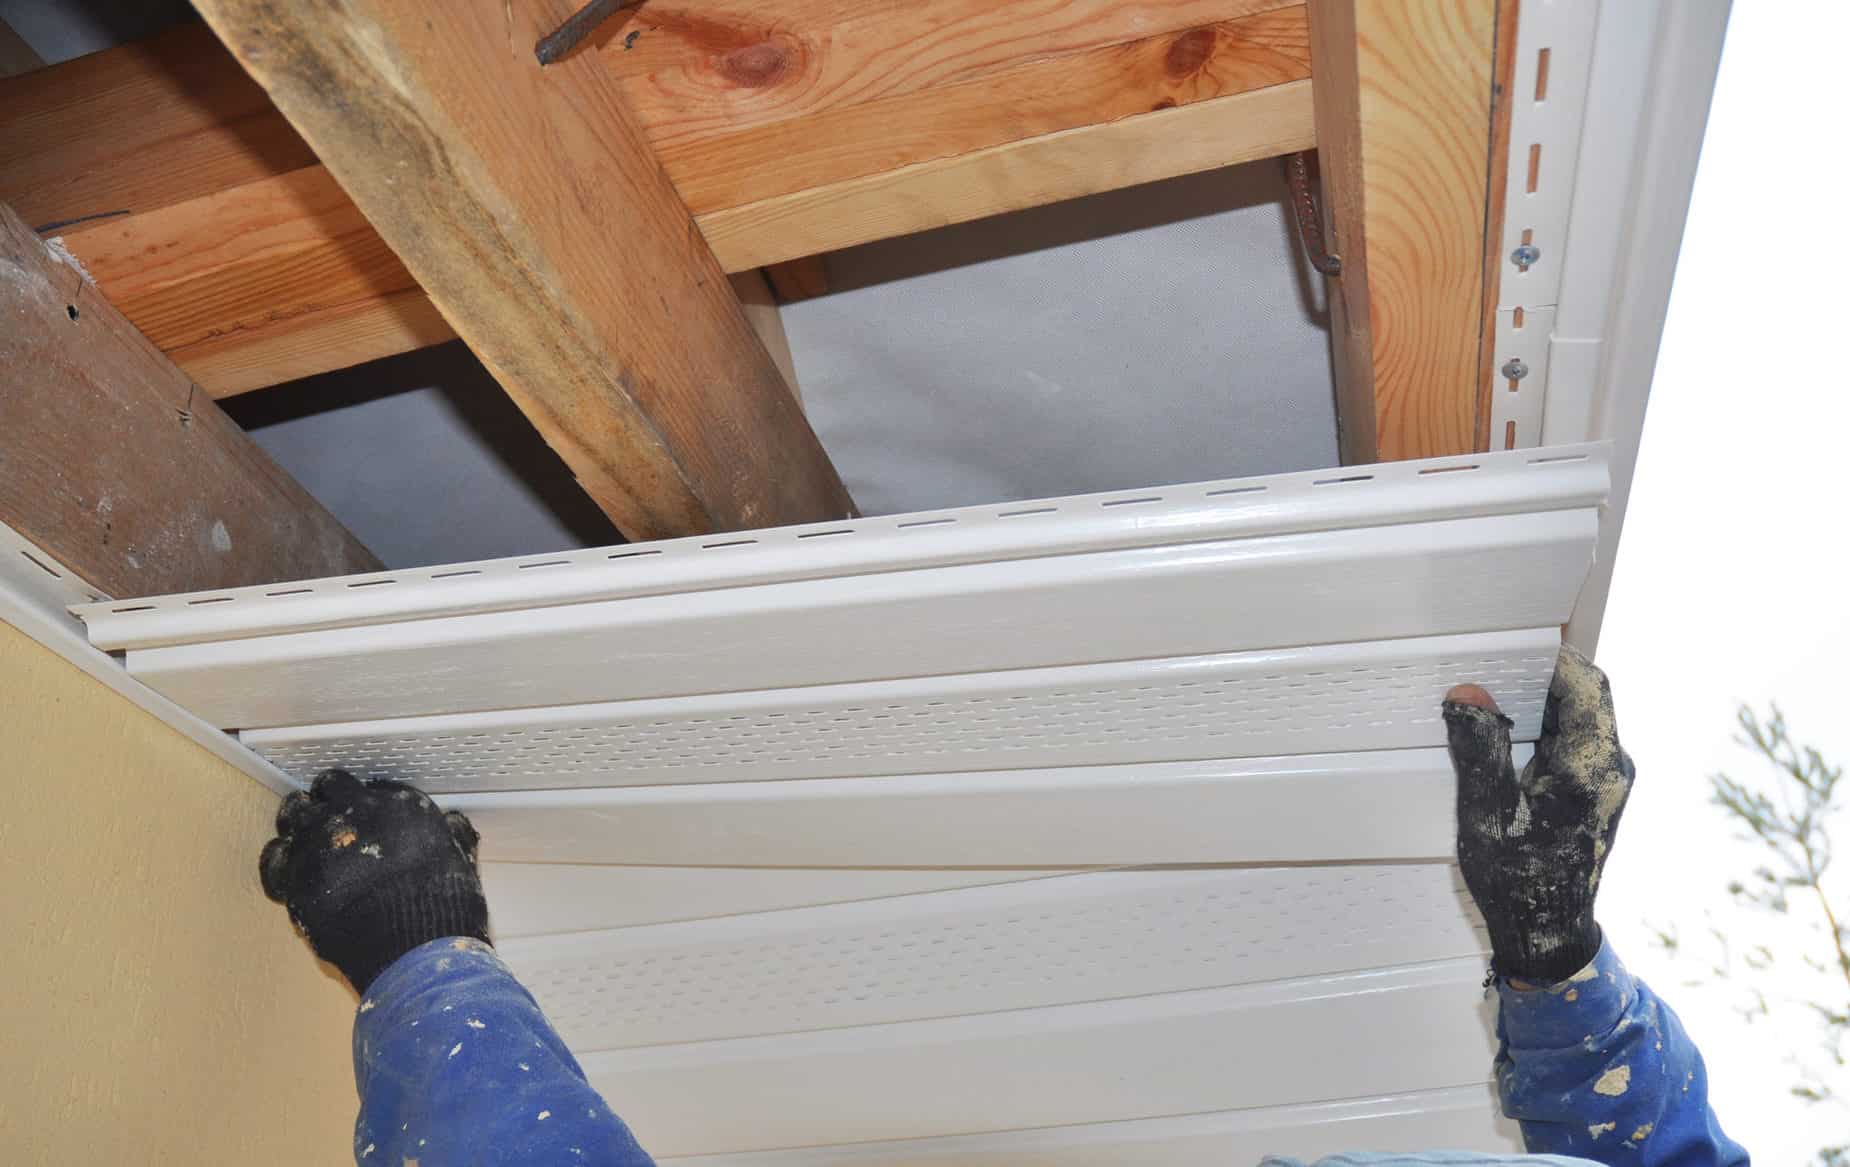
- Ventilation and Drainage: Ensure that the siding system allows for proper ventilation and drainage behind the panels, preventing moisture buildup and promoting the longevity of the exterior wall assembly. Incorporate vented soffits and other ventilation components as needed.
Throughout the installation process, maintain a keen eye for detail and adherence to best practices, ensuring that each siding panel is installed with precision and care. Properly installed siding not only enhances the visual appeal of your home but also provides essential protection against the elements, contributing to its long-term durability and performance.
By following the manufacturer’s guidelines and industry best practices, you can achieve a seamless and visually striking integration of the new siding over the stucco surface, transforming your home’s exterior with enduring beauty and resilience.
Conclusion
Embarking on the journey of putting siding over stucco is a transformative endeavor that holds the potential to revitalize and protect your home’s exterior for years to come. Through the meticulous process of assessing the stucco, preparing the surface, installing furring strips, applying house wrap, and finally, installing the siding, you’ve embarked on a path toward enhancing the curb appeal and weather resistance of your home.
As you’ve navigated through each phase of the project, you’ve gained a deeper understanding of the intricacies involved in transitioning from stucco to siding, from evaluating the condition of the stucco to meticulously installing the siding panels. This knowledge empowers you to make informed decisions and ensures the successful execution of the project, whether you’re taking on the task yourself or collaborating with a professional contractor.
It’s important to recognize that the process of putting siding over stucco is not merely about cosmetic enhancement; it’s about fortifying your home against the elements and creating a visually captivating exterior that reflects your personal style and pride of ownership. By embracing the principles of meticulous preparation, precise installation, and attention to detail, you’ve set the stage for a durable and visually appealing transition to a new siding exterior.
As you stand back and admire the transformation, take pride in the knowledge that your home is now equipped with a resilient and striking exterior that will endure for years to come. The seamless integration of the new siding over the stucco surface not only elevates the aesthetics of your home but also reinforces its protection against the elements, providing you with a sense of security and satisfaction.
Whether you’ve chosen a classic vinyl siding, a modern fiber cement option, or a timeless wood cladding, the investment you’ve made in putting siding over stucco is a testament to your commitment to preserving and enhancing your home. As the seasons change and the years unfold, your home’s exterior will stand as a testament to the care and attention you’ve dedicated to creating a welcoming and enduring sanctuary for you and your loved ones.
Frequently Asked Questions about How To Put Siding Over Stucco
Was this page helpful?
At Storables.com, we guarantee accurate and reliable information. Our content, validated by Expert Board Contributors, is crafted following stringent Editorial Policies. We're committed to providing you with well-researched, expert-backed insights for all your informational needs.


0 thoughts on “How To Put Siding Over Stucco”