Home>Garden Essentials>How To Apply A Grass Patch
Garden Essentials
How To Apply A Grass Patch
Modified: October 19, 2024
Learn how to apply a grass patch in your garden with our step-by-step guide. Achieve a lush and green lawn effortlessly and transform your outdoor space!
(Many of the links in this article redirect to a specific reviewed product. Your purchase of these products through affiliate links helps to generate commission for Storables.com, at no extra cost. Learn more)
Introduction
Welcome to the world of gardening! Whether you have a beautiful backyard or a small balcony, there’s something magical about cultivating plants and watching them thrive. One element that plays a crucial role in creating inviting outdoor spaces is a lush and vibrant lawn. A well-maintained grass patch not only adds visual appeal to your garden but also provides a soft, comfortable area for relaxation and play.
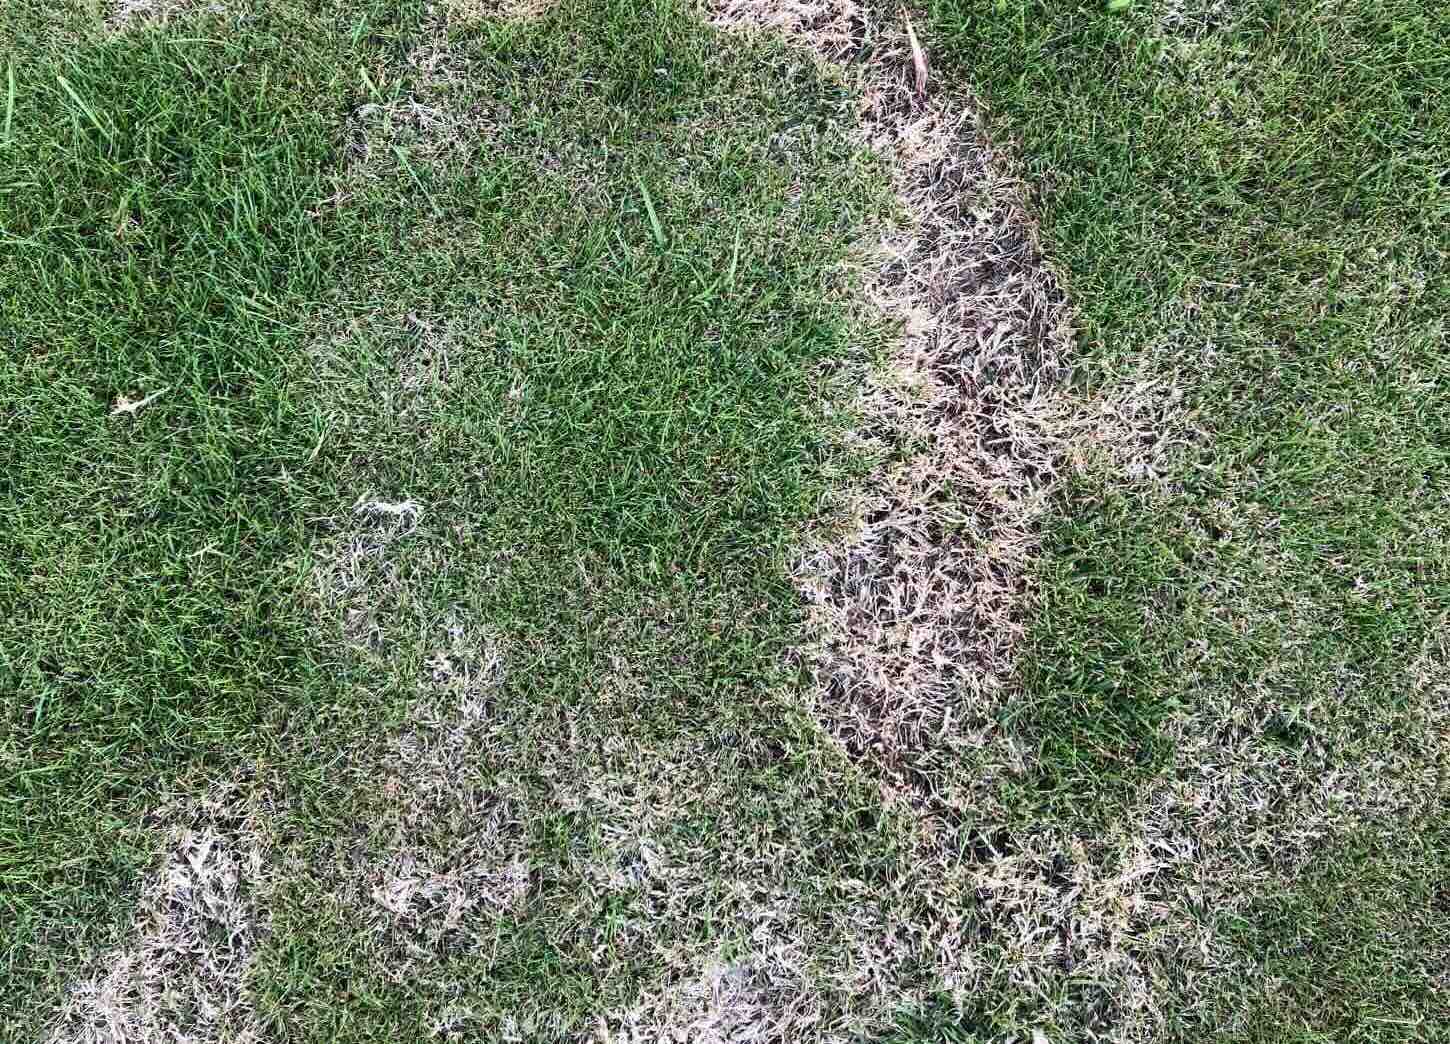
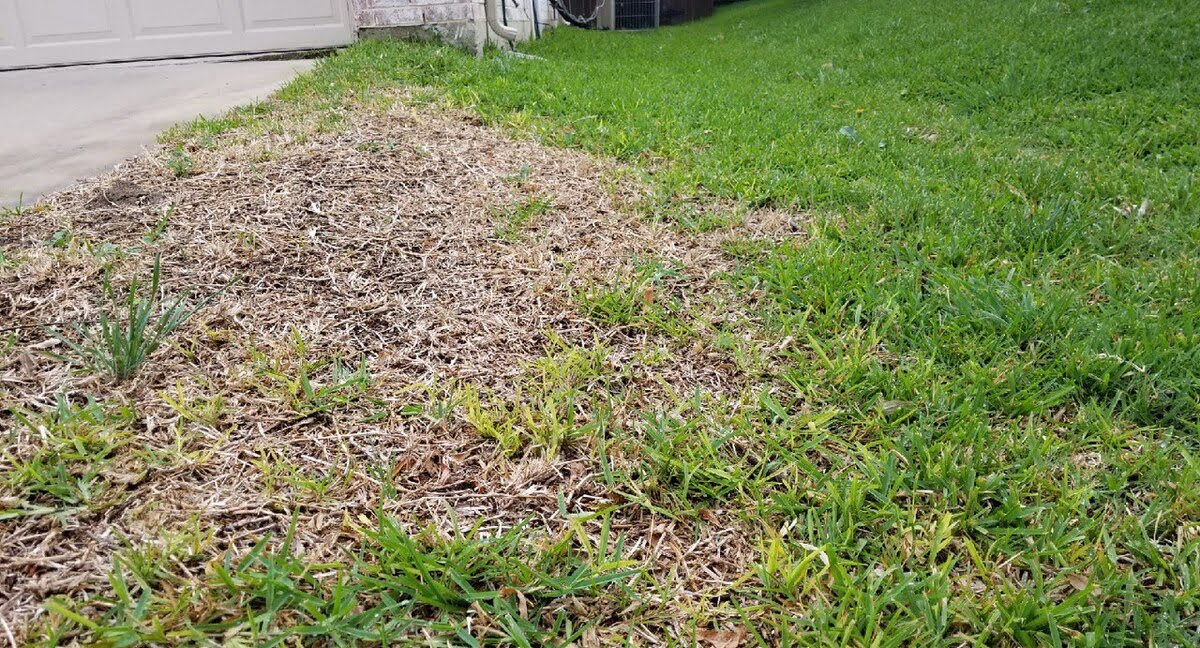
However, despite your best efforts, you may sometimes encounter issues with your lawn. Areas that are patchy, bare, or damaged can be an eyesore, disrupting the overall aesthetic of your outdoor space. But fear not! With the right knowledge and a few simple steps, you can easily apply a grass patch and rejuvenate your lawn.
In this article, we will guide you through the process of applying a grass patch, ensuring that you have a thorough understanding of the steps involved. By following our instructions, you’ll be able to transform those unsightly bare spots into lush, green areas that seamlessly blend in with the rest of your lawn.
Before we dive into the step-by-step process, it’s important to note that each lawn is unique, and factors such as the type of grass, climate, and soil conditions may require slight adjustments to our recommendations. Be sure to take these factors into account and consult with a local gardening expert or research specific to your region for tailored advice.
Now, let’s get started on creating a beautiful, healthy grass patch for your garden!
Key Takeaways:
- Preparing the damaged area, choosing the right grass, and leveling the soil are crucial for a successful grass patch. Proper care and maintenance, including watering, mowing, and fertilizing, are essential for long-term health.
- Whether using grass seed or sod, providing regular care and attention to the new grass patch will ensure a lush and vibrant lawn. Remember, each lawn is unique, so tailor your care routine to your specific conditions.
Read more: How To Treat Dead Grass Patches
Step 1: Preparation
Before you begin the process of applying a grass patch, it’s essential to prepare the area and gather the necessary materials. Proper preparation will ensure a successful outcome and help your new grass patch integrate seamlessly into your existing lawn.
- Assess the damaged area: Start by carefully examining the patchy or bare spots in your lawn. Determine the size and shape of the damaged area, as this will help you determine the amount of grass seed or turf required.
- Choose the right grass: Identify the type of grass that is currently growing in your lawn. Ideally, you want to select a grass variety that closely matches the existing turf, as this will help maintain a consistent visual appearance. If you’re unsure about the type of grass, take a sample to your local garden center or consult with a professional.
- Prepare the soil: Good soil preparation is key to the success of your grass patch. Use a garden fork or a tiller to loosen the soil in the damaged area, removing any rocks, weeds, or debris. Additionally, consider adding organic matter, such as compost or topsoil, to improve the soil’s fertility and drainage.
- Measure the area: Use a measuring tape to determine the dimensions of the damaged area. This will help you calculate the amount of grass seed or turf needed.
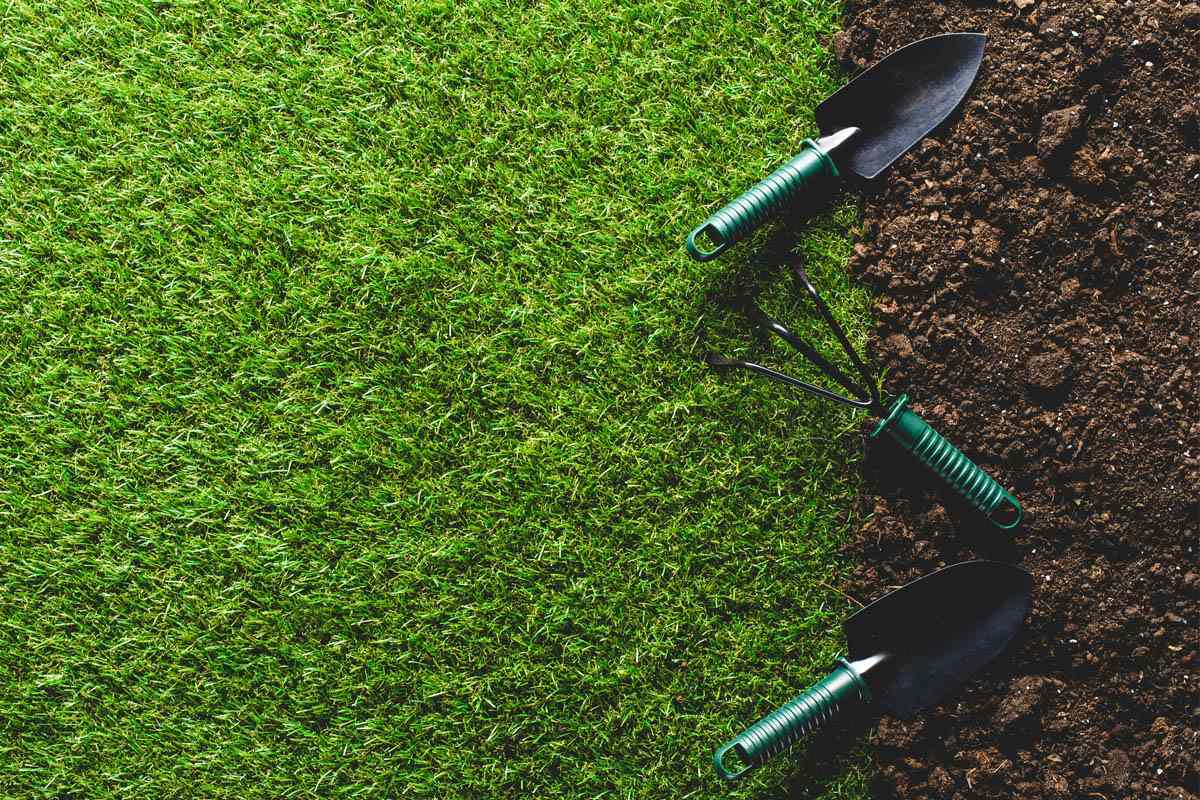
- Gather the materials: Once you have assessed the damaged area and prepared the soil, gather all the necessary materials. This may include grass seed, sod or turf rolls, topsoil, compost, a garden rake, a lawn roller (for planting grass seed), and a watering can or garden hose.
Proper preparation will provide a solid foundation for your grass patch, ensuring that the new grass has the best possible conditions to thrive. Taking the time to assess the area, choose the right grass, and prepare the soil will greatly increase the chances of success and help your grass patch seamlessly integrate into your existing lawn.
Step 2: Clearing the Area
Now that you have completed the preparation phase, it’s time to clear the damaged area of any existing vegetation, weeds, or debris. This step is crucial to create a clean canvas for your new grass patch.
- Remove existing grass: Use a garden spade or a turf cutter to remove the existing grass in the damaged area. Dig deep enough to remove both the roots and the top layer of soil. This will prevent any old grass from regrowing and competing with the new grass patch.
- Clear out weeds and debris: Take a thorough look at the area and remove any weeds, stones, or other debris that may hinder the growth of your grass patch. A garden rake can be helpful in removing smaller debris and leveling the soil.
- Address any underlying issues: While clearing the area, keep an eye out for any underlying issues that may have caused the damage to the grass. This could include poor drainage, insect infestation, or excessive thatch buildup. Addressing these issues before proceeding will help prevent future damage to your lawn.
- Dispose of the cleared vegetation: Collect the removed grass, weeds, and debris and dispose of them properly. You can either compost them if they are free from weeds and diseases or dispose of them in accordance with your local waste management guidelines.
By thoroughly clearing the damaged area, you create a clean slate for your new grass patch. Removing any existing grass, weeds, and debris ensures that your new grass will have uninterrupted access to essential nutrients, sunlight, and water.
Once you have completed this important step, you are ready to move on to the next phase: leveling the soil.
Step 3: Leveling the Soil
Now that you have cleared the area and created a clean slate, it’s time to focus on leveling the soil. This step is crucial for ensuring that the surface is even and provides a stable foundation for your new grass patch.
- Inspect the soil: Before you start leveling, take a close look at the soil in the damaged area. Look for any uneven spots, lumps, or depressions that need to be addressed.
- Break up compacted soil: If you notice any compacted soil, use a garden fork or a tiller to loosen it up. This will improve the soil’s structure and prevent water from pooling in certain areas.
- Fill in low spots: If there are any low spots or depressions in the soil, add topsoil or compost to fill them in. Use a garden rake to spread the soil evenly until the surface is level.
- Smooth out high spots: Conversely, if you encounter any high spots or lumps, use the back of a rake or a leveling tool to gently tamp them down and create a more even surface.
- Check for proper drainage: As you level the soil, ensure that it slopes slightly away from any nearby structures or buildings. This will promote proper drainage and prevent water from accumulating in the damaged area.
Leveling the soil is vital to ensure that your new grass patch grows evenly and avoids pooling water or uneven growth. Taking the time to inspect the soil, break up compacted areas, and level any uneven spots will create an ideal environment for your new grass to take root.
Once you have finished leveling the soil, you are ready to move on to the next step: installing the grass patch.
Before applying a grass patch, make sure to prepare the area by removing any debris and loosening the soil. Then, evenly spread the grass seeds and lightly cover with soil. Water regularly to keep the soil moist for the seeds to germinate.
Step 4: Installing the Grass Patch
Now that you have prepared the area and leveled the soil, it’s time to install the grass patch. There are two main options for installing a new grass patch: using grass seed or installing sod or turf rolls. The choice depends on your personal preference and the specific conditions of your lawn.
- Using grass seed: If you opt for grass seed, follow these steps:
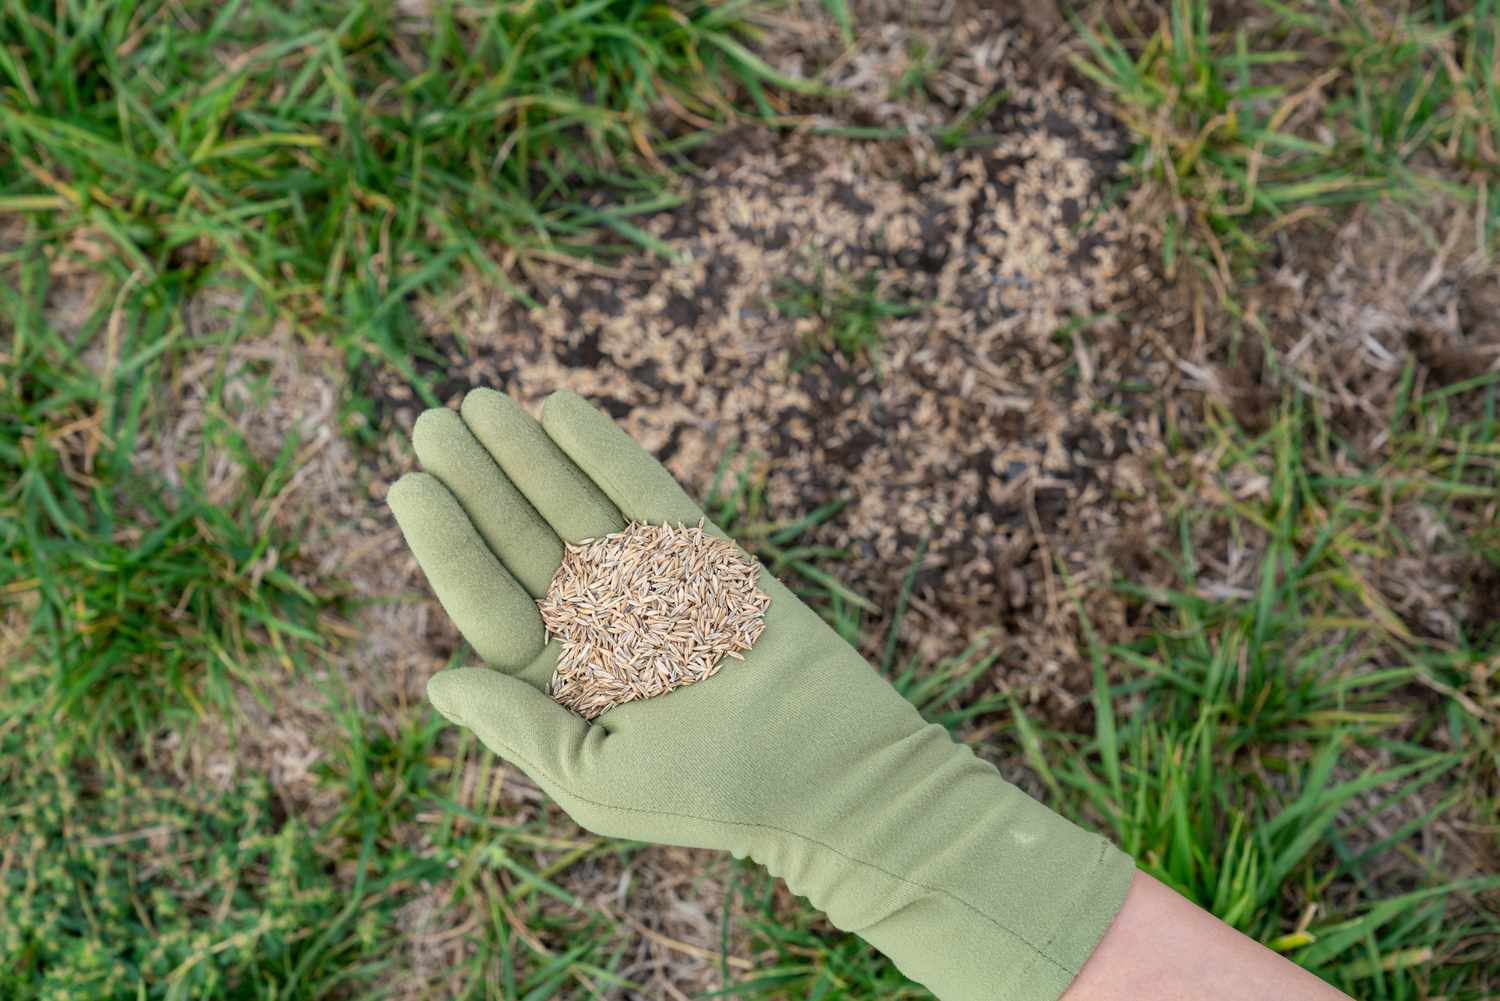
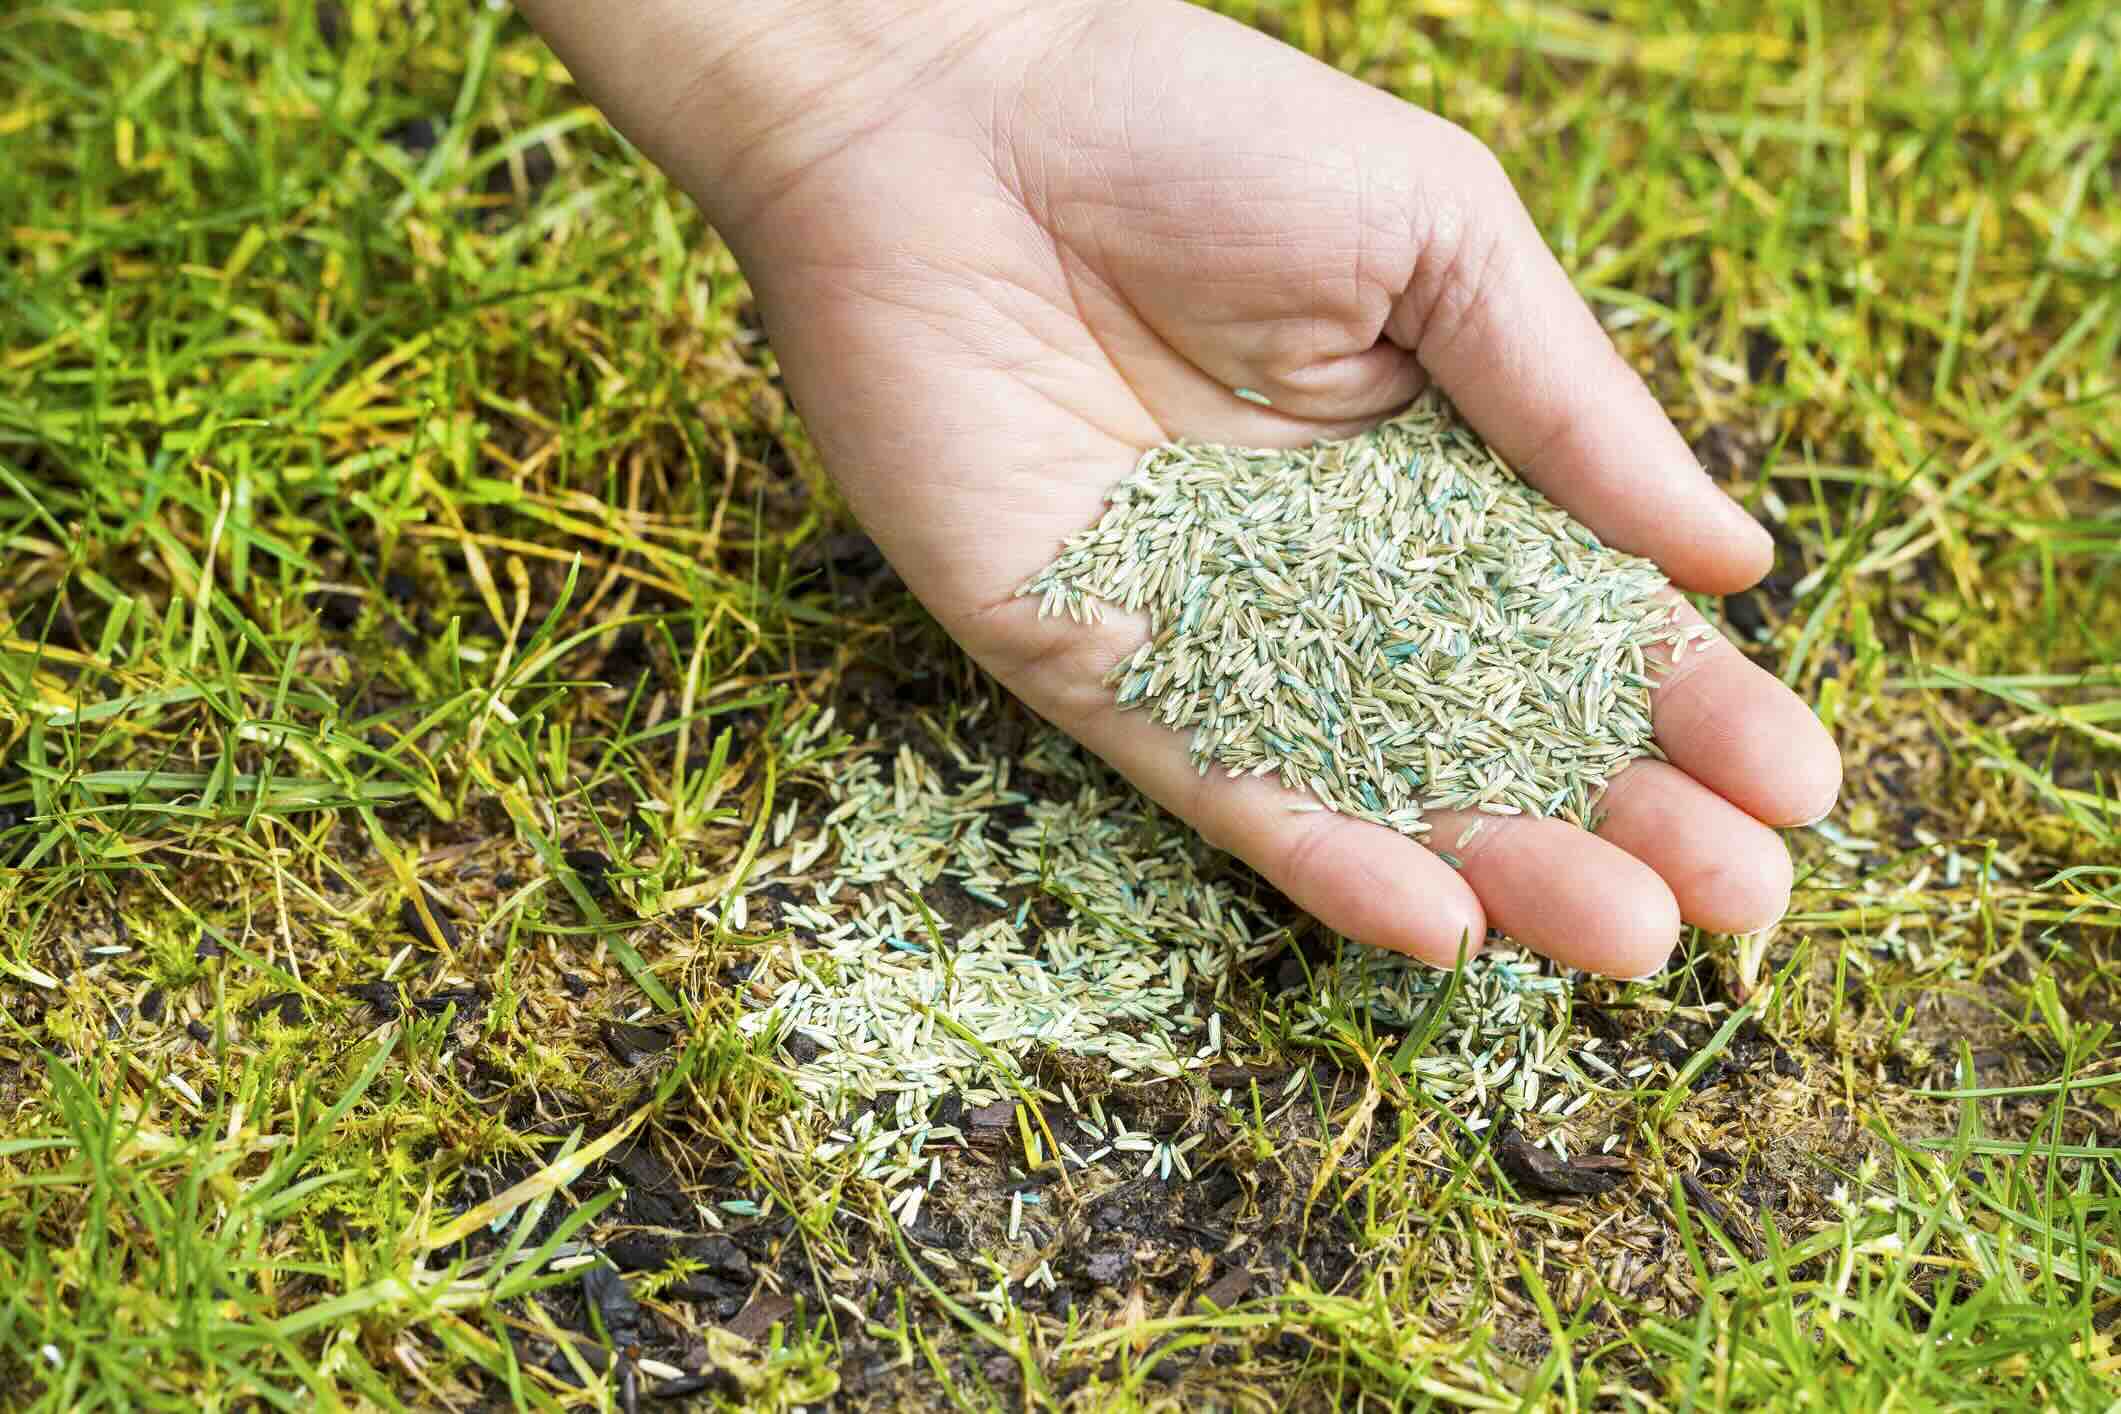
- Spread the seed: Use a spreader or your hands to evenly distribute the grass seed over the damaged area. Follow the instructions on the seed packaging for the recommended seeding rate.
- Rake and press: Gently rake the soil to lightly cover the seeds with a thin layer of soil. Then, use a lawn roller or gently press the soil to ensure good seed-to-soil contact.
- Water regularly: Keep the seeded area consistently moist by watering it regularly. Avoid overwatering, as excessive moisture can lead to fungal diseases.
- Monitor and protect: Watch for the germination of the grass seeds and protect the area from foot traffic or pet activity until the new grass becomes established.
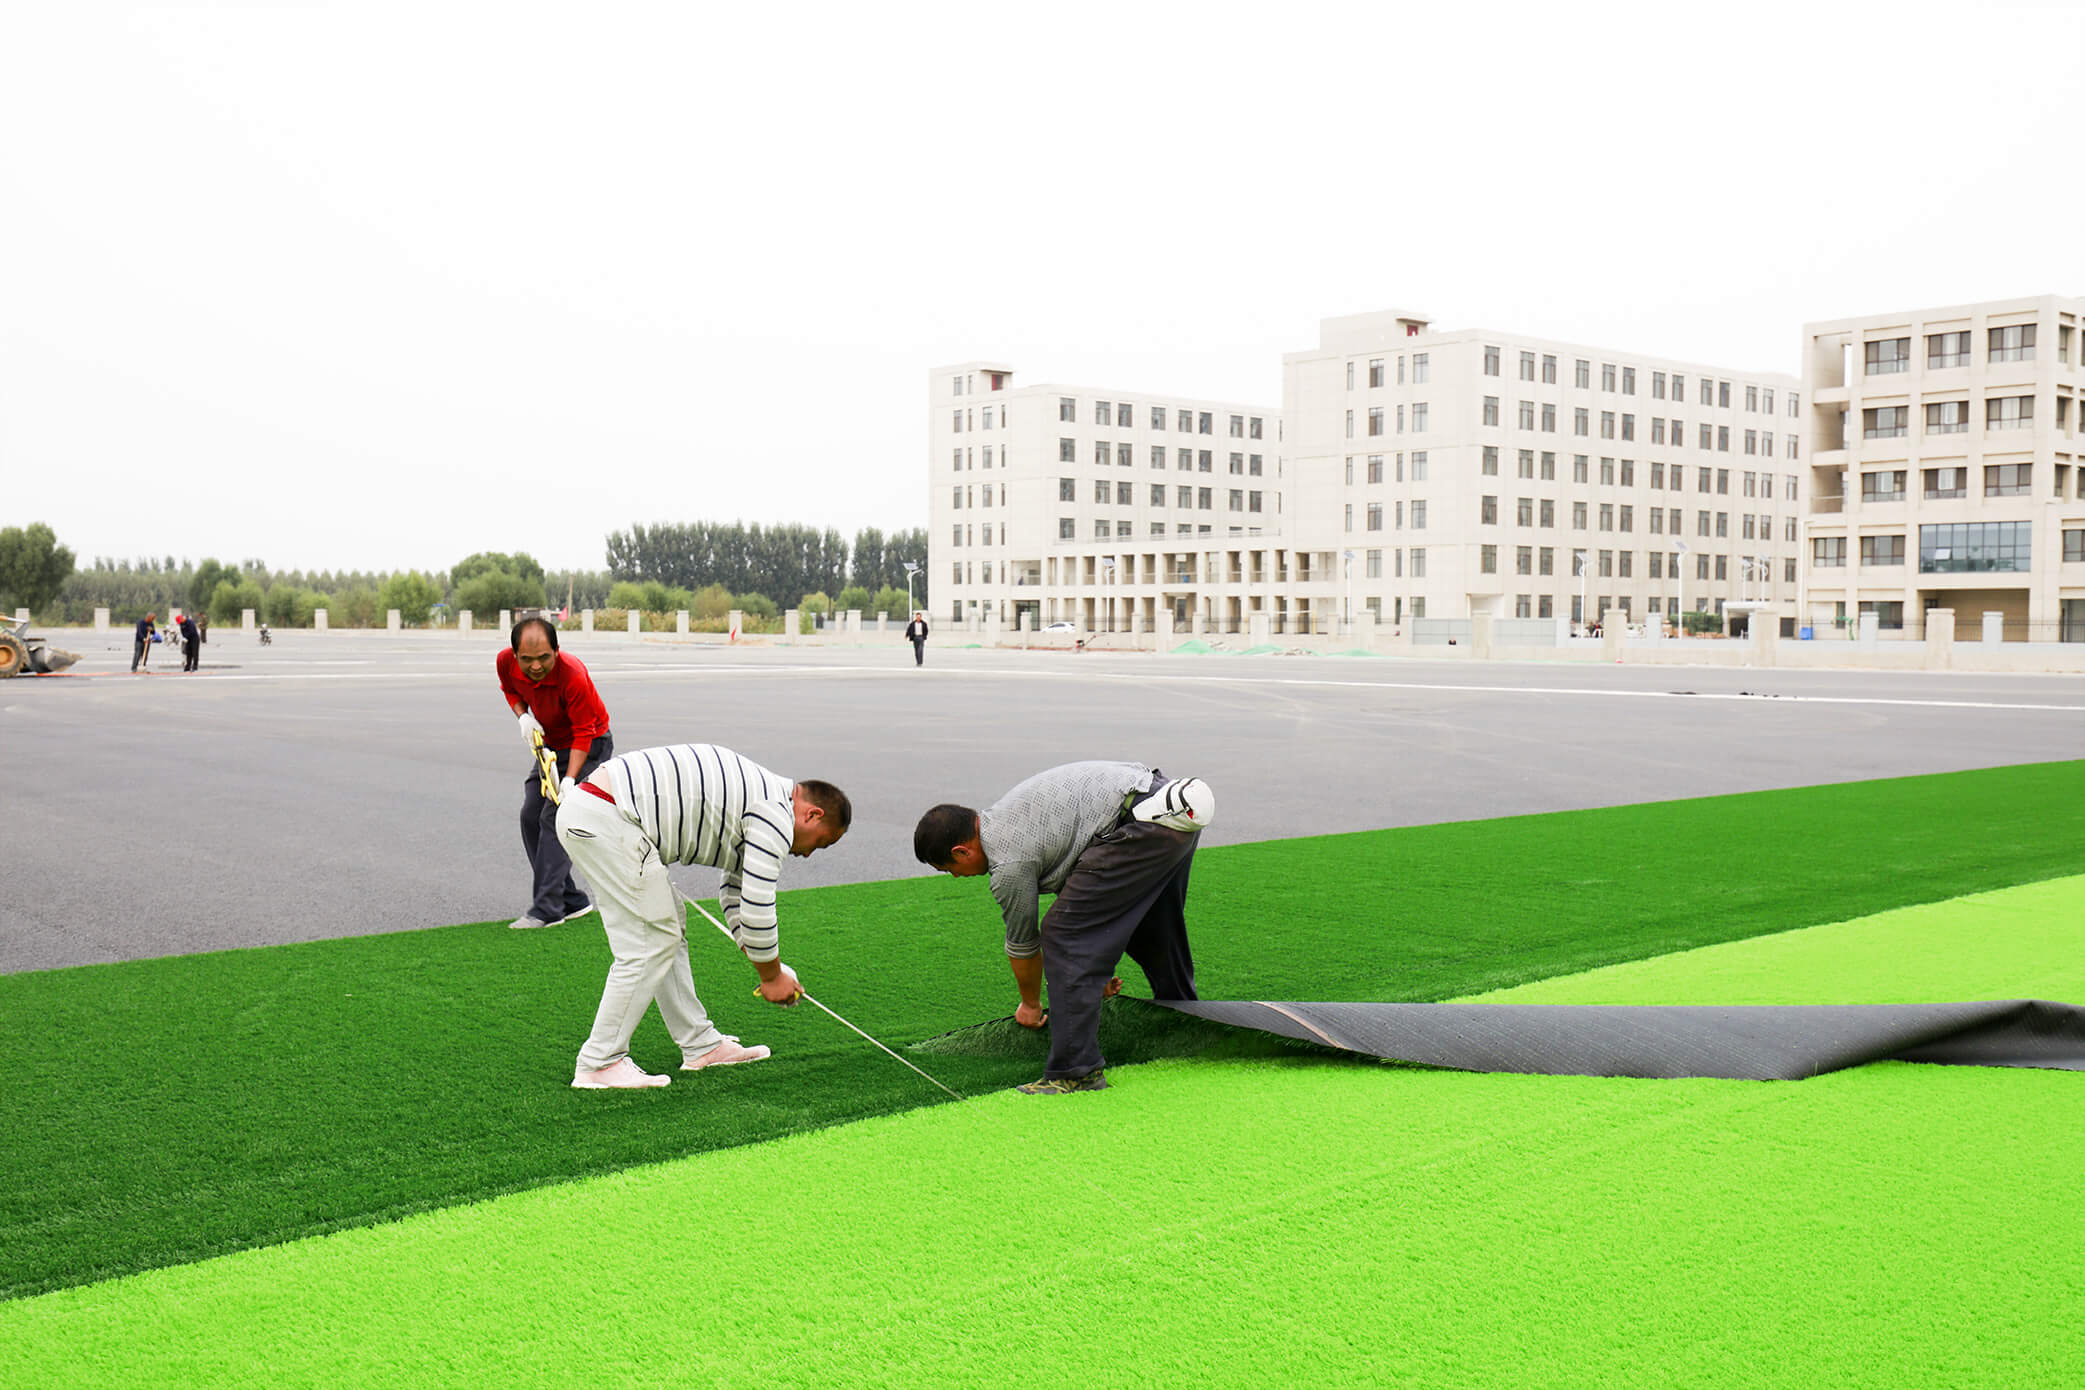
- Installing sod or turf rolls: If you choose to use sod or turf rolls, follow these steps:
- Cut to fit: Measure the damaged area and cut the sod or turf rolls to fit the space. Ensure that the edges are flush with the existing lawn.
- Lay the sod: Place the sod or turf rolls onto the prepared soil, positioning them tightly together without overlapping. Stagger the seams to create a seamless appearance.
- Water thoroughly: After laying the sod, water it thoroughly to encourage root establishment. Ensure that the soil underneath remains consistently moist for the first few weeks.
- Maintain proper care: Follow a regular watering and maintenance schedule to help the new sod establish roots and integrate with the existing lawn.
Regardless of whether you choose grass seed or sod, it’s important to provide proper care and maintenance during the initial stages of establishment. Adequate watering, protection from foot traffic, and regular maintenance will help your new grass patch thrive and blend seamlessly with the rest of your lawn.
Once you have successfully installed the grass patch, it’s time to move on to the final step: watering and maintenance.
Read more: How To Fill In Patches Of Grass
Step 5: Watering and Maintenance
After installing the grass patch, it’s crucial to provide proper watering and maintenance to support the growth and health of your new grass. This step is essential for ensuring that the grass patch integrates well with the rest of your lawn and maintains its lush and vibrant appearance.
- Watering: For the first few weeks, water the newly installed grass patch regularly and thoroughly. This will help the roots establish and prevent the soil from drying out. Water deeply, ensuring that the soil is moist to a depth of at least 4-6 inches.
- Mowing: Once the grass reaches a height of around 3-4 inches, it’s time to mow for the first time. Set the mower blades to a height of about 2-3 inches, as this will encourage healthy and dense growth. Avoid cutting more than one-third of the grass blade length at a time to prevent stress on the newly established grass.
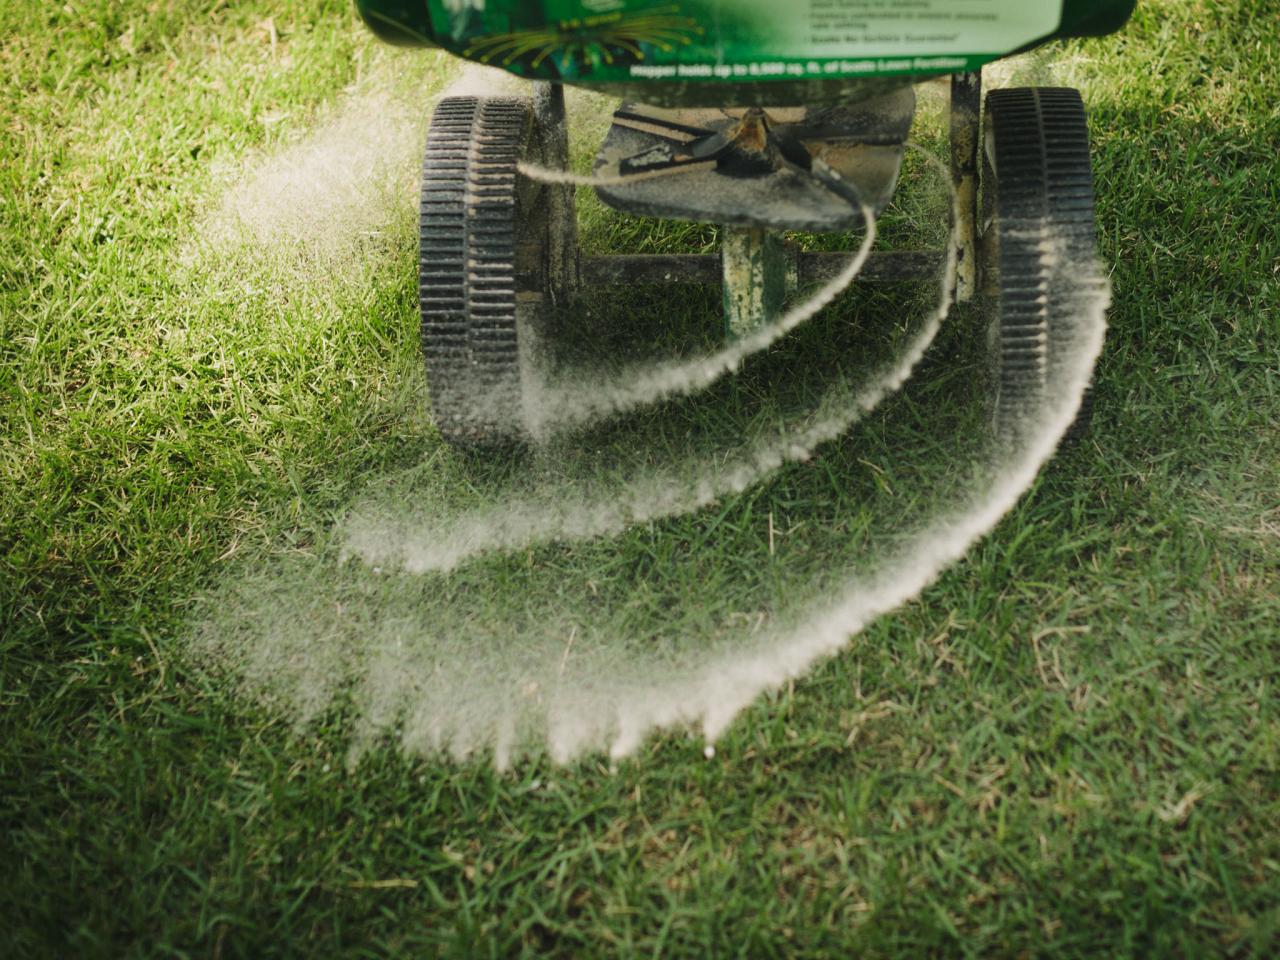
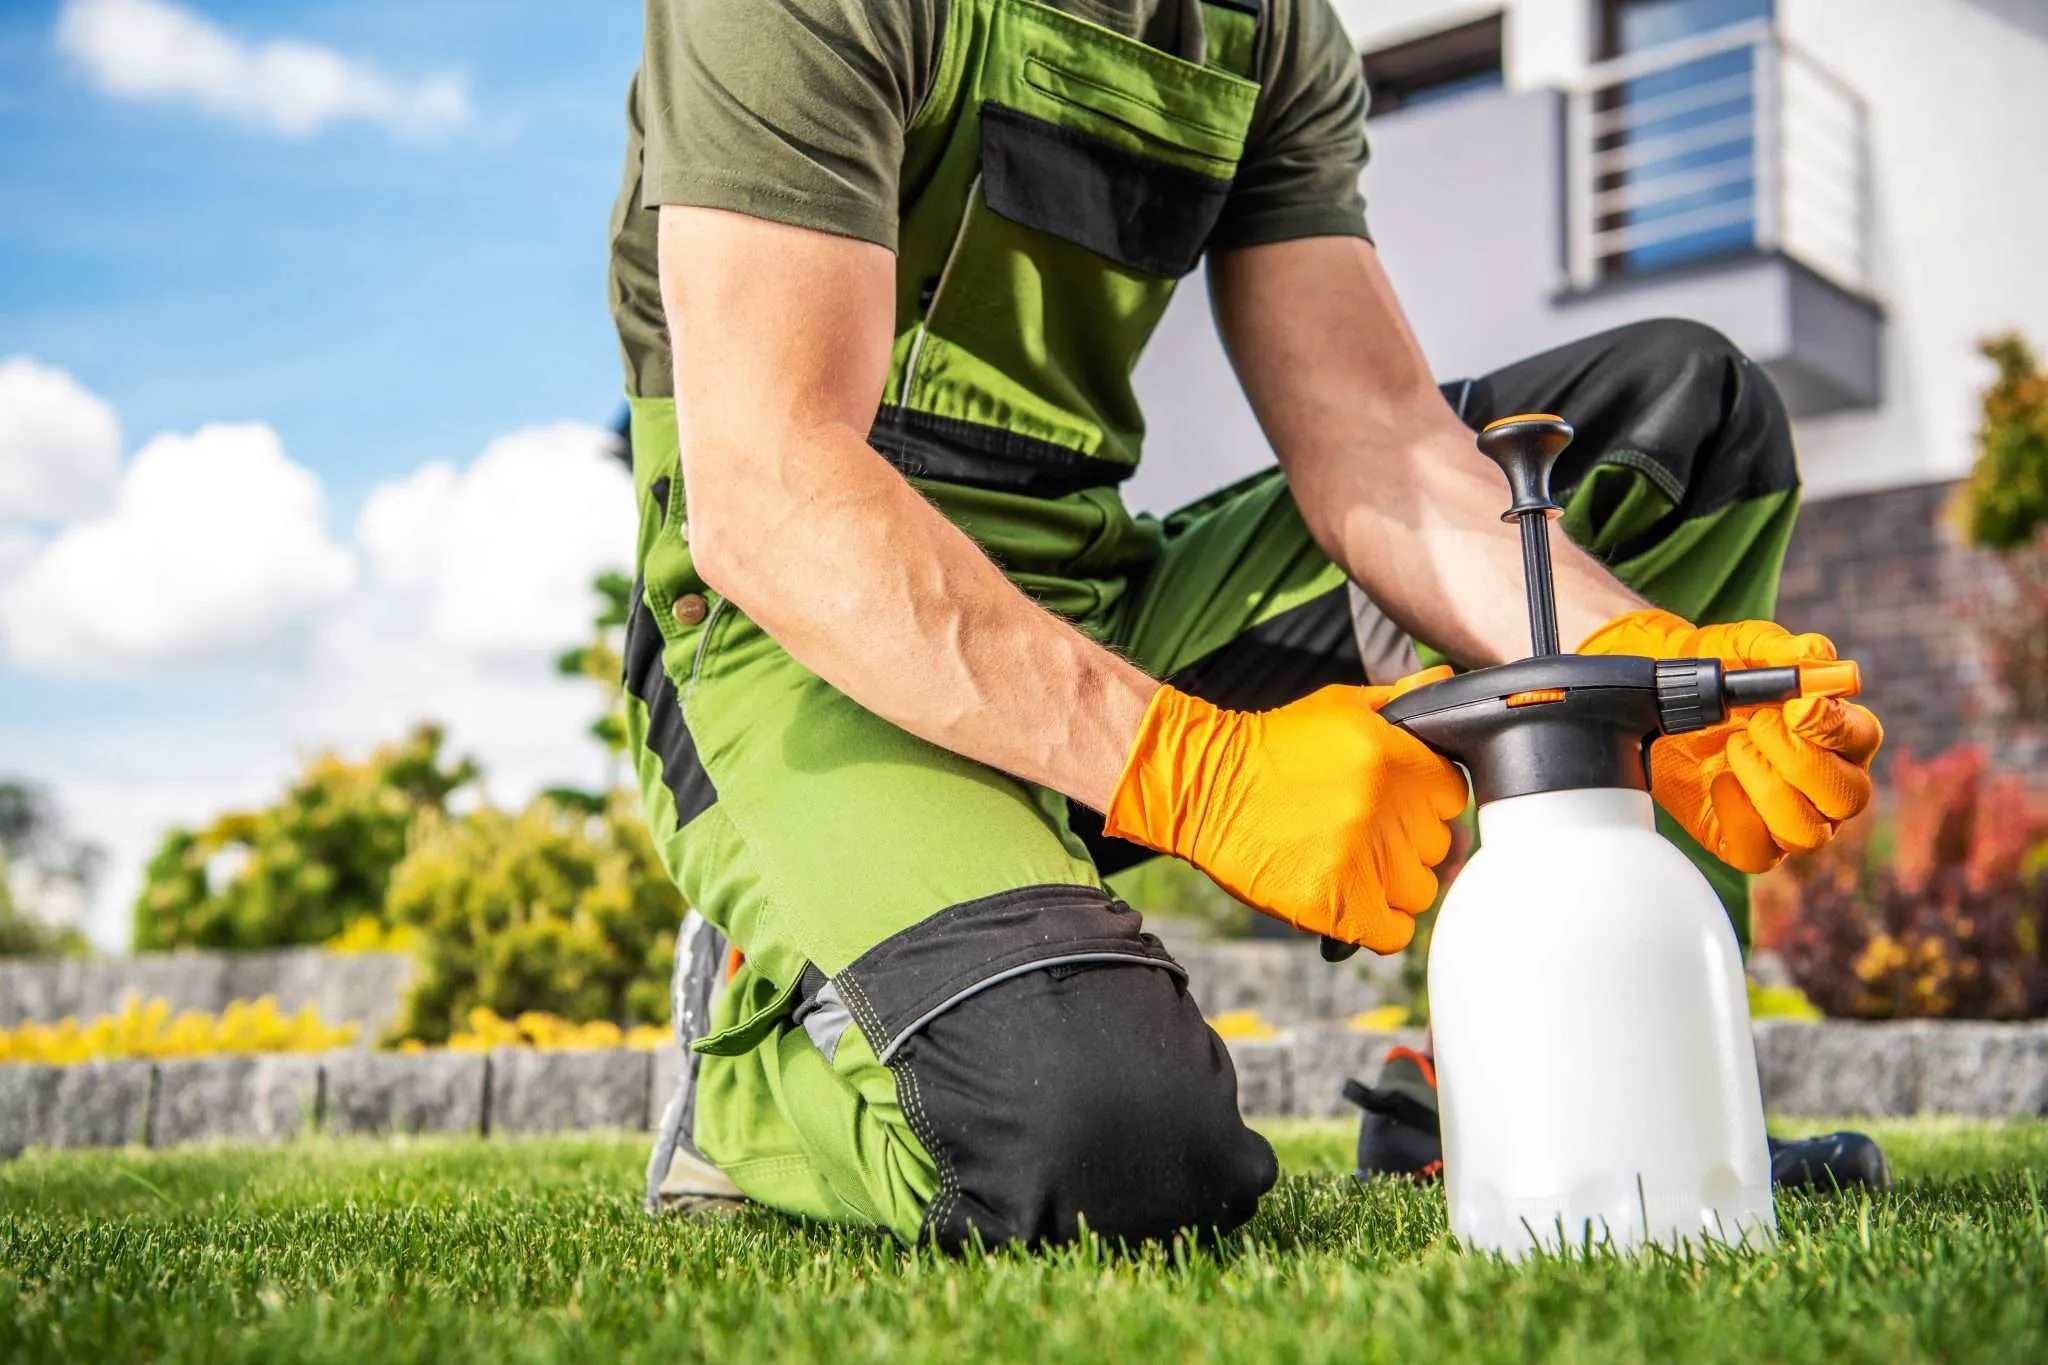
- Fertilizing: After a few weeks of establishment, consider applying a slow-release or controlled-release fertilizer specifically formulated for grass. Follow the instructions on the fertilizer packaging to ensure proper application and avoid over-fertilizing, which can lead to excessive growth or burning of the grass.
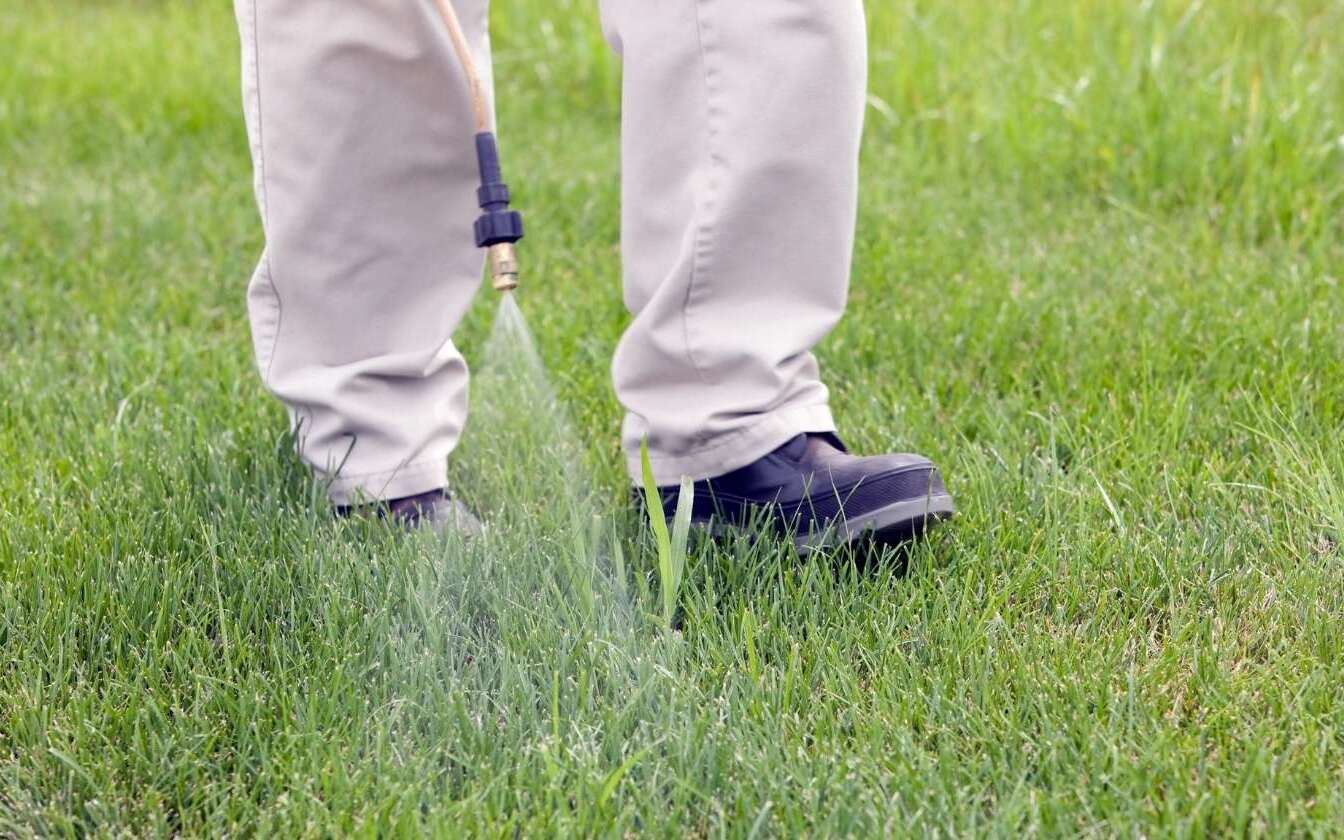
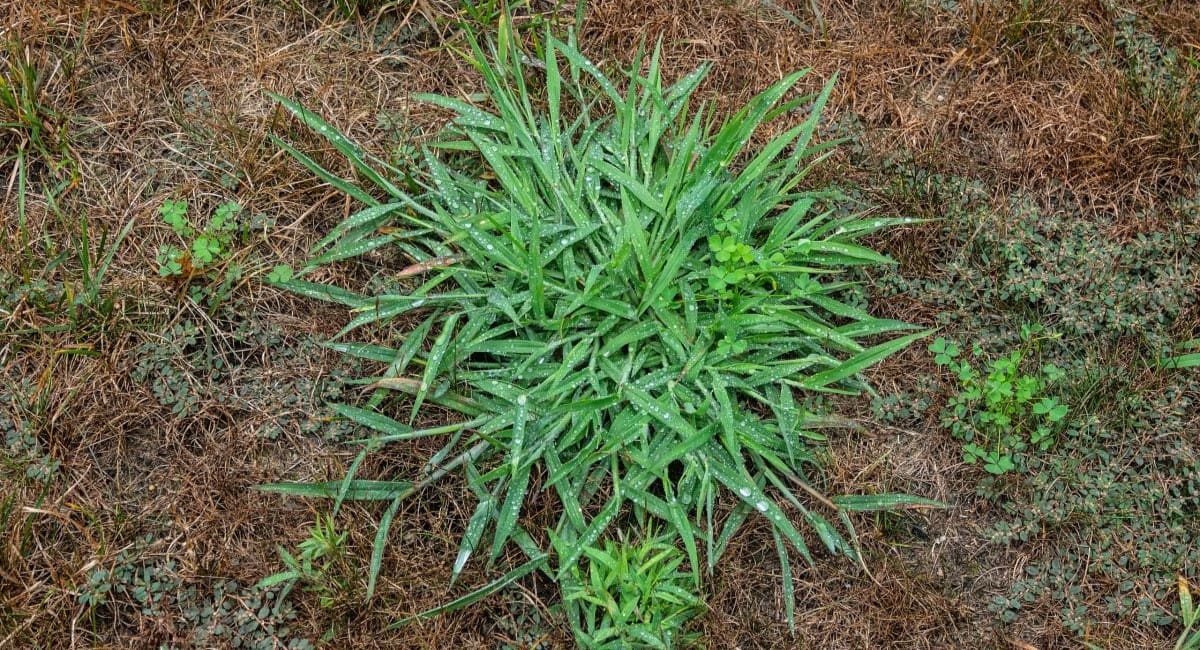
- Weeding: Regularly inspect the grass patch for any weeds and promptly remove them. Be cautious when using herbicides, as certain products may harm the newly established grass. If necessary, consult with a local gardening expert for safe weed control options.
- Avoid heavy traffic: Limit foot traffic or any heavy activity on the new grass patch for the first few weeks to allow the roots to establish firmly. This will minimize the risk of damage or uneven growth.
- Maintain a regular care routine: Moving forward, continue to provide proper care and maintenance to your entire lawn, including the newly installed grass patch. This includes regular watering, mowing at the appropriate height, fertilizing as needed, and addressing any potential issues such as pests or diseases.
By following a regular care routine and providing the necessary attention to your grass patch, you will be rewarded with a healthy, lush, and seamless lawn that enhances the beauty of your outdoor space.
Congratulations! You have successfully applied a grass patch to revive your damaged lawn. With continued care and maintenance, your grass patch will integrate into the rest of your lawn, creating a cohesive and vibrant outdoor environment.
Remember, each lawn is unique, and adjusting the care routine based on your specific grass type, climate, and soil conditions will help ensure the long-term success of your grass patch.
Happy gardening!
Conclusion
Congratulations on completing the process of applying a grass patch! By following the steps outlined in this guide, you have transformed those unsightly bare spots into lush, green areas that seamlessly blend in with the rest of your lawn. Your efforts will be rewarded with a beautiful and inviting outdoor space.
Remember that maintaining a healthy lawn requires ongoing care and attention. Regular watering, mowing, fertilizing, and addressing any potential issues will help your grass patch thrive and maintain its vibrant appearance. Additionally, staying observant and addressing any underlying issues, such as poor drainage or excessive thatch buildup, will contribute to the long-term health of your lawn.
As you continue your gardening journey, don’t forget the importance of proper preparation. Assessing the damaged area, choosing the right grass variety, and ensuring the soil is properly leveled will lay the foundation for your grass patch’s success.
Lastly, keep in mind that every lawn is unique, and factors like grass type, climate, and soil conditions may require slight adjustments to the recommended guidelines. Consult with local gardening experts or do some research specific to your region for personalized advice.
A lush and vibrant lawn not only adds visual appeal to your outdoor space, but it also provides a serene and comfortable area for relaxation and enjoyment. Take pride in your garden and continue to cultivate it with care and love.
Thank you for embarking on this journey to create a beautiful grass patch. Happy gardening!
Frequently Asked Questions about How To Apply A Grass Patch
Was this page helpful?
At Storables.com, we guarantee accurate and reliable information. Our content, validated by Expert Board Contributors, is crafted following stringent Editorial Policies. We're committed to providing you with well-researched, expert-backed insights for all your informational needs.

0 thoughts on “How To Apply A Grass Patch”