Home>Garden Essentials>How To Apply Astro Turf
Garden Essentials
How To Apply Astro Turf
Modified: August 23, 2024
Looking to transform your garden? Learn how to apply astro turf and enjoy a low-maintenance, long-lasting green space.
(Many of the links in this article redirect to a specific reviewed product. Your purchase of these products through affiliate links helps to generate commission for Storables.com, at no extra cost. Learn more)
Introduction
Are you looking to transform your outdoor space into a lush, green oasis without the hassle of maintaining natural grass? Astro turf, also known as artificial grass, is a fantastic solution. Whether you have a compact backyard, a rooftop terrace, or a play area for kids, astro turf can provide a low-maintenance and visually appealing alternative to traditional grass.
In this article, we’ll guide you through the process of applying astro turf to your outdoor space. From preparing the area to installing the turf, we’ll cover everything you need to know to achieve a professional-looking result. So, let’s dive in!
Key Takeaways:
- Transform your outdoor space with low-maintenance astro turf, a durable and visually appealing alternative to natural grass. Follow the steps to prepare, install, and care for astro turf for a vibrant and hassle-free green oasis.
- Achieve a professional-looking astro turf installation by properly preparing the area, clearing the existing surface, leveling the ground, and measuring and cutting the turf. Regular maintenance ensures a long-lasting and enjoyable outdoor space.
Read more: How Was Astro Turf Named
Understanding Astro Turf
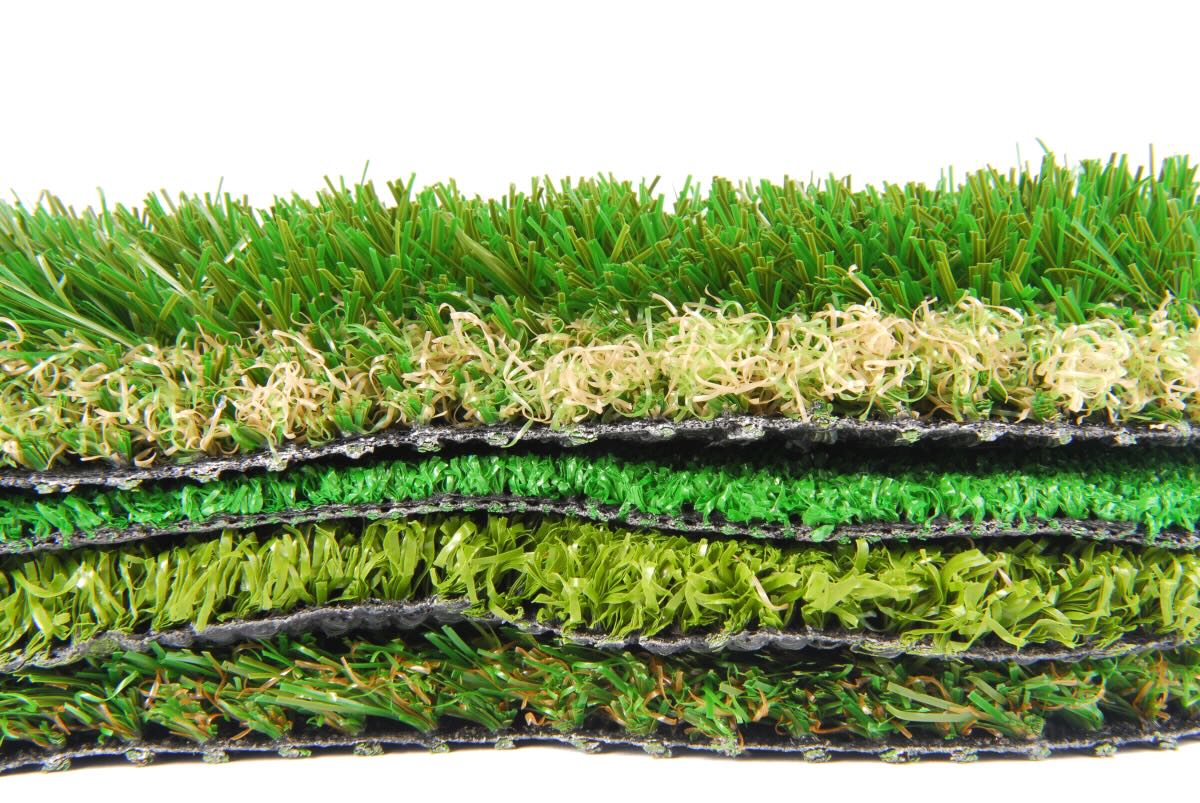
Astro turf is a synthetic grass designed to mimic the look and feel of natural grass. Made from polyethylene or polypropylene fibers, astro turf is durable, long-lasting, and resistant to weather conditions. It is an ideal choice for areas that experience heavy foot traffic or where natural grass struggles to grow.
One of the main advantages of astro turf is its low maintenance requirements. Unlike natural grass, which needs regular mowing, watering, and fertilizing, astro turf only requires occasional cleaning and brushing to keep it looking its best. This makes it a popular option for homeowners with busy lifestyles or for areas where water scarcity is a concern.
Astro turf is available in a range of colors and pile heights, allowing you to choose the look and feel that best suits your outdoor space. It can be purchased in rolls or tiles, depending on your specific needs.
When shopping for astro turf, it’s important to consider the quality and density of the grass. A higher quality turf will have a denser pile, which not only looks more natural but also feels more comfortable underfoot. Additionally, look for turf that has UV protection and is resistant to fading. This will ensure that your astro turf maintains its vibrant green color for years to come.
Before installing astro turf, it’s essential to prepare the area properly. This involves clearing the existing surface, leveling the ground, and applying a base layer if necessary. By taking the time to prepare the area correctly, you’ll ensure a smooth and long-lasting result.
Now that we have an understanding of astro turf and its benefits, let’s move on to the next step: preparing the area.
Preparing the Area
Before you can lay down astro turf, it’s crucial to properly prepare the area. This involves clearing the existing surface and ensuring a level ground for the best results. Follow these steps to prepare the area:
- Remove any vegetation: Start by removing any existing grass, weeds, or plants from the area where you plan to install the astro turf. Use a shovel or a turf cutter to lift up the vegetation and dispose of it properly.
- Clear debris: Next, clear the area of any rocks, branches, or other debris that could interfere with the turf installation. Rake the area to remove smaller debris and ensure a smooth surface.
- Compact the soil: Use a roller or a plate compactor to compact the soil. This will help create a firm and stable base for the astro turf. Roll over the entire area in different directions to ensure even compaction.
- Check for drainage: It’s important to ensure proper drainage to prevent water pooling on the turf. Check the area for any low spots or areas where water might collect. If needed, fill in these areas with additional soil and compact it again.
By following these steps, you’ll create a suitable foundation for the astro turf and ensure that it will be installed on a level and well-drained surface.
Before moving on to the next step, take a moment to measure and mark the area where the turf will be installed. This will help you determine the amount of astro turf you’ll need and ensure that you cut it to the appropriate size. Measure carefully and add a few inches of extra material on each side to allow for trimming and adjustments.
With the area prepared and measured, you’re now ready to move on to the next step: clearing the existing surface.
Clearing the Existing Surface
Once you have prepared the area for astro turf installation, it’s time to clear the existing surface. This involves removing any obstacles or objects that could interfere with the installation process. Follow these steps to clear the existing surface:
- Remove any existing paving or stones: If there are any paving stones, bricks, or other hard surfaces in the area, carefully remove them using a pry bar or a shovel. Set them aside for future use or disposal.
- Get rid of old turf: If there is already existing turf or old astro turf in the area, use a turf cutter or a shovel to lift it up and dispose of it properly. Make sure to remove all traces of the old turf to provide a clean and even surface for the new astro turf.
- Address any underground objects: Check for any underground cables, pipes, or irrigation lines that may be present in the area. Use caution while clearing the surface to avoid damaging these objects. If needed, consult a professional to help identify and mark any underground utilities.
- Smooth out the surface: Once all the existing surfaces and materials have been removed, use a rake or a garden leveling tool to smooth out the surface. Remove any remaining debris or rocks to ensure a clean and even base for the astro turf.
Clearing the existing surface is an essential step in the astro turf installation process. It allows for a proper foundation and ensures that the turf can be installed smoothly and securely. Take your time during this step to ensure that the area is completely cleared and ready for the next stage of installation.
With the existing surface cleared, it’s time to move on to the next step: leveling the ground.
Leveling the Ground
After clearing the existing surface, the next step in preparing the area for astro turf installation is to level the ground. Leveling the ground ensures that the turf will be installed on a smooth and even surface, providing a polished and professional look. Follow these steps to level the ground:
- Identify high and low spots: First, walk around the area and visually identify any high spots or low spots in the ground. High spots are areas that are elevated, while low spots are areas that are sunken or uneven.
- Address high spots: To address high spots, use a shovel or a sod cutter to remove the excess soil. Remove enough soil to bring the high spots level with the rest of the area. Rake the area to distribute the soil evenly.
- Fill in low spots: Low spots can be filled in by adding a layer of topsoil or leveling mix. Spread the soil evenly using a rake, ensuring that it fills in the low areas and creates a level surface.
- Compact the ground: Use a roller or a plate compactor to compact the ground once the high and low spots have been addressed. This will help ensure a stable and even surface for the astro turf.
During this process, it’s important to periodically check the level of the ground using a level tool or a long straight board. This will help you identify any remaining uneven areas that need to be addressed.
Remember, the goal is to create a level surface that will provide optimal support for the astro turf. Taking the time to properly level the ground will result in a more visually appealing and long-lasting installation.
With the ground leveled, you’re now ready to move on to the next step: measuring and cutting the astro turf.
Read more: How To Cut Astro Turf
Measuring and Cutting the Astro Turf
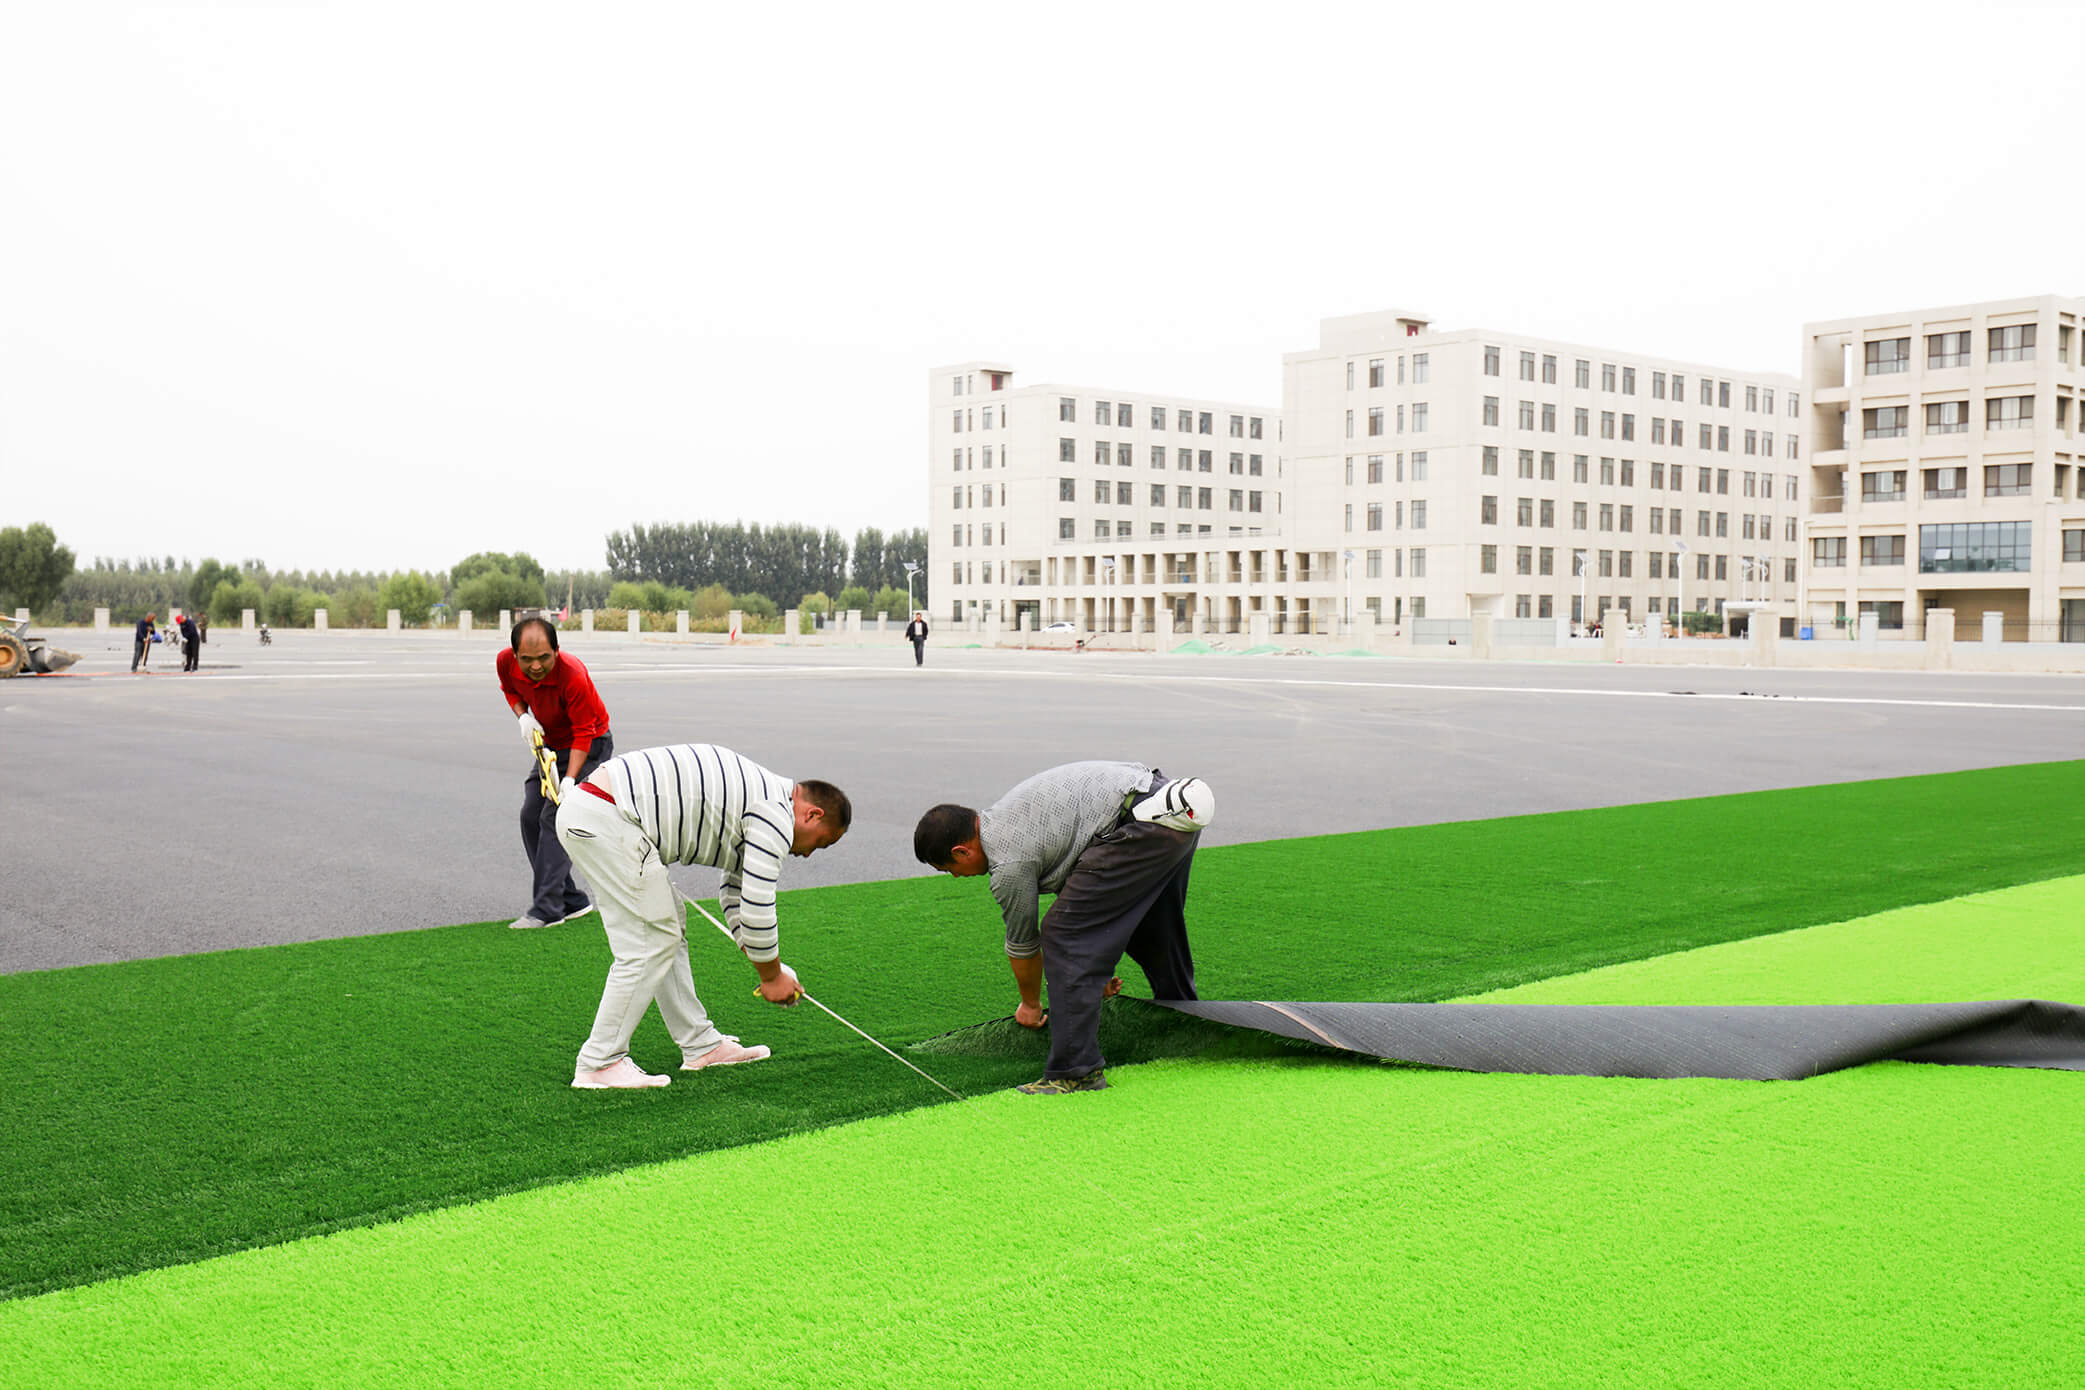
Once the area has been prepared and the ground leveled, the next step in installing astro turf is to measure and cut the turf to fit your space. This ensures a precise and seamless installation. Follow these steps to measure and cut the astro turf:
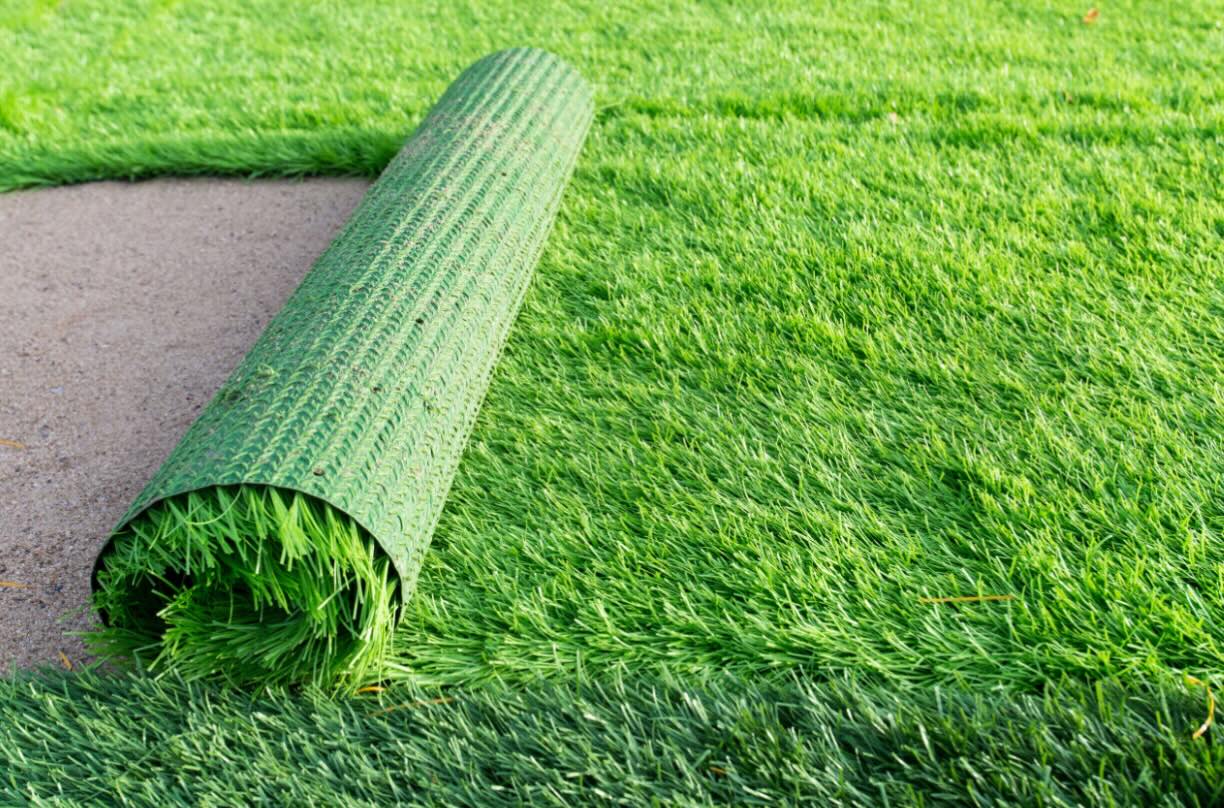
- Roll out the astro turf: Start by unrolling the astro turf across the prepared area. Allow the turf to relax and adjust to the environment for at least 24 hours. This will help minimize any wrinkles or creases in the turf.
- Measure the area: Use a measuring tape to determine the length and width of the area where the astro turf will be installed. Measure carefully and note down the dimensions.
- Mark and cut the turf: Using the dimensions you have measured, mark the astro turf with chalk or a marker where it needs to be cut. Make sure to leave a few inches of extra material on each side for trimming and adjustments.
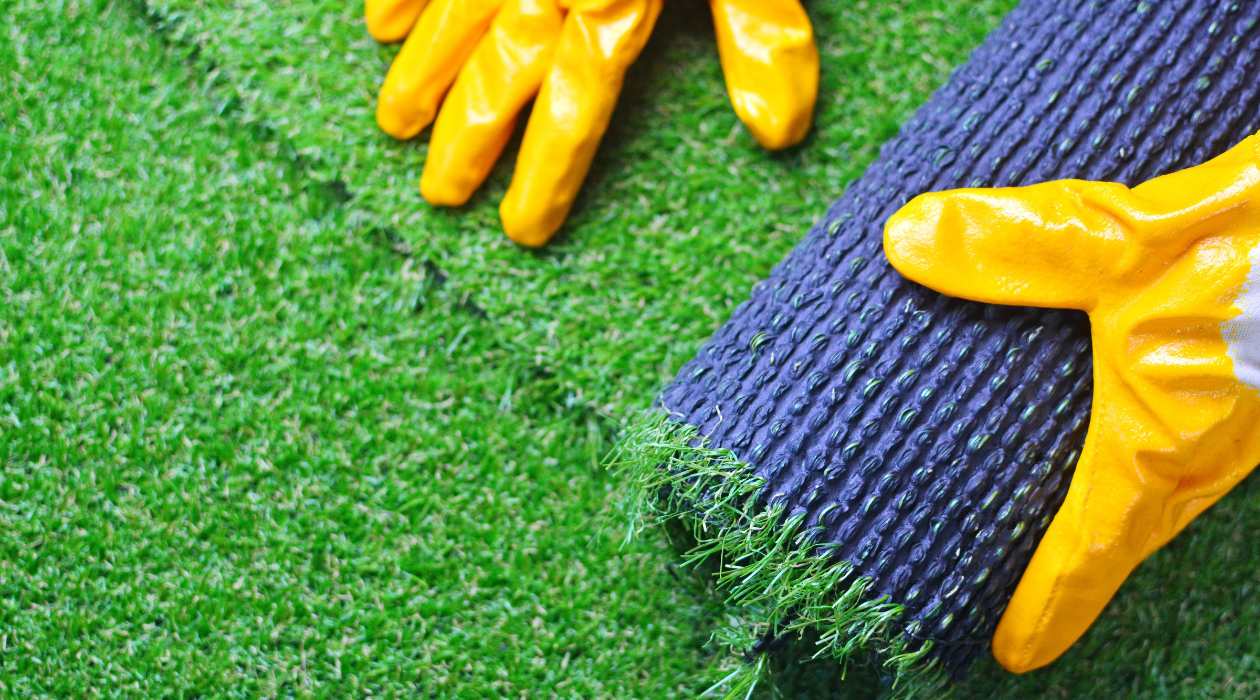
- Cut the turf: Carefully cut along the marked lines using a sharp utility knife or turf cutter. Take your time to ensure smooth and clean cuts. If you need to cut multiple pieces to fit the area, make sure to align the pile direction for a more seamless look.
- Trim the edges: Once the astro turf is cut to the appropriate size, use the utility knife to trim any excess material or overlapping edges. This will create clean and straight edges for a professional finish.
When cutting the astro turf, it’s essential to follow the manufacturer’s recommendations and guidelines. Some turfs may have specific instructions for cutting, so be sure to consult the product documentation before proceeding.
By accurately measuring and cutting the astro turf, you’ll ensure that it fits your space perfectly, resulting in a visually pleasing and neatly installed surface. With the turf cut and ready, it’s time to move on to the next step: applying the necessary base layer.
When applying astro turf, make sure the surface is clean and level. Use a weed barrier to prevent growth underneath. Install the turf carefully, making sure to secure the edges properly.
Applying the Necessary Base Layer
Before installing the astro turf, it’s important to create a stable and supportive base layer. The base layer helps with drainage, prevents weed growth, and provides a cushioning effect. Follow these steps to apply the necessary base layer:
- Add a layer of weed barrier: Start by laying down a weed barrier over the prepared ground. This will help prevent weeds from growing through the astro turf. Make sure to overlap the edges of the weed barrier to provide complete coverage.
- Spread a layer of aggregate: Next, spread a layer of crushed stone or sharp sand over the weed barrier. This serves as the base for the astro turf. Use a rake or a shovel to spread the aggregate evenly, ensuring a consistent thickness. Aim for a layer that is about 1-2 inches thick.
- Compact the base layer: Use a plate compactor or a roller to compact the aggregate layer. This will help create a stable and firm base for the astro turf. Compact the entire area, making sure to pay extra attention to high traffic areas.
- Add a layer of decomposed granite: For areas with heavy foot traffic or if a super-soft feel is desired, you can add a layer of decomposed granite on top of the compacted aggregate. This will provide additional stability and cushioning. Spread the decomposed granite evenly and level it using a rake.
- Compact the base layer again: After adding the decomposed granite, compact the base layer once more to ensure a solid foundation. This step helps eliminate any remaining air pockets and ensures a level surface.
Creating a proper base layer is crucial for the longevity and performance of the astro turf. By following these steps and taking the time to prepare a solid base, you’ll set the stage for a successful and durable installation.
With the necessary base layer in place, it’s now time to move on to the exciting part: installing the astro turf.
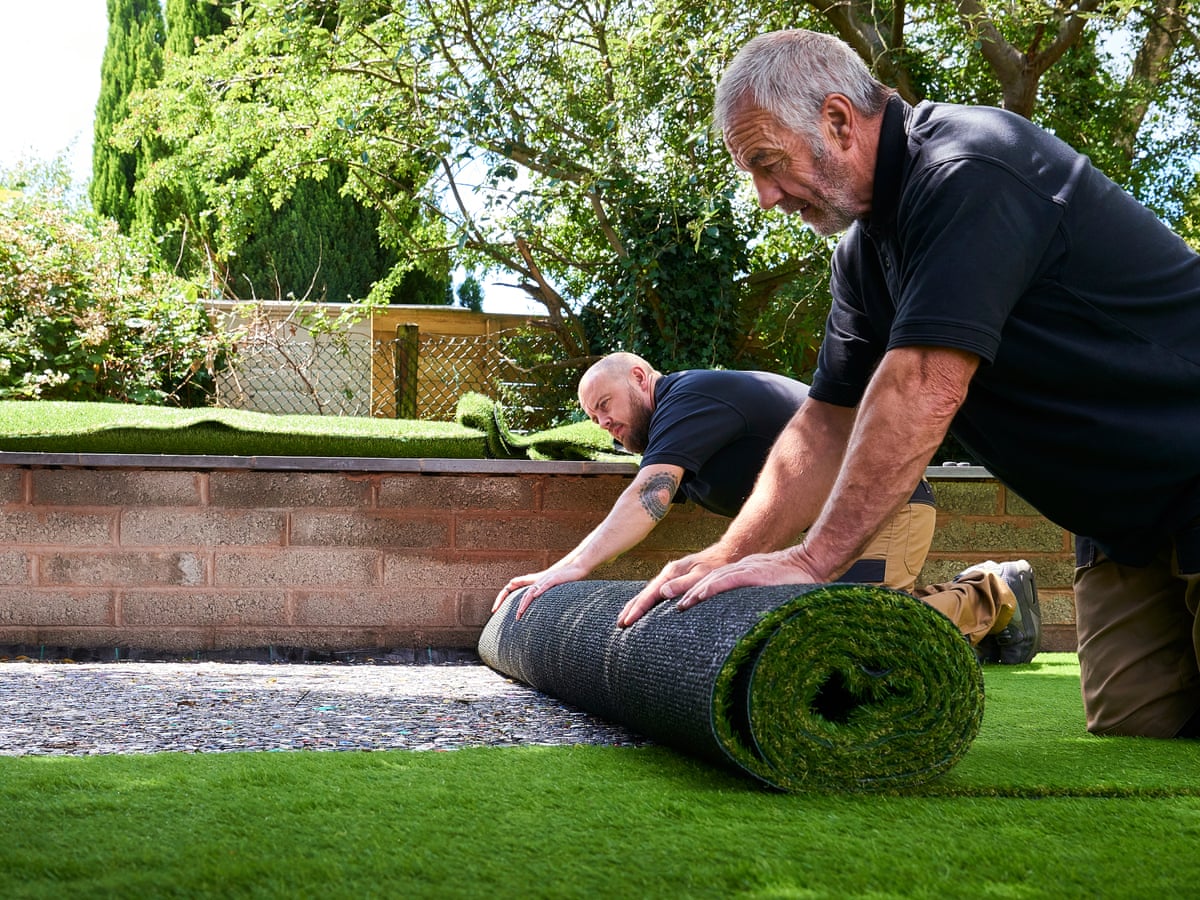
Installing the Astro Turf
Now that you have prepared the area and applied the necessary base layer, it’s time to install the astro turf. Follow these steps for a successful installation:
- Roll out the astro turf: Begin by rolling out the astro turf over the base layer, ensuring it covers the entire area. Adjust the turf to make sure it fits snugly and aligns correctly.
- Trim and adjust: Use a utility knife to trim any excess turf along the edges to achieve a clean and precise fit. Make small adjustments as needed to ensure the turf is properly aligned and positioned.
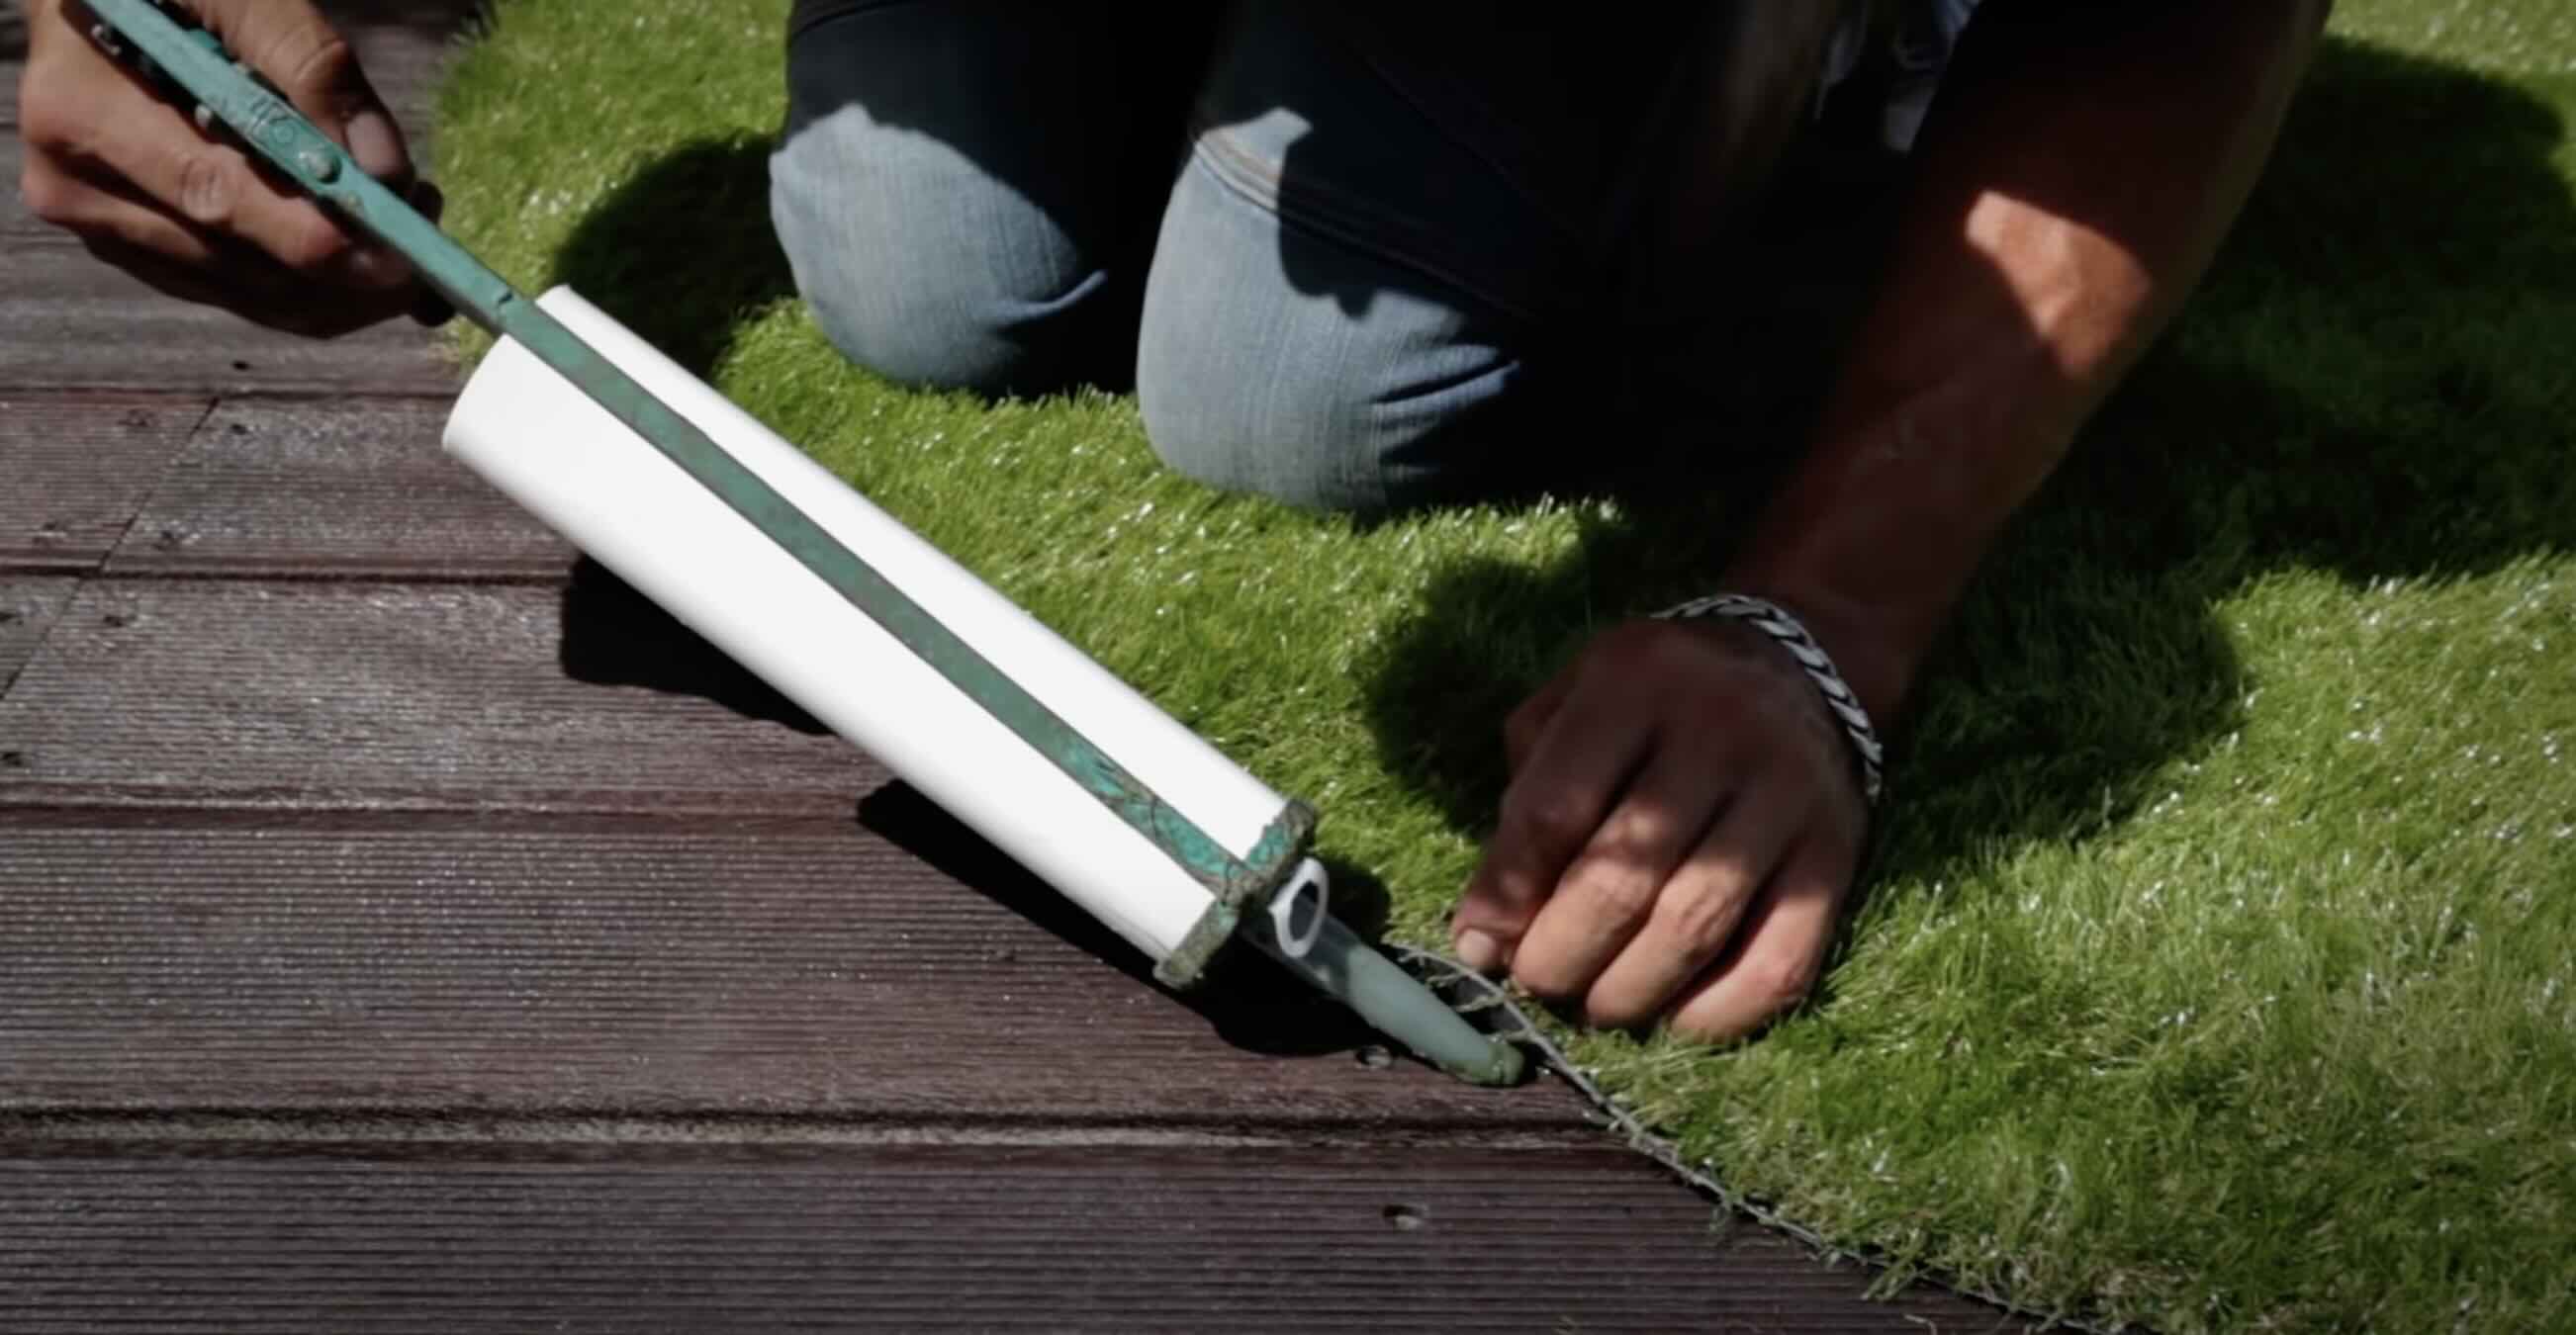
- Join multiple pieces: If you have multiple pieces of turf to install, carefully join them together. Use adhesive tape or a suitable joining method recommended by the manufacturer. Ensure that the seams are well-hidden and the pieces blend seamlessly.
- Avoid stretching the turf: It’s important not to stretch the astro turf as you install it. Stretching can lead to an uneven surface and premature wear. Instead, let the turf lay naturally and adjust accordingly.
- Secure the turf: Once the astro turf is in place, secure the edges with ground stakes or galvanized nails. Space the stakes or nails approximately every 6-12 inches along the perimeter to ensure the turf stays secure.
- Brush the turf: Use a stiff broom or a power broom to brush the astro turf fibers in the opposite direction. This will help give the turf a fuller and more natural appearance, as well as assist with infill distribution.
Take your time during the installation process to ensure that the astro turf is properly positioned and secured. Double-check the alignment and make any necessary adjustments before moving on to the next step.
With the astro turf installed, it’s time to move on to the final step: securing the turf edges.
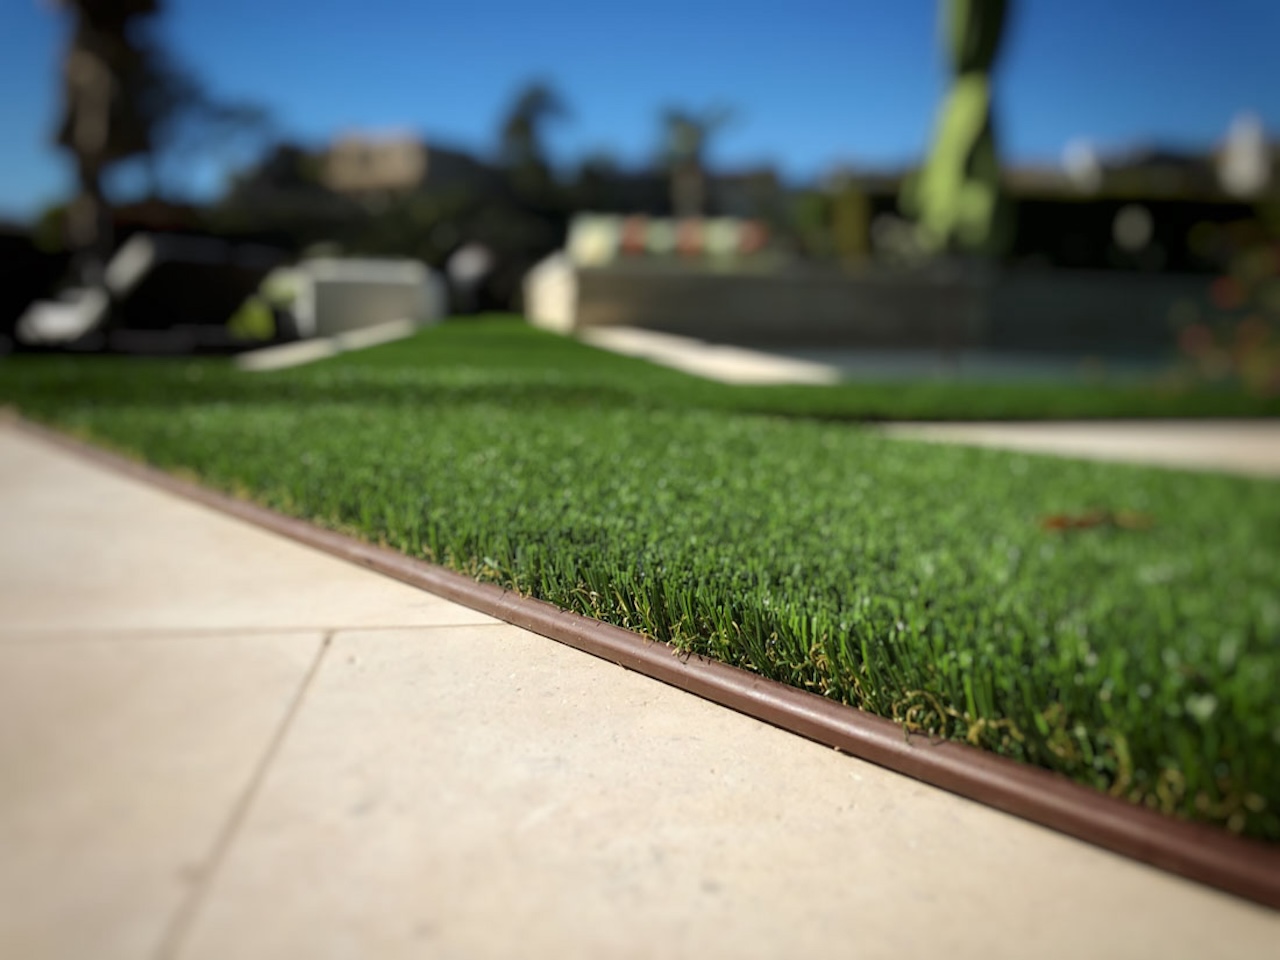
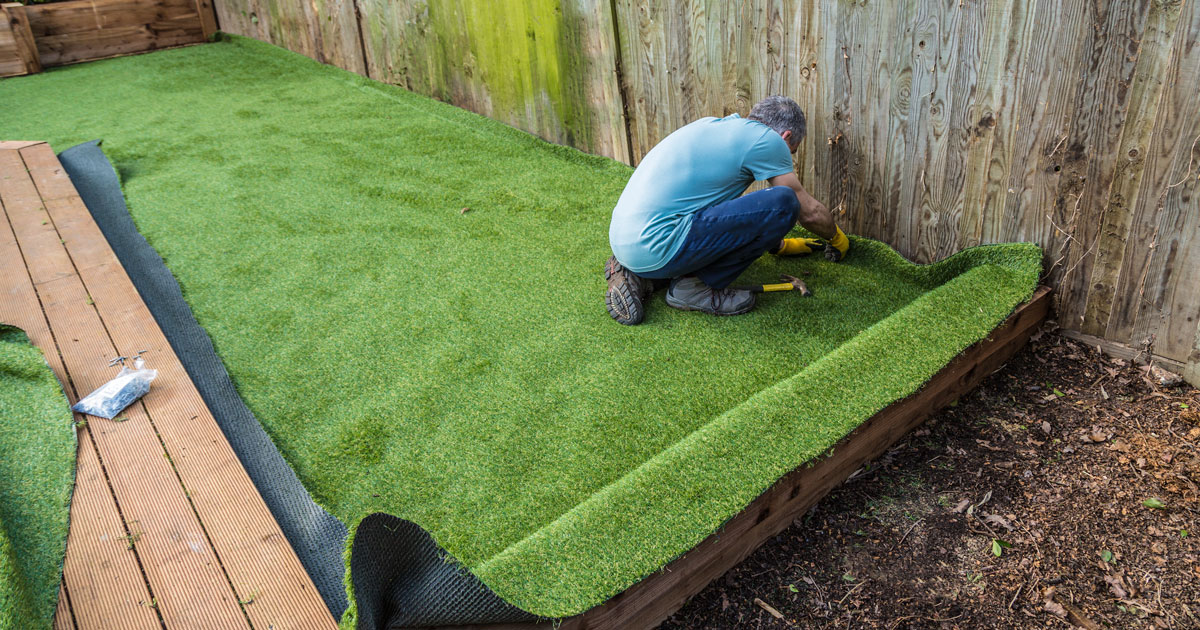
Securing the Turf Edges
Securing the edges of the astro turf is an important step to ensure a secure and polished installation. Follow these steps to properly secure the turf edges:
- Fold and tuck the edges: Start by folding back the edges of the astro turf. Tuck the edges underneath the turf, creating a clean and finished look along the perimeter.
- Insert landscape nails: Place landscape nails along the edges of the turf, approximately 6-12 inches apart. Insert the nails at an angle towards the turf, driving them into the base layer beneath. This will help anchor the edges of the turf securely.
- Hammer the nails: Use a hammer to firmly drive the nails into the base layer. Ensure the nails are flush with the top of the turf to avoid tripping hazards and to maintain a smooth surface.
- Use adhesive or seaming tape (optional): If desired or required by the manufacturer, apply adhesive or seaming tape along the edges to further secure the astro turf. Follow the manufacturer’s instructions carefully for proper application and use.
- Check the edges: After securing the edges, carefully inspect the perimeter of the turf to ensure everything is secure and properly aligned. Make any necessary adjustments or repositioning to achieve a neat and professional finish.
Securing the edges of the astro turf is crucial to prevent any shifting or movement. By following these steps, you’ll ensure that the turf remains in place even with regular use and weather conditions.
With the astro turf edges secured, it’s time to consider adding infill. While not necessary for all installations, infill can provide additional support and help the turf maintain its shape. Let’s explore the optional step of adding infill in the next section:
Read more: How To Install Astro Turf On Dirt
Adding Infill (Optional)
Adding infill to the astro turf is an optional step that can enhance the performance and longevity of the turf. Infill is typically made of silica sand, rubber granules, or a combination of both. It helps to stabilize the blades, improve shock absorption, and provide a realistic feel underfoot. If you choose to add infill, follow these steps:
- Distribute the infill: Start by evenly distributing the infill material across the surface of the astro turf. Use a spreader or a shovel to achieve a consistent layer. Make sure to follow the manufacturer’s recommendations regarding the appropriate amount of infill to use.
- Brush the infill: After spreading the infill, use a power broom or a soft-bristle broom to brush the infill into the turf. This will help the infill settle between the blades and prevent it from clumping or settling unevenly.
- Repeat the infill process: Repeat the infill distribution and brushing process to ensure that the infill is evenly distributed throughout the entire turf area. This will help provide a balanced feel and improve the overall performance of the astro turf.
Adding infill is recommended for areas that will experience heavy foot traffic or if you desire a more realistic feel underfoot. However, if you decide not to add infill, the astro turf can still be enjoyed without compromising its functionality.
With the astro turf properly installed and, if desired, infill added, it’s time to move on to the next important aspect: caring for the astro turf to keep it looking and performing its best.
Caring for Astro Turf
While astro turf requires significantly less maintenance compared to natural grass, it still requires some care to ensure its longevity and keep it looking pristine. Here are some essential tips for caring for your astro turf:
- Regular brushing: Brush the astro turf regularly using a stiff broom or a power broom in the direction of the grass blades. This helps to keep the turf fibers upright, prevents matting, and ensures an even appearance.
- Remove debris: Regularly remove any leaves, twigs, or other debris from the surface of the turf. This can be done by hand or with a leaf blower on a low setting. Keeping the surface clean helps maintain the turf’s appearance and prevents debris from becoming embedded in the fibers.
- Clean up spills: If any spills or stains occur on the astro turf, clean them up promptly. Use a mild detergent mixed with water and gently scrub the affected area with a soft brush. Rinse with clean water and allow the turf to air dry.
- Remove pet waste: If you have pets, promptly remove any solid waste from the turf’s surface. Rinse the area with water to remove any residue, and use a pet-friendly turf deodorizer to keep the area fresh and odor-free.
- Prevent and control weeds: While astro turf is designed to resist weed growth, occasional weeds may still appear. Use a weed killer or carefully remove any weeds that emerge. Regularly inspect the edges of the turf where it meets other surfaces to prevent weed encroachment.
- Minimize high heat exposure: Avoid placing hot objects, such as grills or fire pits, directly on the astro turf. High heat can damage the turf fibers. Instead, use a protective barrier or consider placing these items on a heat-resistant mat.
- Avoid sharp objects: Be cautious when using sharp tools or equipment near the astro turf to prevent accidental cuts or damage to the turf. Keep gardening tools, furniture with sharp edges, and other potentially damaging objects away from the turf.
Following these care guidelines will help keep your astro turf in optimal condition for years to come. Regular maintenance and attention to detail will ensure that your turf retains its vibrant appearance and remains a source of enjoyment in your outdoor space.
By now, you should have a good understanding of how to apply astro turf and properly care for it. With a little effort, you’ll have a beautiful and low-maintenance alternative to natural grass, giving you more time to relax and enjoy your outdoor oasis.
Conclusion
Astro turf offers a convenient and visually appealing solution for those seeking a low-maintenance alternative to natural grass. By following the steps outlined in this article, you can successfully apply astro turf to your outdoor space, creating a vibrant and lush green area that requires less upkeep.
Understanding the nature of astro turf, from its synthetic materials to its durability and low-maintenance requirements, is essential in achieving a successful installation. Properly preparing the area, clearing the existing surface, leveling the ground, and measuring and cutting the turf are crucial steps to ensure a seamless and professional result.
Applying the necessary base layer provides stability and support to the astro turf, while securing the edges helps prevent shifting and ensures a polished look. Adding infill is optional but can enhance the performance and feel of the turf.
To keep your astro turf looking its best, regular maintenance is key. This includes brushing the fibers, removing debris, addressing spills or stains promptly, and controlling weeds. Taking precautions to prevent excessive heat exposure and avoiding sharp objects near the turf will help maintain its quality and longevity.
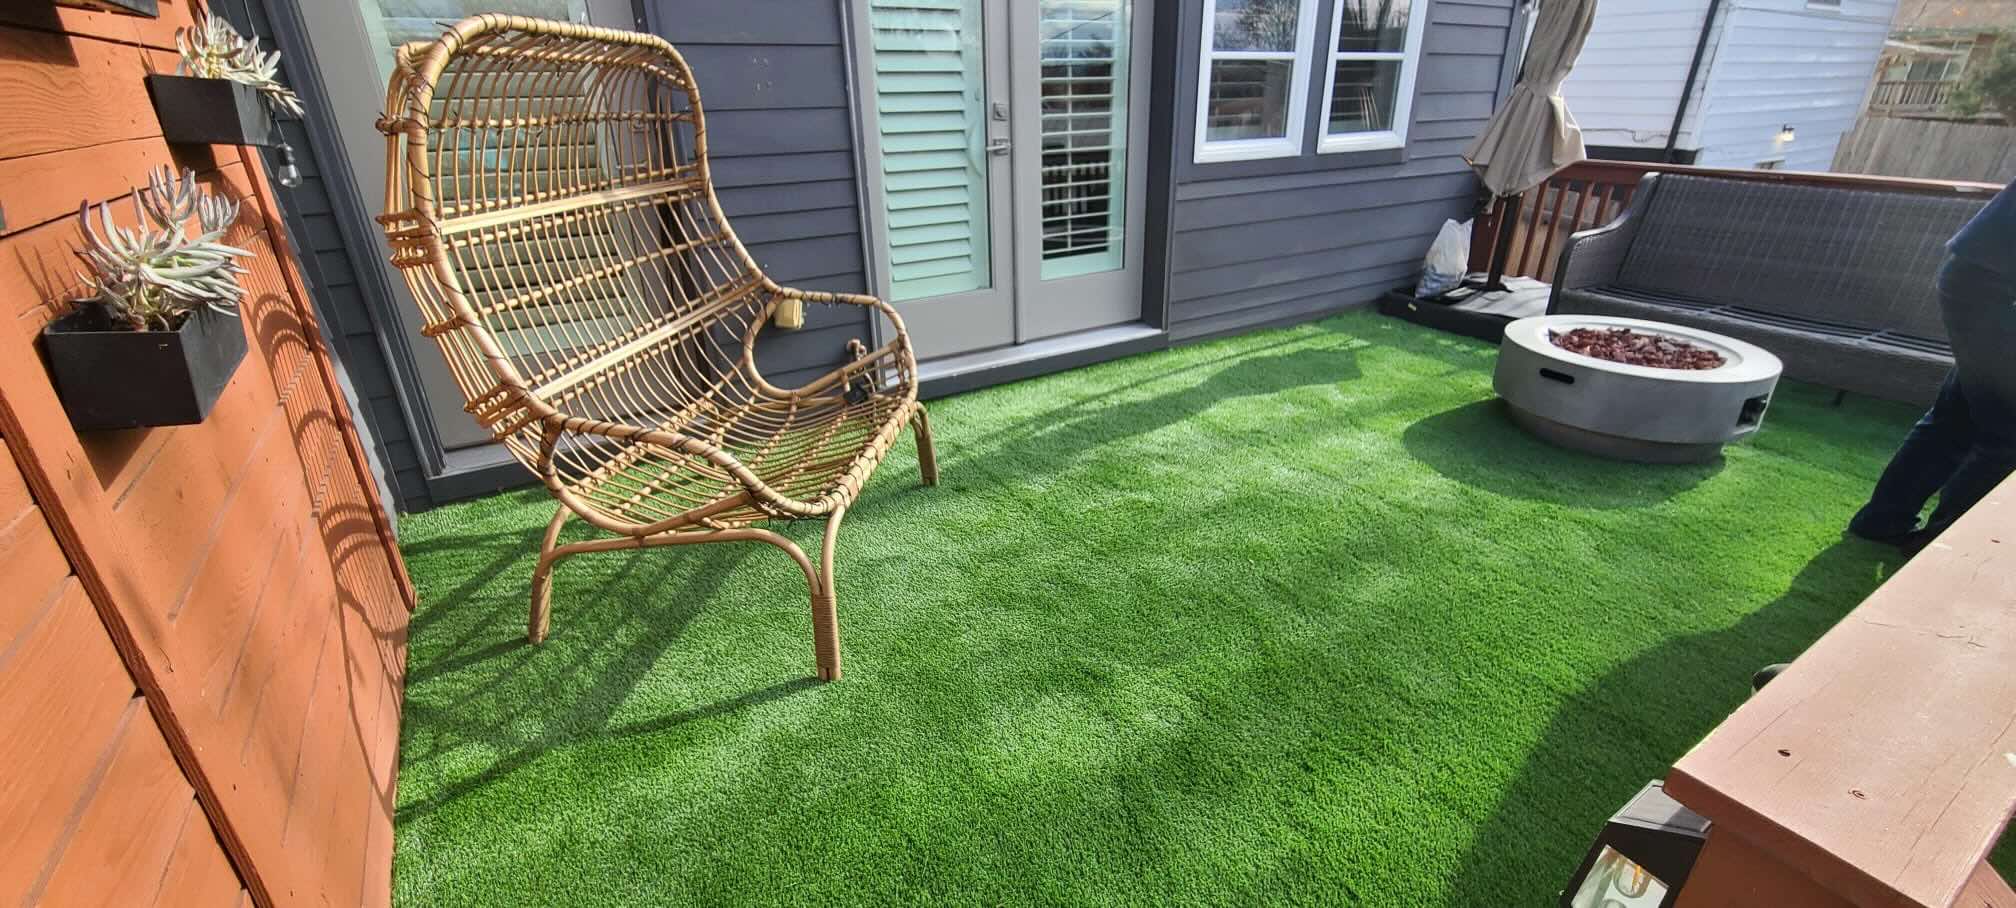
With astro turf, you can enjoy a beautiful, green outdoor space without the time-consuming maintenance of natural grass. Whether it’s transforming your backyard, creating a play area for children, or enhancing a rooftop terrace, astro turf offers a versatile solution for various applications.
So, why wait? Embrace the beauty and convenience of astro turf and create a sustainable and visually stunning outdoor space that you can enjoy year-round!
Frequently Asked Questions about How To Apply Astro Turf
Was this page helpful?
At Storables.com, we guarantee accurate and reliable information. Our content, validated by Expert Board Contributors, is crafted following stringent Editorial Policies. We're committed to providing you with well-researched, expert-backed insights for all your informational needs.


0 thoughts on “How To Apply Astro Turf”