Home>Garden Essentials>How To Dig In Gravel And Soil Mix
Garden Essentials
How To Dig In Gravel And Soil Mix
Modified: March 16, 2024
Learn how to dig in gravel and soil mix for your garden with our step-by-step guide. Achieve the perfect foundation for your plants and create a thriving outdoor space.
(Many of the links in this article redirect to a specific reviewed product. Your purchase of these products through affiliate links helps to generate commission for Storables.com, at no extra cost. Learn more)
Introduction
Creating a beautiful garden requires careful planning and preparation, especially when it comes to the foundation of your outdoor space. One crucial aspect is the proper mixture of gravel and soil, which provides a stable base for plant growth and drainage. Whether you are starting a new garden bed or revamping an existing one, knowing how to dig in a gravel and soil mix is essential.
In this article, we will guide you through the step-by-step process of digging in a gravel and soil mix. You will learn about the tools and equipment needed, the techniques for excavating the area, and how to properly prepare the ground for planting. By following these instructions, you will be able to create a solid foundation for healthy plants to thrive.
So, let’s dive in and discover how to dig in a gravel and soil mix!
Key Takeaways:
- Creating a healthy garden bed with gravel and soil mix involves marking the area, clearing the surface, and choosing the right digging technique to ensure optimal plant growth and drainage.
- Maintaining the gravel and soil mix involves monitoring moisture, inspecting for weeds, mulching, and considering fertilization to keep the garden thriving and free from pests and diseases.
Read more: How To Make Potting Soil Mix
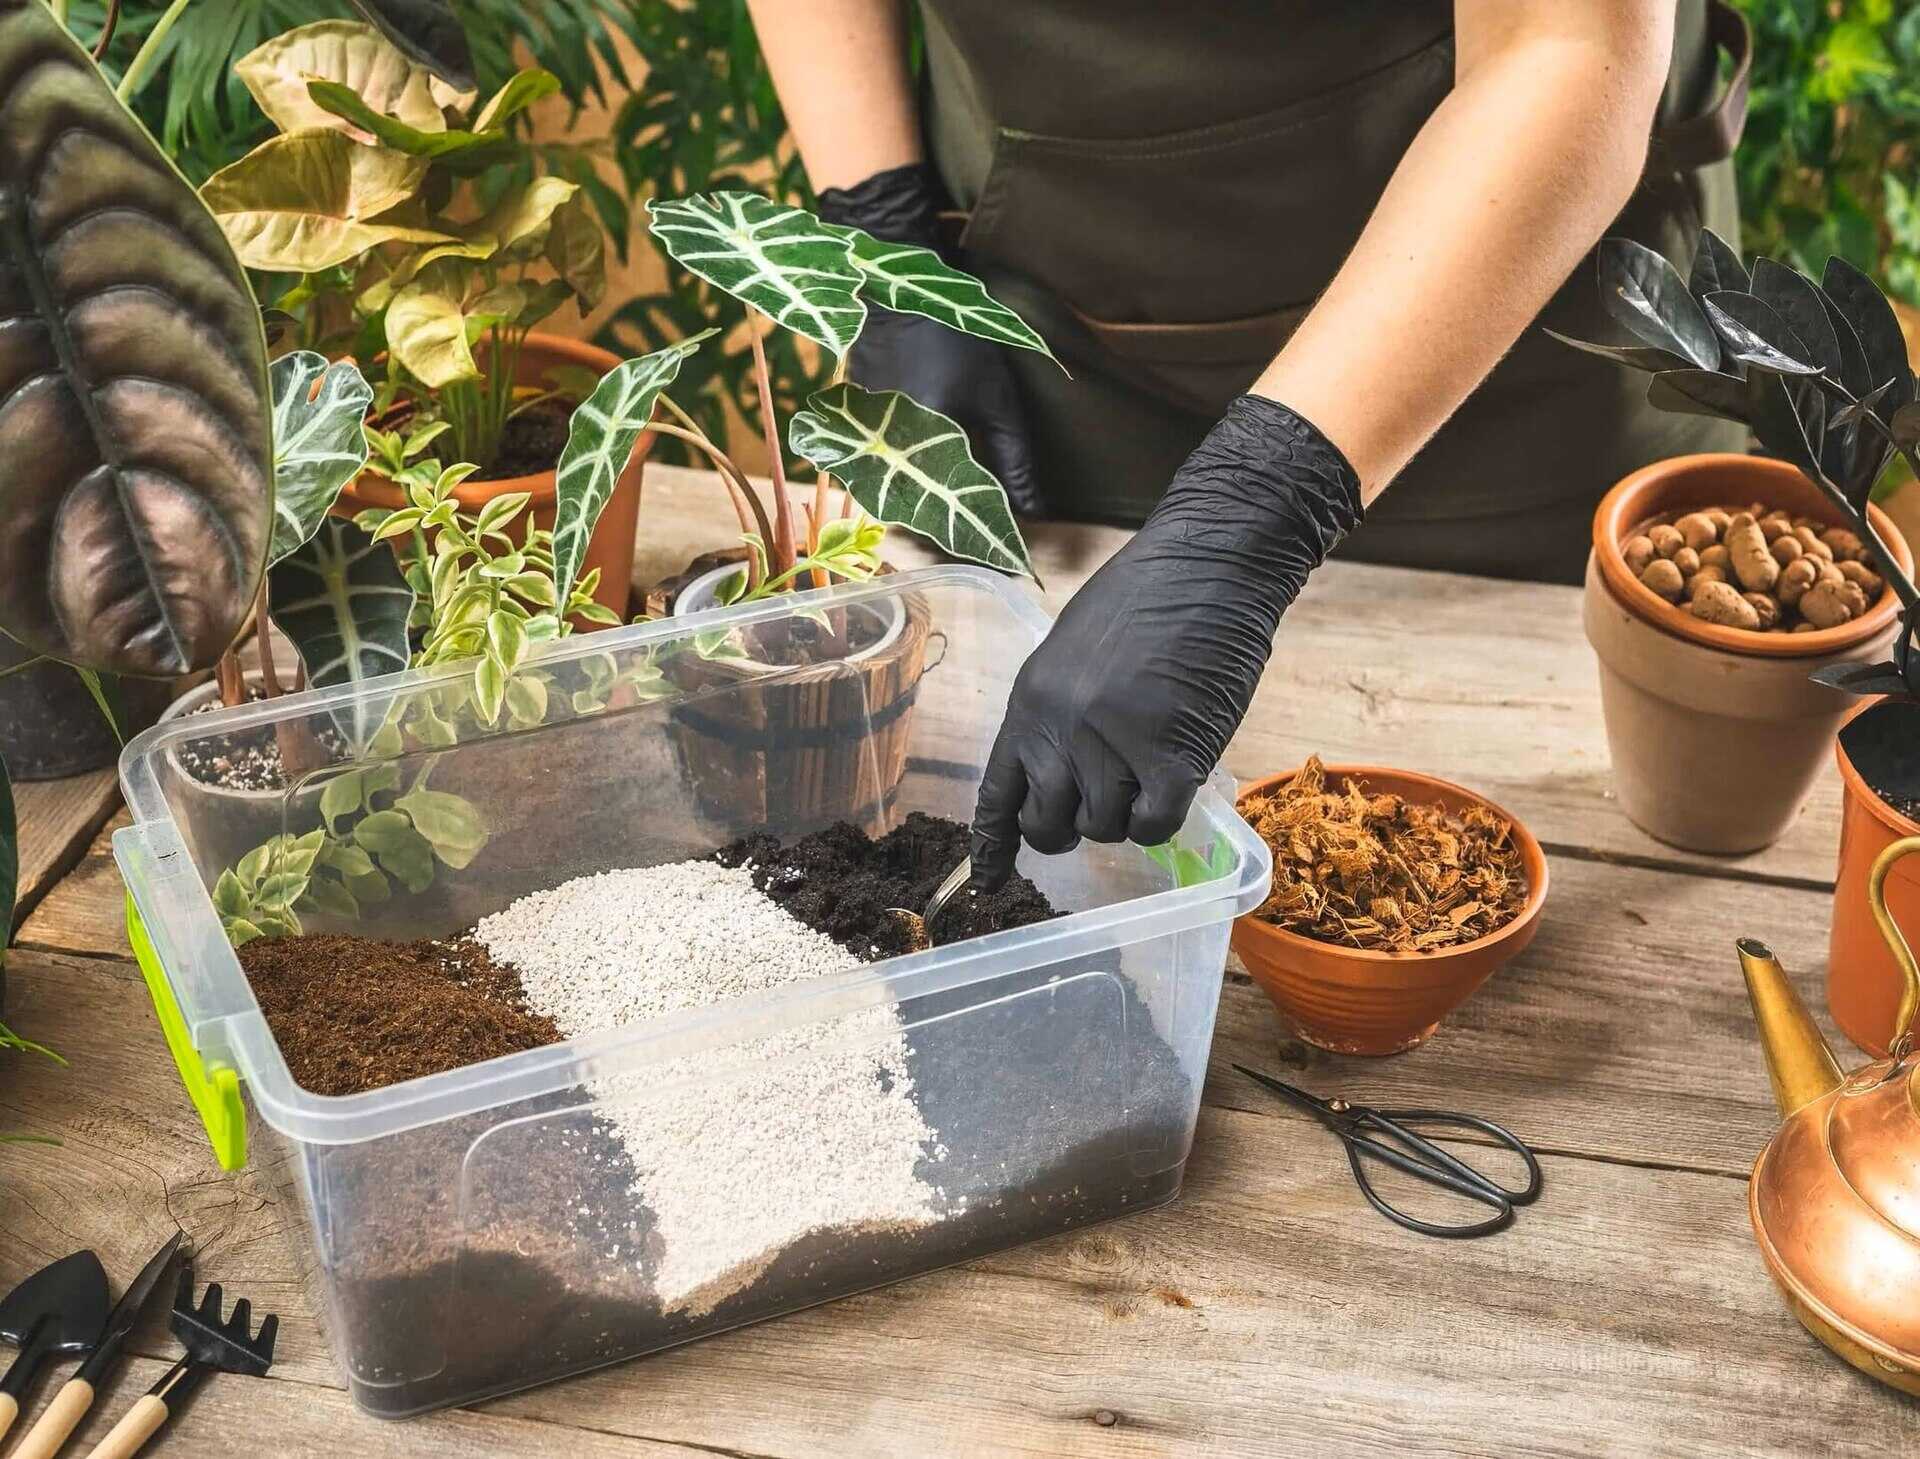
Tools and Equipment Needed
Before you begin digging in a gravel and soil mix, it’s important to gather the necessary tools and equipment. Here is a list of items you will need:
- Shovel: A sturdy garden shovel is essential for breaking up the ground and moving the gravel and soil mix.
- Gloves: Protect your hands from blisters and potential cuts by wearing a pair of gardening gloves.
- Rake: A rake helps to level the surface and remove any debris or rocks.
- Wheelbarrow: Use a wheelbarrow to transport the gravel and soil mix and remove any excavated material.
- Measuring tape: If you have specific dimensions for your garden bed, a measuring tape will come in handy.
- Sprinkler or hose: To water the gravel and soil mix and settle it properly.
- Amendments (optional): Depending on your soil type and the plants you intend to grow, you may need additional amendments such as compost or sand.
Make sure to have all of these tools ready before you begin your project. Having the right equipment will make the digging process easier and more efficient.
Step 1: Marking the Area
The first step in digging in a gravel and soil mix is to mark the area where you want to create your garden bed. Use stakes or flags to mark the boundaries, making sure to measure and mark the desired length and width accurately. You can use a measuring tape to ensure precise measurements.
Consider factors such as sunlight exposure, drainage, and proximity to other structures or plants when choosing the location for your garden bed. Make sure the area gets adequate sunlight and is easily accessible for watering and maintenance.
Once you have marked the area, double-check your measurements to ensure that you have the correct dimensions. It’s always a good idea to sketch out your garden bed design on paper beforehand, indicating any specific shapes or curves you want to incorporate. This will help you visualize the final result and make adjustments if needed.
Remember that the size of your garden bed will determine the amount of gravel and soil mix you will need. Consider the depth as well, as this will affect water drainage and root development.
After marking the area and confirming the dimensions, you’re ready to move on to the next step of the process: clearing the surface.
Step 2: Clearing the Surface
Now that you have marked the area for your garden bed, it’s time to prepare the surface by clearing away any obstacles. Start by removing any existing grass, weeds, or plants in the designated area. Use a shovel or a garden hoe to loosen the vegetation and pull it out from the roots.
Next, remove any rocks, roots, or large debris from the surface. Using a rake, gently scrape the top layer of soil to reveal any hidden objects. Dispose of these materials properly or use them for other purposes if applicable.
Clearing the surface not only creates a clean slate for your garden bed but also helps ensure that plant roots will have ample space to grow without competition or obstructions.
Once you have cleared the surface, take a moment to assess the condition of the soil. If it is compacted or lacking in nutrients, you may want to consider adding amendments later in the process to improve its quality.
With the surface free of vegetation and debris, you are now ready to move on to the next step: choosing the right digging technique.
Step 3: Choosing the Right Digging Technique
When it comes to digging in a gravel and soil mix, selecting the proper technique is essential. The technique you choose will depend on the nature of the soil, the depth of the excavation, and your own personal preference. Here are a few commonly used digging techniques:
- Double Digging: This method is ideal for compacted or heavy clay soils. Start by digging a trench along one side of the marked area, about one spade’s depth. Then, dig another trench next to it, using the soil from the second trench to fill the first trench. Continue this process, alternating between digging trenches and filling them, until you reach the other side of the garden bed. This technique helps improve soil aeration and drainage.
- Single Digging: If your soil is relatively loose or has a moderate texture, single digging is a simpler and less labor-intensive option. Begin by digging in one corner of the marked area, working your way towards the opposite end. Dig down to the desired depth, typically around one spade’s depth, and turn the soil over as you go. This technique is suitable for most garden beds and provides a good balance of soil improvement.
- Trenching: This method is best suited for creating deep garden beds or for specific purposes such as installing irrigation systems. Dig a trench along one side of the area, making it as deep as necessary. Use the excavated soil to build up a raised bed or for other purposes, if needed. Trenching allows for better drainage and can be particularly useful in areas with heavy rainfall.
Consider the condition of your soil, the scale of your project, and your own comfort level when choosing the appropriate digging technique. Remember to take breaks and pace yourself to avoid overexertion.
Once you have determined the digging technique, it’s time to move on to the next step: starting the digging process.
Read more: How To Dig Up Grass And Lay Gravel
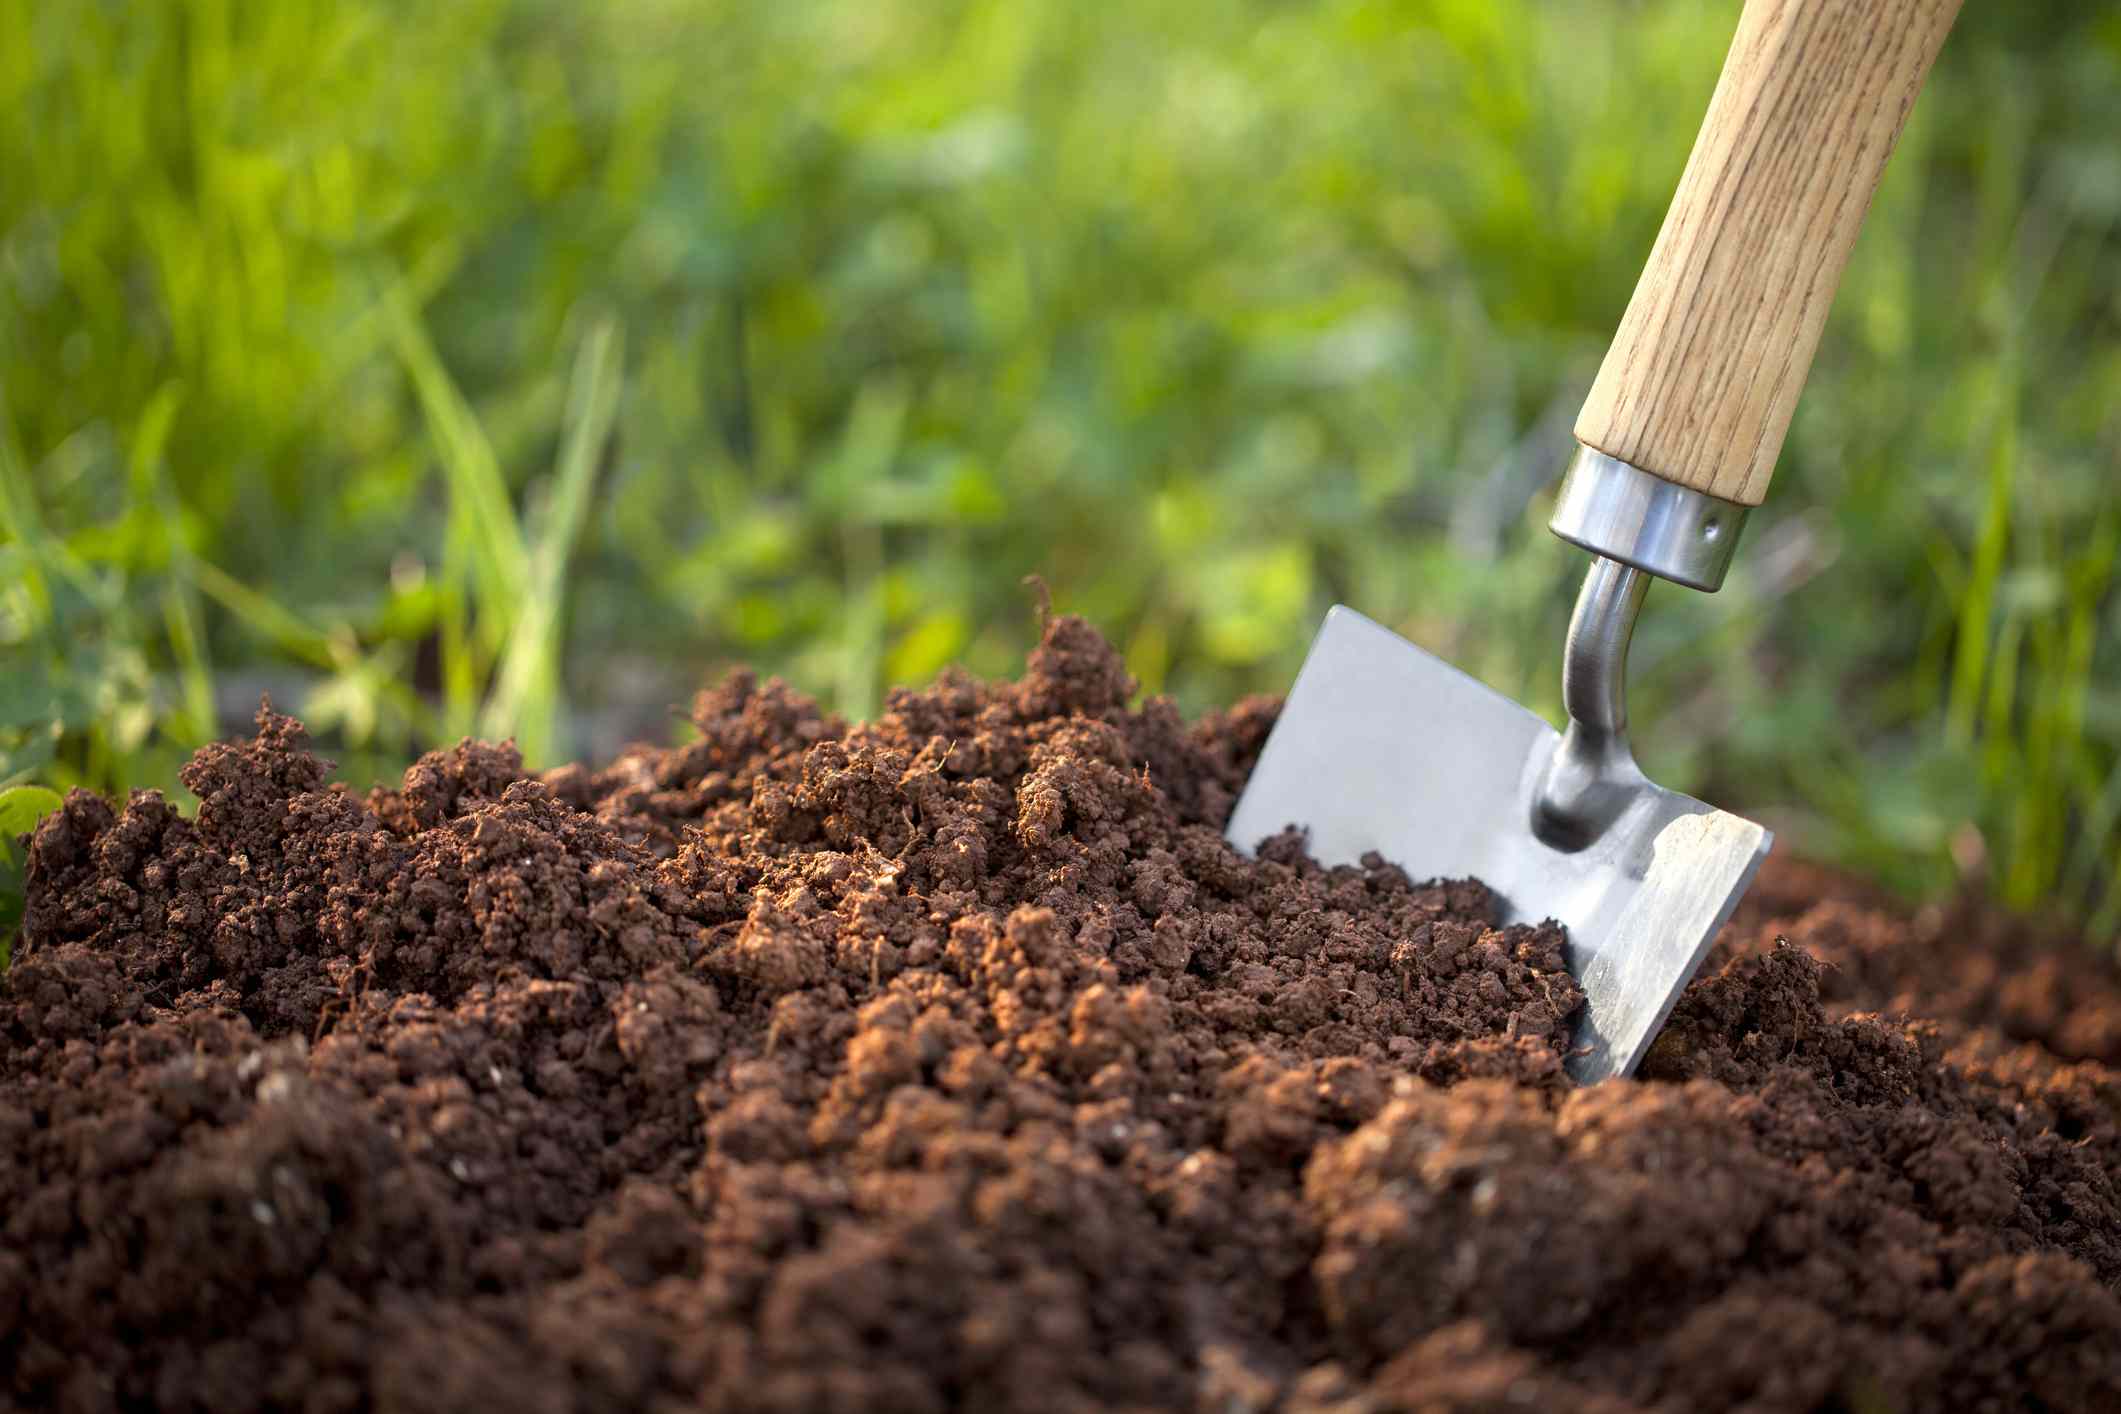
Step 4: Starting the Digging Process
With your chosen digging technique in mind, it’s time to begin the excavation process for your gravel and soil mix. Follow these steps to get started:
- Prepare the area: Before you start digging, lightly wet the surface of the soil. This helps to soften it and make the process easier. Take a moment to double-check the marked boundaries to ensure that you are starting in the correct location.
- Position yourself: Stand at the edge of the area and position your body comfortably. Grip the handle of the shovel firmly with both hands, using your dominant hand for stability and control.
- Choose your digging depth: Determine how deep you want your gravel and soil mix to be and mark this depth on your shovel handle. This will serve as a reference point throughout the digging process.
- Begin digging: Insert the shovel into the soil at the outer edge of the marked area. Push the shovel blade down into the ground, using your foot or body weight to provide leverage. Lift the shovel upward to loosen the soil and break it apart. Repeat this process, working your way inward from the outer edge towards the center of the area.
- Remove excess soil from the shovel: After each dig, tap the shovel lightly against the ground or on the edge of a wheelbarrow to remove any excess soil clinging to the blade. This will prevent the shovel from becoming too heavy or difficult to use.
- Continue digging: Repeat the digging motion, working your way across the area, until you have reached the desired depth. Take breaks as needed to rest and hydrate.
Remember to maintain a steady rhythm and pace while digging, using your legs and core muscles rather than straining your back. Keep the soil loose and mix it well with the gravel to ensure a uniform composition.
Once you have completed the digging phase, proceed to the next step: breaking up the gravel and soil mix.
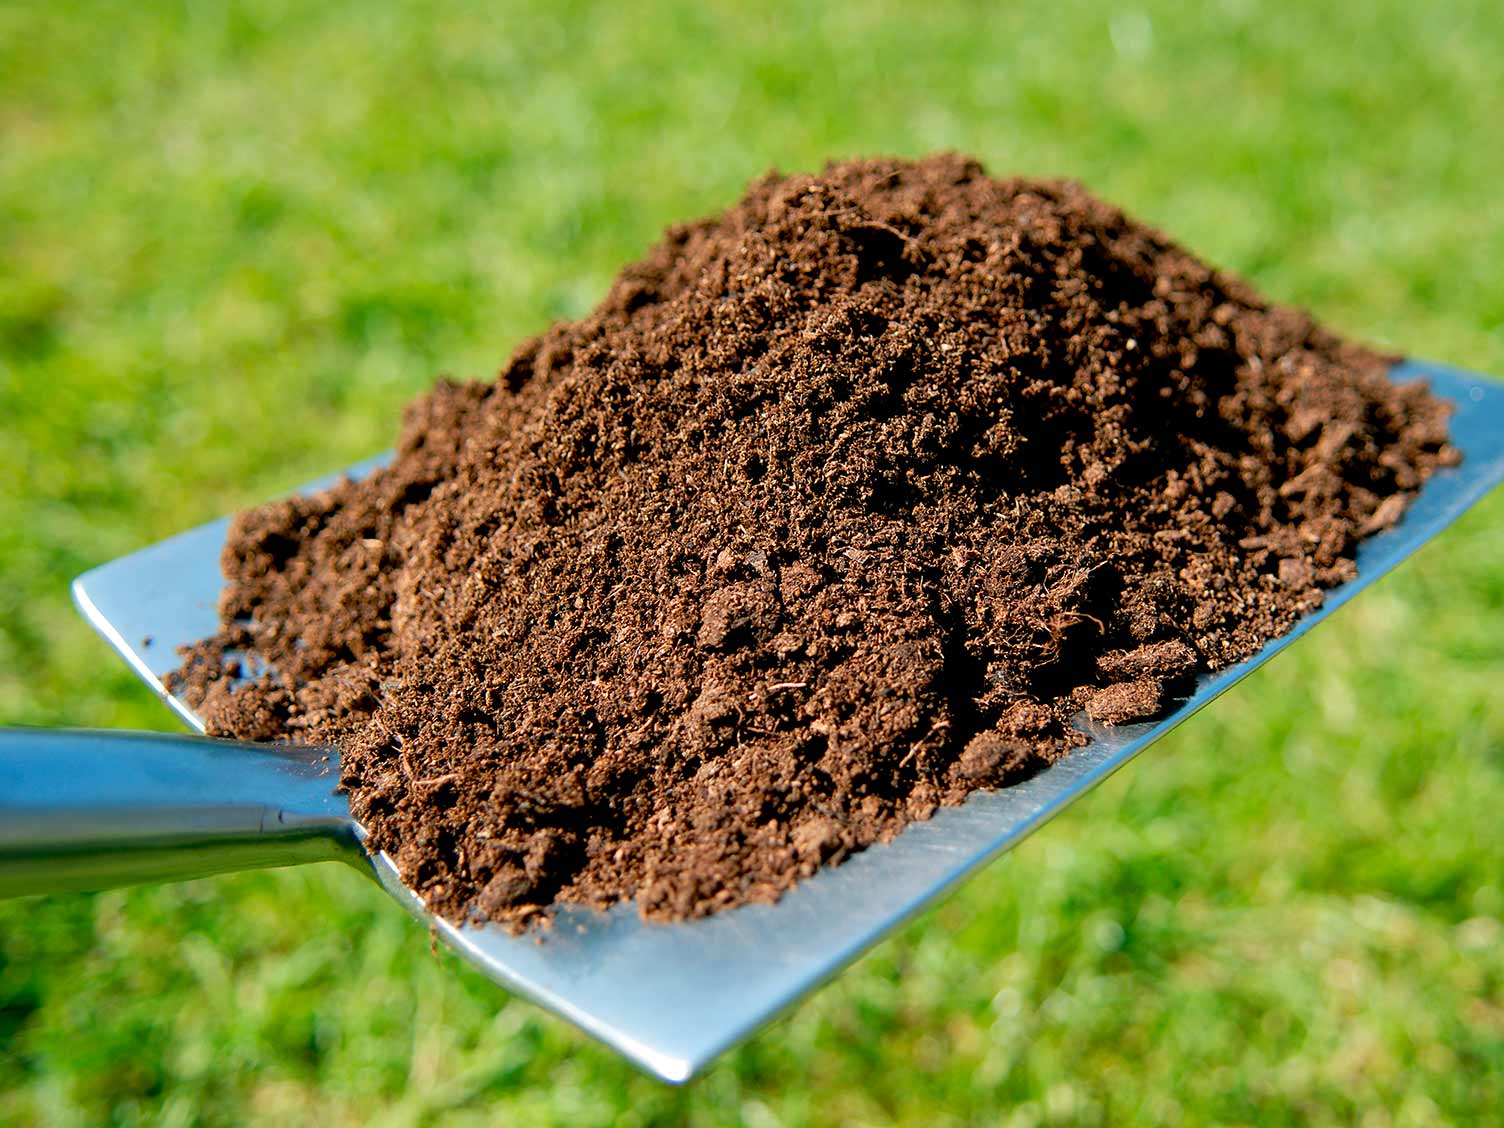
When digging in gravel and soil mix, use a sturdy shovel with a pointed tip to break up the gravel and soil. Work in small sections and use a rocking motion to loosen the material before lifting it out.
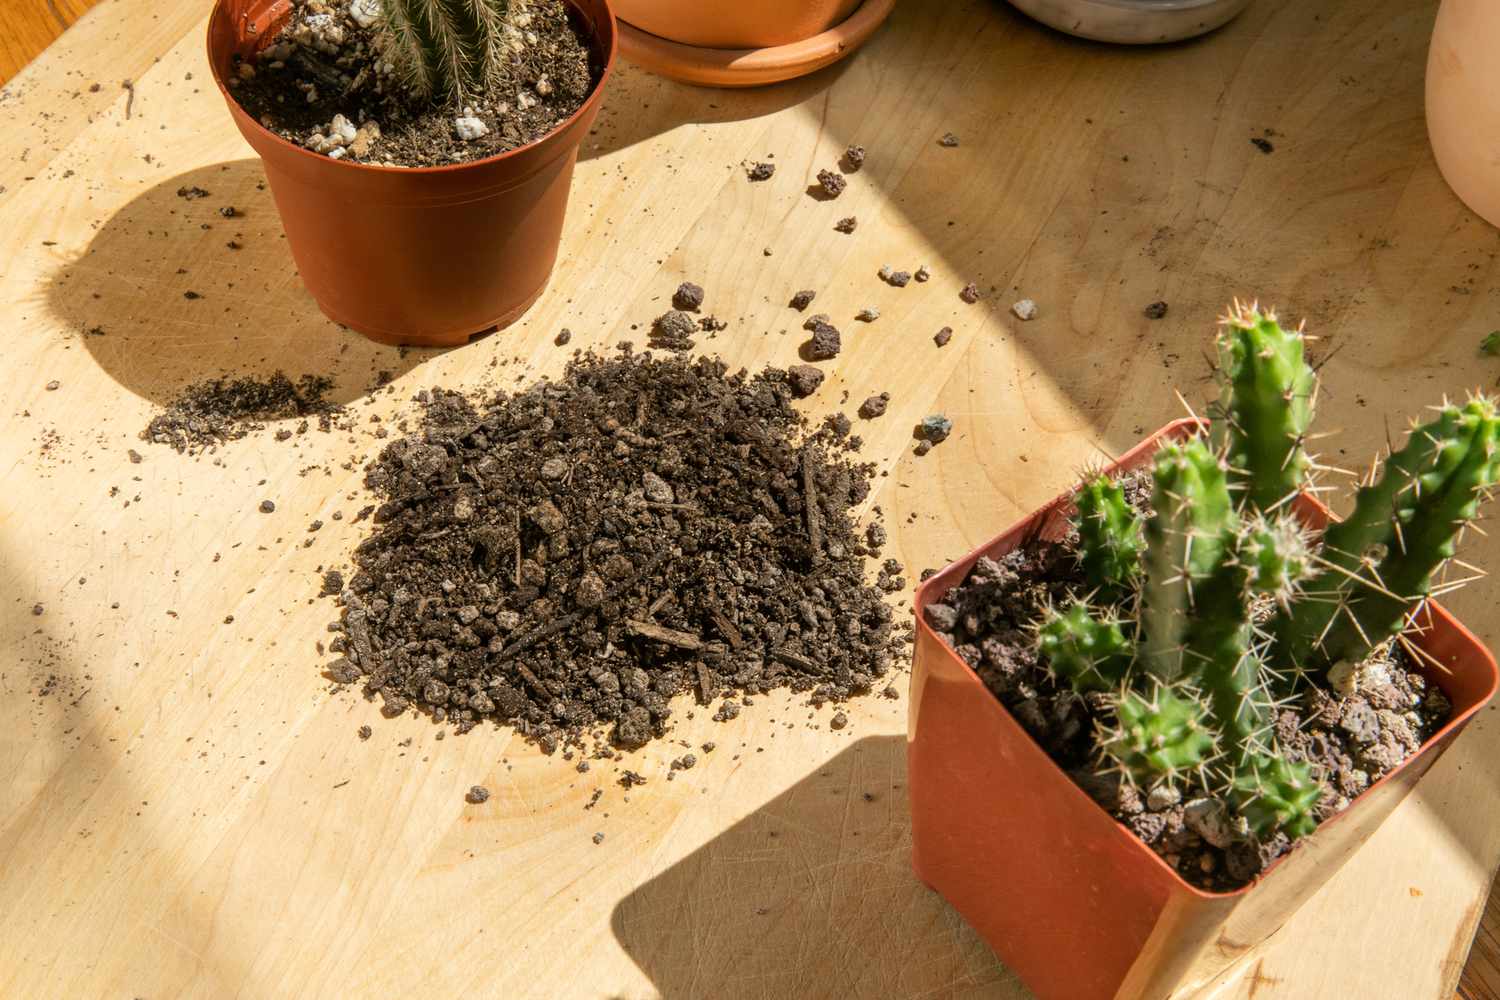
Step 5: Breaking up the Gravel and Soil Mix
After excavating the area and creating the desired depth for your garden bed, it’s time to break up the gravel and soil mix to ensure proper blending and aeration. This step is crucial for promoting healthy root growth and drainage. Follow these steps to break up the mix effectively:
- Use a garden fork: A garden fork will be your best tool for breaking up the compacted mix. Insert the fork into the soil at various points throughout the bed, spacing them about a foot apart. Push the fork into the ground, then gently rock it back and forth to loosen the mix. This process helps to break up any clumps and ensure even distribution.
- Work in a crisscross pattern: To ensure thorough mixing of the gravel and soil, work your way across the bed in a crisscross pattern. Start at one corner and move diagonally to the opposite corner, repeating the forking technique. Then, move to the neighboring corner and repeat the process until you have covered the entire bed.
- Avoid overworking the mix: While it’s important to break up any large clumps and ensure even distribution, be careful not to overwork the mix. Excessive tilling can lead to soil compaction, which hinders root growth and drainage. Stop forking once the mix appears well-blended and loose.
- Remove any remaining rocks: As you break up the mix, keep an eye out for any small rocks or debris. Remove these by hand or with a small rake to prevent interference with plant roots.
By breaking up the gravel and soil mix, you create a friable and well-aerated growing medium that promotes optimal plant growth. This step also allows for better water penetration and drainage, reducing the risk of waterlogged roots.
Once you have completed the process of breaking up the mix, proceed to the next step: removing the excavated material.
Step 6: Removing the Excavated Material
With the gravel and soil mix properly broken up and blended, it’s time to remove the excavated material from the site. This step ensures a clean and level surface for further gardening activities. Follow these steps to efficiently remove the excess material:
- Prepare a designated area: Before you begin removing the excavated material, designate a specific area where you will temporarily deposit it. This could be an empty corner of your yard or another suitable location nearby.
- Use a wheelbarrow or garden cart: Transfer the excavated material into a wheelbarrow or garden cart for easy transportation. Load the material carefully, ensuring that it doesn’t spill over the edges.
- Transport the material: Push the wheelbarrow or cart to the designated area where you will deposit the excavated material. Be mindful of your surroundings and pay attention to any obstacles along the way.
- Unload the material: Once you reach the designated area, carefully tip the wheelbarrow or cart to unload the excavated material. Spread it out evenly to create a relatively level surface or pile it up for later use or disposal.
- Dispose or repurpose: Depending on the composition of the excavated material, you may choose to dispose of it by taking it to a local landfill or recycling center. Alternatively, if the material is clean and free from contaminants, you can repurpose it for other gardening projects or mix it with compost to create nutrient-rich soil amendments.
Removing the excavated material not only helps create a tidy working space but also prevents the excess mix from interfering with the final leveling and compaction of your garden bed.
With the excavated material properly managed, you’re now ready to move on to the next step: leveling and compacting the area.
Step 7: Leveling and Compacting the Area
After removing the excavated material, it’s time to level and compact the area to ensure a smooth and even surface for your garden bed. This step is essential for proper water drainage and creating a stable foundation for plants. Follow these steps to achieve a level and compacted surface:
- Inspect the surface: Take a moment to examine the area and identify any high or low spots. These can be filled or leveled out to create an even surface.
- Use a rake or hand tamper: A garden rake or hand tamper can be used to distribute the gravel and soil mix evenly and compact it. Start by raking the mix across the bed, redistributing it to fill in any low areas. Then, use the flat side of the rake or the tamper to gently compact the mix, applying light pressure as you go. This helps eliminate air pockets and create a solid surface.
- Check for levelness: Use a level tool or a straight board to check the levelness of the surface. Place the tool or board across different sections of the bed to ensure that it is even from one end to the other. Adjust the mix as needed to achieve a level surface.
- Compact the mix: Once you’ve achieved a level surface, go over it again with the rake or hand tamper to further compact the mix. This will increase its stability and ensure that it stays put even in heavy rain or when walking on the surface.
- Repeat the process: If necessary, repeat the leveling and compacting process until you are satisfied with the results. Remember to take breaks as needed to prevent overexertion.
By leveling and compacting the area, you create a solid foundation for planting and minimize the risk of uneven settling or drainage issues. A properly leveled and compacted surface also makes ongoing garden maintenance easier and more efficient.
With the area leveled and compacted, you’re now ready to move on to the next step: adding amendments, if necessary.
Read more: What Soil Mix For Succulents
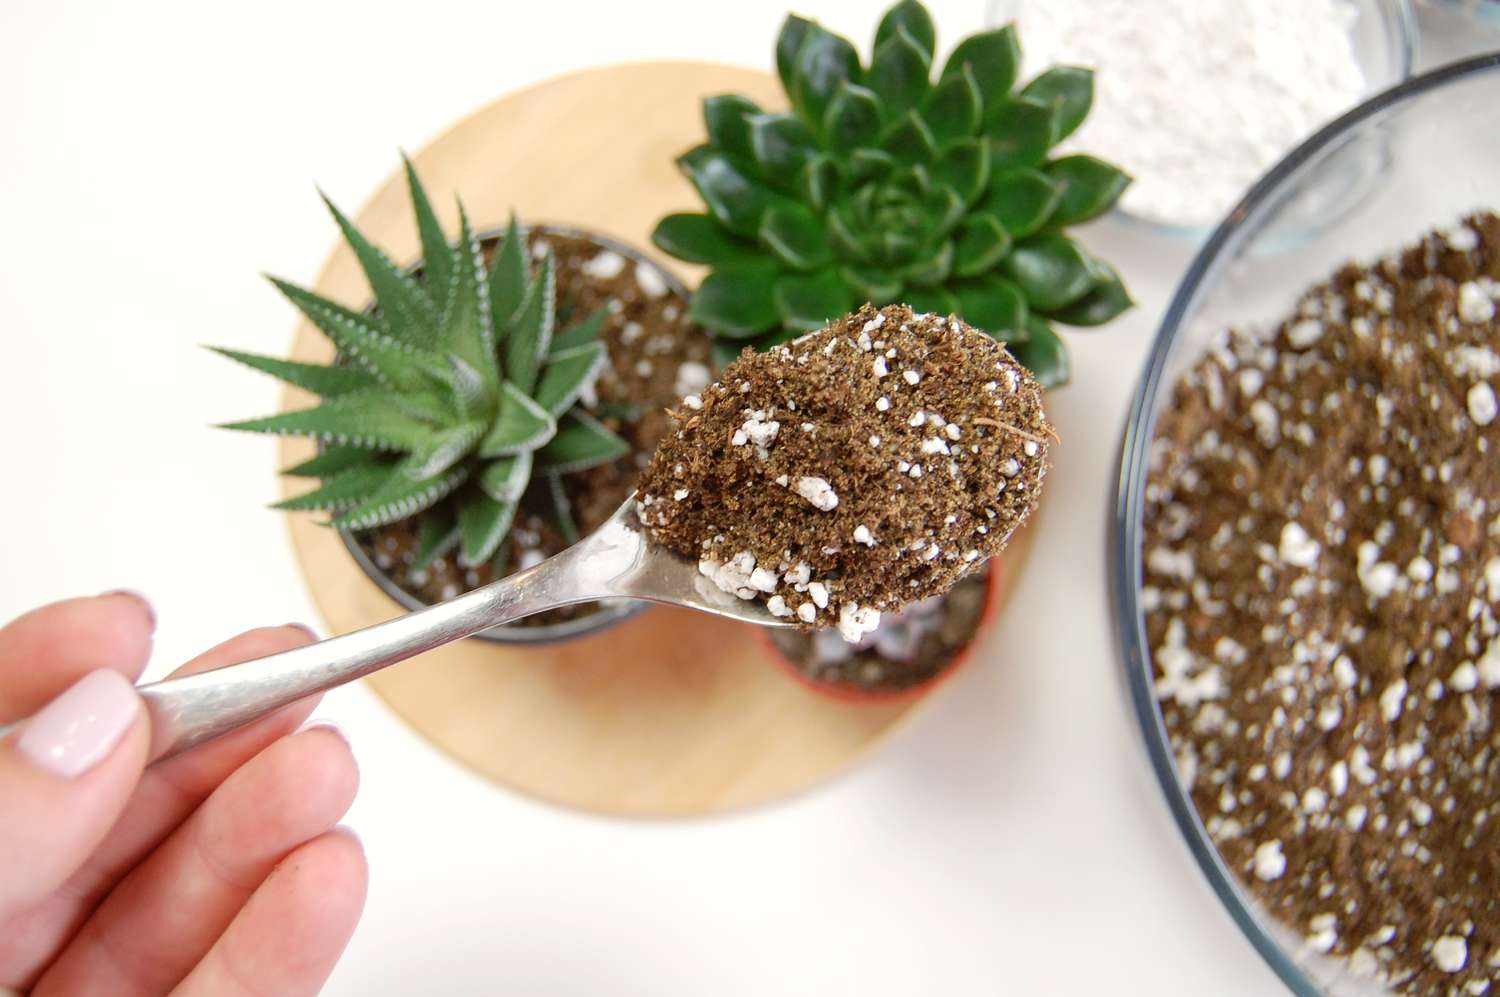
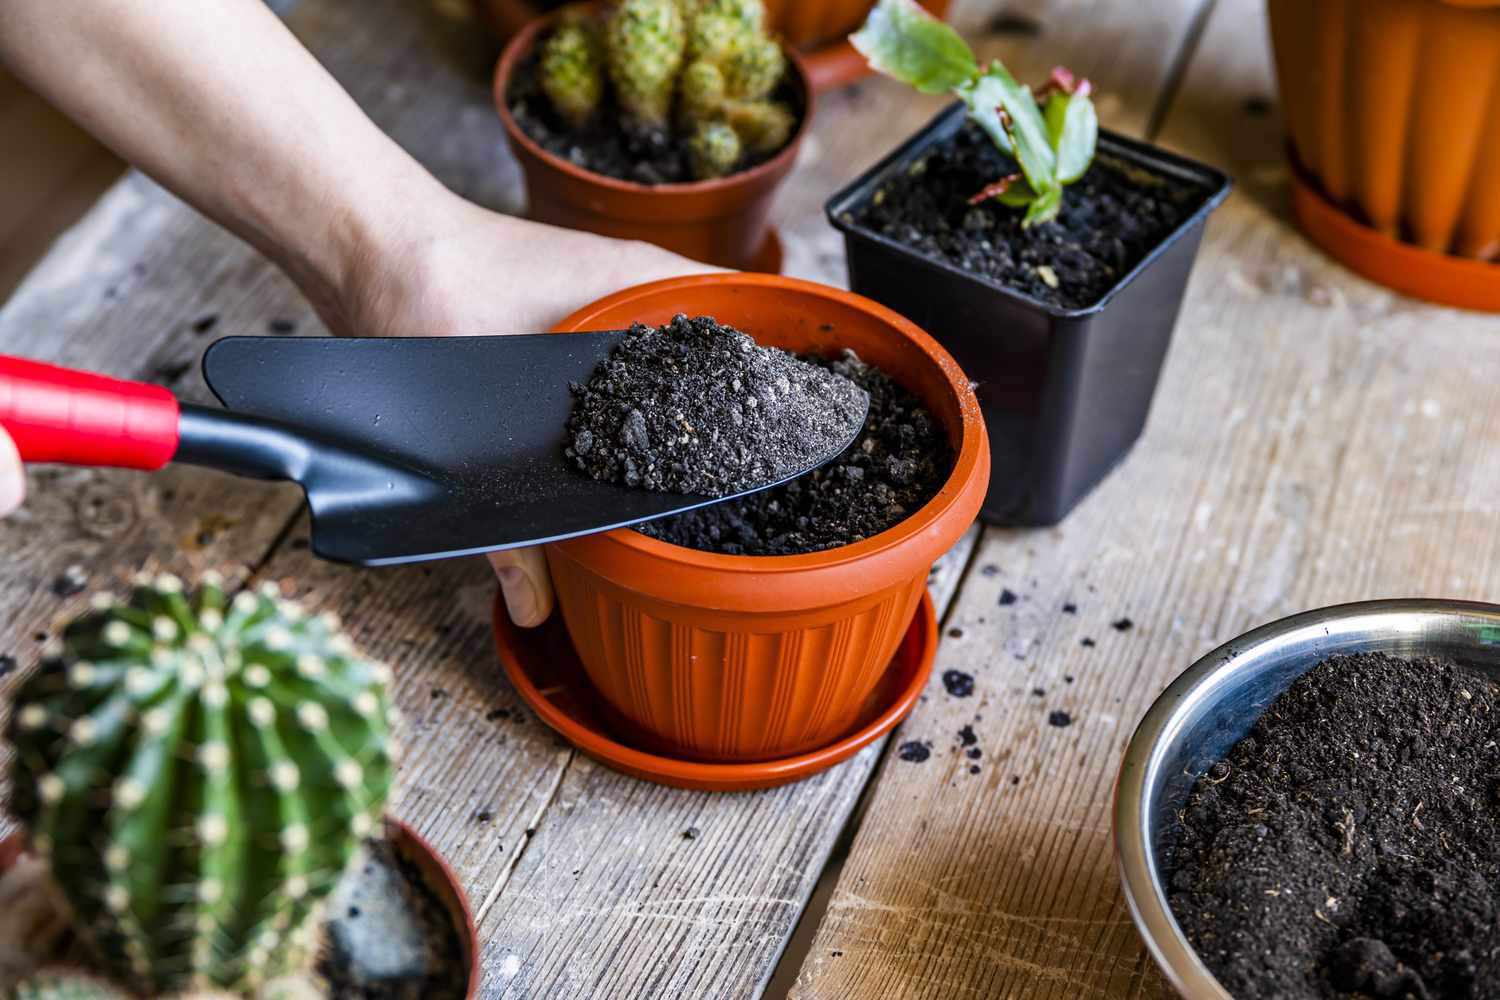
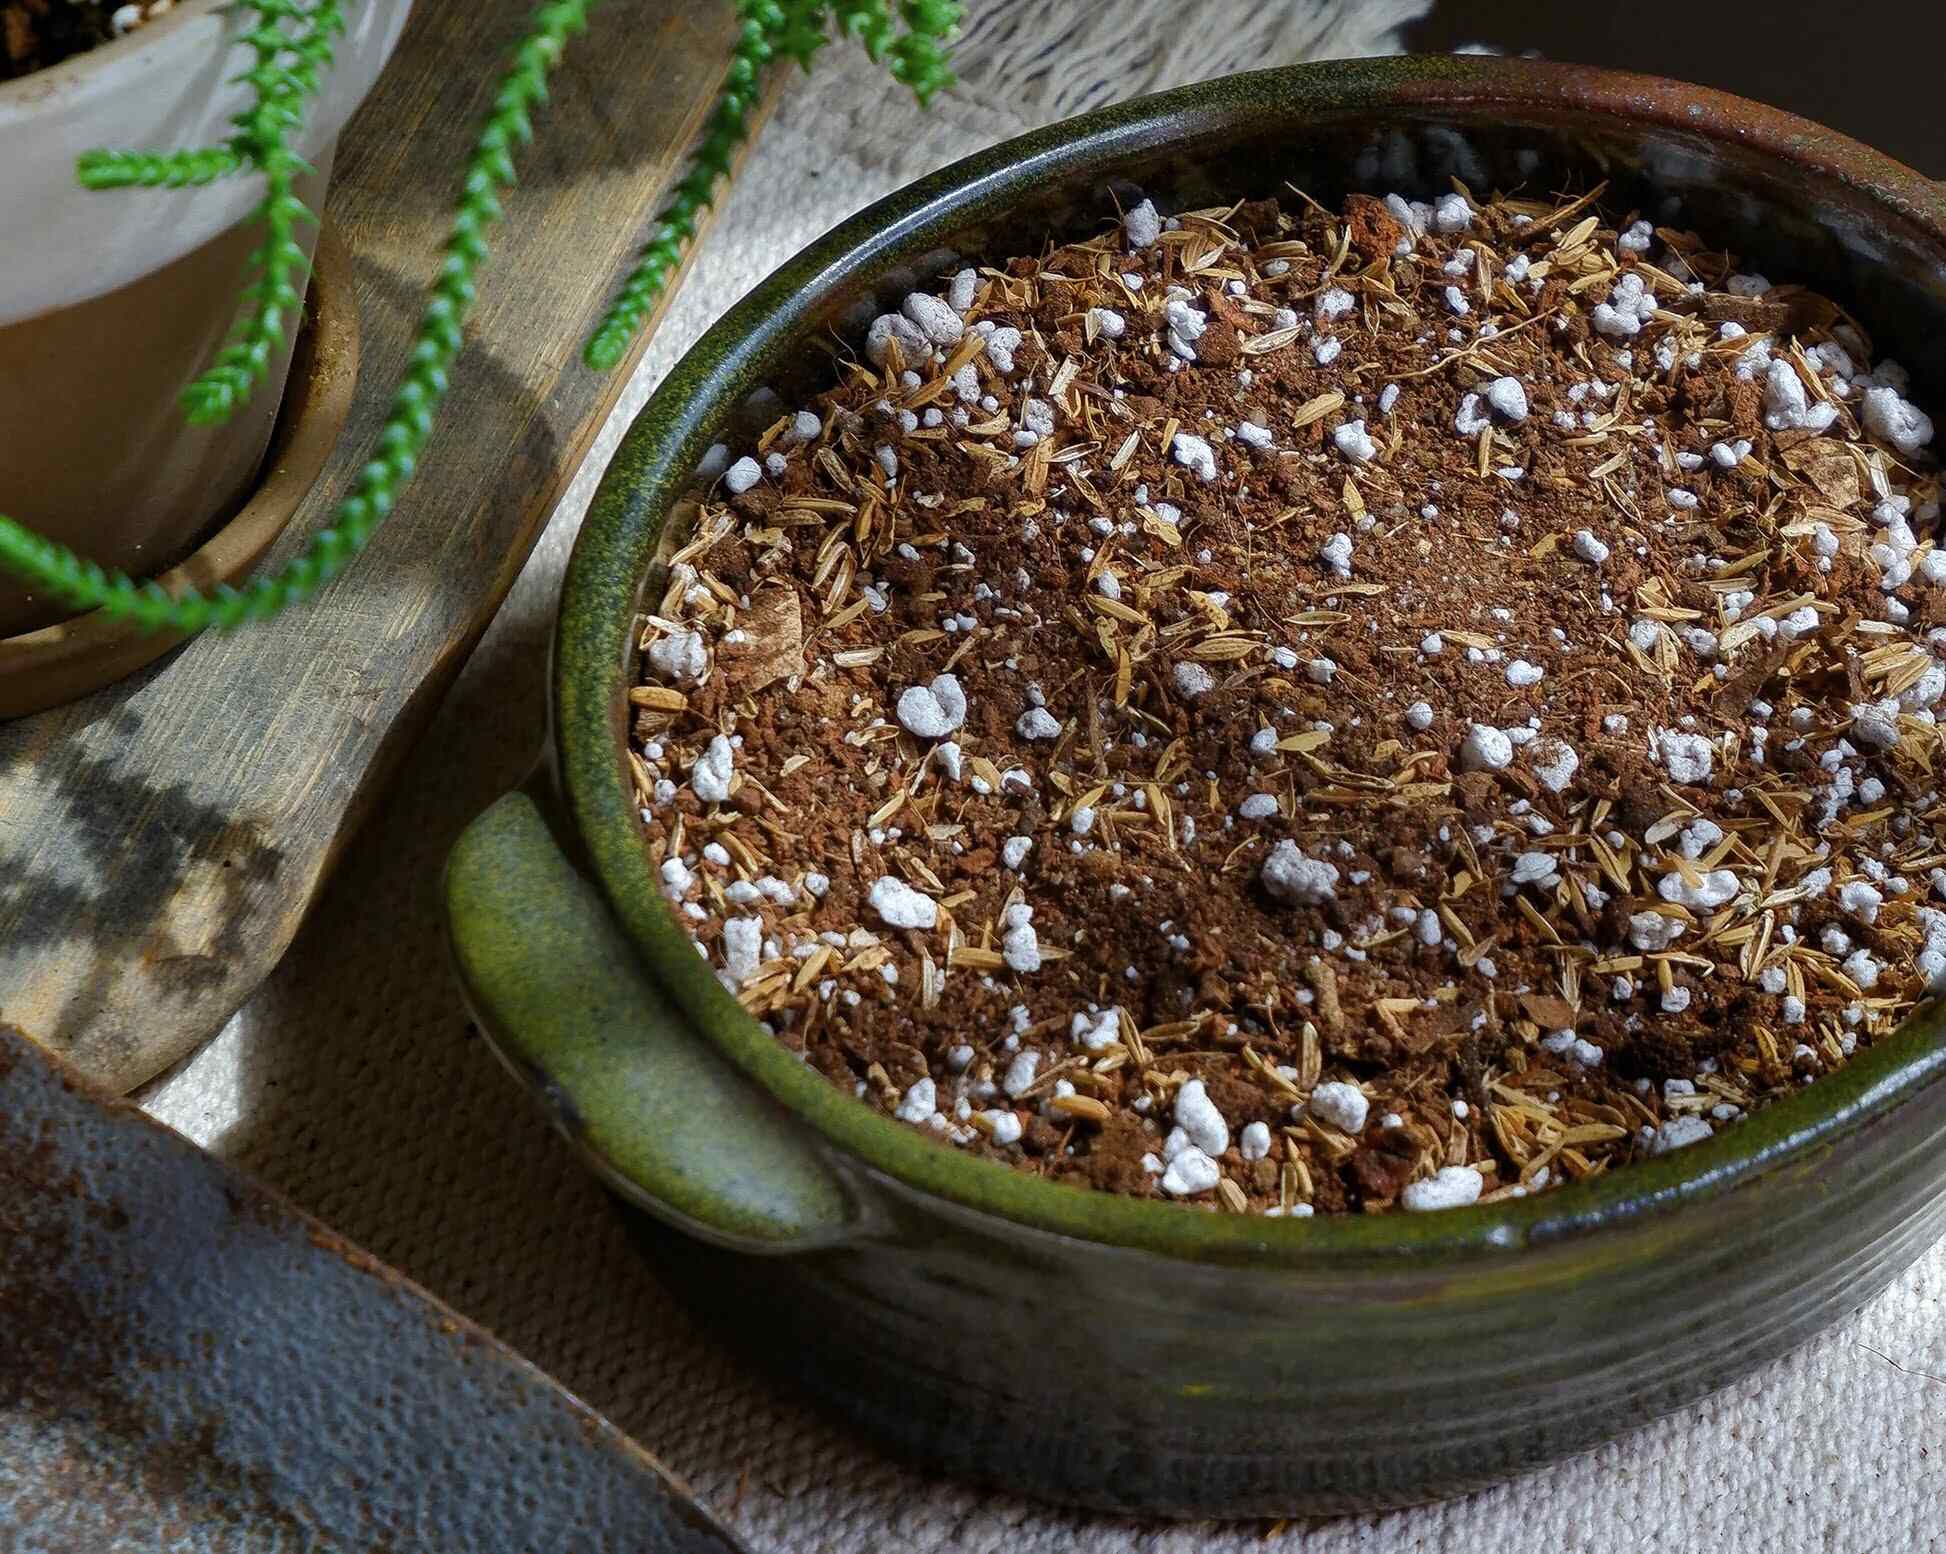
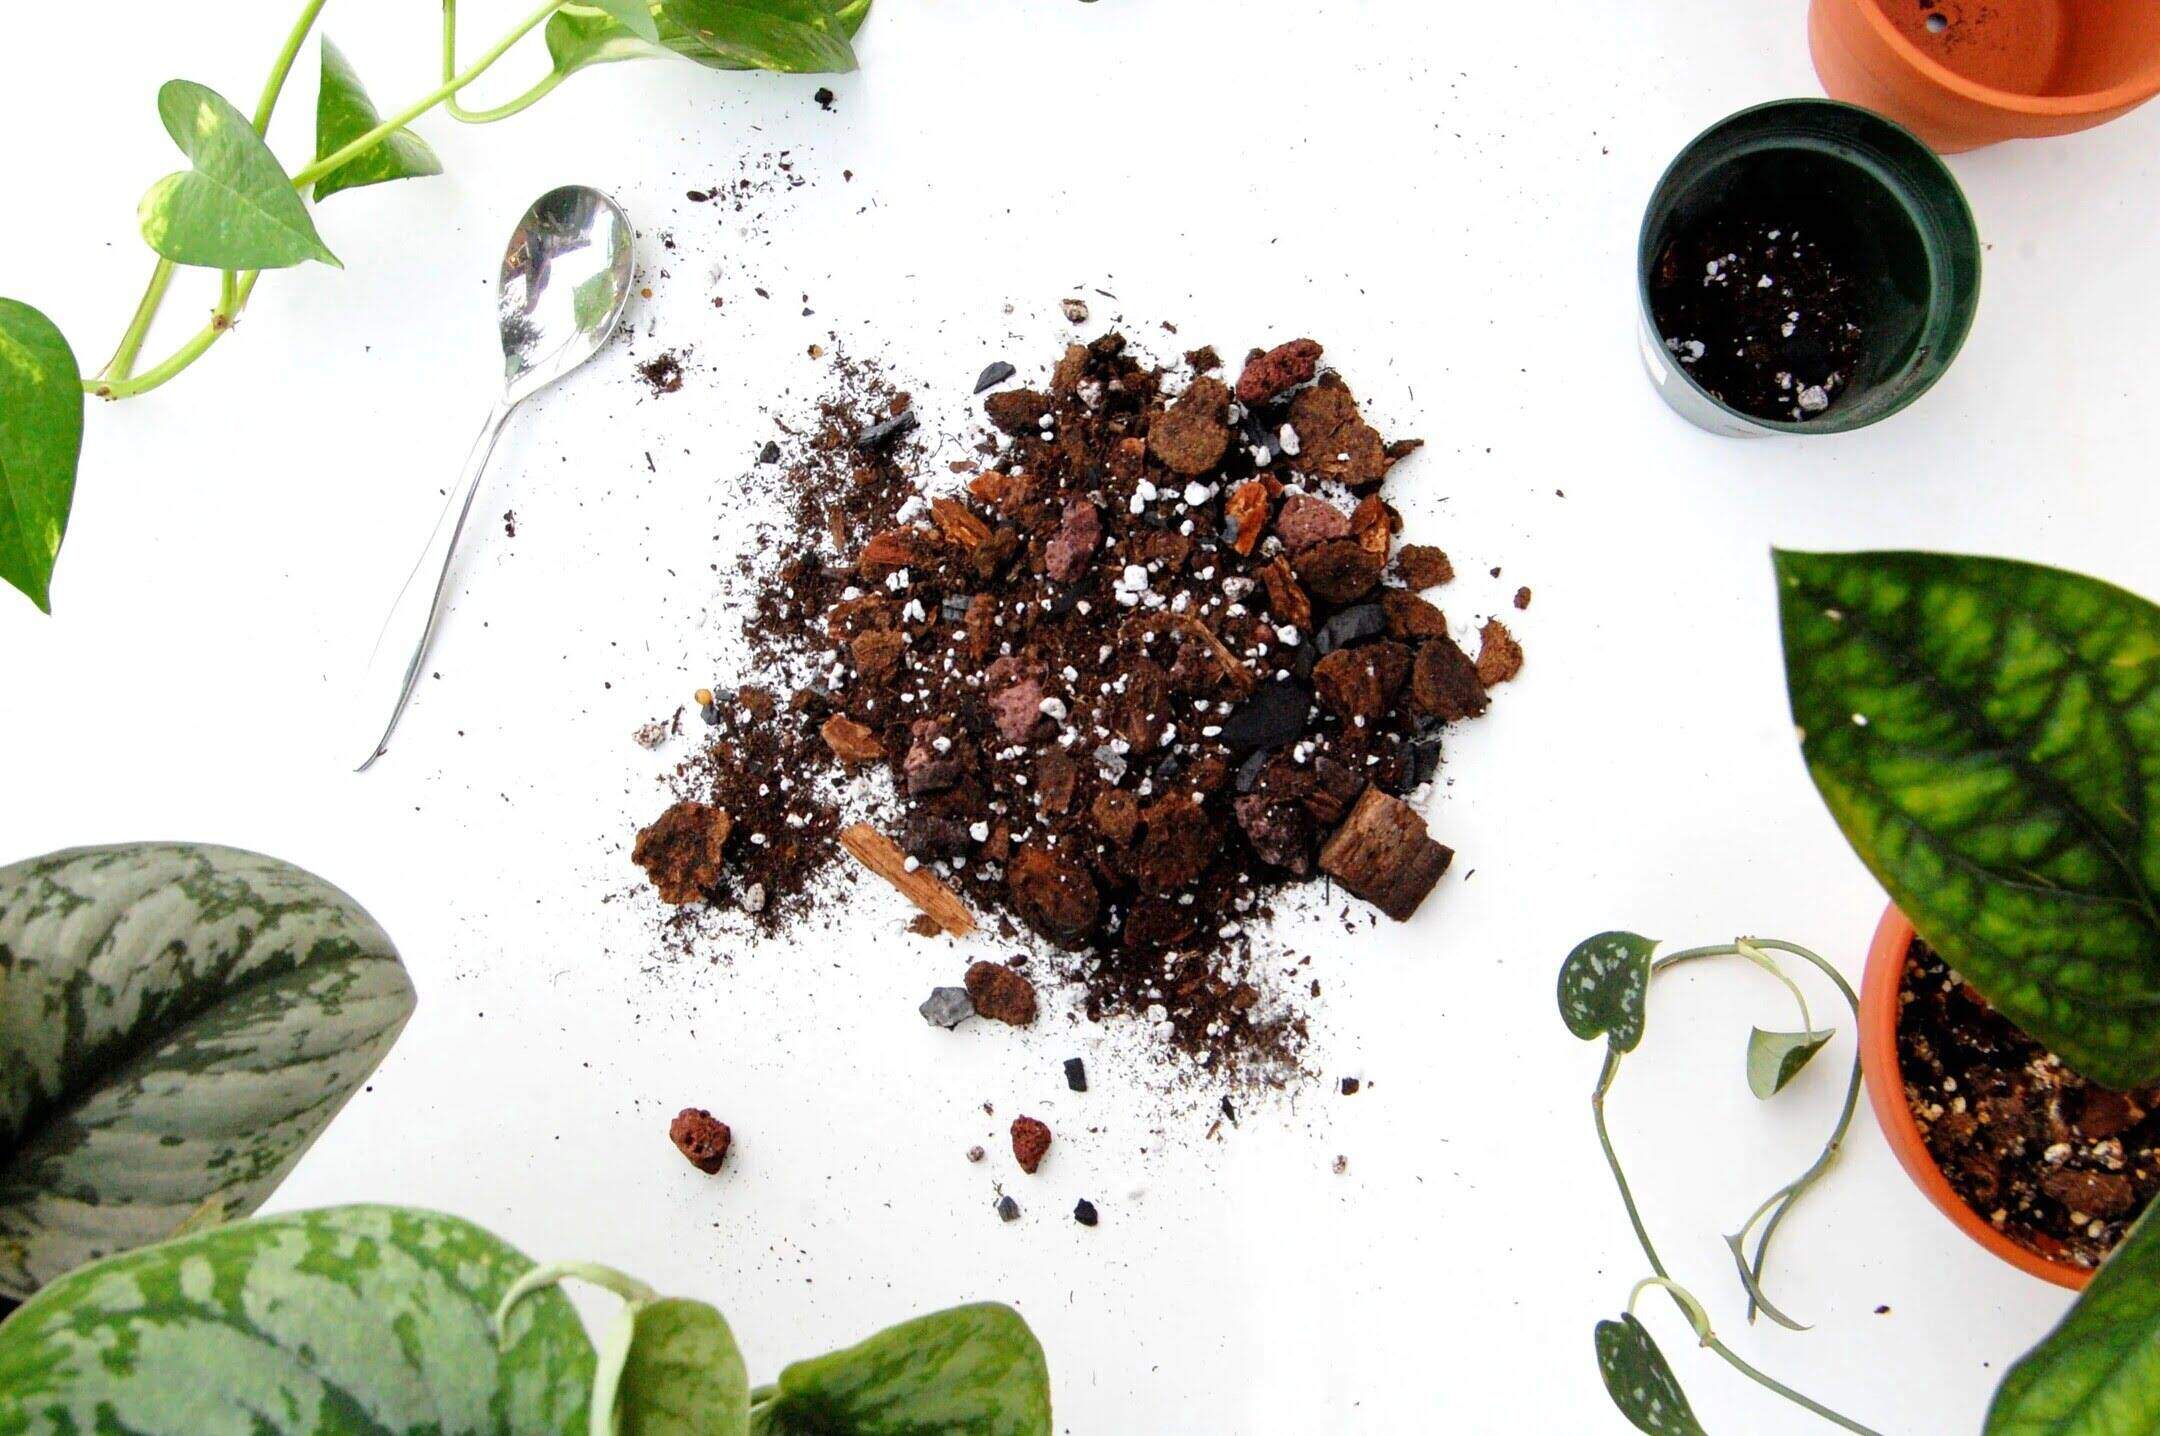
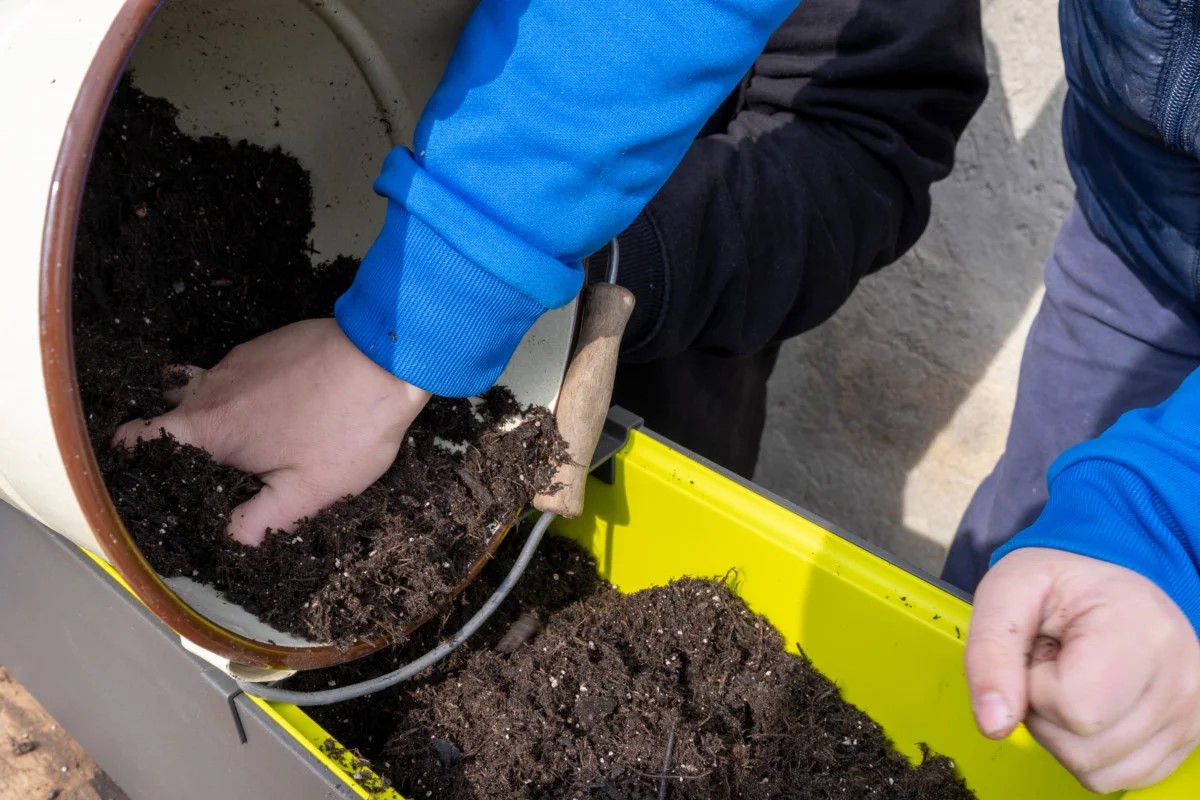
Step 8: Adding Amendments (If Necessary)
After leveling and compacting the gravel and soil mix, you may need to add amendments to enhance the quality of the soil and create a more fertile environment for your plants. Depending on your soil type and the specific needs of your plants, amendments such as compost, sand, or organic matter can help improve drainage, aeration, and nutrient content. Follow these steps to add amendments if necessary:
- Assess the soil: Take a close look at the quality of your gravel and soil mix. If it is too dense, clay-like, or lacks organic matter, amendments may be beneficial to improve its structure and nutrient-holding capacity.
- Determine the appropriate amendments: Based on the specific needs of your plants and the characteristics of your soil, choose the appropriate amendments. Compost is a popular choice as it enriches the soil with nutrients and improves its water-holding capacity. Sand can be added to improve drainage for heavy clay soils, while organic matter can increase soil fertility and improve microbial activity.
- Spread the amendments: Begin by evenly spreading a layer of the chosen amendment over the surface of the bed. Use a rake or garden fork to gently mix the amendment into the top few inches of the soil. Be careful not to disturb the level surface or compacted mix beneath.
- Water the mix: After adding the amendments, water the mix thoroughly to help settle and distribute the amendments. This will also aid in blending the amendments with the existing gravel and soil mix.
- Reassess and adjust if necessary: Once the amendments are incorporated, take a moment to reassess the soil composition. Depending on the desired nutrient level, you may need to repeat the amendment process or make adjustments accordingly.
Adding amendments can significantly improve the structure and fertility of your gravel and soil mix, leading to healthier plants and more successful gardening outcomes. However, it’s essential to strike the right balance and avoid over-amending, as this can negatively impact plant growth.
With the amendments in place, it’s time to move on to the next step: watering and settling the mix.
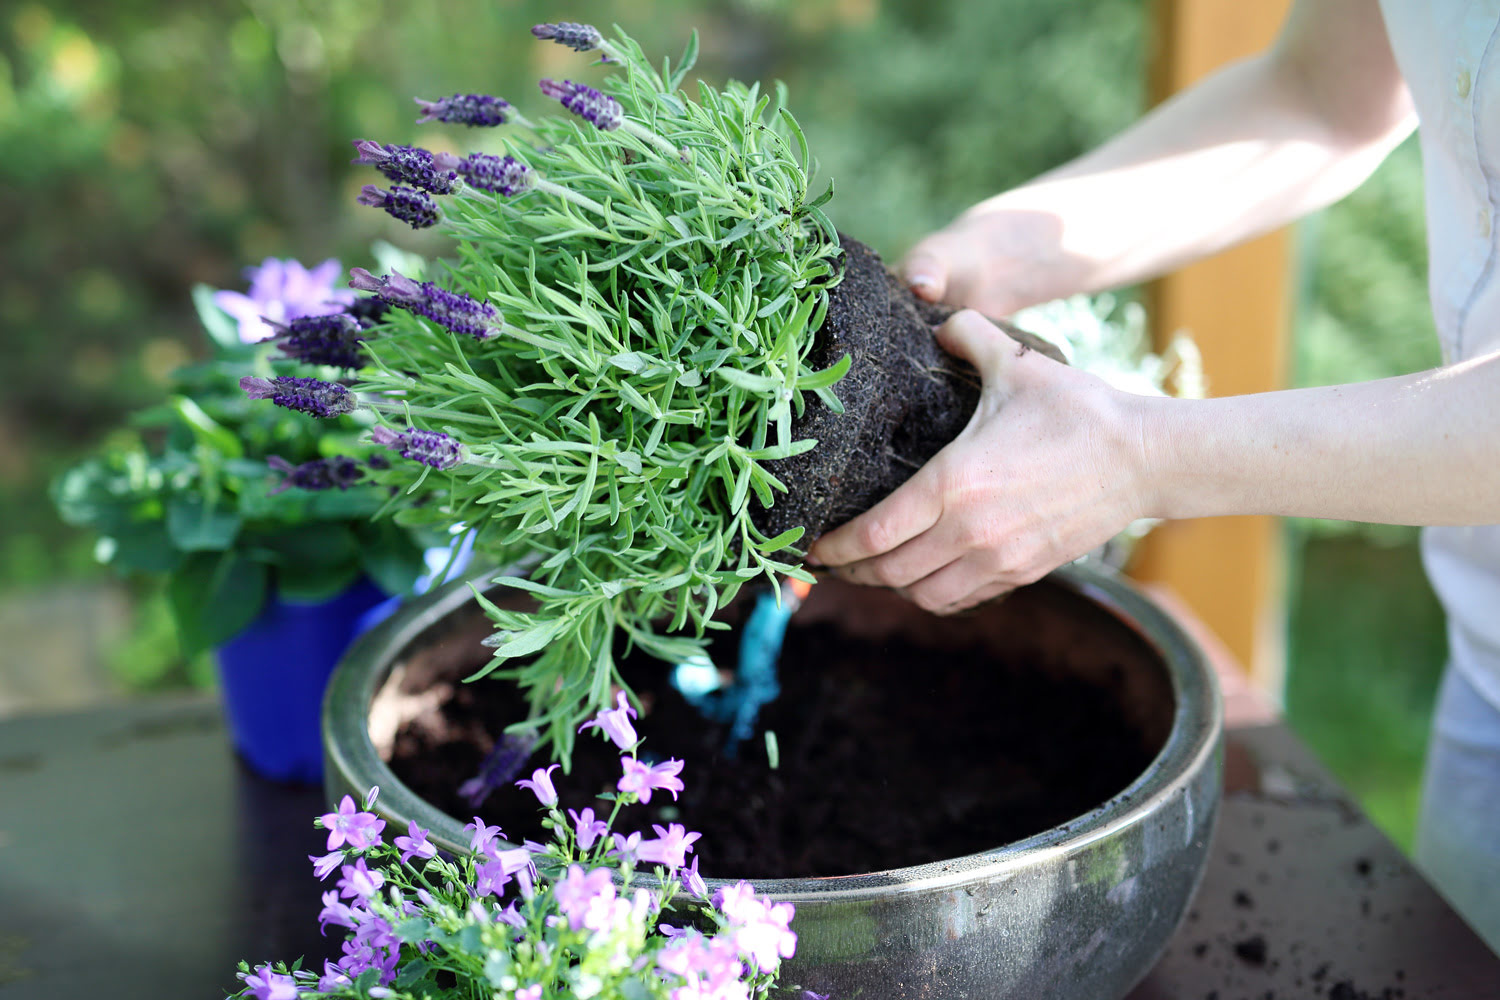
Step 9: Watering and Settling the Mix
After adding amendments to the gravel and soil mix, it’s important to water the area thoroughly to help settle the mix and ensure proper moisture distribution. This step is crucial for creating an optimal growing environment for your plants. Follow these steps to water and settle the mix effectively:
- Prepare for watering: Ensure you have access to a nearby water source and choose a watering method that suits your needs. This could be a sprinkler, a garden hose with a suitable attachment, or a watering can.
- Water slowly and evenly: Begin watering the mix evenly across the entire bed. Avoid applying a large volume of water at once, as this can lead to soil erosion or the formation of puddles. Instead, water slowly and evenly to allow the mix to absorb the moisture gradually.
- Allow the water to penetrate: Ensure the water penetrates the surface and reaches the deeper layers of the mix. Water until you see the moisture start to reach the bottom layers of the bed.
- Observe the settling process: As you water, you will notice the mix settling into place. This is a natural process, and the moisture helps the particles bind together and create a stable foundation for plant roots. Continue watering until you are satisfied with the settling and moisture distribution.
- Monitor moisture levels: After watering, monitor the moisture levels regularly, especially during the initial stages of plant growth. Avoid overwatering, as this can lead to waterlogged soil and root rot. Instead, aim for a balance by allowing the top layer of the mix to dry slightly between watering sessions.
Watering and settling the gravel and soil mix helps to ensure that the amendments are evenly distributed and properly integrated. It also provides the necessary moisture for seed germination or healthy plant growth.
With the mix watered and settled, you are now ready for the final step: maintaining the gravel and soil mix for a thriving garden.
Step 10: Maintaining the Gravel and Soil Mix
Congratulations on completing the process of digging in the gravel and soil mix! Now that you have created a solid foundation for your garden, it’s important to maintain the mix to ensure the long-term health and productivity of your plants. Follow these steps to effectively maintain the gravel and soil mix:
- Monitor soil moisture: Regularly check the moisture levels of the mix by inserting your finger into the soil or using a moisture meter. Adjust your watering schedule accordingly, ensuring that the mix remains consistently moist but not waterlogged.
- Inspect for weed growth: Keep an eye out for any weed growth in the garden bed. Remove weeds promptly to prevent them from competing with your plants for nutrients and moisture.
- Mulch the surface: Apply a layer of organic mulch, such as wood chips or straw, to the surface of the mix. Mulching helps to regulate soil temperature, conserve moisture, and suppress weed growth. It also adds organic matter to the mix as it breaks down over time.
- Consider fertilization: Depending on your plants’ nutritional needs, you may need to fertilize the mix periodically. Choose a suitable fertilizer based on the specific requirements of your plants and follow the manufacturer’s instructions for application rates and frequency.
- Regularly inspect for pests and diseases: Monitor your plants for any signs of pests or diseases. Early detection allows for timely intervention and prevents potential damage to your garden. Use organic and sustainable pest control methods whenever possible.
- Rotate crops: To maintain soil health and prevent the buildup of pests and diseases, practice crop rotation in your garden bed. This involves changing the location of crops each growing season to disrupt pest and disease cycles.
- Prune and trim plants: Regularly prune and trim your plants to promote healthy growth and shape. This not only improves the aesthetics of your garden but also enhances airflow and reduces the risk of fungal infections.
- Regularly maintain the surrounding area: Keep the area around the gravel and soil mix tidy by removing any fallen leaves, debris, or overgrown vegetation. This minimizes the risk of pests and diseases and improves the overall appearance of your garden.
By following these maintenance practices, you can ensure that your gravel and soil mix remains in optimal condition, providing a thriving environment for your plants. Regular monitoring, care, and maintenance are key to a successful and productive garden.
With Step 10 completed, you have now gained the knowledge and skills to dig in gravel and soil mix effectively and maintain it for a flourishing garden. Get ready to enjoy the rewards of your hard work and watch your plants thrive in their new home!
Frequently Asked Questions about How To Dig In Gravel And Soil Mix
Was this page helpful?
At Storables.com, we guarantee accurate and reliable information. Our content, validated by Expert Board Contributors, is crafted following stringent Editorial Policies. We're committed to providing you with well-researched, expert-backed insights for all your informational needs.


0 thoughts on “How To Dig In Gravel And Soil Mix”