Home>Gardening & Outdoor>Landscaping Ideas>How To Dig Up Grass And Lay Gravel
Landscaping Ideas
How To Dig Up Grass And Lay Gravel
Modified: September 1, 2024
Learn how to remove grass and install gravel for your landscaping project with our step-by-step guide. Discover expert tips and ideas for your outdoor space.
(Many of the links in this article redirect to a specific reviewed product. Your purchase of these products through affiliate links helps to generate commission for Storables.com, at no extra cost. Learn more)
Introduction
Are you looking to transform a patch of grass into a low-maintenance gravel area? Whether you want to create a stylish gravel pathway, a designated parking space, or a serene gravel garden, the process begins with removing the existing grass and laying down a solid foundation for the gravel. This guide will walk you through the essential steps and provide valuable insights to help you achieve a professional-looking result.
By following these instructions, you can revamp your outdoor space and reduce the time and effort required for maintenance. With the right tools, materials, and know-how, you can effectively convert a grassy area into a functional and visually appealing gravel surface. So, roll up your sleeves and get ready to learn how to dig up grass and lay gravel like a seasoned landscaping pro.
Key Takeaways:
- Transform grass into gravel for low-maintenance landscaping. Clear the area, remove the grass, lay gravel, and add finishing touches for a professional-looking outdoor space.
- Use essential tools and materials to efficiently convert grassy areas into visually appealing and functional gravel surfaces. Proper preparation and execution lead to successful landscaping projects.
Read more: How To Lay Artificial Grass On Gravel
Tools and Materials Needed
Before you begin the transformation from grass to gravel, it’s essential to gather the necessary tools and materials. Here’s a comprehensive list to ensure you’re well-prepared for the task:
Tools:
- Shovel: for digging up the grass and preparing the area
- Turf cutter or sod cutter: for efficiently removing the grass
- Rake: for leveling the ground and removing debris
- Wheelbarrow: for transporting gravel and debris
- Hand tamper or plate compactor: for compacting the soil and creating a stable base
- Measuring tape and stakes: for marking the area and ensuring straight edges
- Work gloves: for hand protection during the process
- Safety goggles: for eye protection, especially when using power tools
Materials:
- Gravel: choose the type and size based on your project's requirements
- Landscape fabric or weed barrier: to prevent weed growth through the gravel
- Edging material (optional): for defining the edges of the gravel area
- Crushed stone or gravel base: for creating a stable foundation, especially in high-traffic areas
- Sand (if needed): for leveling the base and providing additional stability
By ensuring you have these tools and materials on hand, you can streamline the process of transforming the grassy area into an attractive and functional gravel space. Proper preparation and organization will set the stage for a successful landscaping project.
Preparing the Area
Before you can begin the process of removing the grass and laying gravel, it’s crucial to thoroughly prepare the designated area. Follow these steps to ensure a smooth and successful transition:
Read more: How To Lay Fake Grass On Gravel
1. Mark the Area:
Start by outlining the boundaries of the gravel area using measuring tape and stakes. This will provide a clear visual guide and help you maintain straight edges during the transformation process.
2. Clear the Area:
Remove any obstacles such as rocks, branches, or debris from the designated space. Clearing the area will make it easier to work and ensure a clean foundation for the upcoming steps.
3. Determine the Depth:
Decide on the desired depth of the gravel area. Keep in mind that a depth of 2-4 inches is generally sufficient for pedestrian pathways, while a depth of 4-6 inches may be more suitable for driveways or parking areas.
4. Consider Drainage:
Assess the area’s drainage needs and make any necessary adjustments. Proper drainage is essential for preventing water buildup and maintaining the integrity of the gravel surface over time.
Read more: How To Dig Up Grass And Replant
5. Optional Edging:
If you want defined edges for the gravel area, consider installing edging material along the perimeter. This can help contain the gravel and create a polished look for your landscaping project.
By carefully preparing the area before removing the grass, you can set the stage for a successful gravel installation. Taking the time to plan and execute these initial steps will contribute to a professional and long-lasting end result.
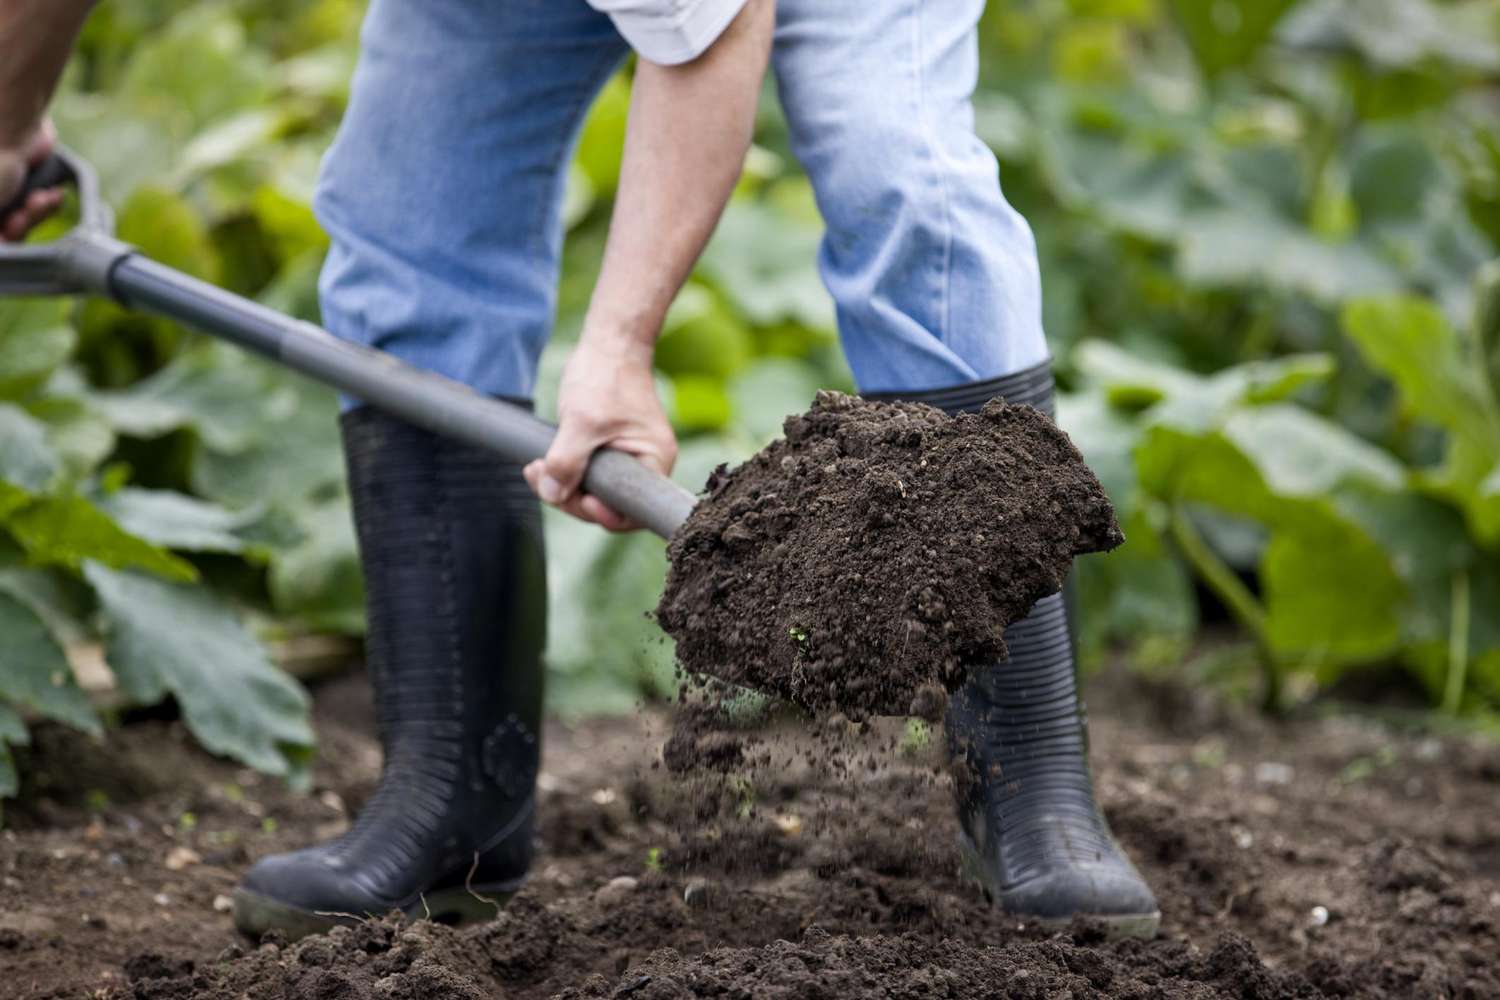
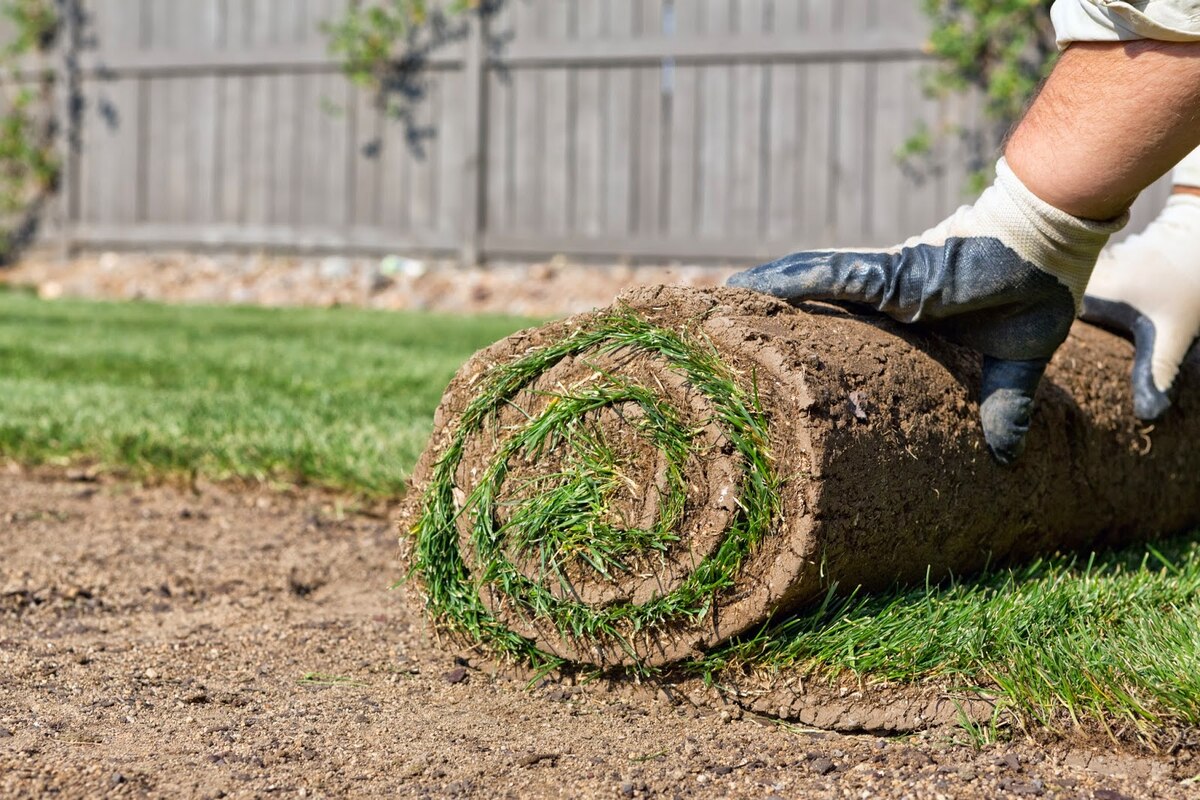
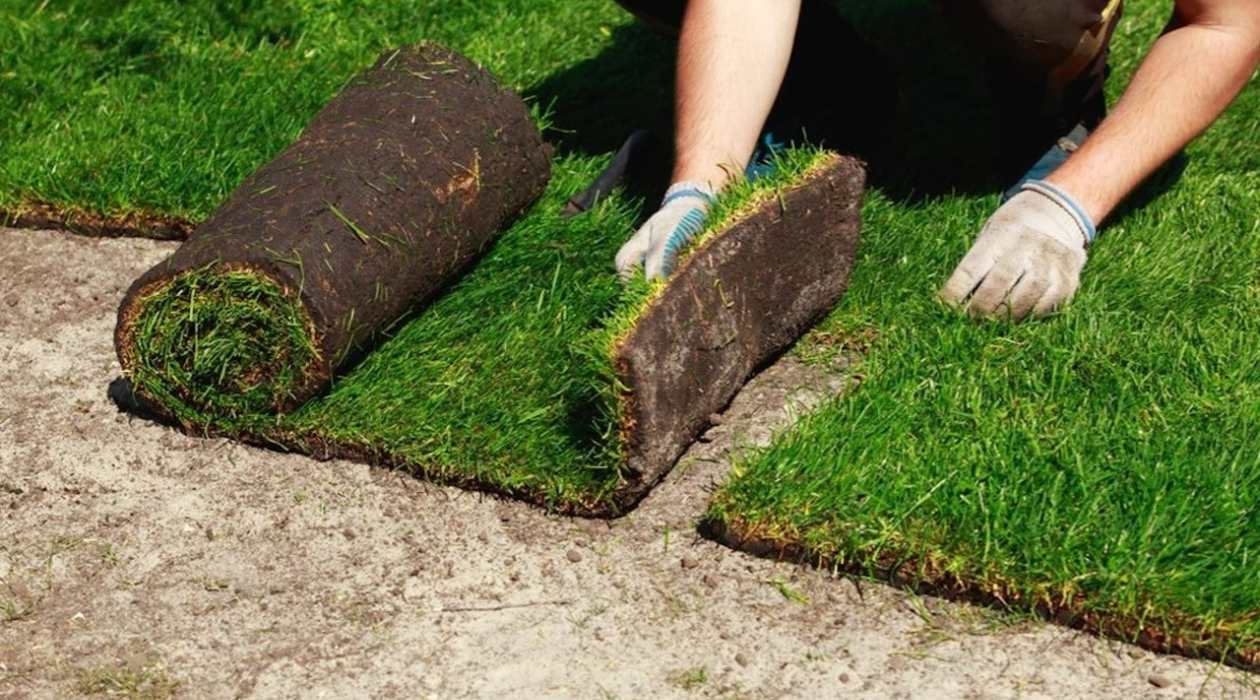
Removing the Grass
Once the area is prepared, it’s time to tackle the task of removing the existing grass to make way for the gravel. Follow these steps to efficiently and effectively clear the space:
1. Use a Turf Cutter or Sod Cutter:
A turf cutter or sod cutter can expedite the process of removing the grass by slicing through the roots and soil. This tool can be rented from a local equipment rental store and is especially useful for larger areas.
2. Start at One Edge:
Begin at one edge of the designated area and work your way across, cutting and removing the grass in manageable sections. This approach will help maintain a systematic and organized process.
Read more: How To Dig In Gravel And Soil Mix
3. Lift and Roll:
Once the grass is cut, use a shovel to lift and roll the sections of turf. This will make it easier to transport and dispose of the grass as you clear the area.
4. Remove Excess Soil:
After the grass is removed, use a rake to clear away any excess soil and debris, leaving a relatively level surface in preparation for the gravel installation.
5. Dispose of the Grass:
Properly dispose of the removed grass and soil. Consider composting the grass if it’s free from pesticides and chemicals, or inquire about green waste disposal options in your area.
By following these steps, you can effectively clear the space of grass and create a clean canvas for the next phase of the project. Removing the grass with precision and care will contribute to the overall quality and longevity of your gravel installation.
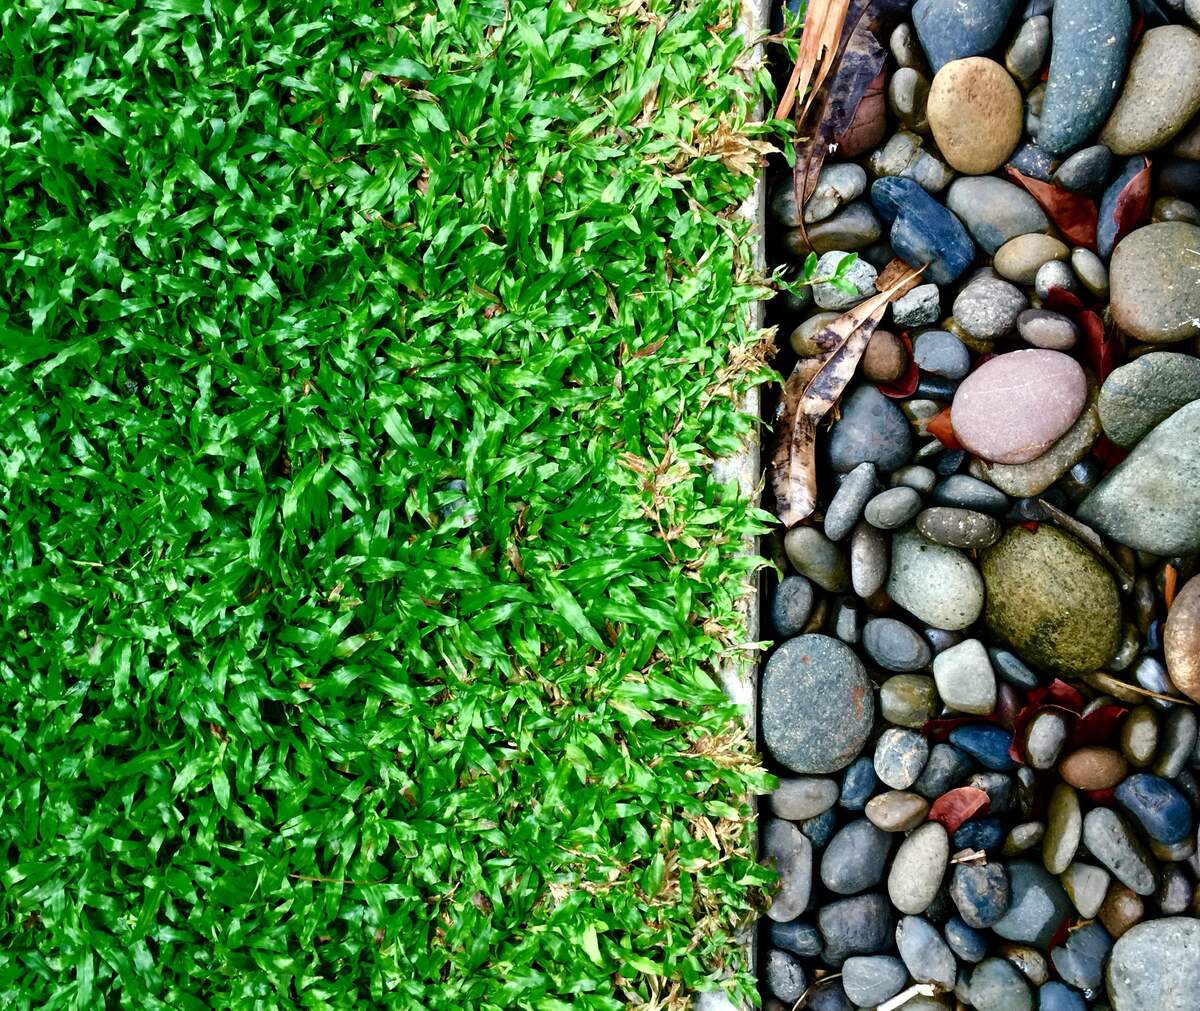
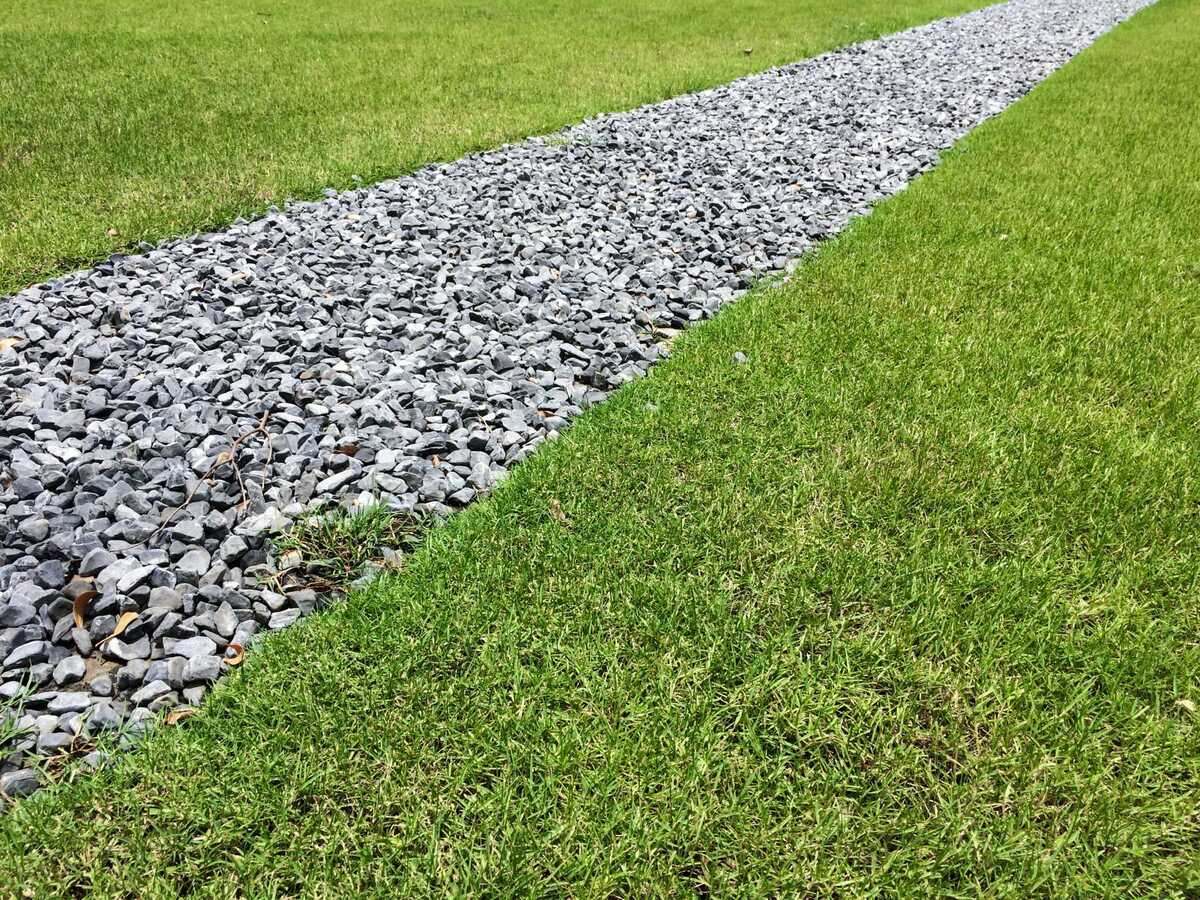
Laying the Gravel
With the grass removed and the area prepared, it’s time to lay down the gravel and bring your landscaping vision to life. Follow these steps to ensure a successful and visually appealing gravel installation:
Read more: Why Do Crows Dig Up Grass
1. Install Landscape Fabric or Weed Barrier:
Before adding the gravel, consider laying down landscape fabric or a weed barrier to inhibit weed growth and maintain the integrity of the gravel surface over time. This step can significantly reduce maintenance requirements and preserve the appearance of the area.
2. Add a Base Layer (if needed):
In high-traffic areas or locations with soft soil, consider adding a base layer of crushed stone or gravel to provide a stable foundation for the gravel. This will enhance the durability and load-bearing capacity of the surface.
3. Spread the Gravel Evenly:
Use a shovel or wheelbarrow to distribute the gravel evenly across the designated area. Aim for a consistent depth, and consider using a rake to smooth and level the surface as you work.
4. Compact the Gravel:
Once the gravel is spread, use a hand tamper or plate compactor to compact the surface. This will enhance stability and reduce the risk of shifting or uneven areas over time, especially in high-traffic zones.
Read more: How To Install Gravel Landscaping
5. Optional Finishing Touches:
If desired, consider adding a thin layer of sand on top of the compacted gravel to further level the surface and provide a polished finish. This step is particularly beneficial for pedestrian pathways and decorative gravel areas.
By following these steps, you can effectively lay the gravel and create a functional, low-maintenance surface that enhances the visual appeal of your outdoor space. Proper installation and attention to detail will result in a professional-looking gravel area that meets your specific needs and preferences.
Finishing Touches
As you near the completion of your grass-to-gravel transformation, it’s time to add the finishing touches that will elevate the overall look and functionality of the newly installed gravel area. Consider the following steps to refine and perfect the project:
1. Define Edges (if applicable):
If you opted for edging material to define the boundaries of the gravel area, take the time to ensure it is securely in place and adds a polished touch to the overall design. Properly installed edging can enhance the visual appeal and longevity of the gravel installation.
2. Inspect for Drainage:
Verify that the gravel area allows for proper drainage to prevent water accumulation. Address any areas where water may pool or flow inefficiently to ensure the long-term stability and functionality of the surface.
Read more: How To Dig For A Patio
3. Clean Up Excess Material:
Use a rake or broom to tidy the surrounding areas and remove any excess gravel or debris that may have accumulated during the installation process. This final touch will contribute to a clean and well-maintained appearance.
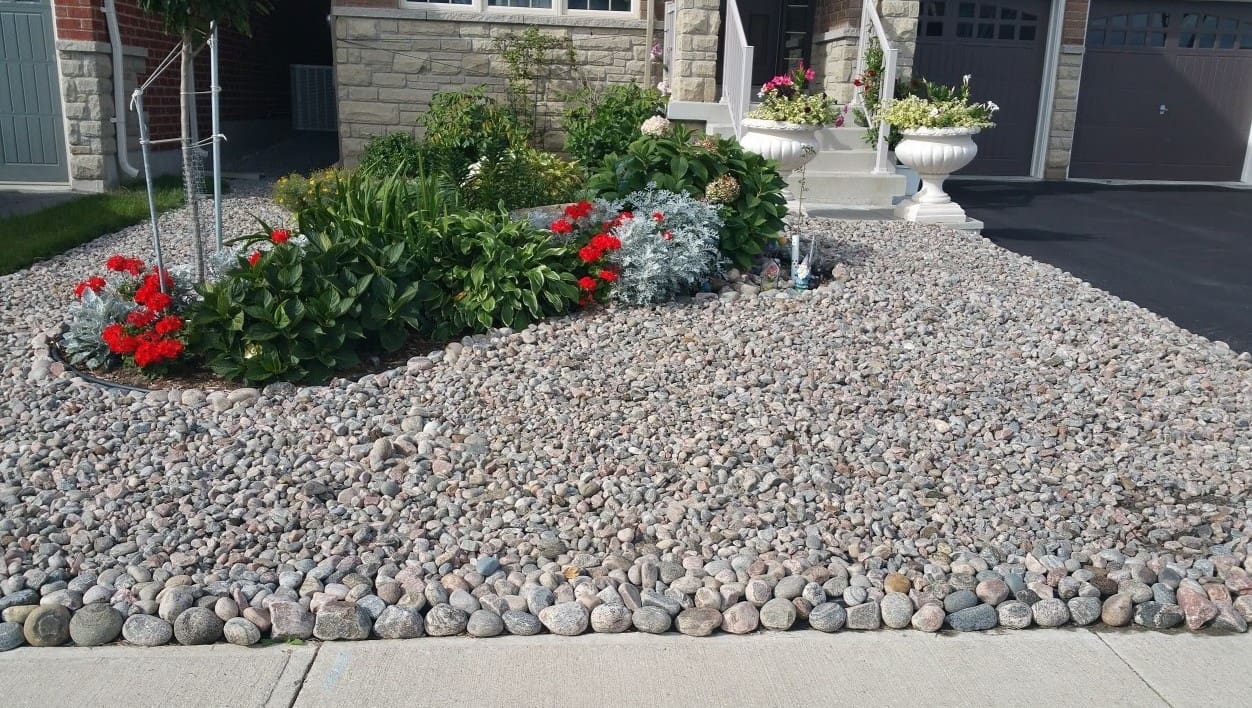
4. Consider Landscaping Features:
If the gravel area is part of a larger landscaping project, take the opportunity to incorporate decorative elements such as potted plants, stepping stones, or outdoor lighting to enhance the overall aesthetic and usability of the space.
5. Routine Maintenance:
Establish a maintenance routine to ensure the longevity and visual appeal of the gravel area. This may include periodic raking to maintain a level surface, replenishing gravel as needed, and addressing any weed growth that may emerge over time.
By attending to these finishing touches, you can elevate the overall impact of your gravel installation and create a visually stunning and functional outdoor space. These details will contribute to the durability, aesthetics, and long-term satisfaction with your grass-to-gravel landscaping project.
Conclusion
Congratulations on successfully completing the transformation from grass to gravel! By following the outlined steps and incorporating the essential tools and materials, you’ve not only created a low-maintenance and functional outdoor space but also enhanced the visual appeal of your property. The process of digging up grass and laying gravel may have presented its challenges, but the end result is undoubtedly rewarding.
As you admire your newly installed gravel area, take pride in the fact that you’ve contributed to the overall aesthetics and usability of your outdoor environment. Whether you’ve created a gravel pathway, a designated parking space, or a serene gravel garden, the impact of your landscaping project is sure to be felt for years to come.
Remember that routine maintenance and care will be essential for preserving the integrity and visual appeal of the gravel area. By staying proactive and addressing any maintenance needs as they arise, you can ensure that your landscaping investment continues to deliver both functionality and beauty.
As you enjoy the benefits of your newly installed gravel area, take the time to appreciate the effort and dedication that went into the project. Your commitment to enhancing your outdoor space has resulted in a significant and tangible improvement, and the results speak for themselves.
Whether you embarked on this project to increase the usability of your outdoor space, reduce maintenance requirements, or simply enhance the overall aesthetics of your property, the transition from grass to gravel has undoubtedly achieved its intended purpose. Your commitment to quality and attention to detail have left a lasting mark on your outdoor environment.
So, take a moment to revel in the satisfaction of a job well done, and embrace the countless possibilities that your newly installed gravel area brings to your outdoor living experience. Your dedication to this landscaping endeavor has truly paid off, and the results will continue to enrich your surroundings for years to come.
Frequently Asked Questions about How To Dig Up Grass And Lay Gravel
Was this page helpful?
At Storables.com, we guarantee accurate and reliable information. Our content, validated by Expert Board Contributors, is crafted following stringent Editorial Policies. We're committed to providing you with well-researched, expert-backed insights for all your informational needs.


0 thoughts on “How To Dig Up Grass And Lay Gravel”