Home>Garden Essentials>How To Grow Sprouting Seeds
Garden Essentials
How To Grow Sprouting Seeds
Modified: March 16, 2024
Learn how to grow sprouting seeds in your garden with our comprehensive guide. Discover the best techniques and tips to ensure a successful harvest.
(Many of the links in this article redirect to a specific reviewed product. Your purchase of these products through affiliate links helps to generate commission for Storables.com, at no extra cost. Learn more)
Introduction
Welcome to the wonderful world of sprouting seeds! Whether you’re a seasoned gardener or just starting out, growing sprouting seeds is a versatile and rewarding way to bring the beauty of nature into your own home or garden.
Why choose sprouting seeds, you ask? Well, there are plenty of reasons! Sprouting seeds are incredibly nutritious, packed full of vitamins, minerals, and antioxidants. Plus, they’re super easy to grow and require minimal space. With a little bit of effort and care, you can enjoy a continuous supply of fresh sprouts for salads, sandwiches, smoothies, and more.
In this article, we’ll guide you through the process of growing sprouting seeds, from choosing the right seeds to harvesting and using them. So grab your gardening gloves and let’s get started!
Key Takeaways:
- Sprouting seeds are nutritious, easy to grow, and versatile. Experiment with different seed varieties and enjoy a continuous supply of fresh sprouts for salads, sandwiches, and more!
- Proper care, from choosing the right seeds to harvesting, ensures successful sprout growth. Enjoy the culinary possibilities and nutritional benefits of sprouting seeds in your meals.
Read more: How To Grow Brussel Sprouts From Seeds
Choosing the Right Seeds
When it comes to sprouting seeds, there are a wide variety of options to choose from. The key is to select seeds that are specifically designated for sprouting and have a high germination rate. Here are a few factors to consider when choosing the right seeds:
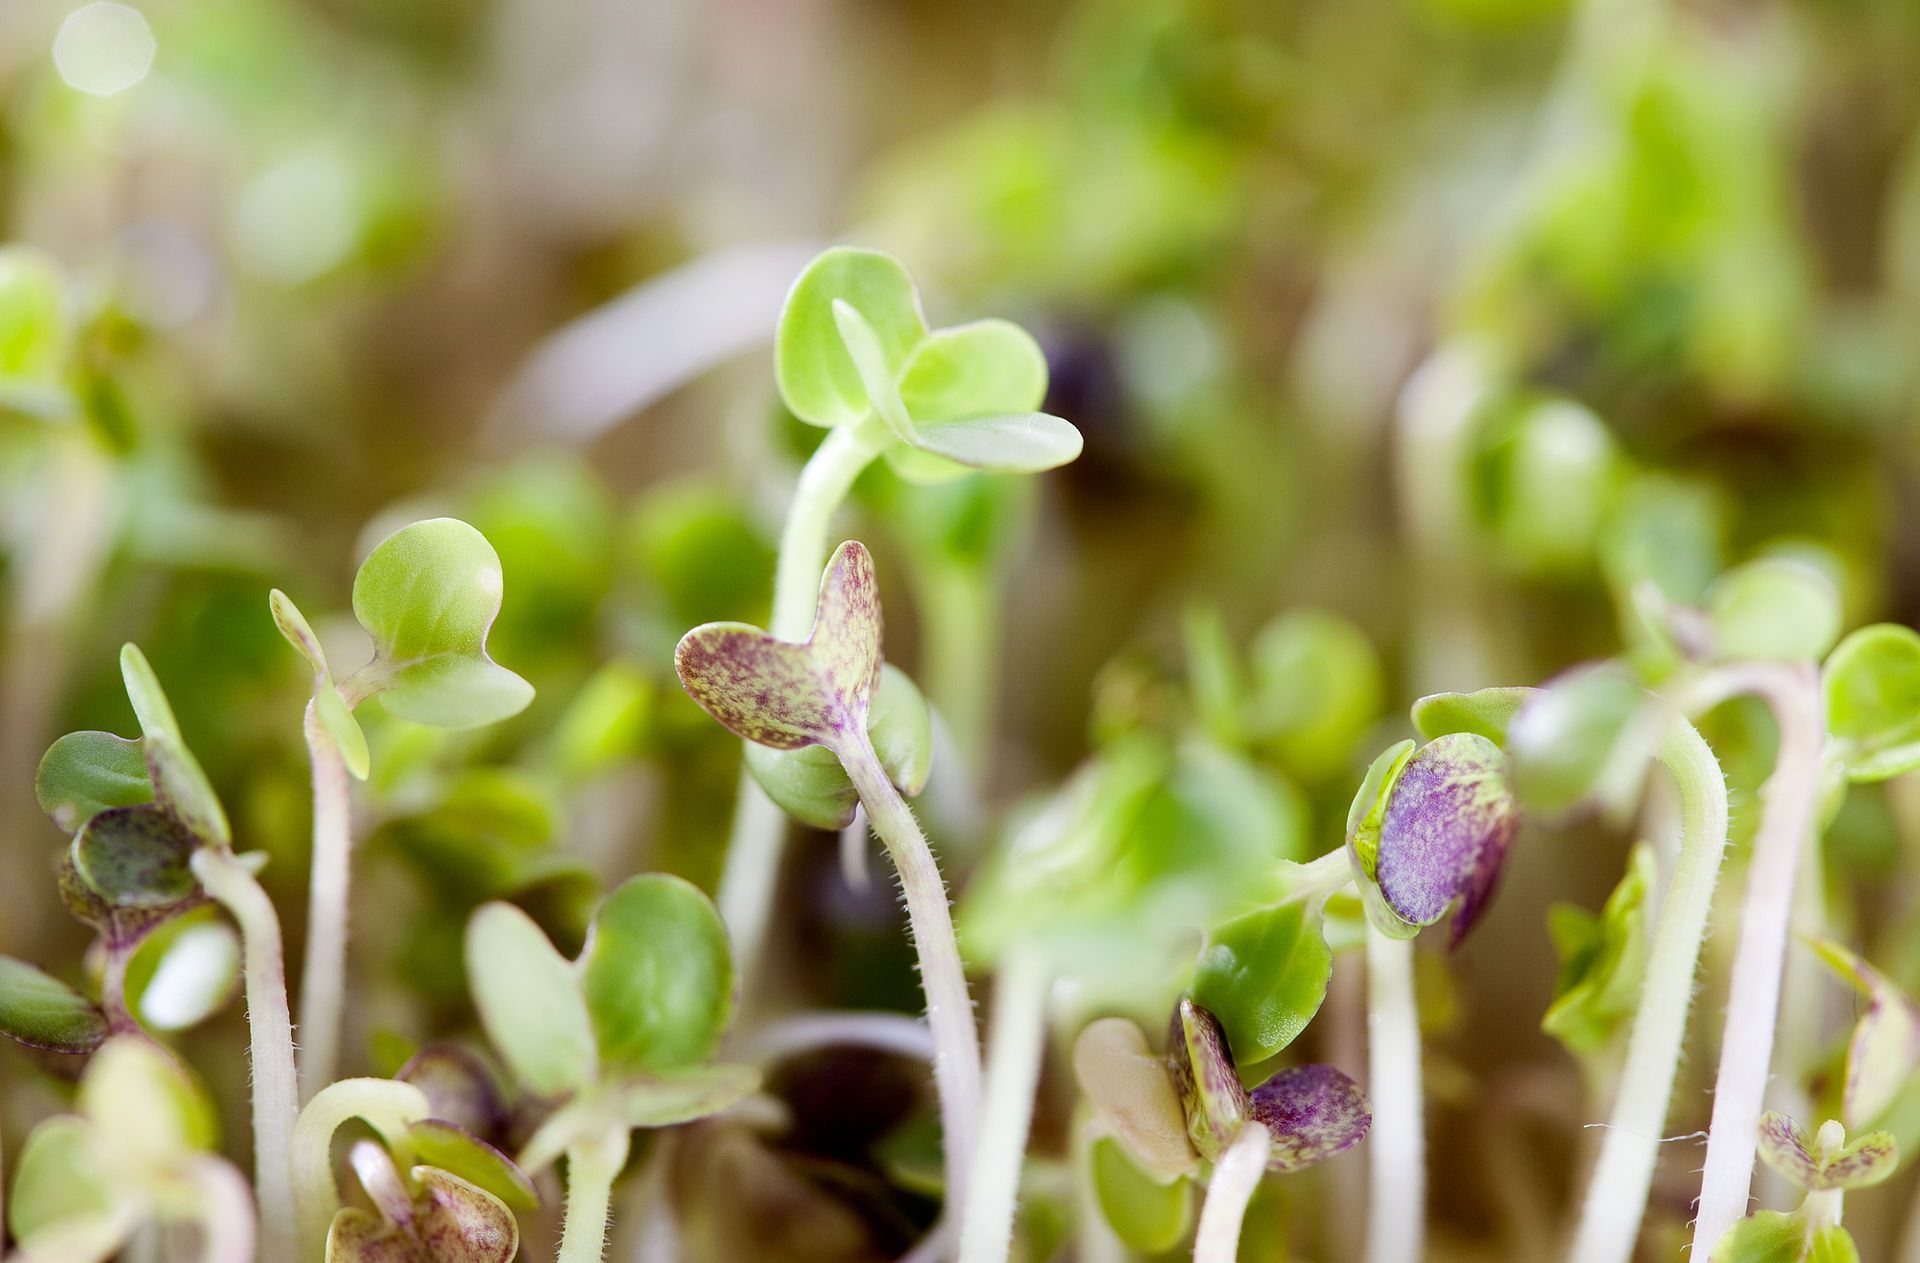
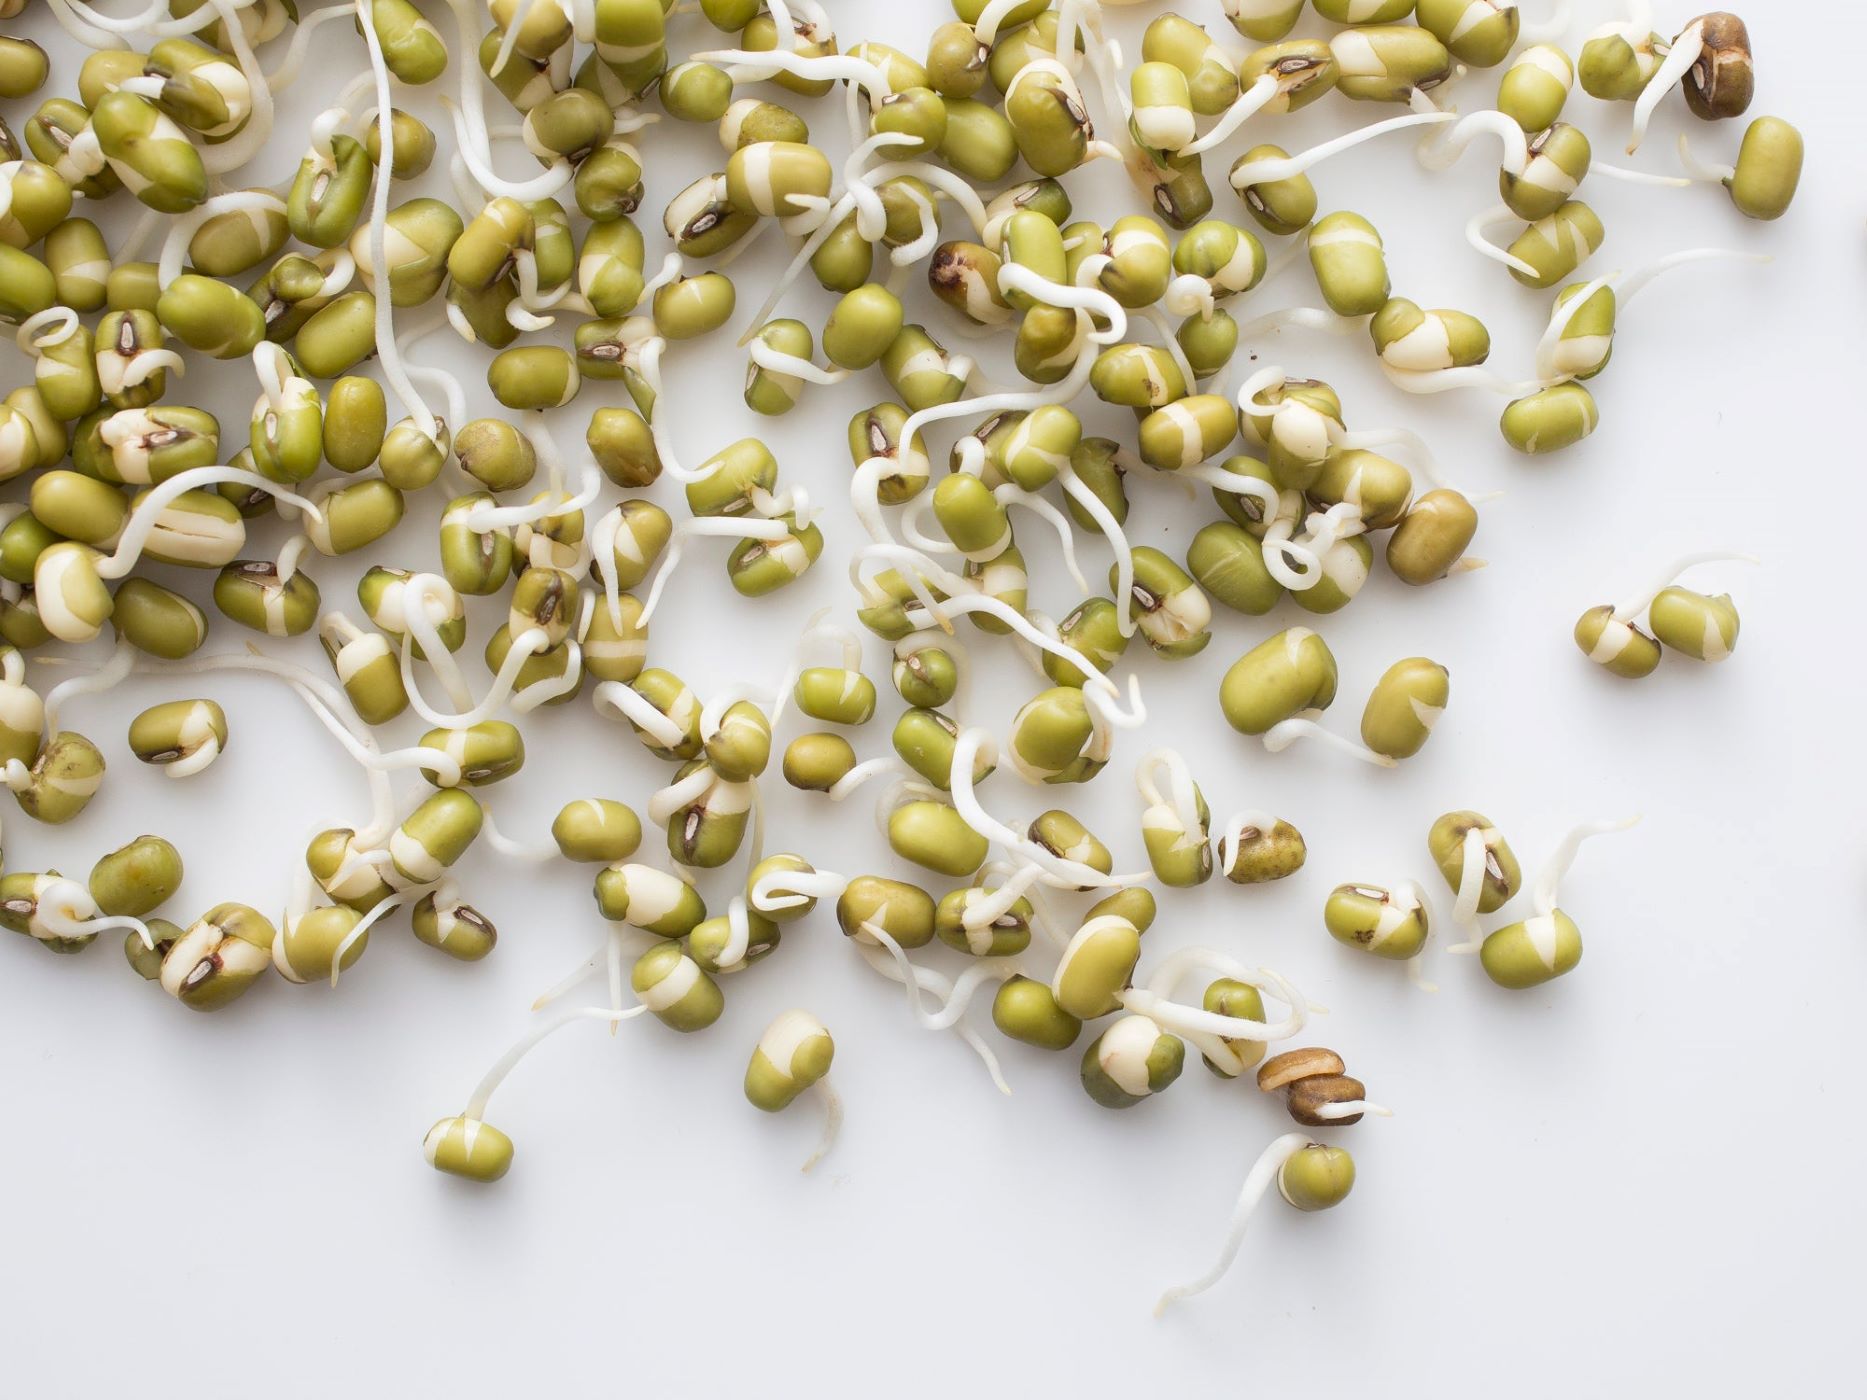
1. Seed Variety: There are numerous types of seeds that can be sprouted. Some popular options include alfalfa, broccoli, mung beans, radish, and clover. Each seed variety has its own unique flavor and nutritional benefits, so feel free to experiment and find your favorite.
2. Organic and Non-GMO: It’s always a good idea to choose organic and non-GMO seeds to ensure that your sprouts are free of harmful chemicals and genetically modified organisms.
3. Quality and Freshness: Look for seeds that are fresh and have a high germination rate. This can be determined by checking the packaging for the expiration date or conducting a simple germination test before planting.
4. Source: Purchase seeds from reputable suppliers or local farmers to ensure quality and support sustainable practices.
5. Taste and Preference: Consider your taste preferences and culinary needs when choosing sprouting seeds. Some seeds have a mild and delicate flavor, while others are more peppery or bitter. Experiment with different varieties to find the ones that suit your taste buds.
Remember, not all seeds are suitable for sprouting. Avoid using seeds that have been treated with chemicals or are intended for planting as crops. Stick to seeds specifically labeled for sprouting purposes.
Once you’ve chosen the seeds, it’s time to prepare the growing medium for them. Join us in the next section to learn all about it.
Preparing the Growing Medium
The growing medium for sprouting seeds provides the essential support and nutrition that the seeds need to germinate and grow into healthy sprouts. Here’s how to prepare the ideal growing medium:
1. Choose a Sprouting Method: There are various methods for sprouting seeds, including jar sprouting, tray sprouting, and soil-free sprouting. Each method has its own advantages and requirements, so choose one that aligns with your preferences and available resources.
2. Soak the Seeds: Before planting the seeds, it’s essential to give them a head start by soaking them in clean, filtered water. This helps to activate the germination process and softens the seed coat, enabling the sprout to emerge more easily.
3. Select the Growing Container: Depending on the sprouting method you’ve chosen, select an appropriate container. For jar sprouting, a glass jar with a mesh or sprouting lid works well. Tray sprouting requires shallow trays or sprout-growing trays with drainage holes, while soil-free sprouting can be done using specialized sprouting bags or trays.
4. Prepare the Medium: For soil-free sprouting methods, such as jar or tray sprouting, you’ll need a non-soil growing medium. This can include materials like organic sprouting mats, coconut coir, or sterile potting mix. These mediums provide the necessary moisture retention and aeration for healthy sprout development.
5. Hydrate and Drain: Prior to planting the seeds in the chosen growing medium, ensure that it is thoroughly hydrated. Soak the organic sprouting mats, coconut coir, or potting mix in water until they are damp but not waterlogged. Allow any excess water to drain out completely, as excessive moisture can lead to mold or rot.
6. Spread the Seeds: Once the growing medium is prepared, evenly spread the soaked sprouting seeds across the surface. Avoid overcrowding to allow ample space for the seeds to sprout and expand.
By following these steps and ensuring proper hydration and drainage, you can create an optimal environment for your sprouting seeds to thrive. Next, we’ll cover the planting process and give your seeds the best chance for success.
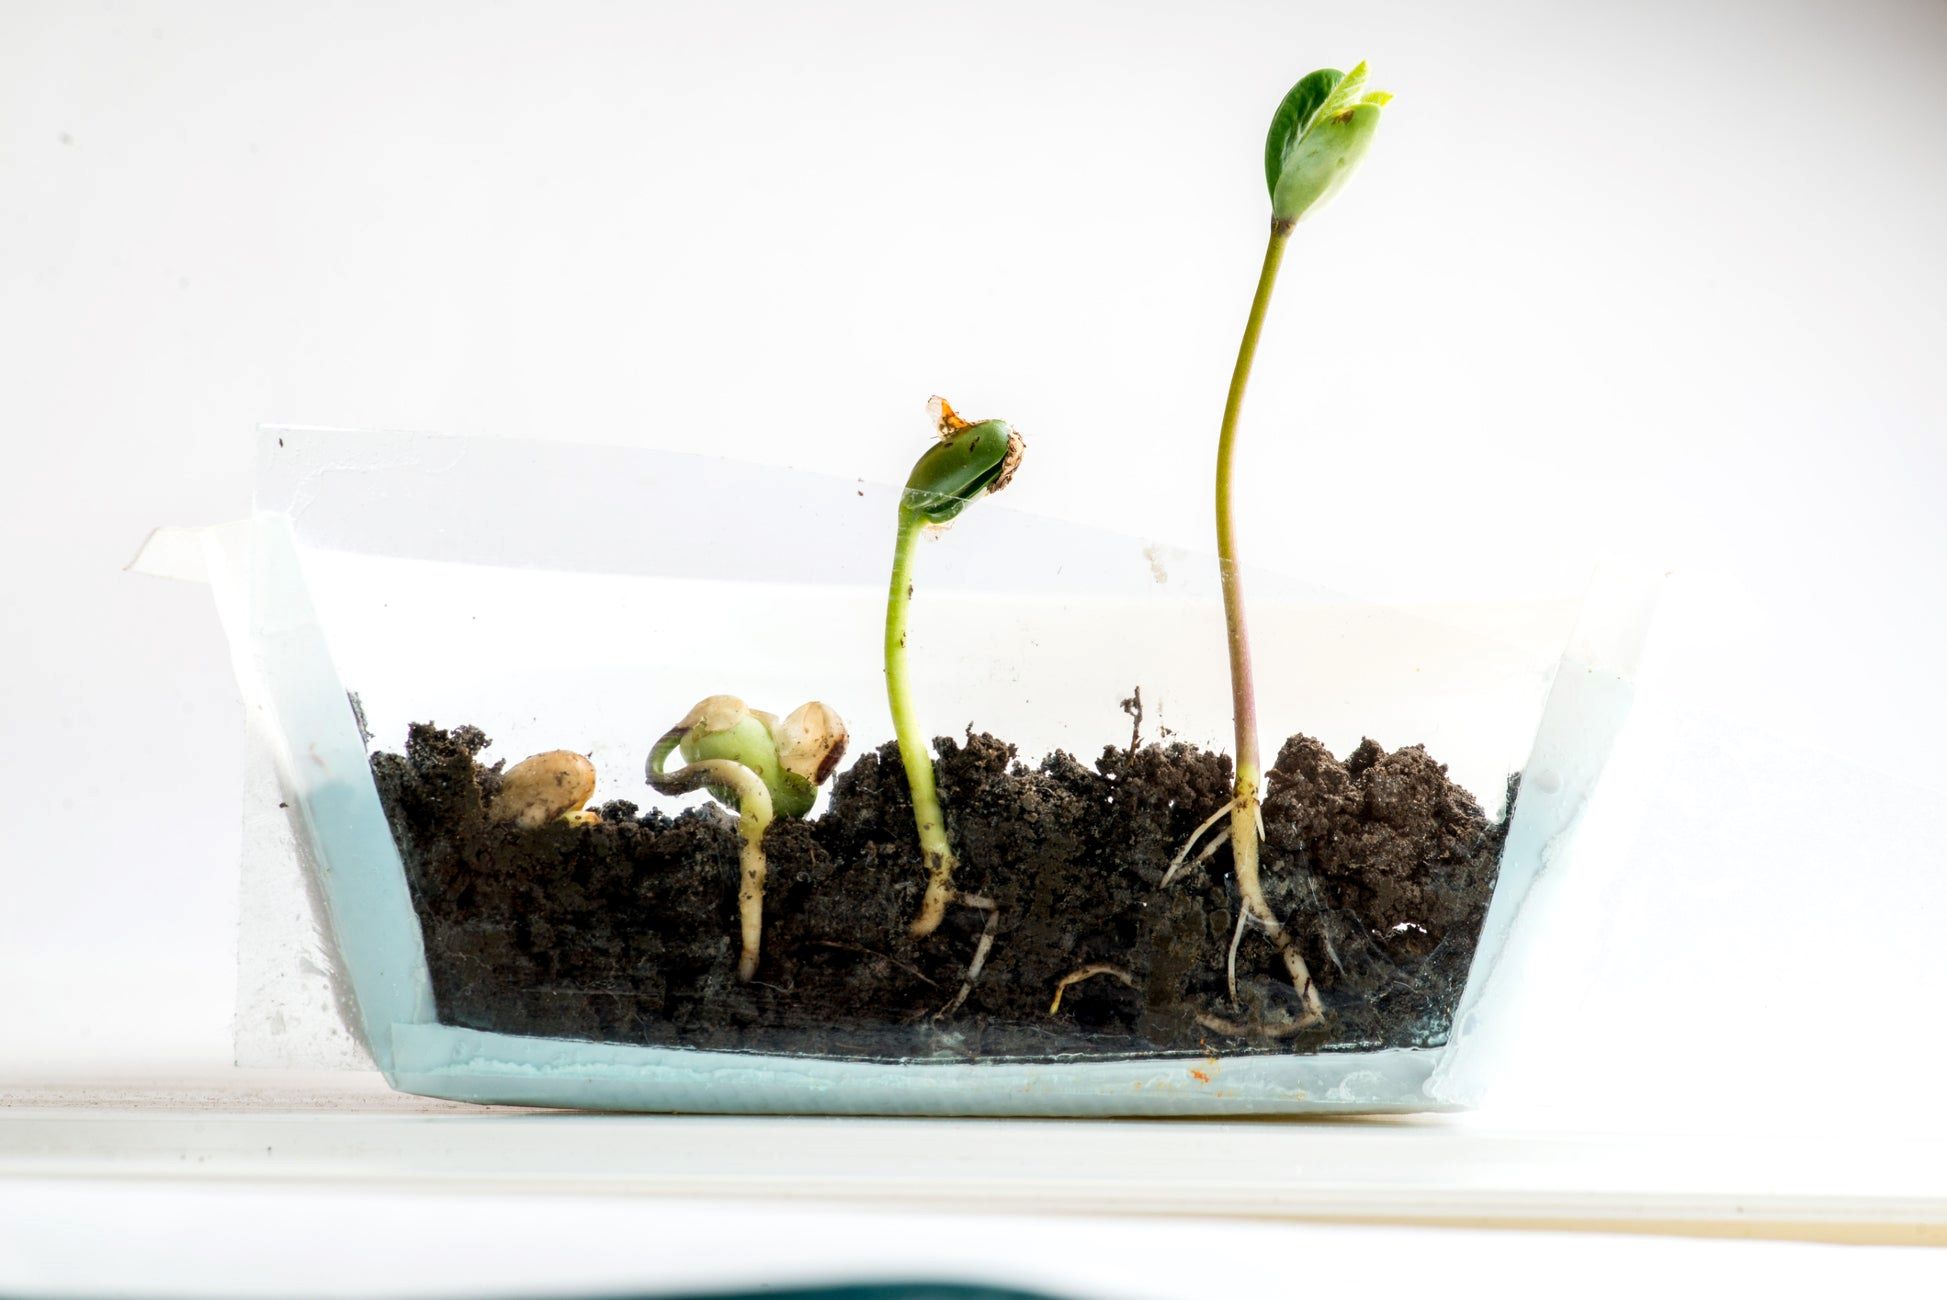
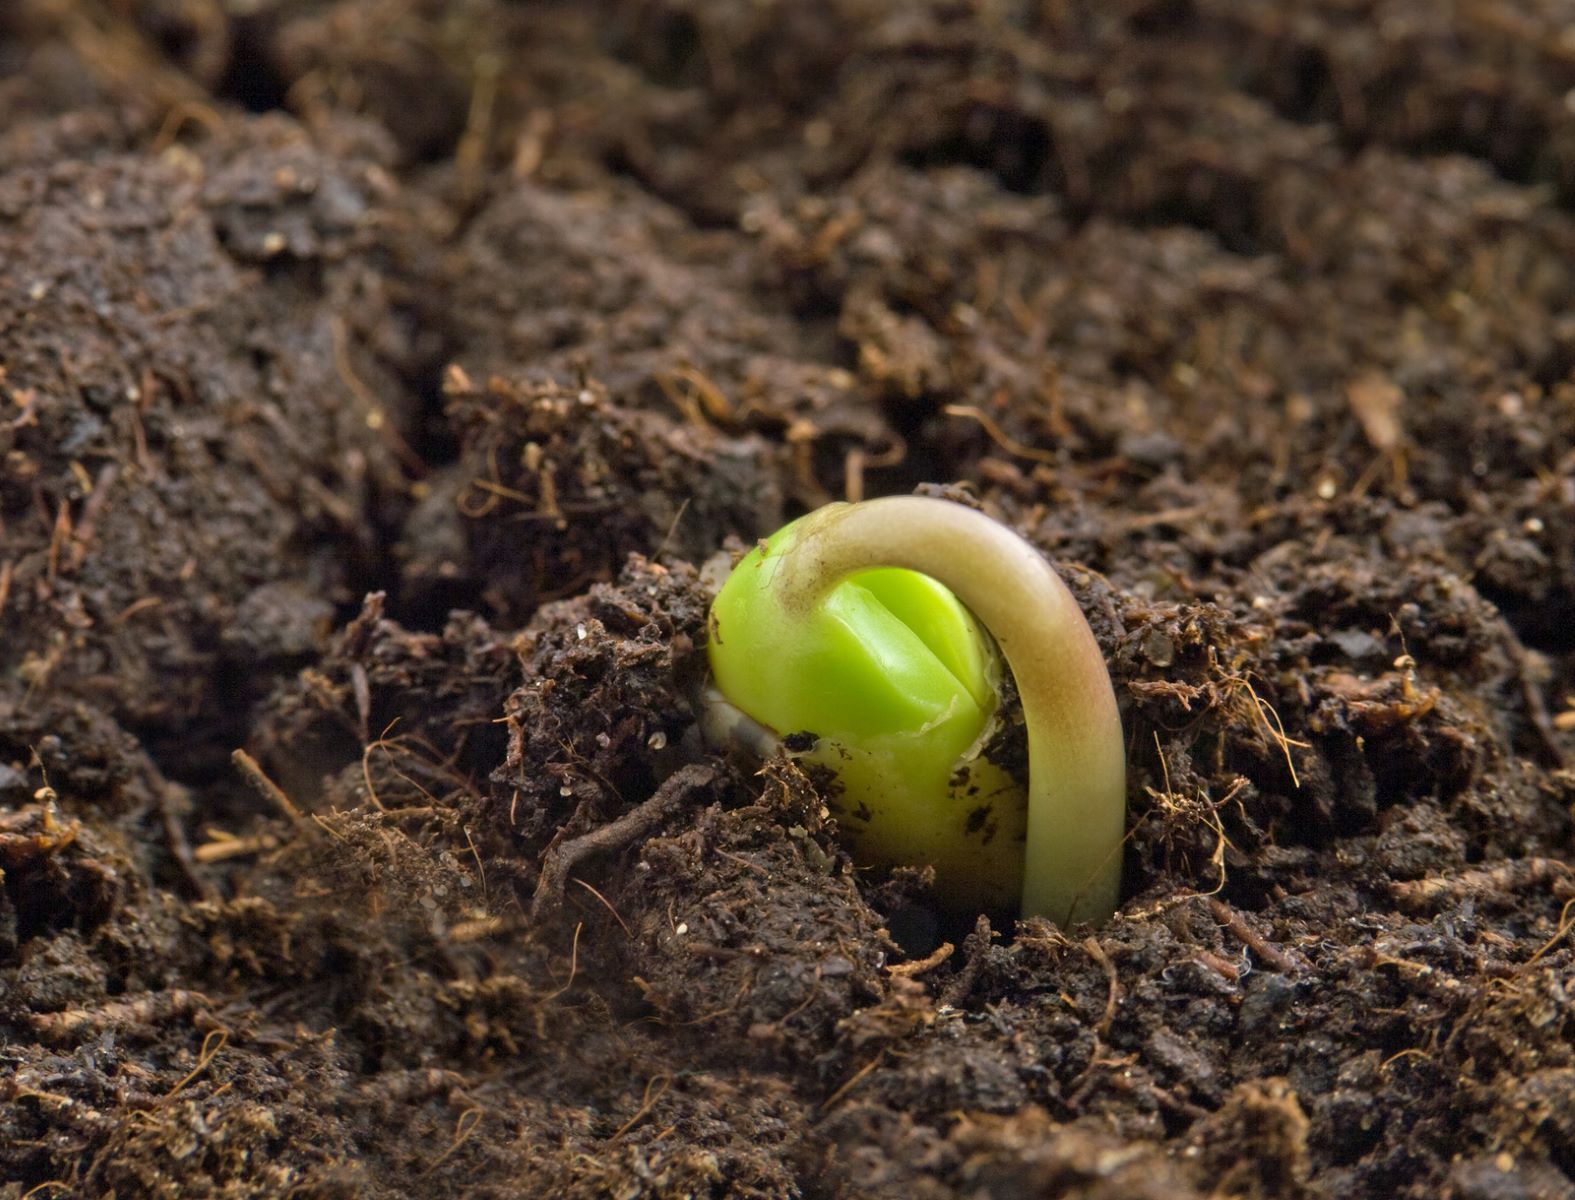
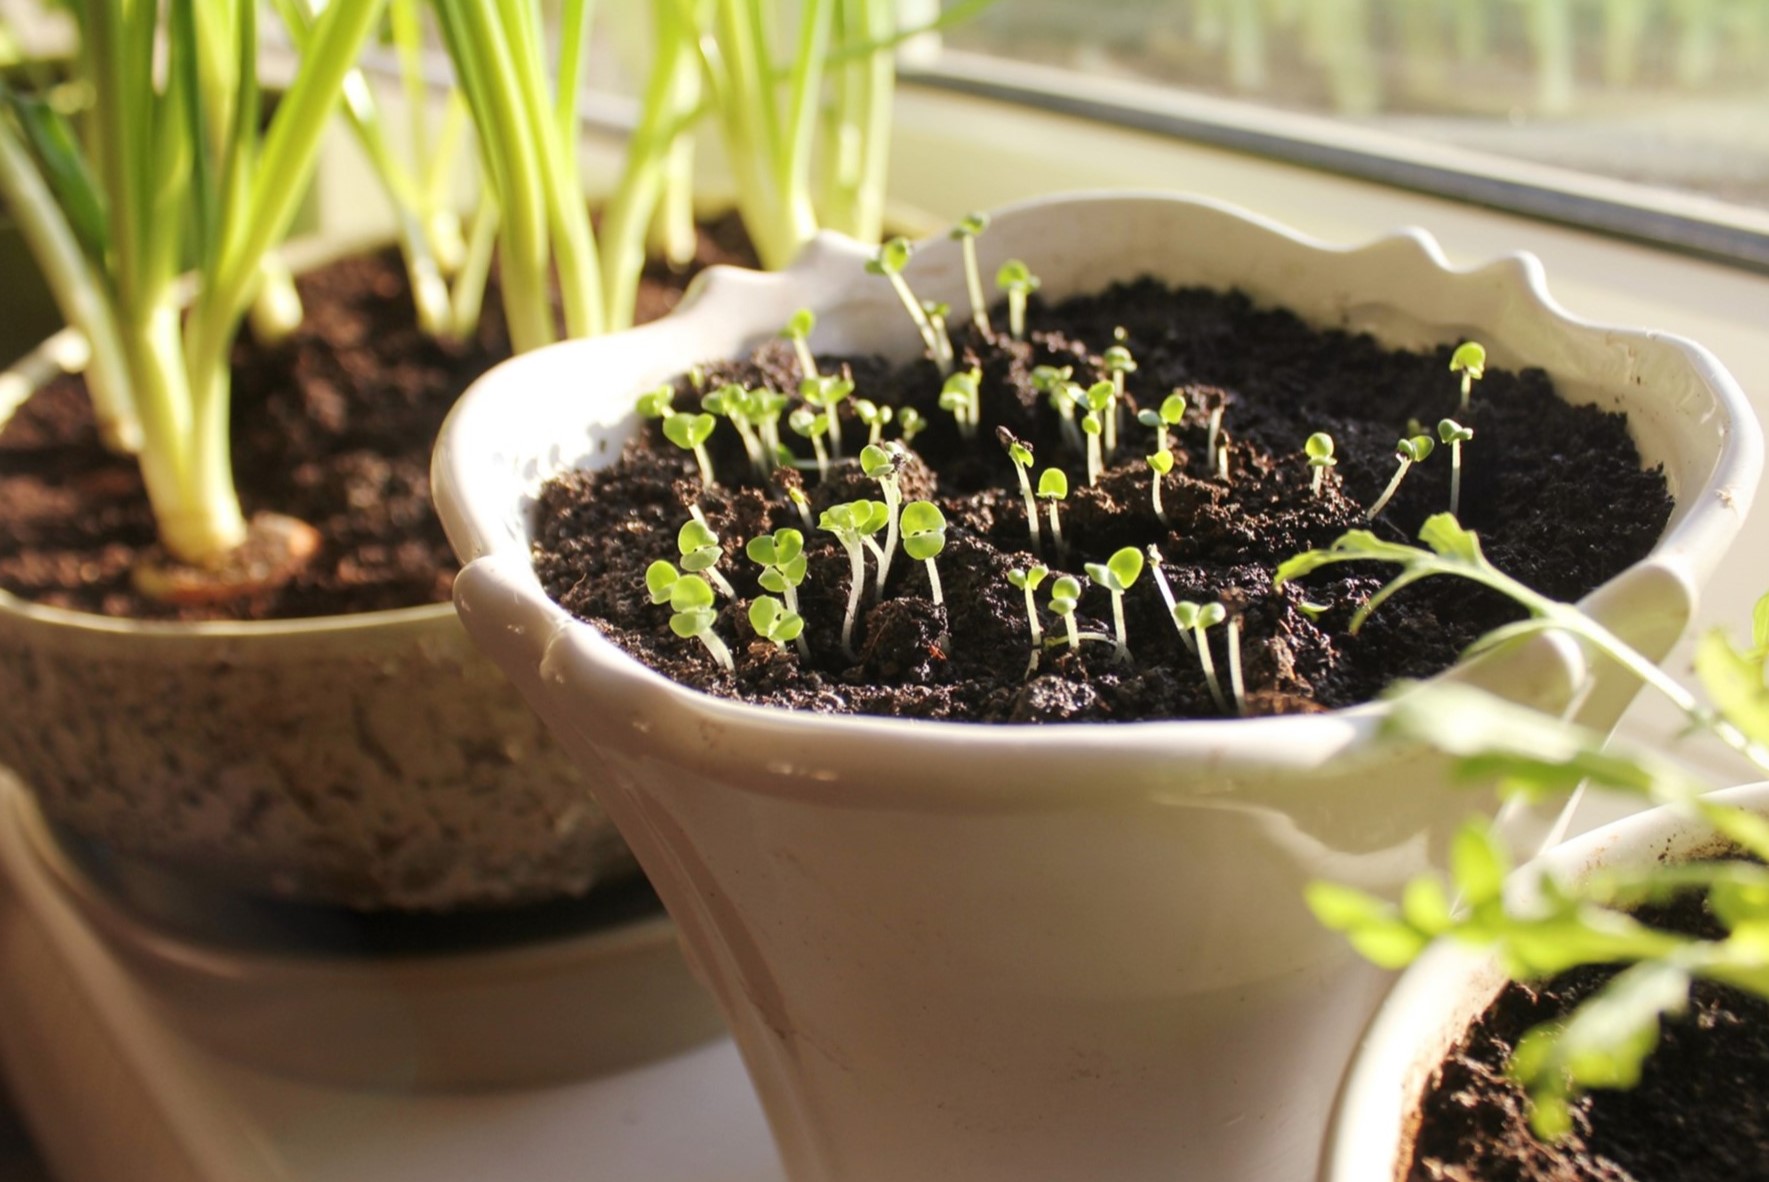
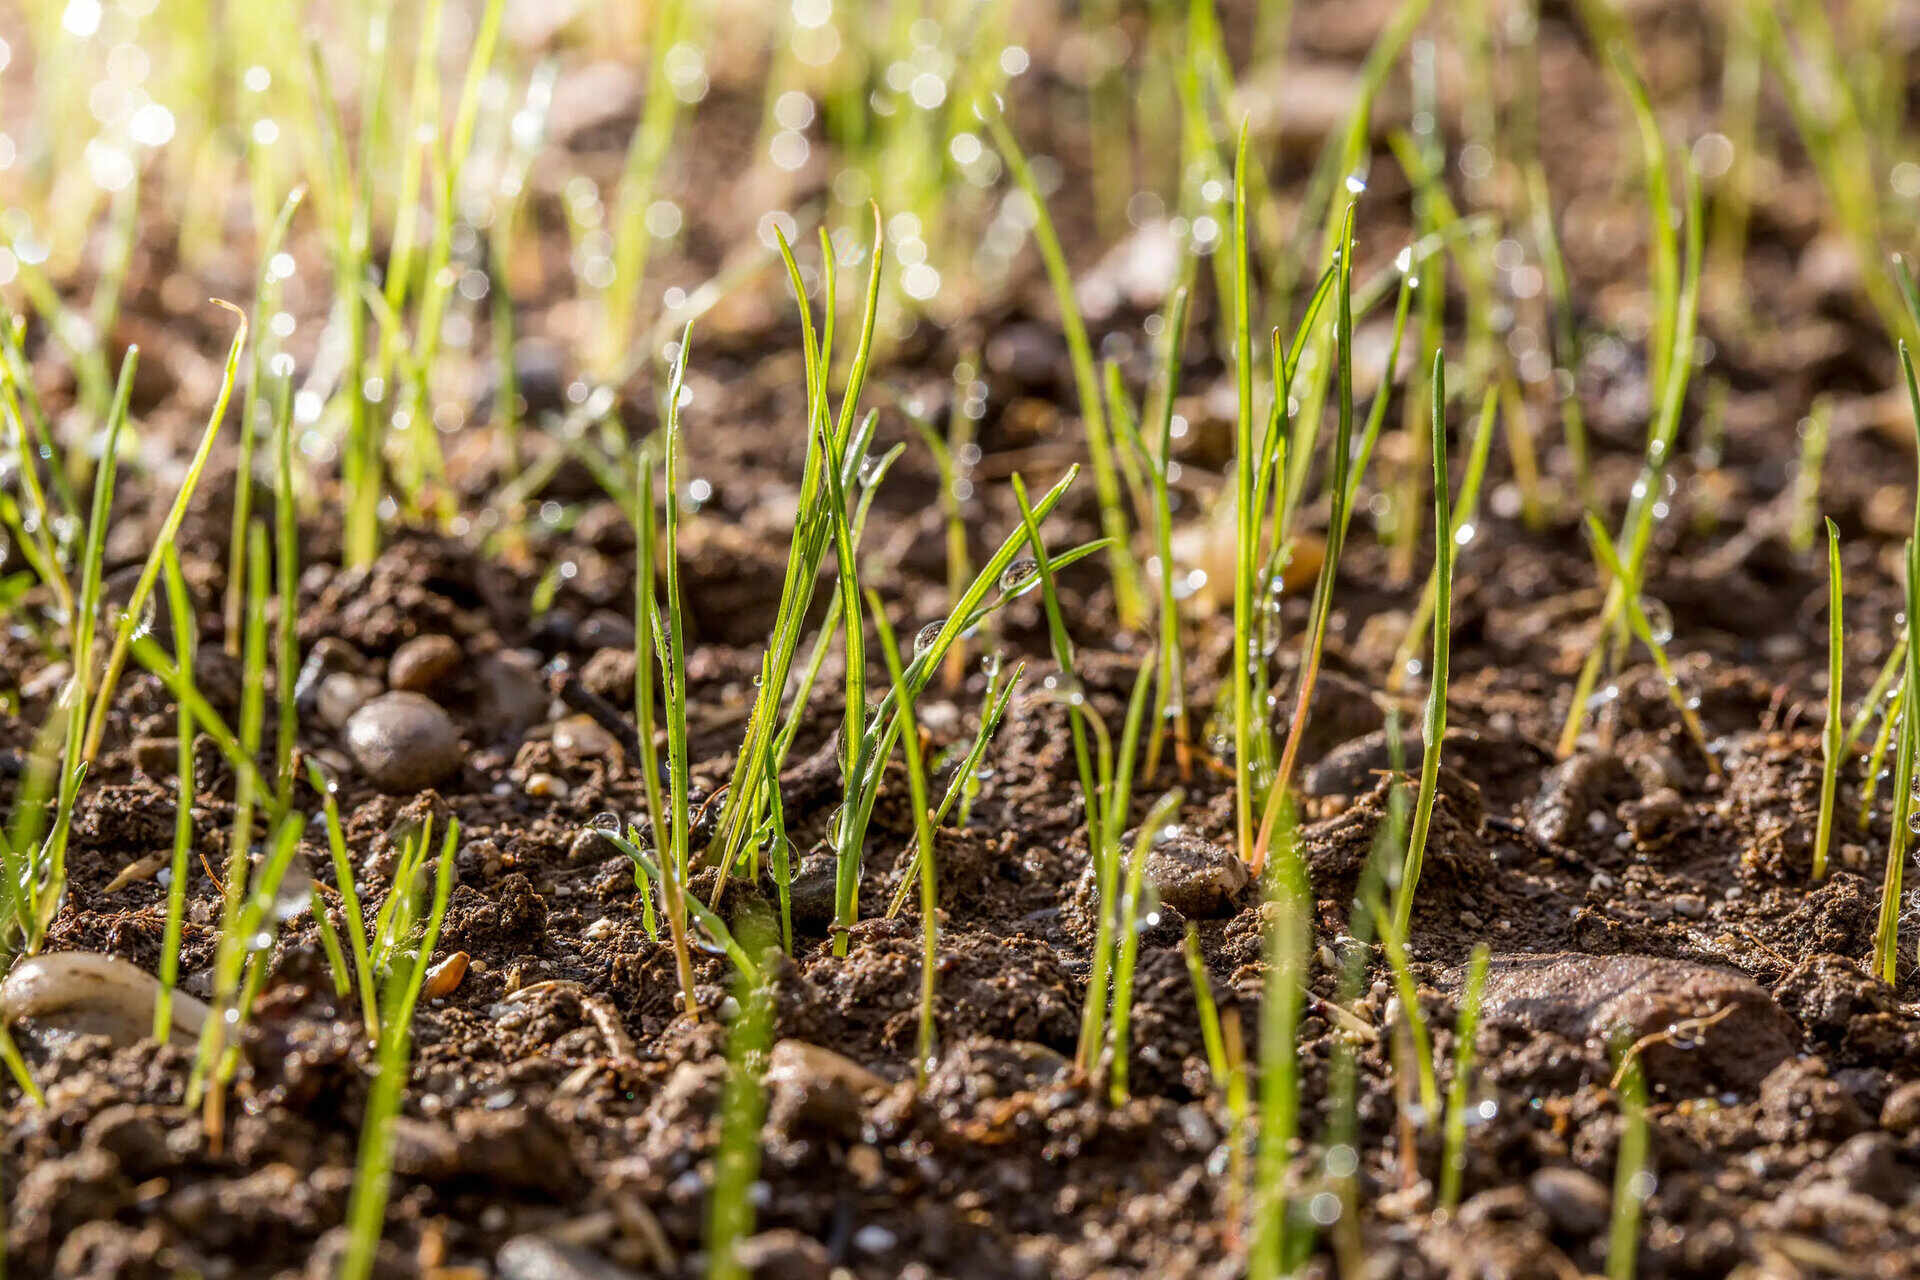
Planting the Seeds
Now that you have prepared the growing medium, it’s time to plant your sprouting seeds. Follow these steps to ensure successful germination and healthy growth:
1. Distribute the Seeds: Gently sprinkle or evenly distribute the seeds across the surface of the growing medium. Make sure they are spread out to leave enough space for each seed to sprout and grow without overcrowding.
2. Press Seeds Into the Medium: For better seed-to-medium contact and improved germination, lightly press the seeds into the growing medium. This helps to anchor the seeds and provides better access to moisture and nutrients.
3. Cover the Seeds (if applicable): Depending on the sprouting method, you may need to cover the seeds with a lid, another tray, or a breathable cloth to create a moist and dark environment. This step isn’t necessary for all sprouting methods but can be helpful for certain seed varieties.
4. Watering: Water the seeds and growing medium gently, using a spray bottle or a gentle stream of water. Be careful not to overwater, as this can lead to mold or rot. The goal is to maintain consistent moisture without waterlogging the growing medium.
5. Position the Container: Place the container in a warm and well-lit location. Ensure that it receives adequate indirect sunlight or artificial light for proper growth. Avoid placing the container in direct sunlight, as this can cause overheating and dry out the sprouting seeds.
6. Maintain Moisture: Throughout the sprouting process, regularly check the moisture level of the growing medium. Sprouting seeds require consistent moisture, so if the medium starts to dry out, mist it lightly with water to maintain the ideal moisture level.
7. Follow Seed-Specific Instructions: Different seeds have varying germination requirements. Some may need to be soaked or rinsed at specific intervals, while others may need to be kept in the dark for a certain period. Refer to the specific instructions for the seeds you are growing to ensure optimal conditions.
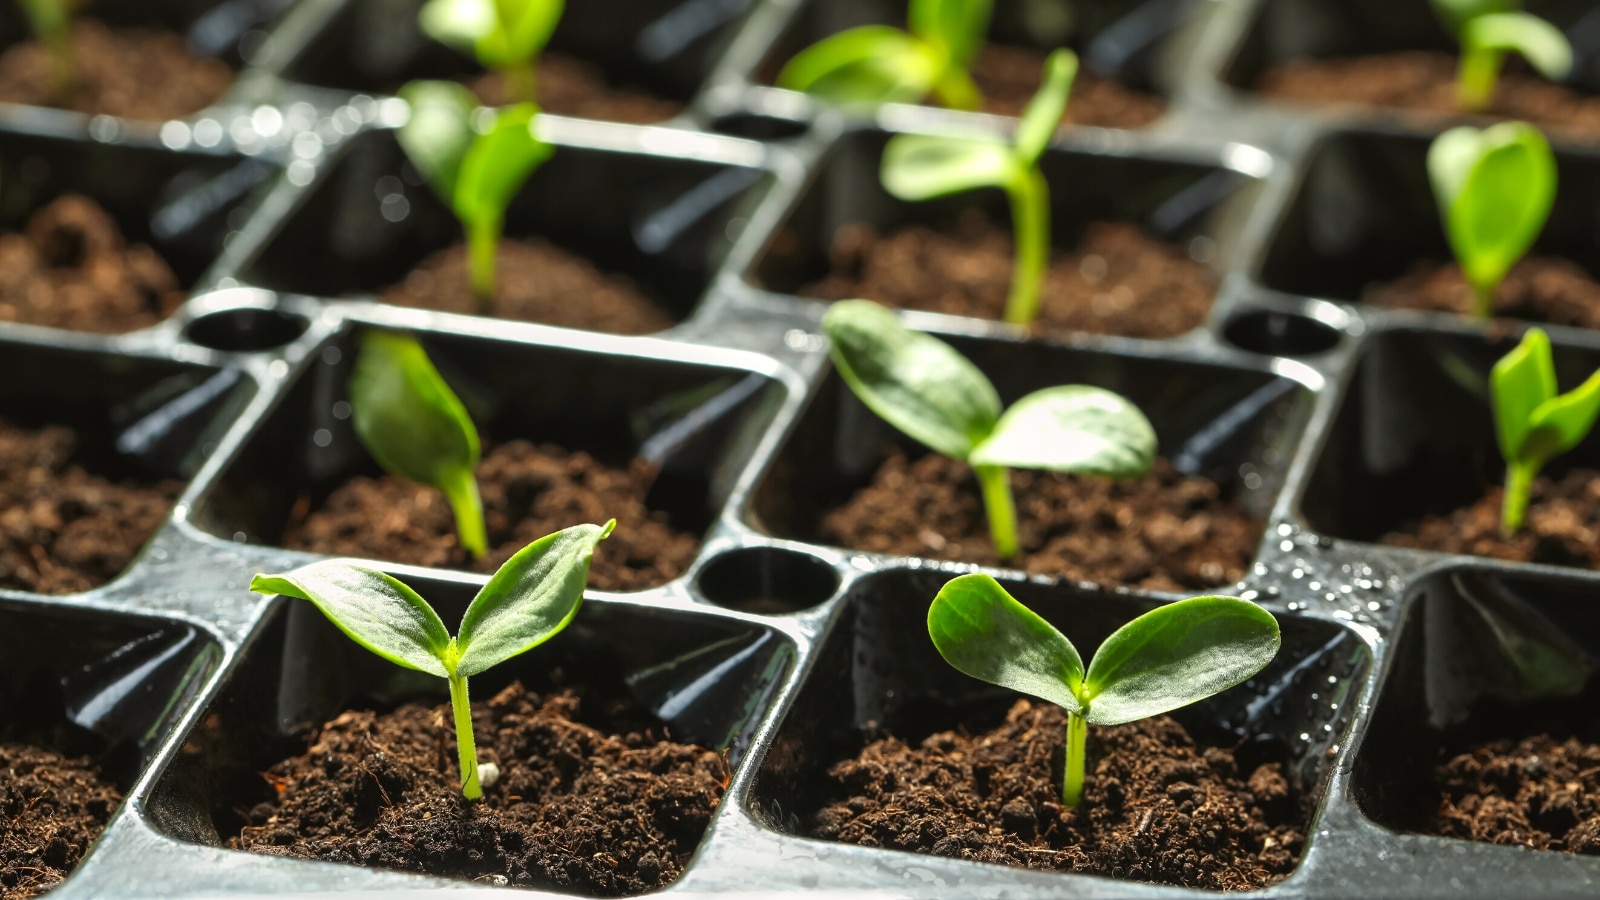
As the days pass, you will start to see the sprouts emerge from the seeds. It’s an exciting and rewarding process to witness the growth and transformation of your sprouting seeds. In the next section, we’ll explore the importance of proper watering and drainage for healthy sprout development.
Providing Proper Watering and Drainage
Watering and drainage are crucial factors in the successful growth of sprouting seeds. Here are some guidelines to help you provide proper moisture and ensure effective drainage:
1. Monitor Moisture Levels: Regularly check the moisture level of the growing medium. It should be consistently damp, but not waterlogged. Avoid letting the medium completely dry out or become overly saturated, as both extremes can hinder seed germination and sprout development.
2. Watering Techniques: Use a gentle misting or a watering can with a fine nozzle to water the sprouting seeds. This helps to distribute the water evenly without disturbing the delicate sprouts. Avoid using excessive force or heavy watering, as it can dislodge the seeds or damage the emerging sprouts.
3. Water Quality: Use clean, filtered water to ensure the health of your sprouting seeds. Chlorinated tap water can sometimes hinder germination and may affect the overall quality of the sprouts. If using tap water, let it sit uncovered for a few hours to allow the chlorine to dissipate.
4. Drainage: Proper drainage is essential to prevent waterlogging and the development of mold or rot. Ensure that your growing container has sufficient drainage holes or a well-draining medium. Excess water should be able to flow out easily, allowing the roots to access oxygen and preventing waterlogged conditions.
5. Drain Off Excess Water: After watering, check if there is any excess water accumulating in the container. If so, gently tilt the container to allow the excess water to drain off completely. Avoid leaving the sprouting seeds in standing water, as it can lead to root rot and other issues.
6. Avoid Overwatering: Overwatering can be detrimental to the health of sprouting seeds. It can lead to mold growth, root rot, and weak, leggy sprouts. Allow the top layer of the growing medium to dry out slightly between waterings, ensuring that it remains consistently damp but not overly saturated.
Remember that each seed variety may have slightly different watering needs. Refer to seed-specific instructions for optimal watering guidelines. By providing proper moisture and ensuring effective drainage, you will create a healthy and supportive environment for your sprouting seeds. In the next section, we’ll discuss the importance of maintaining optimal temperature and light conditions for successful sprout growth.
To grow sprouting seeds, soak them in water for 8-12 hours, then rinse and drain them twice a day. Keep them in a warm, dark place and watch for sprouts in 3-7 days.
Read more: How Long To Grow Brussel Sprouts From Seed
Maintaining Optimal Temperature and Light Conditions
Temperature and light are vital factors that influence the growth and development of sprouting seeds. By maintaining optimal conditions, you can ensure healthy and robust sprouts. Here are some guidelines to help you create the ideal environment:
1. Temperature: Most sprouting seeds prefer a temperature range of 18-24°C (65-75°F) for optimal germination and growth. Ensure that the location where you place your sprouting container maintains a consistent temperature within this range. Extreme temperature fluctuations can negatively impact seed germination and sprout development.
2. Light Intensity: While some sprouting seeds benefit from darkness during the initial stages of germination, most seeds require indirect sunlight or artificial light once they start to sprout. Place your sprouting container in a well-lit area, avoiding direct sunlight, which can cause excessive heat and potentially damage the emerging sprouts.
3. Light Duration: Most sprouting seeds require around 12-16 hours of light per day. If using artificial light, use a timer to ensure consistent and adequate light exposure. Provide a balance of light and darkness to promote healthy sprout growth.
4. Natural Light: If growing sprouts indoors, choose a location near a window that receives ample indirect sunlight. South-facing windows typically provide the best light intensity. Rotate the sprouting container regularly to ensure even exposure to sunlight, as sprouts tend to grow towards the light source.
5. Artificial Light: If natural light is limited or insufficient, use fluorescent or LED grow lights. Position the lights at an appropriate distance from the sprouting container, following the manufacturer’s instructions for optimal light intensity and duration.
6. Light Quality: Ensure that the light source provides the necessary spectrum for photosynthesis and healthy growth. Full-spectrum lights are recommended, as they mimic natural sunlight and support robust sprout development.
By maintaining optimal temperature and light conditions, you provide sprouting seeds with the ideal environment for growth. Remember to adjust these factors based on the specific requirements of the seed variety you are growing. In the next section, we’ll discuss the importance of monitoring and adjusting humidity levels to ensure successful sprouting.
Monitoring and Adjusting Humidity Levels
Humidity plays a crucial role in the successful growth of sprouting seeds. Monitoring and adjusting humidity levels will help create an environment that fosters healthy sprout development. Here’s what you need to know:
1. Understanding Humidity: Humidity refers to the amount of moisture present in the air. It greatly affects how water is transpired and absorbed by plants. Sprouting seeds generally require higher humidity levels during the initial stages of germination and lower humidity levels as they grow into mature sprouts.
2. Monitoring Humidity: Use a hygrometer or humidity monitor to measure the humidity levels in the area where your sprouting container is located. This will give you an accurate reading of the moisture content in the surrounding air.
3. Optimal Humidity Range: Most sprouting seeds thrive in an environment with humidity levels between 50% and 70%. However, it’s important to refer to seed-specific instructions, as some varieties may have specific humidity requirements.
4. Increasing Humidity: If the humidity is too low, there are several methods you can use to increase it. One approach is to mist the air around the sprouting container with purified water. Another option is to place a tray of water near the container, allowing the water to naturally evaporate and add moisture to the air.
5. Decreasing Humidity: If the humidity is too high, you can lower it by providing proper ventilation for the sprouting container. Ensure there is enough airflow around the container to prevent a buildup of excess moisture. You can also use a dehumidifier or open windows to allow for better air circulation.
6. Avoiding Excessive Humidity: Be mindful not to create an environment that is excessively humid, as it can lead to the growth of mold or fungus. Monitor the growth medium and sprouts regularly to ensure they are not overly wet or showing signs of rot.
By monitoring and adjusting humidity levels as needed, you create a balanced and favorable atmosphere for sprouting seeds. Remember that maintaining the right humidity is as important as maintaining proper temperature and light conditions. In the next section, we’ll discuss how to prevent common issues and pests that can affect your sprouting seeds.
Preventing Common Issues and Pests
When growing sprouting seeds, it’s essential to be proactive in preventing common issues and warding off pests. Here are some tips to help you maintain a healthy sprouting environment:
1. Fungal or Bacterial Growth: Excessive moisture can create an environment conducive to fungal or bacterial growth. To prevent this, ensure proper ventilation and avoid overwatering. Maintain a balance between moisture and airflow to discourage the development of mold or rot.
2. Pests: Common pests that can affect sprouting seeds include fungus gnats, fruit flies, and aphids. To prevent infestations, keep the sprouting area clean and free from decaying plant matter. Ensure that your sprouting containers and tools are properly sanitized to eliminate potential breeding grounds for pests.
3. Natural Pest Control: If you notice pest activity, there are natural methods to control them. For example, you can use sticky traps or yellow sticky cards to catch flying insects. You can also introduce beneficial insects such as ladybugs or lacewings, which feed on aphids and other plant-damaging pests.
4. Inspect Seeds: Before sprouting, inspect your seeds for any signs of damage, such as discoloration or mold. Using healthy seeds increases the likelihood of successful sprouting and reduces the risk of introducing potential issues to your growing medium.
5. Sanitize Growing Containers: Before each use, sanitize your sprouting containers to prevent the buildup of harmful bacteria or fungi. Wash them with hot, soapy water and rinse thoroughly. You can also use a diluted bleach solution to disinfect the containers.
6. Cleanliness: Practice good hygiene habits when handling sprouting seeds and the growing environment. Wash your hands thoroughly before touching the seeds or working with the sprouts. Regularly clean the area where you grow your sprouts to minimize the risk of contamination or pests.
By being vigilant and taking proactive measures, you can prevent common issues and pests from affecting your sprouting seeds. Regularly monitor your sprouts for any signs of damage or infestation, and address any problems promptly to ensure a successful growing experience. In the next section, we’ll explore how to harvest and make the most of your sprouting seeds.
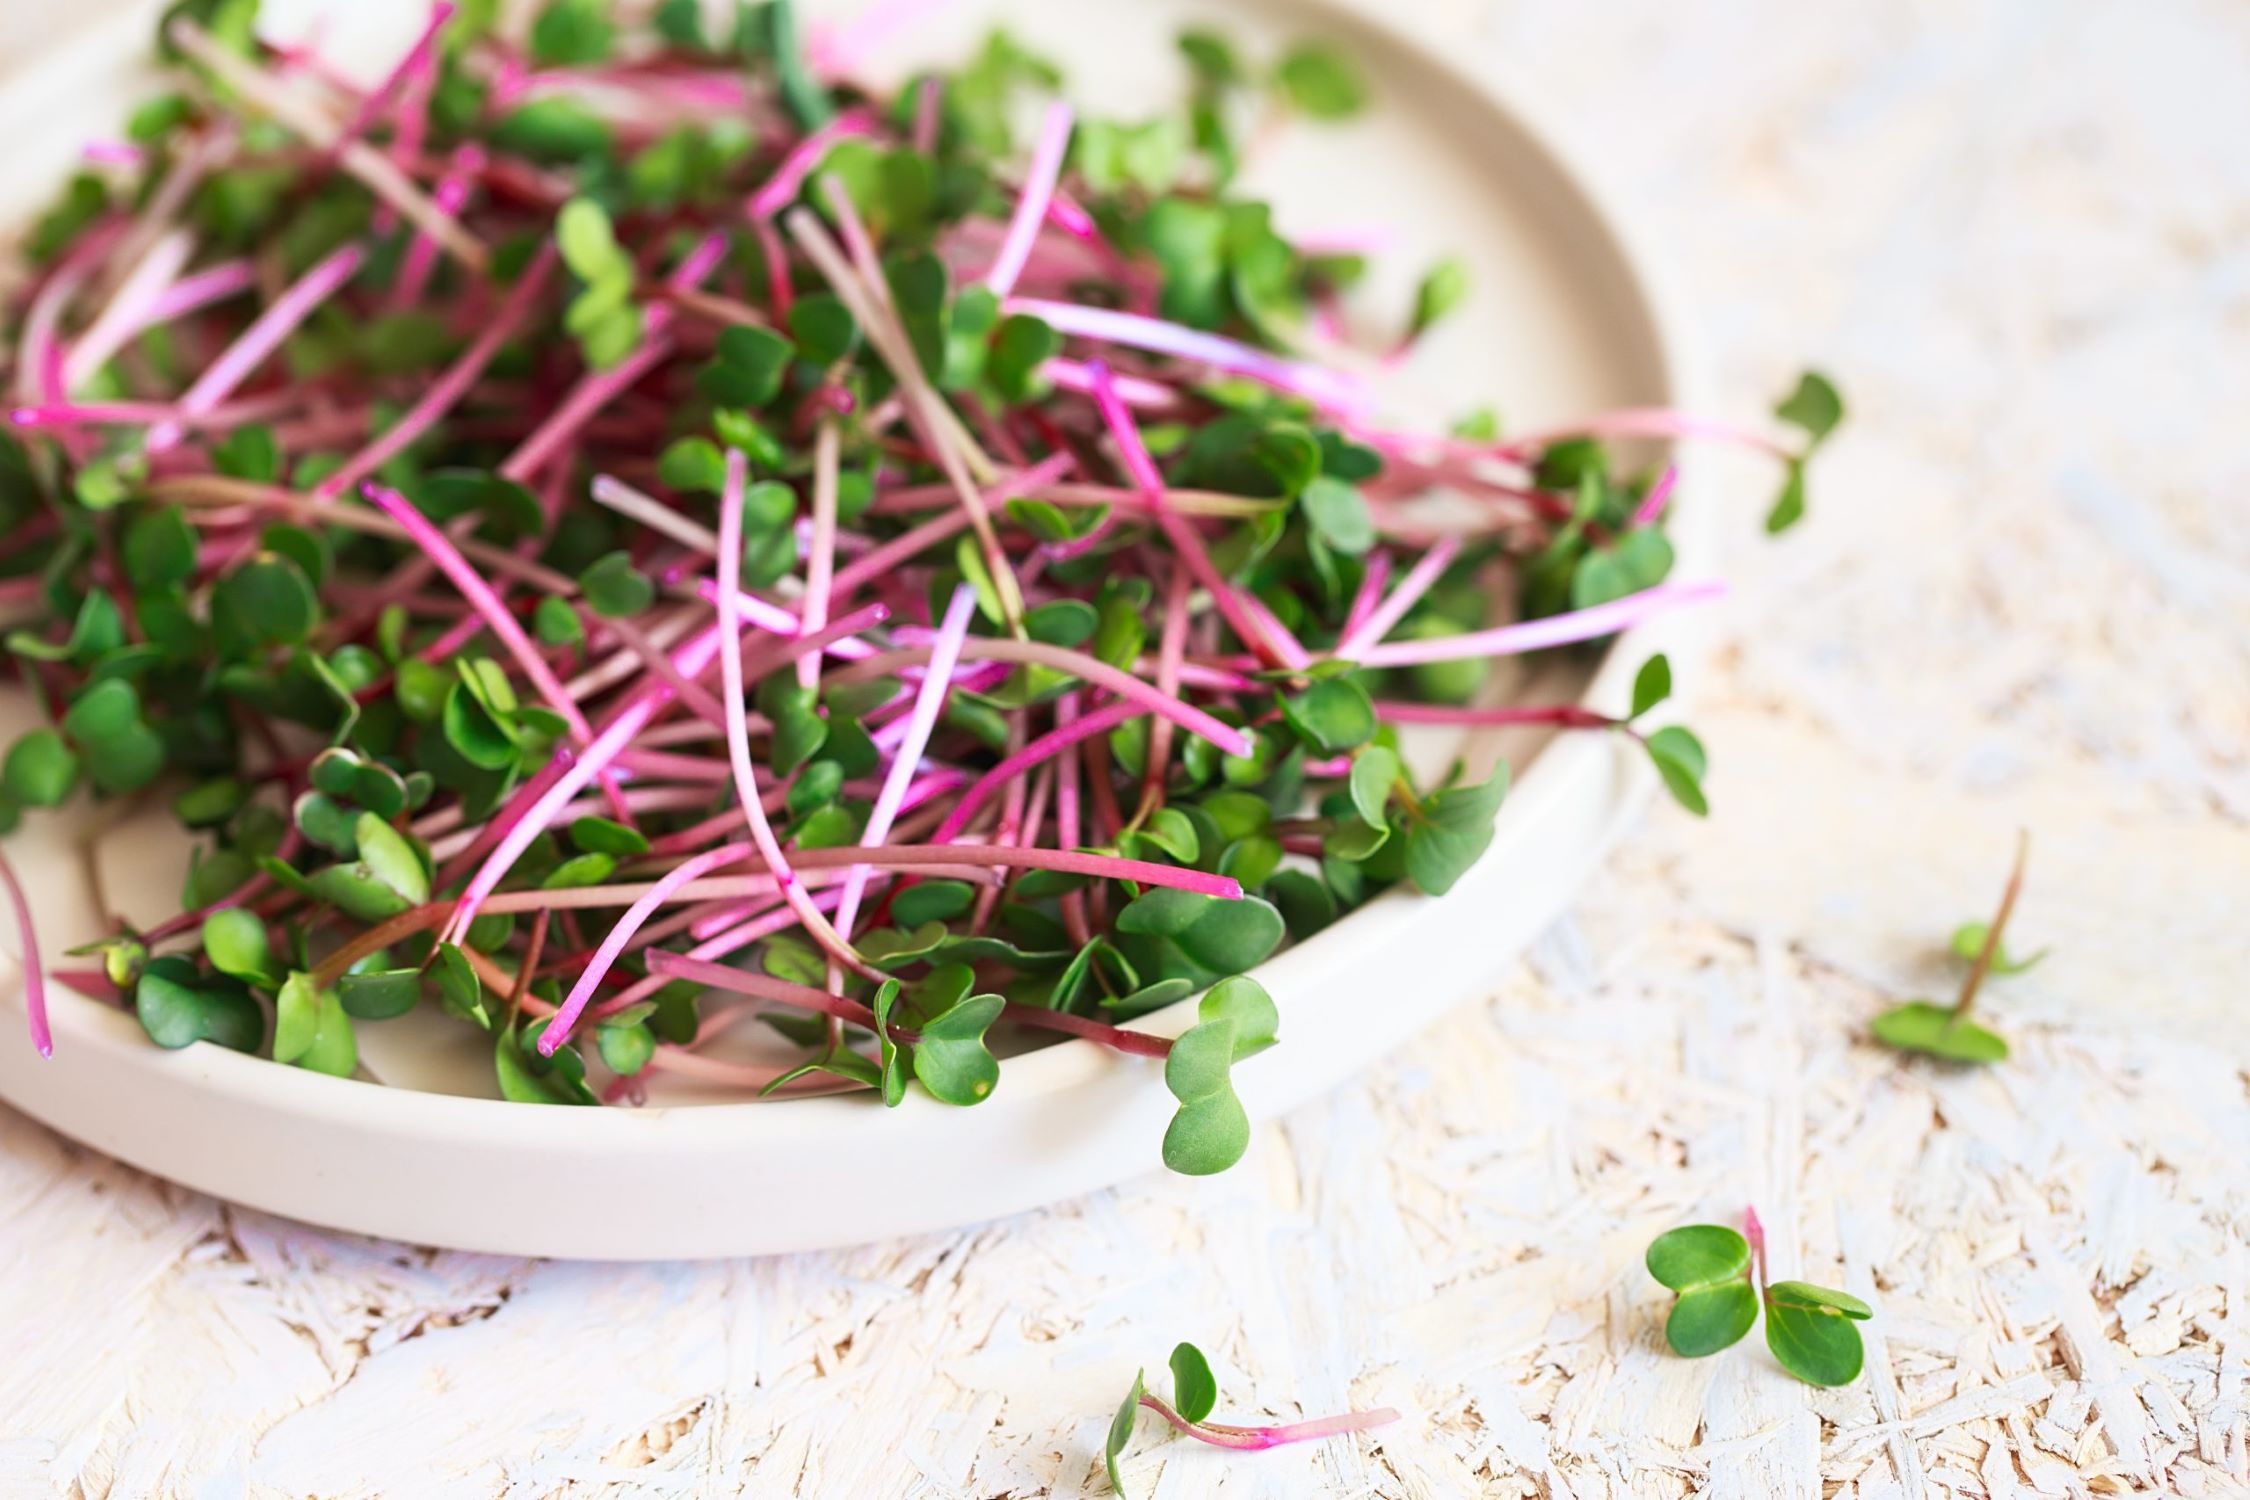
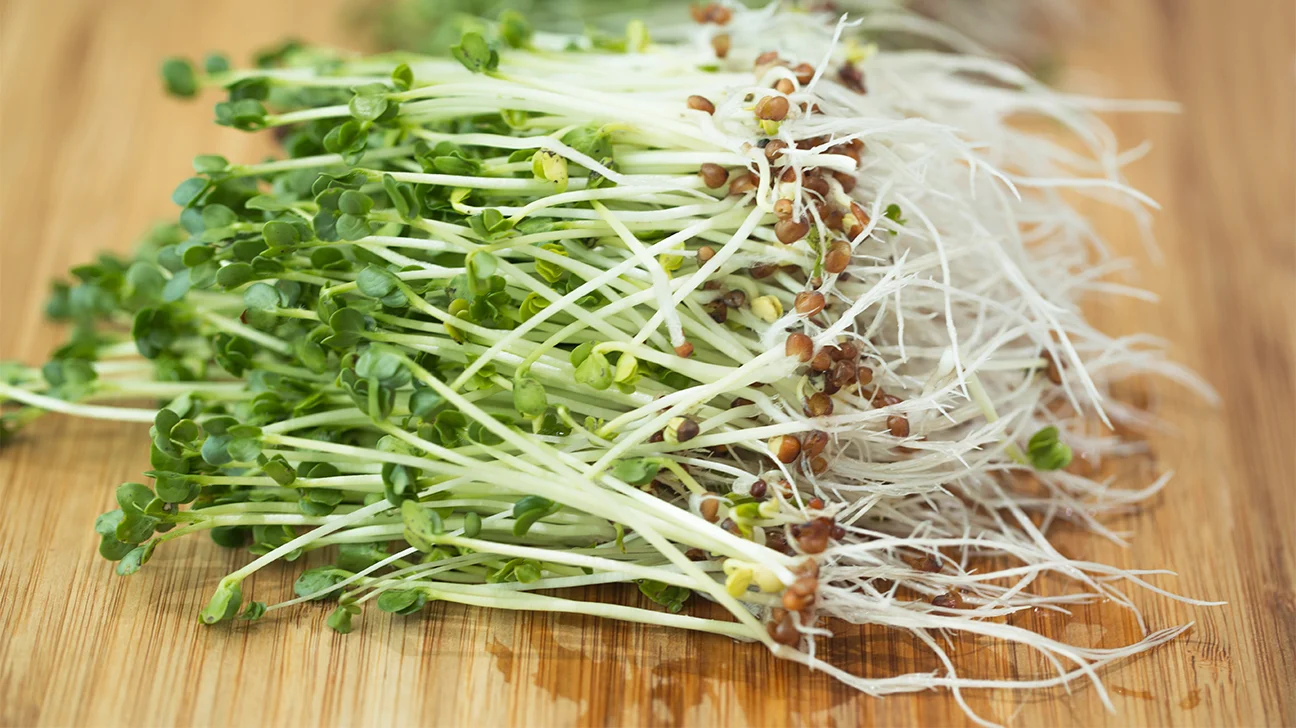
Harvesting and Using Sprouting Seeds
After patiently nurturing and tending to your sprouting seeds, it’s time to harvest and enjoy the fruits (or rather, sprouts) of your labor! Here’s how to harvest and make the most of your sprouting seeds:
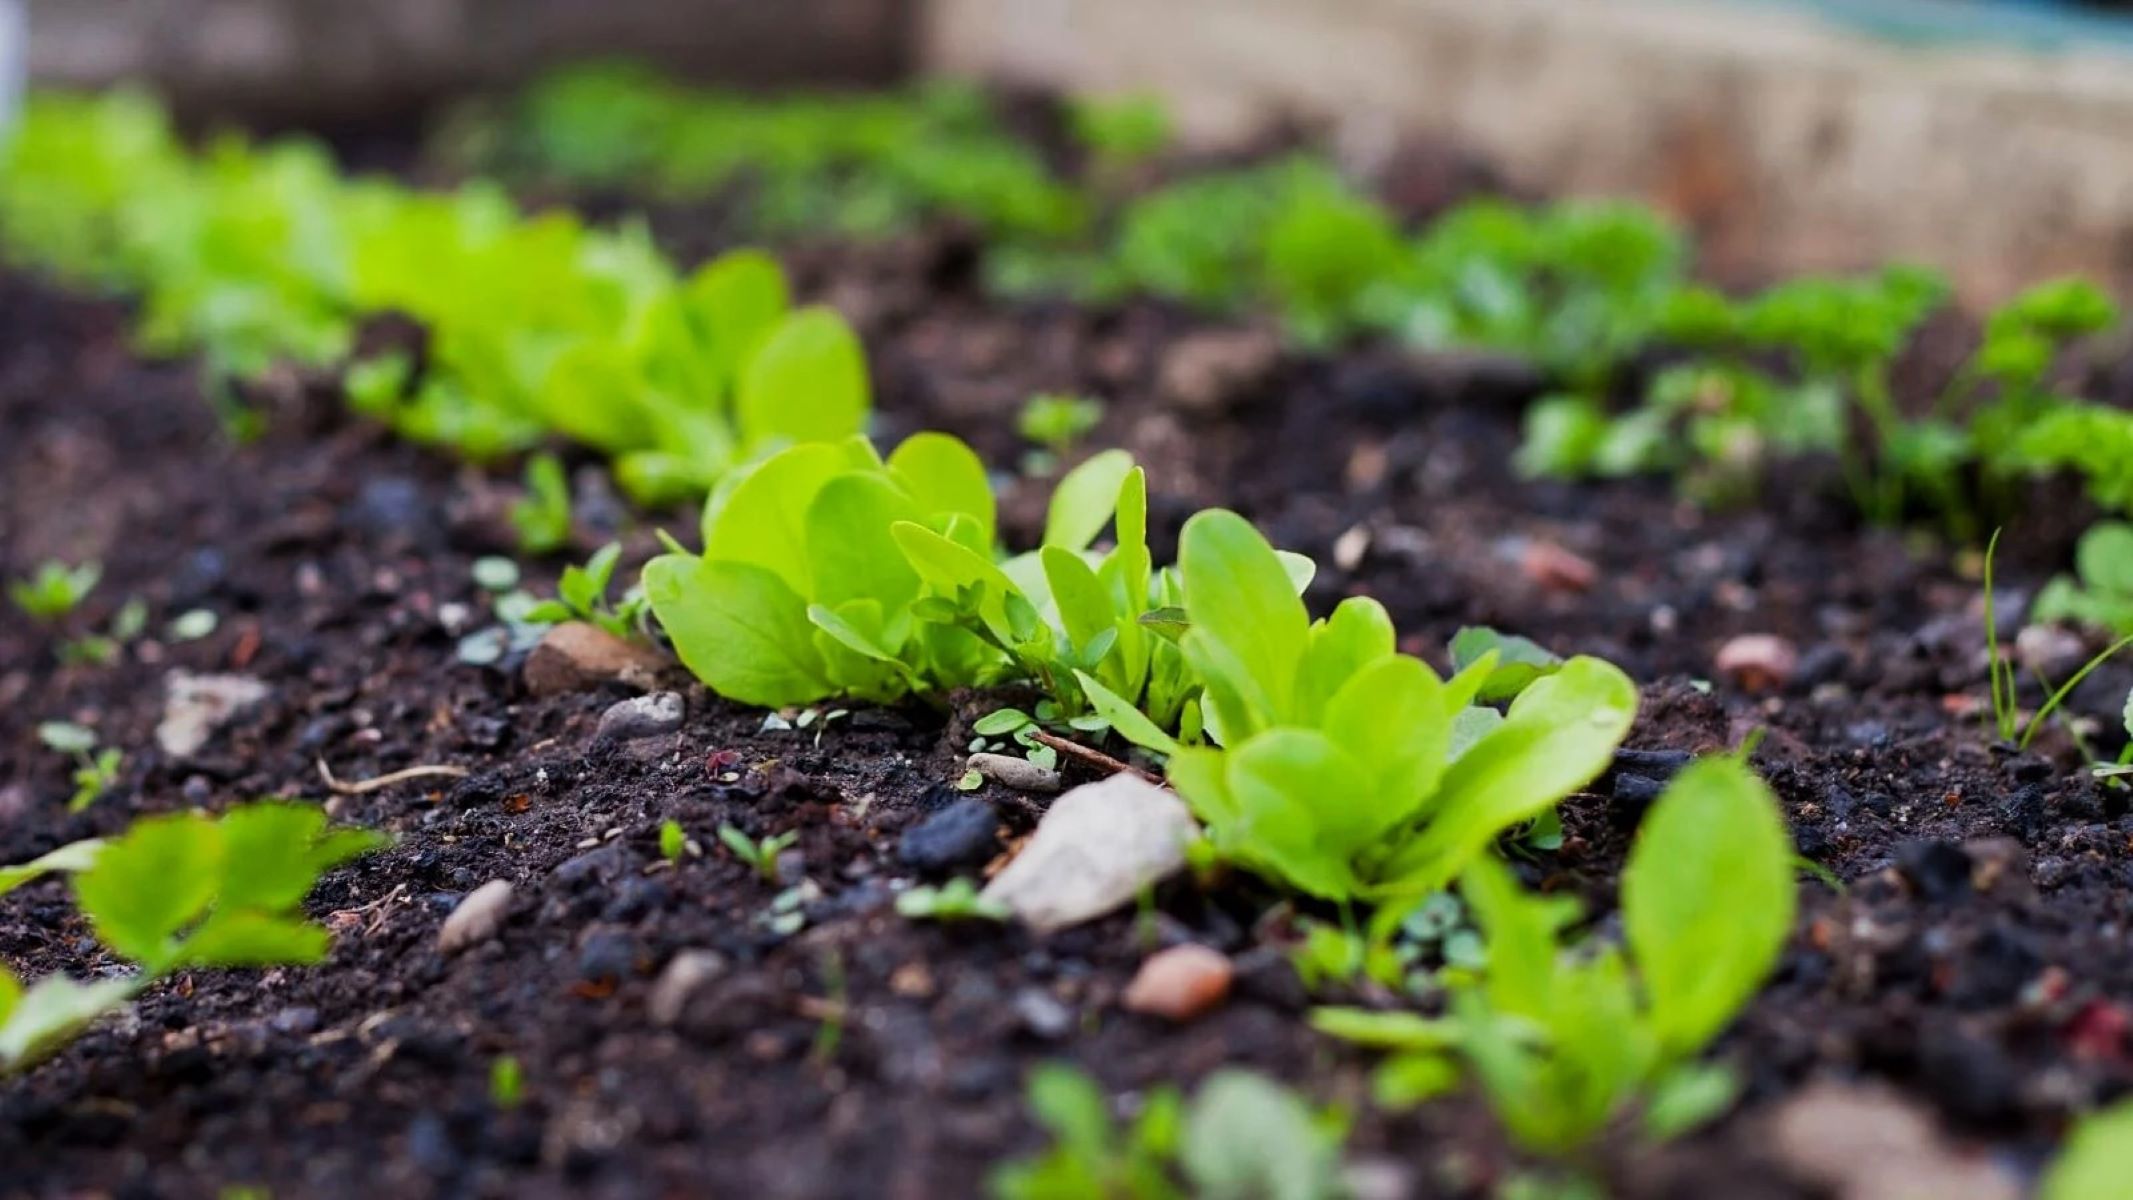
1. Harvesting Time: The ideal time to harvest your sprouts depends on the specific seed variety and your personal preference. Generally, sprouts are ready to harvest when they have developed their first set of true leaves or when they reach the desired length.
2. Harvesting Method: To harvest your sprouts, gently remove them from the growing medium. You can use clean hands, scissors, or a gentle tug to separate the sprouts from the roots and any remaining seed hulls.
3. Rinsing: After harvesting, give your sprouts a thorough rinse under cold, running water to remove any remaining debris or seed hulls. Shake off any excess water and allow them to drain before using or storing.
4. Storing Sprouts: If you don’t plan to use the sprouts immediately, store them in the refrigerator to maintain freshness. Place them in a clean, airtight container lined with a paper towel to absorb excess moisture. Properly stored sprouts can typically last for up to a week.
5. Using Sprouting Seeds: Sprouting seeds can be a versatile and nutritious addition to a wide range of dishes. Add them to salads, sandwiches, wraps, stir-fries, omelets, or garnish soups and smoothies. They provide a delightful crunch and a burst of fresh flavor.
6. Exploring Culinary Options: Get creative and experiment with different sprouting seed varieties to discover new flavors and combinations. Mix different sprouts together for a colorful and nutrient-packed salad or blend them into homemade dressings or dips for added texture and taste.
7. Enjoying the Nutritional Benefits: Sprouting seeds significantly increase their nutritional value compared to their dormant state. They are rich in vitamins, minerals, antioxidants, and enzymes. Incorporating sprouting seeds into your diet can contribute to overall well-being and promote a healthy lifestyle.
Remember to clean and sanitize your sprouting containers and equipment after each harvest, ensuring a hygienic environment for future sprout growth.
With a little care and attention, you can enjoy a steady supply of fresh sprouting seeds and elevate your culinary experiences with their vibrant flavors and nutritional benefits. Happy sprouting and bon appétit!
Read more: How To Sprout Onion Seeds
Conclusion
Congratulations! You have now learned the ins and outs of growing sprouting seeds. By choosing the right seeds, preparing the growing medium, providing proper watering and drainage, maintaining optimal temperature and light conditions, monitoring humidity levels, and preventing common issues and pests, you have set the stage for successful sprout growth. And once you have harvested your sprouts, a world of culinary possibilities awaits.
Growing sprouting seeds not only offers a rewarding gardening experience but also provides you with a consistent supply of fresh, nutritious sprouts. These tiny powerhouses are packed with vitamins, minerals, and antioxidants, making them a valuable addition to your diet.
Remember to experiment with different seed varieties, explore various sprouting methods, and get creative with how you incorporate sprouts into your meals. Whether it’s adding them to salads, sandwiches, or smoothies, or using them as a flavorful garnish, sprouting seeds can take your culinary adventures to new heights.
As you continue on your sprouting journey, keep in mind the importance of maintaining cleanliness, monitoring moisture levels, and adapting to the specific needs of different seeds. With patience, care, and a little bit of garden magic, you can enjoy the beauty and benefits of sprouting seeds right in the comfort of your own home.
So, roll up your sleeves, grab your seeds, and let the sprouting adventure begin. Happy growing!
Frequently Asked Questions about How To Grow Sprouting Seeds
Was this page helpful?
At Storables.com, we guarantee accurate and reliable information. Our content, validated by Expert Board Contributors, is crafted following stringent Editorial Policies. We're committed to providing you with well-researched, expert-backed insights for all your informational needs.


0 thoughts on “How To Grow Sprouting Seeds”