Home>Garden Essentials>How To Grow Brussel Sprouts From Seeds
Garden Essentials
How To Grow Brussel Sprouts From Seeds
Modified: August 17, 2024
Learn how to grow Brussel sprouts from seeds in your garden with these helpful tips and tricks. Enjoy a bountiful harvest of fresh and delicious vegetables.
(Many of the links in this article redirect to a specific reviewed product. Your purchase of these products through affiliate links helps to generate commission for Storables.com, at no extra cost. Learn more)
Introduction
Welcome to the world of gardening, where you can nurture and grow your own delicious vegetables! If you’re a fan of nutrient-rich, mini cabbages, the Brussel sprout is the perfect addition to your garden. No need to rely on store-bought sprouts when you can grow them fresh at home. In this article, we will guide you through the process of growing Brussel sprouts from seeds, helping you achieve a bountiful harvest.
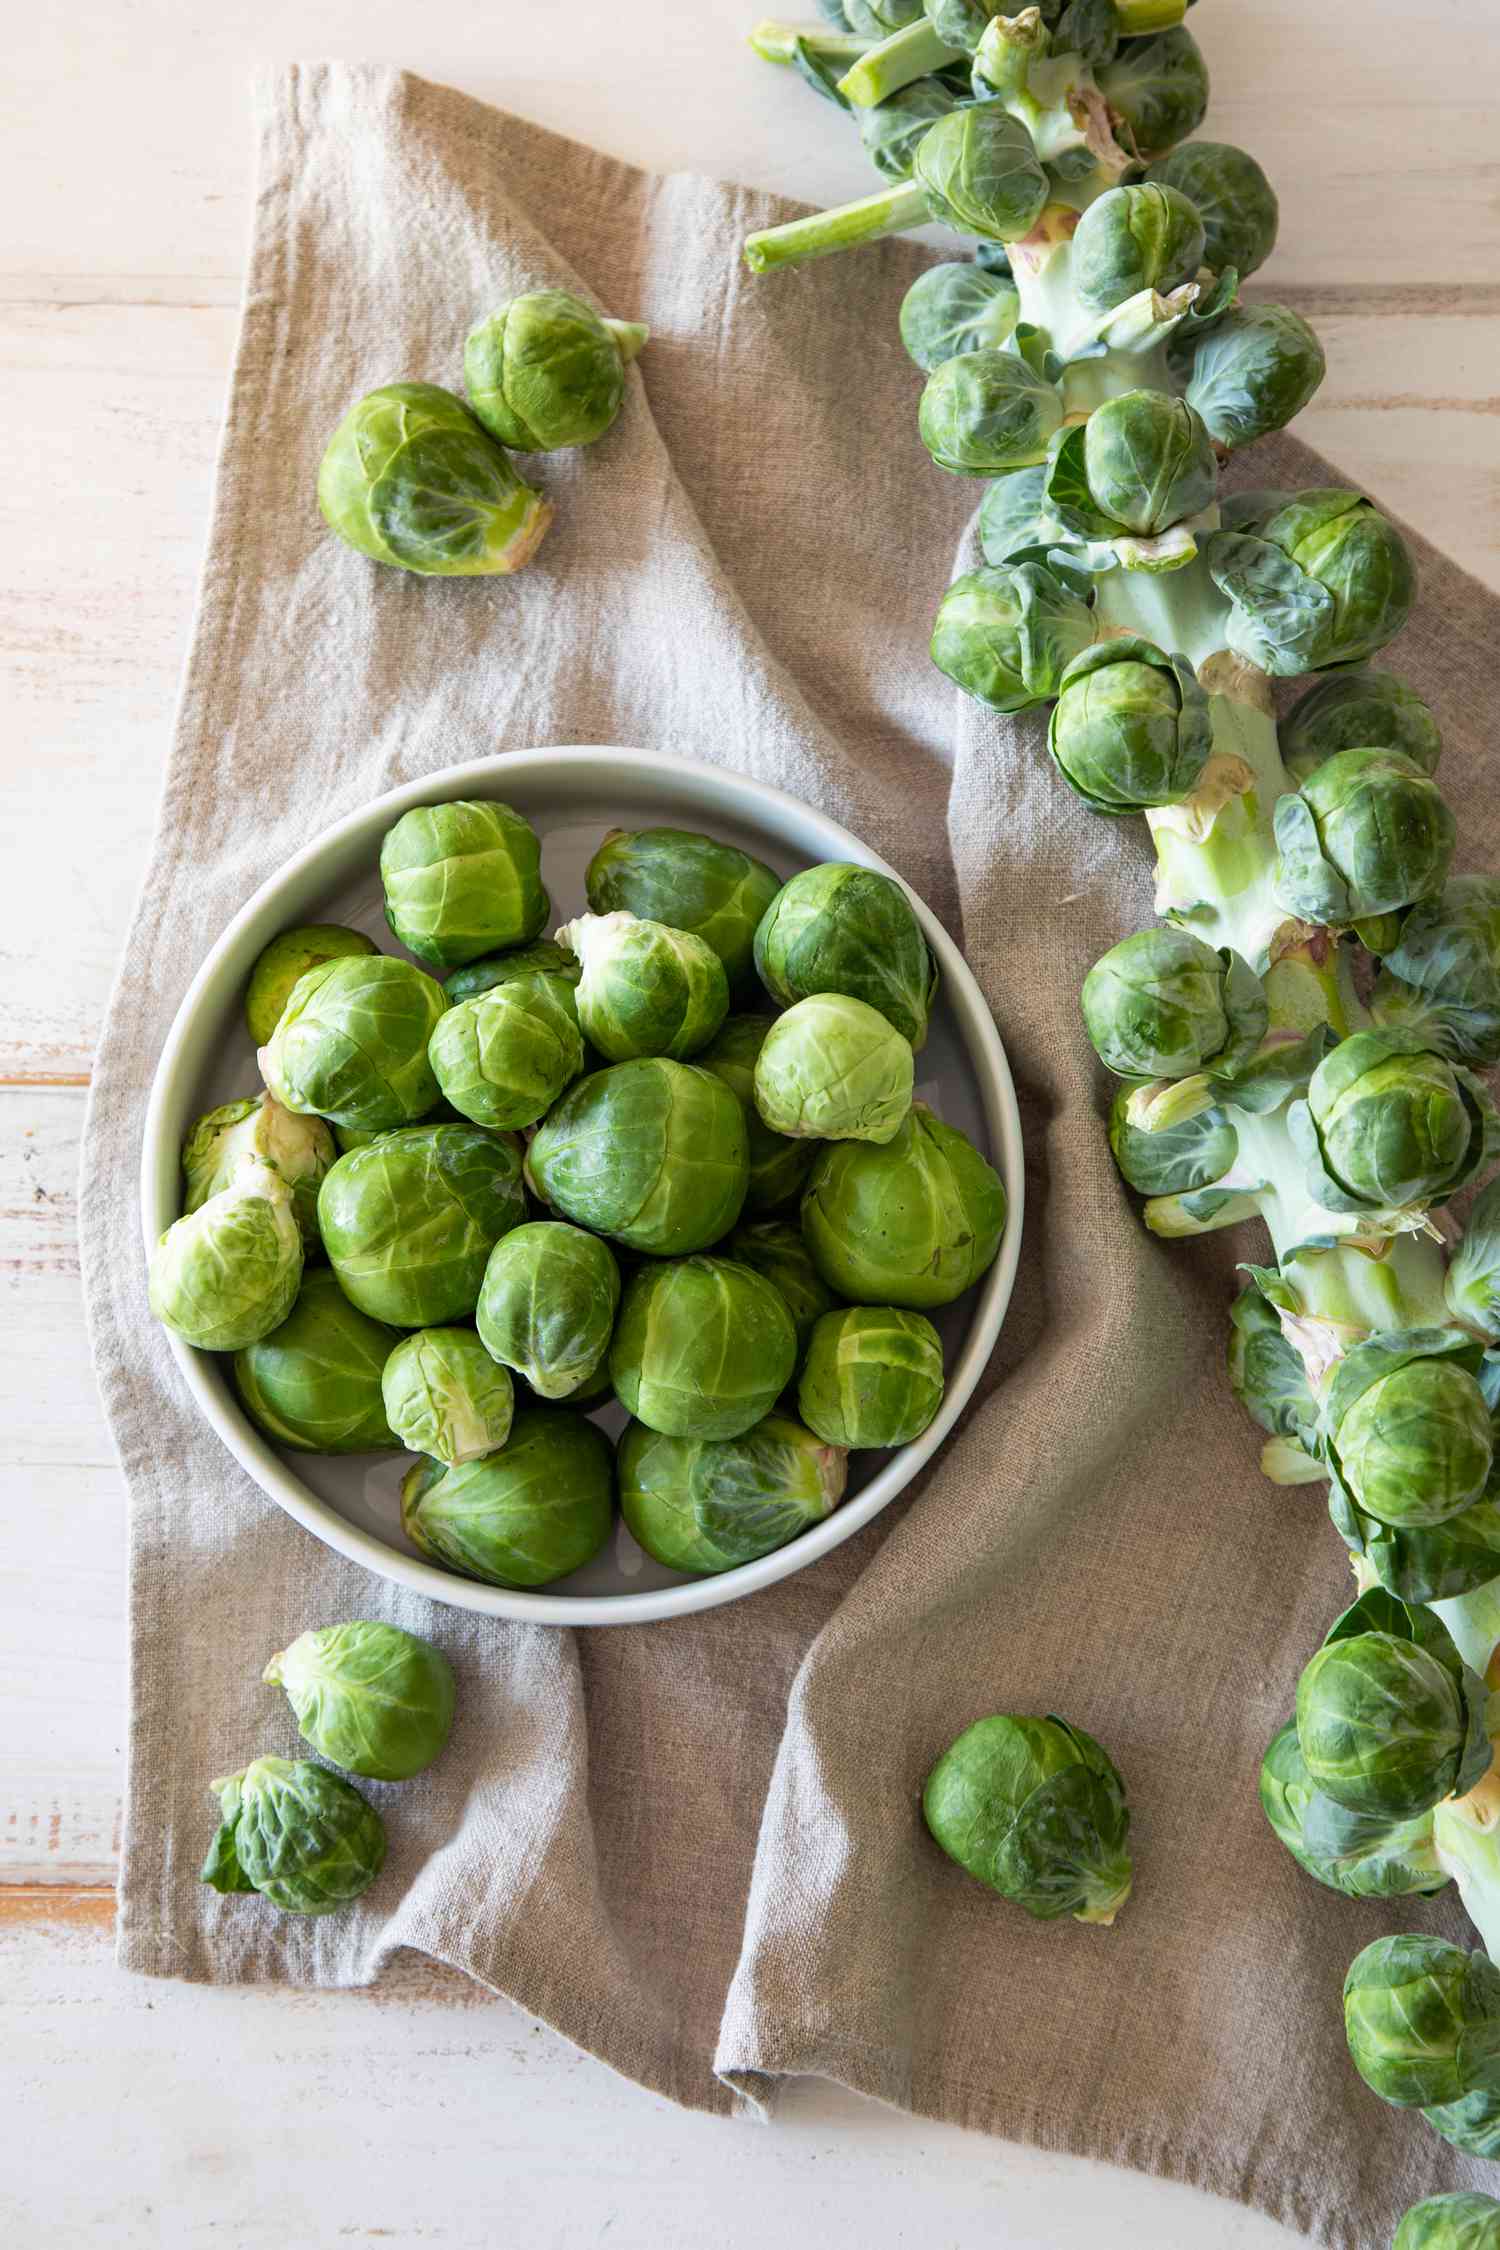
Brussel sprouts, scientifically known as Brassica oleracea var. gemmifera, are a member of the cabbage family and thrive in cool weather. These mini green vegetables are packed with vitamins A, C, and K, as well as dietary fiber. They produce small buds along a sturdy stalk that can be harvested once they reach maturity. Growing Brussel sprouts in your garden will not only provide you with a tasty addition to your meals but also add an ornamental touch, with their unique structure and vibrant colors.
Before we dive into the steps of growing Brussel sprouts, it’s important to note that they require a bit of patience and attention. They prefer a long growing season, typically taking around 90-100 days from planting to harvest. So, let’s get started on our journey to grow healthy and delicious Brussel sprouts from seeds.
Key Takeaways:
- Growing Brussel sprouts from seeds requires patience, attention, and the right seeds. Prepare fertile soil, provide consistent water and care, and enjoy the delicious, nutrient-rich rewards at harvest time.
- Select the best Brussel sprout seeds, prepare the soil, and provide proper care to grow healthy and delicious Brussel sprouts. Harvest the mature sprouts and savor the satisfaction of homegrown vegetables.
Read more: How Long To Grow Brussel Sprouts From Seed
Step 1: Choosing the Right Seeds
The first step in growing Brussel sprouts from seeds is selecting the right seeds for your garden. When choosing Brussel sprout seeds, keep the following factors in mind:
- Variety: Brussel sprout varieties come in different shapes, sizes, and flavors. Some popular varieties include ‘Long Island Improved,’ ‘Diablo,’ and ‘Rubine.’ Consider your climate and personal preferences when selecting a variety.
- Seed Quality: Ensure that the seeds you choose are fresh and of high quality. Look for seeds from reputable seed suppliers or garden centers to ensure a higher germination rate.
- Organic vs. Non-Organic: Decide whether you want to grow organic Brussel sprouts. Organic seeds are produced from plants that have been grown without the use of synthetic pesticides, fertilizers, or genetic modification.
- Germination Rate: Check the packaging or seed catalog for the germination rate of the seeds. Higher germination rates increase the chances of successful seedling emergence.
Once you have chosen your Brussel sprout seeds, it’s time to move on to the next step: preparing the soil.
Step 2: Preparing the Soil
The success of growing Brussel sprouts depends heavily on the quality of the soil. Brussel sprouts thrive in fertile, well-draining soil with a pH level between 6.0 and 7.5. Follow these steps to prepare the soil:
- Clear the Area: Start by clearing the selected area of any weeds, rocks, or debris. This will create a clean space for your Brussel sprout plants to grow.
- Amend the Soil: Brussel sprouts prefer soil that is rich in organic matter. Work in compost or well-rotted manure into the soil to improve its fertility and drainage. A layer of organic matter about 2-3 inches thick is ideal.
- Loosen the Soil: Use a garden fork or tiller to loosen the soil to a depth of at least 12 inches. This will improve root penetration and aeration.
- Level the Soil: Rake the soil surface to create a level bed for planting. This will ensure even water distribution and prevent pooling of water around the plants.
Once the soil is properly prepared, it’s time to move on to the next step: planting the Brussel sprout seeds.
Step 3: Planting the Seeds
Now that you have prepared the soil, it’s time to plant your Brussel sprout seeds. Follow these steps for successful seed planting:
- Determine the Planting Time: Brussel sprouts are cool-season crops and prefer temperatures between 60°F and 70°F (15°C and 21°C). Plant the seeds in early spring for a fall harvest or in late summer for a winter harvest, depending on your climate.
- Sow the Seeds: Make small furrows in the soil, about ¼ to ½ inch deep. Space the furrows about 2 feet apart to allow enough room for the plants to grow. Place the seeds in the furrows, spacing them about 2 inches apart.
- Cover and Water: Gently cover the seeds with soil and lightly press it down. Water the soil thoroughly to ensure good seed-to-soil contact and germination. Keep the soil consistently moist throughout the germination period.
Once the seeds have germinated and seedlings have emerged, it’s important to thin them out. Brussel sprout plants require adequate spacing to grow properly. Thin the seedlings so that they are about 12-18 inches apart, allowing enough space for each plant to develop strong roots and form their characteristic sprouts. Thinning also increases air circulation, reducing the risk of disease.
Now that the seeds are planted and the seedlings are growing, it’s time to move on to the next step: watering and fertilizing the plants.
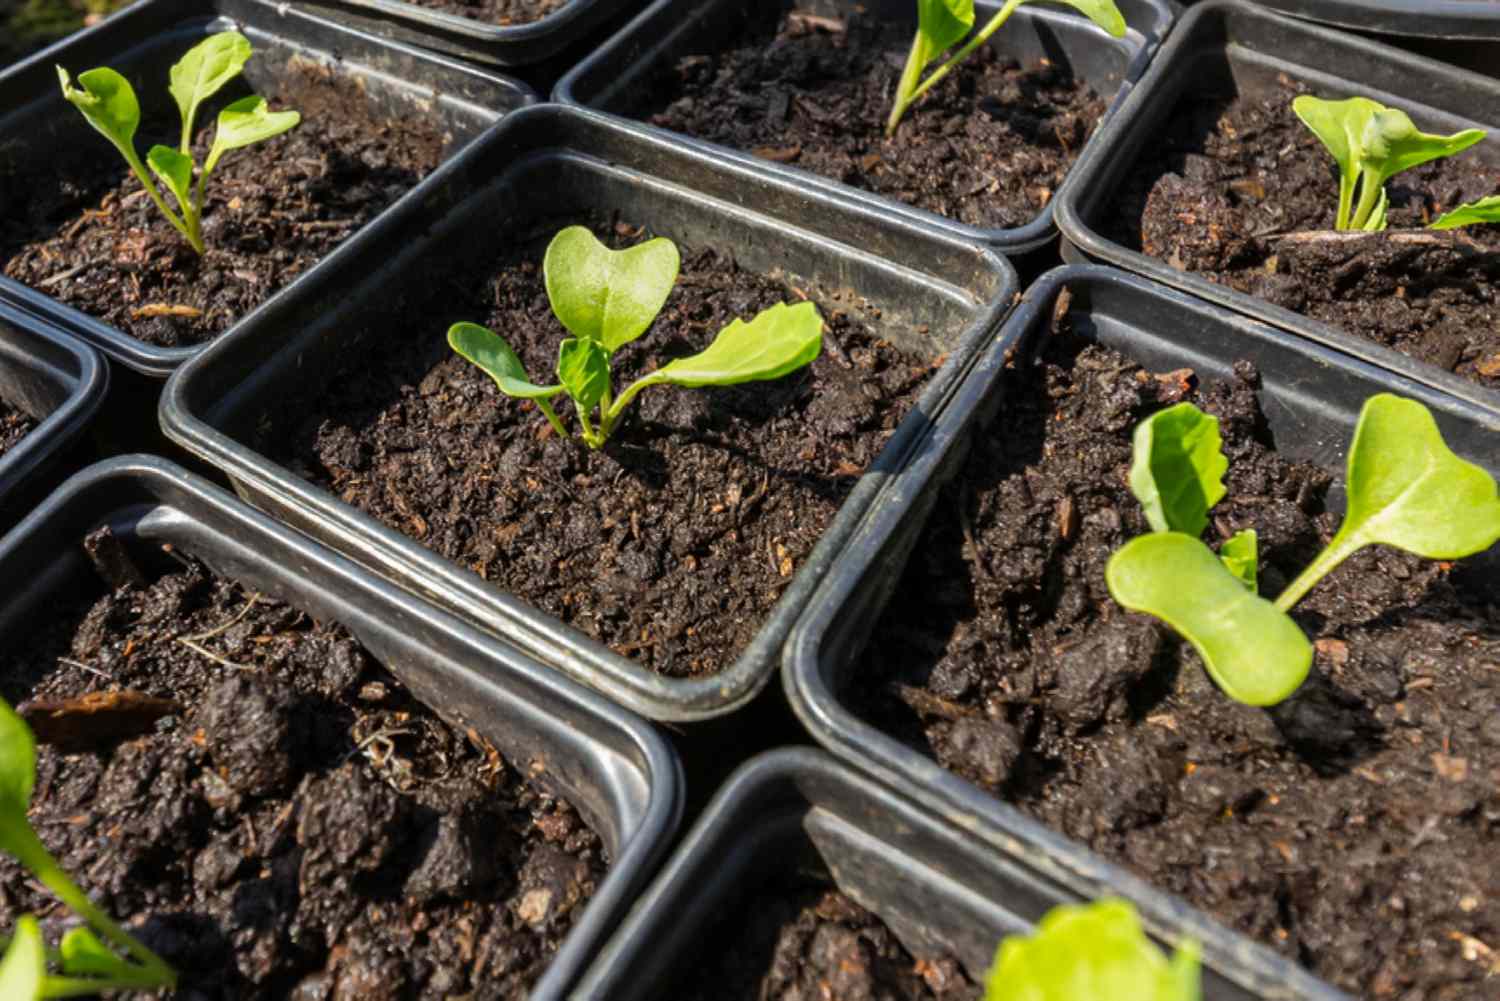
Start Brussels sprout seeds indoors 6-8 weeks before the last frost. Plant them 1/4 inch deep in a seed-starting mix and keep the soil consistently moist. Once they have 4 true leaves, transplant them outside to a sunny spot with well-draining soil.
Step 4: Watering and Fertilizing
Proper watering and fertilizing are essential for the healthy growth of Brussel sprouts. Here’s what you need to know:
- Watering: Brussel sprouts require consistent moisture throughout their growth cycle. Keep the soil evenly moist, ensuring it doesn’t become waterlogged or dry out completely. Water deeply, providing about 1-2 inches of water per week, depending on weather conditions. Be sure to water at the base of the plants to avoid wetting the foliage, as this can lead to diseases.
- Fertilizing: Brussel sprouts are heavy feeders and benefit from regular fertilization. Before planting, incorporate a balanced organic fertilizer into the soil. Once the plants are established, feed them with a nitrogen-rich fertilizer every 3-4 weeks to support leafy growth. Avoid excessive nitrogen during the later stages of plant development, as this can result in excessive foliage growth and hinder sprout formation.
When fertilizing, always follow the instructions on the fertilizer packaging and avoid over-fertilizing, as this can lead to nutrient imbalances and adversely affect plant health.
Remember to monitor the moisture levels of the soil and adjust your watering schedule accordingly. Additionally, keep an eye out for any signs of nutrient deficiencies or pests, as timely intervention can prevent potential damage.
With proper watering and fertilizing practices in place, we can now move on to the next step: providing proper care to your Brussel sprout plants.
Read more: When To Start Brussel Sprout Seeds
Step 5: Providing Proper Care
Brussel sprouts require proper care to ensure their optimal growth and development. Follow these steps to provide the necessary care for your plants:
- Mulching: Apply a layer of organic mulch, such as straw or wood chips, around the base of the plants. Mulching helps retain moisture, suppress weeds, and regulate soil temperature.
- Staking and Support: As the Brussel sprout plants grow taller, they may require support to prevent them from toppling over. Install stakes or cages around the plants when they reach a height of about 12 inches and gently tie the main stalk to the support structure.
- Weed Control: Regularly remove weeds around your Brussel sprout plants. Weeds can compete with the plants for nutrients and moisture, hindering their growth and development. Use shallow cultivation or hand-pulling to avoid damaging the shallow root systems of the plants.
- Pest and Disease Management: Keep a close eye on your plants for any signs of pests or diseases. Common pests that affect Brussel sprouts include cabbage worms, aphids, and cabbage loopers. Use organic pest control methods such as hand-picking or spraying with insecticidal soap to manage pest populations. Additionally, practice good garden hygiene, ensuring proper spacing and removing any diseased plant material to prevent the spread of diseases.
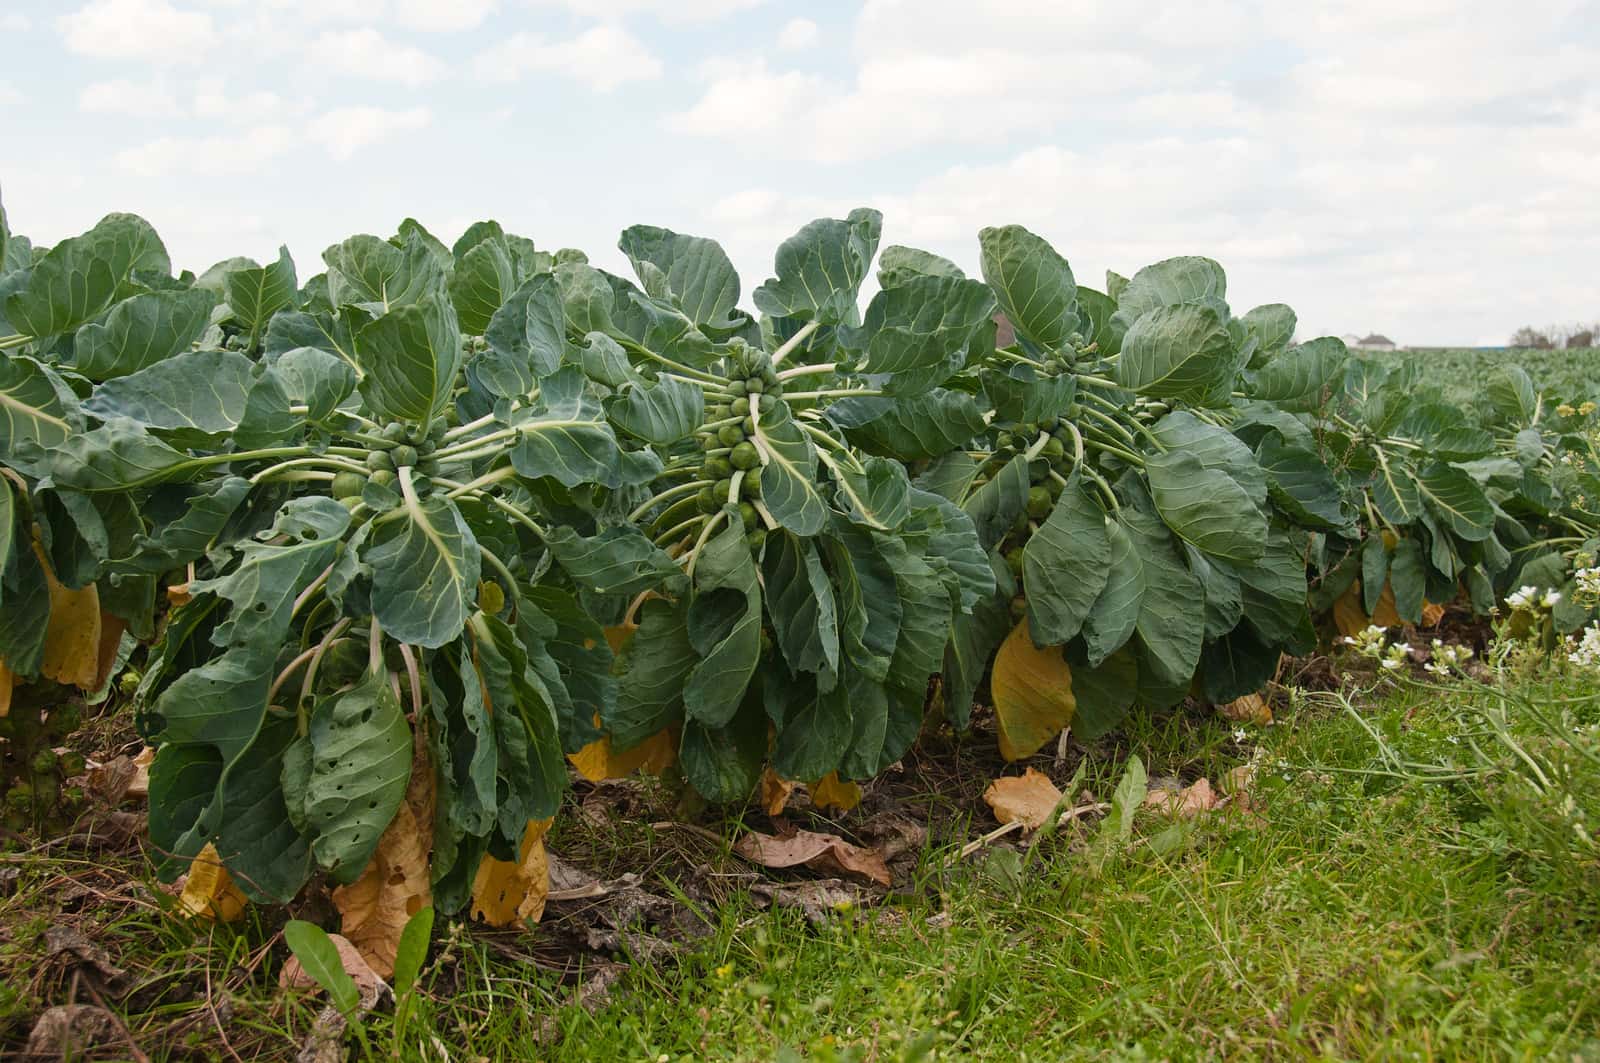
- Monitor Growth: Regularly monitor the growth of your Brussel sprout plants. Remove any yellow or damaged leaves to promote healthy growth. Pay attention to the main stalk and side shoots, as these will eventually develop into the sprouts you’ll enjoy at harvest time.
By providing proper care and vigilance, you can ensure healthy and productive Brussel sprout plants in your garden. Now, let’s move on to the final step: harvesting your fresh Brussel sprouts!
Step 6: Harvesting Brussel Sprouts
After months of patience and care, it’s time to reap the rewards of your hard work by harvesting your Brussel sprouts. Here’s how to know when and how to harvest:
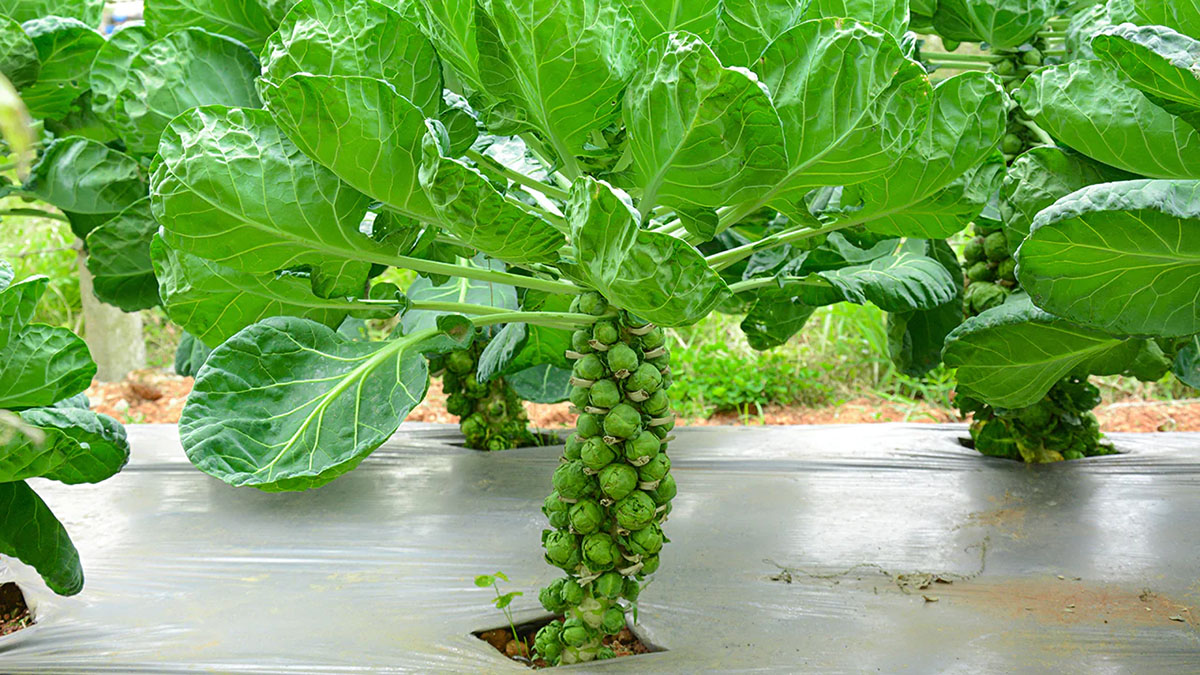
- Determine Maturity: Brussel sprouts take approximately 90-100 days to mature from the date of transplanting. The sprouts will develop along the vertical stalk of the plant, starting from the bottom and moving upwards. They are ready for harvest when they reach a firm size of 1 to 2 inches in diameter.
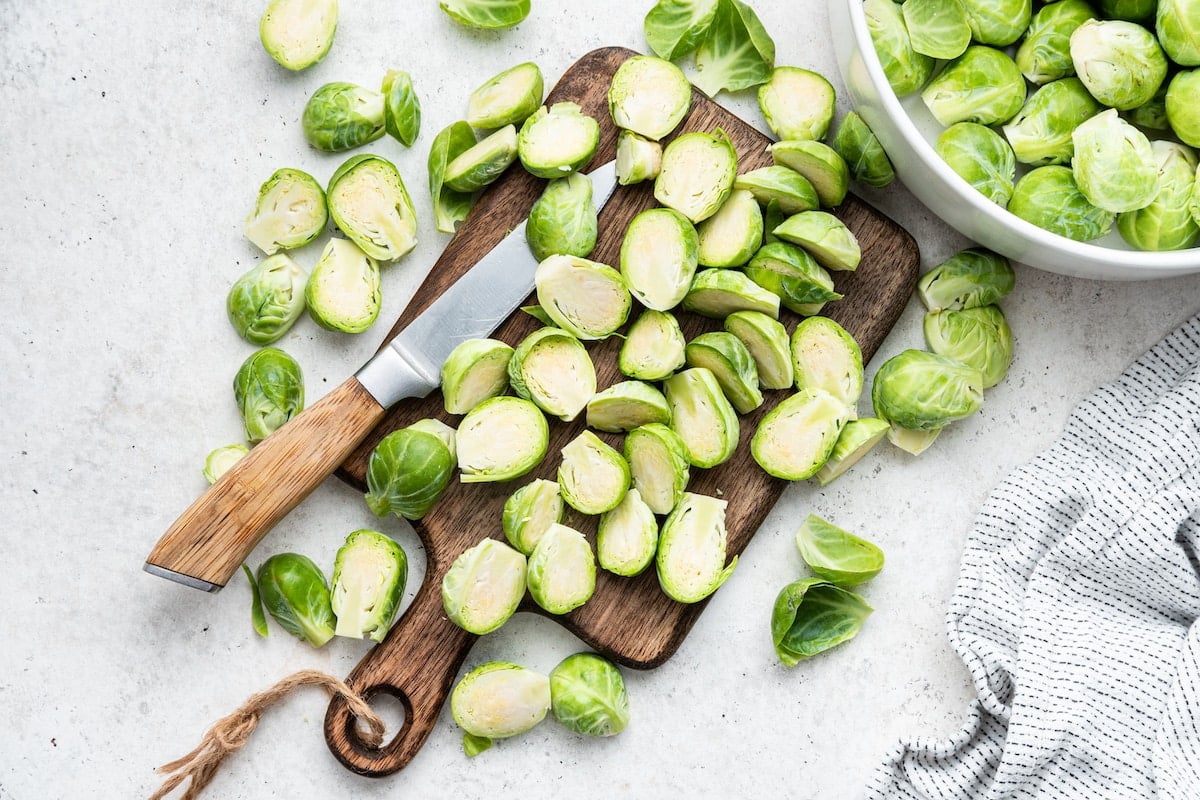
- Harvest from Bottom Up: Begin harvesting from the bottom of the stalk, carefully twisting or cutting off the mature sprouts. It’s important to harvest them before they become loose or yellowed. Continue harvesting upwards as the sprouts mature, leaving the smaller ones to continue growing.
- Staggered Harvesting: Brussel sprouts generally mature at different rates, with the lower sprouts maturing first. To enjoy a longer harvesting period and maximize yield, stagger your harvesting by regularly checking the plants for ready-to-harvest sprouts.
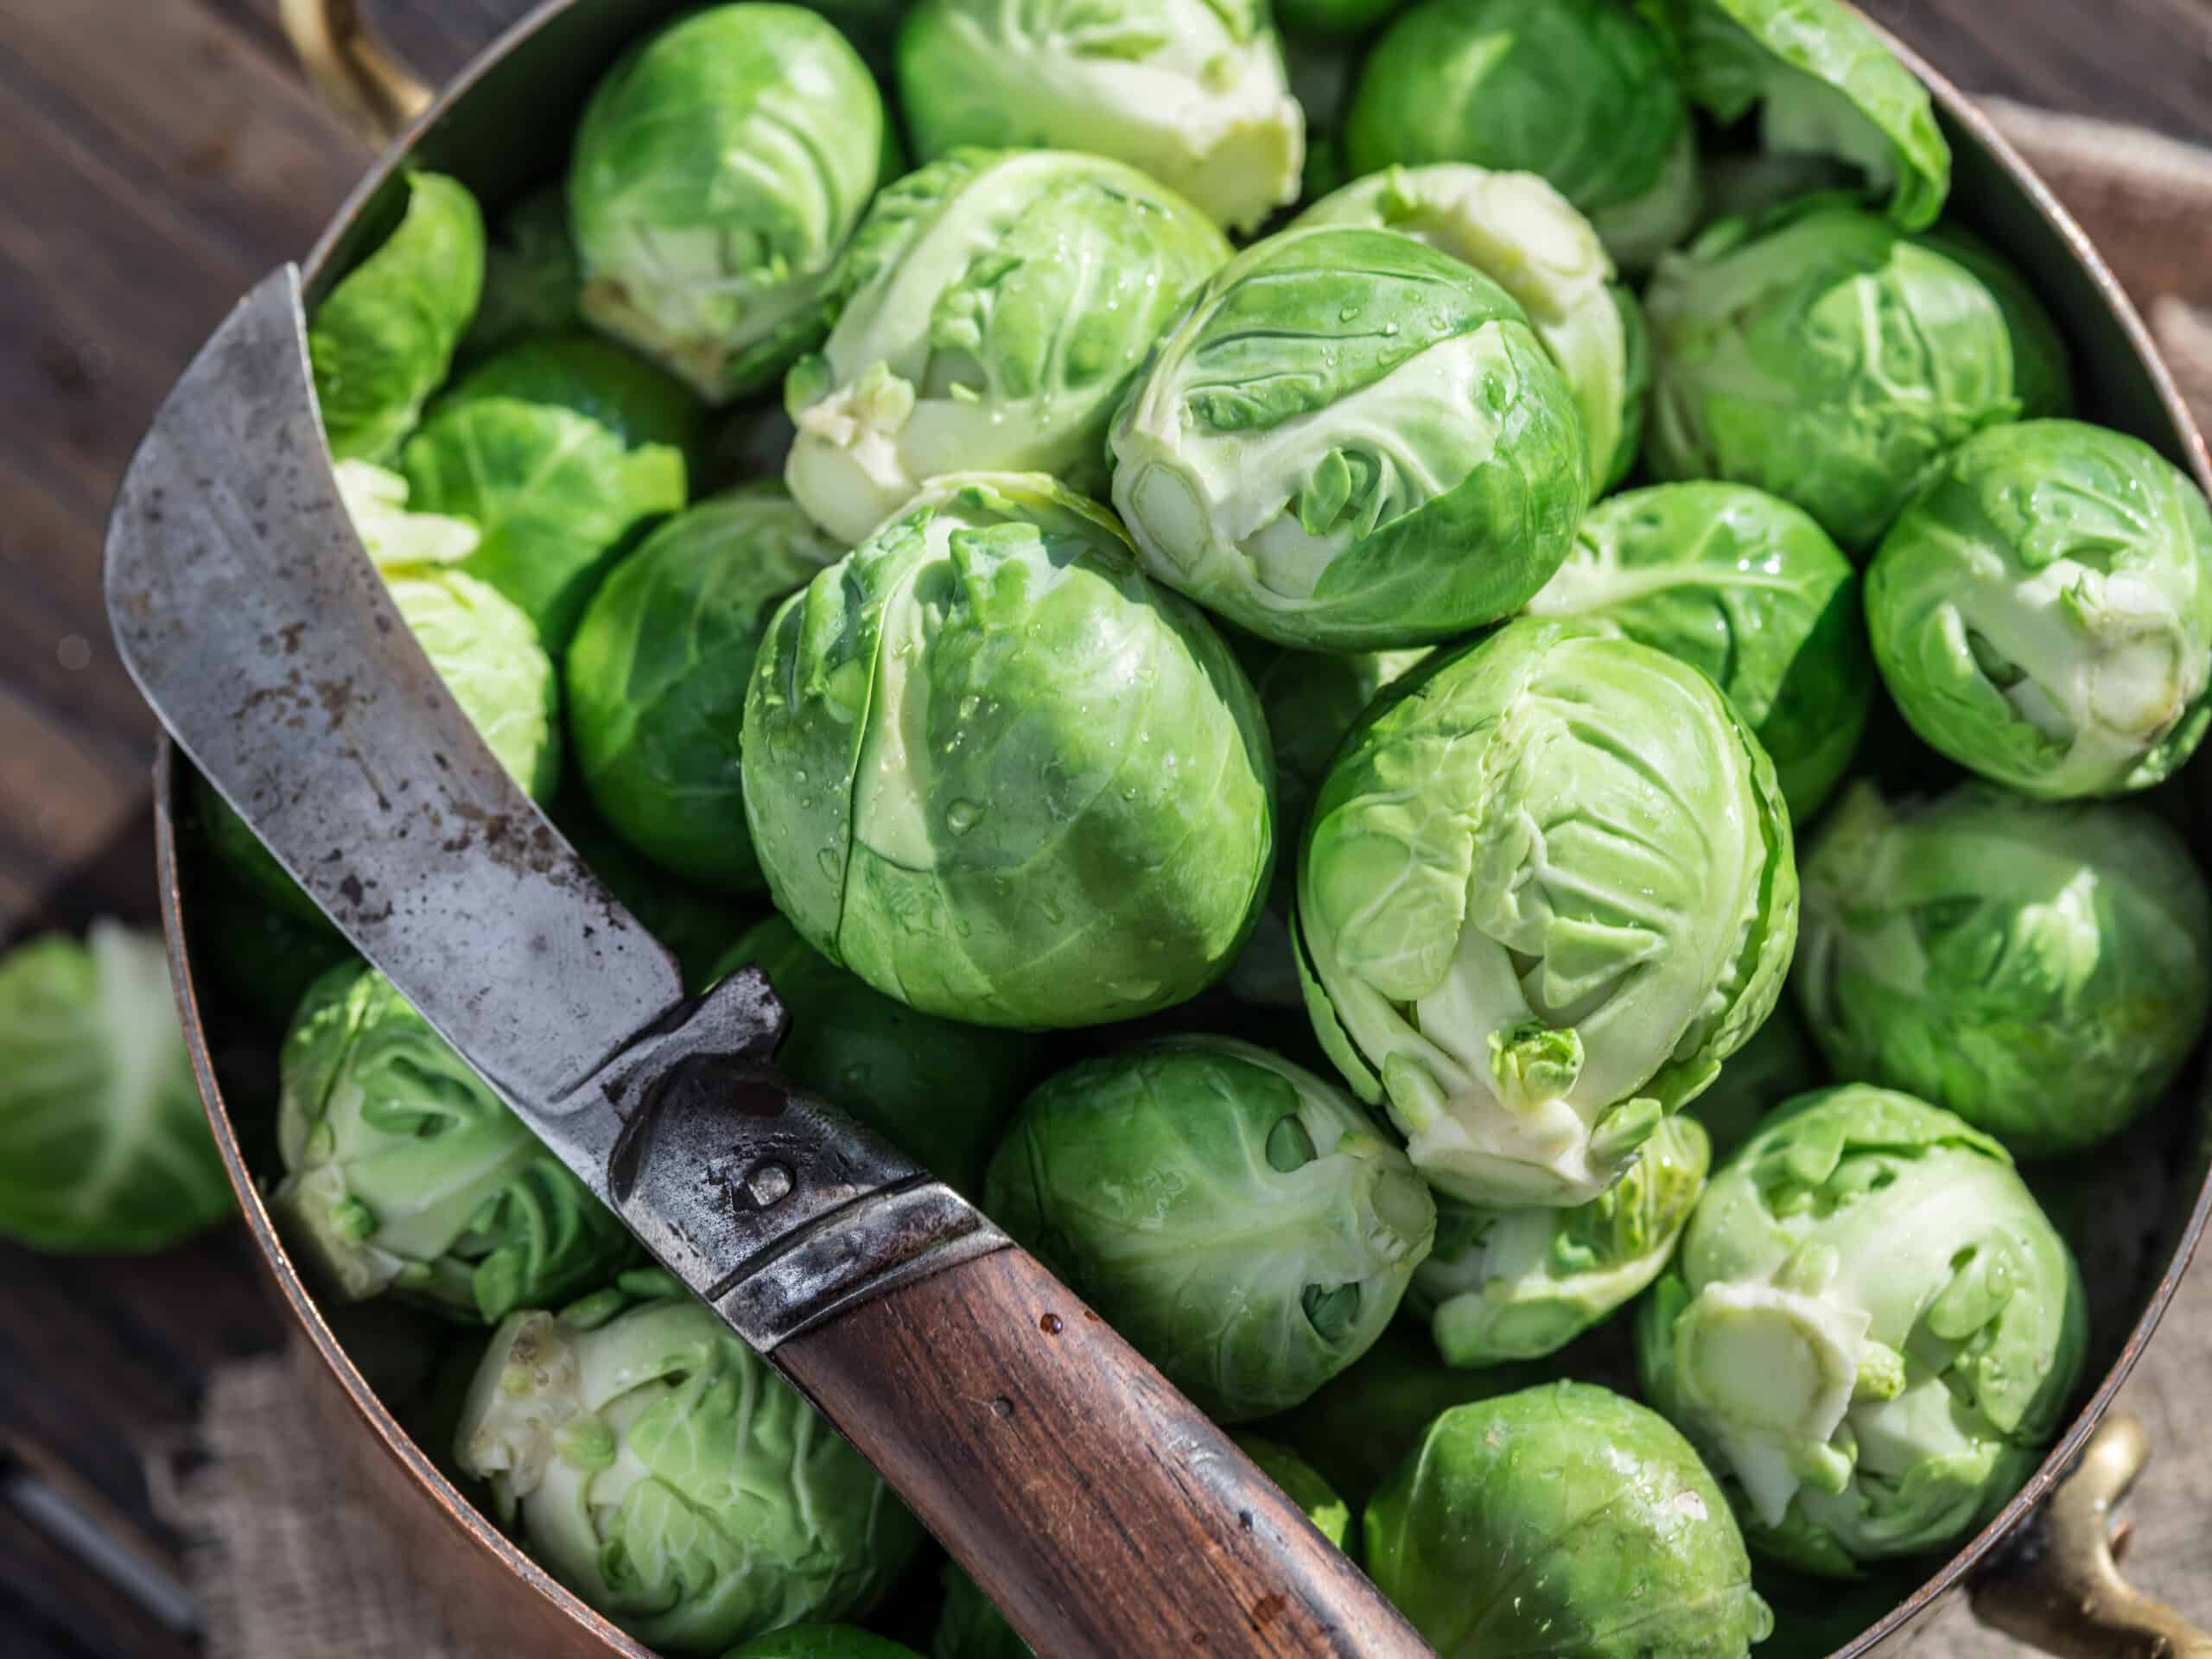
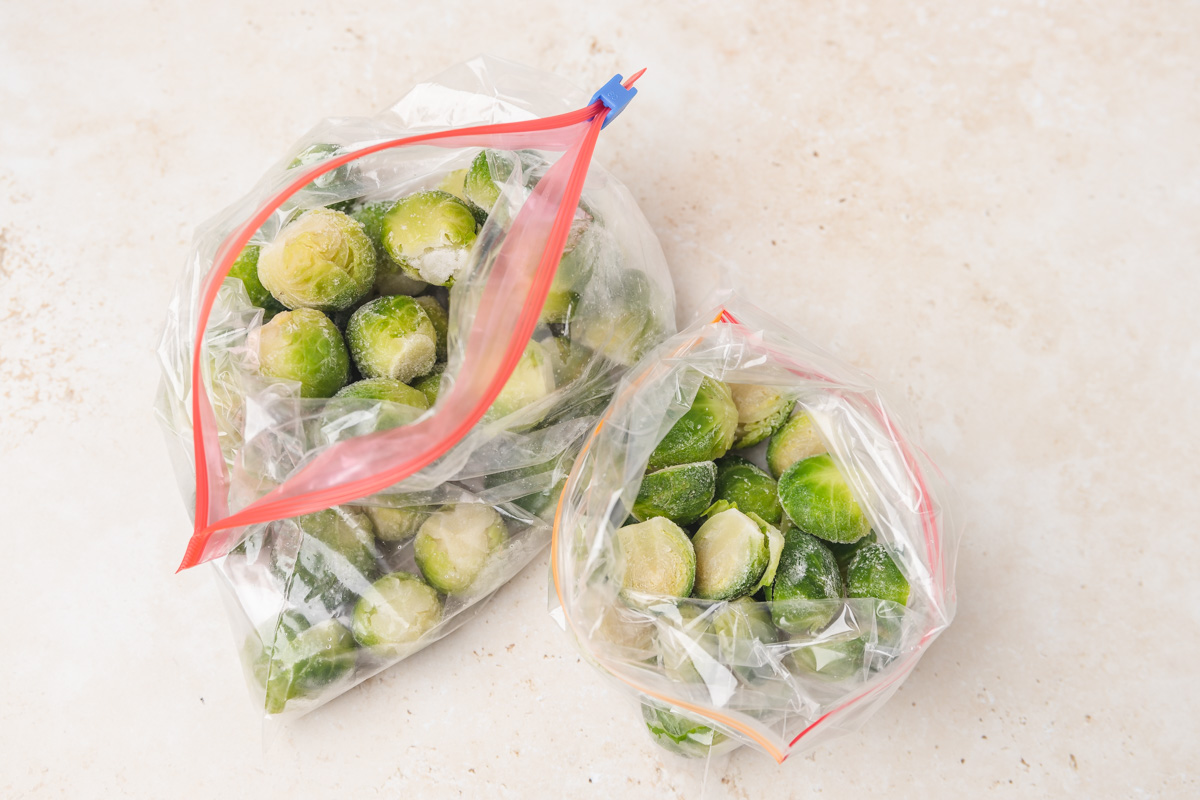
Freshly harvested Brussel sprouts can be stored in the refrigerator for up to two weeks. They can also be blanched and frozen for long-term preservation.
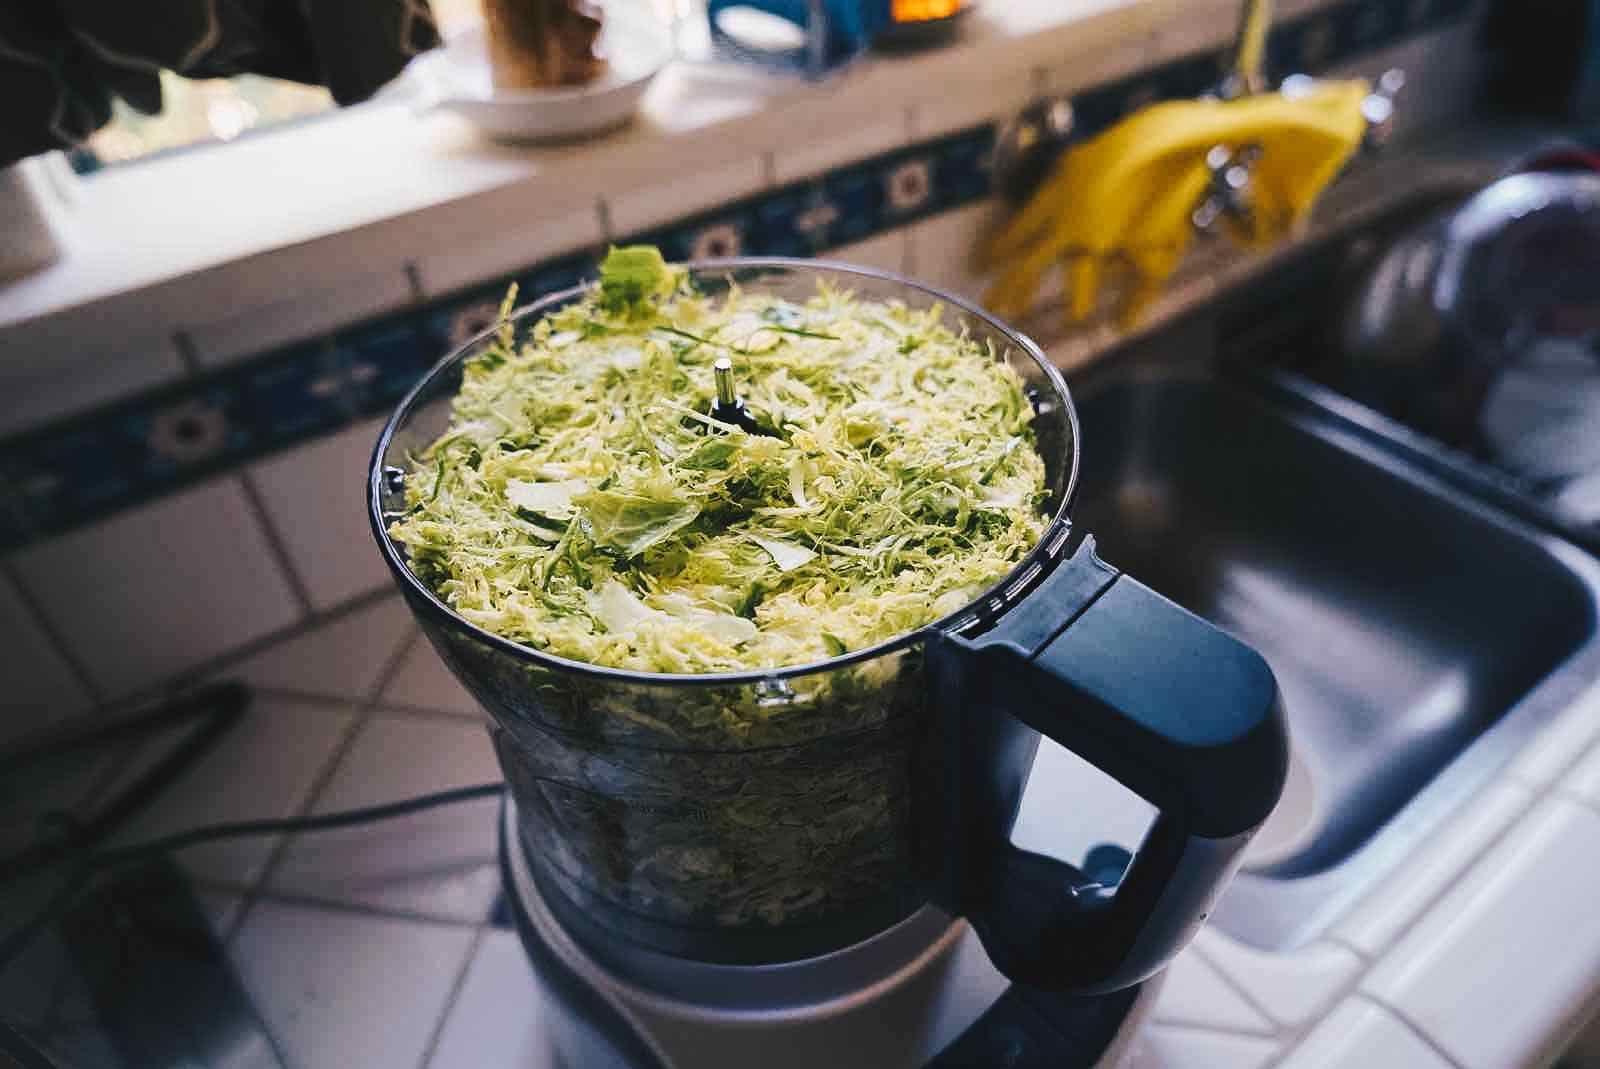
Now that you’ve successfully harvested your Brussel sprouts, take a moment to appreciate the fruits of your labor. Enjoy them in various recipes, such as roasted Brussel sprouts, stir-fries, or even as a healthy side dish.
Congratulations on growing your own Brussel sprouts from seeds! With the right knowledge and care, you can continue to enjoy the satisfaction of growing your own delicious vegetables. Happy gardening!
Conclusion
Growing Brussel sprouts from seeds is not only a rewarding experience but also a great way to add fresh, nutrient-rich vegetables to your meals. By following the steps outlined in this guide, you can successfully cultivate your own Brussel sprouts in your garden.
Remember, it all begins with selecting the right seeds and preparing the soil properly. Providing adequate water, fertilizer, and care is crucial for healthy plant growth. Regular monitoring for pests and diseases, along with timely intervention, ensures the well-being of your Brussel sprout plants.
As your plants mature, the anticipation of harvesting those plump, green sprouts grows. By carefully selecting the ripe sprouts and practicing staggered harvesting, you can enjoy a season of fresh, homegrown Brussel sprouts.
Not only will you savor the taste of these miniature cabbages, but you’ll also benefit from their nutritional value, packed with vitamins and dietary fiber. Plus, the visual appeal of the Brussel sprout plants in your garden adds an ornamental touch.
So, take the plunge and embark on your Brussel sprout growing journey. With patience, care, and a little bit of green-thumb magic, you’ll soon be enjoying the fruits (or rather, the sprouts) of your labor. Happy gardening!
Now that you've got the scoop on cultivating Brussel sprouts, why not spruce up the space where they grow? Check out our favorite garden fence ideas to give your green space a touch of style and privacy. Fences not only secure your plot but can also complement the hard work you put into your garden. So, if you're after practical yet stylish ways to enhance your outdoor area, don't miss out on our top picks for garden fences that promise to elevate any gardening project.
Frequently Asked Questions about How To Grow Brussel Sprouts From Seeds
Was this page helpful?
At Storables.com, we guarantee accurate and reliable information. Our content, validated by Expert Board Contributors, is crafted following stringent Editorial Policies. We're committed to providing you with well-researched, expert-backed insights for all your informational needs.


0 thoughts on “How To Grow Brussel Sprouts From Seeds”