Home>Garden Essentials>How To Sprout Seeds For Eating
Garden Essentials
How To Sprout Seeds For Eating
Modified: March 23, 2024
Learn how to sprout seeds for eating in your garden and enjoy fresh, nutritious produce at home. Discover the step-by-step process and start your own garden sprouts today!
(Many of the links in this article redirect to a specific reviewed product. Your purchase of these products through affiliate links helps to generate commission for Storables.com, at no extra cost. Learn more)
Introduction
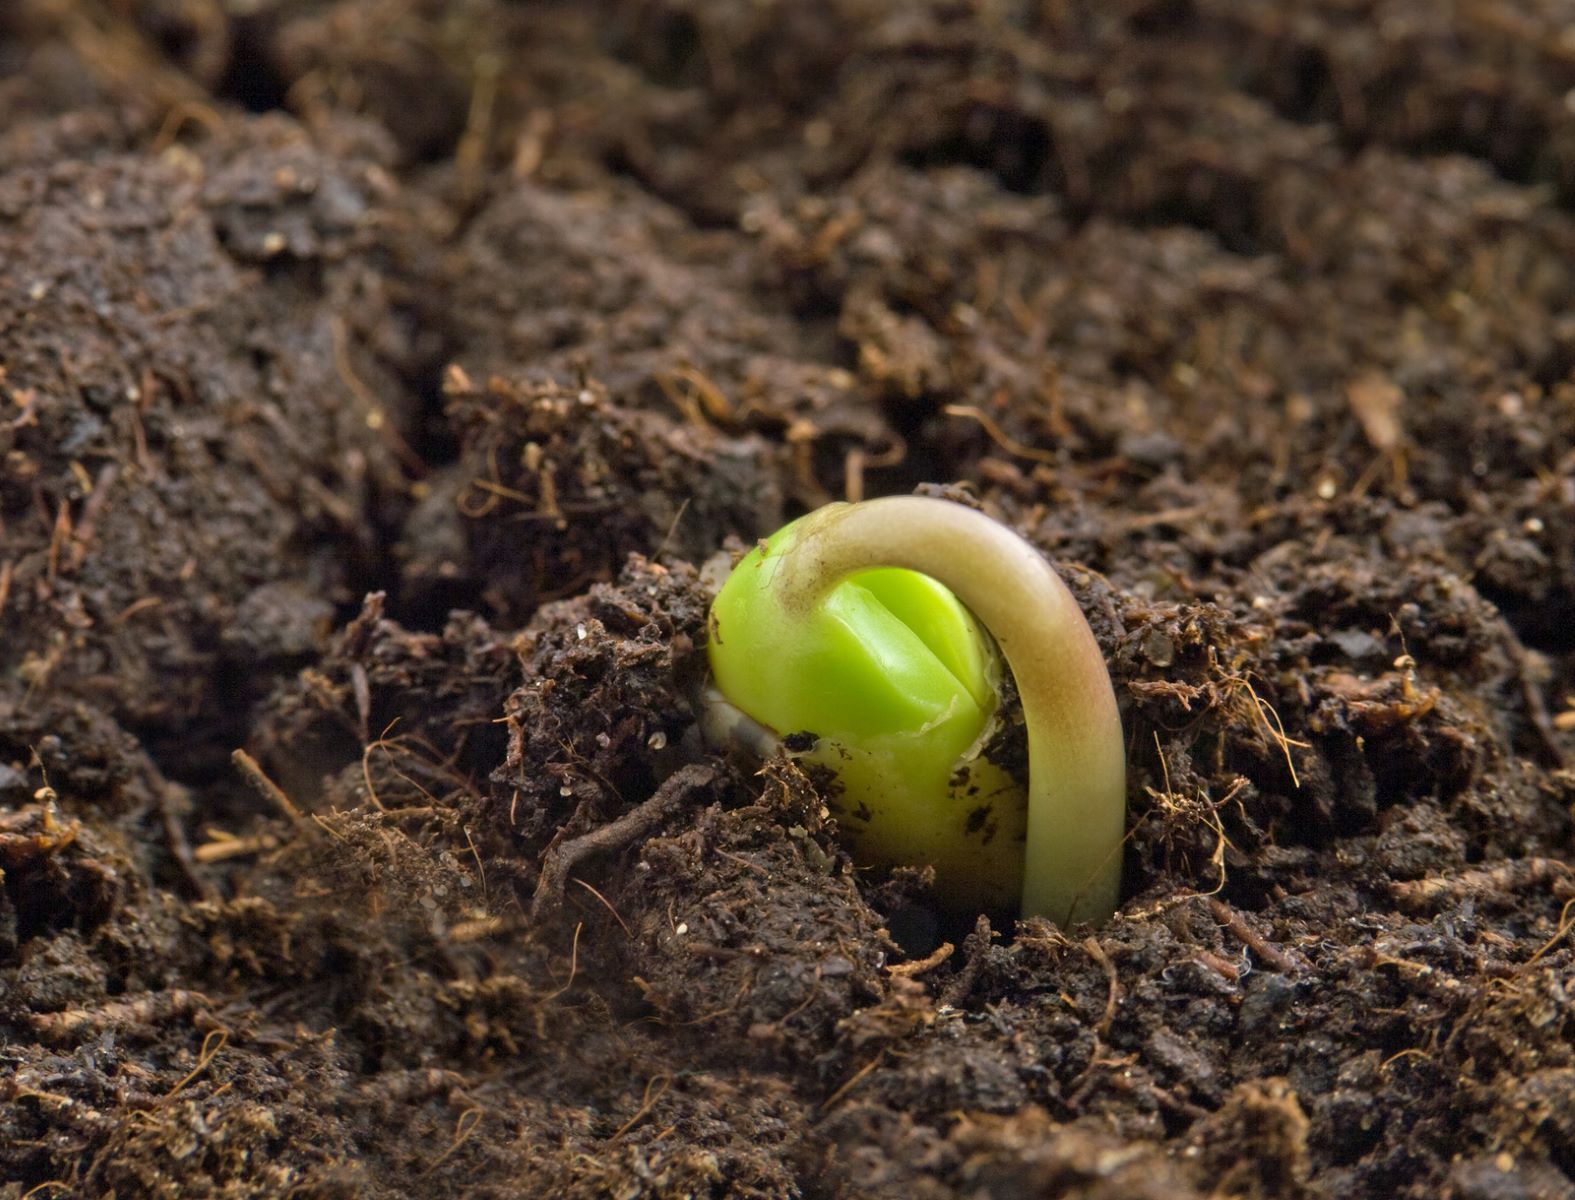
Welcome to the wonderful world of sprouting seeds! Sprouting is an age-old practice of growing seeds into young plants that can be eaten. It is not only a fun and rewarding activity, but it also offers a plethora of health benefits. Whether you’re a seasoned gardener or a beginner with a green thumb, sprouting seeds for eating is a great way to add fresh and nutritious ingredients to your meals.
When you sprout seeds, you unlock their full potential and maximize their nutritional value. Sprouts are packed with essential nutrients like vitamins, minerals, enzymes, and antioxidants. They are also low in calories and high in fiber, making them a fantastic addition to a healthy diet.
Not only are sprouts good for your health, but they also offer delicious flavors and textures to elevate your culinary experiences. From crunchy broccoli sprouts to tender alfalfa sprouts, there are endless possibilities to explore when it comes to sprouting seeds.
In this article, we will delve into the benefits of sprouting seeds, explore the different types of seeds that can be sprouted, discuss how to choose the right seeds for sprouting, and walk you through the process of sprouting seeds step by step. Let’s get started!
Key Takeaways:
- Sprouting seeds for eating offers health benefits like improved digestion, enhanced nutrient absorption, and increased energy. Experiment with different sprouting methods and enjoy sprouts in salads, sandwiches, and smoothies for a burst of flavor and nutrition.
- Choosing high-quality seeds, proper preparation, and care are essential for successful sprouting. Harvest and store sprouts correctly to maintain freshness and flavor. Incorporate sprouts into various dishes for a delightful crunch and added nutrients. Happy sprouting!
Read more: How To Sprout Onion Seeds
Benefits of Sprouting Seeds
Sprouting seeds at home offers a wide range of benefits for your health and well-being. Here are some of the key advantages of incorporating sprouts into your diet:
1. Nutritional Powerhouses: Sprouts are a concentrated source of nutrients. As seeds germinate, their nutrient profile increases significantly. Sprouts are rich in vitamins, minerals, and enzymes that are essential for overall health and vitality. They are particularly high in vitamin C, vitamin K, folate, iron, and fiber.
2. Improved Digestion: Sprouts are easier to digest compared to their unsprouted counterparts. The sprouting process breaks down complex carbohydrates and proteins into simpler forms, making them more easily absorbed by the body. This aids in digestion and reduces the risk of digestive issues such as bloating and gas.
3. Enhanced Nutrient Absorption: Sprouts contain enzymes that assist in the digestion and absorption of nutrients. These enzymes increase the bioavailability of vitamins, minerals, and other beneficial compounds, allowing your body to make better use of the nutrients in the food you consume.
4. Detoxification: Sprouts are rich in antioxidants, which help neutralize harmful free radicals in the body, reducing oxidative stress. They also contain chlorophyll, a natural detoxifier that helps remove toxins and heavy metals from the body.
5. Weight Management: Including sprouts in your diet can support weight loss or maintenance goals. Sprouts are low in calories, fat, and cholesterol, while being high in fiber, which promotes satiety and helps control appetite. Their high water content also contributes to a feeling of fullness.
6. Improved Immune System: Sprouts are a powerhouse of immune-boosting nutrients. They contain vitamin C, which plays a crucial role in supporting a healthy immune system. Additionally, sprouts provide a variety of antioxidants and compounds that support the body’s natural defense mechanisms.
7. Increased Energy: The nutrients found in sprouts, such as B vitamins and iron, can help increase energy levels and combat fatigue. Sprouts provide a natural and sustainable source of energy, making them an excellent addition to your daily diet.
8. Cost-Effective and Convenient: Growing sprouts at home is a cost-effective way to add fresh and nutritious ingredients to your meals. Sprouts can be easily grown indoors, requiring minimal space and equipment. They are a convenient and sustainable option for obtaining fresh produce year-round.
Overall, sprouting seeds offer a multitude of benefits for your health, ranging from increased nutrient intake to improved digestion and immune function. Now that we understand the advantages of sprouting seeds, let’s explore the different types of seeds that can be sprouted.
Types of Seeds That Can be Sprouted
When it comes to sprouting seeds, there is a diverse range of options to choose from. Almost any seed that can grow into a plant can be sprouted for consumption. Here are some of the most common types of seeds that you can easily sprout at home:
1. Legumes: Legume seeds such as mung beans, lentils, chickpeas, and adzuki beans are popular choices for sprouting. They are packed with protein, fiber, and essential minerals. Mung bean sprouts, in particular, are commonly used in Asian cuisine and have a crisp texture and mild flavor.
2. Grains: Grains like wheat, barley, quinoa, and buckwheat can also be sprouted. Sprouted grains have a sweeter taste and are easier to digest compared to their non-sprouted counterparts. They are a great source of complex carbohydrates, vitamins, and minerals.
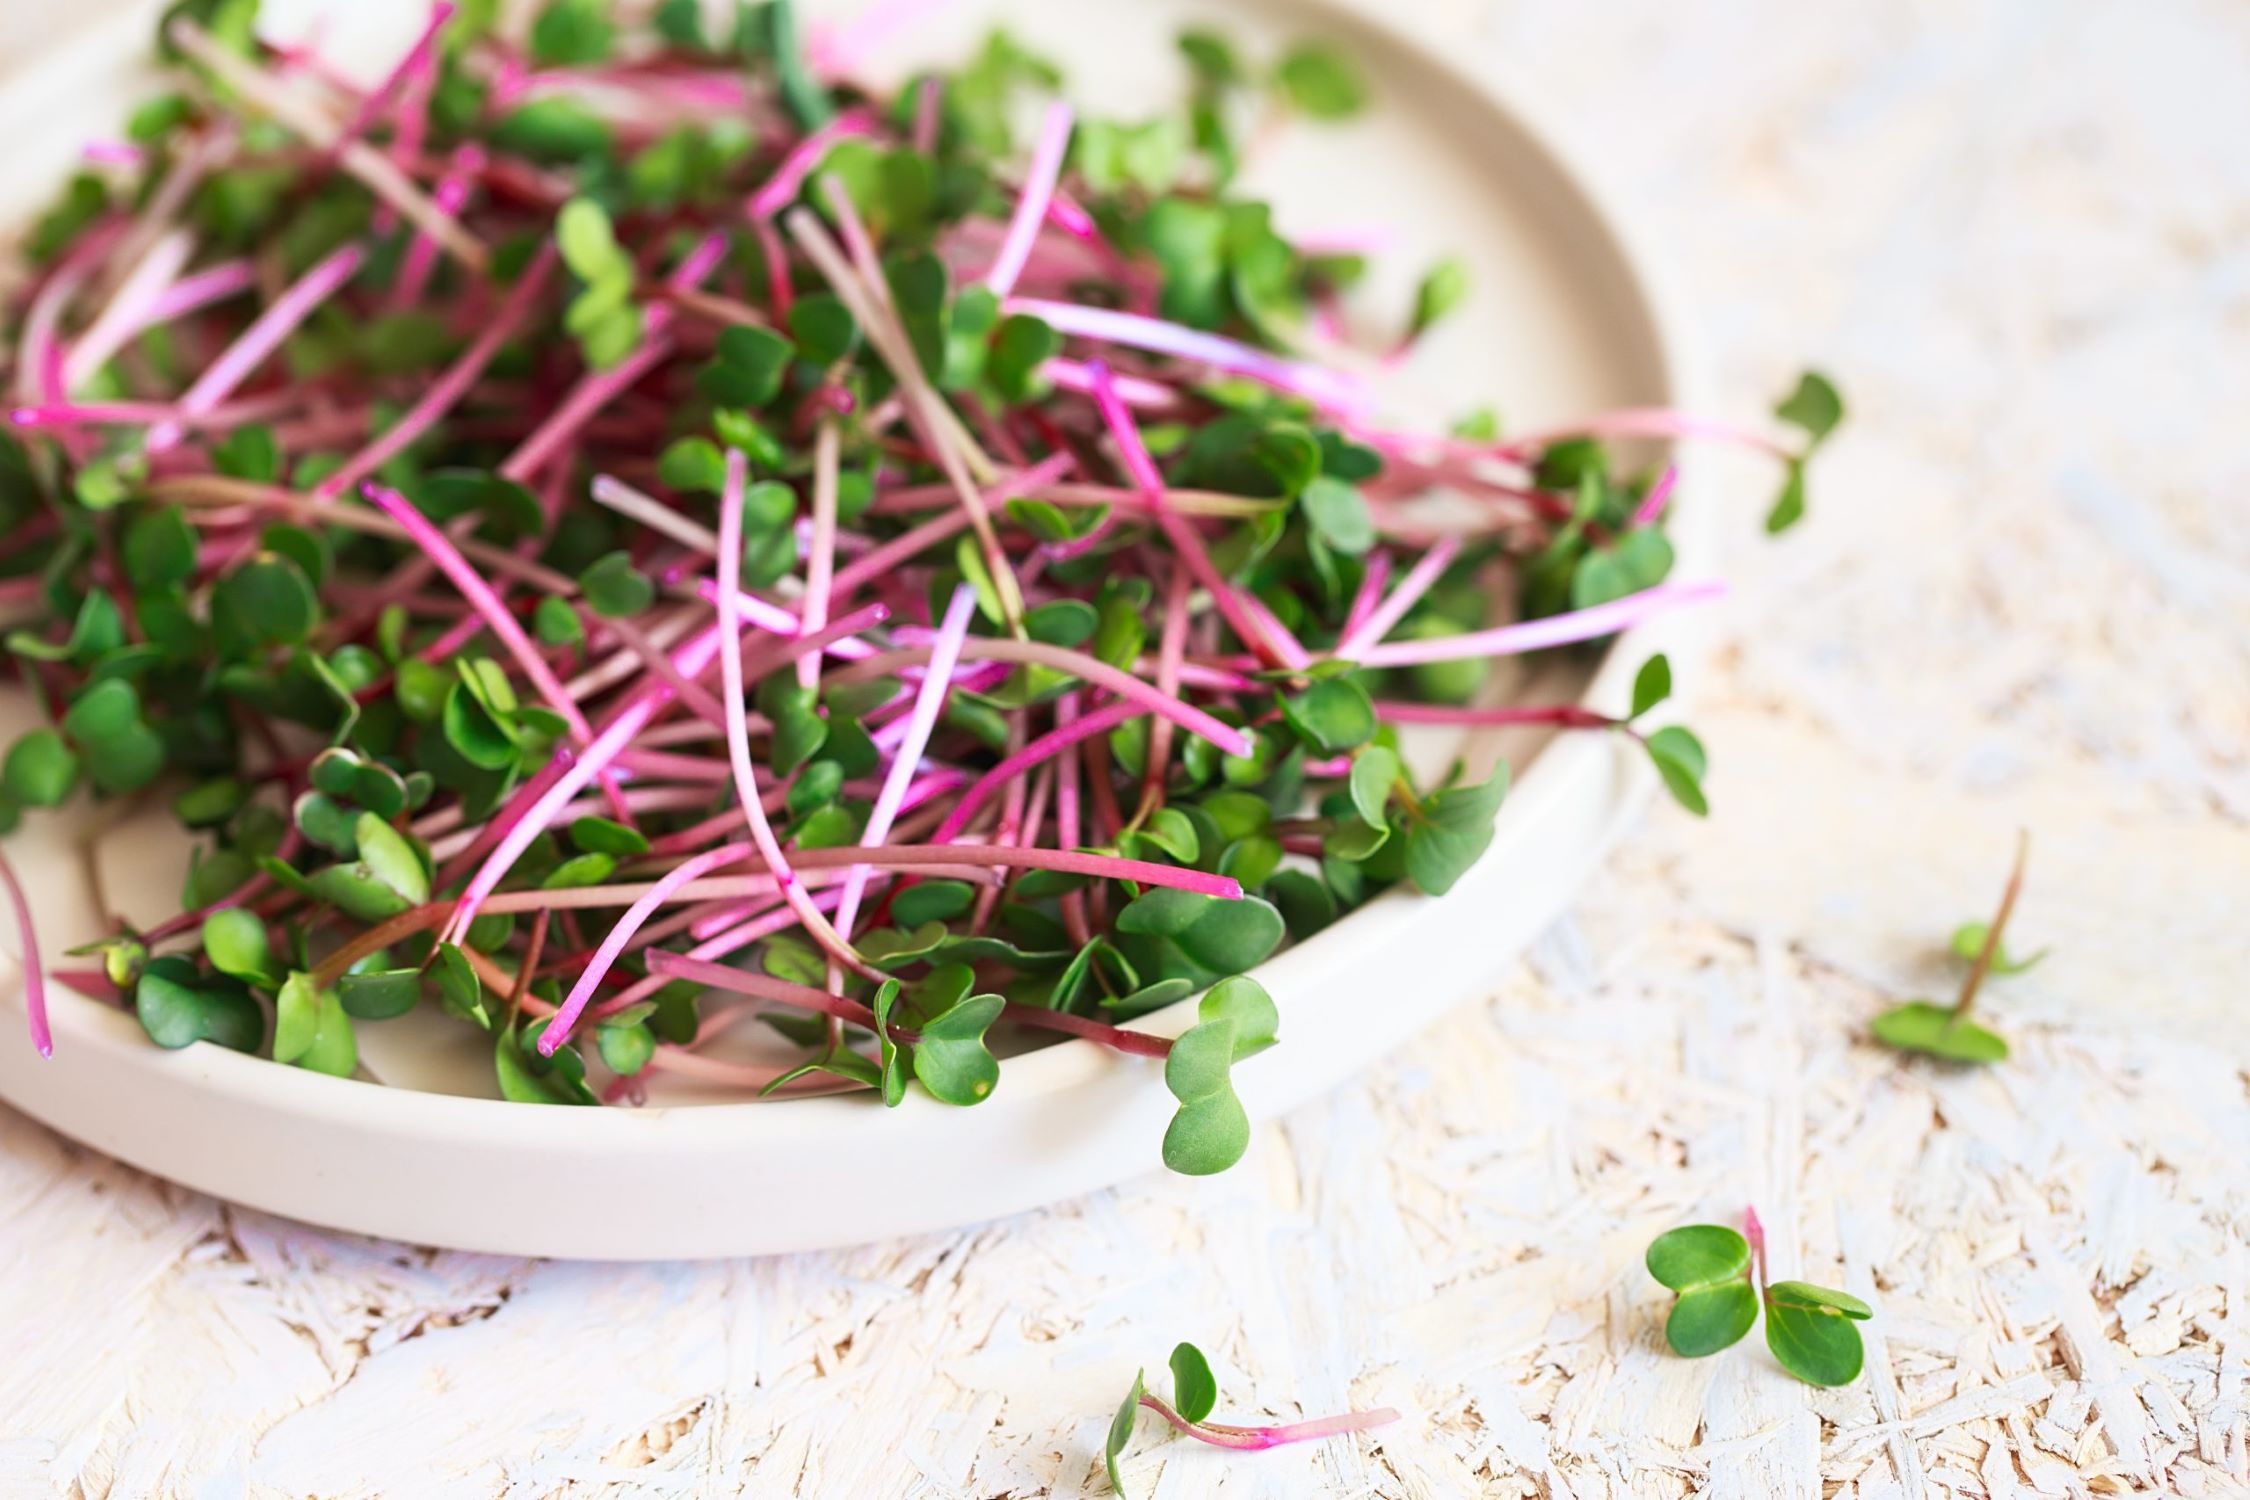
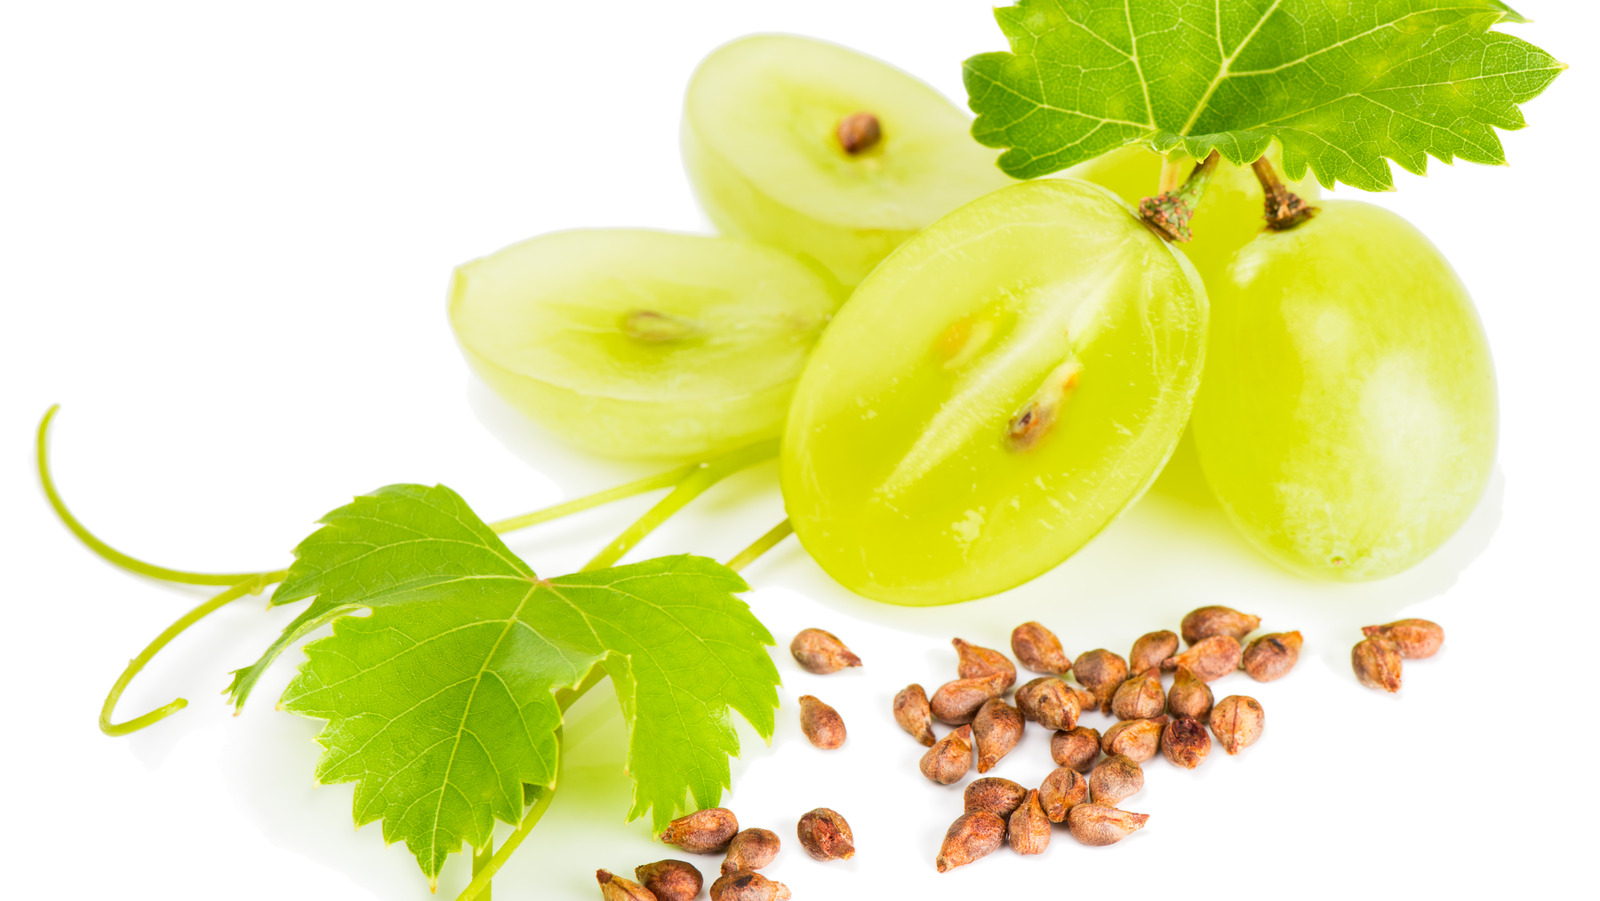
3. Seeds: Seeds such as alfalfa, broccoli, radish, fenugreek, and sunflower seeds are excellent choices for sprouting. Alfalfa sprouts are mild and crunchy with a delicate nutty flavor. Broccoli sprouts are known for their high concentration of sulforaphane, a potent antioxidant compound.
4. Herbs and Greens: Certain herb seeds like basil, cilantro, and parsley can be sprouted for fresh and flavorful additions to your meals. Additionally, microgreens, which are young vegetable greens harvested at an early stage, can be grown from a variety of seeds and are packed with nutrients.
5. Nuts and Seeds: Although not commonly sprouted, certain nuts and seeds like almonds, pumpkin seeds, and sesame seeds can be soaked and sprouted to enhance their digestibility and nutrient availability. This process can improve the flavor and texture of the nuts and seeds.
These are just a few examples of the wide variety of seeds that can be sprouted. Experiment with different seeds to find your favorites and mix and match them for unique flavor combinations in your sprouts. Remember to choose high-quality organic seeds to ensure the best results.
Now that we know the types of seeds that can be sprouted, let’s explore how to choose the right seeds for sprouting.
Choosing the Right Seeds for Sprouting
Choosing the right seeds is crucial for successful sprouting. Here are some factors to consider when selecting seeds for sprouting:
1. Quality and Source: Choose high-quality seeds from a trusted source. Look for seeds that are specifically labeled for sprouting, as they are generally free from chemicals and contaminants. Organic and non-GMO seeds are recommended to ensure optimal health benefits.
2. Freshness: Opt for fresh seeds that have a higher germination rate. Seeds that are too old or have been stored for a long time may not sprout properly. Seed packets often have a “best by” or “packaged on” date to help you determine their freshness.
3. Seed Size: Consider the size of the seeds you are planning to sprout. Larger seeds like chickpeas and sunflower seeds require more water and time to sprout compared to smaller seeds like alfalfa or broccoli. Choose seeds that are manageable for your sprouting method and preferences.
4. Intended Use: Determine the purpose of your sprouts. Do you plan on using them in salads, sandwiches, stir-fries, or juicing? Different seeds have varying flavors, textures, and nutritional profiles, so choose seeds that align with your desired culinary uses.
5. Personal Preferences: Take into account your own taste preferences. If you enjoy mild and crunchy sprouts, opt for mung beans or alfalfa. If you prefer more intense flavors, try radish or broccoli sprouts. Experiment with different seed varieties to find the ones that suit your palate.
6. Allergies and Sensitivities: Be mindful of any allergies or sensitivities you may have. Some seeds, such as sesame or nuts, can trigger allergic reactions in susceptible individuals. If you have any known allergies, it’s best to avoid sprouting seeds that may pose a risk.
7. Availability and Season: Consider the availability of seeds based on your location and the season. Some seeds may be more readily available during specific times of the year. Plan accordingly and choose seeds that are accessible and in-season for optimal freshness.
By considering these factors, you can select the right seeds for sprouting that align with your preferences and dietary needs. Once you have your seeds, it’s time to prepare them for the sprouting process. Let’s explore how to do that next.
Preparing the Seeds for Sprouting
Properly preparing the seeds before sprouting is essential to ensure successful germination and minimize the risk of contamination. Here are the steps to follow when preparing seeds for sprouting:
1. Sorting and Rinsing: Start by sorting through the seeds and removing any debris or damaged seeds. Rinse the seeds thoroughly under cool running water to remove any dust or impurities.
2. Soaking: Soaking the seeds helps to rehydrate them, kickstart the germination process, and increase their digestibility. Place the rinsed seeds in a clean container or sprouting jar and cover them with filtered water. The water level should be about twice as high as the seeds. Let the seeds soak for the recommended time, which varies depending on the seed type. Generally, most seeds need to soak for 8-12 hours. Refer to the specific instructions for the seeds you are sprouting.
3. Rinsing and Draining: After the soaking period, drain the water from the seeds and give them a thorough rinse with fresh water. Use a fine-mesh sieve or sprouting lid to ensure proper drainage. Rinsing removes any leftover residue and helps prevent the growth of bacteria or mold.
4. Draining and Ventilation: Allow the seeds to drain completely after rinsing. It’s important to ensure proper airflow and avoid excess moisture, as this can lead to spoilage. Depending on the sprouting method you choose, you may need to invert the sprouting jar to promote drainage or use a sprouting tray with drainage holes.
5. Continue Rinsing: Repeat the rinsing process 2-3 times a day, depending on the sprout’s moisture requirements. Each time you rinse, make sure to drain the water well. This helps to keep the sprouts clean, fresh, and hydrated.
Following these steps will help prepare your seeds for successful sprouting. Now let’s delve into the different sprouting methods you can employ.
Soak seeds in water for 8-12 hours, then spread them in a single layer on a damp paper towel. Place the towel in a warm, dark place and mist it with water twice a day. After a few days, the seeds will sprout and can be eaten.
Read more: How Long For Seeds To Sprout
Sprouting Methods
There are several methods you can use to sprout seeds, depending on your preference and the available resources. Here are some common sprouting methods:
1. Jar Method: The jar method is one of the simplest and most popular ways to sprout seeds. Use a wide-mouth glass jar, cover the opening with a sprouting lid or a piece of breathable fabric secured with a rubber band. This allows airflow while preventing debris from entering. Rinse and drain the seeds in the jar, keeping them at an angle to ensure proper drainage. Repeat the rinsing and draining process daily until the seeds sprout.
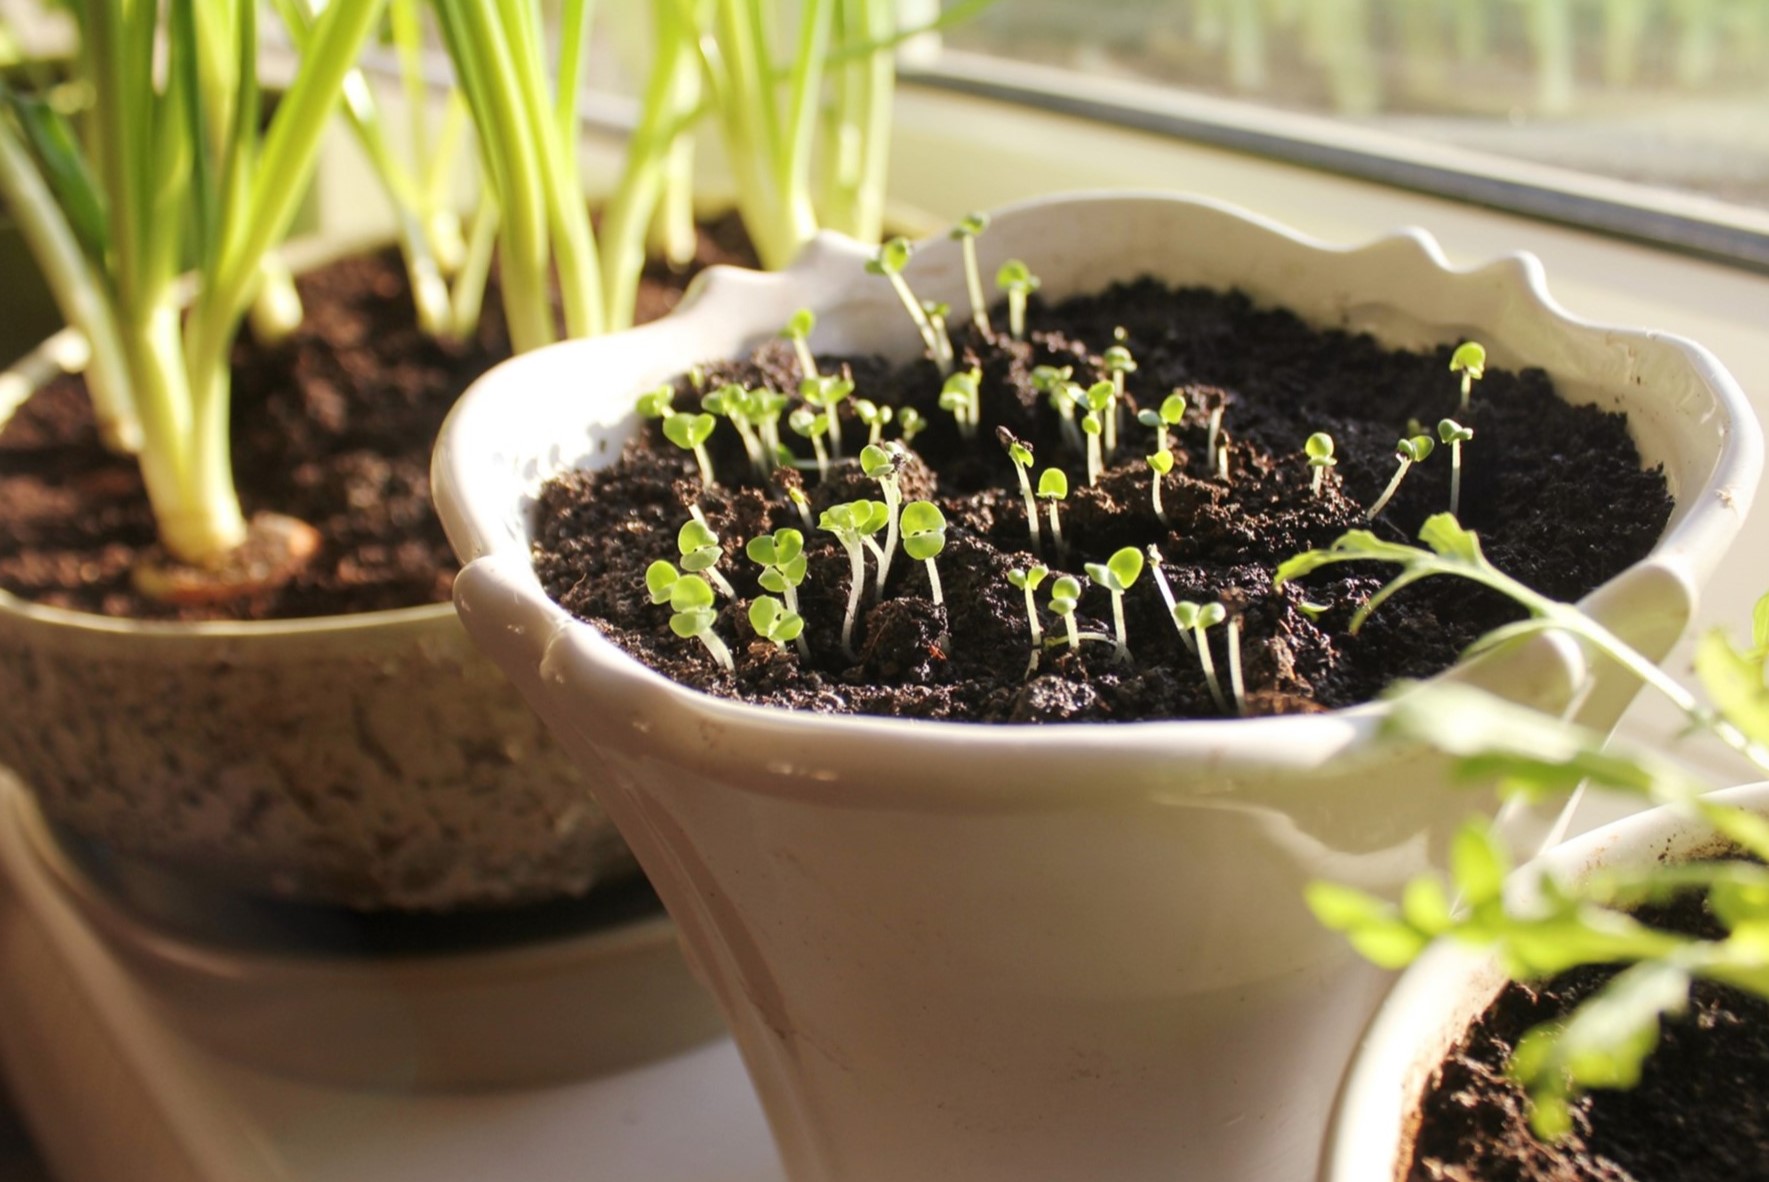
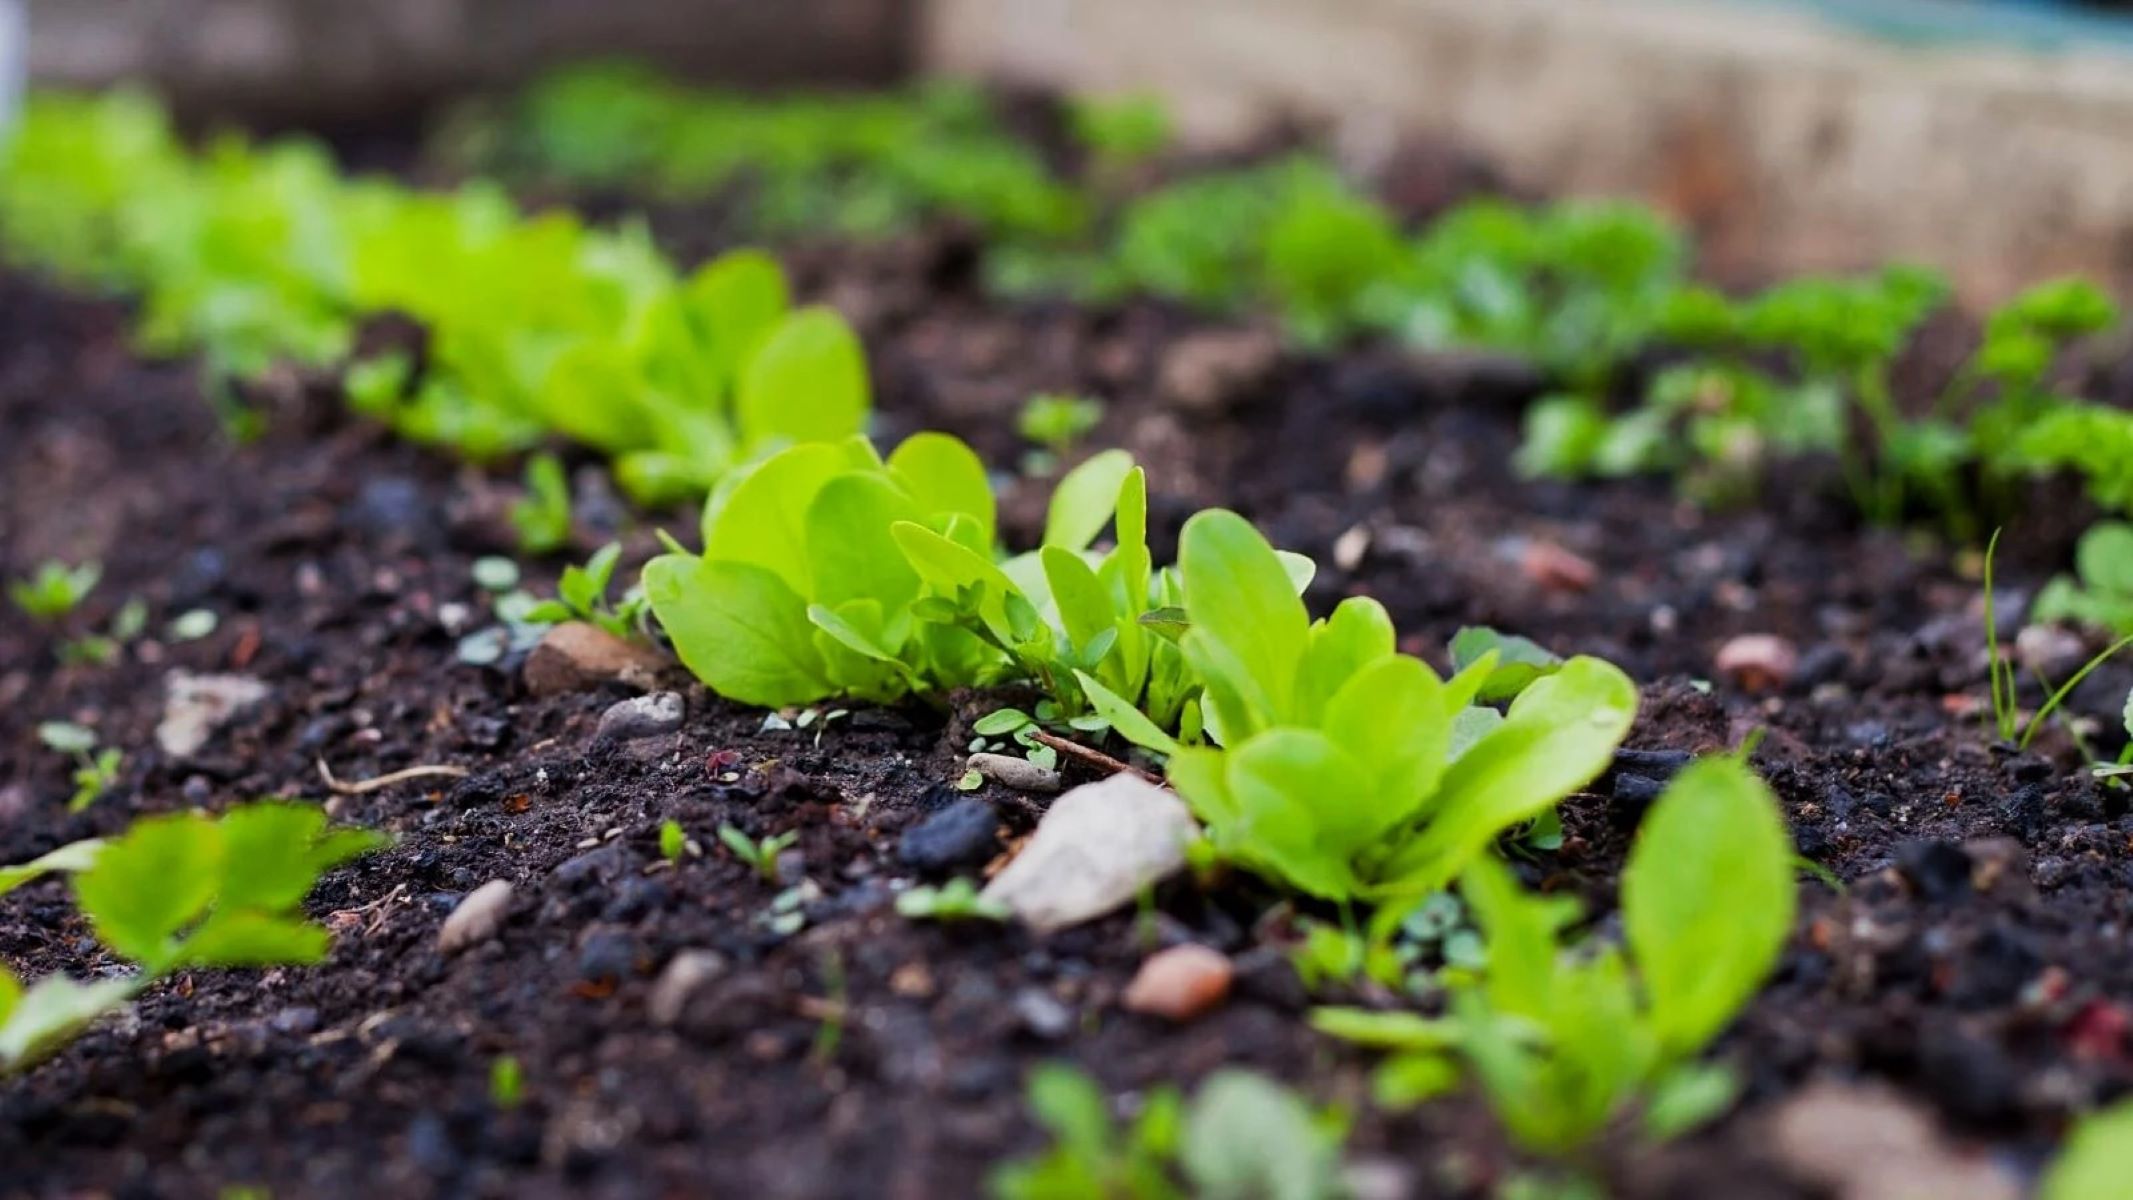
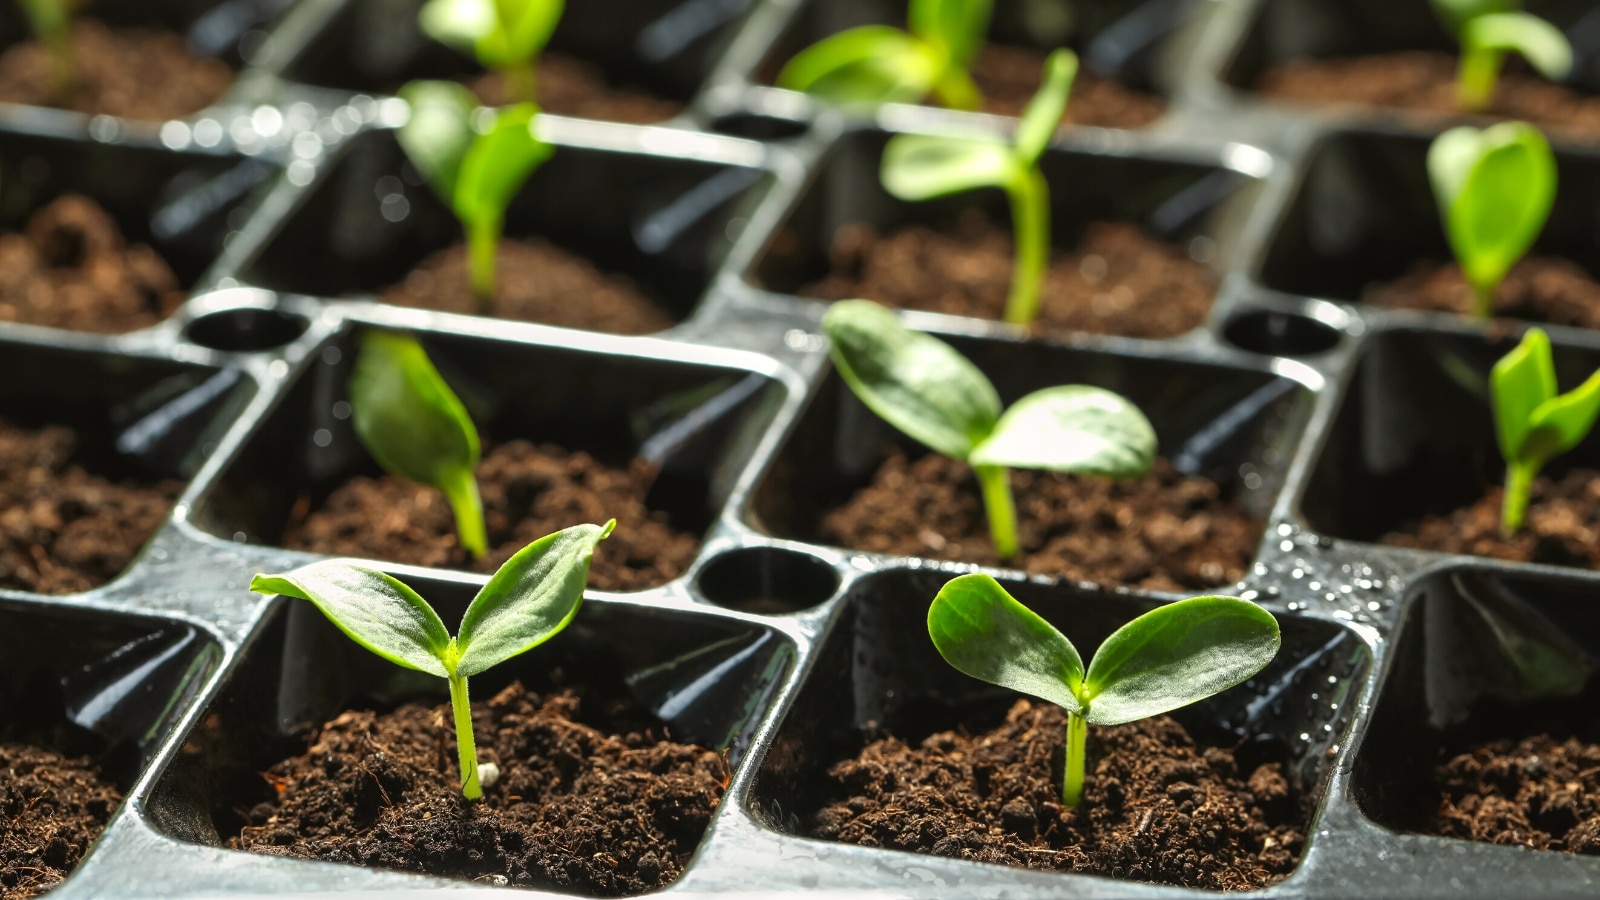
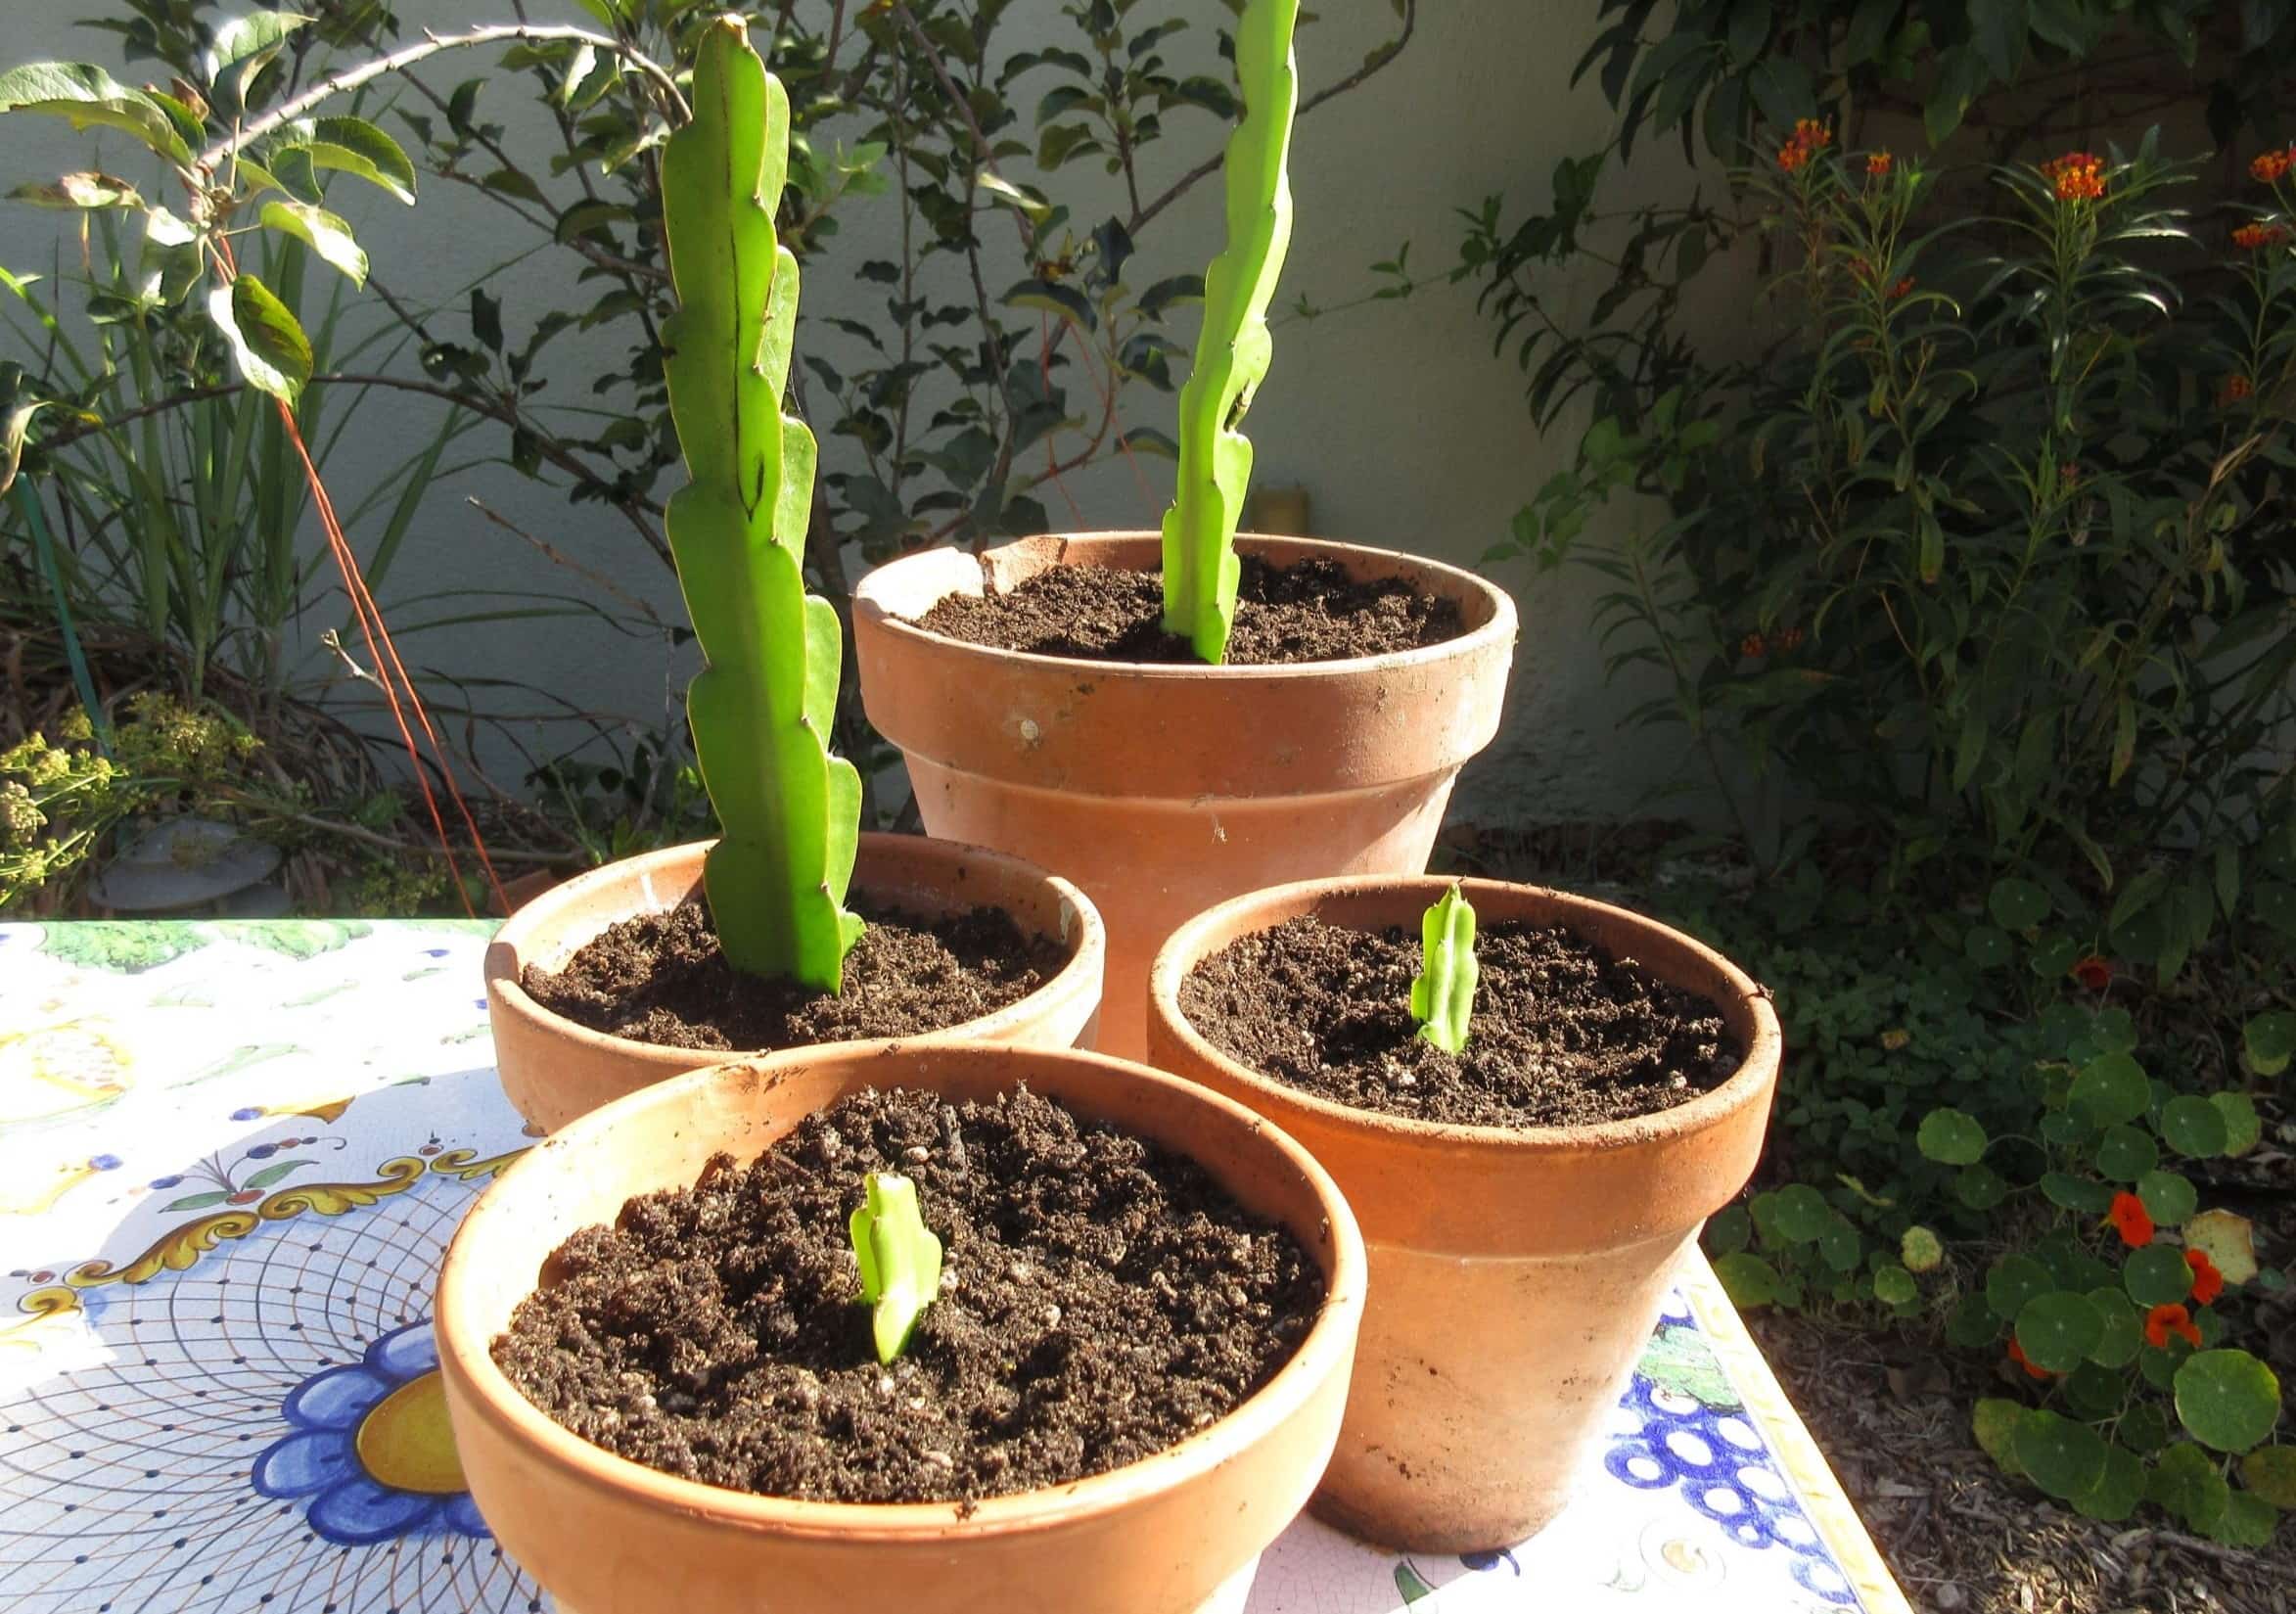
2. Tray Method: The tray method involves using a seed tray or shallow container with drainage holes. Fill the tray with a thin layer of moistened soil, coconut coir, or paper towel. Spread the seeds evenly and cover with another layer of moistened material. Keep the tray in a well-ventilated area and mist it with water as needed to maintain moisture. Sprouts will grow on top of the soil, and you can harvest them when they reach the desired length.
3. Bag Method: The bag method is a convenient option for smaller seeds. Place the seeds in a breathable bag, such as a muslin or cheesecloth bag, and dampen them with water. Hang the bag in a well-ventilated area, making sure any excess water can drain away. Rotate and gently shake the bag daily to promote airflow and prevent clumping. Sprouts will grow within the bag, and you can harvest them when they are ready.
4. Stackable Sprouter: Stackable sprouters are specially designed sprouting trays with multiple tiers. Each tier has its own drainage system, allowing you to sprout different seeds simultaneously. Simply place the seeds in each tray, rinse and drain according to the sprouter’s instructions, and stack the trays. This method is ideal for sprouting multiple varieties at once.
5. Hydroponic Sprouting: Hydroponic sprouting involves growing sprouts without soil. Seeds are placed on a tray or specialized hydroponic sprouting mat and regularly misted with water. The seeds draw moisture from the mat, and sprouts grow without the need for soil. This method can result in fast-growing and nutrient-dense sprouts.
Experiment with different sprouting methods to find the one that suits your needs and yields the best results. Regardless of the method you choose, regular rinsing, proper drainage, and a clean and well-ventilated environment are crucial for successful sprouting.
Next, we will discuss how to care for sprouts during the sprouting process to ensure their optimal growth.
Caring for Sprouts During the Sprouting Process
Proper care is essential to promote healthy growth and prevent any issues during the sprouting process. Here are some important tips for caring for your sprouts:
1. Rinsing: Rinse your sprouts regularly, usually two to three times a day. This helps remove any excess moisture, debris, or potential contaminants. Aim to rinse with clean, filtered water and ensure thorough drainage after each rinse.
2. Drainage: Adequate drainage is vital to prevent waterlogging and the growth of molds or harmful bacteria. Ensure that your sprouting container or tray has proper drainage holes or a tilted position to allow excess water to escape.
3. Air Circulation: Sprouts thrive in well-ventilated environments. Make sure there is proper airflow to prevent excess moisture buildup, which can lead to spoilage. If using a closed container method, ensure that there is enough ventilation to allow fresh air to circulate.
4. Light Exposure: While some sprouts benefit from exposure to light, such as alfalfa and sunflower sprouts, others prefer darkness, like mung bean sprouts. Be mindful of the light requirements for different sprouts and place them accordingly. Avoid direct sunlight, as it can cause the sprouts to dry out or overheat.
5. Temperature: Keep the sprouts in a moderate temperature range suitable for their growth. Most sprouts prefer temperatures between 60°F (15°C) and 75°F (24°C). Extreme temperatures can affect the germination process and the overall health of the sprouts.
6. Hygiene: Maintain proper hygiene throughout the sprouting process. Clean your sprouting equipment and containers thoroughly before use. Regularly wash your hands and any utensils used in handling the sprouts to prevent the risk of contamination.
7. Observation: Keep an eye on your sprouts and monitor their progress. Look for any signs of mold, discoloration, or an unpleasant odor. If you notice any issues, consider discarding the affected sprouts to prevent contamination of the rest.
8. Harvesting at the Right Time: Harvest your sprouts at the optimal time to enjoy the best flavor and nutrition. Sprouts are typically ready to harvest when they have developed their first set of true leaves or when they have reached the desired length. Check the specific instructions for the sprouts you are growing to determine the ideal harvesting time.
By following these care tips, you can ensure the healthy growth and development of your sprouts. Now, let’s move on to the next step: harvesting and storing sprouts.
Harvesting and Storing Sprouts
Harvesting your sprouts at the right time and storing them properly will help maintain their freshness and maximize their shelf life. Here’s how to harvest and store your sprouts:
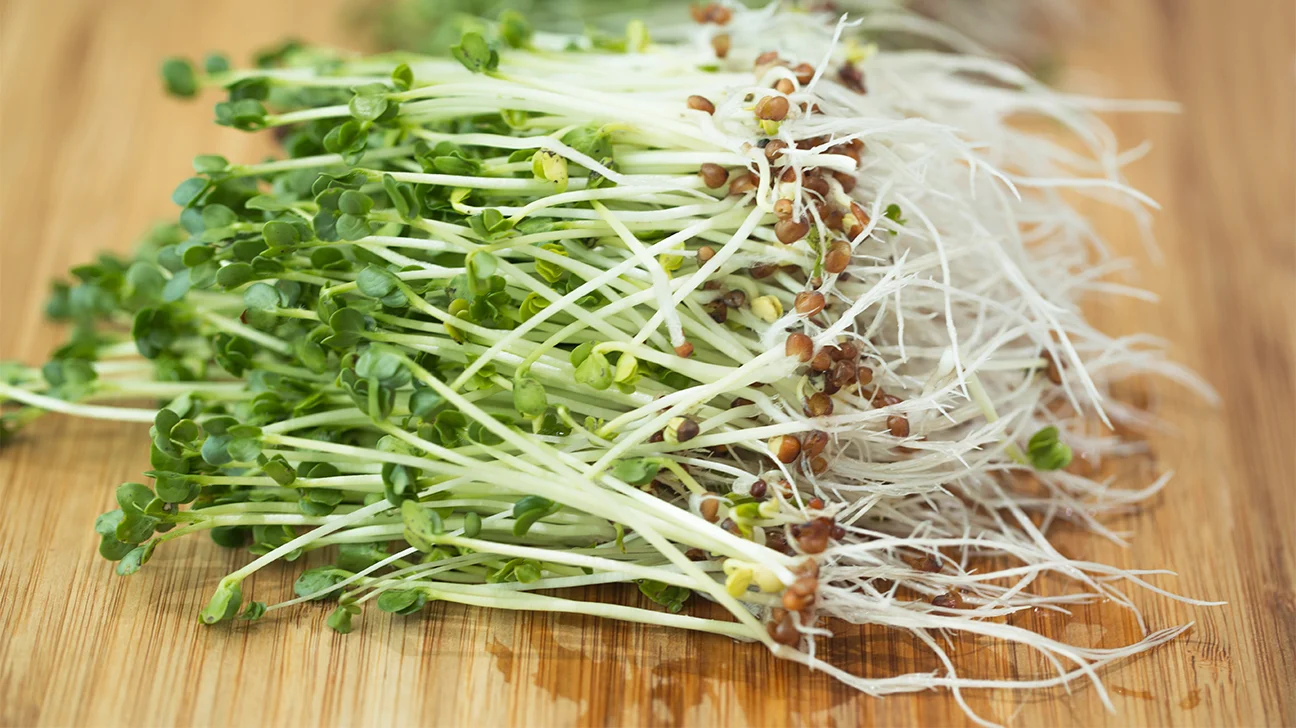
1. Harvesting: Each type of sprout has its own ideal harvesting time. Generally, sprouts are ready to harvest when they have developed their first set of true leaves or when they have reached the desired length. Use clean scissors or your fingers to gently cut or pinch off the sprouts just above the root section. Avoid harvesting too many sprouts at once so that the remaining ones can continue to grow.
2. Rinsing and Draining: After harvesting, rinse the sprouts under cold water to remove any debris or loose hulls. Drain the excess water thoroughly using a colander or by gently patting the sprouts dry with a clean kitchen towel or paper towel.
3. Storage: Transfer the sprouts to a clean, airtight container or a plastic bag lined with a paper towel. Place the container or bag in the refrigerator to maintain freshness. Properly stored sprouts can typically last for about 3 to 7 days, depending on the variety. Remember to label the container with the date of harvest for easy tracking.
4. Moisture Control: It’s important to control moisture levels to prevent the sprouts from becoming too damp or dry. Check the sprouts regularly and remove any excess moisture or condensation that may accumulate inside the container. Avoid storing the sprouts in a wet or soggy environment, as this can lead to spoilage.
5. Separate Varieties: If you have sprouted different types of seeds, it’s recommended to store them separately to maintain their individual flavors and prevent cross-contamination. This allows you to enjoy the distinct characteristics of each sprout without them blending together.
6. Consume Fresh: Sprouts are best enjoyed fresh, as they provide optimal flavor and nutrition. Aim to consume them within the recommended storage timeframe to ensure the highest quality. Harvest smaller portions as needed to maintain freshness.
7. Quality Check: Before consuming or using stored sprouts, inspect them carefully. Discard any sprouts that show signs of spoilage, such as a slimy texture, foul odor, or discoloration. It’s better to be safe than sorry when it comes to food safety.
By following these tips, you can successfully harvest and store your sprouts, prolonging their shelf life and maintaining their quality. Now, let’s explore some tips for enjoying sprouts in your meals.
Tips for Enjoying Sprouts in Your Meals
Sprouts add freshness, crunch, and a burst of flavor to various dishes. Here are some tips for incorporating sprouts into your meals:
1. Sandwiches and Wraps: Sprouts make a delicious addition to sandwiches and wraps. Add them to your favorite fillings such as grilled vegetables, avocado, hummus, or turkey. The crisp texture of sprouts adds a delightful crunch to every bite.
2. Salads: Sprouts are a perfect topping for salads, adding a nutritional boost and interesting texture. Mix them with leafy greens, cherry tomatoes, cucumbers, and your choice of dressing for a refreshing and nutritious salad.
3. Stir-Fries: Toss sprouts into stir-fries for a quick and healthy meal. Add them towards the end of cooking to retain their crunch. They work well with a variety of vegetables, proteins, and Asian-inspired sauces.
4. Soups and Stews: Enhance the nutritional value of your soups and stews by sprinkling sprouts on top just before serving. They bring a fresh element and add a pleasant contrast to warm and comforting dishes.
5. Smoothies and Juices: Blend sprouts into your favorite smoothies or juices for an extra boost of nutrients. They can be mixed with fruits, leafy greens, and a splash of your choice of liquid for a vibrant and healthy drink.
6. Omelets and Scrambles: Add sprouts to your morning omelets or scrambled eggs for added crunch and flavor. They pair well with other vegetables, cheese, and proteins.
7. Garnish: Use sprouts as a garnish for various dishes, including soups, Buddha bowls, grain bowls, or even avocado toast. They add visual appeal and a burst of freshness.
8. Experiment with Flavors: Try sprouting different seeds to explore a range of flavors. From the mild and nutty taste of alfalfa sprouts to the spiciness of radish sprouts, there are endless possibilities. Mix and match sprouts to create unique flavor combinations in your dishes.
9. Keep it Simple: Sometimes, the best way to enjoy sprouts is in their raw and natural form. Toss them into a simple green salad or wrap them in a lettuce leaf for a quick and healthy snack.
Remember to wash sprouts thoroughly before using them in your meals and remove any roots or hulls if necessary. Enjoy the taste, texture, and nutritional benefits that sprouts bring to your culinary creations!
Now that you have learned various ways to enjoy sprouts, it’s time to wrap up our article.
Read more: What Are Sprouting Seeds
Conclusion
Sprouting seeds for eating is not only a rewarding and fun activity, but it also provides numerous health benefits. From boosting nutritional value and aiding digestion to enhancing immune function and supporting weight management, sprouts are a powerhouse of nutrients. Incorporating sprouts into your meals adds freshness, crunch, and a burst of flavor.
By understanding the different types of seeds that can be sprouted, choosing the right seeds, and properly preparing them, you can embark on a successful sprouting journey. Whether you opt for the jar method, tray method, or any other sprouting technique, proper care is crucial. Regular rinsing, efficient drainage, and a well-ventilated environment promote healthy sprout growth.
After harvesting sprouts at their optimal time, storing them correctly helps maintain their freshness. Remember to consume them within the recommended timeframe and inspect them for any signs of spoilage before consuming.
Sprouts offer endless possibilities for culinary creativity. Add them to sandwiches, salads, stir-fries, and soups, or blend them into smoothies and juices. Sprouts can be enjoyed in their raw form or cooked with other ingredients for added texture and flavor. Don’t be afraid to experiment with different sprout varieties and flavors to discover new taste sensations.
As you embark on your sprouting journey, remember to prioritize food safety and hygiene at every step. Use high-quality seeds from trusted sources and maintain clean equipment throughout the sprouting process.
So, whether you’re a seasoned sprouter or a beginner looking to incorporate fresh and nutritious ingredients into your meals, sprouting seeds for eating opens up a world of possibilities. Enjoy the journey, savor the flavors, and reap the health benefits of sprouts in your everyday life.
Happy sprouting!
Frequently Asked Questions about How To Sprout Seeds For Eating
Was this page helpful?
At Storables.com, we guarantee accurate and reliable information. Our content, validated by Expert Board Contributors, is crafted following stringent Editorial Policies. We're committed to providing you with well-researched, expert-backed insights for all your informational needs.


0 thoughts on “How To Sprout Seeds For Eating”