Home>Garden Essentials>How To Make Chia Seed Pudding
Garden Essentials
How To Make Chia Seed Pudding
Modified: March 16, 2024
Discover a delicious and healthy recipe for Chia Seed Pudding in your garden. Enjoy the benefits of this nutritious and easy-to-make treat!
(Many of the links in this article redirect to a specific reviewed product. Your purchase of these products through affiliate links helps to generate commission for Storables.com, at no extra cost. Learn more)
Introduction
Welcome to the wonderful world of chia seed pudding! If you’re looking for a healthy and delicious breakfast or snack option, look no further. Chia seed pudding is not only nutrient-dense but also incredibly versatile, making it a favorite among health-conscious individuals.
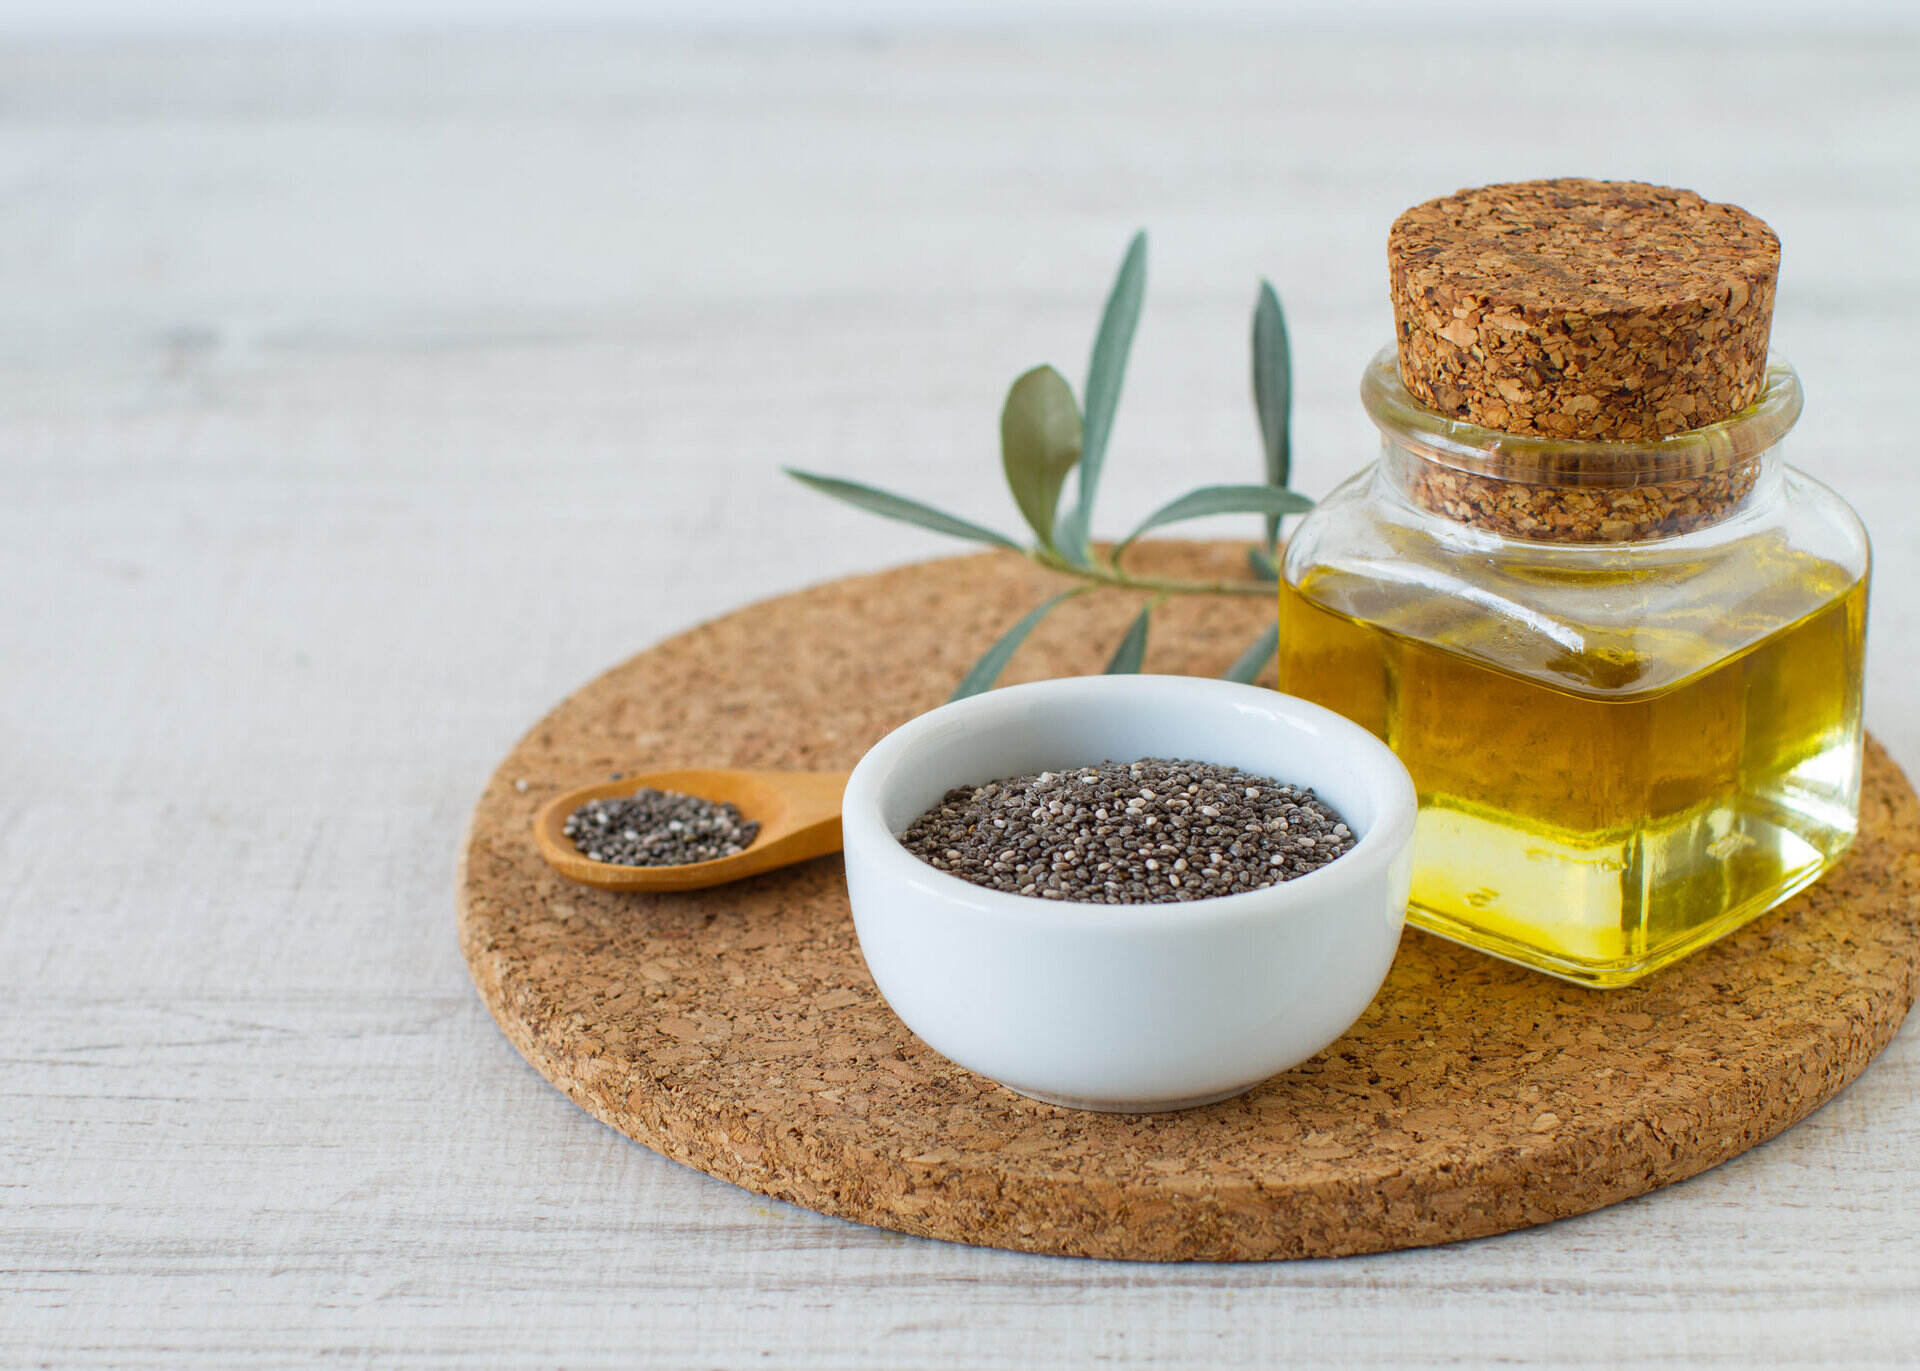
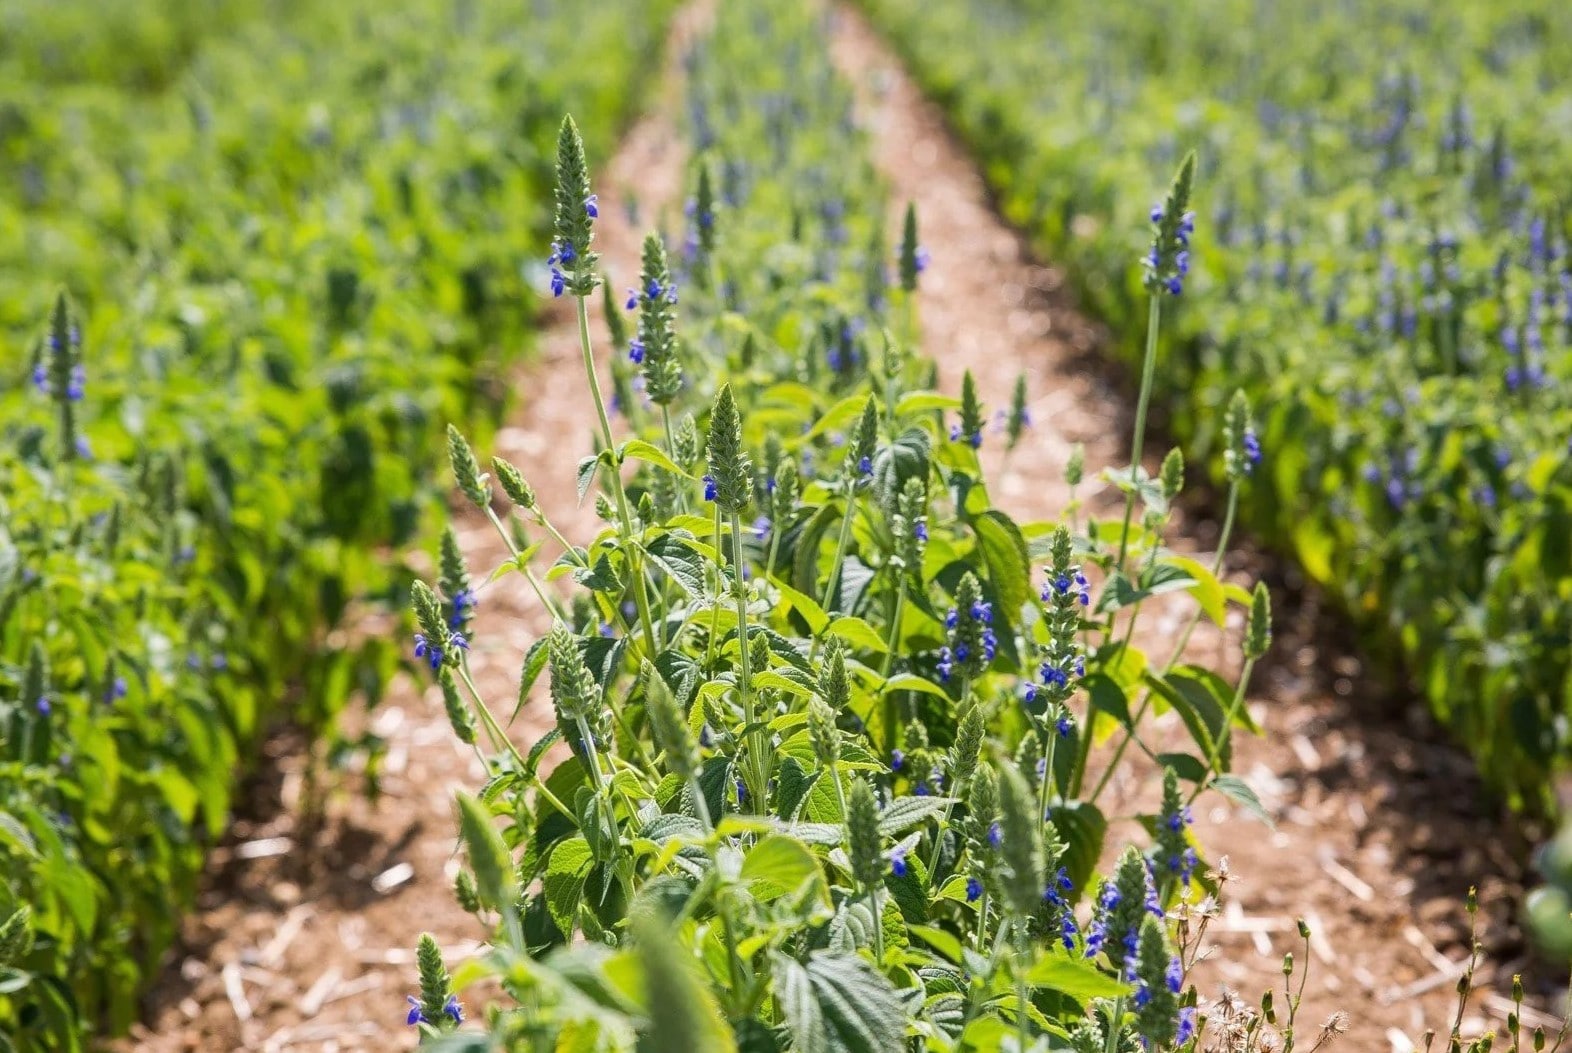
Chia seeds, which come from the plant Salvia hispanica, are native to Central America and have been used for centuries as a source of nourishment. These tiny seeds are packed with essential nutrients, including fiber, protein, omega-3 fatty acids, and antioxidants.
The beauty of chia seed pudding lies in its simplicity. Made by combining chia seeds with liquid, such as milk or plant-based alternatives, the mixture transforms into a creamy and pudding-like consistency after soaking. The best part? You can customize it with your choice of flavors, toppings, and sweeteners.
In this article, we’ll guide you through the step-by-step process of making chia seed pudding and provide useful tips and variations to help you get creative in the kitchen.
So, whether you’re a chia seed pudding enthusiast or a newcomer to this delightful treat, let’s dive in and discover how to make the perfect chia seed pudding!
Key Takeaways:
- Chia seed pudding is a simple, healthy, and customizable treat made by soaking chia seeds in milk and sweetener, then adding flavorings and toppings. It’s packed with nutrients and can be enjoyed for breakfast, snack, or dessert.
- Get creative with chia seed pudding by experimenting with different liquids, textures, flavors, and toppings. It’s a versatile and nutritious canvas for culinary exploration, offering endless possibilities for delicious and satisfying creations.
Read more: How To Make Coconut Milk Chia Seed Pudding
Ingredients
Before we begin, let’s gather all the ingredients you’ll need to make delicious chia seed pudding:
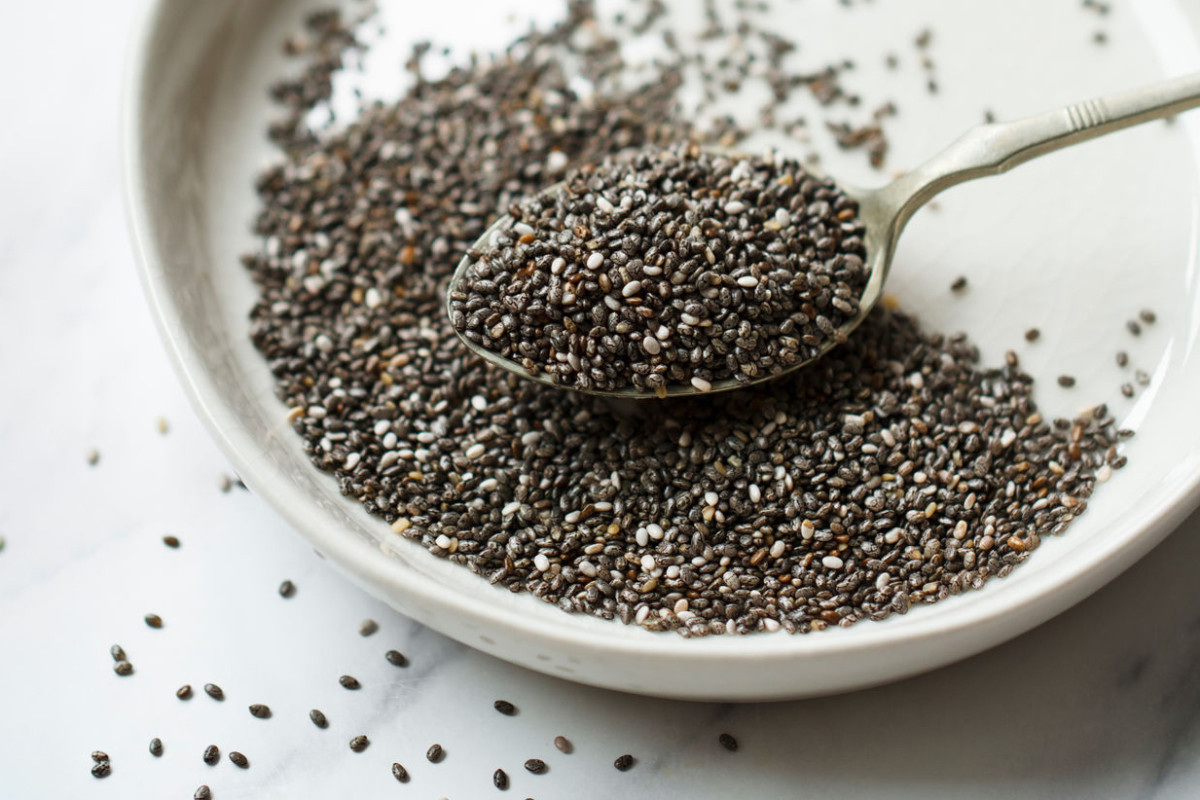
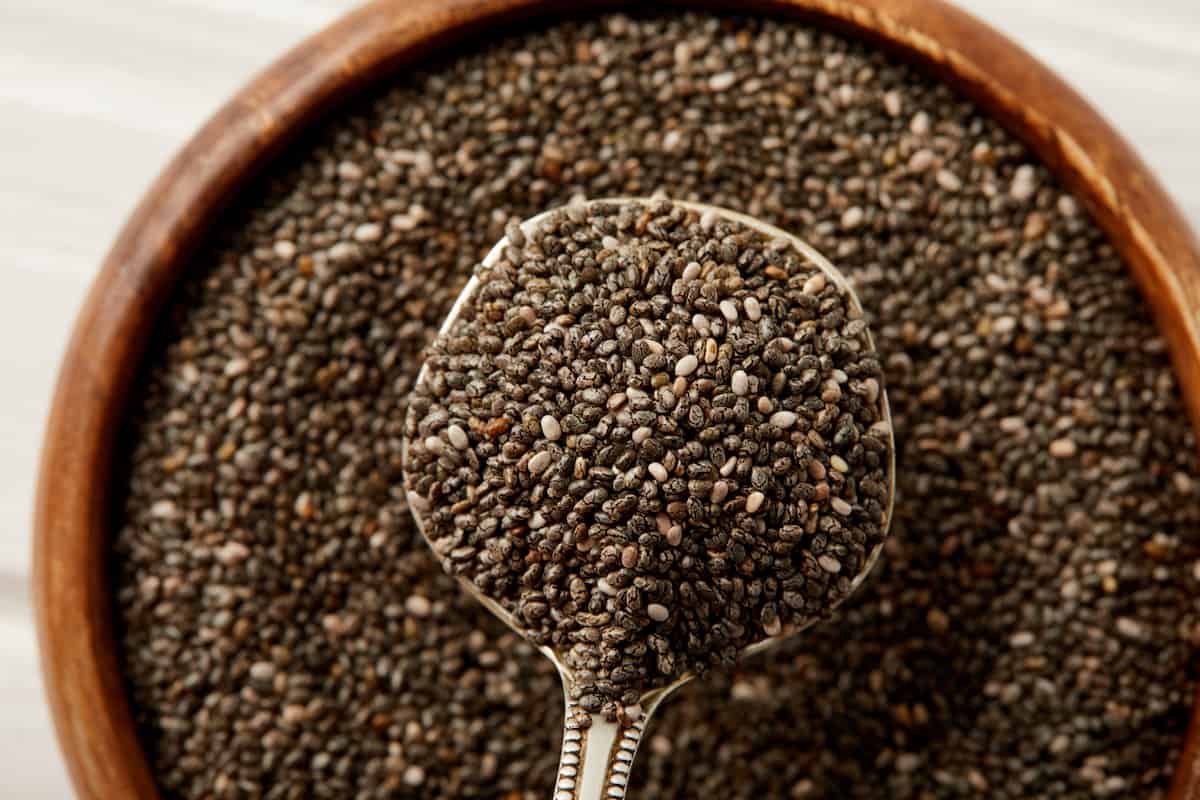
- 1/4 cup of chia seeds
- 1 cup of milk (dairy or plant-based)
- 1 tablespoon of sweetener (such as honey, maple syrup, or agave nectar)
- Optional flavorings (vanilla extract, cocoa powder, cinnamon, etc.)
That’s it! With just four simple ingredients, you can whip up a basic chia seed pudding. Feel free to adjust the quantities based on your preferences and desired serving size.
Chia seeds are readily available in most grocery stores or online health food retailers. Opt for organic chia seeds when possible to ensure the highest quality and nutritional value.
As for the milk, you have plenty of choices. Whether you prefer cow’s milk, almond milk, coconut milk, or oat milk, the outcome will be equally delicious. Use your favorite type of milk or experiment with different varieties to find your perfect combination.
For the sweetener, you can choose from natural options like honey, maple syrup, or agave nectar. Adjust the sweetness according to your taste preferences. Remember, a little goes a long way!
If you want to take your chia seed pudding to the next level, consider incorporating additional flavorings. Vanilla extract, cocoa powder, cinnamon, or even a pinch of salt can add a delightful twist to the overall taste.
Once you’ve gathered all the ingredients, let’s move on to the step-by-step instructions for creating your very own chia seed pudding.
Step 1: Soaking the Chia Seeds
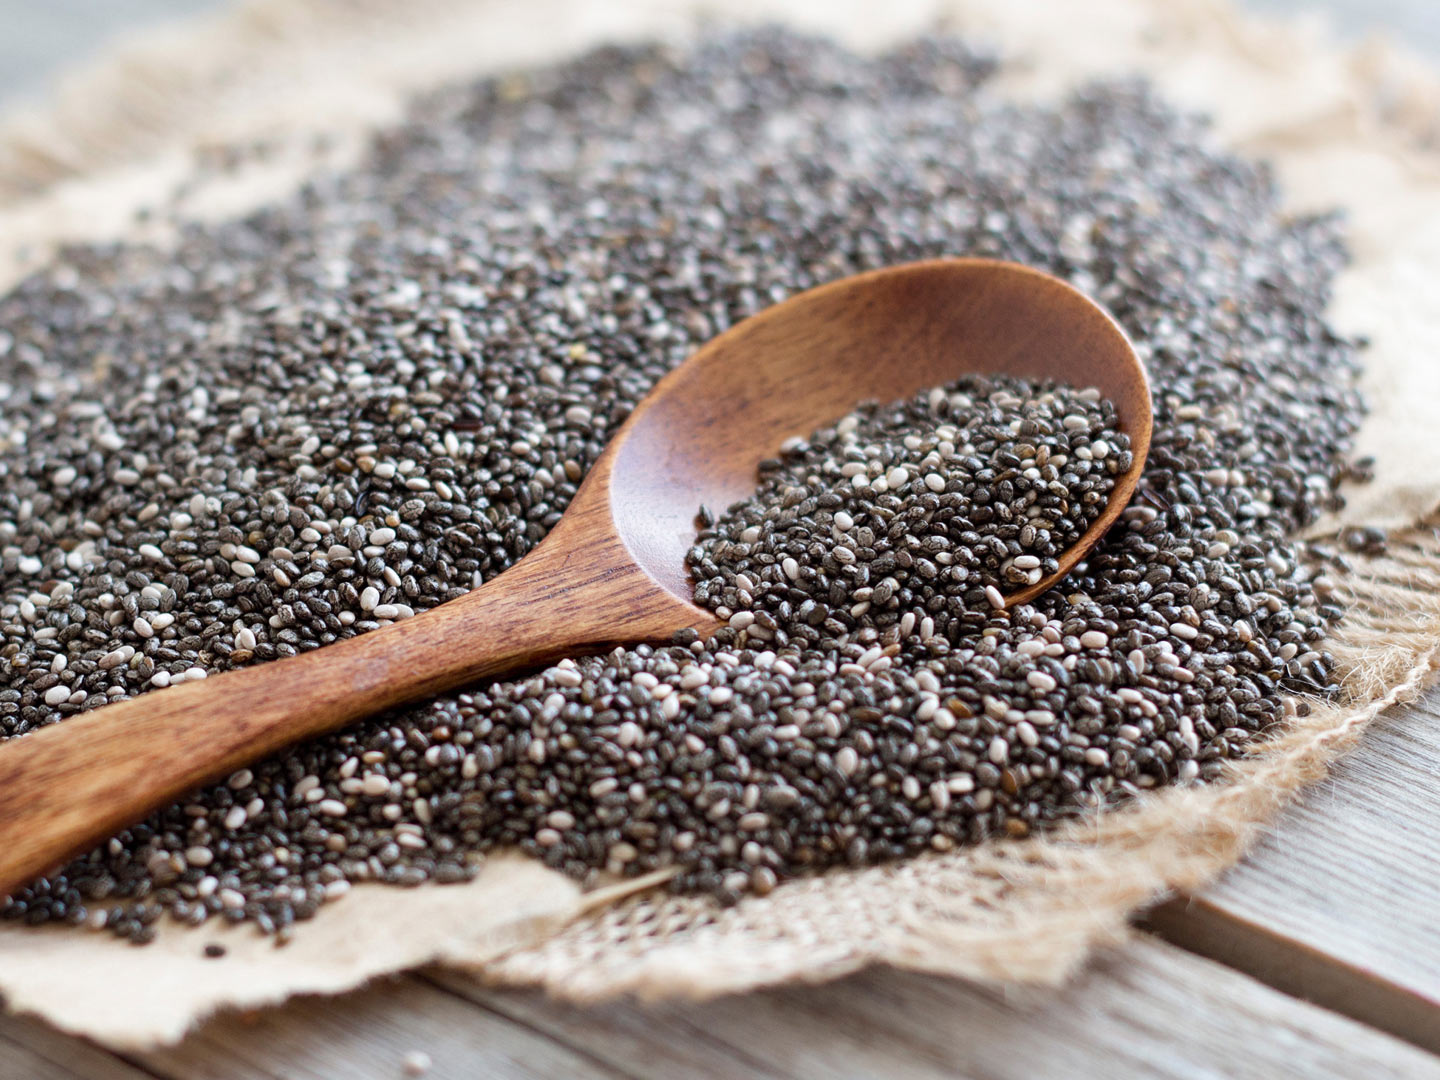
The first step in making chia seed pudding is to soak the chia seeds. This process allows the seeds to absorb liquid and create a gel-like consistency, giving the pudding its characteristic texture.
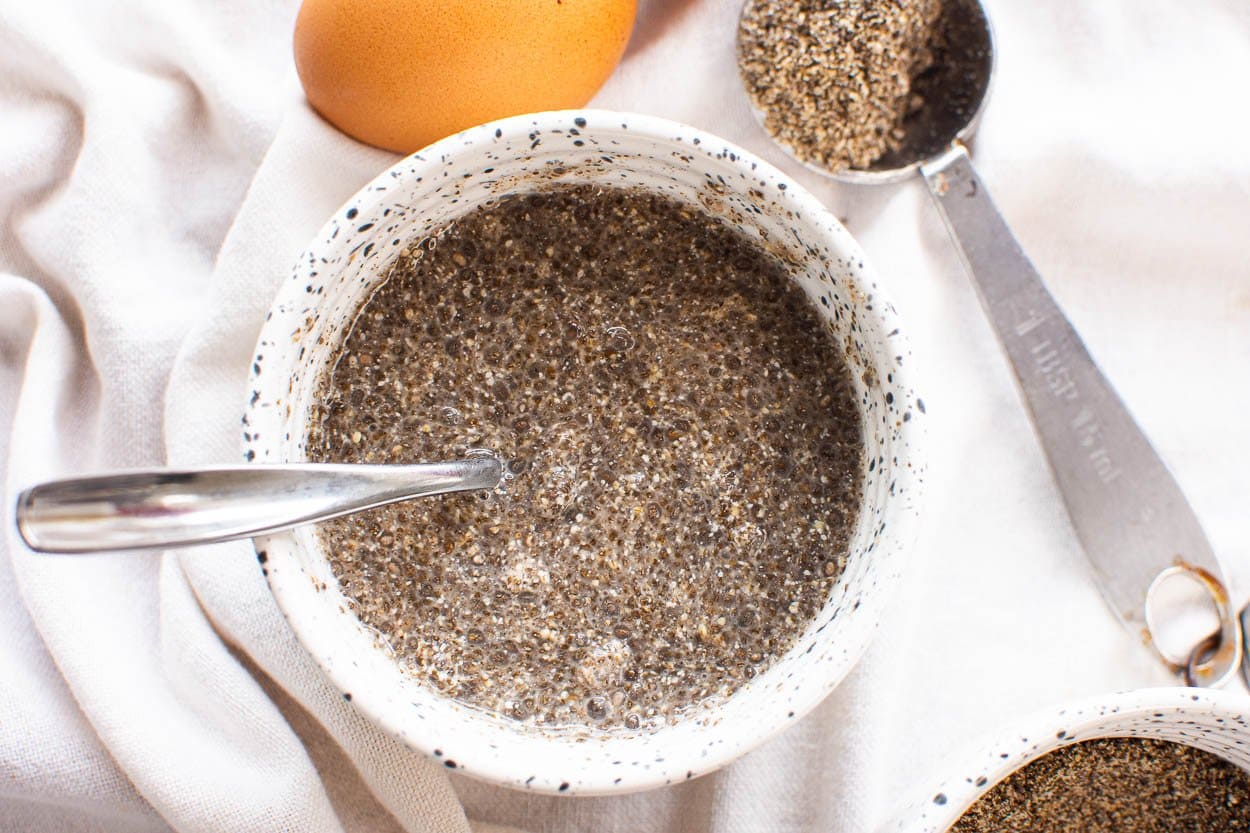
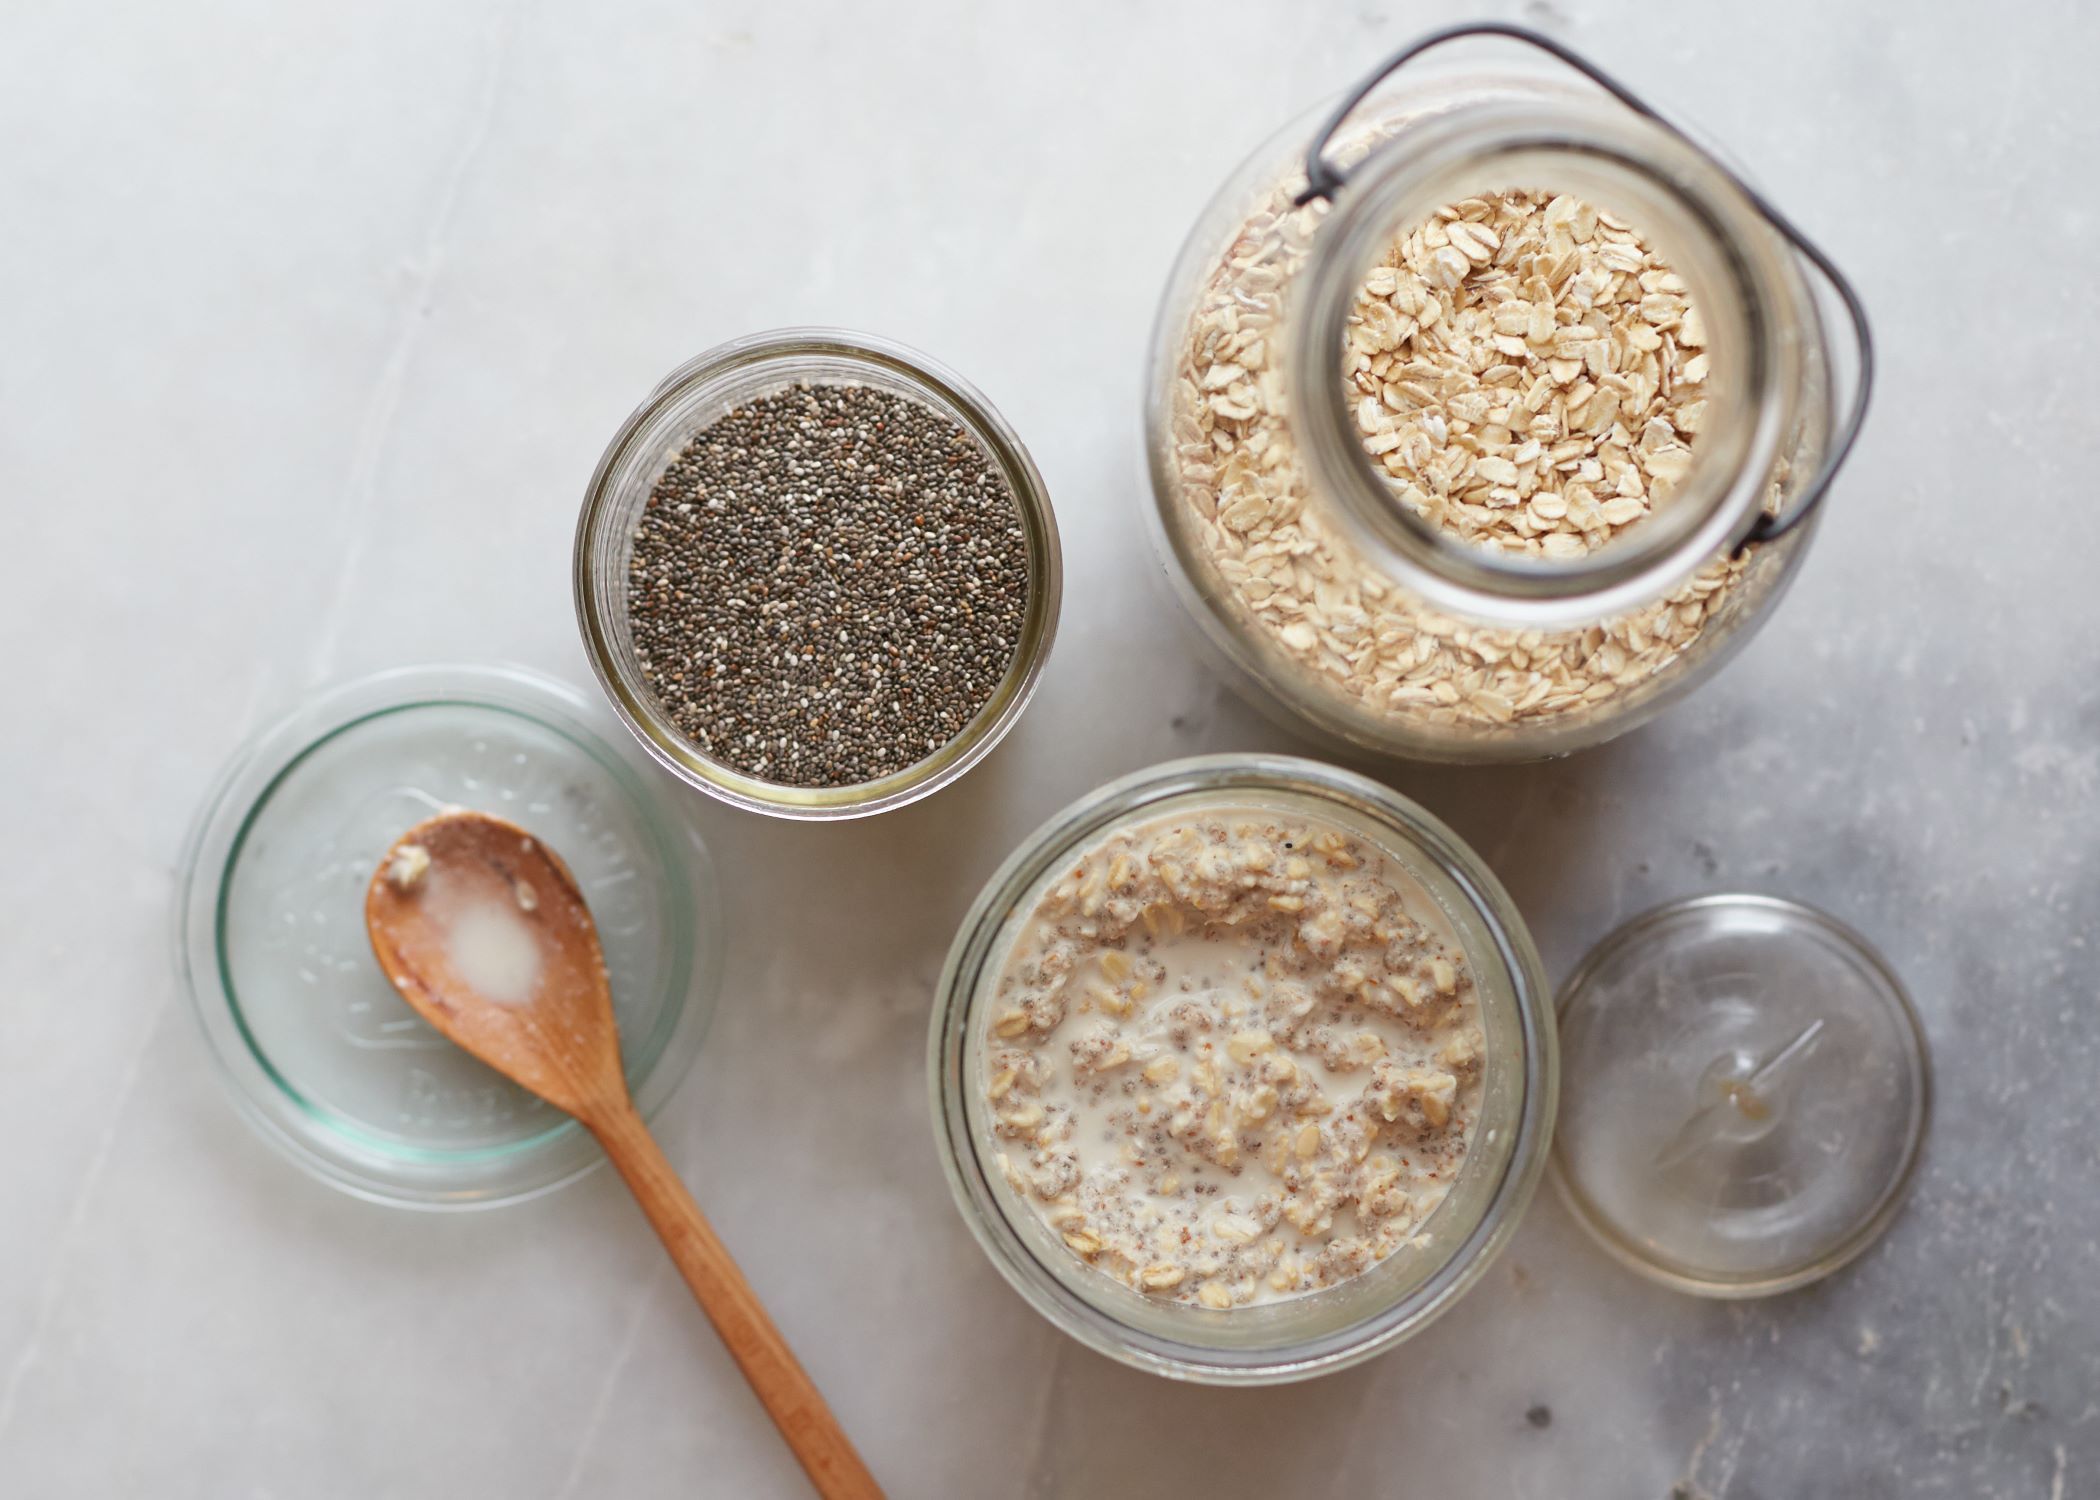
To begin, measure out 1/4 cup of chia seeds and place them in a bowl or jar.
Next, pour 1 cup of milk into the bowl with the chia seeds. Stir well to ensure that the chia seeds are evenly distributed throughout the milk.
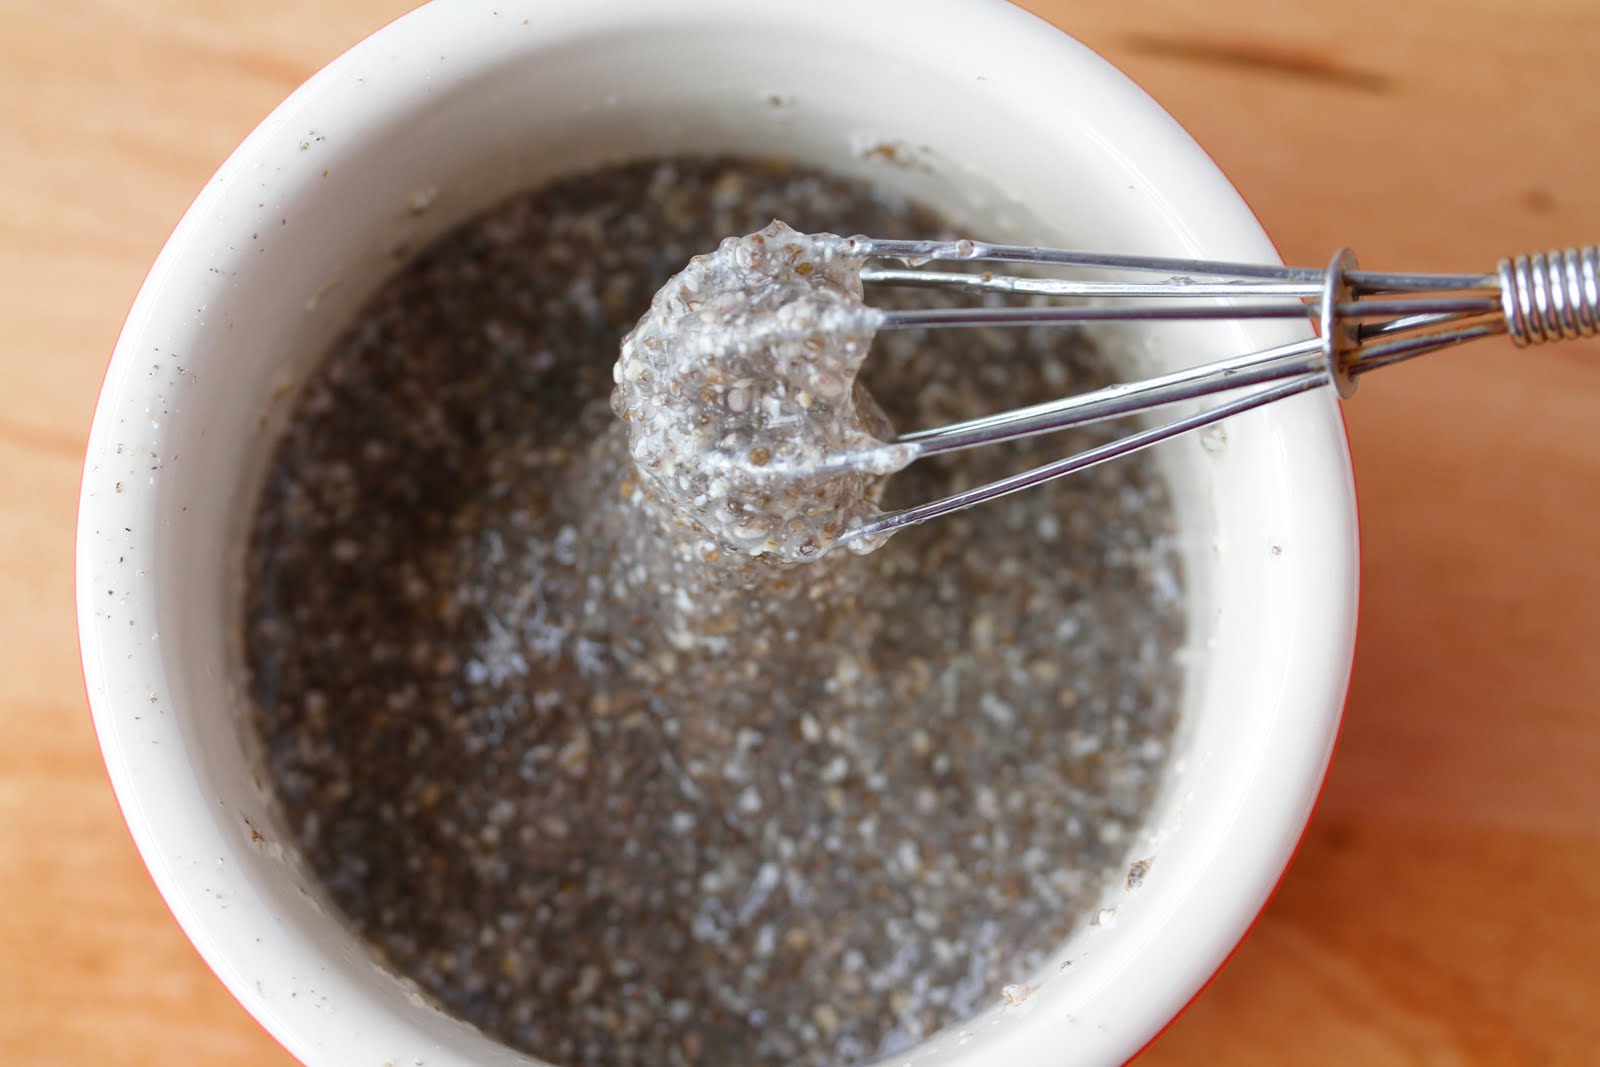
At this stage, you may notice that the chia seeds tend to clump together. To prevent clumping, give the mixture a good whisk or stir every few minutes for the first 15 minutes of soaking.
Once the chia seeds are thoroughly mixed with the milk, cover the bowl or jar and refrigerate it for at least 2 hours, or ideally overnight. This will give the chia seeds enough time to absorb the liquid and achieve a pudding-like consistency.
It’s important to note that the size and freshness of the chia seeds can affect the soaking time. If you’re using smaller or fresher chia seeds, they may gel up faster, while larger or older seeds may take a bit longer to absorb the liquid.
After the soaking time is up, you’ll have a bowl of chia seed pudding awaiting your creative touch. But before we move on to the next step, let’s discuss mixing in sweeteners and flavorings to enhance the overall taste of your chia seed pudding.
Step 2: Mixing the Chia Seeds with Milk and Sweetener
Now that your chia seeds have soaked and developed a gel-like consistency, it’s time to add some sweetness to your chia seed pudding. This step involves mixing in a sweetener of your choice to enhance the flavor and satisfy your taste buds.
Start by uncovering the bowl or jar of soaked chia seeds. You will notice that the texture has thickened and become pudding-like.
Next, add 1 tablespoon of your preferred sweetener to the chia seed mixture. This could be honey, maple syrup, agave nectar, or any other natural sweetener of your liking. Remember, you can always adjust the amount of sweetener based on your taste preferences.
Using a spoon or whisk, thoroughly mix the sweetener into the chia seed pudding. Make sure to incorporate it evenly throughout the mixture. This step ensures that every spoonful of chia seed pudding will have a balanced sweetness.
If you prefer your chia seed pudding to be unsweetened or plan on adding flavorings with their own inherent sweetness, feel free to skip this step and move on to the next one.
Now that the sweetener is mixed in, your chia seed pudding is ready for some additional flavorings. In the next step, we will explore different ways to customize your chia seed pudding and make it even more delicious.
Step 3: Adding Flavorings
Now that your chia seed pudding is sweetened to perfection, it’s time to infuse it with delightful flavors. This step allows you to get creative and customize your pudding to match your taste preferences.
There are numerous flavoring options you can choose from to enhance your chia seed pudding. Here are a few popular choices:
- Vanilla extract: Add a teaspoon of vanilla extract to create a classic and comforting flavor.
- Cocoa powder: For all the chocolate lovers out there, mix in a tablespoon of cocoa powder to transform your chia seed pudding into a rich and indulgent treat.
- Cinnamon: Sprinkle some ground cinnamon to add warmth and depth to the overall taste of your pudding.
- Matcha powder: For a unique twist, incorporate a teaspoon of matcha powder to give your chia seed pudding a vibrant green color and a subtle earthiness.
- Fruit puree: Blend your favorite fruits, such as berries or mango, into a puree and mix it into the pudding for a refreshing burst of flavor.
These are just a few examples, but don’t limit yourself! Feel free to experiment with different combinations and flavors that excite your palate.
Once you’ve chosen your desired flavorings, add them to the chia seed pudding mixture. Use a spoon or whisk to thoroughly combine the flavorings, ensuring that they are evenly distributed throughout the pudding.
Now that your chia seed pudding is infused with delicious flavors, it’s time to move on to the next step: refrigerating the pudding to let the flavors meld together and create a delectable final product.
To make chia seed pudding, mix 1/4 cup of chia seeds with 1 cup of milk and let it sit in the fridge for at least 4 hours or overnight. Stir well before serving and add sweeteners or flavorings to taste.
Read more: How Much Protein Is In Chia Seed Pudding
Step 4: Refrigerating the Chia Seed Pudding
After adding the sweetener and flavorings, it’s time to let the magic happen by refrigerating your chia seed pudding. This step is crucial as it allows the flavors to meld together and the pudding to fully set.
Cover the bowl or jar containing your chia seed pudding with a lid or plastic wrap. Place it in the refrigerator for a minimum of 2 hours or overnight.
During the refrigeration process, the chia seeds will continue to absorb the liquid and expand, resulting in a creamy and pudding-like consistency. The longer you refrigerate the pudding, the more it will thicken.
It’s important to periodically check on the chia seed pudding, especially within the first hour of refrigeration. Give it a gentle stir to ensure that the chia seeds are evenly distributed and don’t clump together.
If you notice that your chia seed pudding is too thick after refrigeration, don’t worry! Simply add a splash of milk or your preferred liquid and give it a good stir to achieve your desired consistency.
Now that your chia seed pudding has spent enough time in the refrigerator, it’s time to enjoy the final result. Let’s move on to the last step: serving and savoring your delicious creation.
Step 5: Serving and Enjoying
Congratulations! You’ve made it to the final step of creating your chia seed pudding. Now it’s time to indulge in your homemade treat and reap the rewards of your efforts.
Remove the chilled chia seed pudding from the refrigerator and give it a good stir. This helps to ensure a smooth and even consistency.
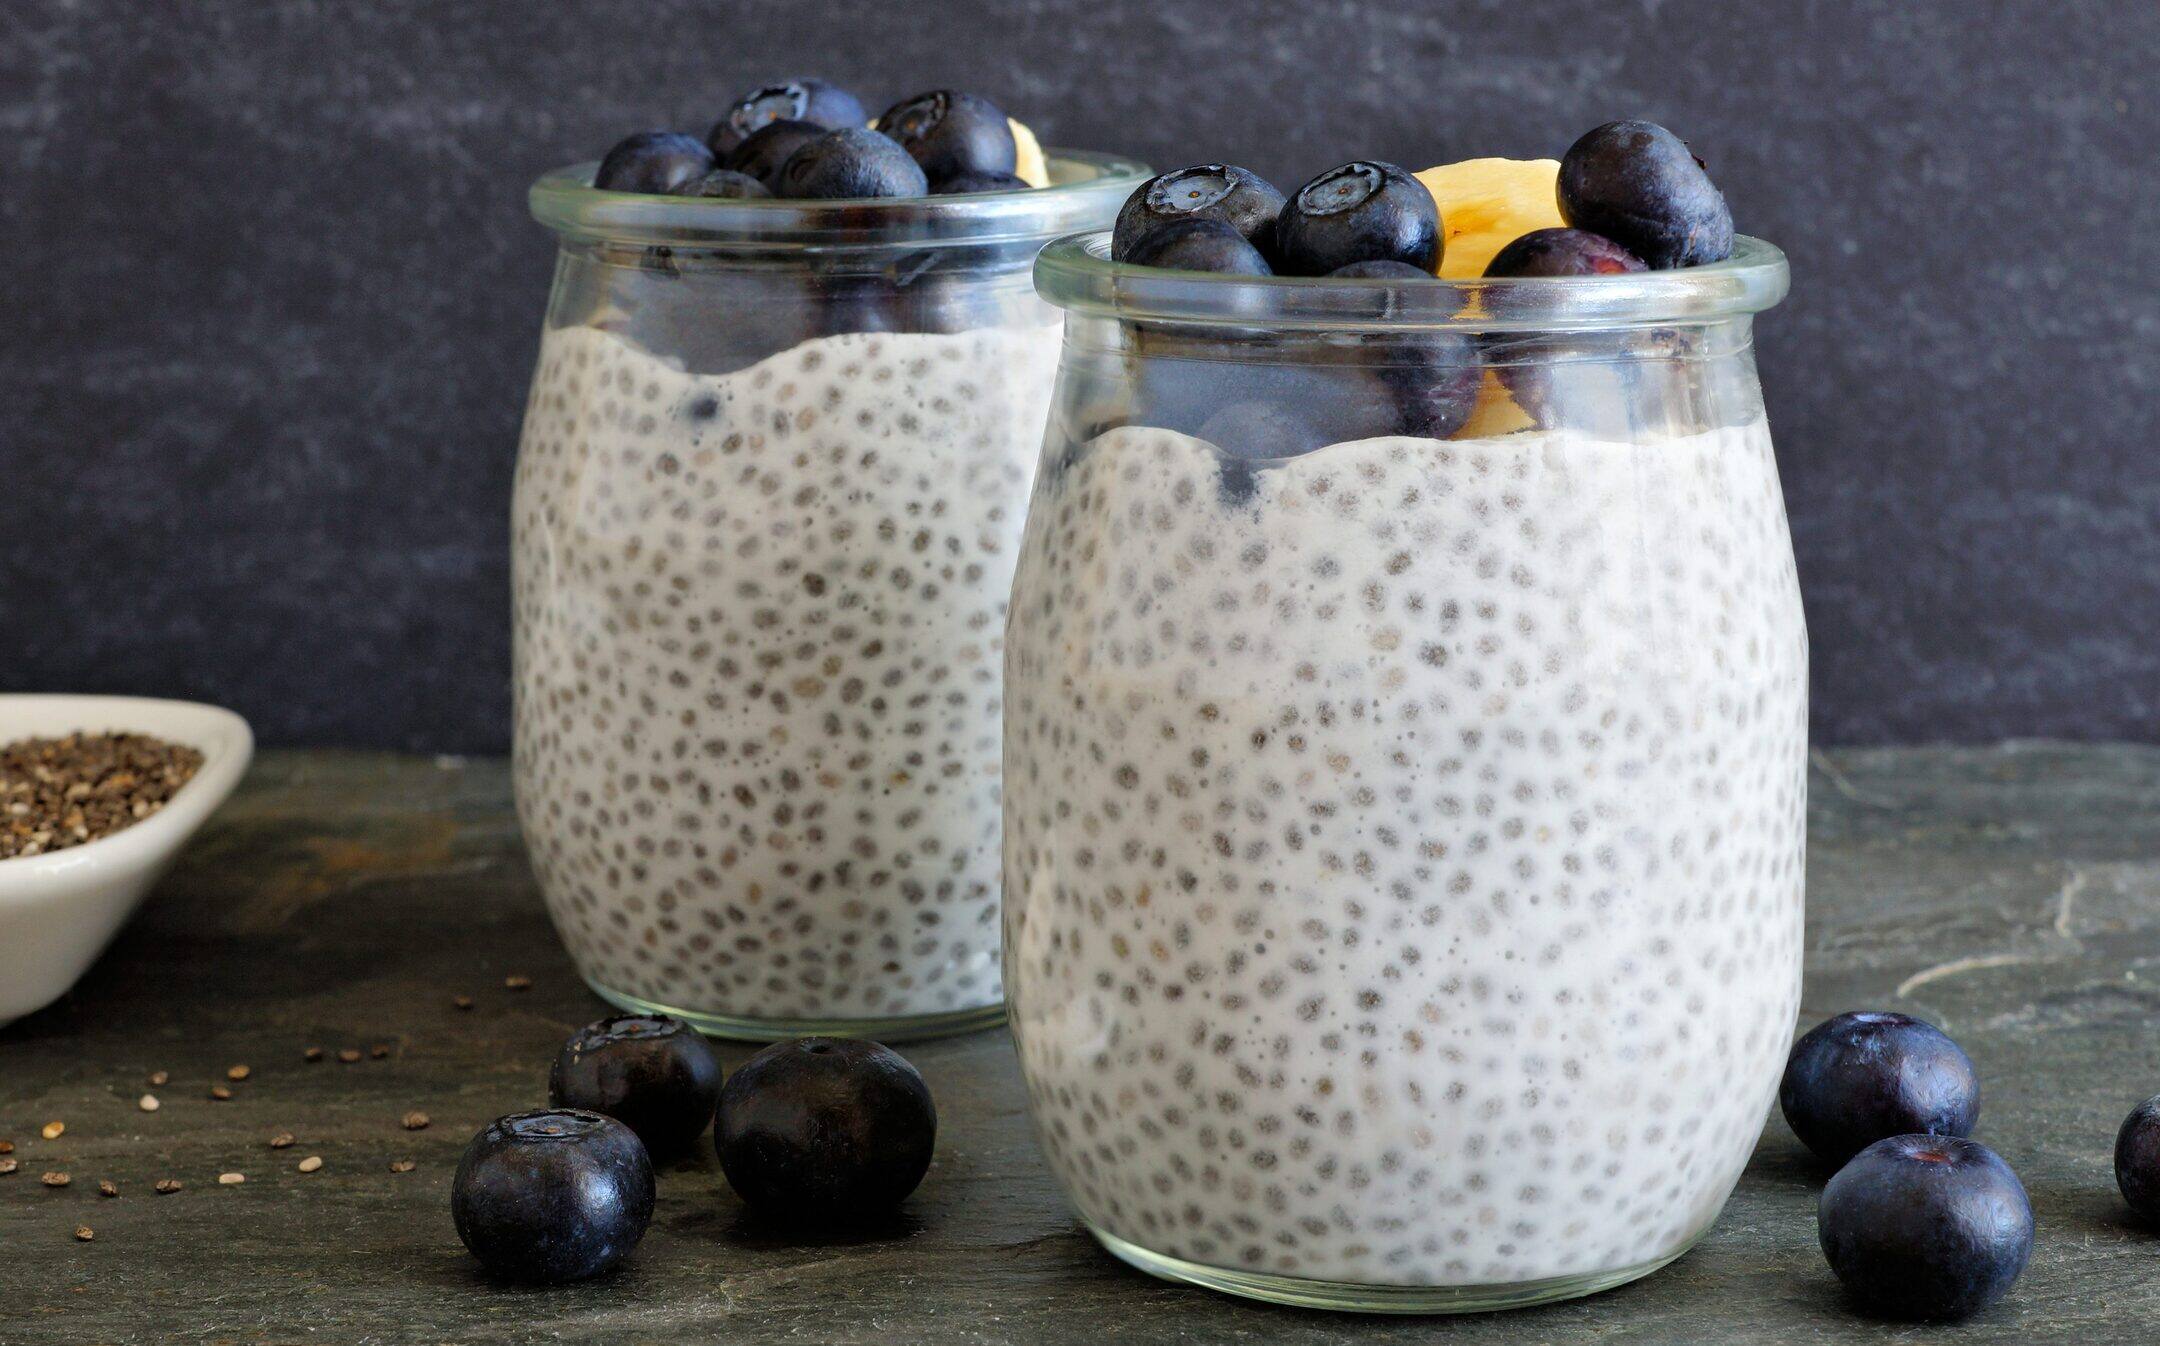
Scoop the desired amount of chia seed pudding into serving bowls or glasses. You can adjust the portion size based on your preference and appetite.
Now comes the fun part: adding toppings! This is an opportunity to further enhance the flavor and texture of your chia seed pudding. Some popular topping options include:
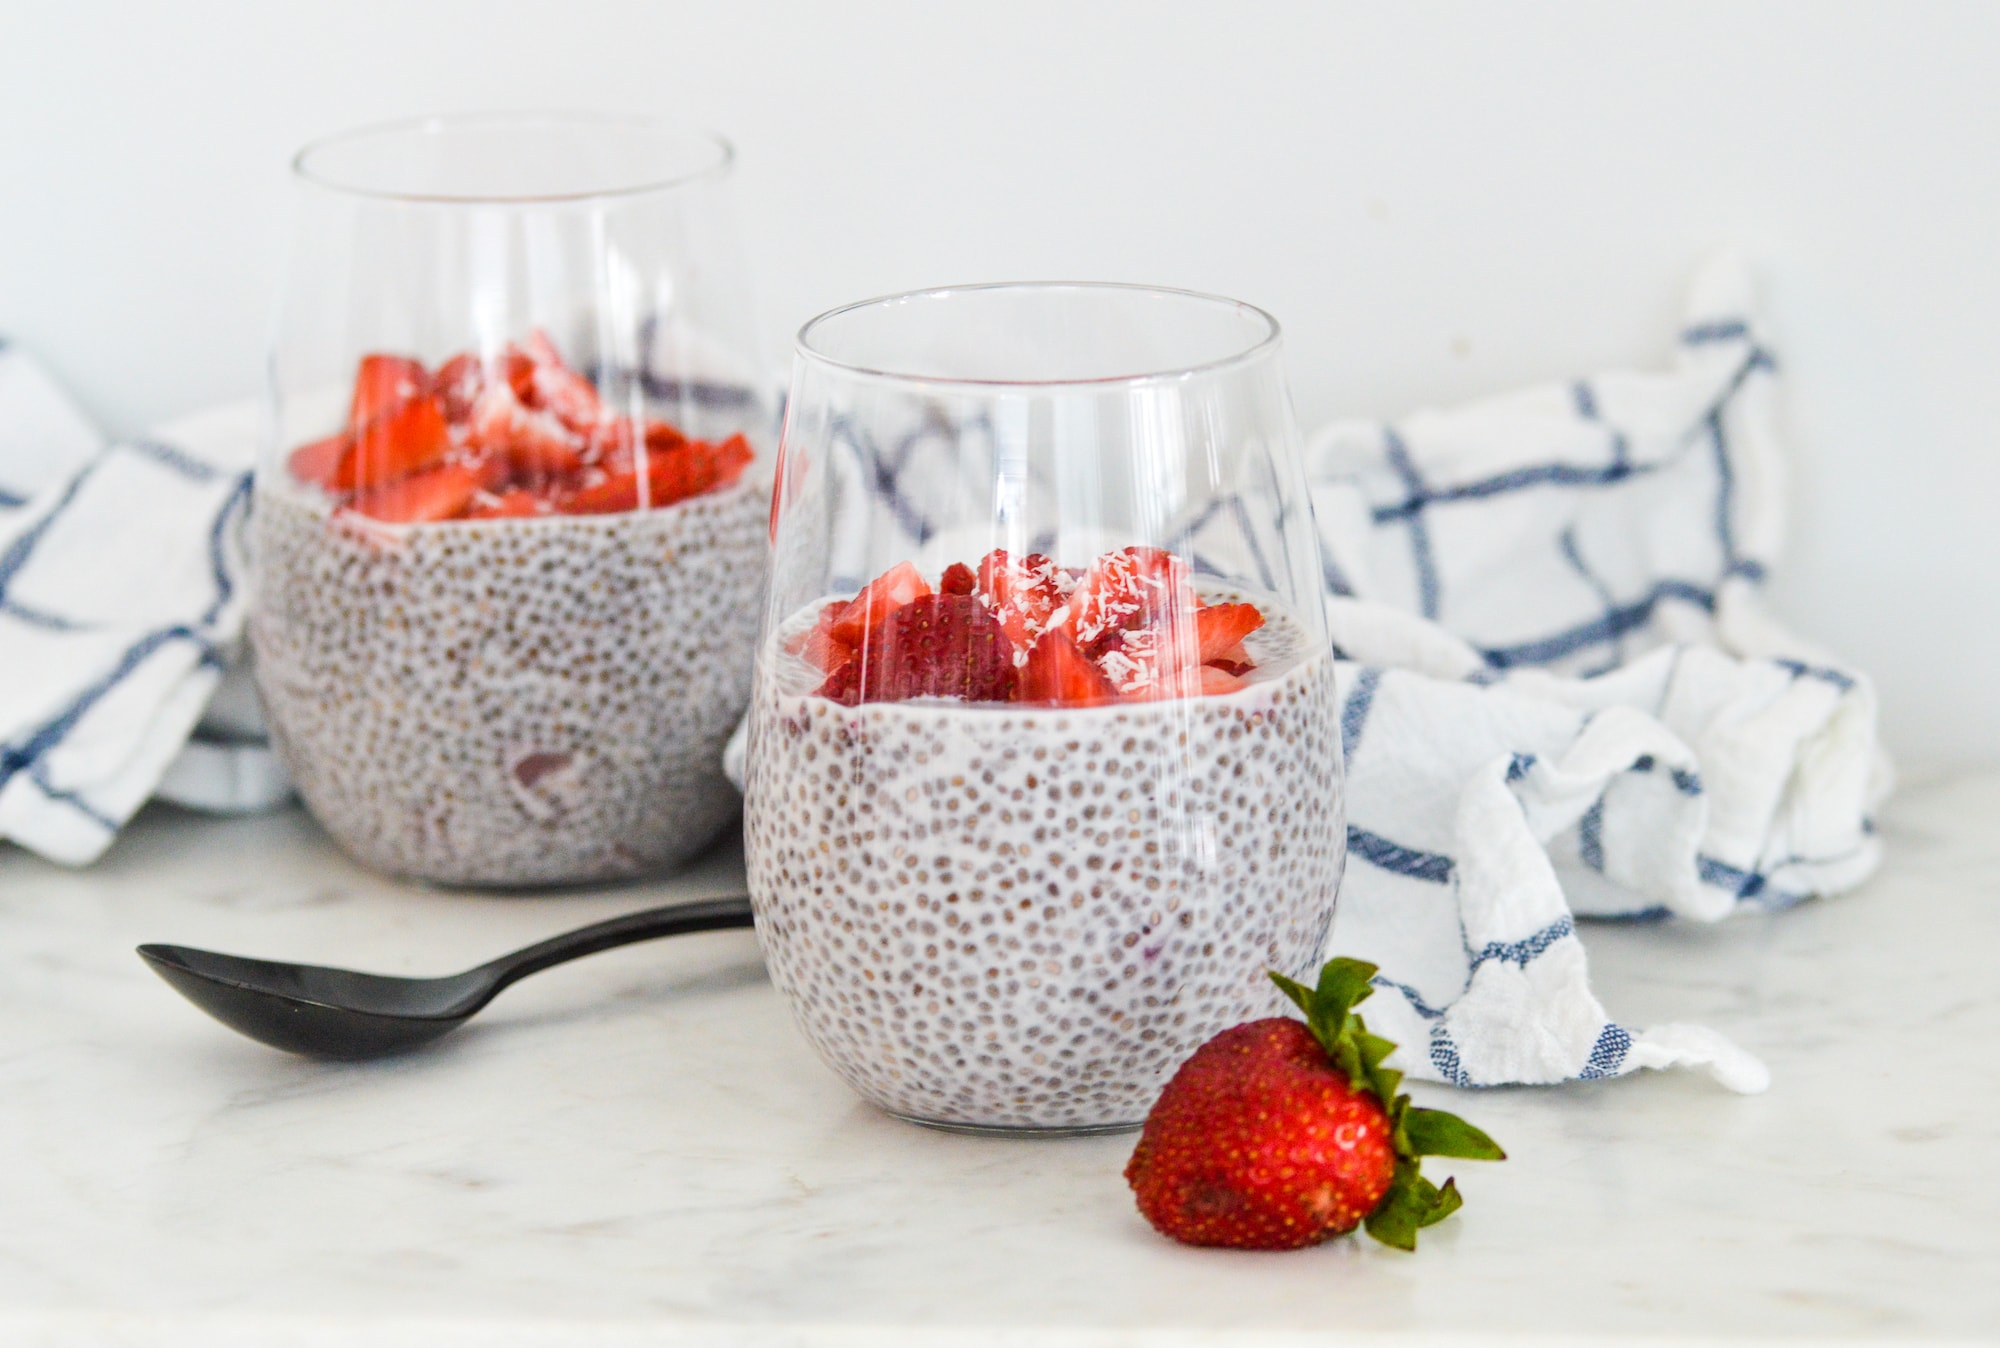
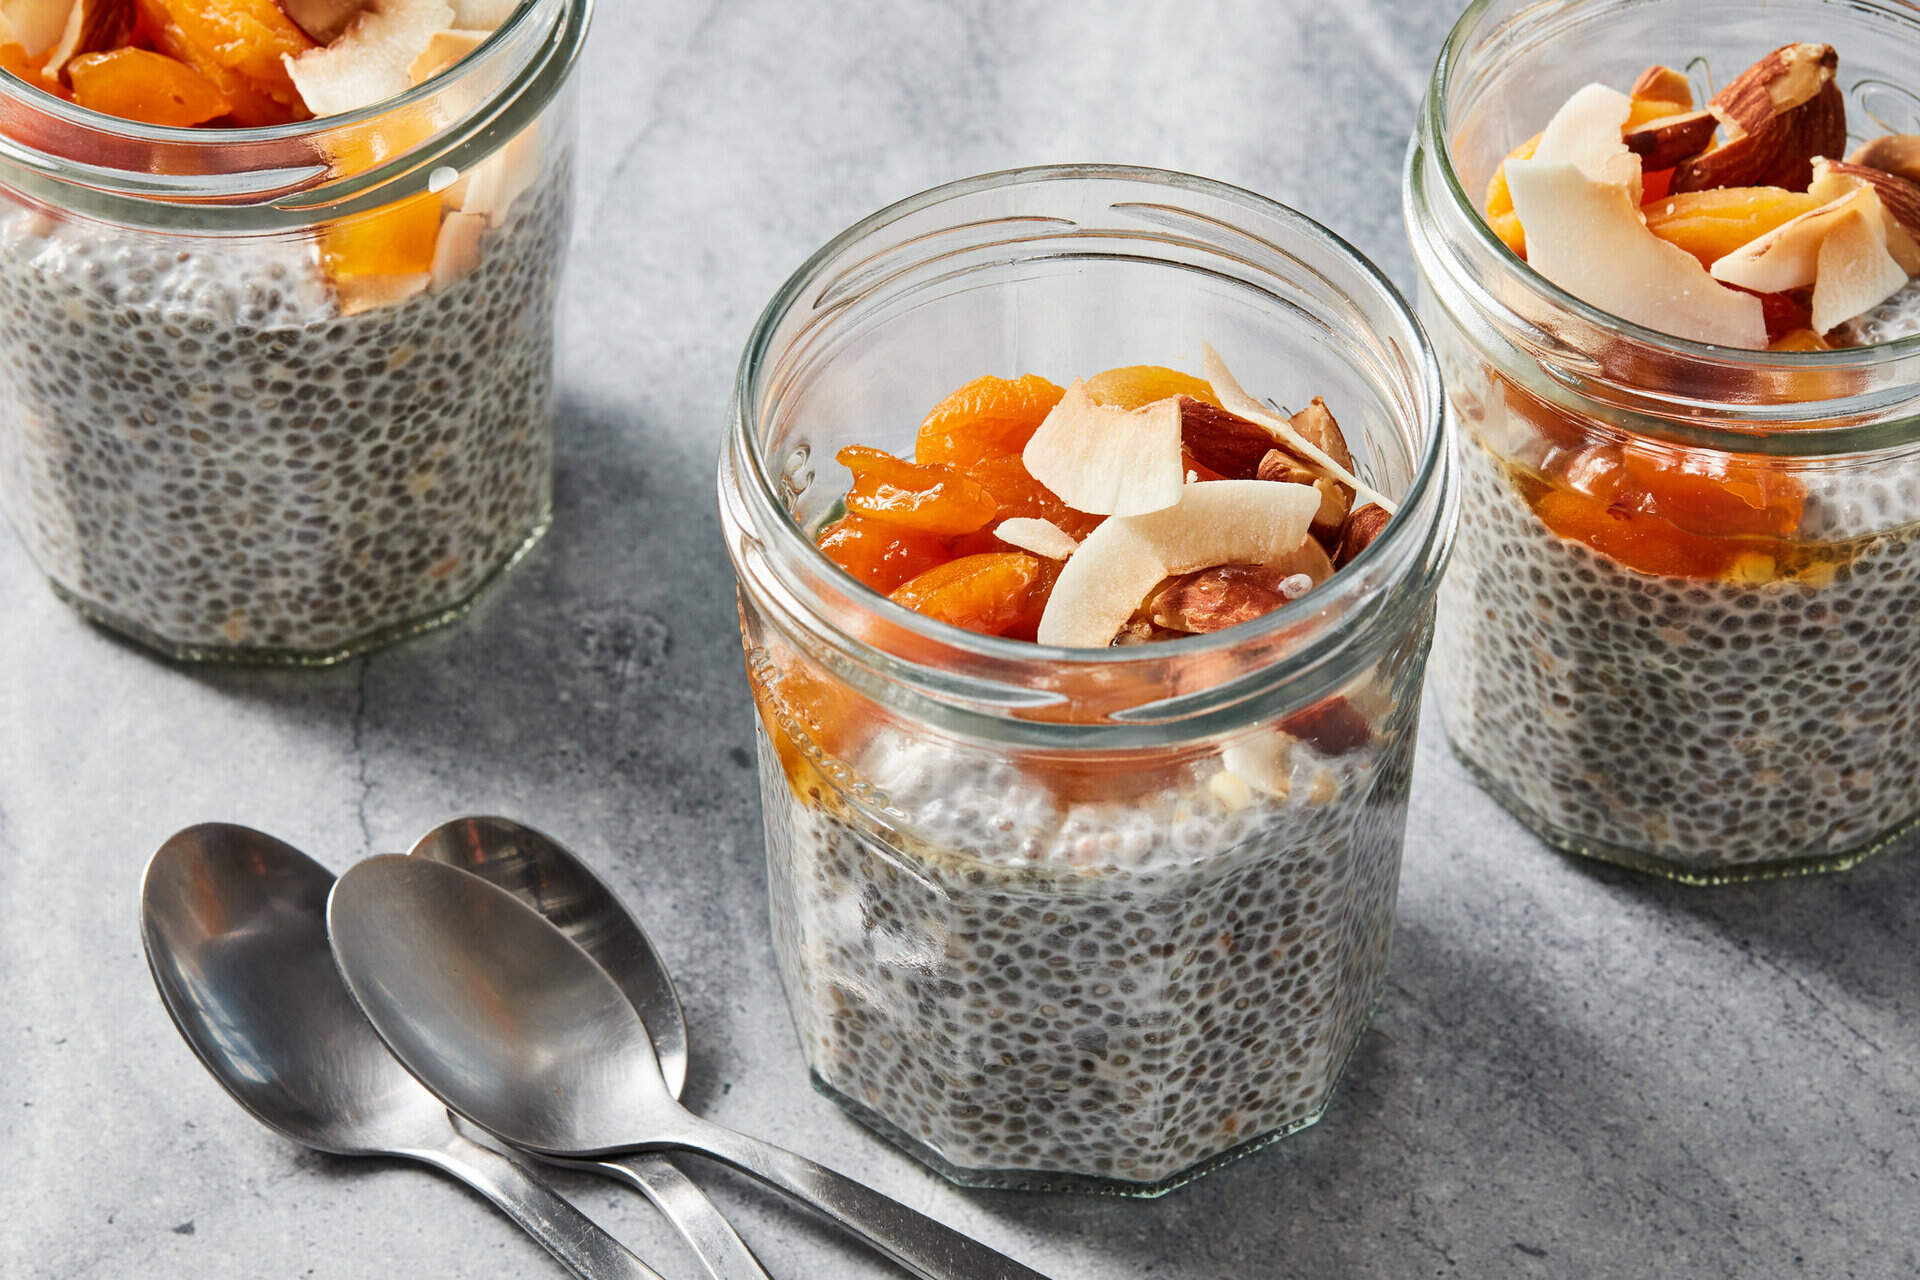
- Fresh fruit slices or berries
- Nuts or seeds for a satisfying crunch
- A drizzle of honey, maple syrup, or nut butter for added sweetness
- A sprinkle of coconut flakes or chocolate shavings for a touch of indulgence
Feel free to get creative with your toppings and experiment with different combinations. The possibilities are endless!
Once you’ve added your desired toppings, it’s time to grab a spoon and dig in. Take a moment to savor the creamy texture, the burst of flavors, and the nutritional goodness of your chia seed pudding.
You can enjoy chia seed pudding immediately after preparing it or let it sit for a few more minutes to let the flavors meld together. Chia seed pudding can be enjoyed for breakfast, as a snack, or even as a healthy dessert option.
Remember, you can store any leftovers in the refrigerator for up to 3-4 days. Just give it a good stir before serving again.
Now that you know the step-by-step process of making chia seed pudding and how to serve and savor it, it’s time to unleash your creativity and enjoy this nutritious and delicious treat!
Tips and Variations
Now that you have mastered the basics of making chia seed pudding, here are some tips and variations to further enhance your culinary experience:
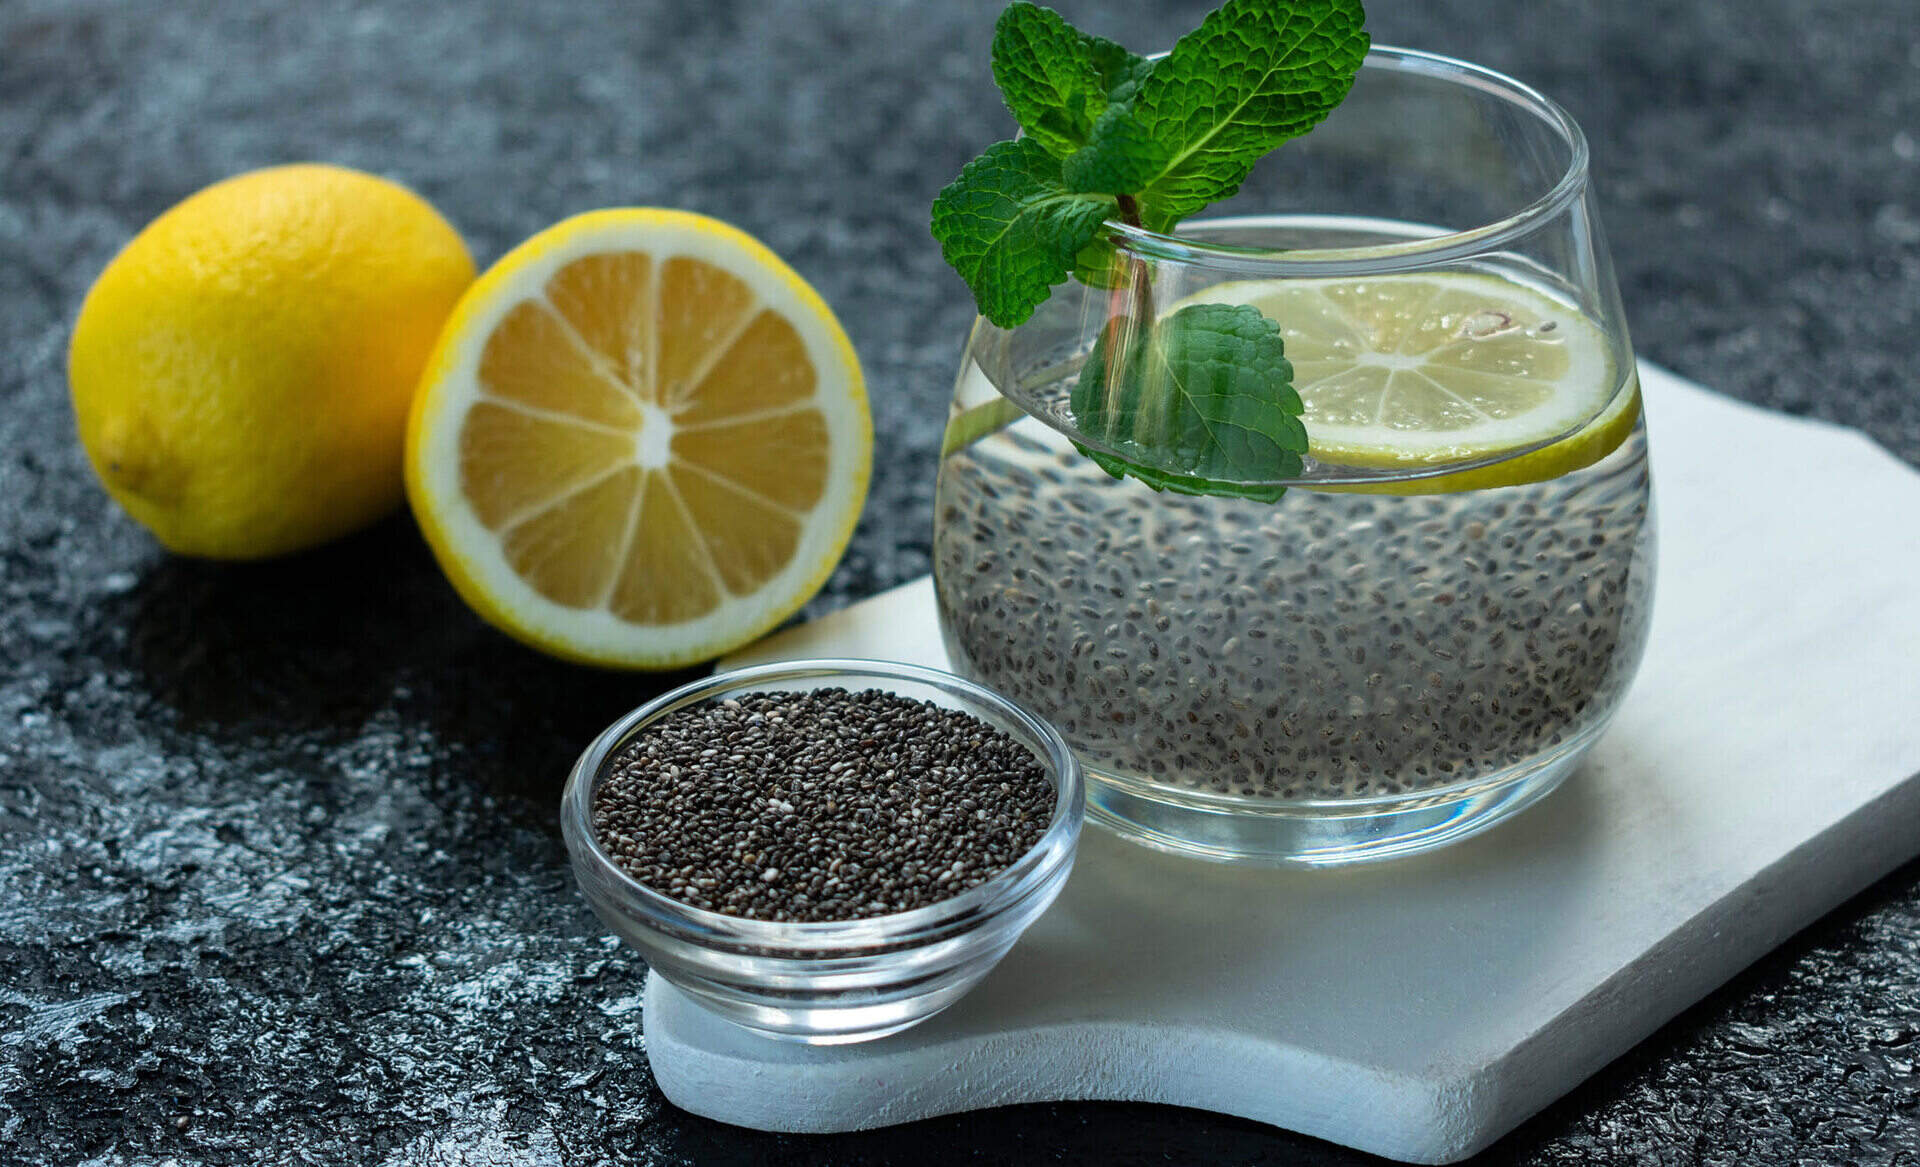
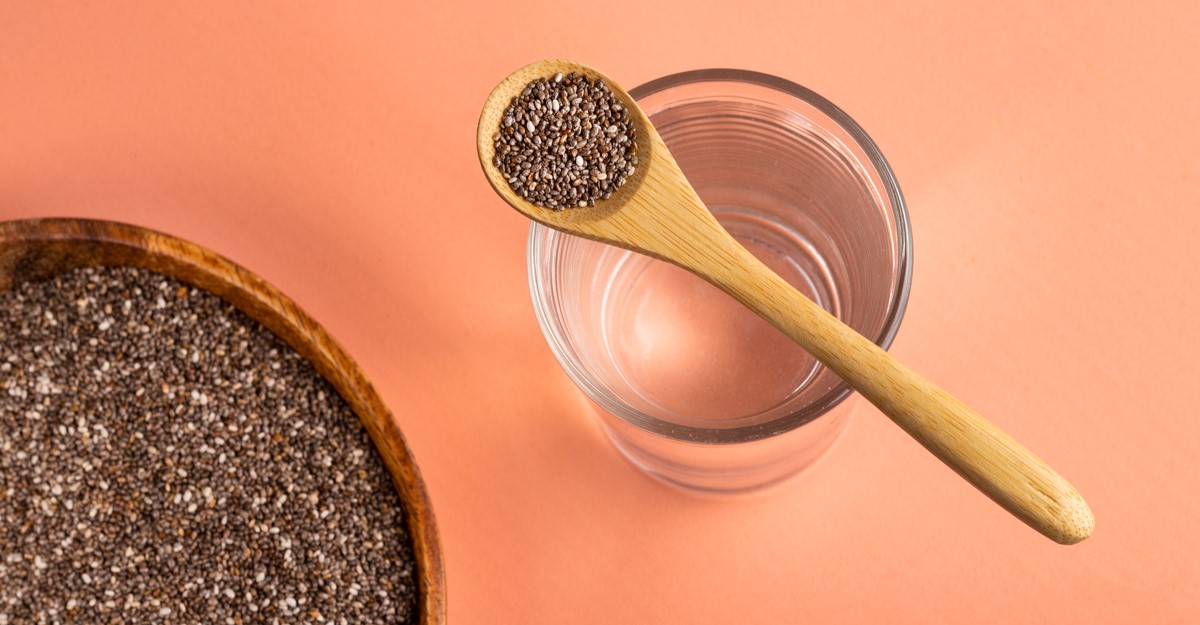
- Experiment with different liquids: Don’t limit yourself to just milk. Try using coconut water, fruit juice, or even brewed tea as the liquid for your chia seed pudding to add a unique twist of flavor.
- Play with texture: If you prefer a smoother pudding, blend the soaked chia seeds and milk mixture in a blender before refrigerating. This will give your pudding a more refined and velvety texture.
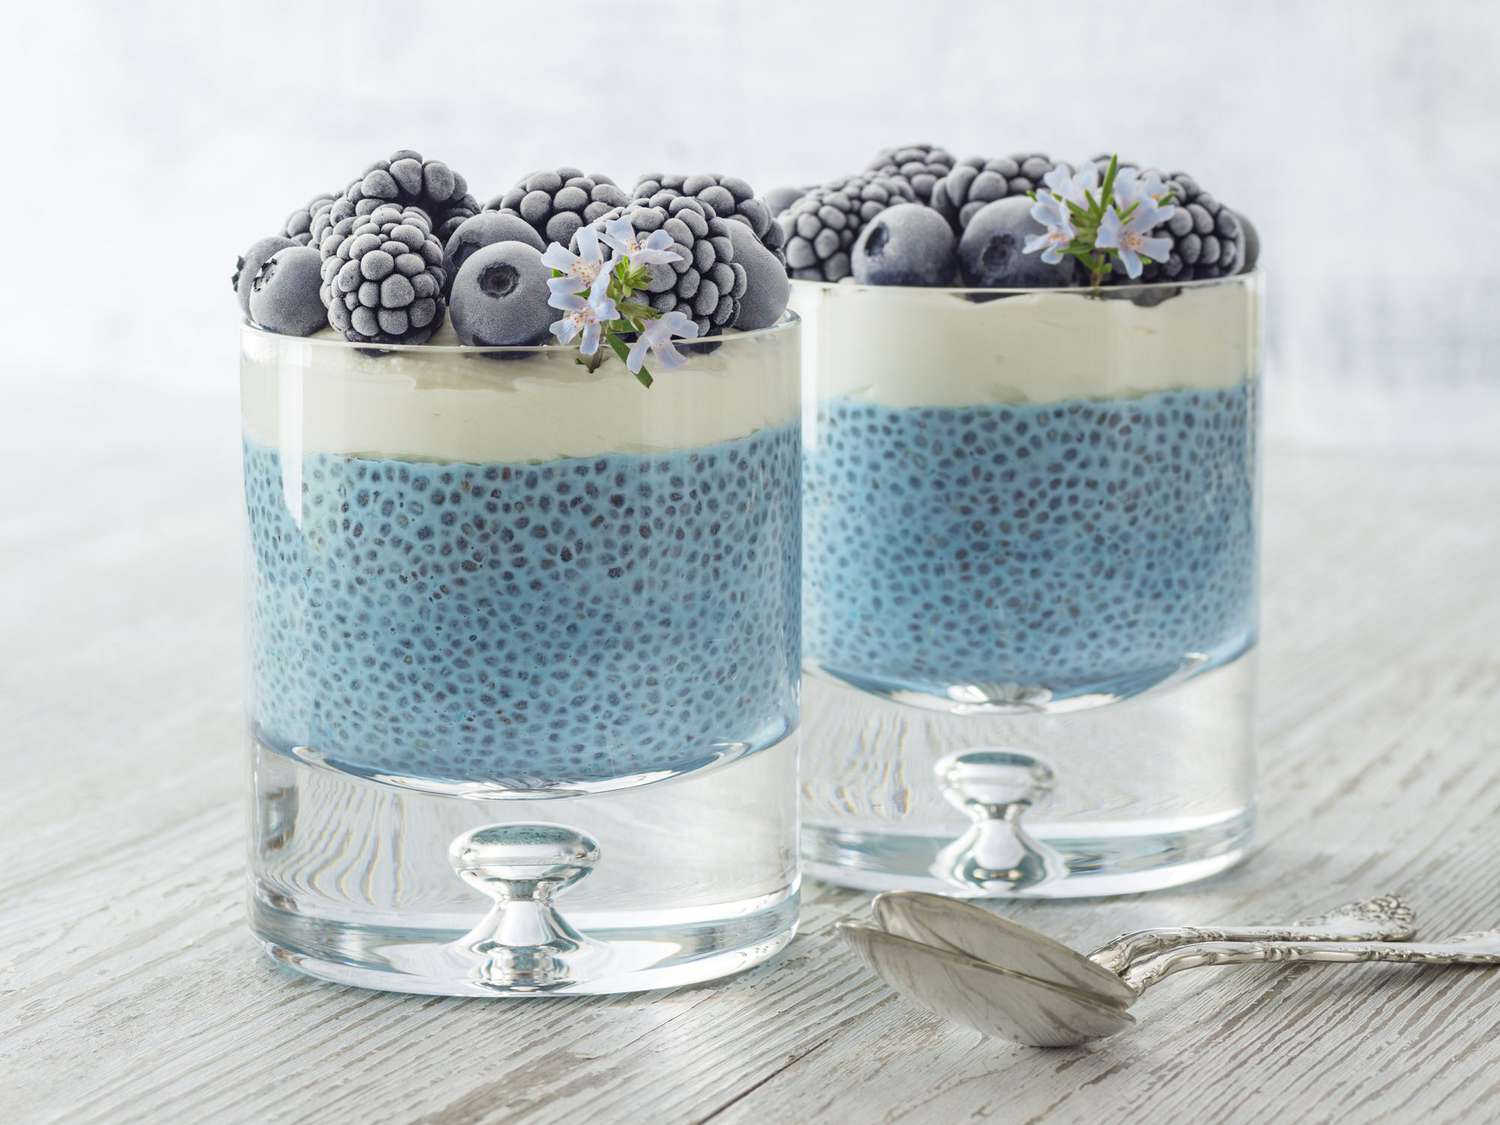
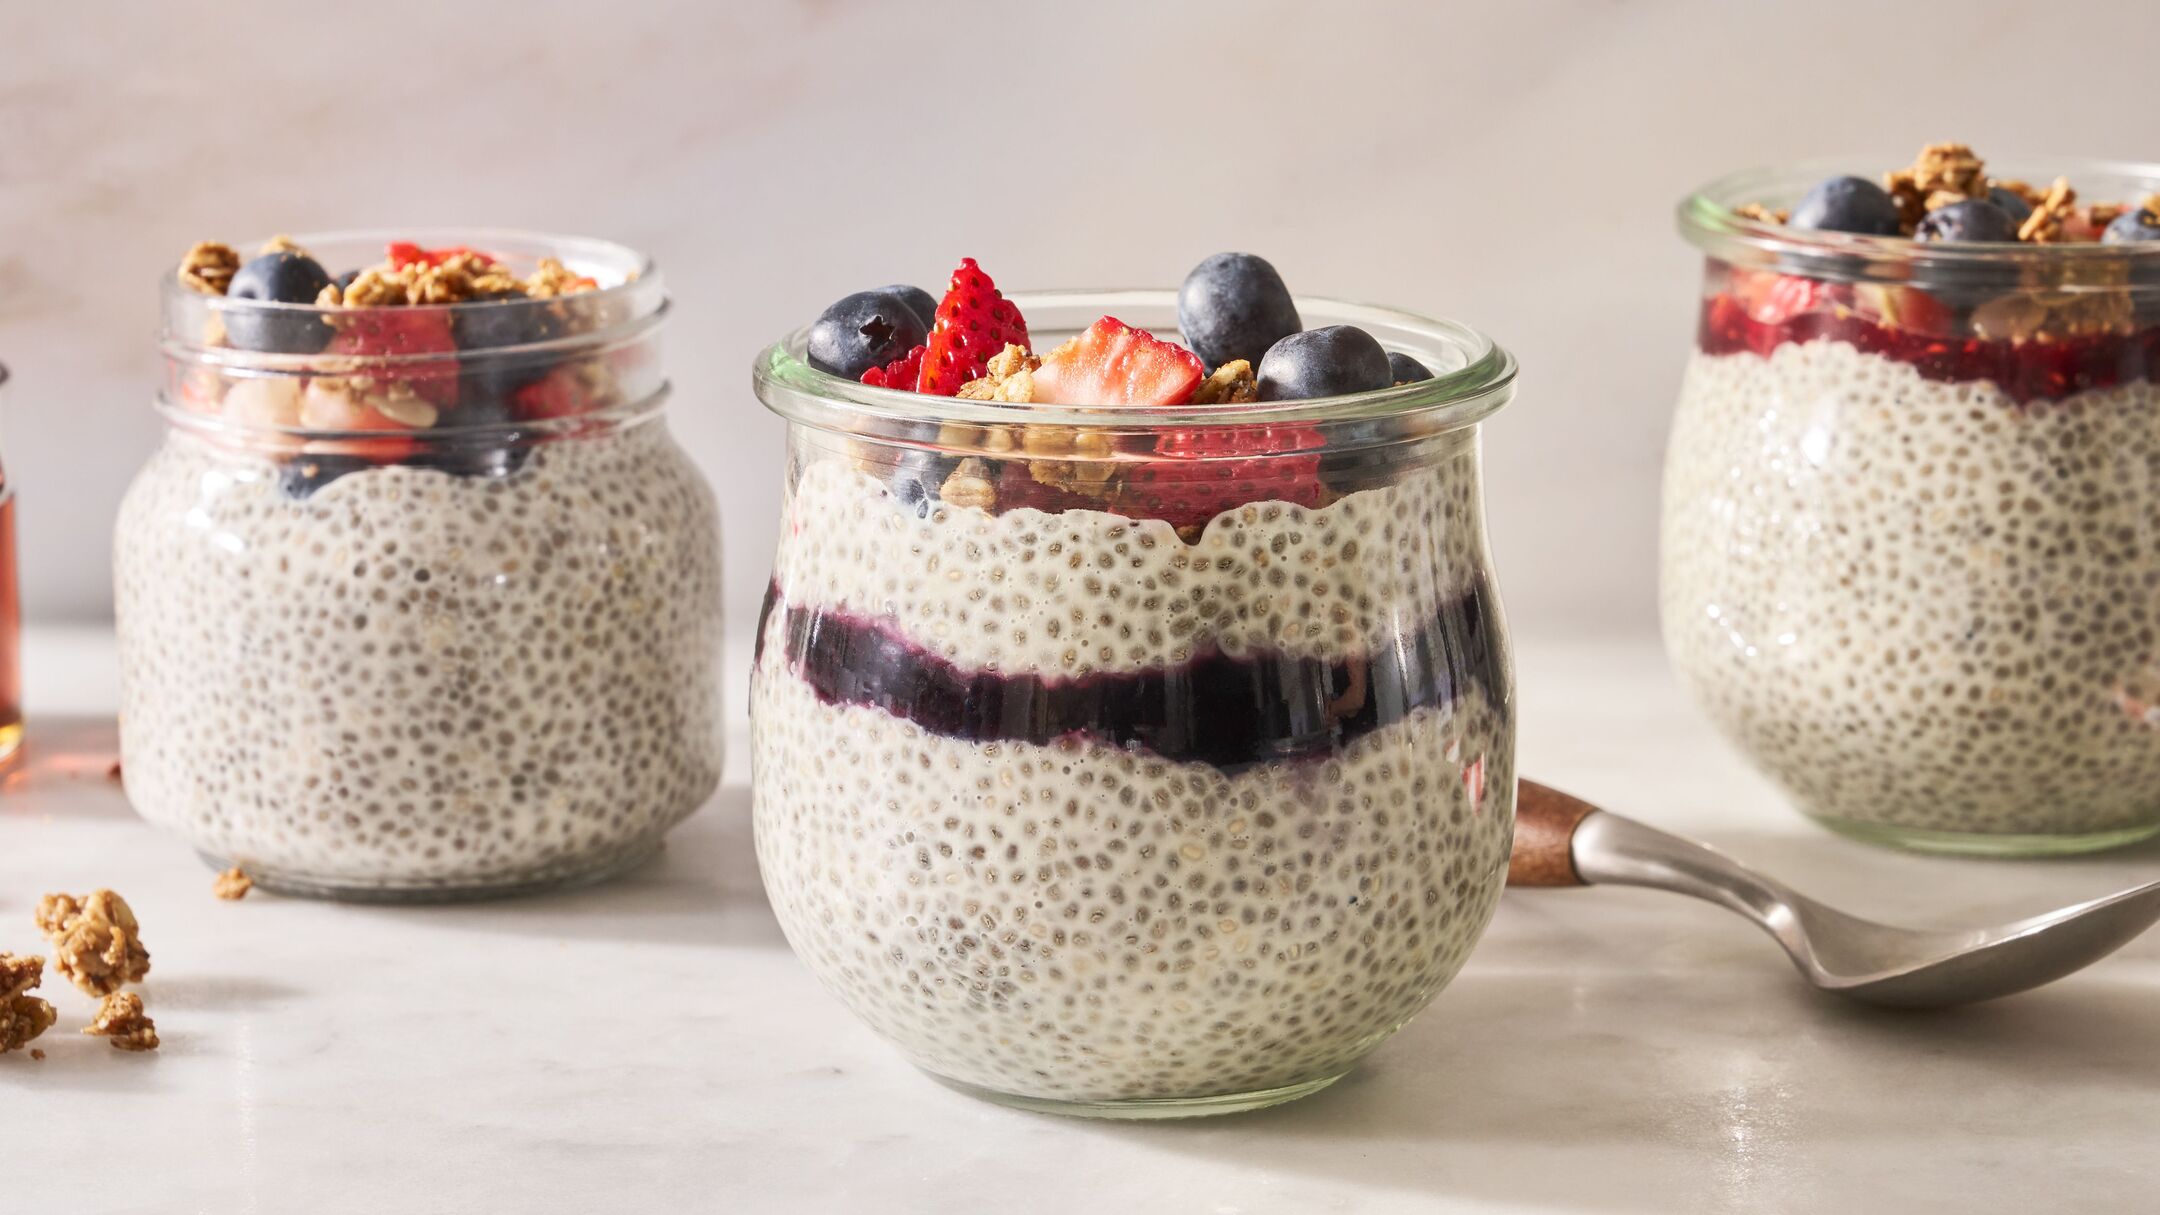
- Add layers: Create a visually appealing dessert by layering your chia seed pudding with fresh fruit, granola, or yogurt. This adds extra texture and variety to each bite.
- Get creative with toppings: Besides the traditional toppings mentioned earlier, try adding crushed cookies, cacao nibs, or a dollop of whipped cream for an extra indulgent touch.
- Include spices: Experiment with adding spices like nutmeg, cardamom, or ginger to give your chia seed pudding a warm and aromatic flavor profile.
- Make it savory: Chia seed pudding doesn’t have to be limited to sweet flavors. Add herbs, spices, or even savory ingredients like tomato and avocado to create a unique and delicious savory chia seed pudding.
- Prep ahead for convenience: Make a batch of chia seed pudding in advance and portion it out into individual containers for a grab-and-go breakfast or snack option during busy days.
- Use flavored chia seeds: Some stores offer flavored chia seeds like chocolate, vanilla, or even matcha. Consider trying these flavored chia seeds to add an extra layer of taste to your pudding.
Remember to listen to your taste buds and have fun experimenting with different combinations and flavors. Chia seed pudding is a versatile canvas that allows you to unleash your culinary creativity.
Whether you prefer your chia seed pudding simple and classic or loaded with exciting toppings and flavors, the choice is yours. Enjoy the process of making and customizing your chia seed pudding, and savor each spoonful of this nutritious and delicious treat!
Conclusion
Congratulations on becoming a chia seed pudding aficionado! You’ve learned how to create a healthy and delicious treat that can be enjoyed for breakfast, as a snack, or even as a dessert. Making chia seed pudding is as simple as soaking the seeds, mixing them with milk and sweetener, adding flavorings, refrigerating, and then serving and enjoying.
With the versatility of chia seed pudding, the possibilities are endless. You can customize it with your choice of liquids, sweeteners, flavorings, and toppings. Whether you’re craving a classic vanilla pudding, a chocolatey indulgence, or a fruity burst of flavor, chia seed pudding can be tailored to suit your taste preferences and dietary needs.
Not only is chia seed pudding delicious, but it’s also packed with nutrients. Chia seeds are a fantastic source of fiber, protein, healthy fats, and antioxidants. This makes chia seed pudding a nutritious option to fuel your body and provide long-lasting energy.
As you continue to explore the world of chia seed pudding, don’t be afraid to get creative and try new combinations. Experiment with different flavors, textures, and toppings to keep your taste buds intrigued.
Remember to embrace the journey of making chia seed pudding. It’s not just about the end result; it’s about the joy of creating something delightful and nourishing for yourself and your loved ones.
So, grab your chia seeds, milk, and favorite ingredients, and start making your own unique chia seed pudding creations. Get ready to experience the goodness of this wholesome treat that is both satisfying to your palate and beneficial to your health.
Enjoy your chia seed pudding adventures, and may they bring you moments of culinary delight and well-being!
Frequently Asked Questions about How To Make Chia Seed Pudding
Was this page helpful?
At Storables.com, we guarantee accurate and reliable information. Our content, validated by Expert Board Contributors, is crafted following stringent Editorial Policies. We're committed to providing you with well-researched, expert-backed insights for all your informational needs.
0 thoughts on “How To Make Chia Seed Pudding”