Home>Garden Essentials>How To Make Chia Seed Gel
Garden Essentials
How To Make Chia Seed Gel
Modified: October 18, 2024
Learn how to make chia seed gel in your own garden and enjoy its amazing health benefits. Simple and easy recipe for homemade chia seed gel.
(Many of the links in this article redirect to a specific reviewed product. Your purchase of these products through affiliate links helps to generate commission for Storables.com, at no extra cost. Learn more)
Introduction
Welcome to the wonderful world of chia seeds! These tiny little powerhouses have gained popularity in recent years as a superfood, packed with an abundance of nutrients and health benefits. One of the many ways to incorporate chia seeds into your daily routine is by making chia seed gel.
Chia seed gel is a versatile and easy-to-make ingredient that can be used in a variety of recipes. Whether you’re a health enthusiast or just looking to add a nutritious twist to your meals, chia seed gel is a fantastic addition to your kitchen pantry.
In this article, we’ll explore what chia seeds are, the benefits of chia seed gel, and provide you with a step-by-step guide on how to make your own chia seed gel at home. So put on your apron and get ready to embark on a delicious and nutritious journey!
Key Takeaways:
- Chia seed gel is a versatile and nutritious ingredient that offers benefits such as hydration, fiber, omega-3 fatty acids, antioxidants, and weight management. It’s easy to make at home and can be used in various recipes for a healthy twist!
- Making chia seed gel at home is simple and fun! With just a few ingredients and some patience, you can create a versatile and nutritious gel that can be used in smoothies, puddings, baked goods, and more. Plus, it’s a great way to boost your daily nutrient intake!
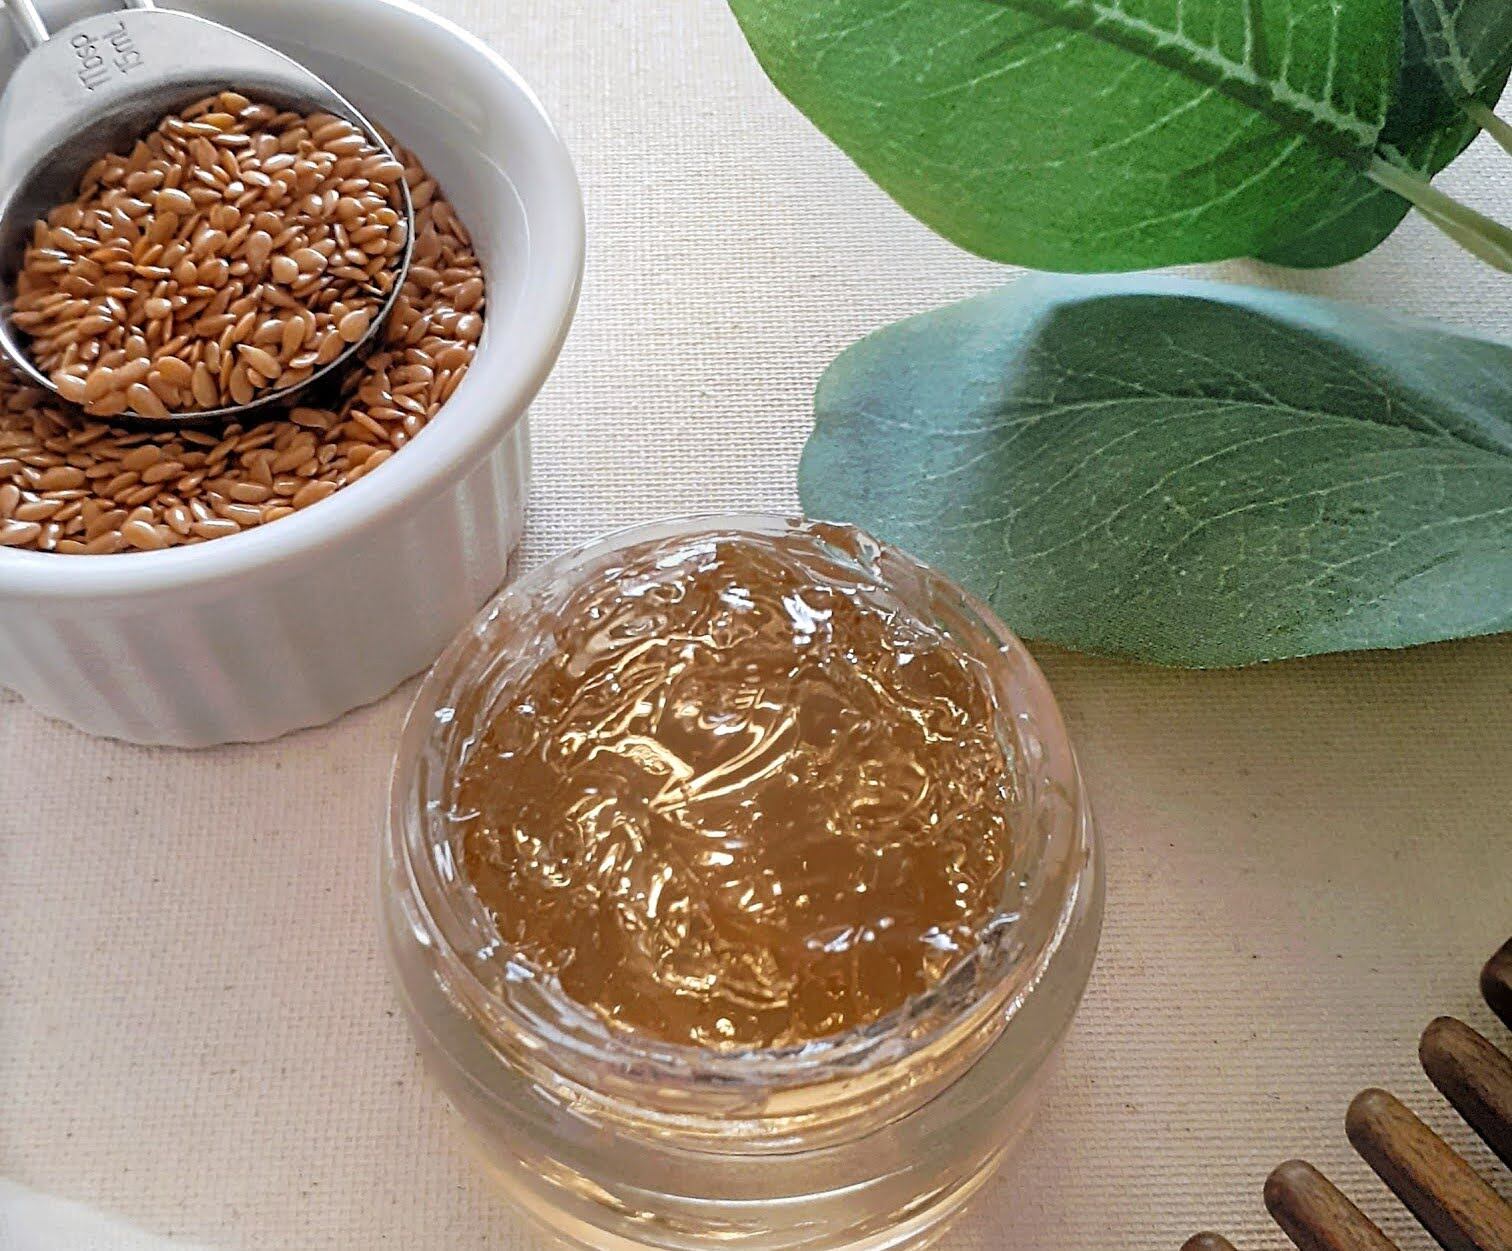
Read more: How To Make Flax Seed Gel
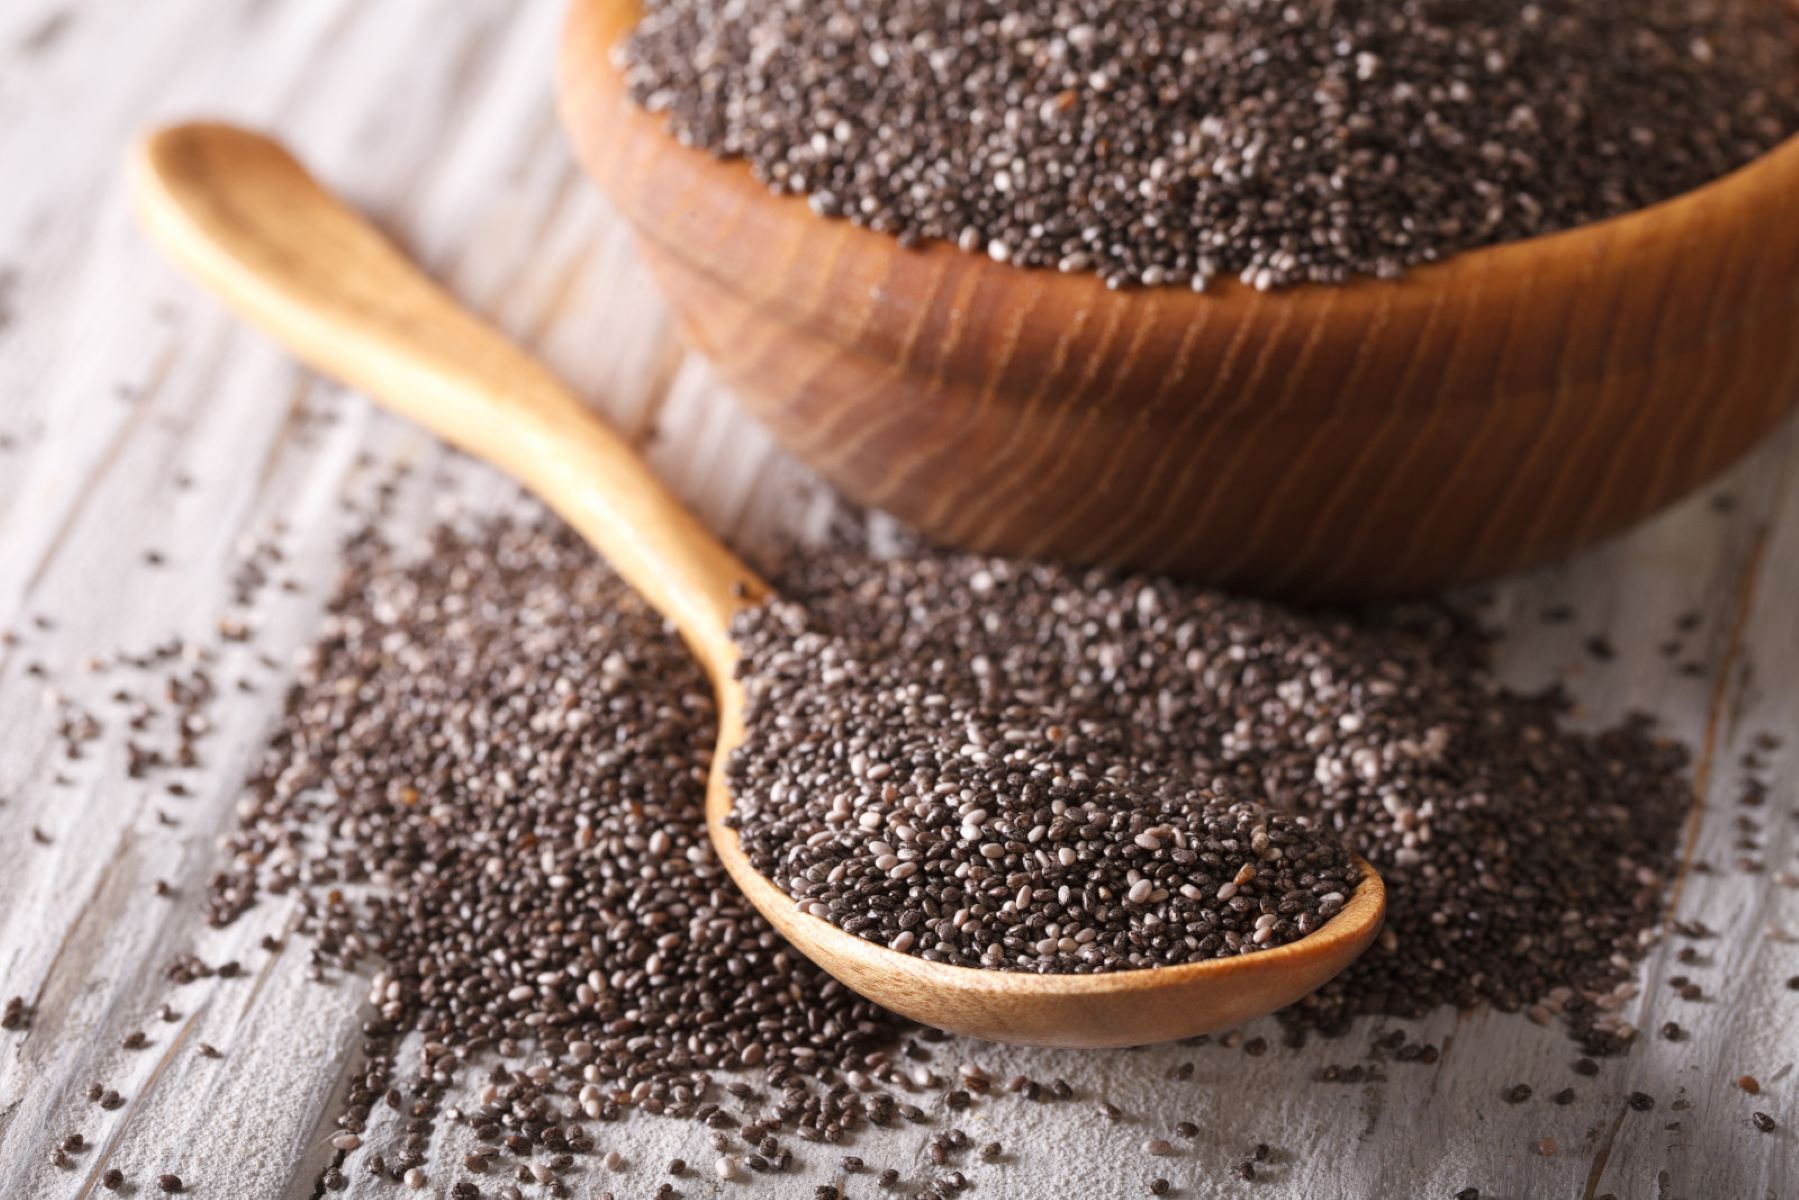
What are Chia Seeds?
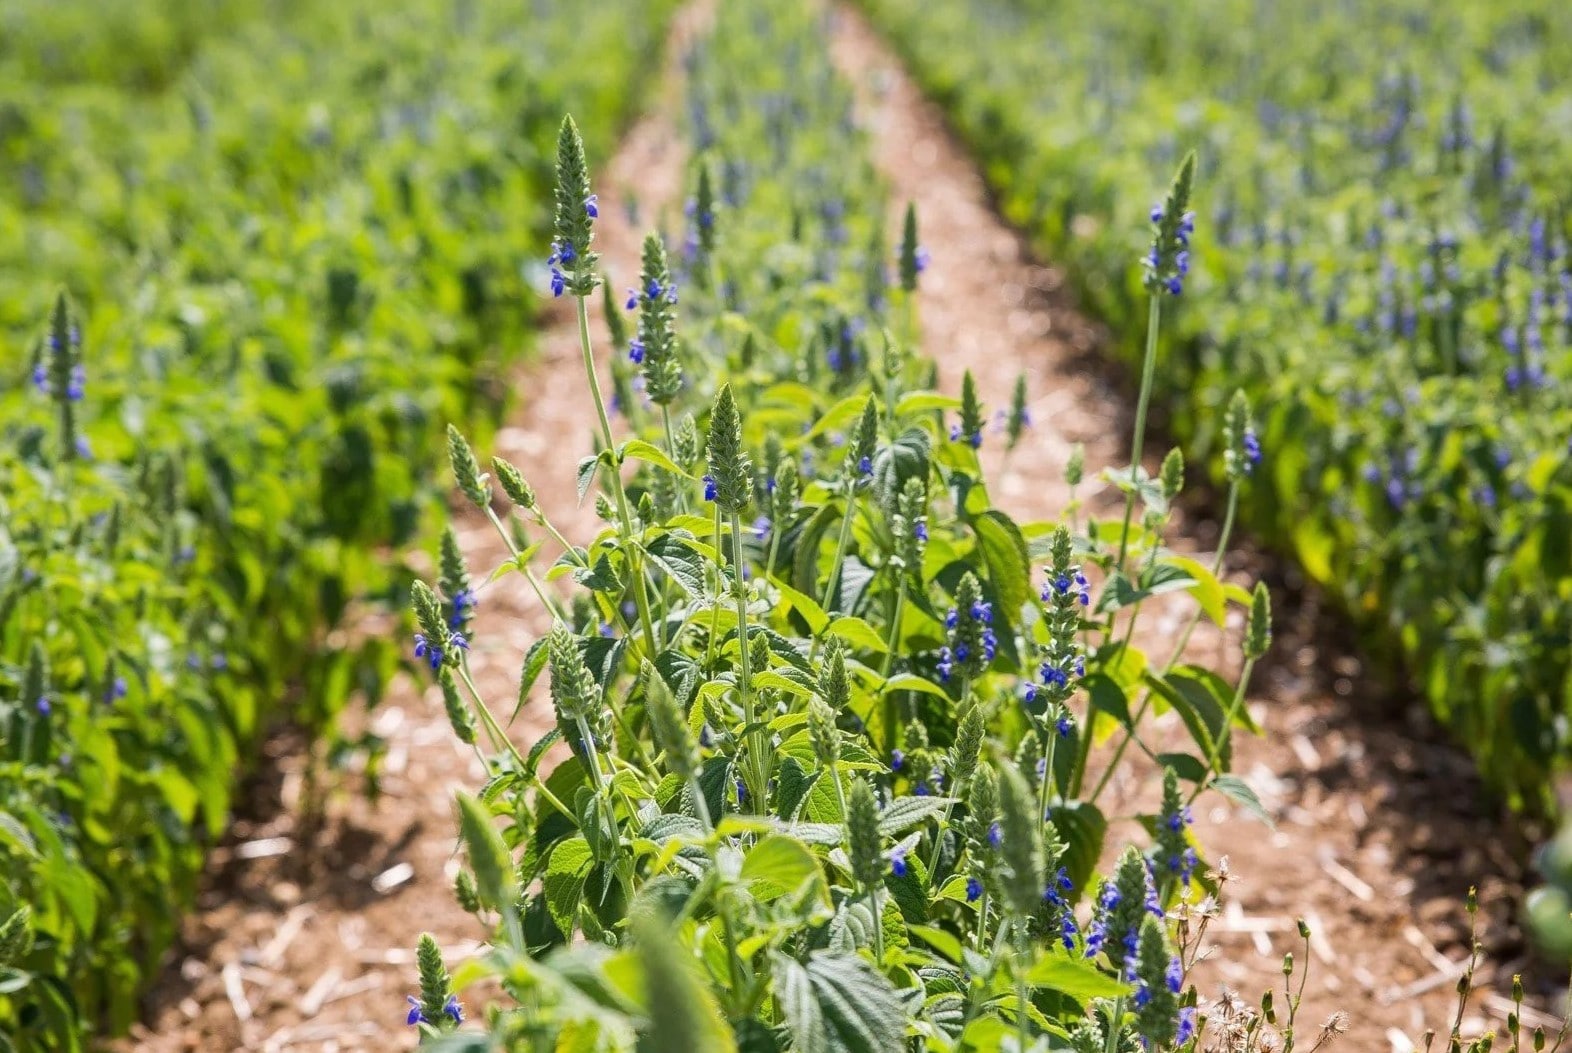
Chia seeds are tiny, oval-shaped seeds that come from the plant Salvia hispanica, which is native to Mexico and Guatemala. They have been a staple food in these regions for centuries, and were once highly valued by ancient civilizations such as the Aztecs and Mayans.
Chia seeds are known for their incredible nutritional profile. Despite their small size, they are packed with fiber, healthy fats, protein, vitamins, minerals, and antioxidants. They are also a rich source of omega-3 fatty acids, making them a popular choice for those seeking plant-based alternatives to fish oil.
One of the unique features of chia seeds is their ability to absorb water and form a gel-like consistency. When soaked in liquid, the seeds swell and create a gelatinous substance around them. This characteristic makes chia seeds a versatile ingredient in various culinary applications, including chia seed gel.
Chia seeds are also incredibly versatile in terms of taste and texture. They have a mild, nutty flavor that complements both sweet and savory dishes. Their small size and soft texture make them easily digestible, and they can be easily incorporated into a wide range of recipes.
Due to their numerous health benefits and culinary versatility, chia seeds have gained popularity in recent years. They can be found in health food stores, supermarkets, and online retailers, making it easy to add these nutritional powerhouses to your diet.
Now that we have a basic understanding of what chia seeds are, let’s explore the benefits of chia seed gel and how to make it at home!
Benefits of Chia Seed Gel
Chia seed gel offers a multitude of benefits for our overall health and well-being. Here are some of the key advantages of incorporating chia seed gel into your diet:
- Hydration: Chia seed gel is an excellent source of hydration. When chia seeds are soaked in water, they absorb liquid and form a gel-like substance. This gel retains water, keeping you hydrated for longer periods. Staying hydrated is essential for maintaining optimal bodily functions and promoting overall health.
- Fiber-rich: Chia seeds are known for their high fiber content, and chia seed gel is no exception. Consuming chia seed gel can help regulate digestion, promote bowel regularity, and prevent constipation. Additionally, the soluble fiber in chia seeds can help reduce cholesterol levels, stabilize blood sugar levels, and support heart health.
- Omega-3 fatty acids: Chia seeds are a fantastic plant-based source of omega-3 fatty acids, particularly alpha-linolenic acid (ALA). These essential fatty acids play a crucial role in brain health, heart health, and inflammation regulation. Including chia seed gel in your diet is an excellent way to boost your intake of these beneficial fatty acids.
- Antioxidants: Chia seeds contain antioxidants that help protect our cells from damage caused by unstable molecules called free radicals. These antioxidants, such as flavonoids and phenolic compounds, have anti-inflammatory and anti-aging properties. By consuming chia seed gel, you can enhance your body’s defense against oxidative stress.
- Weight management: Chia seed gel can be a helpful tool for those watching their weight. The gel-like consistency of chia seed gel creates a feeling of fullness, helping to curb cravings and prevent overeating. Additionally, the fiber content in chia seeds can slow down the digestion process, promoting satiety and reducing calorie intake.
- Nutrient-dense: Chia seeds are not only rich in fiber and omega-3 fatty acids but also contain essential nutrients such as calcium, magnesium, phosphorus, and potassium. Incorporating chia seed gel into your diet is an easy way to boost your nutrient intake and support overall health.
With all these incredible benefits, it’s no wonder that chia seed gel has become a popular addition to many people’s diets. Now, let’s move on to the next section and learn how to make chia seed gel at home!
What You’ll Need
Before diving into the process of making chia seed gel, let’s gather the necessary ingredients and equipment:
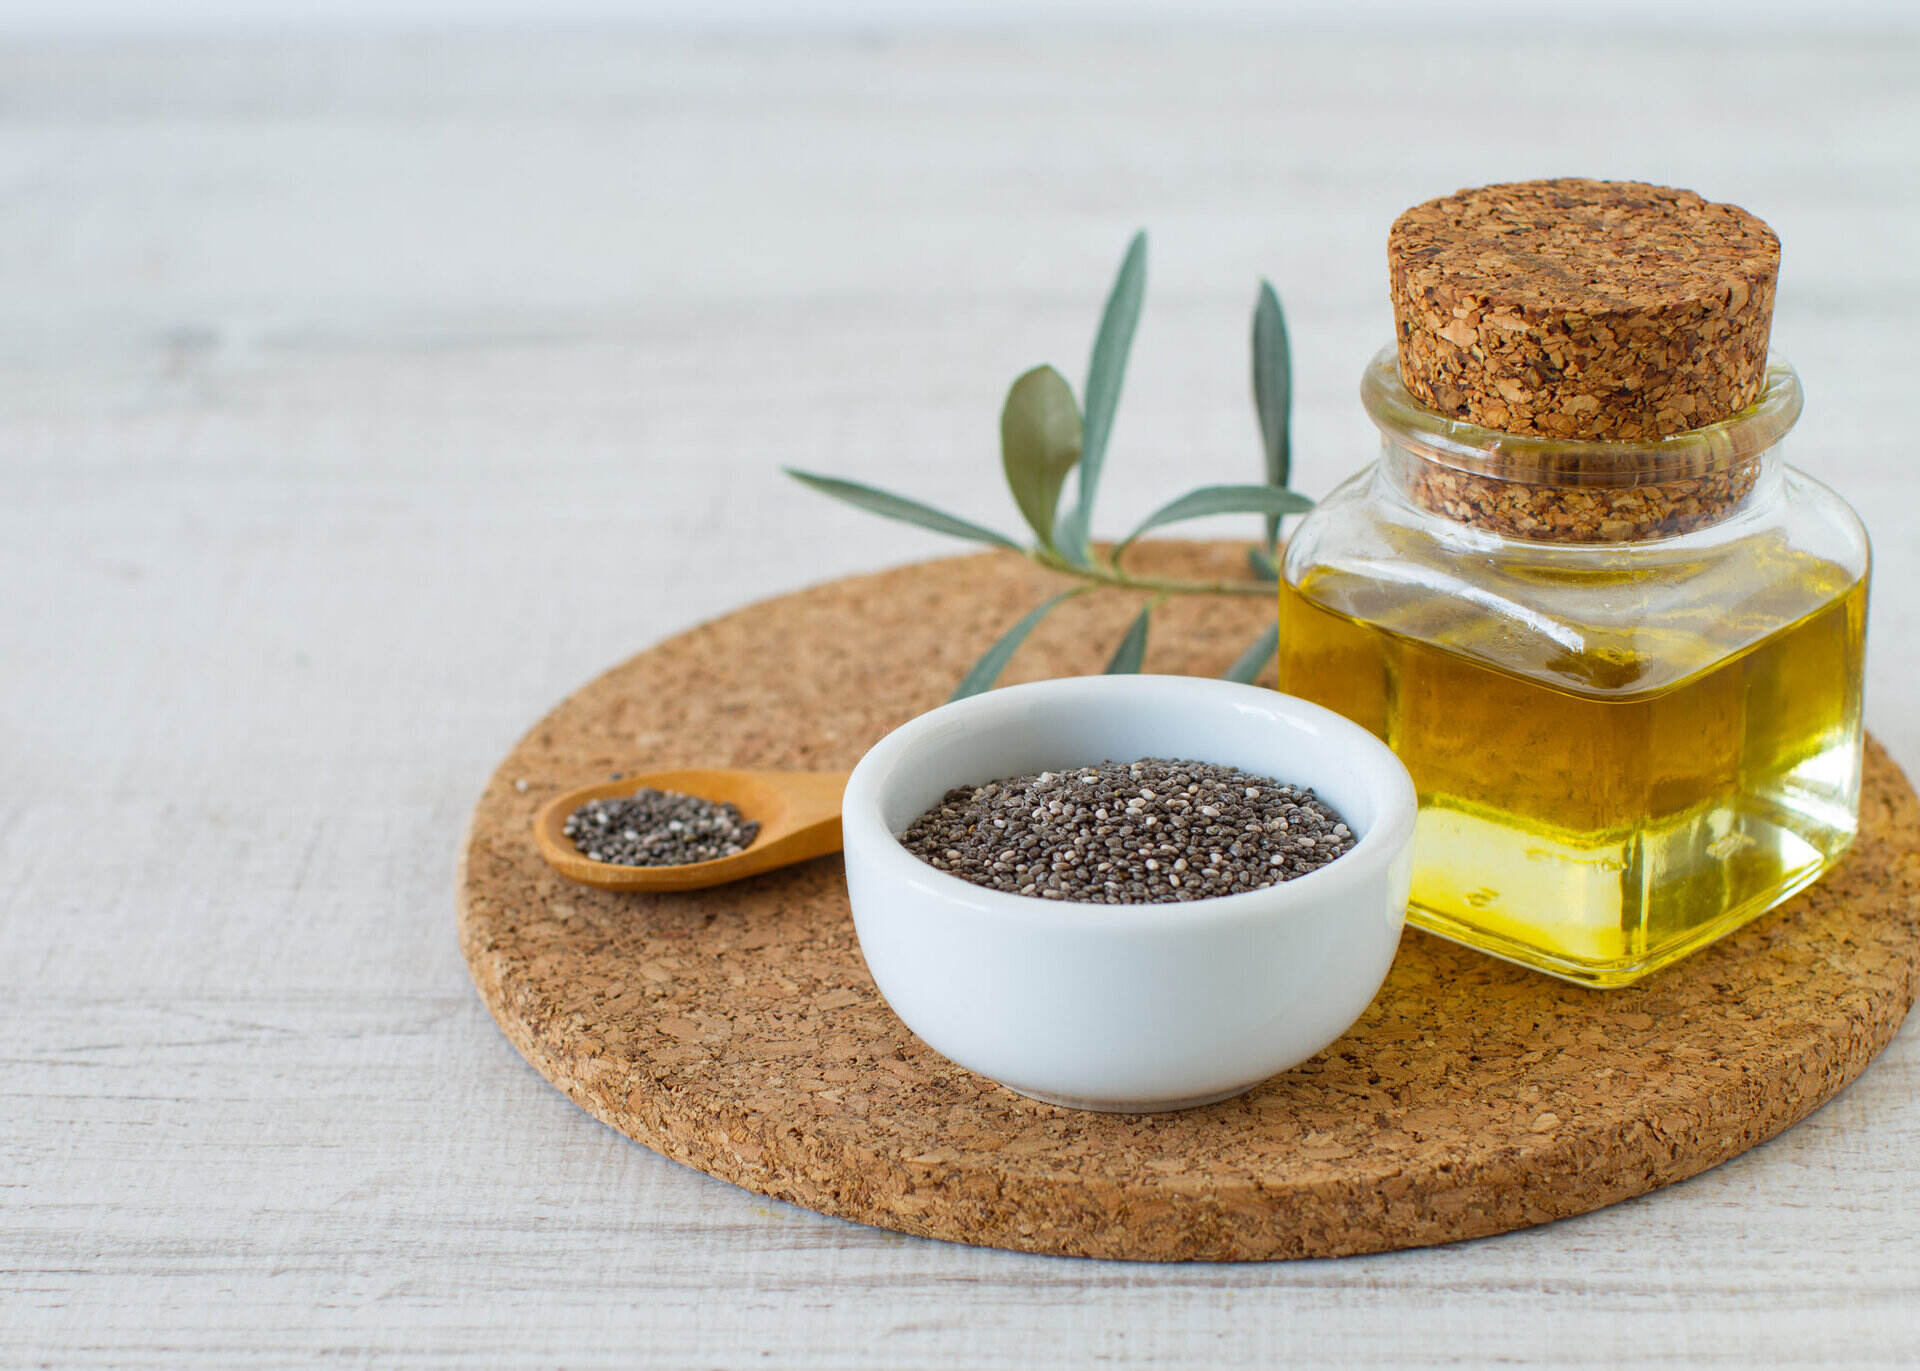
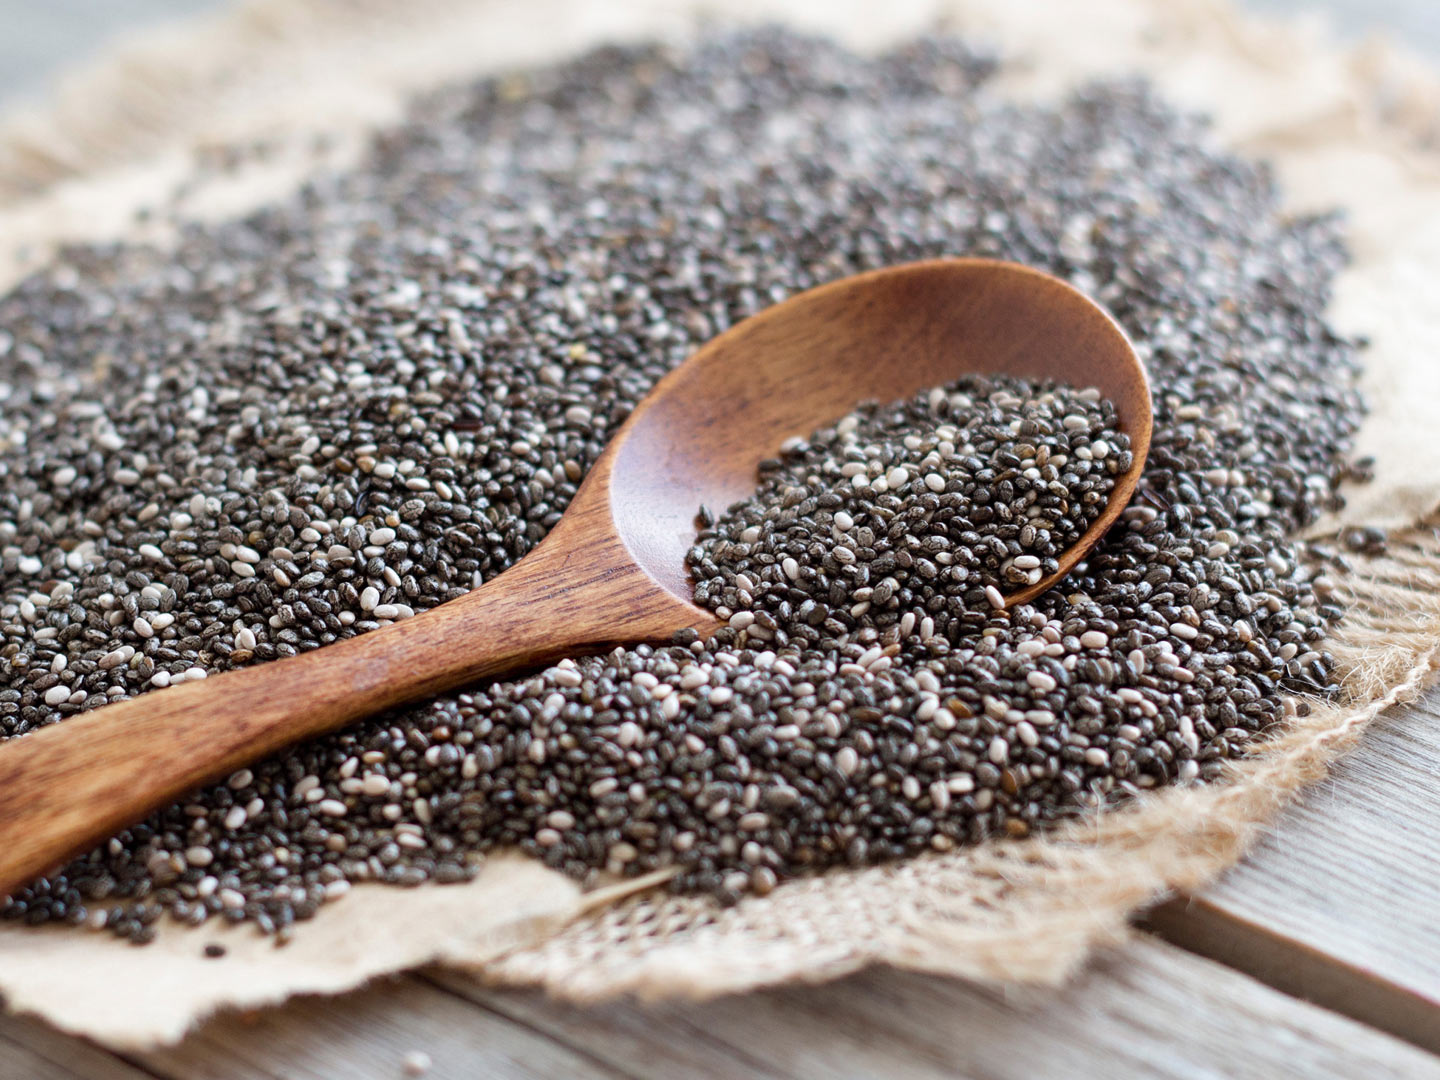
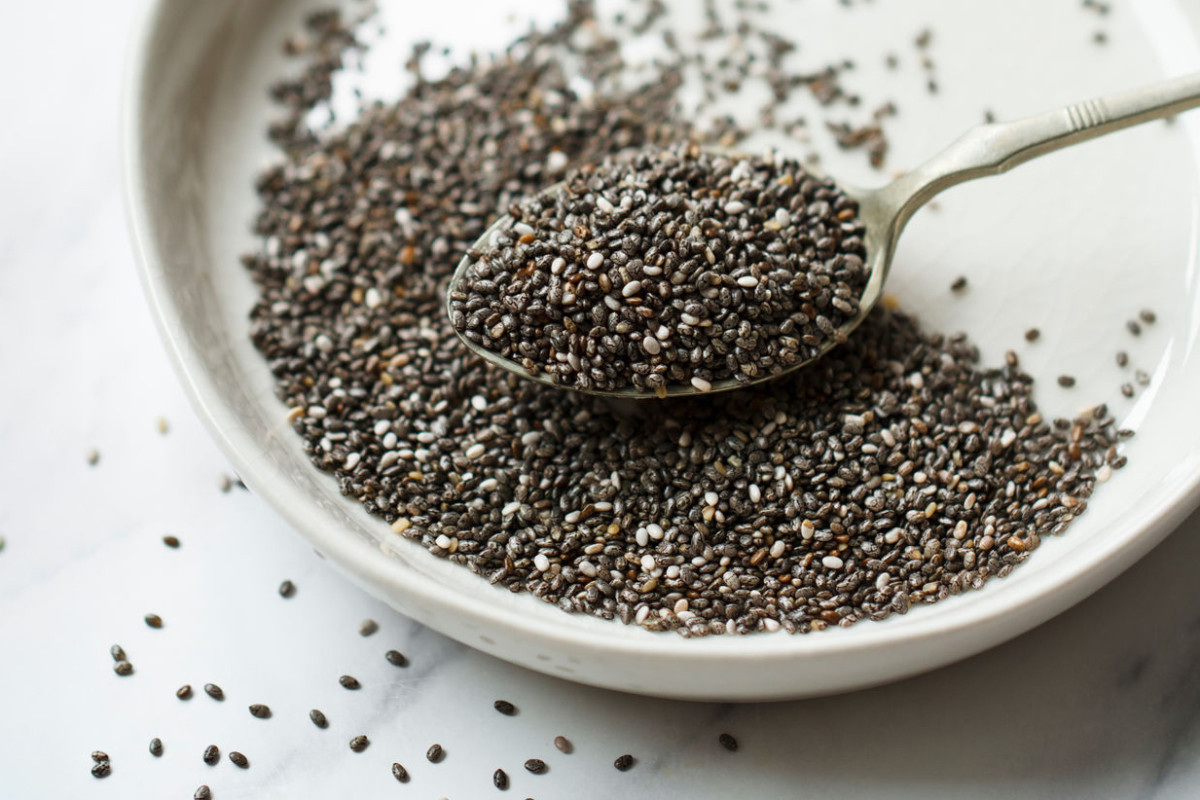
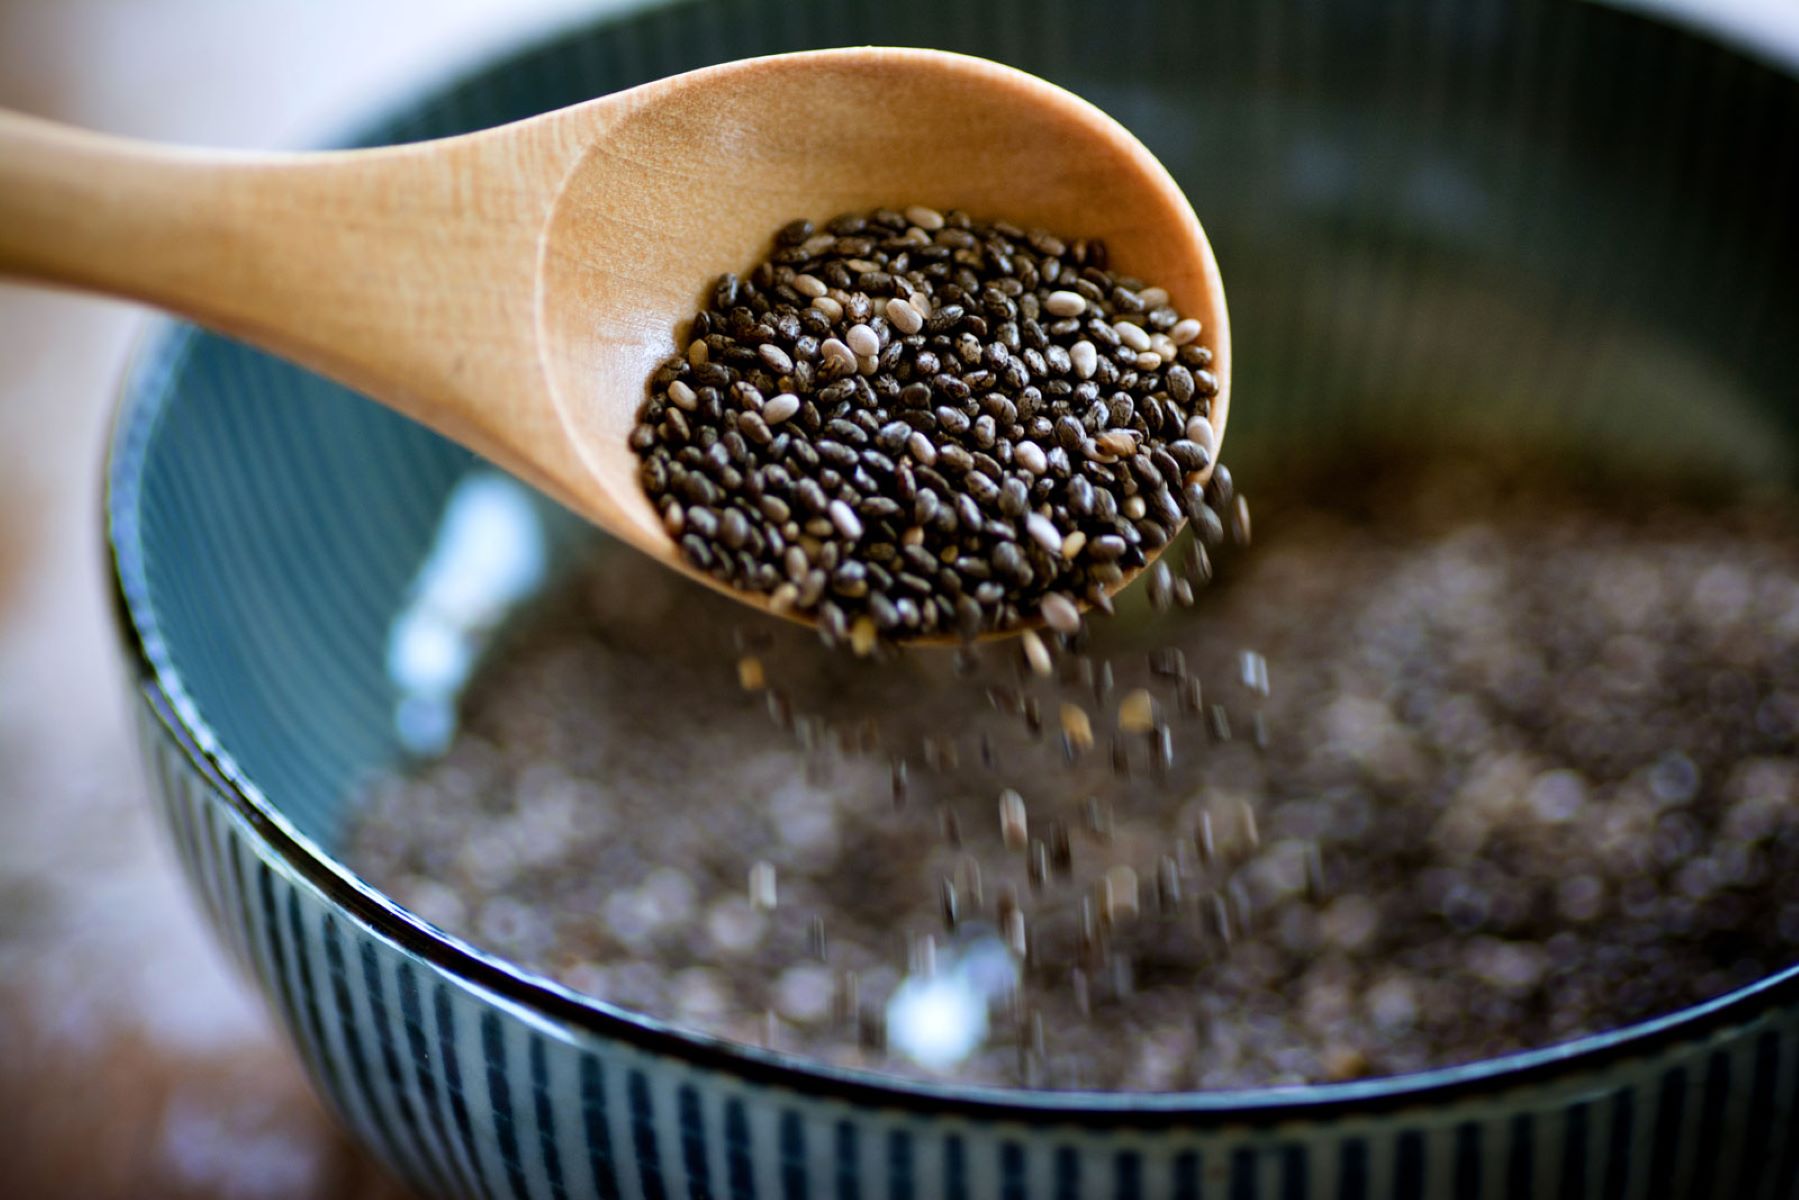
- Chia Seeds: The star of this recipe, you’ll need high-quality chia seeds. Look for organic, whole chia seeds for the best results.
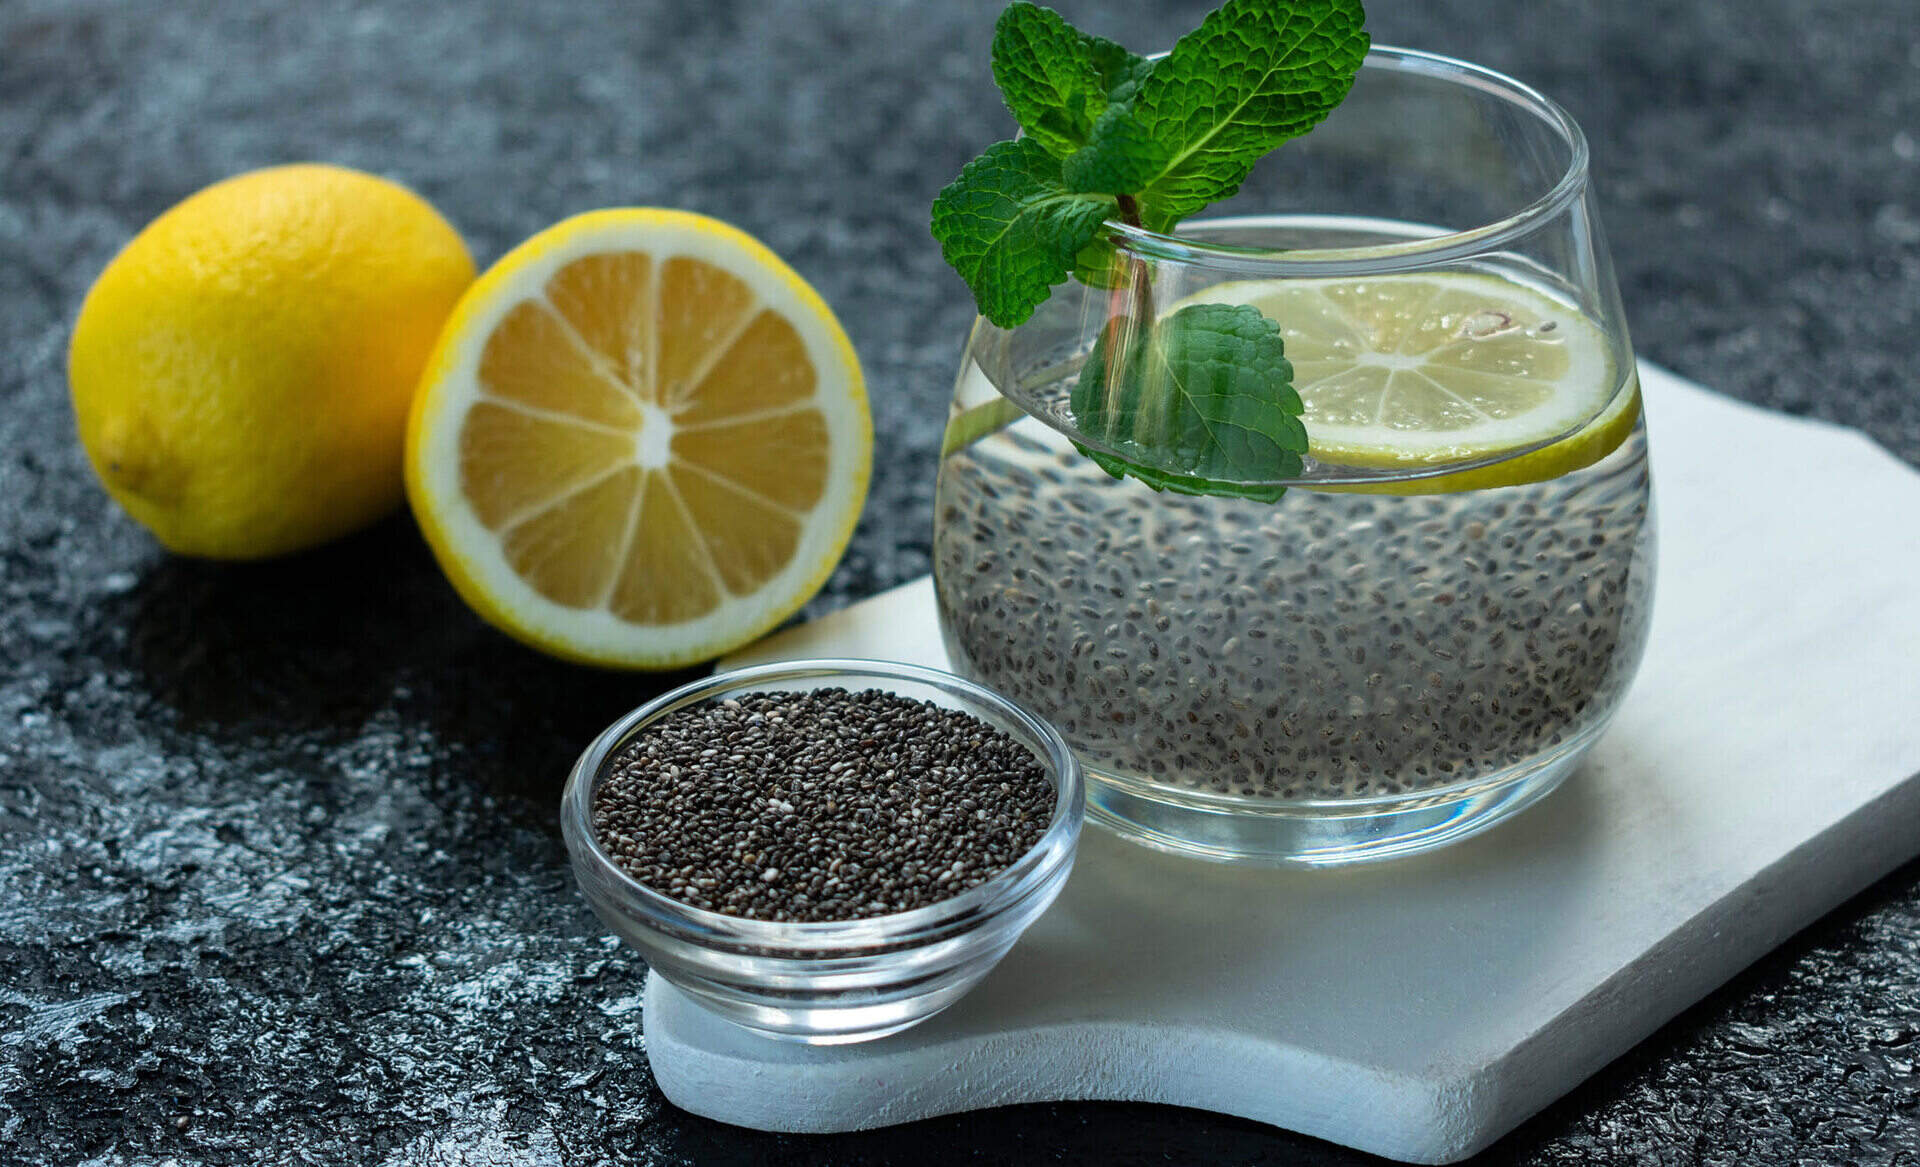
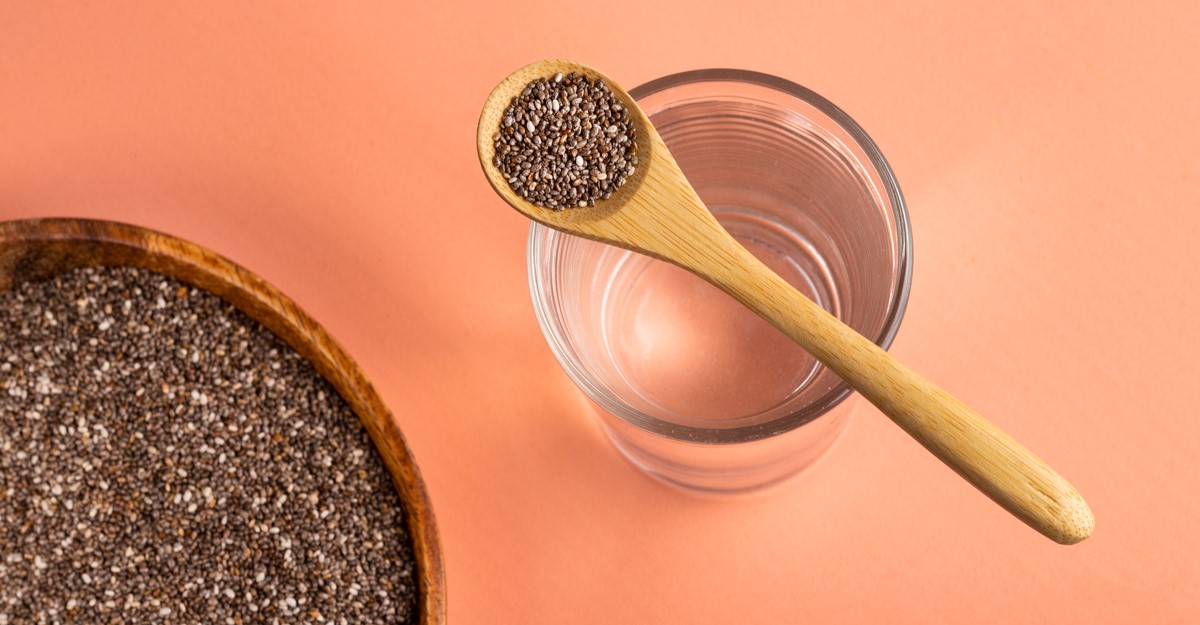
- Water or Liquid: You’ll need water or any other type of liquid to soak the chia seeds. Filtered water is recommended for a clean and pure taste, but you can also experiment with different liquids like almond milk, coconut water, or fruit juice to add flavor.
- Bowl or Jar: Use a bowl or a jar with a lid to mix and store your chia seed gel. Make sure it has enough room for the seeds to expand.
- Measuring Utensils: To ensure accurate measurements, have measuring cups or spoons on hand.
- Optional Flavorings: If you want to add extra flavor to your chia seed gel, consider incorporating ingredients like vanilla extract, honey, cinnamon, or fruit puree.
- Whisk or Spoon: Use a whisk or a spoon to mix the chia seeds and liquid thoroughly.
- Refrigerator: Chia seed gel needs to be refrigerated for a few hours or overnight to reach its gel-like consistency. Ensure you have enough space in your refrigerator to store the gel.
Once you have all these items ready, you’re prepared to start making your own chia seed gel. It’s a simple process that requires minimal ingredients and equipment. Let’s move on to the next section and learn the step-by-step instructions!
Step-by-Step Instructions
Now that you have gathered all the necessary ingredients and equipment, let’s dive into the step-by-step process of making chia seed gel:
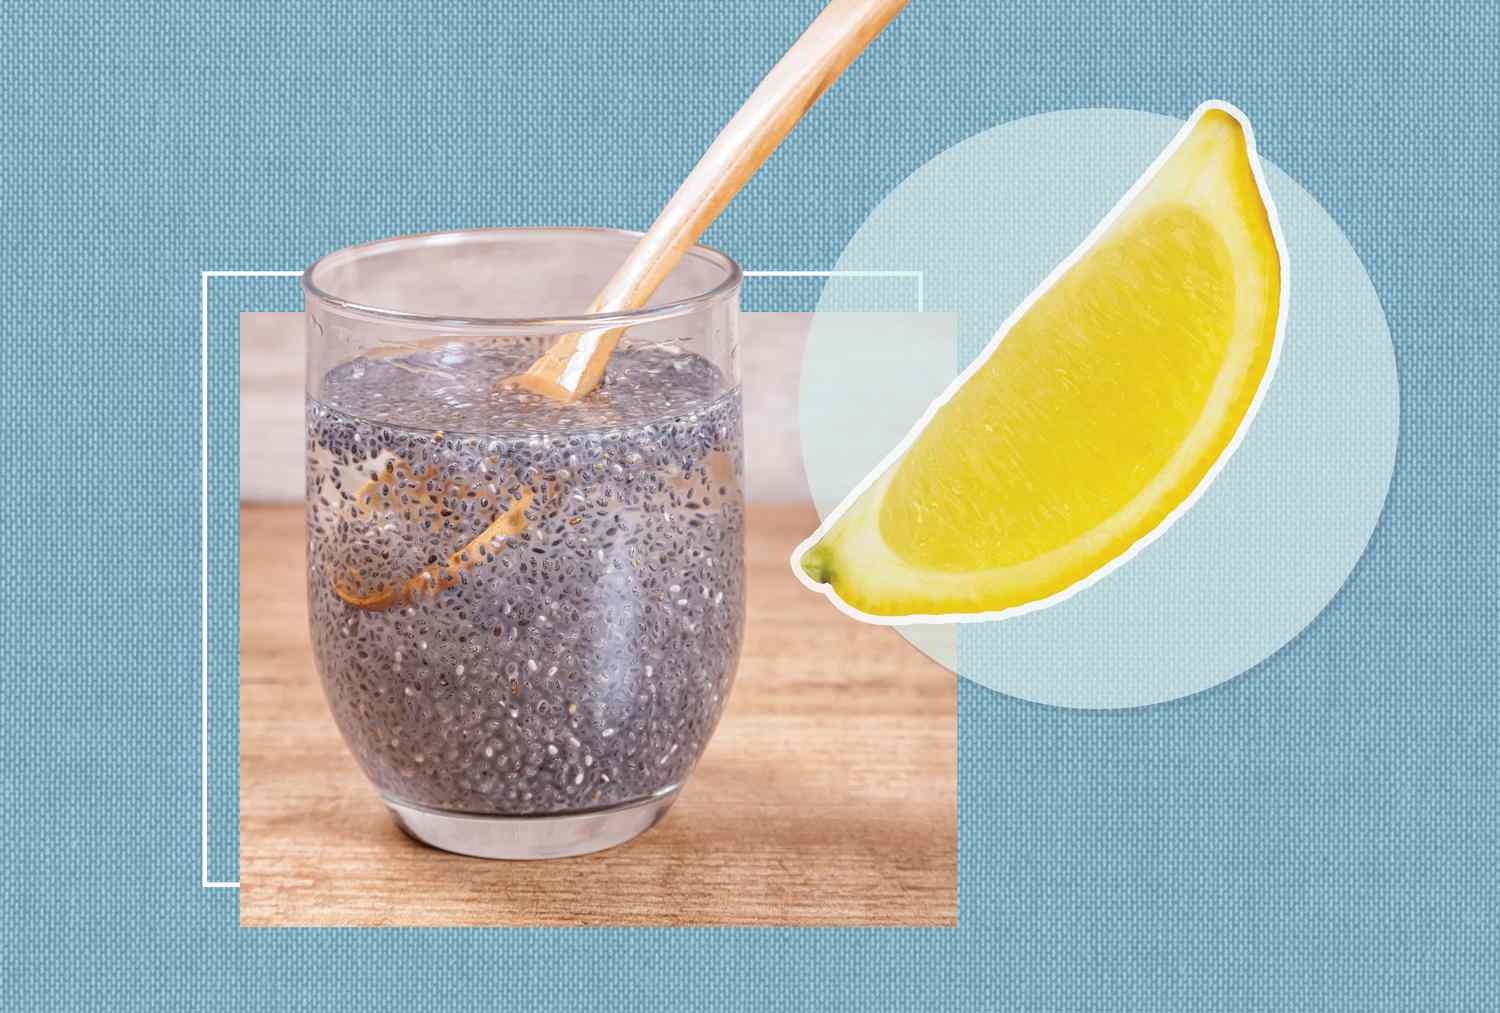
- Measure the Chia Seeds: Start by measuring out the desired amount of chia seeds. A common ratio is 1 part chia seeds to 4 parts liquid, but you can adjust the proportions based on your preference.
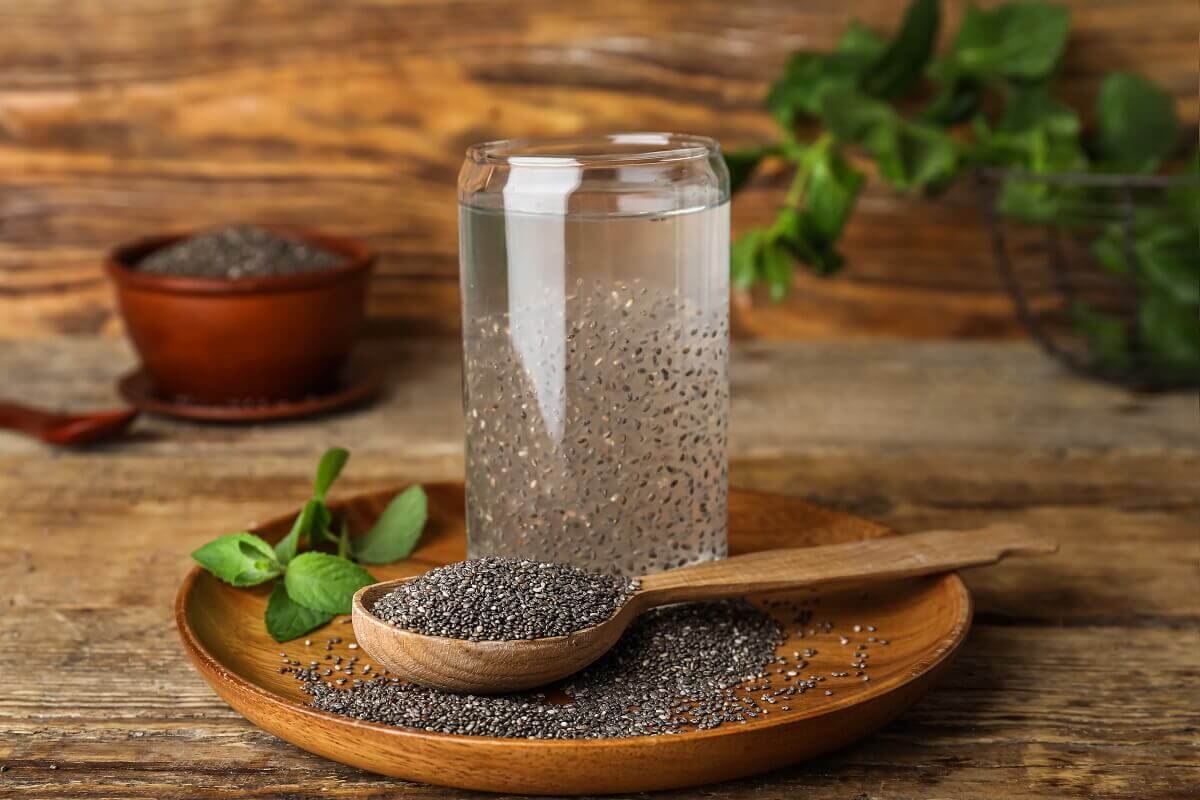
- Combine Chia Seeds and Liquid: In a bowl or jar, pour the measured chia seeds. Next, pour in the liquid, such as water or your chosen alternative. Make sure the liquid fully covers the chia seeds.
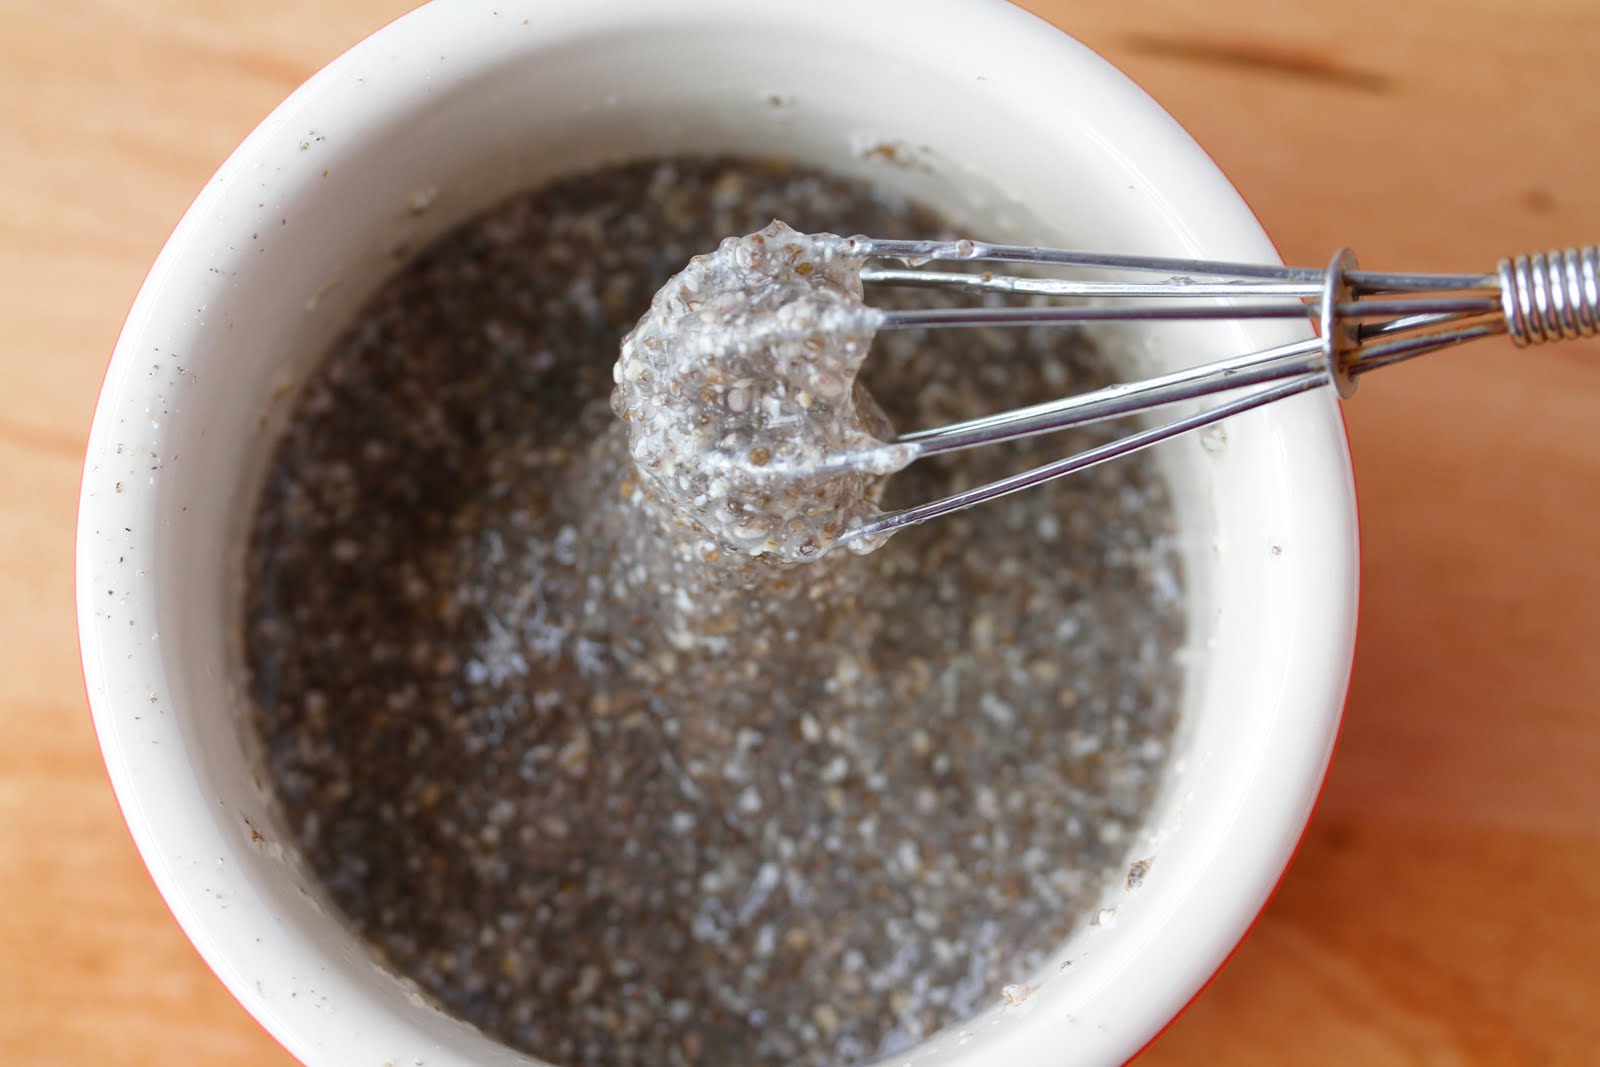
- Whisk or Stir: Whisk or stir the chia seeds and liquid mixture thoroughly to ensure the seeds are evenly distributed. This step is crucial to prevent clumping and promote a smooth gel-like consistency.
- Let it Sit: Let the mixture sit for about 5 minutes, then give it another whisk or stir to break up any potential clumps. This will allow the chia seeds to absorb the liquid and start forming a gel-like texture.
- Refrigerate: Cover the bowl or jar with a lid and place it in the refrigerator. Let the chia seed mixture chill for at least 2-3 hours, or preferably overnight. This rest period is essential for the chia seeds to fully absorb the liquid and achieve a gel-like consistency.
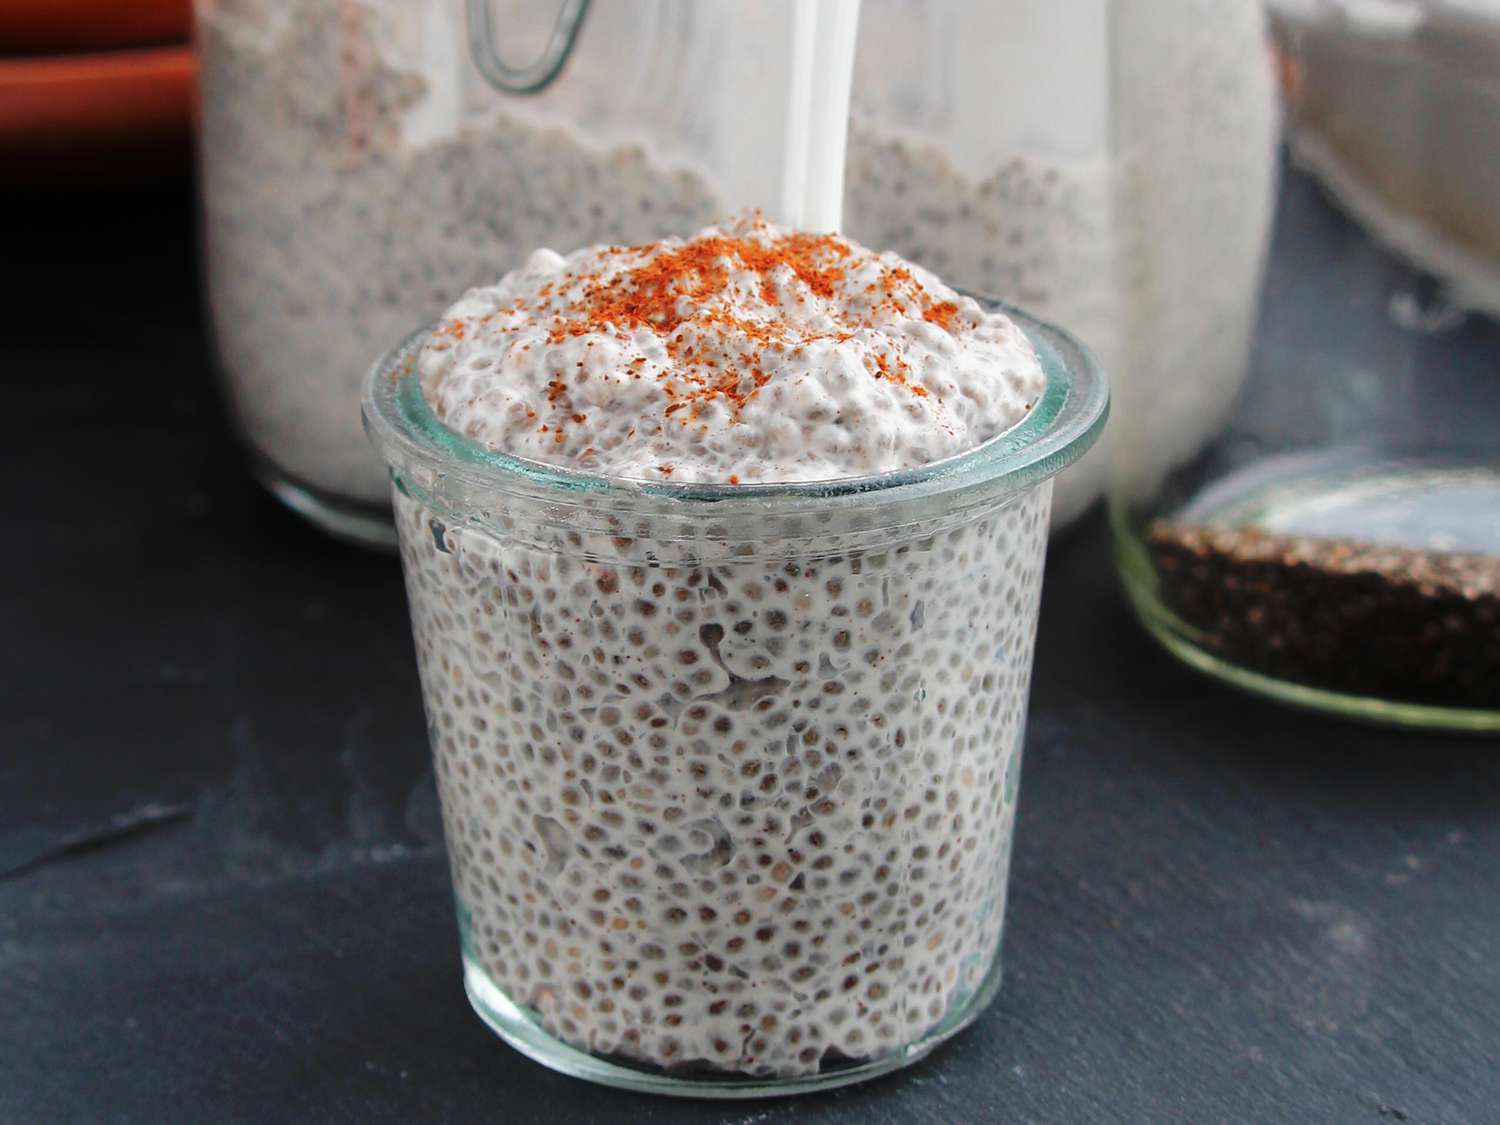
- Check the Consistency: After the resting time, take a look at the chia seed gel. It should have a thick, pudding-like consistency. If it’s too thick, you can add a little more liquid and give it a stir. If it’s too thin, add a few more chia seeds and let it sit for another 15-30 minutes.
- Flavor as Desired: At this point, you can add flavorings like vanilla extract, honey, cinnamon, or fruit puree to enhance the taste of your chia seed gel. Stir well to incorporate the flavors.
- Store in the Refrigerator: Transfer the chia seed gel into a lidded container and store it in the refrigerator. It can be kept for up to 5 days, so you can enjoy it throughout the week.
That’s it! You have successfully made your own homemade chia seed gel. Now, let’s move on to the next section and discover some tips and tricks to make the most out of your chia seed gel.
To make chia seed gel, mix 1/3 cup of chia seeds with 2 cups of water. Let it sit for 15 minutes, then stir well. Refrigerate for at least 2 hours before using.
Read more: How To Make A Chia Seed Egg
Tips and Tricks
Here are some helpful tips and tricks to enhance your chia seed gel-making experience:
- Consistency Control: The ratio of chia seeds to liquid determines the consistency of the gel. If you prefer a thicker gel, increase the amount of chia seeds. For a thinner consistency, use less chia seeds or more liquid.
- Whisking for Uniformity: Whisk or stir the chia seeds and liquid mixture thoroughly to prevent clumping. This will ensure that the gel has a smooth and consistent texture.
- Flavor Experimentation: Get creative with flavors by adding natural sweeteners like honey, maple syrup, or stevia. You can also incorporate spices, such as cinnamon or nutmeg, to enhance the taste. Try different combinations to find your favorite flavor profile.
- Variety in Liquids: While water is commonly used, don’t hesitate to experiment with alternative liquids like almond milk, coconut water, or fruit juice. This can add a unique flavor twist to your chia seed gel.
- Stirring During Resting Time: Stir the chia seed mixture once or twice during the resting time to prevent clumping. This will ensure that the seeds absorb the liquid evenly and create a consistent gel-like texture.
- Using a Whisk or Spoon: A whisk is ideal for thoroughly mixing the chia seeds and liquid, but if you don’t have one, a spoon works just as well. The goal is to evenly distribute the chia seeds throughout the mixture.
- Allowing Sufficient Resting Time: For the best results, let the chia seed gel chill in the refrigerator for at least 2-3 hours, or preferably overnight. This extended resting period allows the chia seeds to fully absorb the liquid and develop a gel-like consistency.
- Storage and Shelf Life: Store your chia seed gel in a lidded container in the refrigerator. It can last for up to 5 days, but it’s best to consume it within this time frame for optimal freshness.
Now that you’re armed with these helpful tips and tricks, you can confidently make delicious and nutritious chia seed gel at home. As you become more comfortable with the process, feel free to customize the recipe to suit your taste preferences. Let’s move on to the next section and explore how to use chia seed gel!
How to Use Chia Seed Gel
Chia seed gel is a versatile ingredient that can be used in various ways to boost the nutritional content of your meals and snacks. Here are some creative and delicious ways to incorporate chia seed gel into your daily routine:
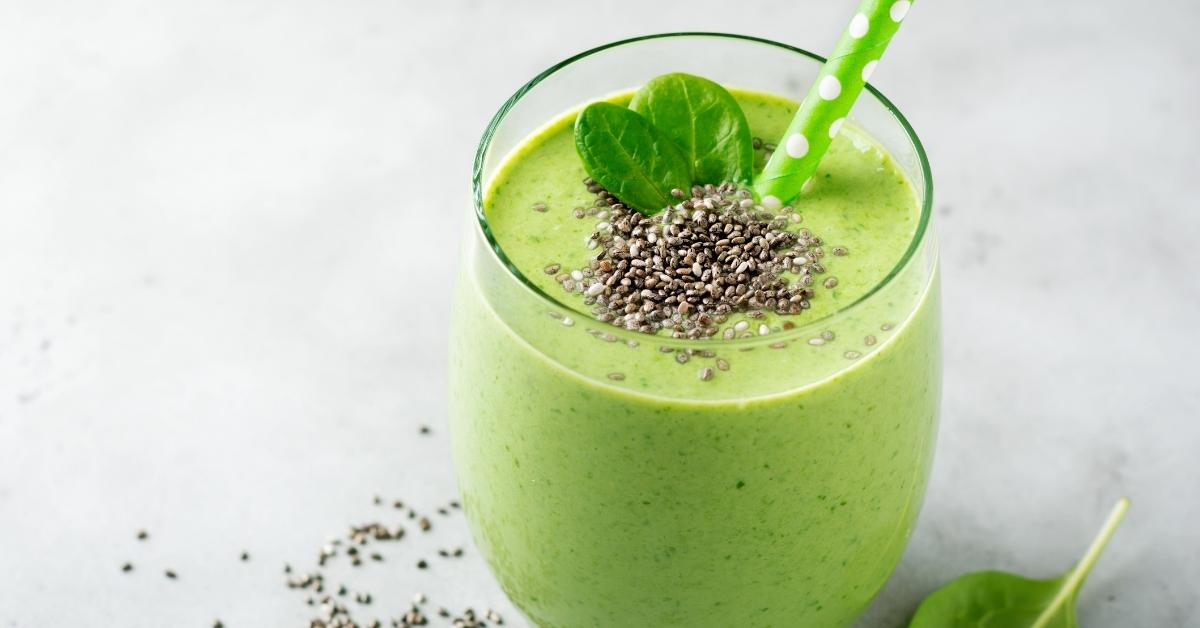
- Smoothies: Add a spoonful of chia seed gel to your favorite smoothie recipe for an extra nutritional punch. It will not only provide a thicker texture but also increase the fiber and omega-3 content of your smoothie.
- Oatmeal or Overnight Oats: Stir a spoonful of chia seed gel into your morning bowl of oatmeal or overnight oats. It will add a creamy texture and provide a boost of nutrients to start your day off right.
- Yogurt Parfait: Layer chia seed gel with yogurt and your favorite fruits to create a delicious and nutritious yogurt parfait. It adds a wonderful texture and packs in extra fiber and omega-3s.
- Healthy Puddings: Use chia seed gel as a base for making healthy puddings. Simply combine it with mashed fruits, cocoa powder, or nut butter, and let it sit in the refrigerator until it thickens into a pudding-like consistency.
- Baked Goods: Replace some of the eggs or oil in baking recipes with chia seed gel. It acts as a binding and moistening agent and adds a nutritious twist to your baked goods.
- Salad Dressings: Mix chia seed gel with your favorite herbs, olive oil, vinegar, and spices to create a homemade salad dressing. It adds a thickening effect and boosts the nutritional value of your salads.
- Chia Seed Pudding: Simply enjoy the chia seed gel on its own as a delicious chia seed pudding. Top it with fresh fruits, nuts, or seeds for added flavor and texture.
- Chia Seed Jam: Combine chia seed gel with mashed fruits and a sweetener of your choice to make a nutritious and low-sugar alternative to traditional jams. Spread it on toast or use it as a topping for pancakes or waffles.
These are just a few ideas to get you started, but the possibilities are endless. Feel free to experiment and get creative with how you use chia seed gel in your own kitchen. Now that you know how to use chia seed gel, let’s move on to the next section and learn how to store it properly.
Storing Chia Seed Gel
Proper storage is key to maintaining the freshness and quality of your homemade chia seed gel. Here are some guidelines to help you store it correctly:
- Refrigeration: Chia seed gel should always be stored in the refrigerator. The cold temperature helps preserve its freshness and prevent bacterial growth.
- Lidded Container: Transfer the chia seed gel into a lidded container or jar. Ensure that the container is airtight to prevent any odor or flavor absorption from the fridge.
- Shelf Life: Chia seed gel can be stored in the refrigerator for up to 5 days. However, it’s best to consume it within the first few days for optimal taste and texture.
- Stir Before Use: Before using the chia seed gel, give it a good stir to ensure that the gel and liquid are well combined. This will redistribute any settling seeds and maintain a consistent texture.
- Separation: It’s normal for some separation to occur in stored chia seed gel. Simply give it a stir or shake before using to bring the gel and liquid back together.
- Labeling: If you have multiple jars or containers of chia seed gel in the refrigerator, it’s helpful to label them with the date of preparation. This will make it easier to keep track of their freshness.
- Freezing: If you have made a larger batch of chia seed gel and want to extend its shelf life, consider freezing it in ice cube trays or small portions. Thaw it in the refrigerator overnight when you’re ready to use it.
By following these storage tips, you can enjoy the benefits of chia seed gel and maintain its quality for an extended period. Always check the gel’s smell and appearance before using it and discard any signs of spoilage.
Now that you know how to store your chia seed gel properly, let’s wrap up this article!
Conclusion
Chia seed gel is a fantastic addition to your kitchen pantry, offering a wide range of health benefits and culinary possibilities. These tiny seeds are packed with nutrients, including fiber, omega-3 fatty acids, antioxidants, and essential minerals.
By following the simple steps outlined in this article, you can easily make your own chia seed gel at home. With just a few ingredients and minimal effort, you can enjoy the versatility and nutritional value of this superfood.
From smoothies and puddings to salad dressings and baked goods, there are endless ways to incorporate chia seed gel into your meals and snacks. Experiment with different flavors and let your creativity soar as you explore the countless possibilities.
Remember to store your chia seed gel in the refrigerator to ensure freshness and maintain its quality. With proper storage and regular consumption, you can fully enjoy the benefits of this superfood gel.
So, why not embark on this delicious and nutritious journey by making your own chia seed gel? Get started today and elevate your meals with this simple yet powerful ingredient!
Frequently Asked Questions about How To Make Chia Seed Gel
Was this page helpful?
At Storables.com, we guarantee accurate and reliable information. Our content, validated by Expert Board Contributors, is crafted following stringent Editorial Policies. We're committed to providing you with well-researched, expert-backed insights for all your informational needs.
0 thoughts on “How To Make Chia Seed Gel”