Home>Garden Essentials>How To Make Seed Tape For Carrots

Garden Essentials
How To Make Seed Tape For Carrots
Modified: October 18, 2024
Discover how to make your own seed tape for carrots in your garden. This simple and cost-effective technique ensures proper spacing and effortless planting for a bountiful harvest.
(Many of the links in this article redirect to a specific reviewed product. Your purchase of these products through affiliate links helps to generate commission for Storables.com, at no extra cost. Learn more)
Introduction
Welcome to the world of gardening! Whether you’re a seasoned green thumb or just starting out, there’s something magical about nurturing plants and watching them grow. And if you’re a fan of growing your own vegetables, then you’re in for a treat because today we’re going to talk about how to make seed tape specifically for carrots.
Carrots are a popular choice in many home gardens. They’re packed with nutrients, easy to grow, and can be used in various dishes. However, carrot seeds are tiny and can be difficult to handle, especially when it comes to spacing them properly. That’s where seed tapes come in handy.
Seed tapes are a fantastic solution for ensuring even spacing and proper germination of carrot seeds. They consist of a strip of biodegradable material with seeds attached at regular intervals. These tapes can be pre-made or DIY, and making your own not only saves money but also allows you to customize the spacing to suit your needs.
In this article, we’ll guide you through the process of making seed tape for carrots step by step. We’ll provide you with a list of materials you’ll need, and walk you through each stage of the process. By the end, you’ll have a bunch of homemade seed tapes ready to sow and watch your carrots flourish.
So, let’s roll up our sleeves and get started on this fun and rewarding project. Gather your gardening tools and let’s dive right in!
Key Takeaways:
- Making seed tape for carrots is a fun and rewarding project that saves money and ensures even spacing for optimal carrot growth. It simplifies planting and eliminates the need for thinning overcrowded seedlings later on.
- By creating your own seed tapes, you’ll have a convenient and organized method for planting carrots. The adhesive holds the seeds securely, making the planting process easier and more efficient.
Read more: How To Make Carrot Seed Oil
Materials Needed
Before we begin making seed tape for carrots, let’s gather all the necessary materials. Making seed tape is a simple and straightforward process, and you likely have most of the items on hand. Here’s what you’ll need:
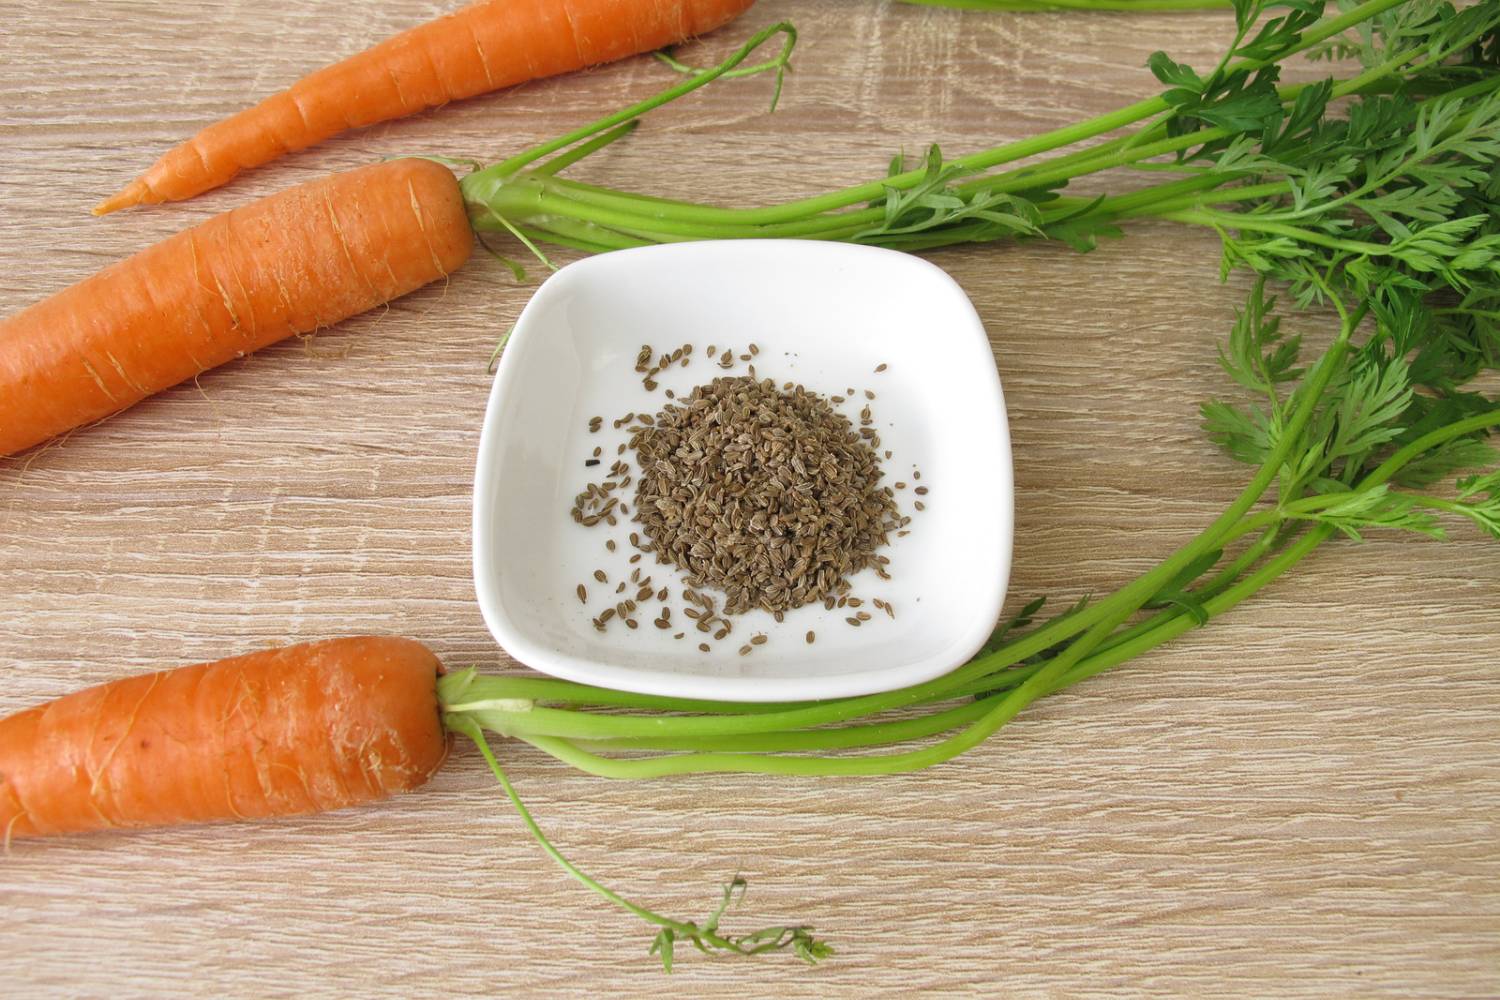
1. Carrot Seeds: Choose high-quality carrot seeds that are suitable for your climate and preferences. Look for varieties that have a short maturity period and are well-suited for container or garden bed cultivation.
2. Biodegradable Material: You’ll need a biodegradable strip to serve as the base for your seed tape. Toilet paper is an excellent choice as it is readily available, affordable, and breaks down easily in the soil. Alternatively, you can use paper towels or newspaper strips.
3. Seed Adhesive: To secure the carrot seeds onto the strip, you’ll need a seed adhesive. This can be made using a simple mixture of flour and water. Mix one part flour with three parts water to create a sticky paste-like consistency.
4. Measuring Tool: A ruler or measuring tape will come in handy for accurately spacing out the carrot seeds along the strip. This will ensure proper growth and prevent overcrowding.
5. Pen or Pencil: You’ll need a writing utensil to mark the locations where you’ll place the carrot seeds on the strip. A pen or pencil works perfectly for this purpose.
6. Small Dish: Prepare a small dish or container to hold the seed adhesive mixture. This will make it easier for you to dip your finger or a brush into the mixture and apply it to the strip.
7. Water: Keep a small bowl of water nearby to moisten the strip before applying the seed adhesive. This will help the adhesive stick more effectively.
8. Scissors: Have a pair of scissors on hand to cut the strips of toilet paper or biodegradable material to your desired length.
By gathering these materials, you’ll have everything you need to create your very own seed tape for carrots. Once you have them ready, we can move on to the next step – cutting the strips of toilet paper.
Step 1: Gather Your Supplies
Before we dive into making seed tapes for carrots, it’s important to gather all the necessary supplies. By having everything within reach, you can streamline the process and make it a breeze. Here’s what you’ll need:
1. Carrot Seeds: Start by selecting high-quality carrot seeds. Consider the variety you want to grow based on flavor, size, and maturity time. Look for organic or heirloom varieties for the best results.
2. Biodegradable Material: Choose a biodegradable material to serve as the base for your seed tape. Toilet paper is an excellent option as it is readily available, inexpensive, and composts well in the soil. You can also use paper towels or newspaper strips.
3. Seed Adhesive: Next, you’ll need a seed adhesive to secure the carrot seeds onto the tape. A simple mixture of flour and water works perfectly as a natural and effective adhesive. Mix one part flour with three parts water to create a thick, paste-like consistency.
4. Measuring Tool: Grab a ruler or measuring tape to ensure accurate spacing between the carrot seeds. This will help promote proper growth and prevent overcrowding.
5. Pen or Pencil: Keep a pen or pencil handy to mark the locations where you’ll place the carrot seeds on the tape. This will provide a guide for even spacing.
6. Small Dish: Prepare a small dish or container to hold the seed adhesive mixture. This will make it easier to dip your finger or a brush into the adhesive and apply it to the tape.
7. Water: Have a small bowl of water nearby to moisten the tape before applying the seed adhesive. This will help the adhesive stick more effectively.
8. Scissors: Keep a pair of scissors on hand to cut the strips of biodegradable material to your desired length. This will ensure you have tapes of the appropriate size.
Once you have gathered all your supplies, find a clean and well-lit workspace where you can comfortably work on creating the seed tapes. Having everything organized and within reach will make the process smoother and more enjoyable.
Now that you have your supplies gathered, it’s time to move on to step two – cutting the strips of toilet paper or biodegradable material.
Step 2: Cut Strips of Toilet Paper
Now that you have gathered all the necessary supplies, let’s move on to the next step: cutting the strips of toilet paper. These strips will serve as the base for your seed tapes, providing a secure surface for the carrot seeds.
1. Measure and Mark: Begin by deciding how long you want your seed tapes to be. It’s usually best to keep them around 6 to 8 inches long to make handling and planting easier. Use a ruler or measuring tape to measure and mark the desired length on your toilet paper.
2. Cut the Strips: Once you have marked the length, use a pair of scissors to carefully cut along the marked lines. Take your time to ensure straight, even cuts. You can cut one strip or multiple strips depending on the amount of space you have available for planting.
3. Repeat the Process: If you need more seed tapes, repeat the process of measuring and cutting until you have the desired number of strips. Remember to work in a well-lit and clean area to avoid any accidents or contamination.
4. Store Extra Strips: If you have cut more strips than you need, consider storing the extras in a cool, dry place for future use. Place them in a sealed bag or container to keep them protected from moisture and pests.
By cutting the strips of toilet paper, you are one step closer to creating your very own seed tapes for carrots. The length of the strips can be customized based on your preferences and available space. Remember to stay organized and take your time to ensure accurate cuts.
With the strips ready, it’s time to move on to Step 3: preparing the seed adhesive. This simple mixture will help secure the carrot seeds onto the tape, ensuring even spacing during planting.
Step 3: Prepare the Seed Adhesive
Now that you have your strips of toilet paper ready, it’s time to prepare the seed adhesive. This simple mixture will act as a glue to attach the carrot seeds onto the tape, ensuring they stay in place during planting and germination.
To prepare the seed adhesive, follow these steps:
1. Gather Your Materials: Collect the flour and water needed for the seed adhesive mixture. You’ll also need a small dish or container to hold the mixture and a spoon or whisk to mix it.
2. Mix the Flour and Water: In the small dish, combine one part flour with three parts water. For example, if you use 1 tablespoon of flour, mix it with 3 tablespoons of water. Stir the mixture with a spoon or whisk until you achieve a smooth, paste-like consistency. Make sure there are no lumps in the mixture.
3. Adjust the Consistency: If the mixture is too thick and difficult to spread, add a little more water. If it’s too runny, add a small amount of flour until you reach the desired consistency. The adhesive should be sticky enough to hold the carrot seeds but not so thick that it becomes difficult to work with.
4. Test the Adhesive: To ensure the adhesive is the right consistency, test it by picking up a small amount with your finger or a brush. It should stick to the tape without dripping or sliding off easily. Adjust the mixture if necessary to achieve the desired stickiness.
5. Keep the Adhesive Handy: Once you have prepared the seed adhesive, keep it nearby in the small dish or container. This will make it convenient for you to dip your finger or a brush into the mixture as you apply it to the tape.
By preparing the seed adhesive, you are one step closer to creating your very own carrot seed tapes. This mixture will serve as the glue to attach the carrot seeds onto the tape securely, ensuring even spacing and a successful germination process.
Now that the adhesive is ready, it’s time to move on to Step 4: applying the seed adhesive to the strips of toilet paper.
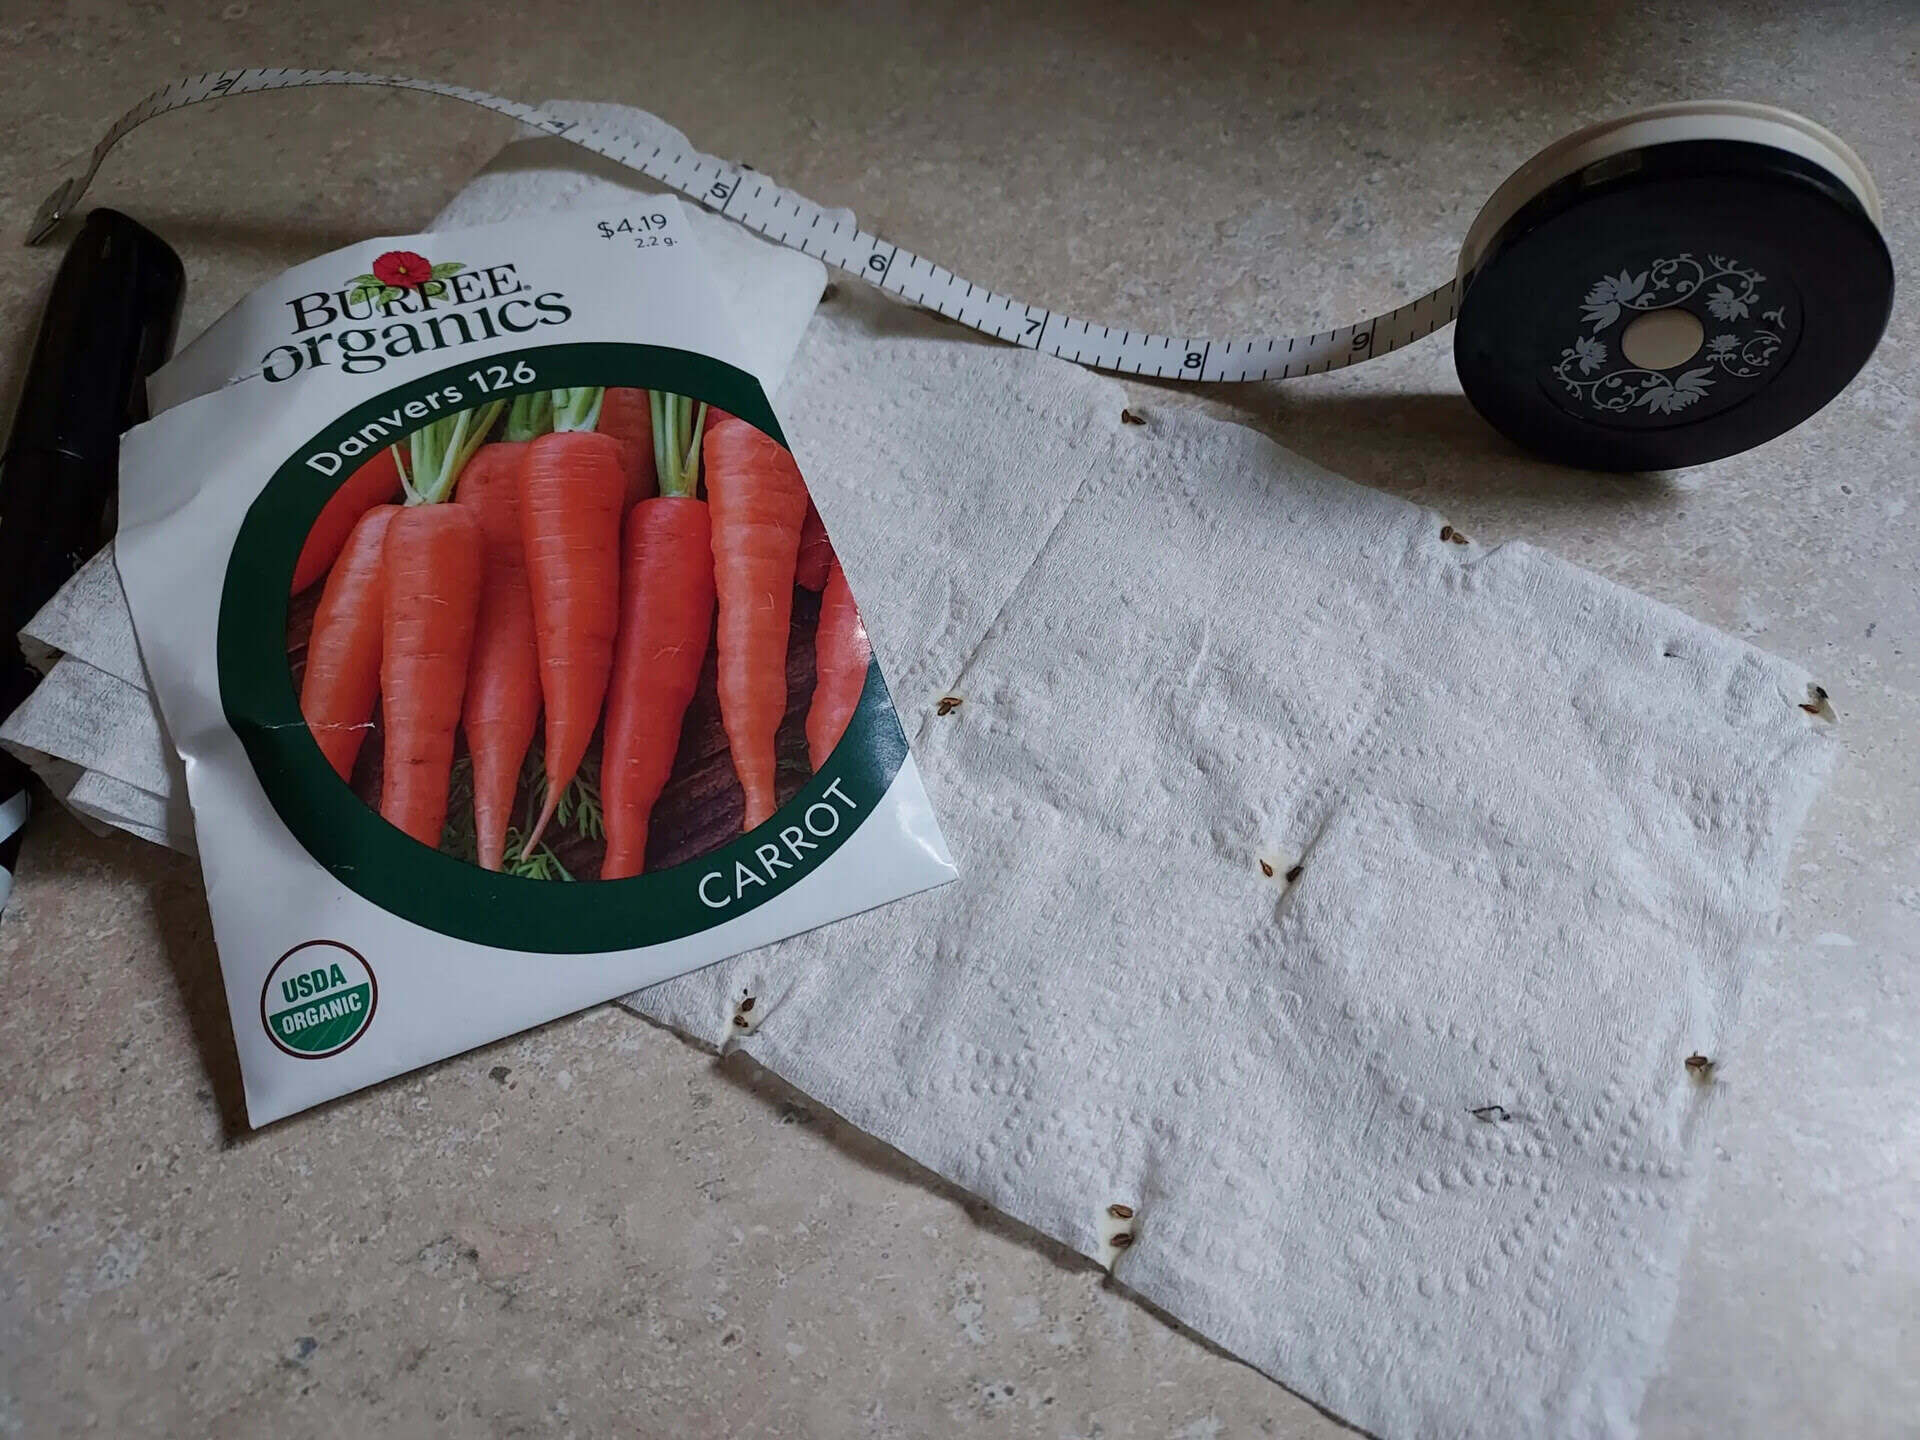
To make seed tape for carrots, mix flour and water to create a paste, then use it to attach carrot seeds to strips of toilet paper. This will make it easier to plant the seeds at the correct spacing.
Read more: How To Plant Carrot Seeds
Step 4: Apply the Seed Adhesive to the Strips
With your seed adhesive prepared, it’s time to move on to applying it to the strips of toilet paper. This step will ensure that the carrot seeds stick to the tape securely, making it easier for you to handle and plant them evenly.
Follow these steps to apply the seed adhesive to the strips:
1. Moisten the Strips: Before applying the seed adhesive, lightly moisten the strips of toilet paper with a small amount of water. This will help the adhesive adhere better to the surface of the paper.
2. Set Up Your Workspace: Find a clean and flat surface to work on. Lay out the moistened strips of toilet paper in front of you, making sure there is enough space to work comfortably.
3. Dip your Brush or Finger: Take your brush or use your finger to dip into the prepared seed adhesive mixture. Make sure to coat the brush or finger with a sufficient amount of the adhesive, but avoid excessive amounts that could cause the tape to become too wet and disintegrate.
4. Apply the Adhesive: Starting from one end of the strip, gently brush or spread the adhesive onto the toilet paper in a thin, even layer. Ensure that the adhesive covers the whole width of the strip but doesn’t soak through excessively. Repeat this process for each strip of toilet paper.
5. Leave Space at the Edges: As you apply the adhesive, make sure to leave a small amount of space at the edges of the strips. This will prevent the adhesive from smearing onto your hands or equipment as you handle the seed tapes later on.
6. Repeat the Process: Continue applying the seed adhesive to all the strips of toilet paper until each one is evenly coated. Take your time to ensure a consistent application, allowing the adhesive to dry slightly before moving on to the next step.
By applying the seed adhesive to the strips of toilet paper, you are ensuring that the carrot seeds will stick securely to the tape. This will make it easy to handle and plant the seed tapes, ensuring even spacing and a successful germination process.
Now that the seed adhesive is applied, we can move on to Step 5: placing the carrot seeds onto the strips. This is where the magic begins, and you’ll see your seed tapes taking shape.
Step 5: Place Carrot Seeds on the Strips
After applying the seed adhesive to the strips of toilet paper, it’s time to place the carrot seeds onto the tape. This step ensures even spacing and provides a convenient way to handle and sow the seeds. Let’s get started:
1. Refer to Seed Spacing Requirements: Review the recommended spacing requirements for the specific carrot variety you’re planting. This information can usually be found on the seed packet or in gardening references. Carrots typically require around 1-2 inches of space between each seed.
2. Mark Seed Placement: Using a pen or pencil, lightly mark the locations on the tape where each carrot seed should be placed. Ensure that the marks are evenly spaced along the entire length of the tape. This will serve as your guide during the seed placement process.
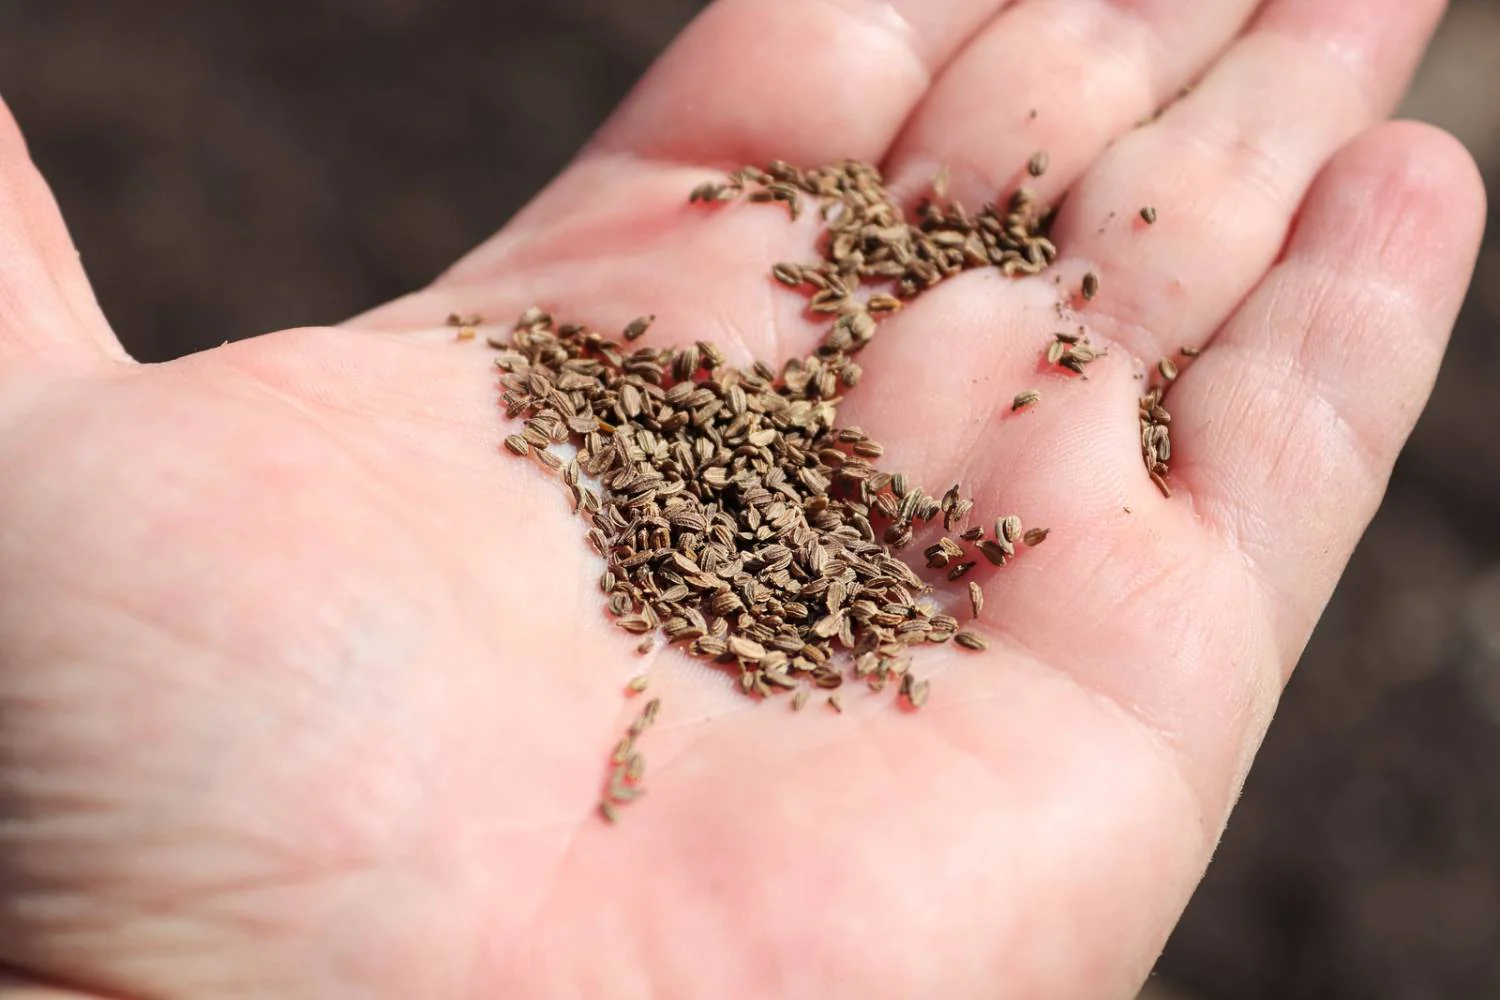
3. Pick Up Carrot Seeds: With clean hands or tweezers, carefully pick up individual carrot seeds. Be gentle to avoid damaging the delicate seeds. It’s helpful to moisten your fingertips slightly, which can prevent the seeds from sticking to your skin.
4. Place Seeds on Tape: One at a time, place each carrot seed directly onto the adhesive on the marked spots along the tape. Ensure that the seeds are positioned flat and centered on the adhesive, adhering securely to the strip.
5. Maintain Even Spacing: As you place the carrot seeds, refer to the marked spots to maintain the recommended spacing between each seed. Take your time and be precise to ensure even distribution and prevent overcrowding.
6. Adjust if Needed: If a seed accidentally slips out of position or you encounter any issues, gently readjust it using your fingertip or a tweezers. It’s crucial to maintain the correct spacing and proper alignment of the seeds.
7. Continue Until Complete: Continue placing the carrot seeds onto the tape, following the marked spots, until you have covered the entire length of the strip. Take breaks if needed to rest your hands or refocus your attention.
By placing the carrot seeds onto the strips of tape, you’re creating your own customized seed tapes that provide the perfect spacing required for successful carrot growth. This step makes the planting process much easier and efficient, especially for small seeds like carrots.
With the seeds in place, you’re now ready for Step 6: rolling and storing the seed tapes. This final step ensures that your seed tapes are neatly stored and ready for effortless planting.
Step 6: Roll and Store the Seed Tapes
After placing the carrot seeds onto the strips of tape, it’s time to roll and store your homemade seed tapes. This step ensures that the seed tapes remain intact and organized until you’re ready to plant them. Let’s proceed:
1. Allow Seed Adhesive to Dry: Before rolling the seed tapes, give the adhesive some time to dry. This will prevent the seeds from shifting or sticking together during the rolling process. Leave the strips undisturbed for about 10-15 minutes to allow the adhesive to set.
2. Roll Up the Seed Tapes: Starting at one end, gently roll up the strip of tape, ensuring that the carrot seeds are securely sandwiched between the layers. Take your time to roll it tightly to prevent the tape from unraveling or the seeds from shifting.
3. Secure the Seed Tapes: Once rolled, you have a couple of options to secure the tapes. You can tie a piece of string around the rolled tape to keep it in place, or you can secure it with a small piece of tape. Choose a method that works best for you and keeps the seed tapes from unraveling.
4. Label and Date: To keep track of the carrot variety and planting date, label each seed tape. Use a marker or pen to write the variety name and the date of preparation on the exterior of the tape. This ensures that you’ll have the necessary information when it’s time to plant.
5. Store in a Cool, Dry Place: Find a cool and dry place to store your seed tapes until you’re ready to sow them. Avoid areas with excessive moisture or fluctuating temperatures, as these can affect the quality of the seeds. A small envelope, bag, or airtight container can keep the seed tapes protected from light and moisture.
6. Check Viability: It’s important to periodically check the viability of your stored seed tapes. Carrot seeds typically have a shelf life of one to three years, depending on the variety and storage conditions. Before each planting season, assess the germination rate of the seeds by conducting a simple viability test.
By rolling and storing the seed tapes properly, you’ll have an organized and convenient method for planting carrots. This step ensures that your homemade seed tapes remain intact and in good condition until you’re ready to sow them in your garden.
With the seed tapes rolled and stored, you’ve successfully completed all the steps to make your own seed tape for carrots. It’s a rewarding process that not only saves time during planting but also ensures even spacing and encourages optimal seed germination.
Now, all that’s left to do is wait for the ideal planting time and get those seed tapes into the soil. Happy gardening!
Conclusion
Congratulations! You have completed the journey of making your own seed tape for carrots. By creating these customized seed tapes, you have set yourself up for success in growing carrots with proper spacing and efficient planting.
Through the step-by-step process, you have learned how to gather the necessary materials, cut strips of toilet paper, prepare the seed adhesive, apply it to the strips, place the carrot seeds, and roll and store the seed tapes. Each step was designed to simplify the planting process and ensure even spacing for optimal carrot growth.
Seed tapes not only make planting easier but also provide a tangible way to handle small seeds like carrots. The adhesive holds the seeds securely, preventing them from shifting or getting lost. This method allows for precise spacing and eliminates the need for thinning out overcrowded seedlings later on.
When you’re ready to plant, simply unroll the seed tapes into prepared soil, cover them lightly with soil, and water gently. With proper care and maintenance, your carrot seeds will germinate and develop into healthy plants, ready to be harvested and enjoyed.
Remember to label your seed tapes with the carrot variety and the date of preparation. This will help you keep track of different carrot varieties and ensure the freshest seeds are planted.
As you gain experience in making seed tapes, feel free to experiment with different seed spacing or try making seed tapes for other vegetable varieties. The possibilities are endless, and you’ll discover what works best for you and your garden.
Enjoy the satisfaction of growing your own carrots, knowing that you played a part in every stage of their growth. The process of making seed tape for carrots not only saves time but also fosters a deeper connection with your plants and the joy of growing your own food.
So get ready for a fruitful garden filled with vibrant, crisp carrots. With your homemade seed tapes, you’re equipped to embark on a successful gardening journey. Happy planting and enjoy the bountiful harvest!
Frequently Asked Questions about How To Make Seed Tape For Carrots
Was this page helpful?
At Storables.com, we guarantee accurate and reliable information. Our content, validated by Expert Board Contributors, is crafted following stringent Editorial Policies. We're committed to providing you with well-researched, expert-backed insights for all your informational needs.



0 thoughts on “How To Make Seed Tape For Carrots”