Articles
How To Wire Under Cabinet Lighting
Modified: October 20, 2024
Learn how to wire under cabinet lighting in your home with our easy step-by-step guide. Improve your home maintenance skills and enhance the ambiance of your kitchen.
(Many of the links in this article redirect to a specific reviewed product. Your purchase of these products through affiliate links helps to generate commission for Storables.com, at no extra cost. Learn more)
Introduction
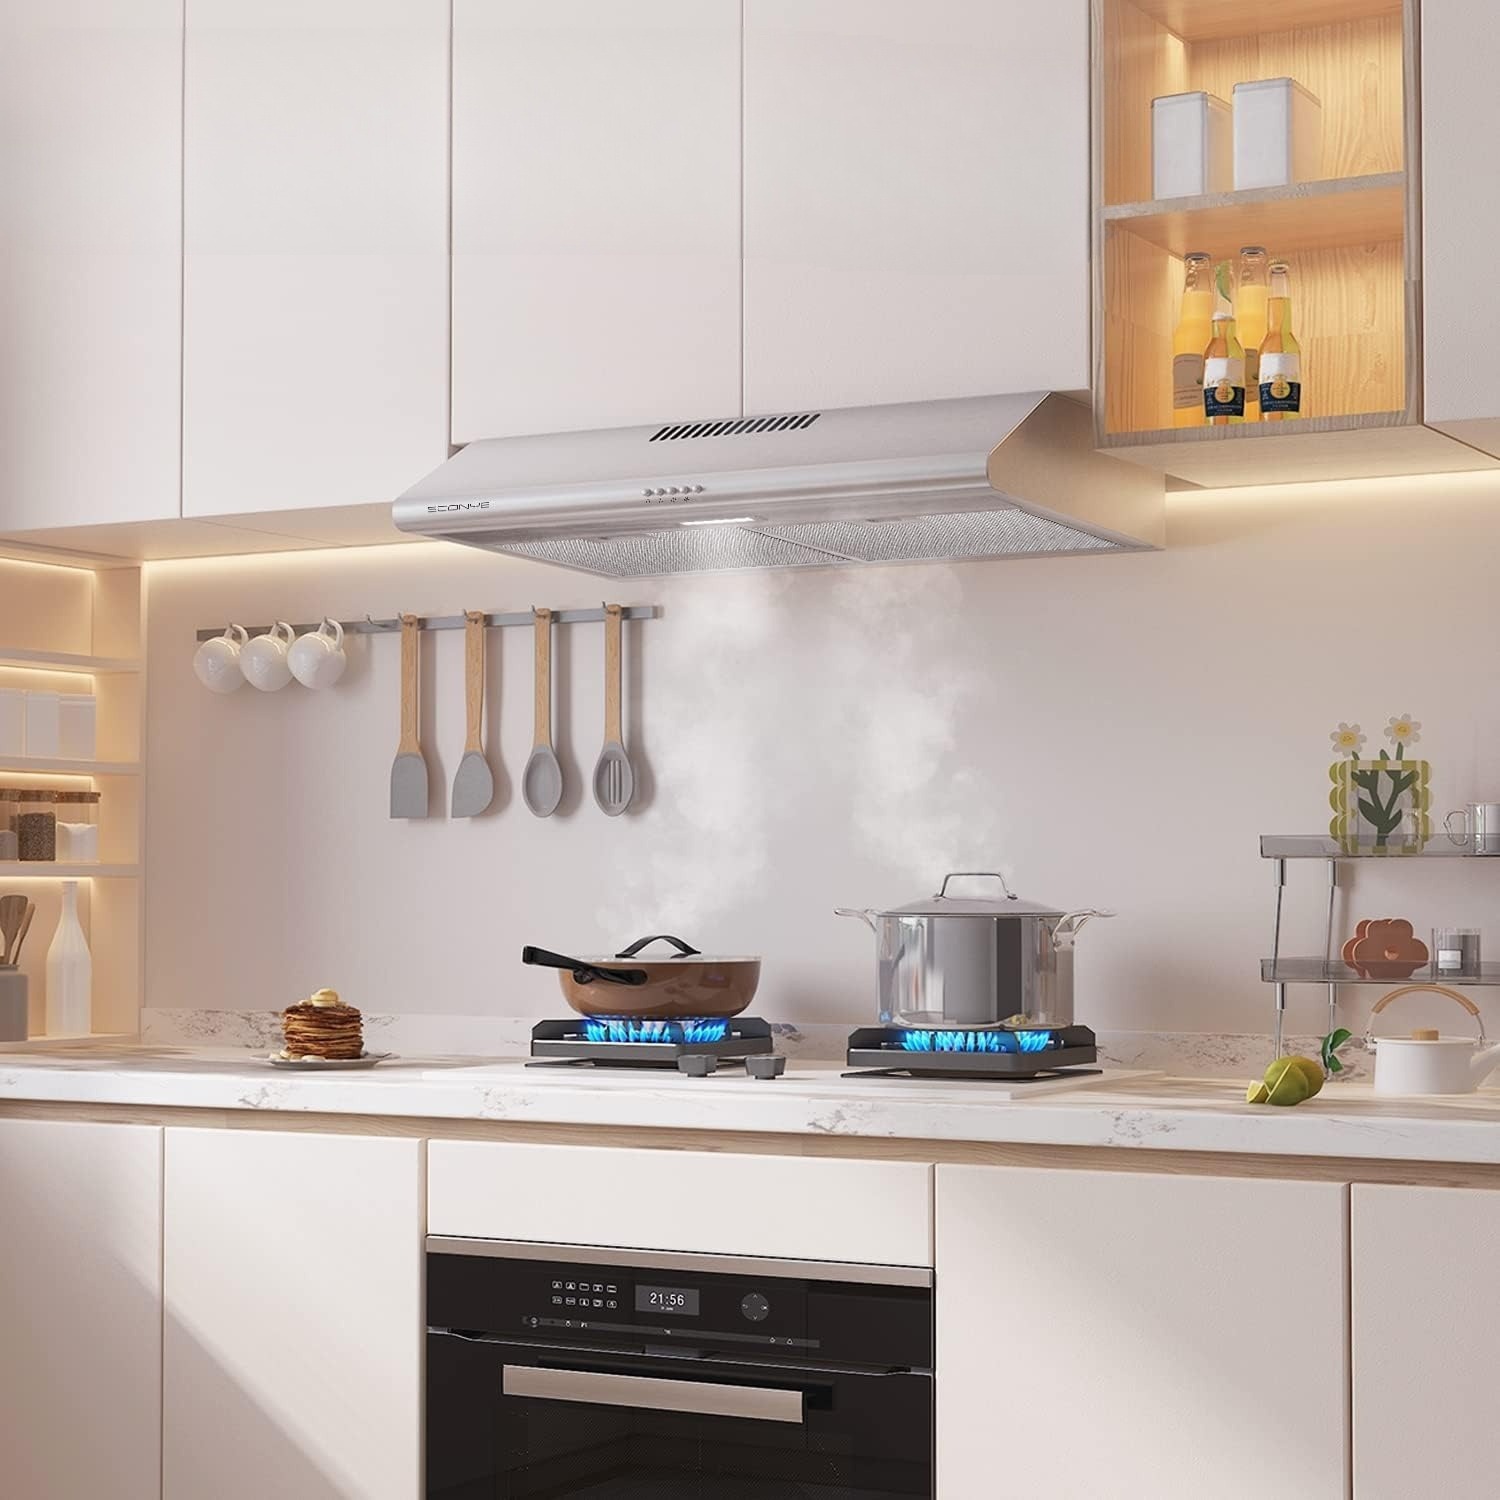
Are you tired of working in a dimly lit kitchen? Adding under cabinet lighting can be a game-changer, not only by improving visibility and functionality in your workspace, but also by enhancing the overall ambiance of your kitchen. In this guide, we will walk you through the process of wiring under cabinet lighting, giving your kitchen a modern and stylish upgrade.
Before diving into the installation process, it is important to understand that working with electrical wiring can be dangerous if not done properly. Safety should be your top priority throughout the entire process. Make sure to turn off the power to the area you’ll be working in and follow all safety precautions. If you are unsure or uncomfortable working with electricity, it is always recommended to hire a professional electrician.
Now that we have covered the importance of safety, let’s gather the tools and materials you’ll need to complete the under cabinet lighting installation.
Key Takeaways:
- Prioritize safety when wiring under cabinet lighting by turning off the power, using proper PPE, and following manufacturer’s instructions. If unsure, consult a professional electrician to avoid hazards.
- Plan the layout, gather accurate measurements, and choose the right type of lighting to create a customized and functional under cabinet lighting solution for your kitchen. Properly secure wires and lights for a safe and visually pleasing installation.
Read more: How To Change Under Cabinet Light Bulb
Safety Precautions
Working with electricity can be hazardous, so it is crucial to take the necessary safety precautions to protect yourself and your home. Here are some important safety guidelines to follow when wiring under cabinet lighting:
- Turn off the power: Before starting any electrical work, ensure that the power to the area is turned off at the circuit breaker. This will prevent any accidents or electrical shocks.
- Use proper personal protective equipment (PPE): Wear safety goggles, gloves, and suitable clothing to protect yourself from potential hazards.
- Read and follow the manufacturer’s instructions: Make sure to carefully read the instructions provided by the manufacturer of the under cabinet lighting kit. Follow their guidelines for installation and safety.
- Avoid working in wet conditions: Do not attempt to wire under cabinet lighting if the area is wet or damp. Moisture can increase the risk of electrical shock.
- Avoid overloading circuits: Make sure that the electrical circuit you are using can handle the additional load of the under cabinet lighting. Consult an electrician if you are unsure.
- Properly secure and insulate wires: Use appropriate wire connectors and ensure that all wires are properly secured and insulated to avoid any electrical hazards or short circuits.
- Consider hiring a professional: If you are not confident in your electrical skills or if the job requires complex electrical work, it is always safer to hire a licensed electrician to handle the installation.
Remember, your safety is the most important aspect of any DIY project. It is better to seek professional help than to risk injury or damage to your home.
Tools and Materials Required
Before you begin wiring under cabinet lighting, it’s important to gather all the necessary tools and materials. Here is a list of what you’ll need:
Tools:
- Screwdriver
- Wire cutters/strippers
- Electric drill
- Measuring tape
- Pencil
- Level
- Stud finder
- Utility knife
- Electrical tape
Materials:
- Under cabinet lighting kit
- Mounting brackets
- Electrical wire
- Wire connectors
- Switches
- Wire staples
- Wire nuts
Make sure to choose high-quality materials for your under cabinet lighting installation to ensure longevity and safety. It is also important to measure the length of your cabinets accurately to determine the number of lighting fixtures and amount of wiring you will need.
Once you have gathered all the necessary tools and materials, you can move on to the next step of planning the layout for your under cabinet lighting.
Step 1: Planning the Layout
Proper planning is essential when it comes to installing under cabinet lighting. Before diving into the wiring process, take some time to plan the layout for your lighting fixtures. Here’s how you can do it:
- Assess your needs: Consider the purpose of the lighting and how you want it to function in your kitchen. Do you primarily need task lighting for food preparation, or are you looking to create a warm ambiance? Think about the areas that require the most illumination and plan your lighting accordingly.
- Measure your cabinets: Take accurate measurements of the length and width of your cabinets. This will help you determine the number of lighting fixtures you’ll need and their placement.
- Consider the location of power outlets: Take note of the existing power outlets in your kitchen. It may be more convenient to place your lighting fixtures closer to the outlets to minimize the length of wiring required.
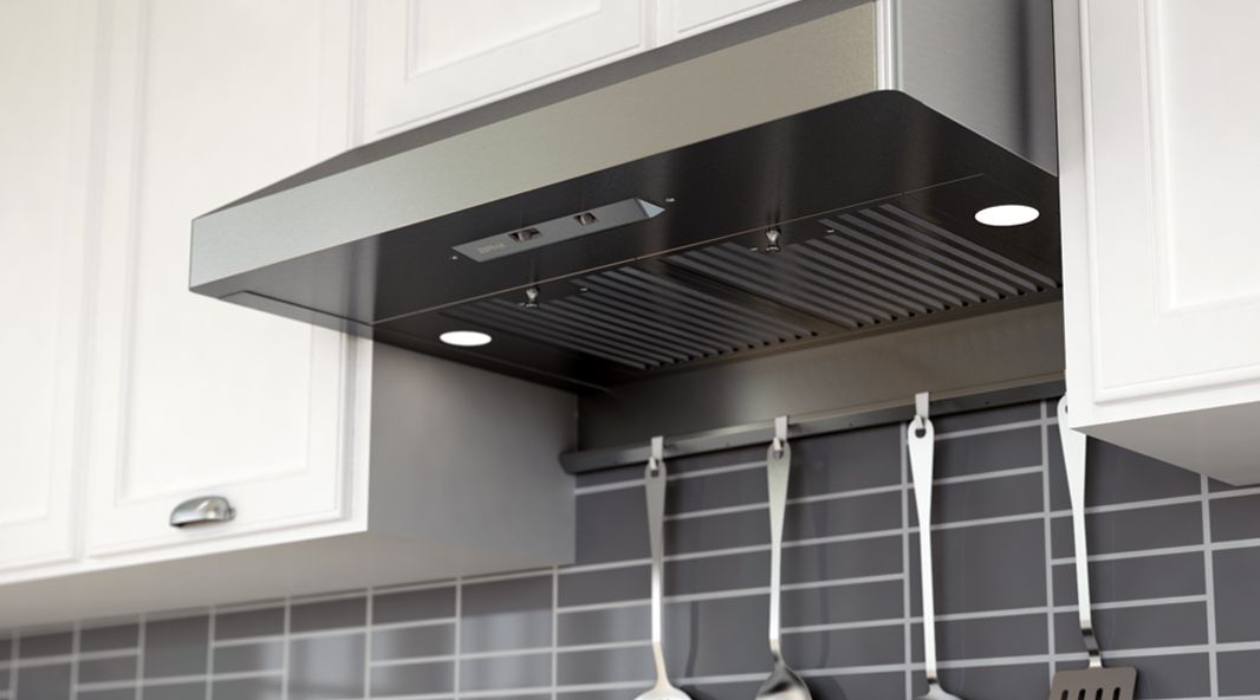
- Decide on the type of lighting: There are various types of under cabinet lighting available, such as LED strips, puck lights, and linear fixtures. Consider the pros and cons of each type and choose the one that best suits your needs and budget.
- Plan the wiring route: Determine the most efficient route for running the wiring from the power source to each lighting fixture. Avoid running the wiring too close to heat sources or sharp objects.
By carefully planning the layout of your under cabinet lighting, you can ensure optimal functionality and aesthetics. Once you have a clear plan in place, you can move on to the next step: gathering measurements for installation.
Step 2: Gathering Measurements
Accurate measurements are crucial for a successful under cabinet lighting installation. Take the time to gather precise measurements of your cabinets to determine the placement and quantity of lighting fixtures needed. Here’s how you can do it:
- Measure the length of your cabinets: Use a measuring tape to measure the length of each cabinet where you plan to install the lighting. Measure from one end to the other, ensuring you account for any corners or gaps between cabinets.
- Note the cabinet depth: Measure the depth of your cabinets from the front edge to the back. This will help you determine the appropriate size and placement of the lighting fixtures.
- Consider the desired spacing: Decide on the spacing between each lighting fixture. This will depend on personal preference and the level of illumination you desire. As a general rule, spacing them 8-12 inches apart is a good starting point.
- Account for obstructions: Take into account any obstacles that may affect the installation, such as outlet placements, cabinet frames, or other fixtures. Plan the layout to ensure that the lighting is evenly distributed without any obstructions.
- Determine the number of lighting fixtures: Based on the measurements and desired spacing, calculate the number of lighting fixtures required for each cabinet. Consider the length of the fixtures available and divide the cabinet length accordingly.
Remember to double-check your measurements to ensure accuracy before proceeding with the installation. This will save you the hassle of having to make adjustments or purchase additional materials later on.
With the measurements in hand, you are now ready to move on to the next step: choosing the type of under cabinet lighting.
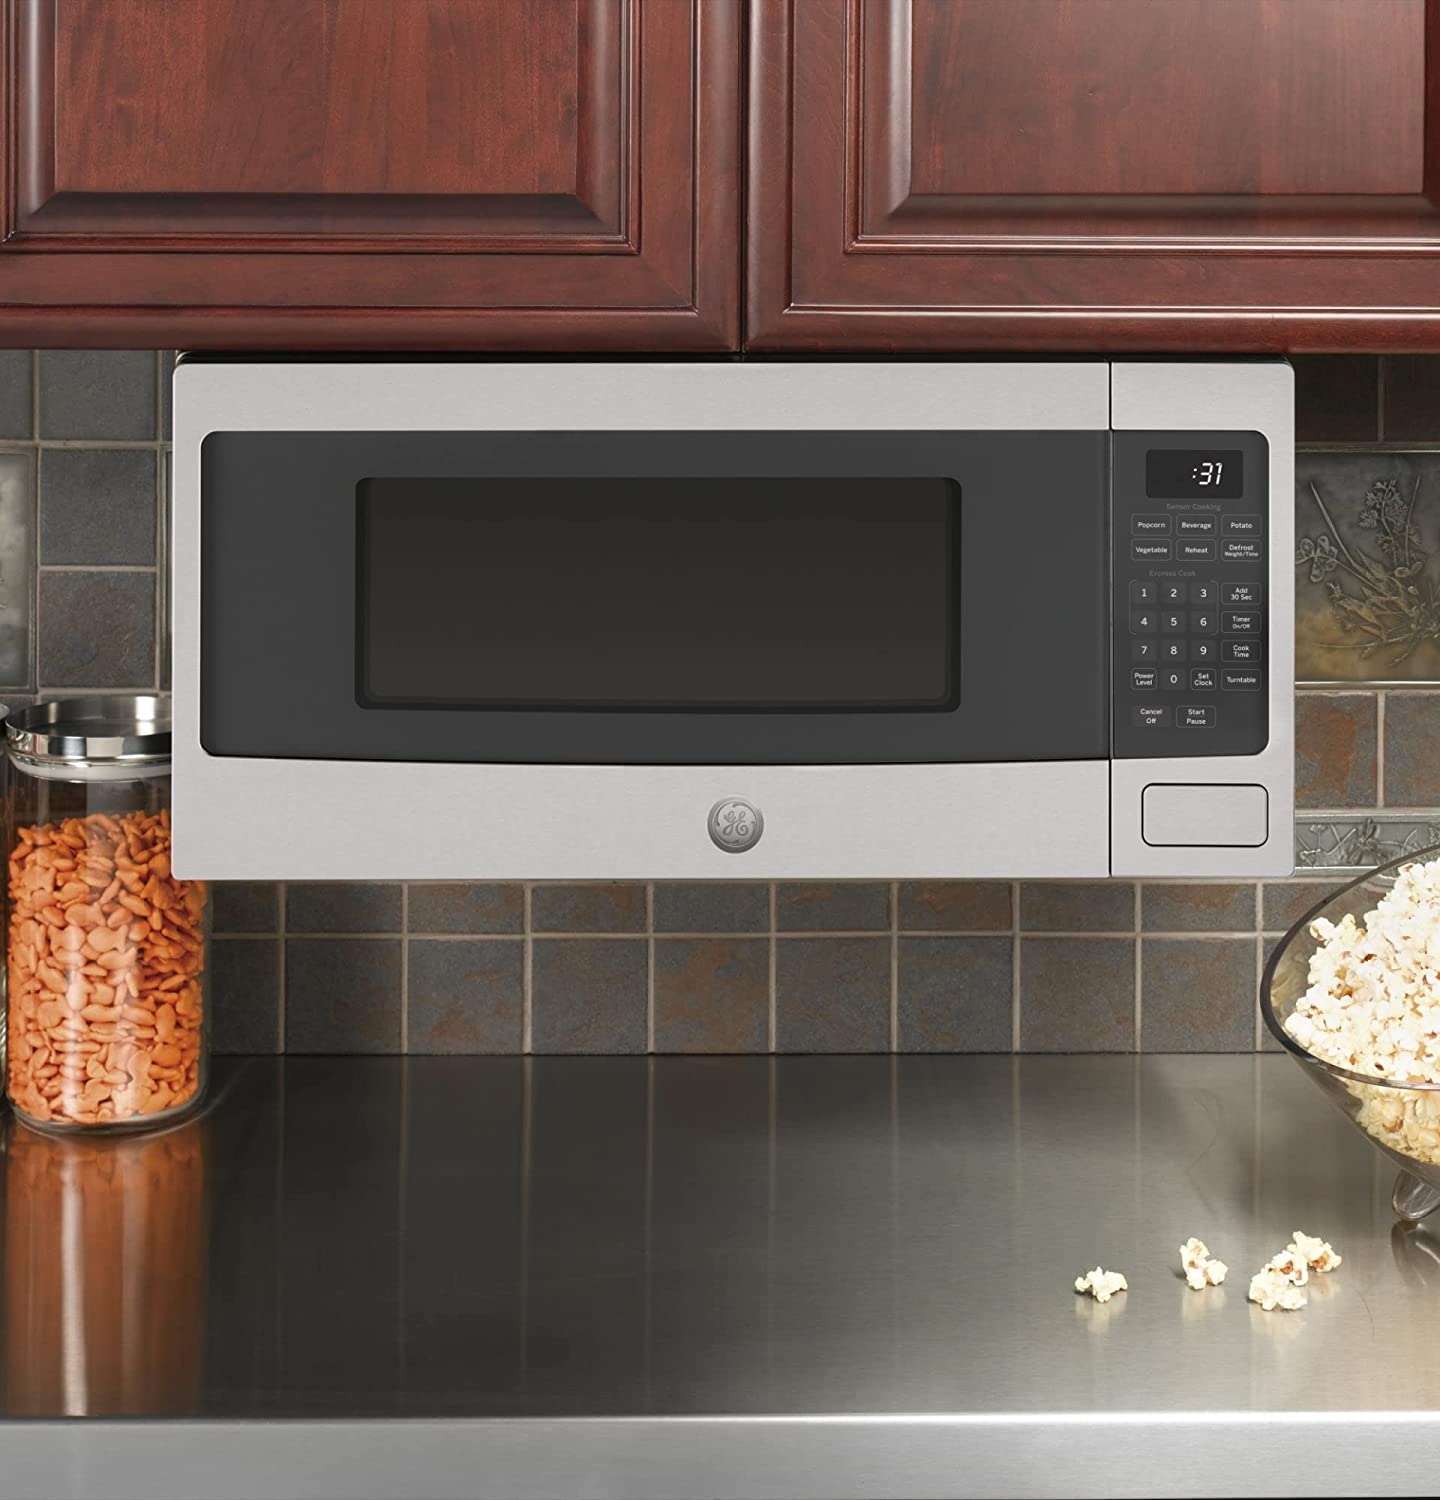
Step 3: Choosing the Type of Under Cabinet Lighting
There are various types of under cabinet lighting available, each with its own benefits and considerations. Before making a decision, it’s important to understand the different options and choose the type that best suits your needs and preferences. Here are some popular choices:
1. LED Strips:
LED strips are a versatile and energy-efficient option for under cabinet lighting. They provide bright and even illumination, and are available in various lengths to suit your cabinet dimensions. LED strips also have a long lifespan and are easy to install.
2. Puck Lights:
Puck lights are small, round light fixtures that can be surface-mounted or recessed into the cabinet. They offer focused and task-oriented lighting, perfect for highlighting specific areas of the kitchen. Puck lights provide a more concentrated beam of light and are available in both plug-in and hardwired options.
3. Linear Fixtures:
Linear fixtures consist of long, slim lighting bars that can be mounted under the cabinet. They provide a sleek and modern look, and offer even and diffused illumination. Linear fixtures often come in different lengths and can be linkable to cover larger areas.
4. Tape Lights:
Tape lights, also known as ribbon lights, are thin and flexible LED strips that can be cut to any desired length. They are easy to install and can be adhered to the underside of the cabinet. Tape lights are great for creating ambient and accent lighting, and can be customized to fit any space.
Consider factors such as the desired brightness, color temperature, dimming capabilities, and ease of installation when choosing the type of under cabinet lighting. Additionally, ensure that the chosen lighting type is compatible with the wiring and power source available in your kitchen.
Once you have selected the type of under cabinet lighting that best suits your needs, it’s time to move on to the next step: preparing the power source.
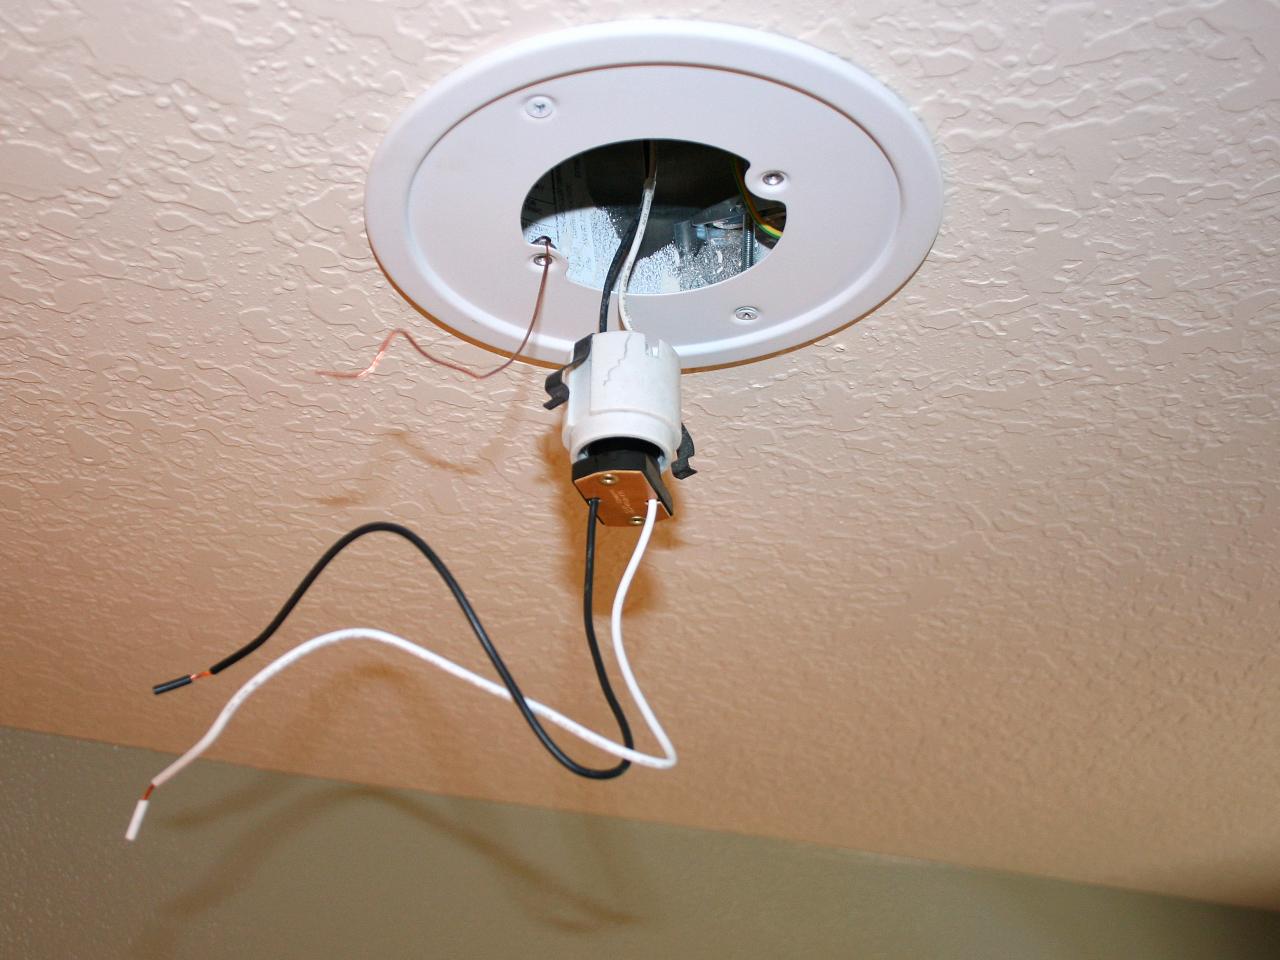
Step 4: Preparing the Power Source
Before you can wire under cabinet lighting, it’s important to prepare the power source to ensure a safe and efficient installation. Here’s how you can do it:
- Turn off the power: Start by turning off the power to the area where you’ll be working. Locate the circuit breaker that controls the kitchen or the specific area where the lighting will be installed, and switch it off.
- Locate a suitable power source: Identify an existing power outlet or a junction box that can supply power to your under cabinet lighting. Choosing a nearby outlet will minimize the length of wiring needed.
- Consider a dedicated circuit: If you are installing multiple lighting fixtures or if the existing power source is already heavily loaded, it is recommended to have a dedicated circuit installed specifically for the under cabinet lighting. Consult a licensed electrician for this step.
- Check electrical capacity: Ensure that the power source can handle the total wattage of all the lighting fixtures. Add up the wattage of each fixture to determine if it exceeds the capacity of the electrical circuit.
- Prepare the power source: Depending on the type of under cabinet lighting you’ve chosen, you may need to install a junction box or a power adapter to connect the lighting fixtures to the power source. Follow the manufacturer’s instructions for preparing the power source accordingly.
- Run the wiring: Measure and cut an appropriate length of electrical wire to connect the power source to the first lighting fixture. Leave some extra length at each end for easy installation.
- Strip the wire: Use wire strippers to remove the insulation from the ends of the electrical wire. Ensure that the exposed wires are clean and free from any fraying or damage.
- Connect the wiring: For hardwired installations, connect the wiring following the manufacturer’s instructions. Typically, this involves connecting the black (hot) wire to the black wire, the white (neutral) wire to the white wire, and the green (ground) wire to the green or copper wire. Use wire connectors to secure the connections.
- Double-check connections: Once the wiring is complete, double-check all connections to ensure they are secure and properly insulated. Wrap electrical tape around the connections for added protection.
By properly preparing the power source, you can ensure a smooth and safe installation process for your under cabinet lighting. With the power source ready, you can now move on to the next step: installing the mounting brackets.
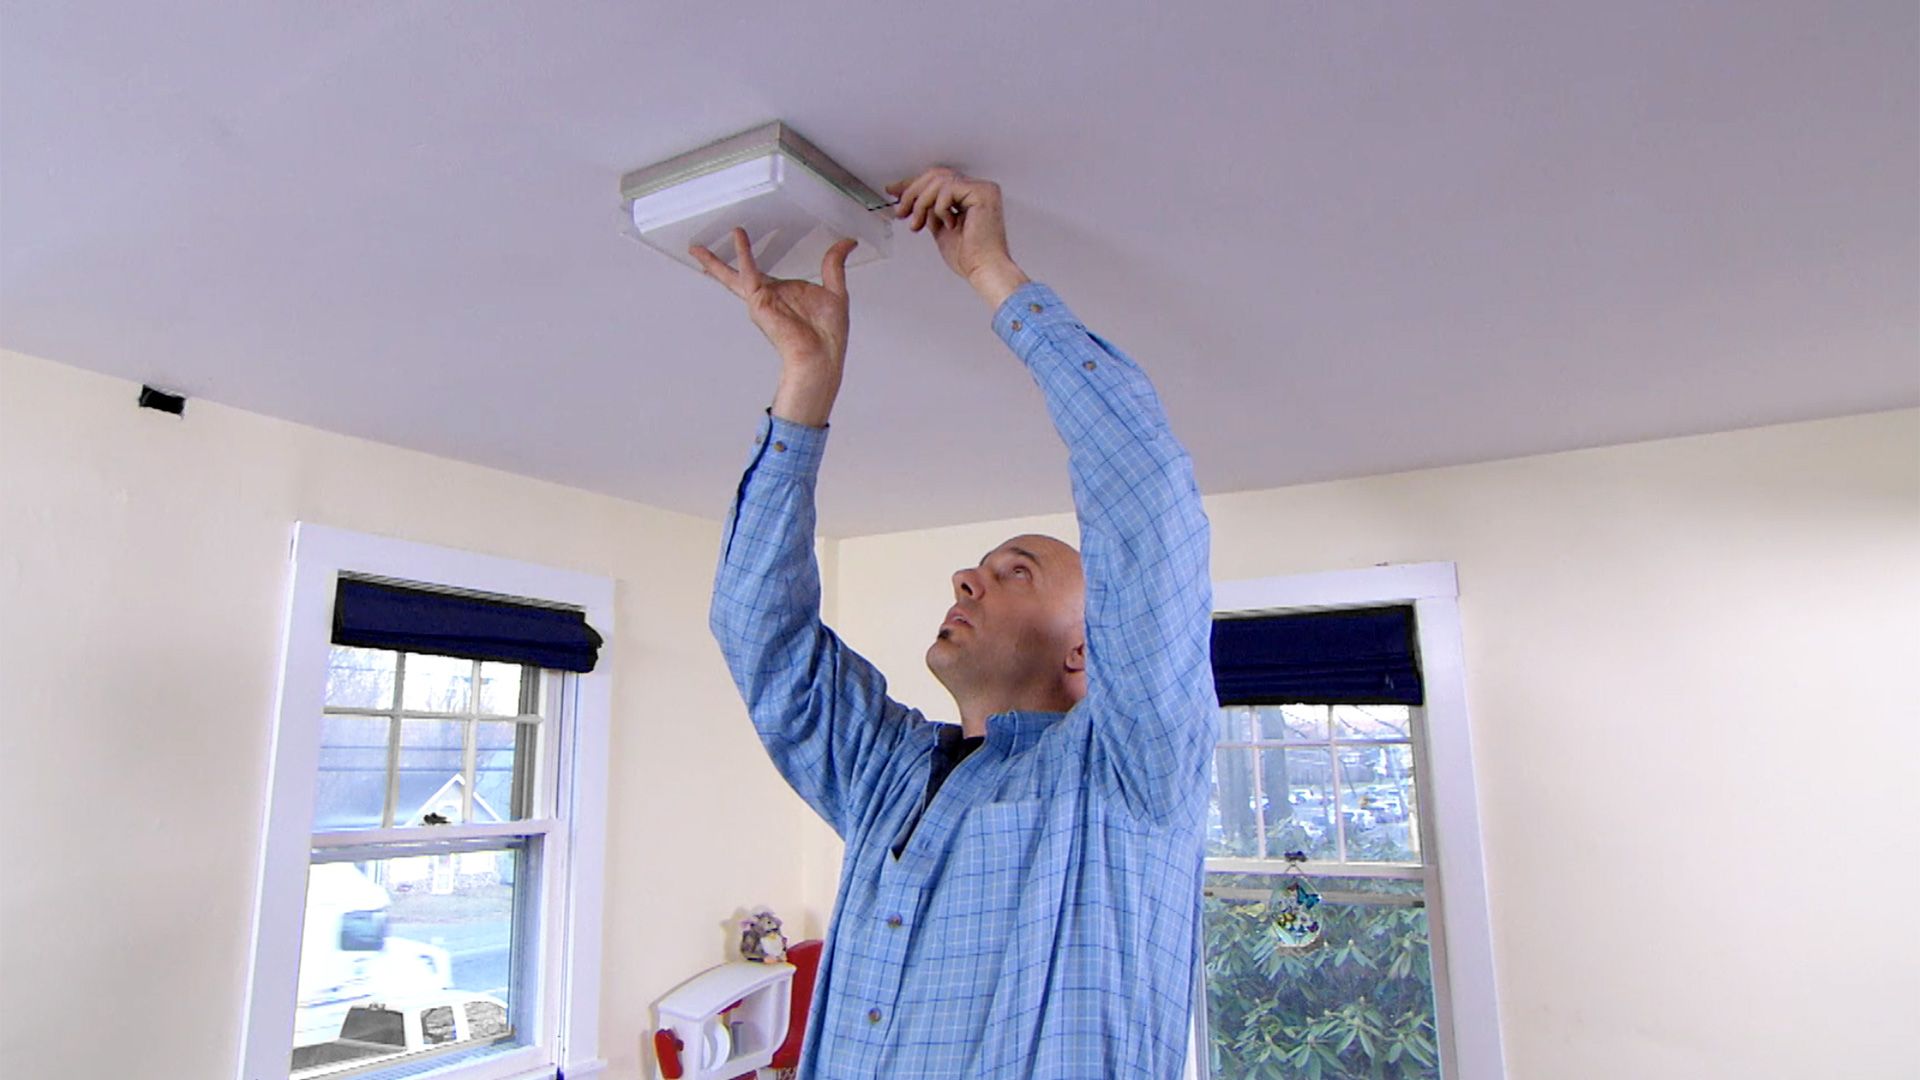
Step 5: Installing the Mounting Brackets
Installing the mounting brackets is an important step in wiring under cabinet lighting. These brackets will provide the support needed to hold the lighting fixtures securely in place. Here’s how you can install the mounting brackets:
- Position the brackets: Determine the position where you want to install the lighting fixtures and mark the location for the brackets. Ensure that the brackets are evenly spaced and aligned with the cabinet edges.
- Use a stud finder: If possible, use a stud finder to locate the wall studs behind the cabinets. Mounting the brackets directly to the studs will provide the strongest support.
- Pre-drill the holes: Using an electric drill, pre-drill pilot holes for the mounting screws. The size of the drill bit should match the diameter of the screws provided with the brackets.
- Align and secure the brackets: Place the brackets over the pilot holes and align them with the marks on the cabinets. Insert the screws provided with the brackets into the pilot holes and tighten them securely using a screwdriver.
- Check the level: Use a level to ensure that the brackets are installed evenly and horizontally. This will ensure that the lighting fixtures will be properly aligned when mounted.
- Repeat for each bracket: Install the mounting brackets for each lighting fixture, following the same process as above. Make sure each bracket is securely attached to the cabinet.
Take your time during this step to ensure that the brackets are properly installed. This will provide a sturdy base for mounting the lighting fixtures and prevent any future issues.
With the mounting brackets in place, you are now ready to move on to the next step: wiring the lights.
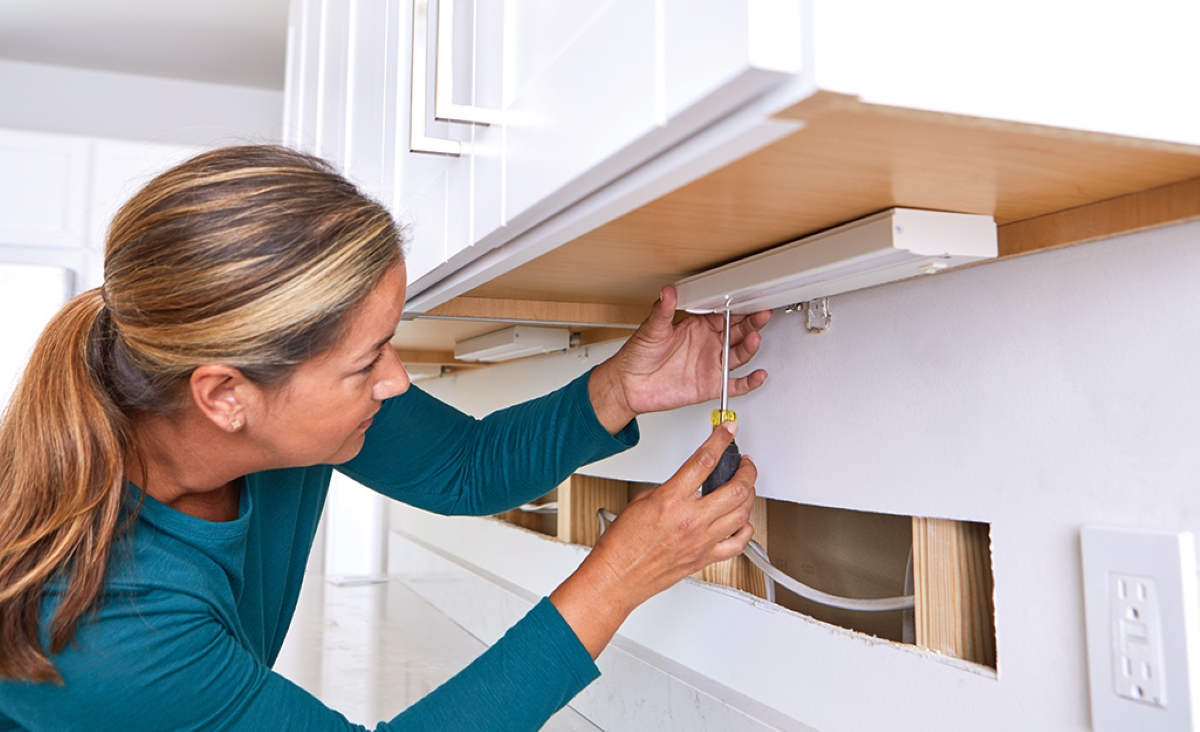
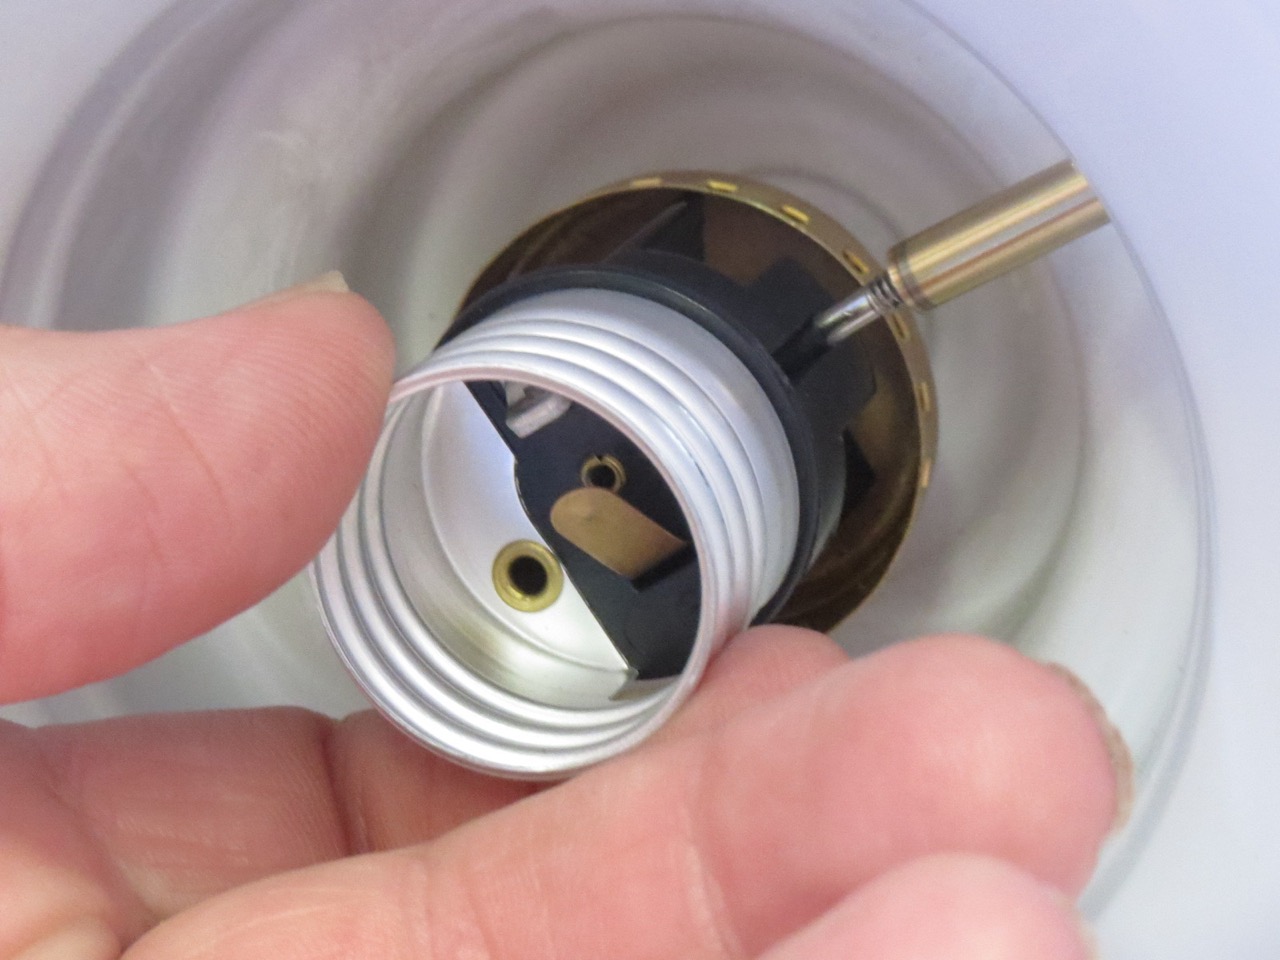
Step 6: Wiring the Lights
Now that the mounting brackets are installed, it’s time to wire the under cabinet lighting fixtures. Proper wiring is crucial for the safe and efficient operation of the lights. Here’s how you can wire the lights:
- Plan the wiring route: Take into consideration the position of the mounting brackets and the layout of the cabinets. Plan the most efficient route for running the wiring from the power source to each lighting fixture.
- Cut the electrical wire: Measure and cut an appropriate length of electrical wire to reach from the power source to the first lighting fixture, and from one fixture to the next if needed. Add a few inches of extra wire at each end for easier installation.
- Strip the wire: Use wire strippers to carefully remove the insulation from the ends of the electrical wire. Take care not to damage the wires during this process.
- Connect the wiring: Begin by connecting one end of the wire to the power source, following the manufacturer’s instructions. Typically, this involves connecting the black (hot) wire to the black wire, the white (neutral) wire to the white wire, and the green (ground) wire to the green or copper wire. Use wire connectors to secure the connections.
- Continue wiring each fixture: From the first lighting fixture, run the wire to the next fixture if applicable, making the necessary connections using wire connectors. Follow the same method of connecting the wires: black to black, white to white, and green to green or copper.
- Secure the connections: Once all the wiring connections are made, use electrical tape to wrap and secure each connection. This will help prevent any accidental disconnections.
- Test the wiring: Before proceeding further, turn on the power at the circuit breaker and test the wiring connections using a voltage tester or a multi-meter. Ensure that all connections are correctly wired and receiving power.
Remember to take your time and be thorough when wiring the lights. Double-check all connections and ensure they are secure. If you are unsure about any aspect of the wiring process, it’s best to consult a licensed electrician for assistance.
With the lights wired, you can move on to the next step: concealing the wiring.
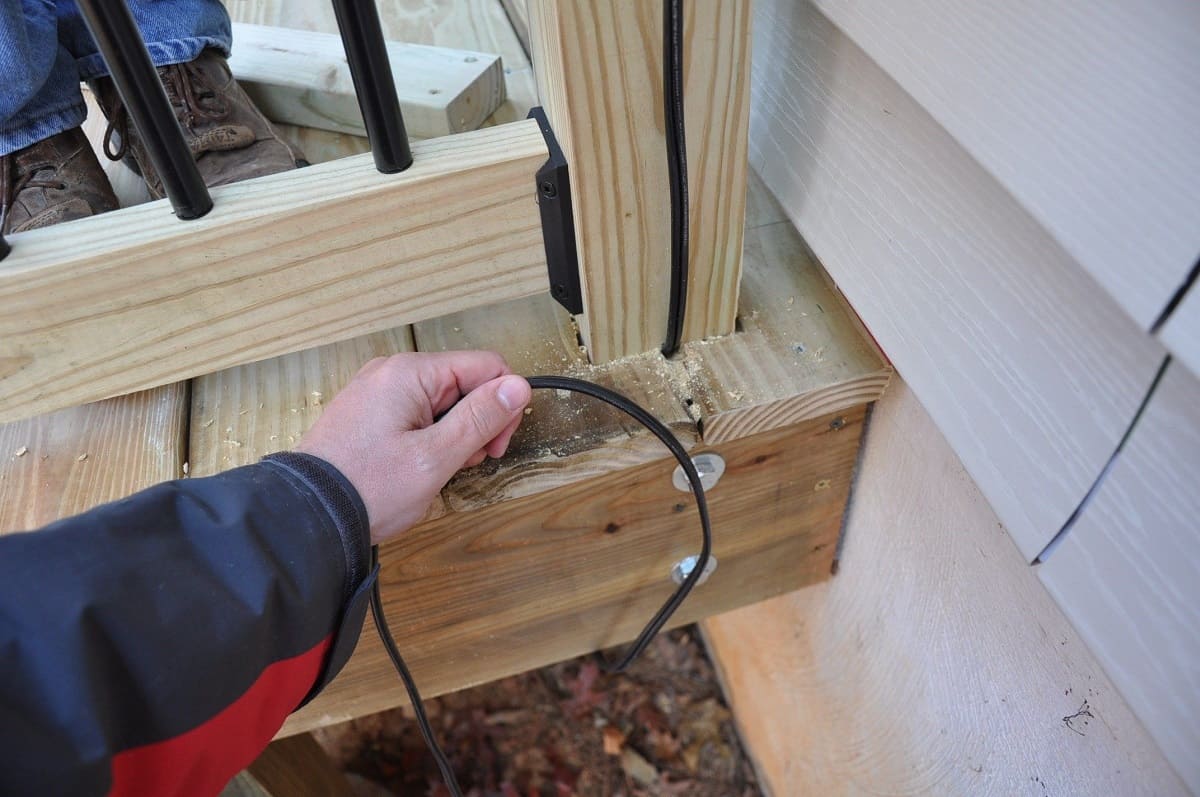
Step 7: Concealing the Wiring
Concealing the wiring for your under cabinet lighting is essential for a clean and professional-looking installation. Not only does it improve aesthetics, but it also helps protect the wiring from potential damage. Follow these steps to effectively conceal the wiring:
- Use wire staples: Secure the wiring along the underside of the cabinets using small wire staples. Be careful not to staple through the wires or damage them. Space the staples evenly to ensure a neat and organized appearance.
- Utilize cable management options: If your under cabinet lighting kit includes cable management options, such as adhesive clips or channels, use them to neatly secure and route the wiring along the cabinets. This will provide a more streamlined and professional look.
- Hide wiring behind molding: If desired, you can install decorative molding along the underside of the cabinets to hide the wiring. Carefully cut a groove or channel into the molding to accommodate the wires, and attach the molding using nails or adhesive.
- Consider wire raceways: If you prefer a more discreet and clean look, consider using wire raceways. These are plastic or metal channels that can be adhered to the underside of the cabinets, providing a dedicated space to hide and protect the wiring.
- Paint or match the raceways: If you decide to use wire raceways, you can paint them to match the color of your cabinets for a seamless blend. Alternatively, choose a raceway color that complements your kitchen decor.
- Ensure proper alignment: As you conceal the wiring, periodically check that the wires are neatly aligned and hidden from view. Adjust and reposition them as needed to achieve a clean and tidy appearance.
Remember to take your time to properly conceal the wiring, ensuring that the wires are not visible and are securely fastened. This will contribute to a polished finish and minimize the risk of accidental tripping or damage to the wiring.
With the wiring concealed, you can now move on to the next step: testing the lights to ensure they are functioning correctly.
When wiring under cabinet lighting, make sure to turn off the power to the circuit before starting. Use the appropriate gauge of wire for the installation and follow the manufacturer’s instructions carefully.
Step 8: Testing the Lights
After completing the installation and concealing the wiring, it’s important to test the under cabinet lighting to ensure that everything is functioning properly. Follow these steps to test your lights:
- Turn on the power: If you had previously turned off the power during the installation process, switch it back on at the circuit breaker to supply power to the lighting fixtures.
- Check the switches: If your under cabinet lighting kit includes switches, make sure they are in the ‘on’ position. Ensure that any dimmer switches or controls are set to the desired brightness level.
- Inspect each lighting fixture: Carefully examine each lighting fixture, checking for any signs of damage or loose connections. Make sure that the bulbs or LED strips are installed correctly.
- Test the functionality: Switch on the lights and observe if they illuminate as expected. Check for any flickering, dimness, or other irregularities in the lighting. Test different switches or controls to ensure that all the lights are operational.
- Adjust positioning: If necessary, adjust the positioning of the lighting fixtures to achieve the desired illumination and coverage. Make sure they are evenly spaced and provide adequate lighting across the workspace.
- Check for safety: While the lights are on, inspect the wiring, switches, and connections for any signs of overheating or unusual warmth. Ensure that there are no exposed wires or loose components that could pose a safety hazard.
If you encounter any issues during testing, such as lights not turning on or flickering, double-check the connections and wiring. You may need to troubleshoot and make adjustments accordingly. If the problem persists, consult a professional electrician for assistance.
Once you have confirmed that the lights are functioning properly and safely, you can proceed to the final step: securing the wires and lights in their final position.
Step 9: Securing the Wires and Lights
Now that you have tested the under cabinet lighting and confirmed that everything is working correctly, it’s time to secure the wires and lights in their final position. Properly securing them will ensure long-term stability and prevent any accidental damage or movement. Follow these steps to secure the wires and lights:
- Organize and bundle the wires: Neatly bundle the wires together using cable ties or wire clips. This will help keep them organized and prevent them from hanging loosely.
- Secure the wires along the cabinet: Use wire staples or adhesive clips to secure the bundled wires along the underside of the cabinet. Ensure that they are positioned away from any sharp edges or potential hazards.
- Attach the lights to the mounting brackets: If your lighting fixtures require attachment to the mounting brackets, carefully align each light and fasten it securely in place. Follow the manufacturer’s instructions for the specific attachment method provided.
- Double-check alignment and levelness: Once all the lights are attached, review the alignment and ensure that they are level and evenly spaced. Make any necessary adjustments to achieve a symmetrical and visually appealing arrangement.
- Secure any loose components: Check for any loose components, such as covers or lenses, and ensure they are properly fastened. Tighten any loose screws or fittings to ensure that everything is securely in place.
- Inspect for any visible wires: Take a final look to ensure that no wires are visible from normal viewing angles. Tuck any exposed wires behind molding, under cabinets, or inside wire raceways for a clean and uncluttered appearance.
- Re-test the lights: Once everything is secured, turn on the lights again and verify that they are still functioning correctly. Check for any issues or anomalies now that the lights are fully installed and secured.
By properly securing the wires and lights, you can enjoy your under cabinet lighting confidently, knowing that they are stable and safe. Regularly check the installation over time to ensure that all components remain secure and in good condition.
Congratulations! You’ve successfully wired and installed under cabinet lighting in your kitchen. Enjoy the enhanced functionality and ambiance that the lighting brings to your space.
If you have any further questions or concerns, don’t hesitate to consult a professional electrician for assistance.
Conclusion
Wiring under cabinet lighting can transform your kitchen by enhancing visibility and creating a warm and inviting atmosphere. By following the steps outlined in this guide, you can successfully install under cabinet lighting and enjoy the benefits it provides.
Throughout the process, it is crucial to prioritize safety. Always turn off the power before beginning any electrical work, and if you have any doubts or concerns, consult a professional electrician. Safety precautions should never be overlooked.
Planning the layout, gathering accurate measurements, and choosing the right type of lighting are essential steps in the installation process. By mapping out your needs and taking into account the functionality and aesthetics you desire, you can create a customized lighting solution for your kitchen.
Preparing the power source, installing mounting brackets, wiring the lights, and concealing the wiring are all important steps to ensure a seamless and professional installation. Taking the time to carefully secure wires, align lights, and test the functionality will result in a safe and functional lighting system.
Remember to make adjustments as needed to achieve the desired illumination and ensure that all connections are securely fastened. Regularly inspect the installation to address any maintenance or safety concerns that may arise over time.
With under cabinet lighting installed and properly secured, you can now enjoy a well-lit and visually pleasing kitchen. The improved visibility and ambiance will make your kitchen tasks more enjoyable and efficient.
As with any electrical project, if at any point you feel unsure or uncomfortable, it is always advisable to seek the assistance of a qualified electrician. Their expertise and knowledge will help to ensure a successful and safe installation.
Congratulations on completing the installation of your under cabinet lighting! Sit back, relax, and bask in the warm glow of your beautifully illuminated kitchen space.
Frequently Asked Questions about How To Wire Under Cabinet Lighting
Was this page helpful?
At Storables.com, we guarantee accurate and reliable information. Our content, validated by Expert Board Contributors, is crafted following stringent Editorial Policies. We're committed to providing you with well-researched, expert-backed insights for all your informational needs.

0 thoughts on “How To Wire Under Cabinet Lighting”