Home>Renovation & DIY>Tools & Equipment>What Sandpaper To Use On Wood Furniture
Tools & Equipment
What Sandpaper To Use On Wood Furniture
Published: December 20, 2023
Discover the best sandpaper for wood furniture and get expert tips on choosing the right tools and equipment for your next woodworking project. Achieve smooth, professional results with our recommendations.
(Many of the links in this article redirect to a specific reviewed product. Your purchase of these products through affiliate links helps to generate commission for Storables.com, at no extra cost. Learn more)
**
Introduction
**
So, you've got a beautiful piece of wood furniture that's seen better days. Maybe it's a vintage dresser with intricate carvings, or a sturdy dining table that's lost its luster over the years. Whatever the case, restoring wood furniture to its former glory often starts with sanding. But before you dive into this essential step of furniture restoration, it's crucial to understand the nuances of sandpaper and how to choose the right one for the job.
Sanding wood furniture is a transformative process that requires patience, attention to detail, and the right tools. The type of sandpaper you use can significantly impact the final result, so it's essential to make an informed decision. From understanding grits and sandpaper types to selecting the appropriate option for different wood finishes, this guide will equip you with the knowledge to tackle your furniture restoration project with confidence.
Whether you're a seasoned woodworker or a DIY enthusiast looking to breathe new life into a beloved piece of furniture, mastering the art of sanding is a valuable skill. By the end of this article, you'll be well-versed in the intricacies of sandpaper selection and armed with practical tips for achieving a flawless finish on your wood furniture. Let's embark on this journey to discover the secrets of sanding wood to perfection.
Key Takeaways:
- Choose the right sandpaper grit and type based on the wood’s condition, restoration needs, and desired finish for flawless furniture restoration.
- Follow a systematic sanding approach, mindful of wood grain and using even pressure, to achieve professional-grade results and breathe new life into worn-out wood furniture.
Read more: What Sandpaper To Use On Wood Filler
Understanding Grits and Types of Sandpaper
Before delving into the specifics of sanding wood furniture, it’s essential to grasp the fundamentals of sandpaper, particularly the concept of grit. Grit refers to the coarseness or fineness of the abrasive particles on the sandpaper’s surface. The higher the grit number, the finer the abrasive particles and the smoother the sandpaper. Conversely, lower grit numbers indicate coarser particles, suitable for more aggressive material removal.
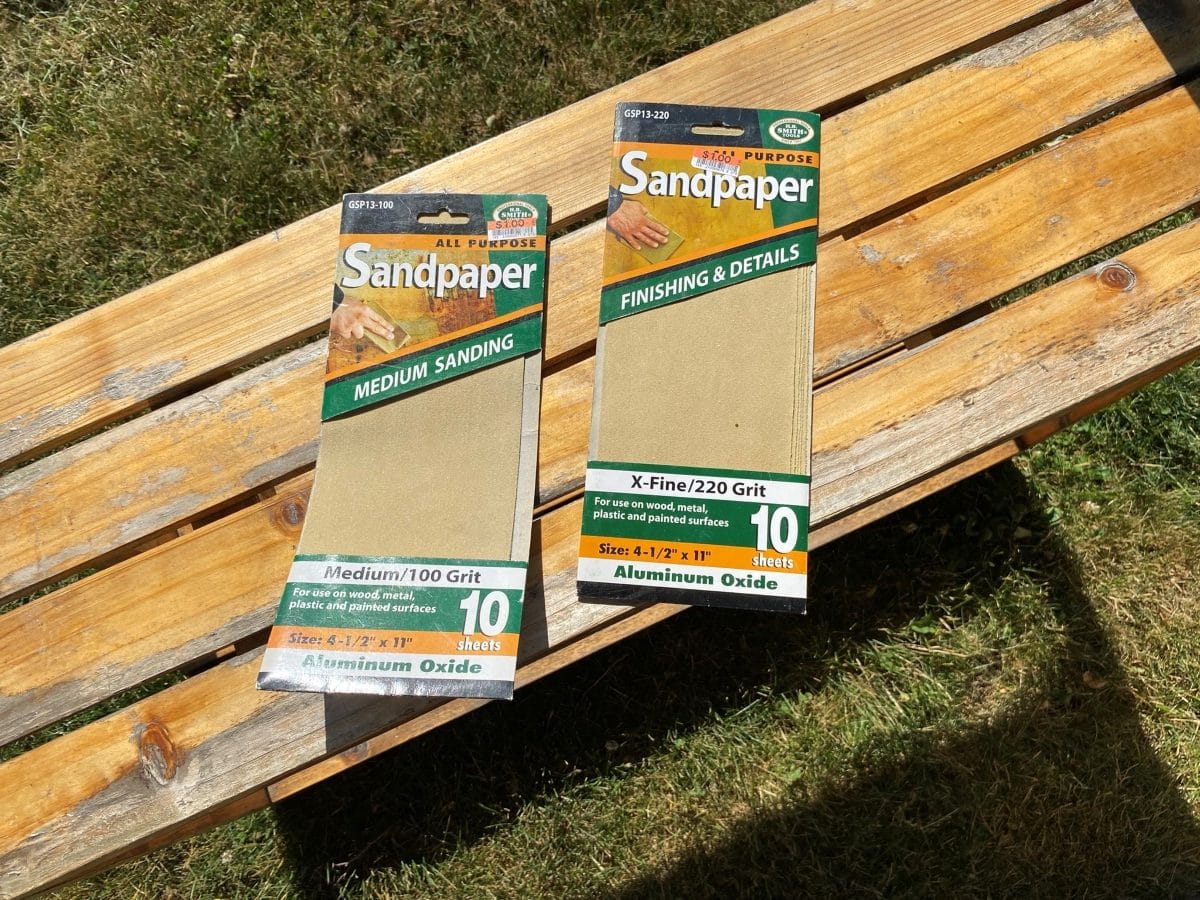
When it comes to wood furniture restoration, a range of sandpaper grits is typically employed to achieve a seamless finish. Coarse grits, such as 60-80, are ideal for initial sanding to remove old finishes, paint, or deep scratches. As the restoration progresses, medium grits, around 100-150, are used to smoothen the surface further, eliminating any remaining imperfections. Finally, fine grits, typically 180-220, are employed for the finishing touches, ensuring the wood’s surface is impeccably smooth and ready for staining or painting.
Now, let’s explore the various types of sandpaper commonly used in wood furniture restoration:
- Aluminum Oxide Sandpaper: This versatile option is suitable for a wide range of wood types and finishes. Its durable nature makes it a popular choice for sanding wood furniture.
- Garnet Sandpaper: Known for its excellent finish, garnet sandpaper is often preferred for final sanding before staining or painting wood furniture.
- Silicon Carbide Sandpaper: Ideal for sanding between coats of finish, silicon carbide sandpaper is adept at smoothing surfaces without causing clogging.
- Zirconia Alumina Sandpaper: With its exceptional durability, zirconia alumina sandpaper is well-suited for heavy material removal and shaping tasks during furniture restoration.
Each type of sandpaper offers unique benefits, and understanding their characteristics is crucial for achieving optimal results in wood furniture restoration. By leveraging the right grits and types of sandpaper, you can effectively navigate the intricacies of the sanding process, setting the stage for a remarkable transformation of your beloved wood furniture.
Choosing the Right Sandpaper for Wood Furniture
When it comes to selecting the appropriate sandpaper for wood furniture, several factors come into play. The wood’s condition, the extent of restoration required, and the desired finish all influence the choice of sandpaper. To make an informed decision, consider the following aspects:
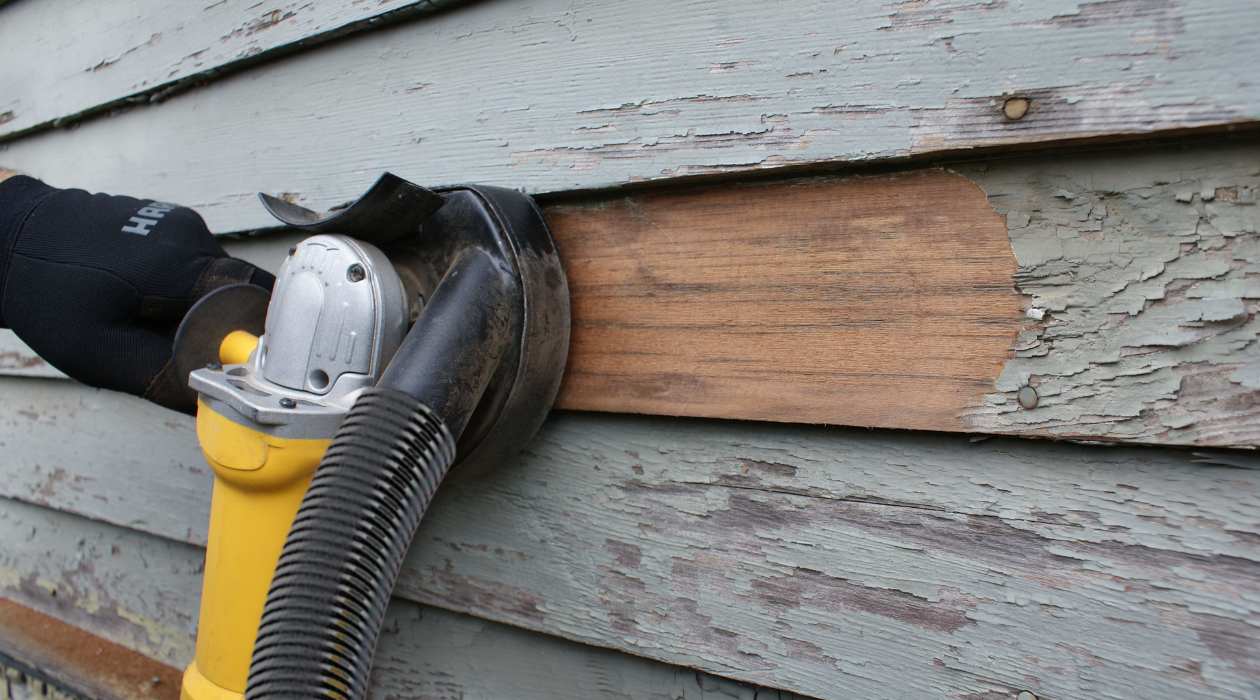
Wood Condition: If the furniture has a weathered or heavily varnished surface, starting with a coarse grit, such as 60-80, is advisable to remove the existing finish effectively. For furniture in better condition or requiring minor touch-ups, beginning with a medium grit, around 100-150, may suffice.
Restoration Extent: Assess the level of restoration needed for the furniture. For comprehensive refinishing projects involving deep scratches or stubborn finishes, a progression from coarse to fine grits is essential. Conversely, minor touch-ups may only require the use of medium to fine grits for a smooth finish.
Desired Finish: Consider the final look you wish to achieve. If you plan to stain the wood, ensuring a uniformly smooth surface is crucial. In this case, progressing through a sequence of grits, starting from coarse and culminating in fine, will pave the way for an impeccable finish. For painted furniture, a slightly less refined surface may suffice, making medium grits the primary focus.
Additionally, the type of wood plays a significant role in sandpaper selection. Hardwoods, such as oak or maple, may necessitate more aggressive sanding with lower grits, while softer woods like pine or cedar require a gentler approach with higher grits to prevent over-sanding.
Ultimately, the key to choosing the right sandpaper lies in understanding the specific needs of the wood furniture you’re working with. By tailoring your sandpaper selection to address the wood’s condition, the scope of restoration, and the desired outcome, you can embark on the sanding process with confidence, knowing that you’ve equipped yourself with the most suitable tools for the task at hand.
When sanding wood furniture, use a medium-grit sandpaper (around 120-150 grit) to remove old finish or smooth out imperfections. Then, use a fine-grit sandpaper (around 220-240 grit) for a smooth, final finish.
Using Sandpaper for Different Wood Finishes
Wood furniture comes in a variety of finishes, each requiring a nuanced approach when it comes to sanding. Whether you’re working with raw wood, stained surfaces, or painted furniture, understanding how to use sandpaper effectively for different finishes is essential for achieving outstanding results.
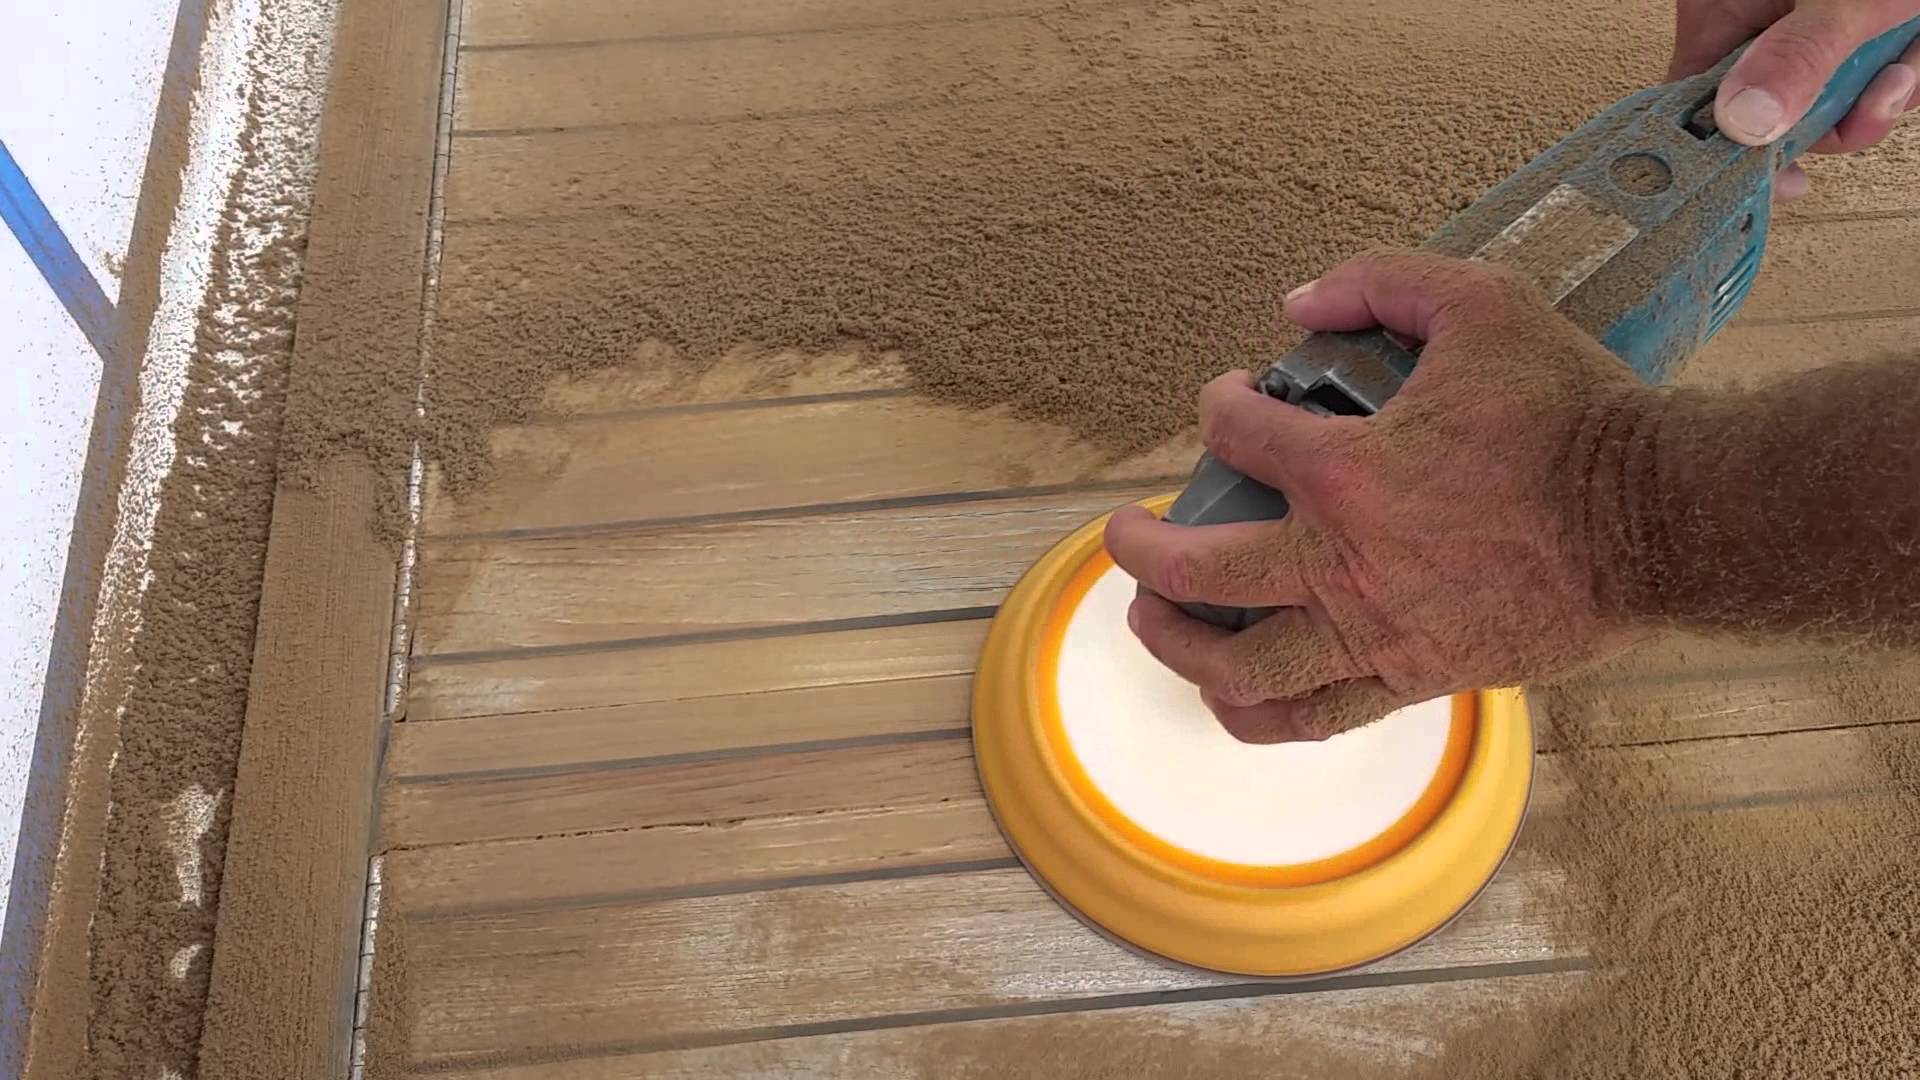
Raw Wood: When sanding raw wood furniture, the goal is to achieve a smooth and even surface in preparation for staining or finishing. Begin with a medium grit, around 100-150, to remove any imperfections and mill marks while maintaining the wood’s natural texture. Progress to finer grits, such as 180-220, to achieve a silky-smooth surface that’s ready for staining or sealing.
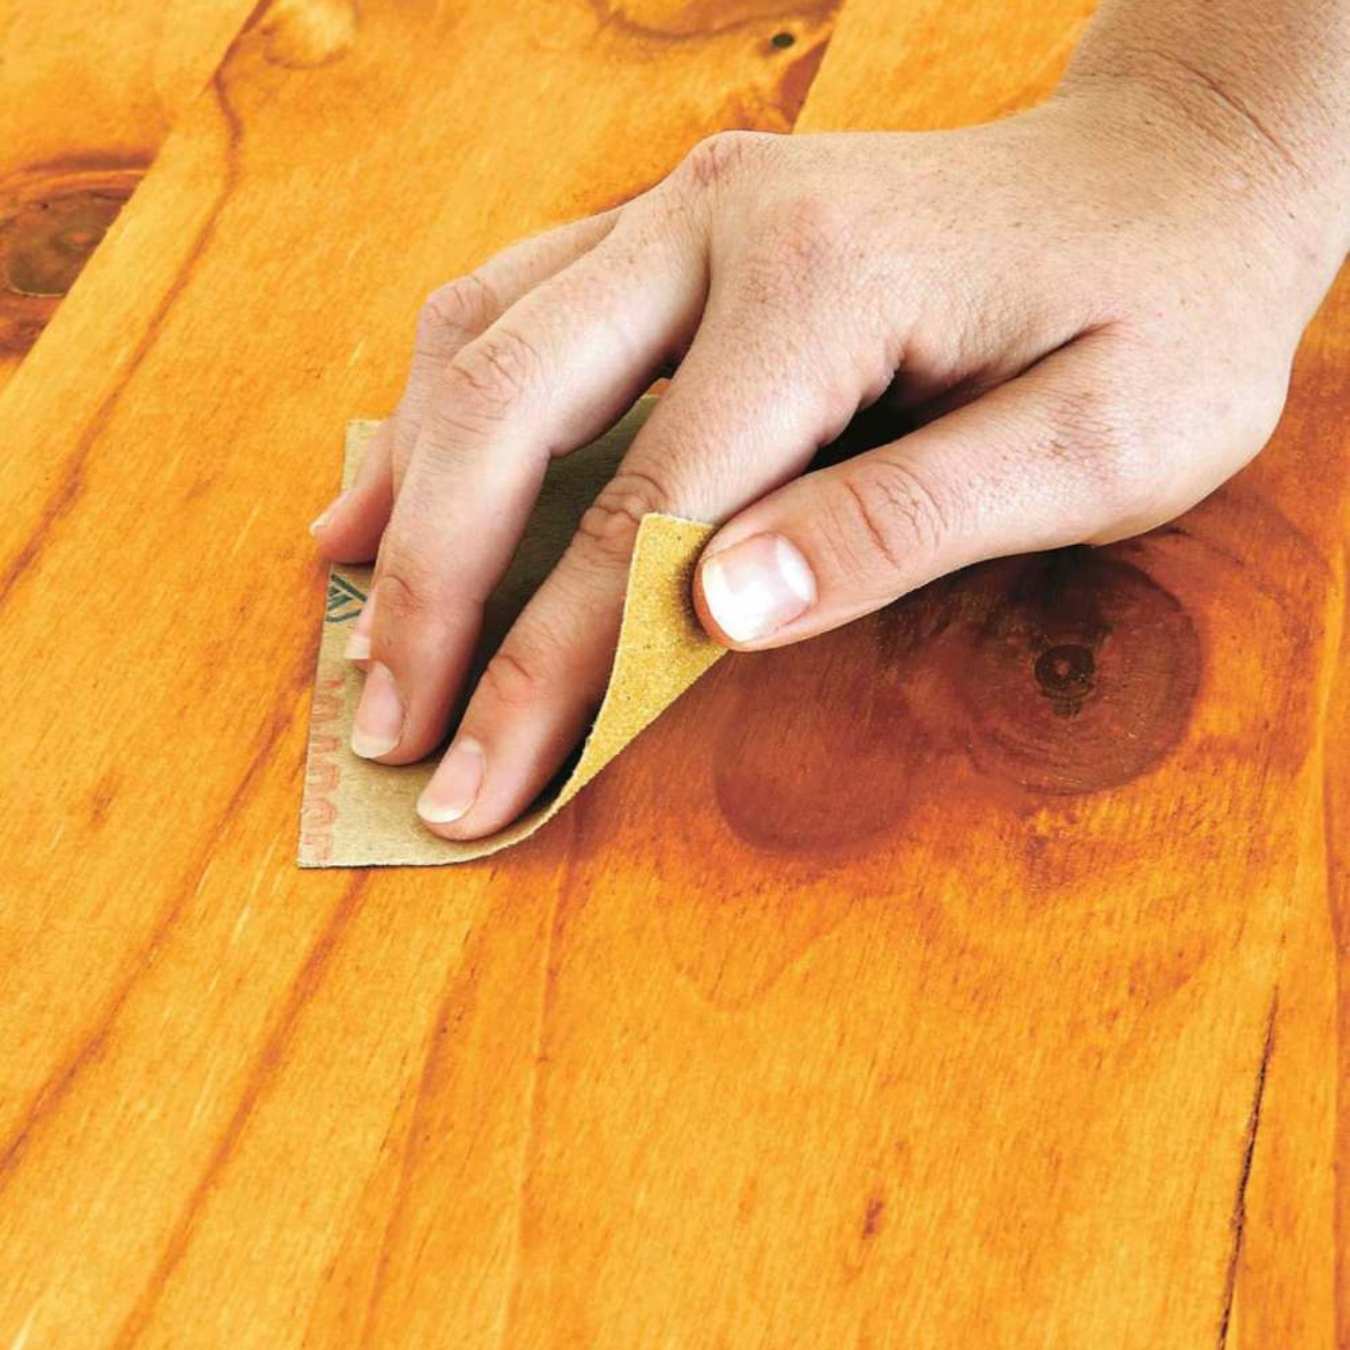
Stained Wood: Sanding stained wood furniture requires a delicate balance to avoid removing the stain while achieving a flawless finish. When refinishing stained furniture, start with a fine grit, around 180, to lightly sand the surface, focusing on smoothing out any imperfections. Take care to avoid sanding through the stain, as this can result in uneven coloration. If necessary, progress to an extra-fine grit, such as 220, for a polished finish without compromising the existing stain.
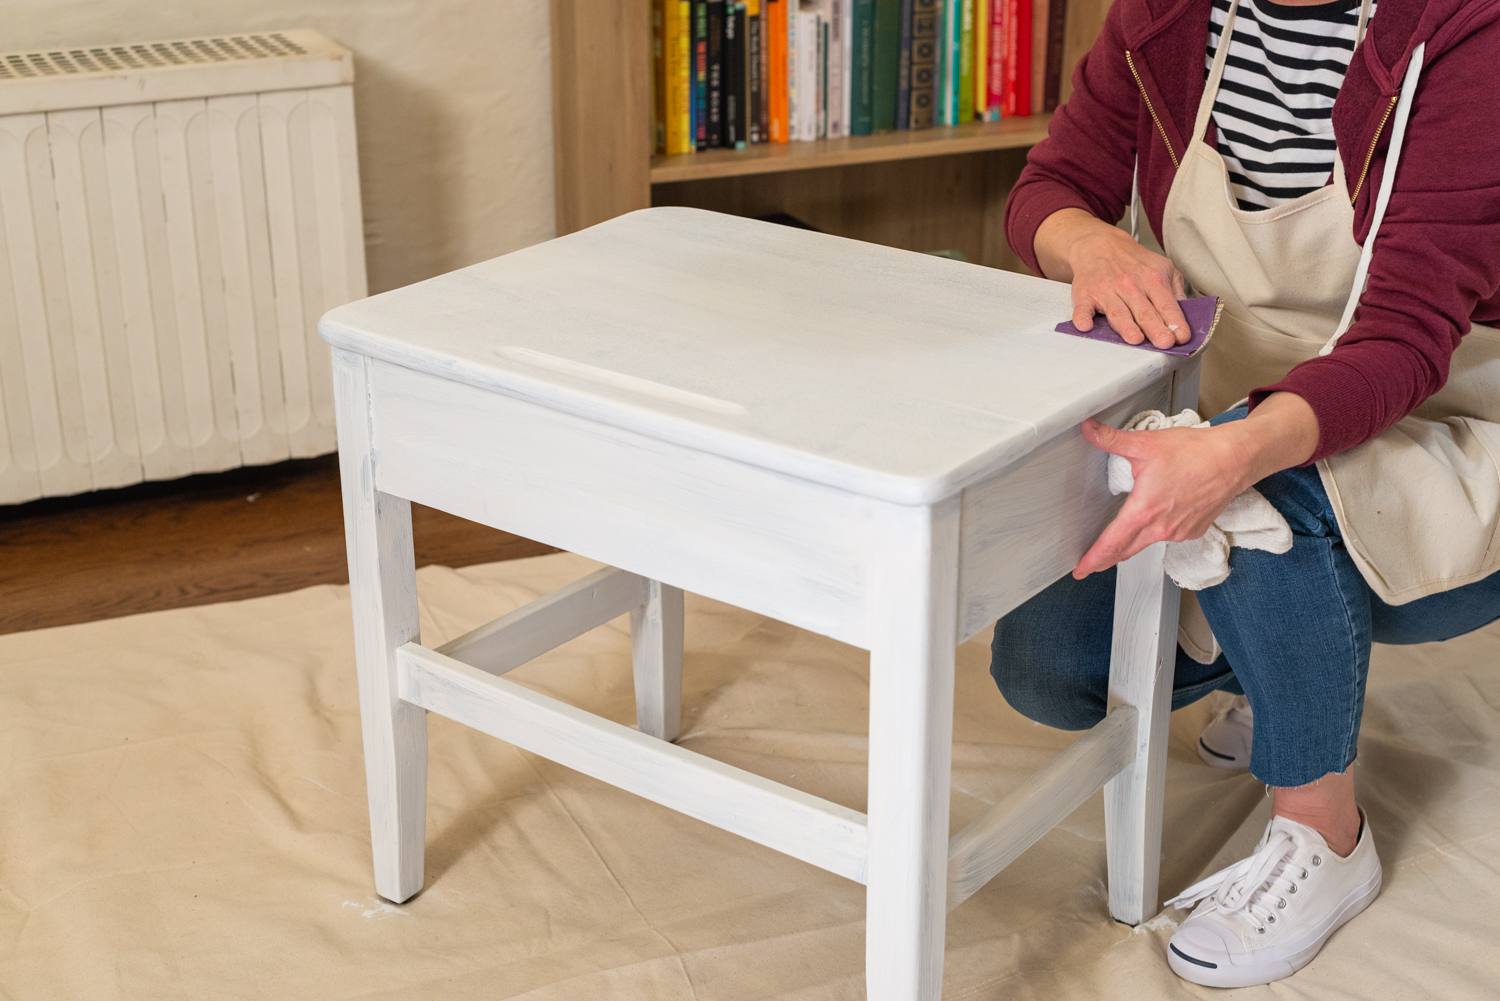
Painted Wood: Sanding painted wood furniture serves to create a suitable surface for repainting or refinishing. Begin by using a medium grit, approximately 120-150, to scuff the painted surface, promoting adhesion for the new coat of paint. Pay attention to any chipped or flaking areas, ensuring they are smoothed out before applying a fresh coat of paint. For a pristine finish, proceed with a fine grit, around 180, to achieve a uniform texture across the entire surface.
It’s important to note that regardless of the wood finish, always sand in the direction of the wood grain to prevent unsightly scratches or blemishes. Additionally, periodically inspect the sandpaper for signs of clogging or wear, replacing it as needed to maintain optimal sanding performance.
By tailoring your sanding approach to suit the specific wood finish you’re working with, you can effectively enhance the furniture’s aesthetic appeal and extend its lifespan, breathing new life into cherished pieces with finesse and precision.
Tips for Sanding Wood Furniture
Sanding wood furniture is a meticulous process that demands attention to detail and a strategic approach. To ensure a successful outcome and streamline the sanding experience, consider the following tips:
1. Prepare the Workspace: Before commencing the sanding process, set up a well-lit and ventilated workspace. Clear the area of any debris or obstructions to facilitate smooth and uninterrupted sanding.
2. Use the Right Grit Sequence: Adhere to a progressive sequence of sandpaper grits, starting with a coarse grit for material removal and progressing to finer grits for a polished finish. This systematic approach ensures a seamless transition from rough to smooth surfaces.
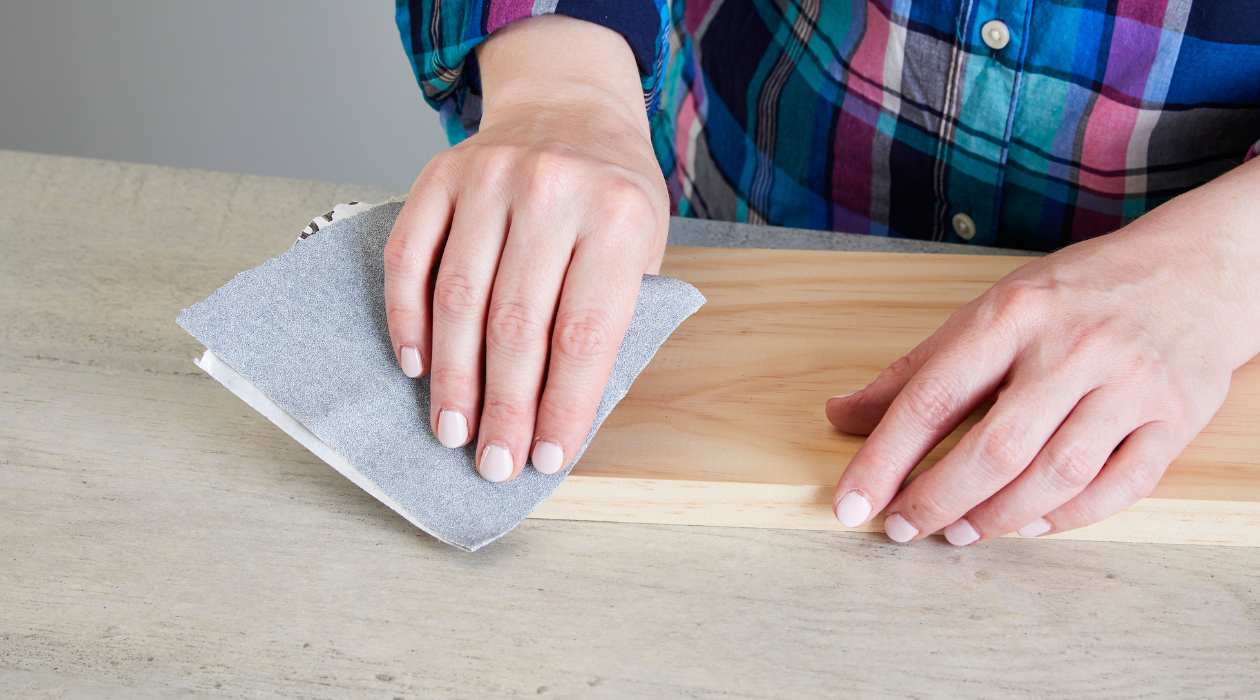
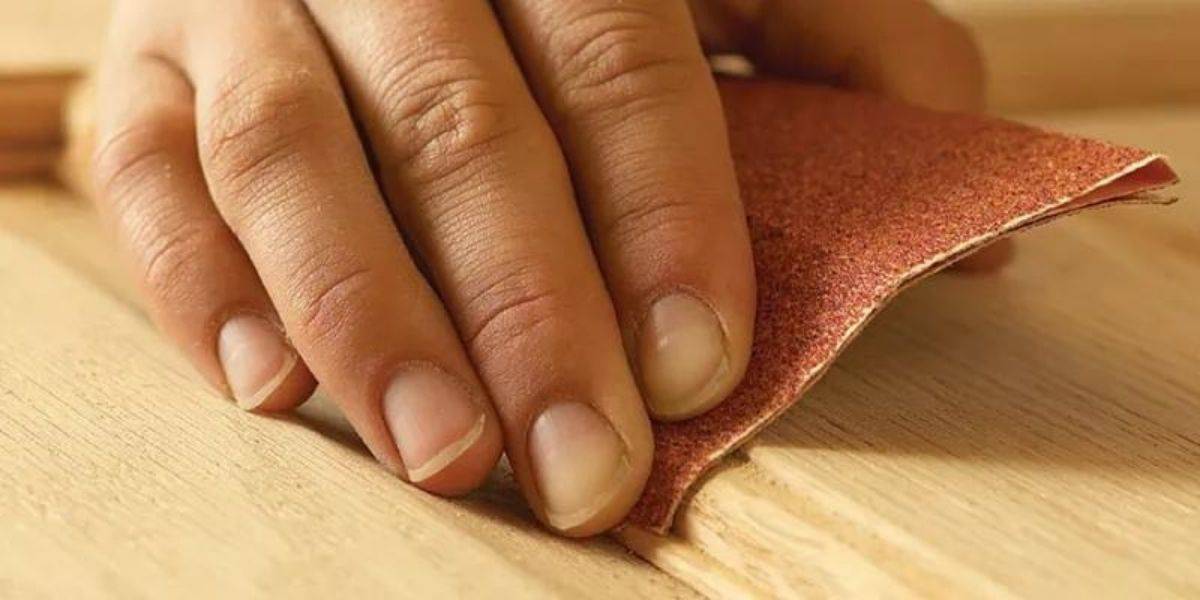
3. Mind the Wood Grain: Always sand in the direction of the wood grain to prevent unsightly scratches and maintain the wood’s natural aesthetic. Sanding against the grain can result in visible blemishes that detract from the furniture’s overall appearance.
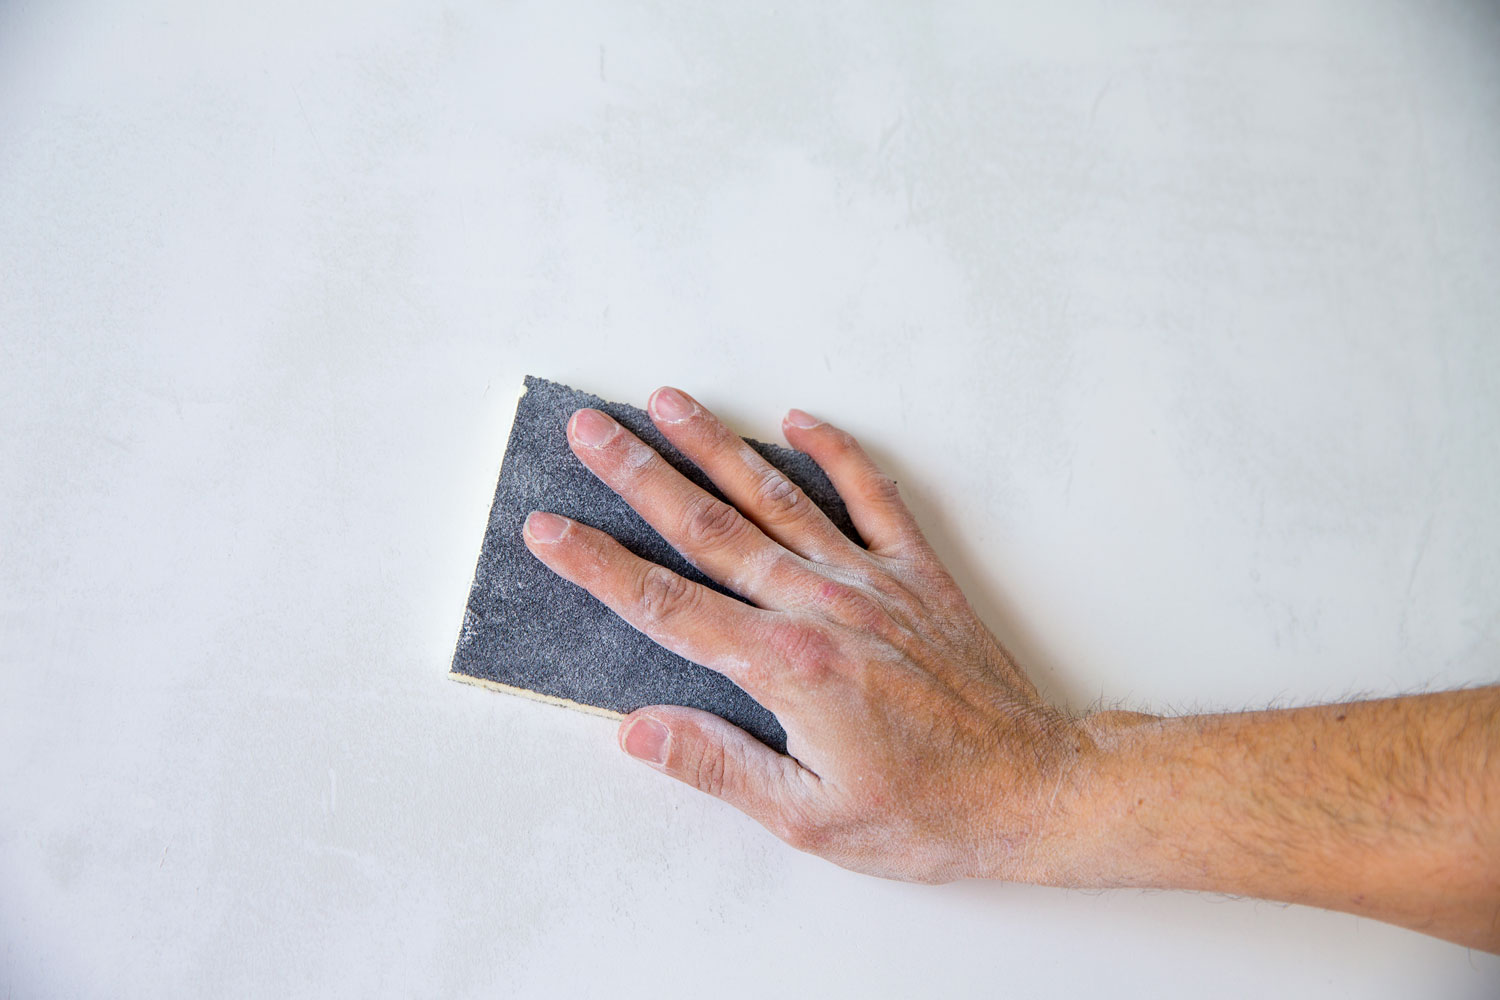
4. Employ Even Pressure: Apply consistent and even pressure when sanding to achieve uniform results. Avoid exerting excessive force, as this can lead to uneven surfaces or over-sanding in certain areas.
5. Check for Clogging: Regularly inspect the sandpaper for signs of clogging, which can hinder its effectiveness. Clear any accumulated debris by tapping the sandpaper against a hard surface or using a sandpaper cleaning tool to prolong its usability.
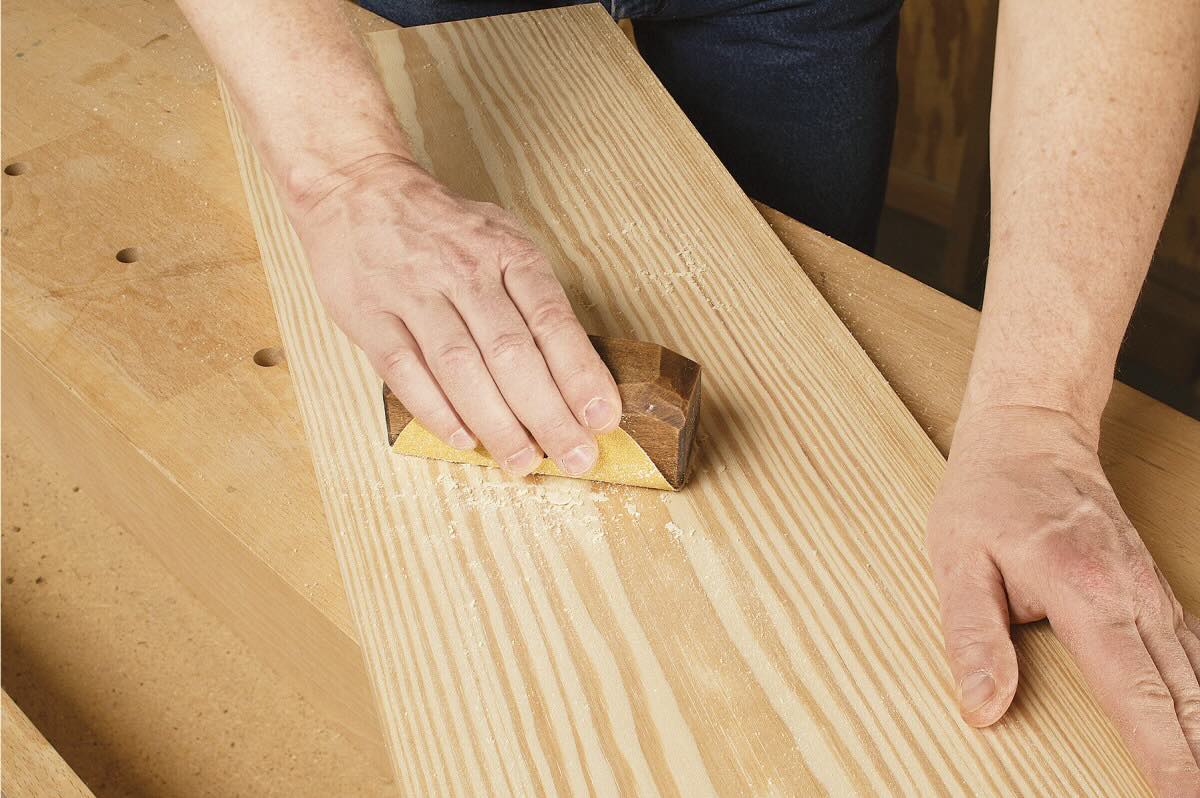
6. Utilize Sanding Blocks: When feasible, use sanding blocks or holders to maintain a flat and even sanding surface. This helps prevent uneven sanding and minimizes the risk of creating dips or grooves in the wood.
7. Be Patient and Thorough: Take your time during the sanding process, ensuring that each section receives adequate attention. Rushing through the task can result in subpar outcomes, so exercise patience and thoroughness for a professional finish.
8. Inspect and Feel the Surface: Periodically inspect the sanded surface by running your hand over it to detect any imperfections or rough patches. This tactile approach allows you to identify areas that require additional sanding for a flawlessly smooth finish.
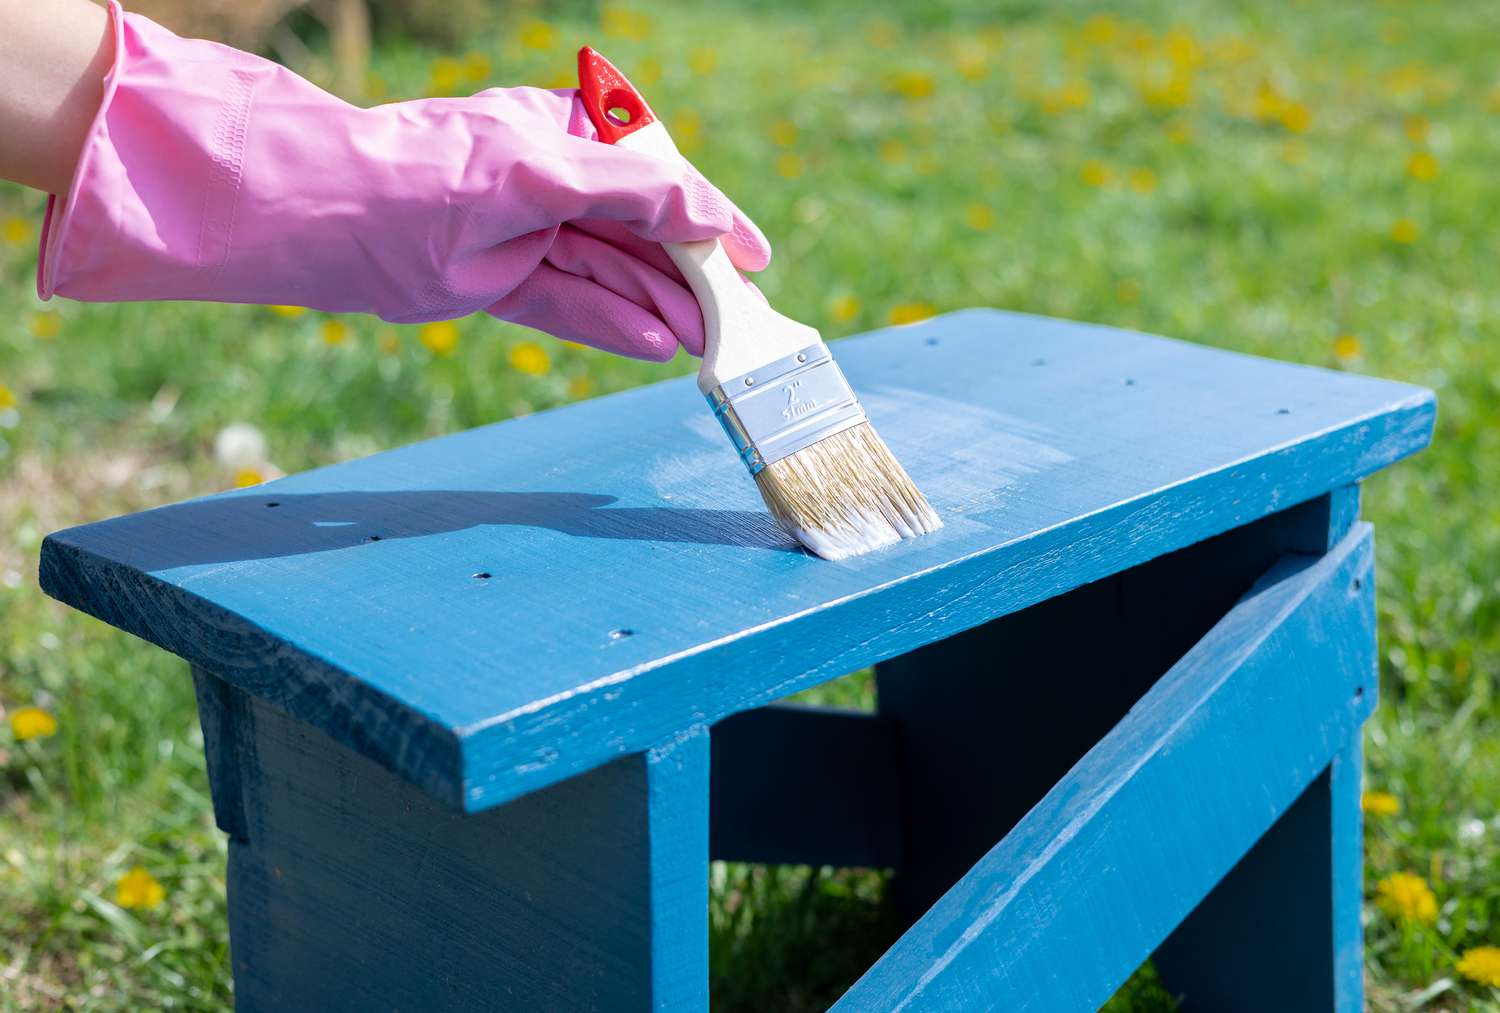
9. Clean and Prepare for Finishing: Once the sanding process is complete, thoroughly clean the furniture to remove any residual dust or debris. This sets the stage for the subsequent steps, such as staining, painting, or applying a protective finish.
By incorporating these tips into your wood furniture sanding routine, you can elevate the quality of your restoration projects and achieve professional-grade results. Embracing a methodical and attentive approach to sanding empowers you to transform worn-out furniture into stunning pieces that exude timeless charm and elegance.
Read more: How To Sand Wood Using Sandpaper
Conclusion
Embarking on the journey of sanding wood furniture is a captivating endeavor that intertwines craftsmanship, precision, and the art of restoration. As you immerse yourself in the intricacies of sandpaper selection, grit progression, and tailored techniques for different wood finishes, you unlock the potential to breathe new life into cherished furniture pieces, preserving their timeless allure for years to come.
Understanding the nuances of sandpaper, from the coarseness of grits to the diverse types suited for specific tasks, empowers you to approach wood furniture restoration with confidence and finesse. By selecting the right sandpaper tailored to the wood’s condition, restoration extent, and desired finish, you lay the foundation for a seamless and transformative sanding experience.
As you navigate the realm of wood furniture restoration, remember that each wood finish demands a unique sanding approach, from raw wood to stained and painted surfaces. By aligning your sanding techniques with the distinct requirements of each finish, you orchestrate a symphony of precision, enhancing the furniture’s inherent beauty with every meticulous stroke of sandpaper.
Armed with practical tips honed through experience, such as preparing the workspace, employing the right grit sequence, and maintaining even pressure, you elevate the sanding process to an art form. This artistry manifests in flawlessly sanded surfaces that beckon with their smoothness and radiate the promise of a stunning finish, be it a lustrous stain or a vibrant coat of paint.
As you conclude the sanding process and prepare for the next phase of finishing, whether staining, painting, or applying protective coatings, take pride in the craftsmanship and dedication woven into every aspect of the restoration journey. Your commitment to precision and the art of sanding culminates in the revival of wood furniture that transcends time, embodying the enduring elegance and character of a bygone era.
In essence, the art of sanding wood furniture transcends mere restoration; it embodies a profound reverence for craftsmanship and a celebration of timeless beauty. With each stroke of sandpaper, you breathe new life into the narrative of each piece, preserving its legacy and inviting it to grace the spaces of generations to come.
So, as you embark on your next wood furniture restoration endeavor, may the wisdom encapsulated in the nuances of sandpaper and the artistry of the sanding process guide you toward transformative outcomes that honor the inherent allure of wood furniture, enriching your surroundings with enduring elegance and timeless charm.
Frequently Asked Questions about What Sandpaper To Use On Wood Furniture
Was this page helpful?
At Storables.com, we guarantee accurate and reliable information. Our content, validated by Expert Board Contributors, is crafted following stringent Editorial Policies. We're committed to providing you with well-researched, expert-backed insights for all your informational needs.


0 thoughts on “What Sandpaper To Use On Wood Furniture”