Home>Garden Essentials>How To Grow Carrots In Pots Without Seeds
Garden Essentials
How To Grow Carrots In Pots Without Seeds
Modified: March 15, 2024
Learn how to grow carrots in pots without seeds in your garden. Our expert tips and tricks will help you cultivate delicious, fresh carrots right at home.
(Many of the links in this article redirect to a specific reviewed product. Your purchase of these products through affiliate links helps to generate commission for Storables.com, at no extra cost. Learn more)
Introduction
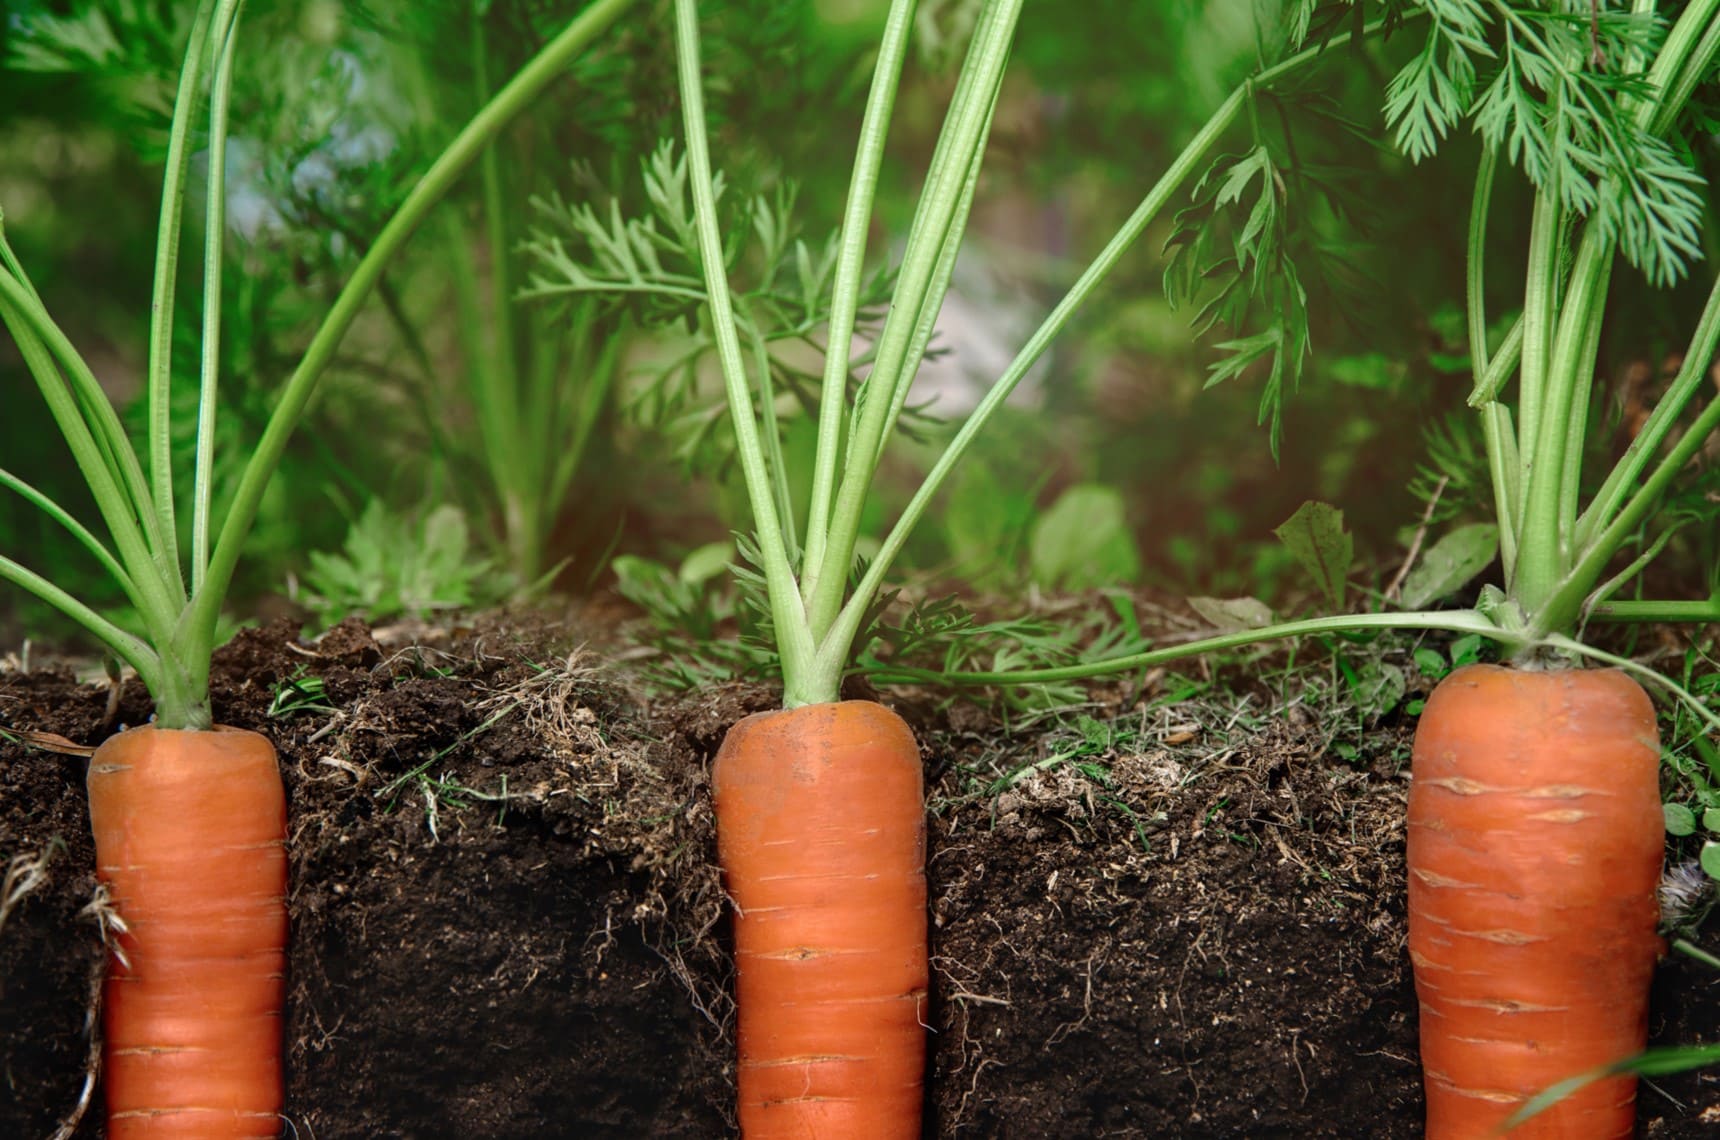
Welcome to the world of gardening! If you’re looking to grow delicious, nutritious carrots but don’t have a backyard to plant them in, fear not. Growing carrots in pots is a fantastic alternative that allows you to enjoy the simple pleasure of harvesting your own homegrown vegetables, even in a limited space. This article will guide you through the process of growing carrots in pots without using seeds, making it accessible and achievable for gardeners of all levels.
Carrots are not only a versatile and delicious addition to many dishes, but they are also packed with essential vitamins and nutrients. They are rich in vitamin A, antioxidants, and dietary fiber, making them a healthy and satisfying choice for your meals. The great news is, with the right approach, you can grow your own fresh and flavorful carrots, even without a traditional garden.
By following the steps outlined in this guide, you will learn how to select the right pot, choose the appropriate soil, prepare it correctly, obtain carrot trimmings, plant them in your pots, provide them with proper care, and finally harvest your bountiful crop. So let’s jump right in and discover the joys of growing carrots in pots!
Key Takeaways:
- Grow delicious carrots in pots without seeds by using carrot trimmings. Choose a deep pot, sandy loam soil, and provide proper care for a bountiful harvest.
- Enjoy the rewarding journey of growing your own carrots in pots. Select the right pot, obtain carrot trimmings, and provide consistent care for successful growth.
Read more: How Long For Carrots To Grow From Seed
Choosing the Right Pot
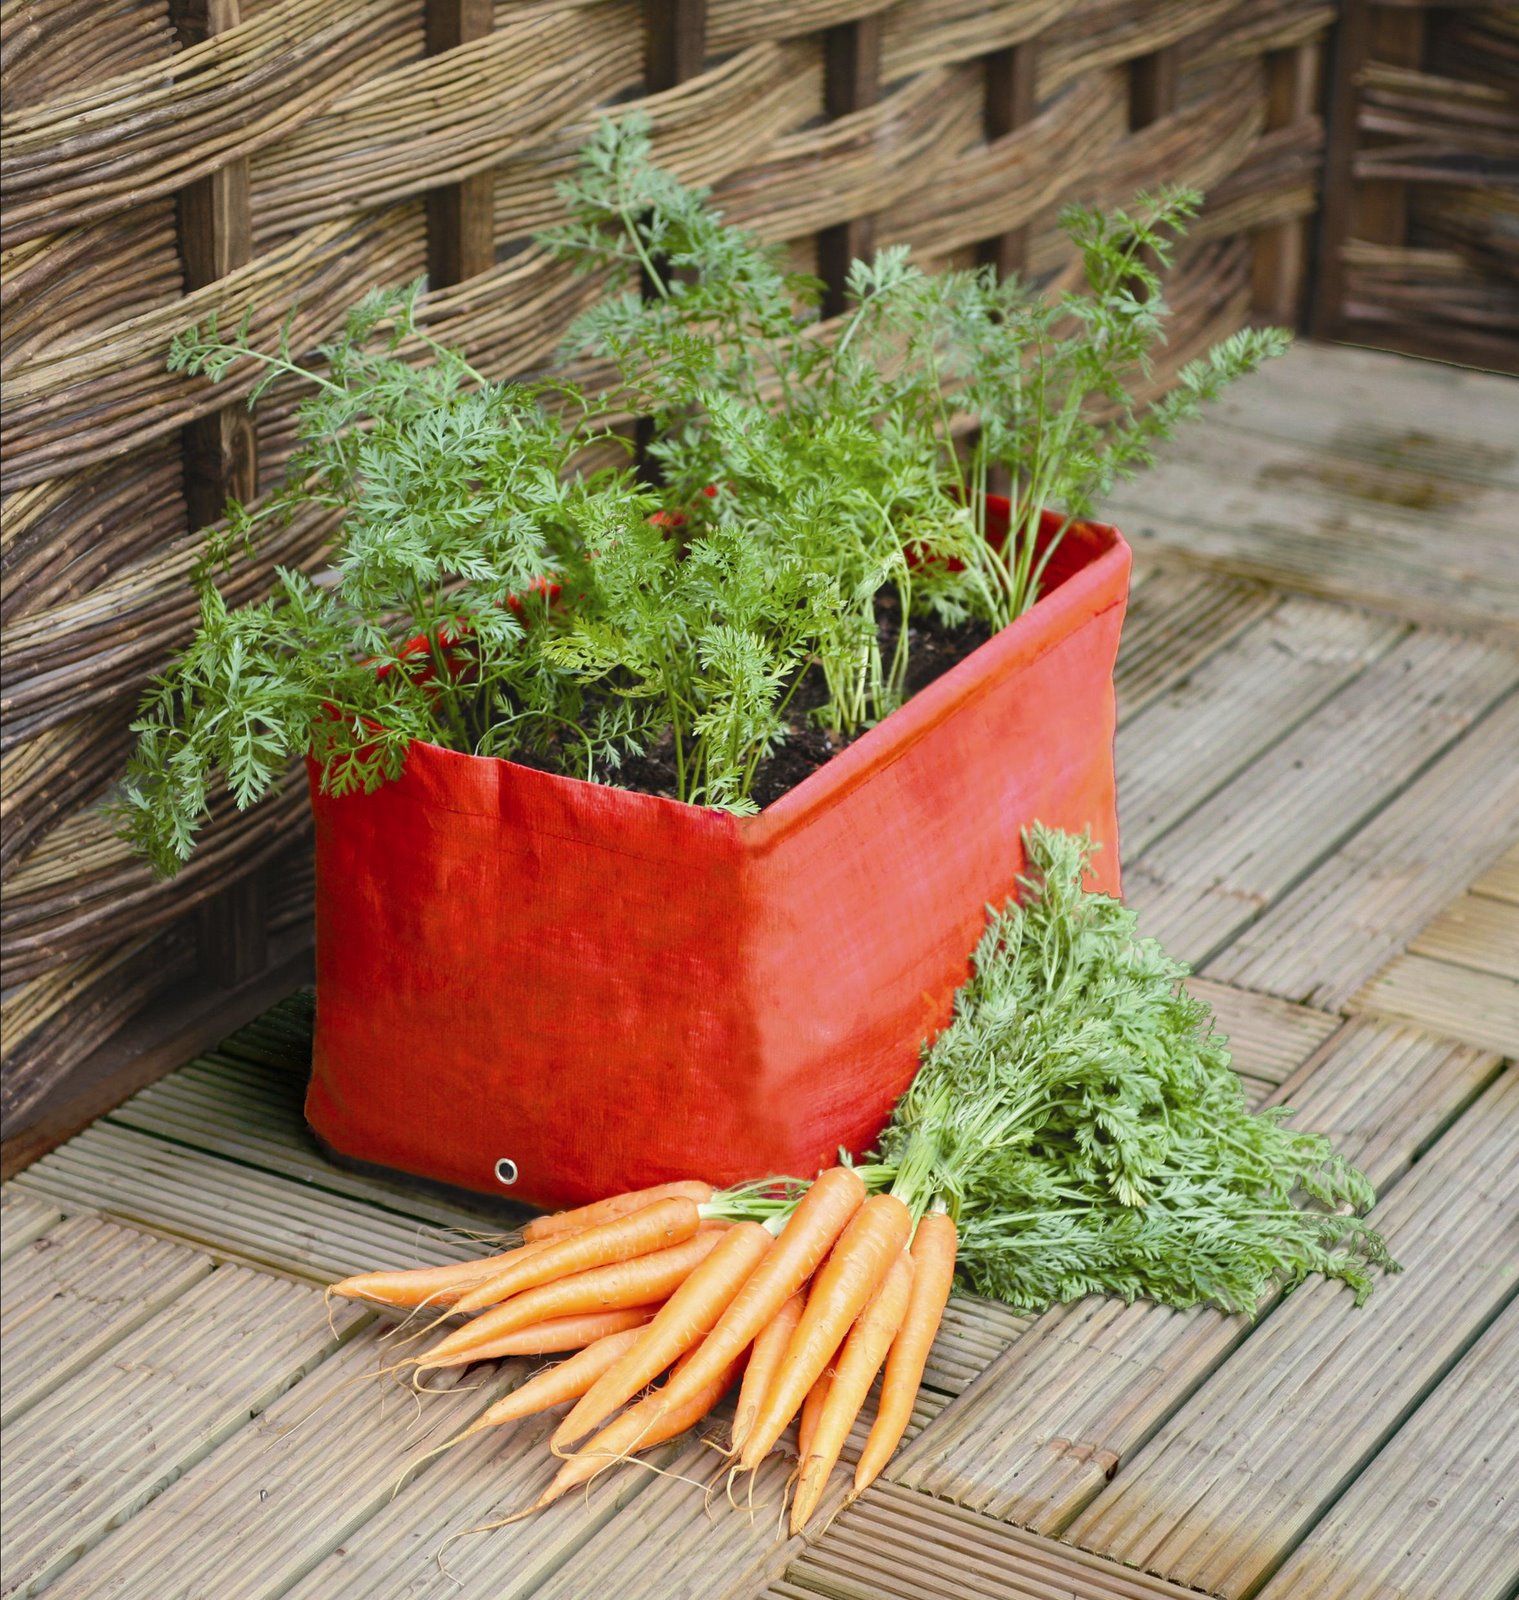
When it comes to growing carrots in pots, choosing the right container is crucial for their success. Carrots have long taproots that need enough space to grow downward. Therefore, it’s essential to select a pot that is at least 12 inches deep to accommodate their root system.
In terms of width, a pot that is at least 10 inches in diameter will provide enough space for the carrots to grow and develop properly. Additionally, consider using a pot that has adequate drainage holes to prevent waterlogging, as excessive moisture can lead to rotting roots.
While various types of pots can be used, such as plastic, terracotta, or ceramic, one option stands out as particularly beneficial for growing carrots: a fabric pot. Fabric pots, often made of breathable material like felt or canvas, promote better aeration and drainage, which are both crucial for healthy root development. These pots also prevent the roots from becoming congested, resulting in stronger and healthier carrot plants.
Another factor to consider is portability. If you have limited space or plan to move the pots around, opt for lightweight containers that are easy to handle. This will allow you to adjust their position to maximize sunlight exposure and ensure optimal growth.
Lastly, consider the aesthetic appeal of the pot. Choose one that complements your personal style and blends well with your outdoor or indoor space. After all, gardening is not only about growing delicious vegetables but also about creating a visually pleasing environment.
Selecting the Soil
Selecting the right soil is essential for the successful growth of carrots in pots. Carrots thrive in loose, well-draining soil that is rich in organic matter. The ideal soil composition for growing carrots is sandy loam, which provides excellent drainage while retaining enough moisture for the roots.
If you are using garden soil, it’s important to amend it with organic matter to improve its texture and fertility. Adding compost or well-rotted manure to the soil will help retain moisture and provide essential nutrients for the carrot plants.
Alternatively, you can use a high-quality potting mix specifically designed for vegetable gardening. Look for a mix that is lightweight, well-draining, and enriched with nutrients. Avoid using heavy or clay-based soil, as it can lead to compacted roots and hinder the growth of your carrots.
Before planting, ensure that the soil is loose and free of any rocks or clumps. Carrots require loose soil to allow their long taproots to penetrate and grow straight. Use a garden fork or a small hand trowel to break up any compacted soil and create a loose and friable planting bed.
It’s also important to maintain a slightly acidic to neutral pH level for your carrot plants. Aim for a pH range of 6.0 to 6.8. You can test the pH of your soil using a soil testing kit available at garden centers or by contacting your local agricultural extension office.
Remember to replenish the soil with organic matter or compost between each planting season to maintain its fertility and improve its structure. This will ensure that your carrots have the best possible growing conditions.
Preparing the Pot
Before planting your carrot trimmings, it’s important to properly prepare the pot to create an optimal environment for their growth.
Start by cleaning the pot to remove any dirt or debris that may be present. Use a brush or sponge and water to clean both the inside and outside of the pot. This will help prevent the growth of any harmful bacteria or fungi that could affect the health of your carrot plants.
Next, ensure that the pot has proper drainage holes. If the pot does not already have drainage holes, you can create them by using a drill or a hammer and a nail. Adequate drainage is crucial to prevent waterlogging and the risk of root rot, so make sure the holes are evenly spaced and at the bottom of the pot.
Once the drainage holes are in place, you can add a layer of small rocks or pebbles to the bottom of the pot. This will further improve drainage by creating a space for excess water to escape. The layer should be about 1-2 inches thick. Alternatively, you can use a piece of mesh or a coffee filter to cover the drainage holes and prevent soil from clogging them.
Afterward, fill the pot with the selected soil mixture, leaving about 1-2 inches of space from the top of the pot. Gently firm the soil to ensure it is evenly distributed in the pot and remove any air pockets.
If desired, you can also add organic mulch or compost to the surface of the soil to help retain moisture and regulate temperature. However, make sure not to pile the mulch directly against the carrot greens, as it may lead to rotting or disease.
Now that the pot is prepared and ready for planting, it’s time to obtain carrot trimmings and start the exciting journey of growing your own carrots!
Obtaining Carrot Trimmings
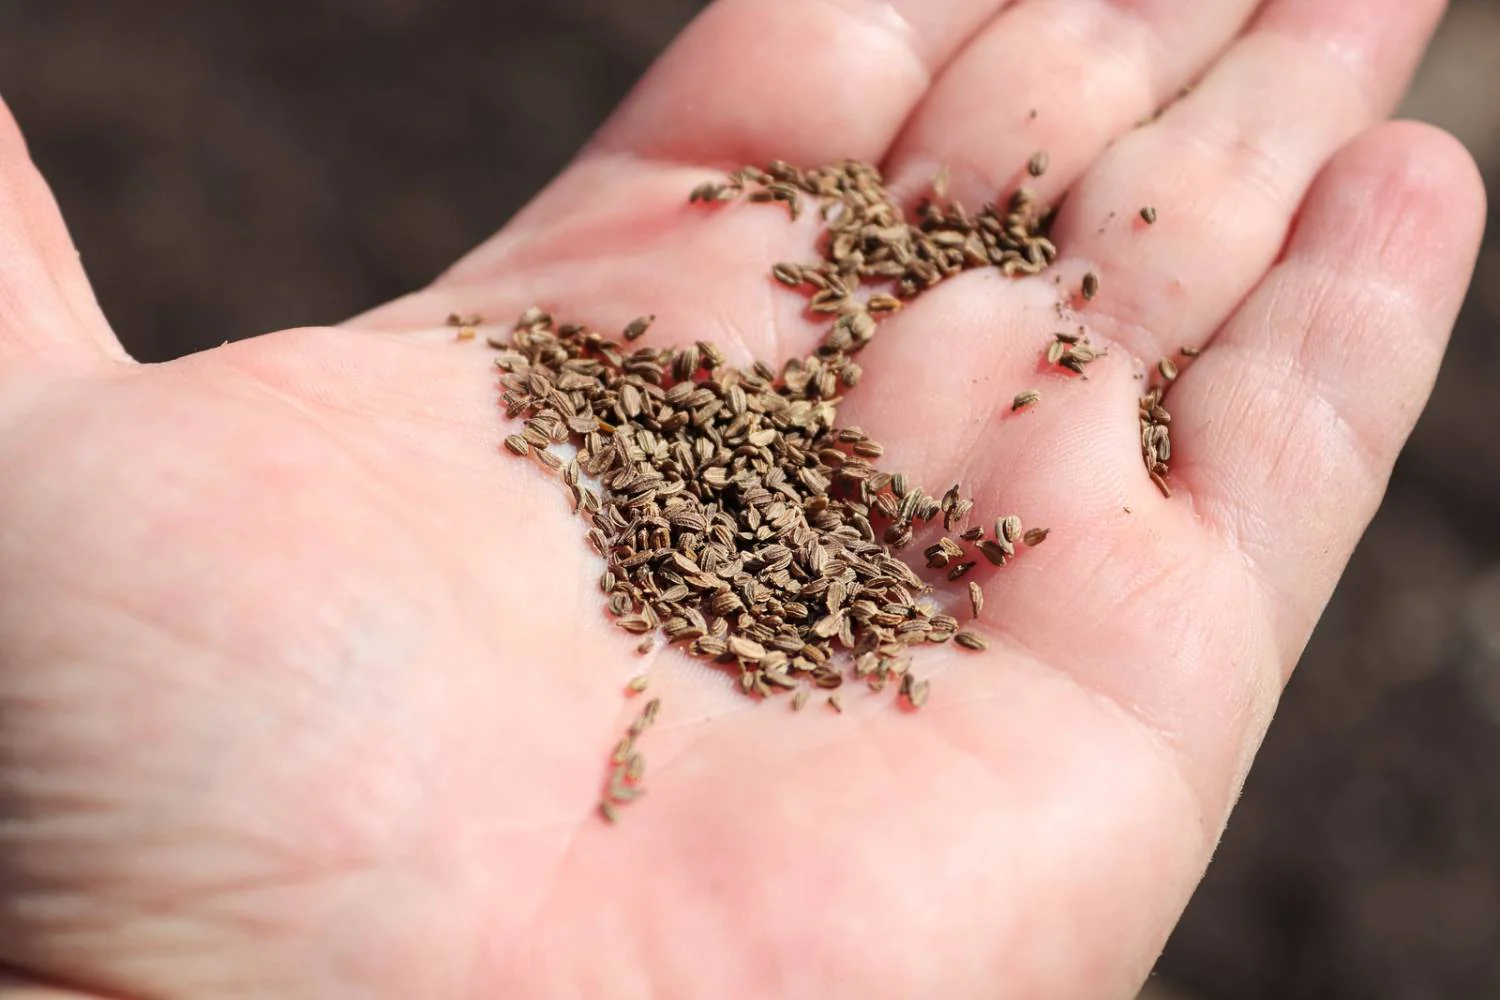
Obtaining carrot trimmings is an innovative and cost-effective way to grow carrots in pots without using seeds. Instead of purchasing seed packets, you can repurpose carrot tops that are typically discarded to kickstart your carrot growing adventure.
To obtain carrot trimmings, you have two options:
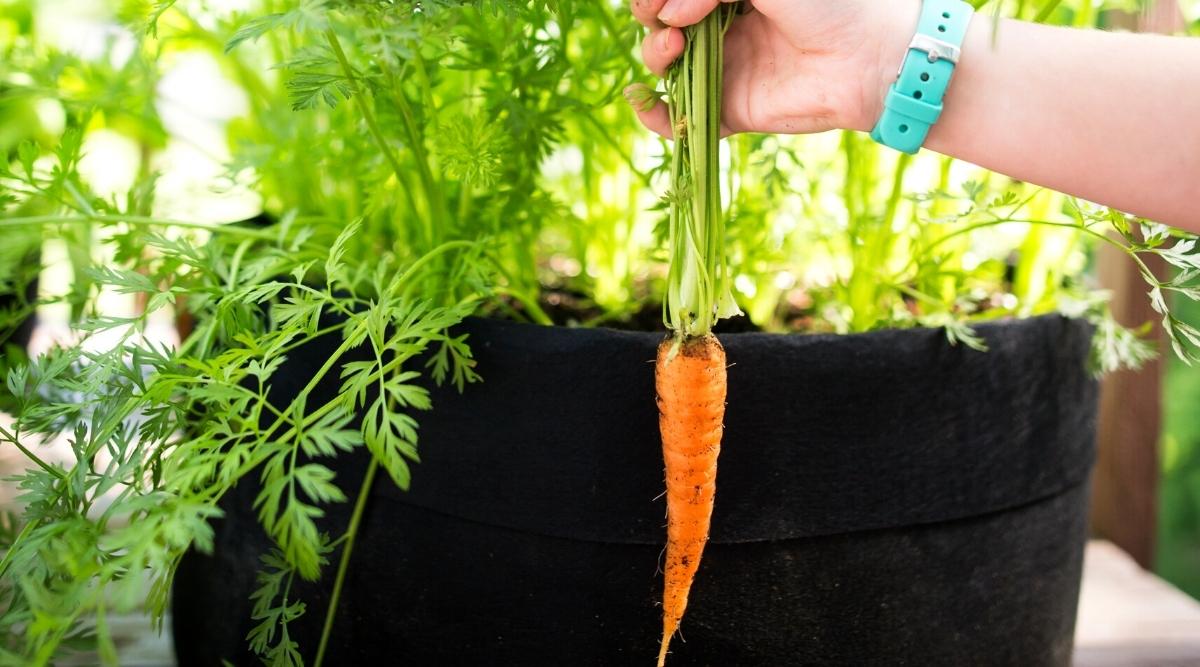
1. Harvesting Existing Carrots: If you have recently harvested or purchased whole carrots, you can save the tops instead of throwing them away. Look for carrots with healthy green tops still attached. Carefully remove the tops by cutting them about an inch above the carrot. Be sure to leave a small portion of the stem attached to the top, as this will make it easier for the trimming to take root and grow.
2. Freshly Purchased Carrots: If you don’t have access to whole carrots with tops, don’t worry. You can simply buy a bunch of fresh carrots from the grocery store or farmers’ market. Look for carrots with long, intact tops. Gently remove the tops using a sharp knife or scissors, leaving a small portion of the stem attached.
Regardless of which method you choose, it’s important to select healthy carrot tops for successful propagation. Avoid using tops that are wilted, damaged, or discolored, as they may not have enough energy to produce new roots and grow into healthy plants.
Once you have obtained the carrot trimmings, trim off any lower leaves or stems, leaving a small cluster of green foliage at the top. These tops will serve as the “seeds” for your carrot plants.
Now that you have your carrot trimmings ready, it’s time to plant them in the prepared pot and begin the exciting journey of growing your own carrots!
Tip: To grow carrots in pots without seeds, use store-bought carrot tops. Place them in a shallow dish of water until they sprout roots, then plant them in a pot with well-draining soil and keep them watered.
Read more: How To Grow Mustard Seeds In Pots
Planting the Carrot Trimmings
Now that you have your carrot trimmings ready, it’s time to plant them in the prepared pot and start growing your own carrots.
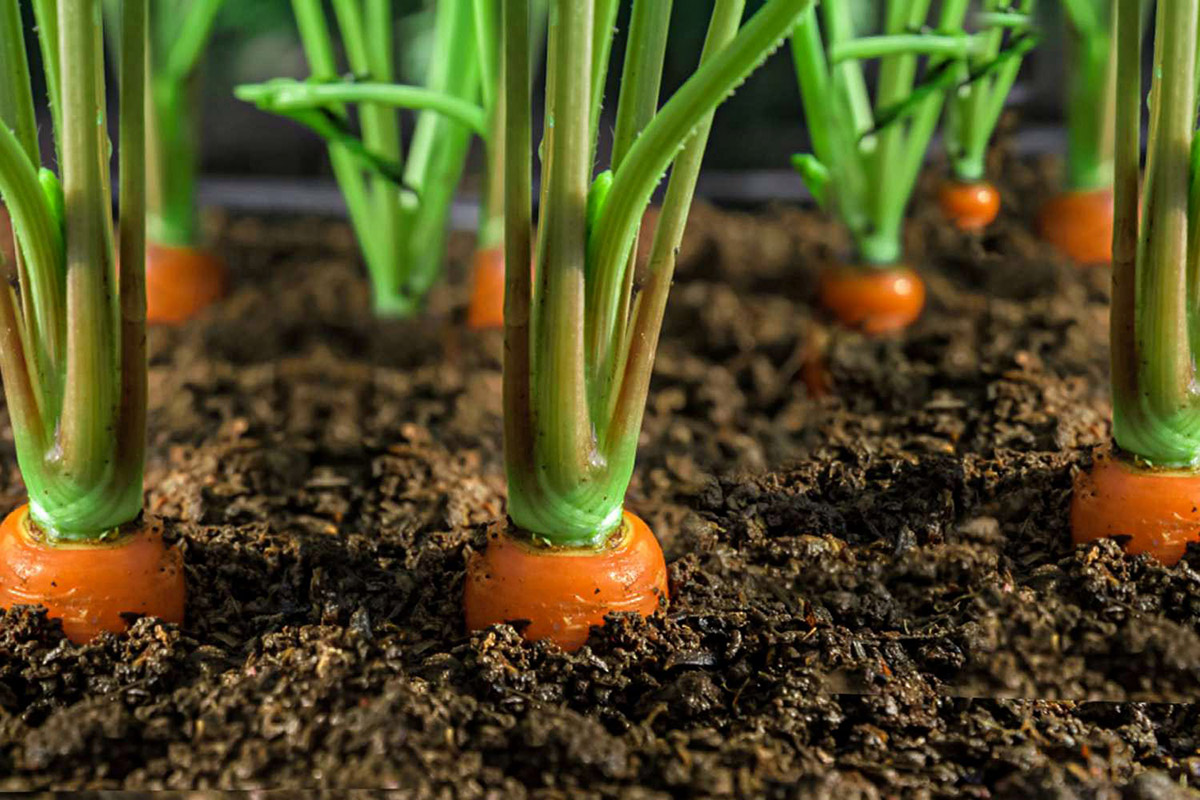
Gently place the carrot trimmings into the soil, with the cut end submerged about half an inch to an inch deep. Ensure that the tops are facing upwards and the green foliage is above the soil surface. Space the trimmings about 1-2 inches apart to allow room for growth.
Gently press the soil around the trimmings to secure them in place and provide stability. Be careful not to compact the soil too much, as the loose texture is essential for the growth of carrot roots.
After planting, water the pot thoroughly, ensuring that the soil is evenly moist. Avoid overwatering, as excessive moisture can lead to rotting or fungal diseases. Throughout the growing process, be mindful of the moisture levels and water whenever the top inch of the soil feels dry.
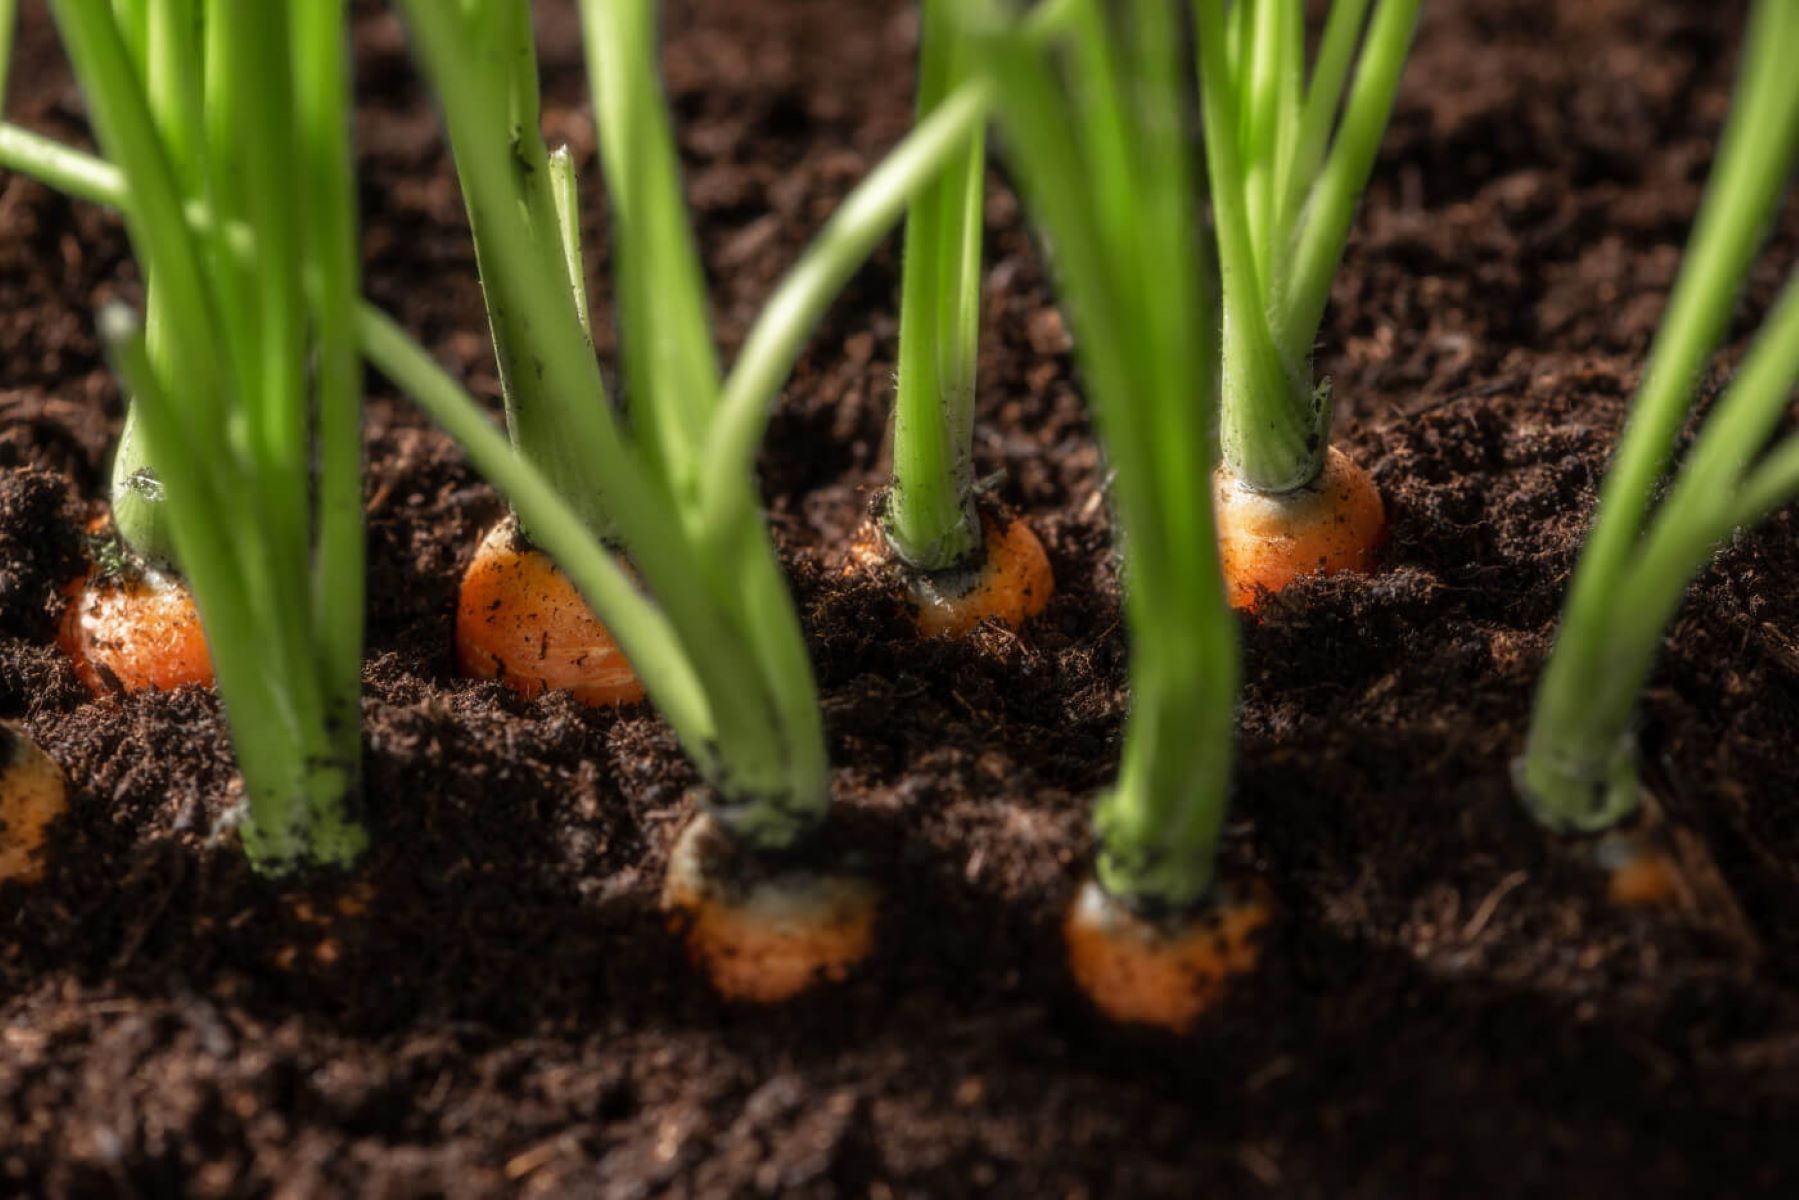
Once the carrot trimmings are planted, place the pot in a location that receives full sunlight for at least 6-8 hours a day. Carrots thrive in sunny conditions. If you live in a hot climate, consider providing some shade during the hottest part of the day to prevent the soil from drying out too quickly.
As the carrot plants begin to grow, you may need to thin them out to ensure adequate spacing. When the seedlings are about 1-2 inches tall, carefully remove any extra seedlings, leaving one healthy and strong plant every 3-4 inches. Thinning helps prevent overcrowding and allows the remaining plants to develop fully.
Now, it’s time to provide proper care to your growing carrot plants to ensure healthy growth and a bountiful harvest. With a little patience and attention, you’ll soon be enjoying the flavors of your own homegrown carrots!
Providing Proper Care
Proper care is essential to ensure the healthy growth of your carrot plants and to maximize your harvest. Here are some important steps to follow:
Watering: Carrots require consistent moisture to grow properly. Keep the soil evenly moist, but be cautious not to overwater. Overwatering can lead to rotting roots or diseases. Water the pot whenever the top inch of soil feels dry, aiming for about 1 inch of water per week. Use a watering can or a gentle spray nozzle to avoid damaging the fragile carrot foliage.
Fertilizing: Carrots are not heavy feeders, but they can benefit from a boost of nutrients during their growth. Apply a balanced organic fertilizer, such as a 10-10-10 or 5-5-5 formula, every 4-6 weeks according to the package instructions. Avoid using excessive amounts of nitrogen, as it can lead to lush foliage growth at the expense of root development.
Weeding: Remove any weeds that may compete for nutrients and space with your carrot plants. Be careful while weeding to avoid damaging the shallow carrot roots. Use a small hand trowel or your hands to gently remove the weeds from the soil, taking care not to disturb the carrots in the process.
Pest Control: Carrots are generally not highly susceptible to pests, but keeping an eye out for common garden pests is important. Inspect the foliage regularly for signs of pest damage, such as holes or nibbled leaves. If you notice pests, such as aphids or carrot rust flies, consider using organic pest control methods like insecticidal soap or neem oil to deter them. You can also use physical barriers, such as floating row covers, to protect the plants from flying insects.
Thinning: As the carrot plants grow, thin them out if necessary to ensure proper spacing. Thin the plants when they are about 1-2 inches tall, leaving one healthy plant every 3-4 inches. Thinning helps prevent overcrowding, allows air circulation, and provides room for the remaining plants to develop fully.
Monitoring: Regularly monitor the health of your carrot plants and look out for any signs of distress or disease, such as yellowing foliage, wilting, or discoloration. Promptly address any issues to prevent further damage. Additionally, keep an eye on pests and take immediate action if infestations occur.
Support: In some cases, if your carrot variety produces larger roots, you may need to provide support to prevent the carrots from pushing out of the soil. Lightly mound soil around the exposed parts of the carrot as it grows to support and protect the root from sun exposure.
By providing proper care, you will give your carrot plants the best chance to thrive and produce sweet, tasty roots for you to enjoy. Patience and consistent attention are key to a successful carrot-growing experience!
Harvesting Carrots
The exciting time has finally arrived – it’s time to harvest your homegrown carrots! Harvesting carrots is a rewarding process that allows you to enjoy the fruits of your labor. Here’s how to do it:
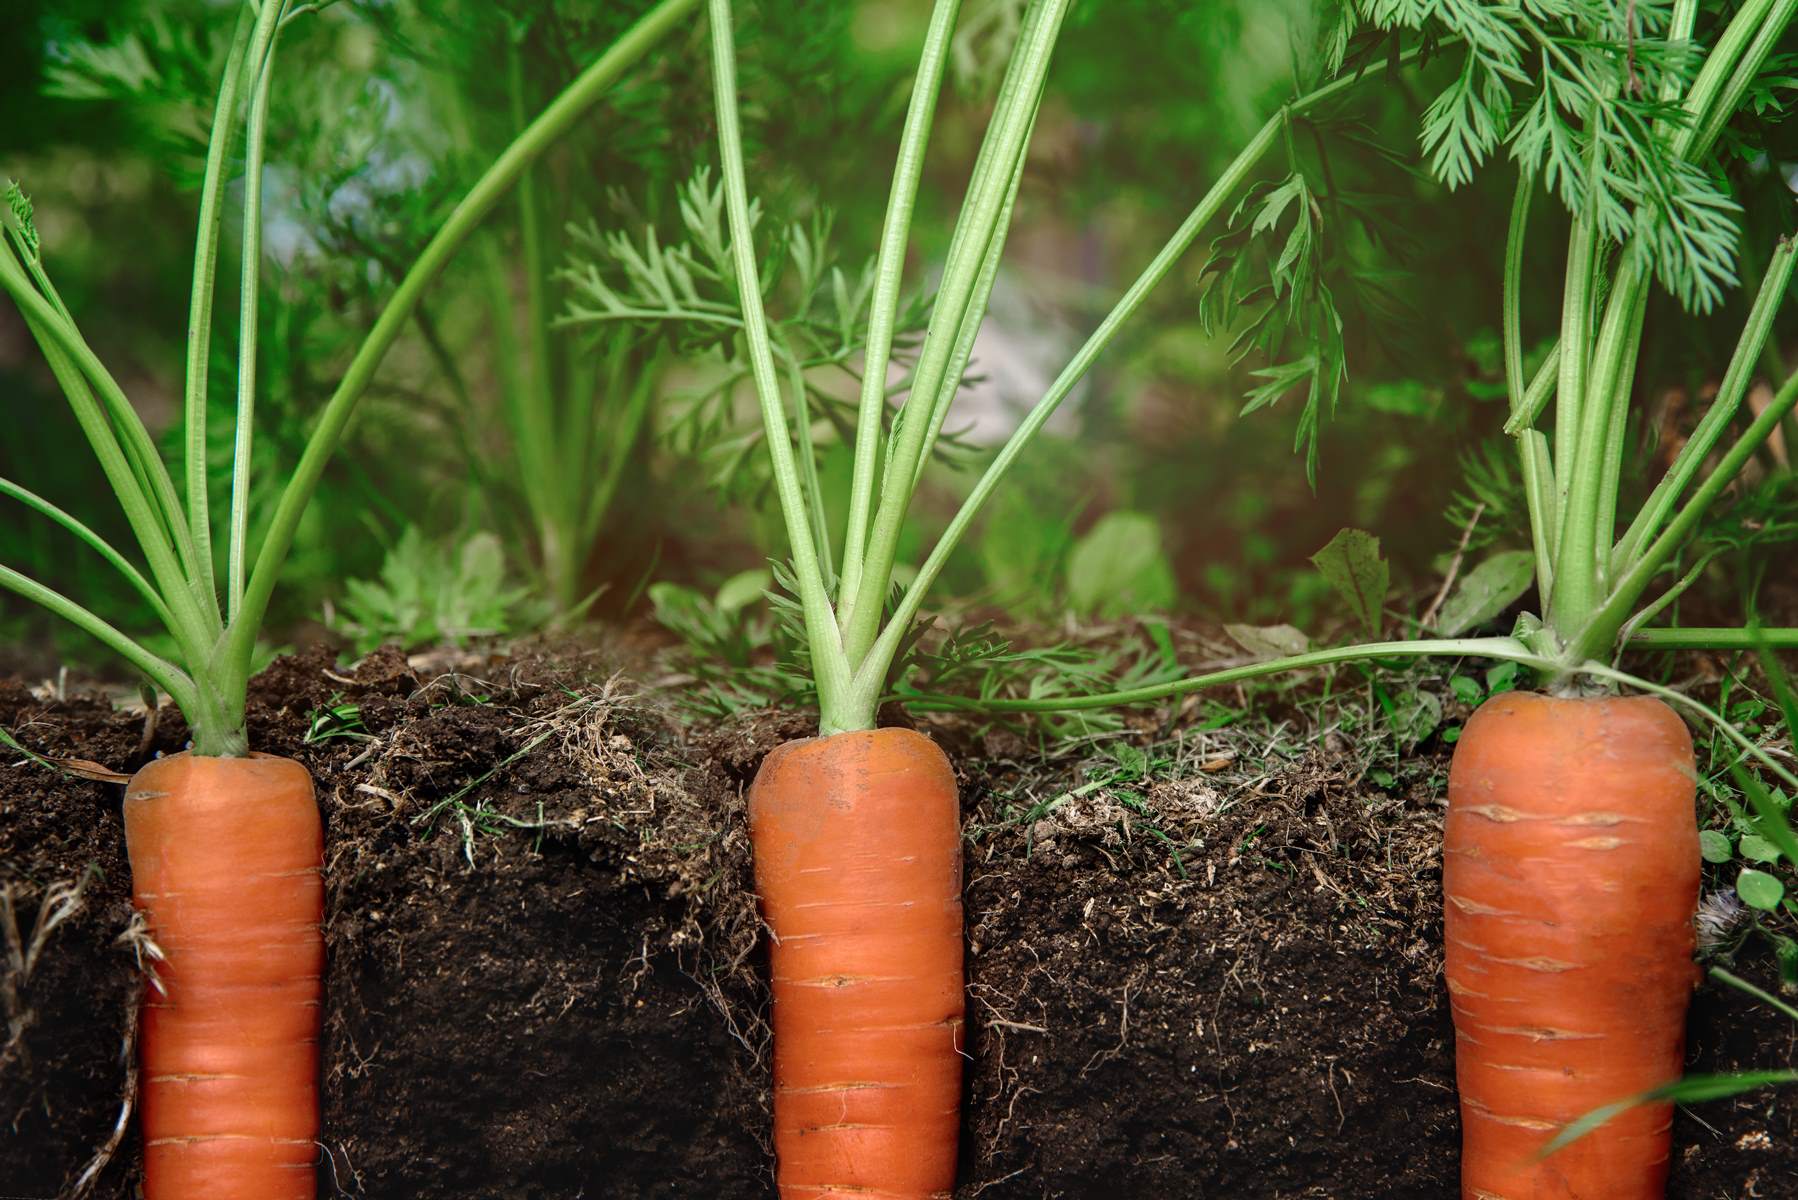
Timing: Carrots are typically ready for harvest 60-80 days after planting, depending on the variety. However, you can start checking for maturity around 50 days. Keep in mind that carrot size and sweetness increase the longer they are left in the ground, so you can decide when to harvest based on your preferences.
Loosening the Soil: Before harvesting, gently loosen the soil around the carrot plants. This will make it easier to lift the carrots without breaking or damaging them. Use a garden fork or a hand trowel to carefully loosen the soil around the plants.
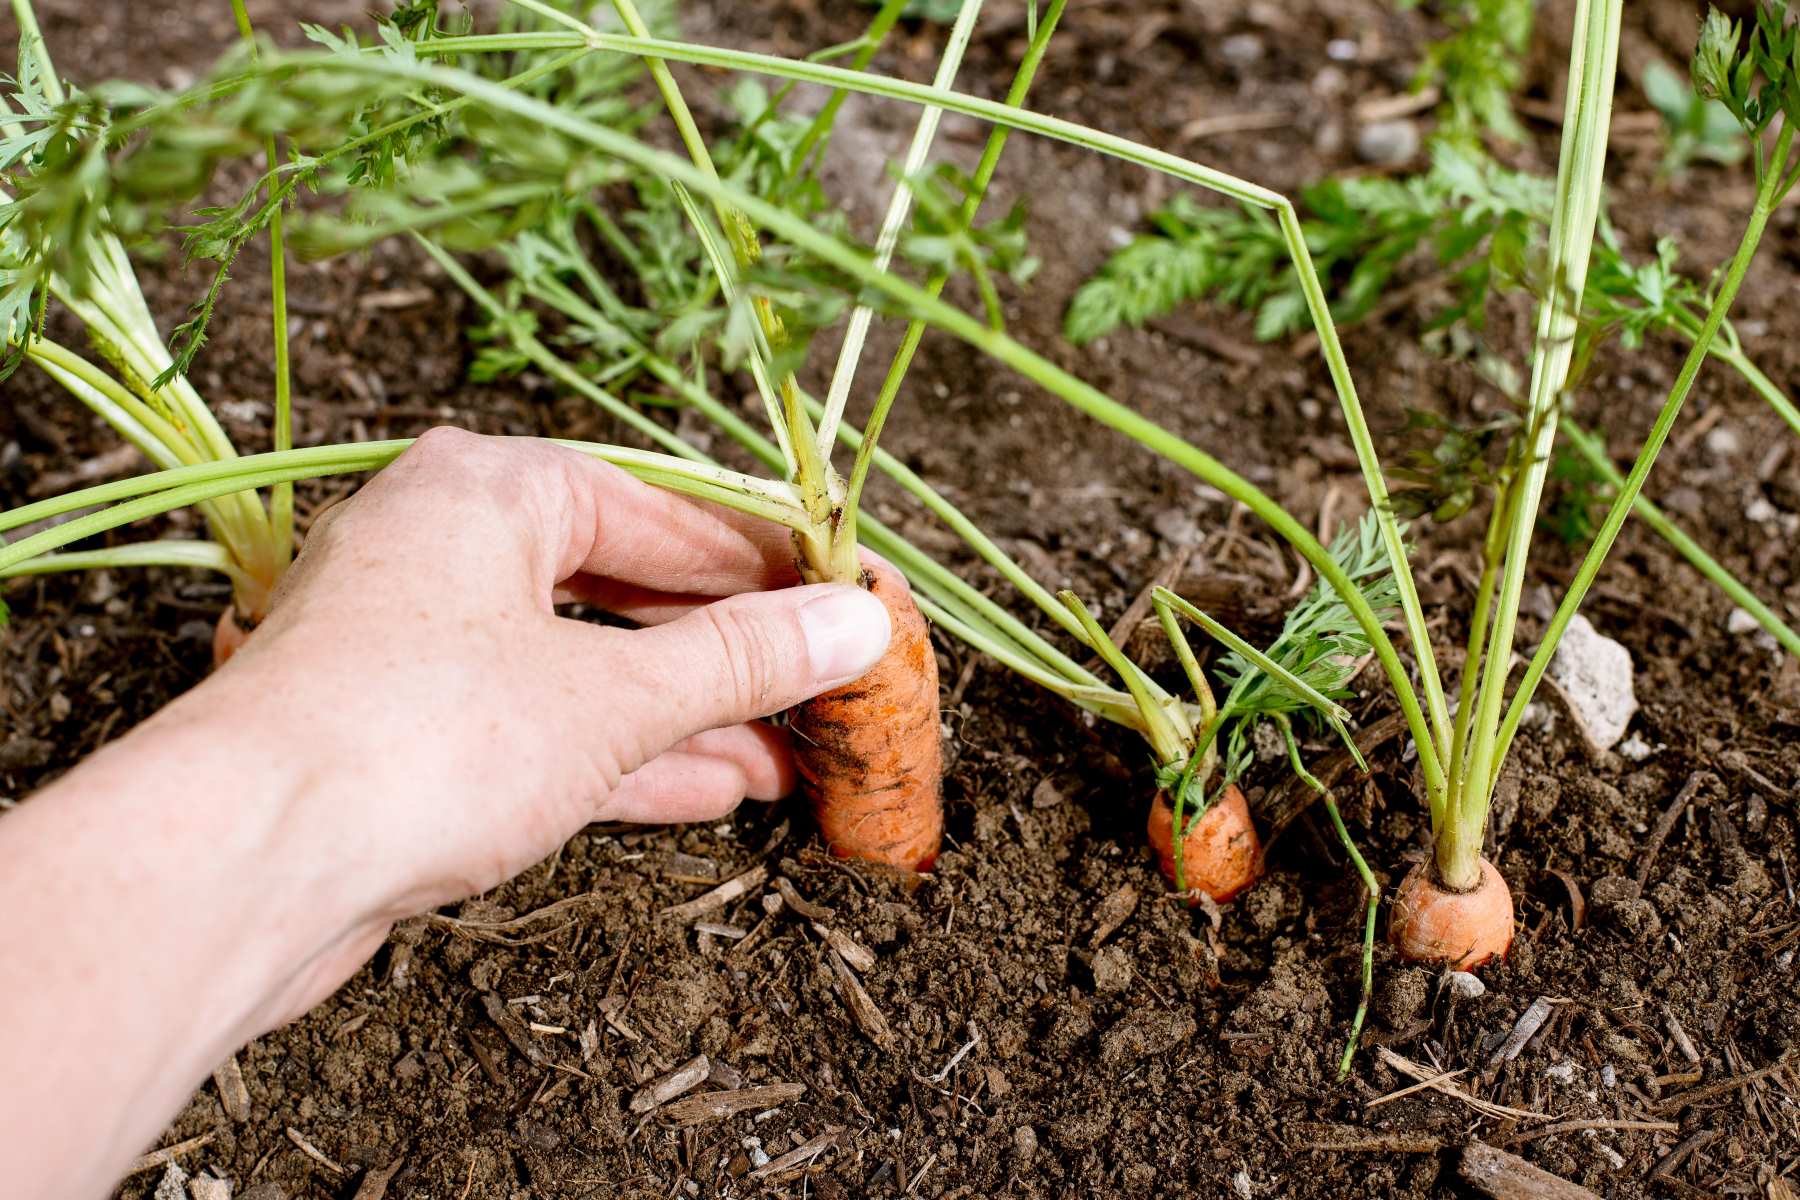
Harvesting: To harvest the carrots, grasp the greens near the top of the carrot and gently pull upward. The carrot should come out of the soil with minimal resistance. If the carrot doesn’t come out easily, use a garden fork or a small hand trowel to gently lift it out of the ground.
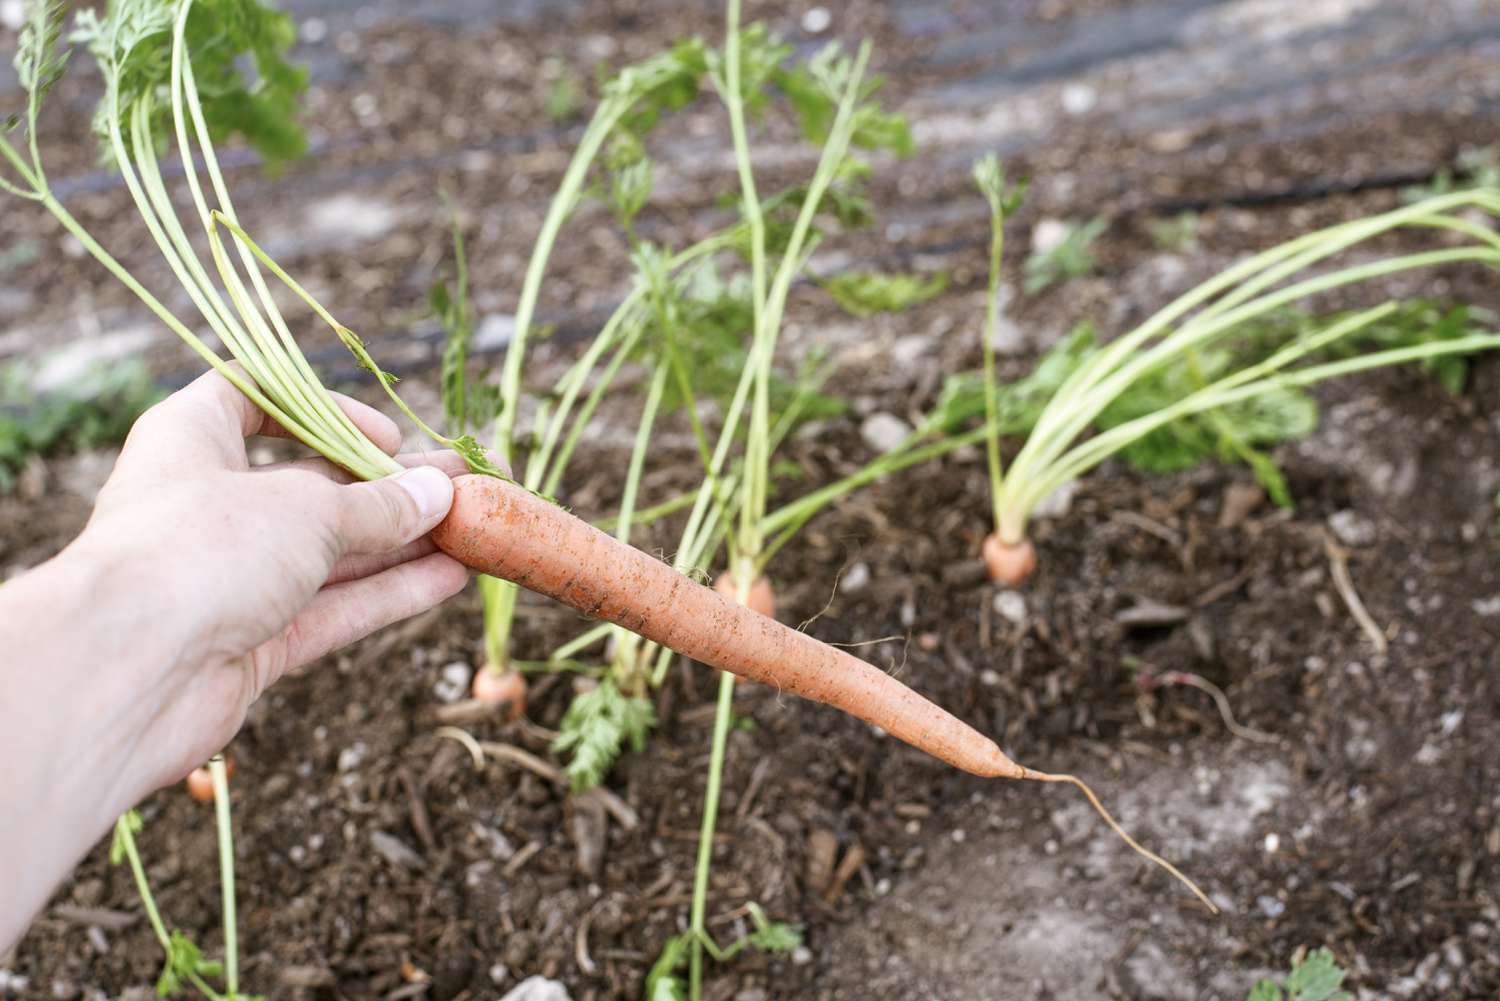
Assessing Size and Quality: As you harvest, assess the size and quality of the carrots. Ideally, they should be firm, straight, and vibrant in color. Remove any carrots that have a stunted or deformed appearance. These can be eaten, but they may not have the desired texture or flavor.
Storing: After harvesting, remove any excess soil from the carrots and trim off the greens, leaving around an inch of stem. Avoid washing the carrots before storage, as excess moisture can lead to rot. Instead, gently brush off any dirt and store the carrots in a cool, dark place with good ventilation. Carrots can be stored in a plastic bag or a container lined with damp paper towels to retain moisture. Properly stored carrots can last for several weeks.
Enjoying the Harvest: Now that you have harvested your carrots, it’s time to enjoy them! Carrots can be eaten raw as a healthy snack, or they can be added to a variety of delicious dishes. Whether you use them in soups, stews, salads, or as a side dish, your homegrown carrots will bring a burst of freshness and flavor to your meals.
Remember, the joy of gardening lies not only in the end result, but also in the process itself. Take pride in your successful carrot harvest and get ready to embark on new gardening adventures!
Conclusion
Congratulations on successfully growing carrots in pots without seeds! Through careful selection of the right pot, choosing suitable soil, preparing the pot, obtaining carrot trimmings, planting them, providing proper care, and harvesting your homegrown carrots, you have embarked on a rewarding gardening journey.
Growing carrots in pots offers a convenient and space-efficient way to enjoy the delights of homegrown vegetables, even if you lack a traditional garden. By following the steps outlined in this guide and giving your carrot plants the attention and care they need, you have witnessed the remarkable transformation of carrot trimmings into flavorful, nutrient-rich roots.
Remember to always choose the right pot that allows for proper root development, select a well-draining and nutrient-rich soil, and provide consistent care with watering, fertilizing, and maintaining a healthy growing environment. Keep an eye on pests, thin the plants when necessary, and monitor the health of your carrot plants to ensure optimal growth.
Finally, the day to harvest your carrots arrives, marking the culmination of your hard work and patience. Enjoy the satisfaction of pulling those vibrant, delicious carrots from the soil, knowing that you played a crucial role in their development.
Now that you have completed the journey of growing carrots in pots, don’t stop here. Let this experience ignite your passion for gardening and inspire you to explore other plants and vegetables that can thrive in confined spaces. The possibilities are endless, and there are many more opportunities to discover the joys of growing your own bountiful harvest.
So, grab your gardening tools, choose your next plant to cultivate, and continue to enjoy the rewards of gardening, one pot at a time!
Frequently Asked Questions about How To Grow Carrots In Pots Without Seeds
Was this page helpful?
At Storables.com, we guarantee accurate and reliable information. Our content, validated by Expert Board Contributors, is crafted following stringent Editorial Policies. We're committed to providing you with well-researched, expert-backed insights for all your informational needs.

0 thoughts on “How To Grow Carrots In Pots Without Seeds”