Home>Garden Essentials>How To Prep A Yard For Grass Seed
Garden Essentials
How To Prep A Yard For Grass Seed
Modified: October 20, 2024
Learn how to properly prepare your yard for grass seed with our expert gardening tips. Get your garden ready for lush greenery with our step-by-step guide.
(Many of the links in this article redirect to a specific reviewed product. Your purchase of these products through affiliate links helps to generate commission for Storables.com, at no extra cost. Learn more)
Introduction
Welcome to our comprehensive guide on how to prepare your yard for grass seed! Whether you’re starting from scratch or overseeding an existing lawn, proper preparation is key to ensuring healthy and lush grass growth. In this article, we will walk you through the necessary steps to clear and prepare the area, test and amend the soil, choose the right grass seed, and properly spread and care for it. By following these guidelines, you’ll be well on your way to a beautiful, vibrant green lawn.
Before diving into the specific steps, it’s crucial to understand the importance of preparing your yard for grass seed. Proper preparation helps create favorable conditions for seed germination and establishes a strong foundation for the growing grass. By addressing any underlying issues, such as poor soil quality or weed infestations, you can improve the overall health and resilience of your lawn.
Whether you’re starting a new lawn or rejuvenating an existing one, the steps you’ll take in preparing the area will largely be the same. The process involves clearing the area of any debris, testing the soil to determine its quality, removing weeds and unwanted vegetation, leveling the ground, and amending the soil as needed. By dedicating time and effort to these early stages, you’ll create an optimal environment for successful grass growth.
However, it’s essential to note that different regions and grass varieties may have specific requirements. Therefore, it’s always a good idea to consult with local experts or extension offices to determine the best practices for your specific area. With that said, let’s dive into the details of how to prep your yard for grass seed!
Key Takeaways:
- Properly preparing your yard for grass seed involves clearing the area, testing the soil, removing weeds and debris, leveling the ground, and choosing the right grass seed. This sets the stage for a healthy and vibrant lawn.
- After seeding, it’s crucial to water and fertilize your lawn, monitor its growth, and perform regular maintenance. By following these steps, you can ensure the long-term success and beauty of your newly seeded lawn.
Read more: How To Flatten Grass Yard
Clearing and Preparing the Area
Before you can start the process of seeding your lawn, it’s essential to clear and properly prepare the area. This step ensures that the grass seed has the best chance of taking root and thriving. Here’s a step-by-step guide on how to clear and prepare your yard:
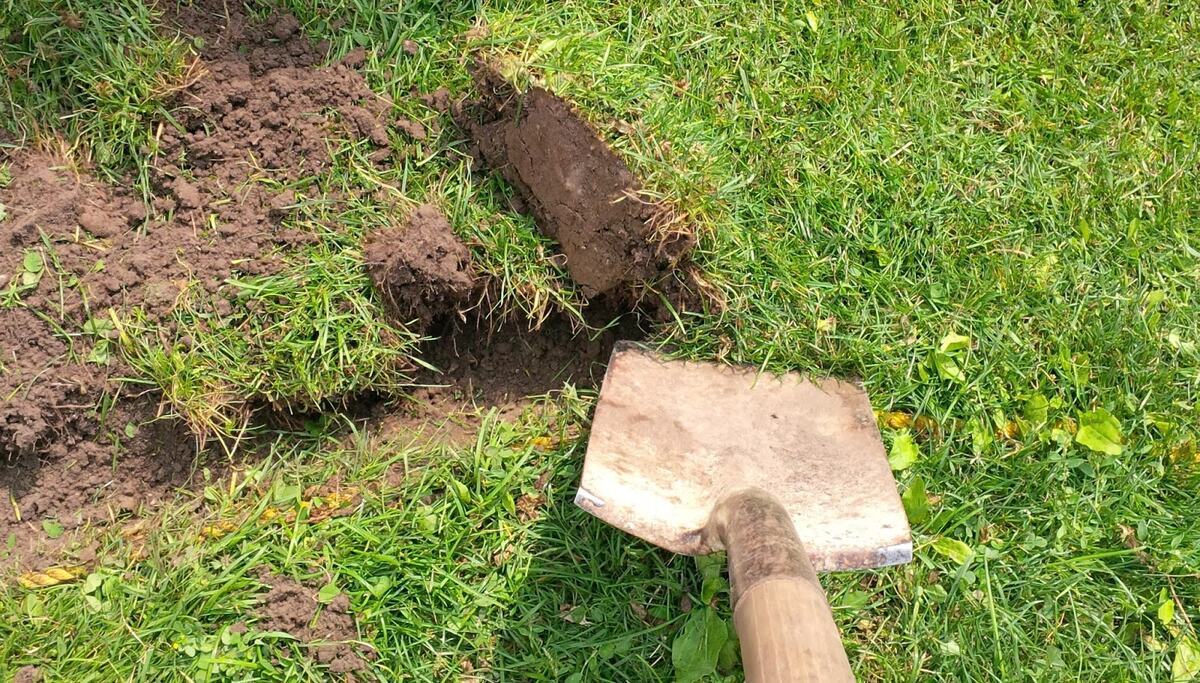
- Remove any existing grass or vegetation: Start by mowing the existing grass as short as possible. For larger areas, you may need to use a sod cutter or rent a tiller to remove the grass. Be sure to remove all plant matter, including any weeds, to create a clean canvas for your new lawn.
- Address any drainage issues: Take note of any areas in your yard that tend to hold water or become waterlogged. These areas may need additional drainage solutions, such as installing drain tiles or regrading the landscape to ensure proper water flow.
- Mark off any boundaries or landscaping features: Use string or stakes to map out the boundaries of your lawn and mark any existing landscaping features or obstacles that you want to work around, such as trees, flower beds, or pathways.
- Clear away debris: Remove any rocks, stones, branches, or other debris from the area. These can hinder grass growth and create an uneven surface. Consider using a rake or leaf blower to make the task easier and more efficient.
Once you’ve completed these initial steps, you’re ready to move on to testing and assessing the quality of your soil. This will help you determine if any amendments are needed to create an optimal growing environment for your grass seed. Stay tuned for the next section to learn more about soil testing and preparation!
Testing the Soil
Testing the soil is a crucial step in preparing your yard for grass seed. It allows you to assess the nutrient levels, pH balance, and overall quality of the soil. By understanding the soil composition, you can make informed decisions about any necessary amendments, ensuring that your grass seed has the best environment to grow. Here’s how to test your soil:
- Collect soil samples: Use a soil sampling tool or a small shovel to collect soil samples from various areas of your yard. Take samples from different locations, such as the front yard, backyard, and any areas with noticeable differences in vegetation or soil quality.
- Prepare the soil sample: Remove any rocks, debris, or plant material from the soil samples. Take a representative portion of each sample (around 1 cup), mix them together in a clean container, and let the mixture air dry for a day or two.
- Send the sample to a lab: Once the soil sample is properly dried, transfer it to a resealable bag or a small container and send it to a soil testing laboratory. Local agricultural extension offices or gardening centers often offer soil testing services or can provide recommendations on where to send your sample.
- Review the soil test results: The lab will analyze your soil sample and provide you with a detailed report of its nutrient content, pH level, and any recommendations for amendments. Pay close attention to the pH level, as this will determine the soil’s acidity or alkalinity.
Based on the soil test results, you may need to make adjustments to ensure optimal growing conditions for your grass seed. Common soil amendments include adding lime to raise pH levels in acidic soils or adding sulfur to lower pH levels in alkaline soils. Additionally, the soil test may indicate a need for specific nutrients like nitrogen, phosphorus, or potassium, which can be addressed through targeted fertilization or organic matter additions.
By testing your soil and making the necessary amendments, you create a solid foundation for your new lawn. With the soil prepared, you’re now ready to tackle the task of removing any weeds and debris to prevent competition with your grass seed. Stay tuned for the next section to learn more about this crucial step!
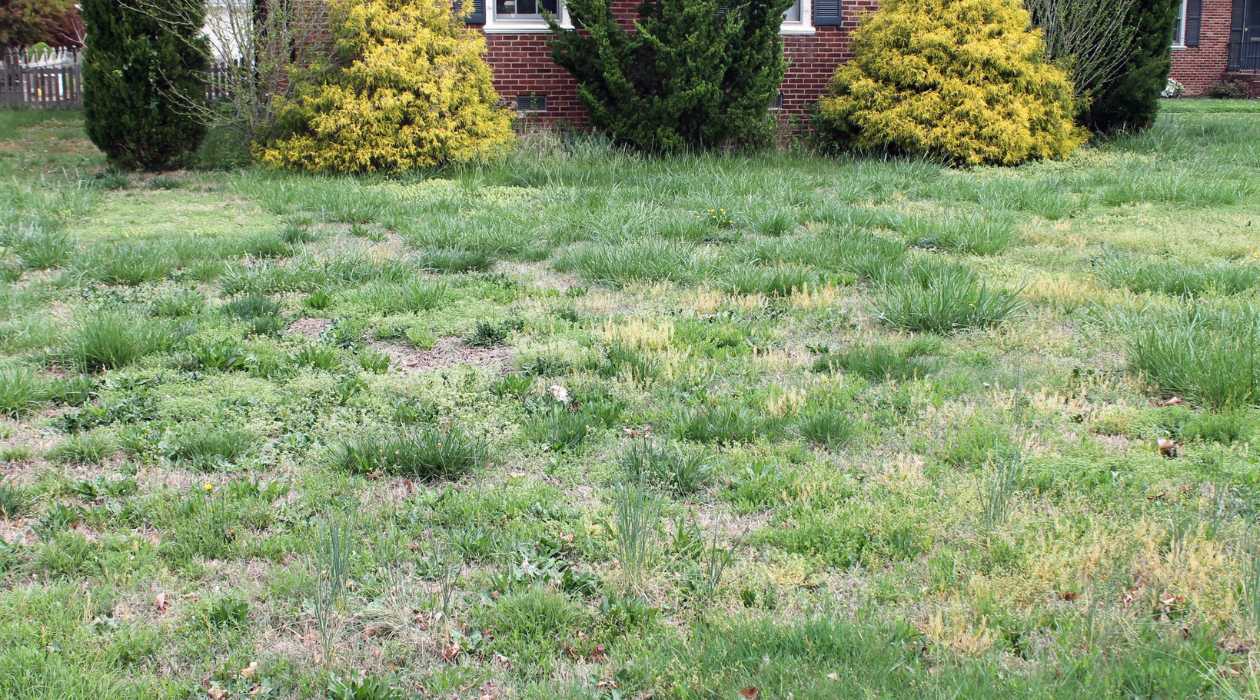
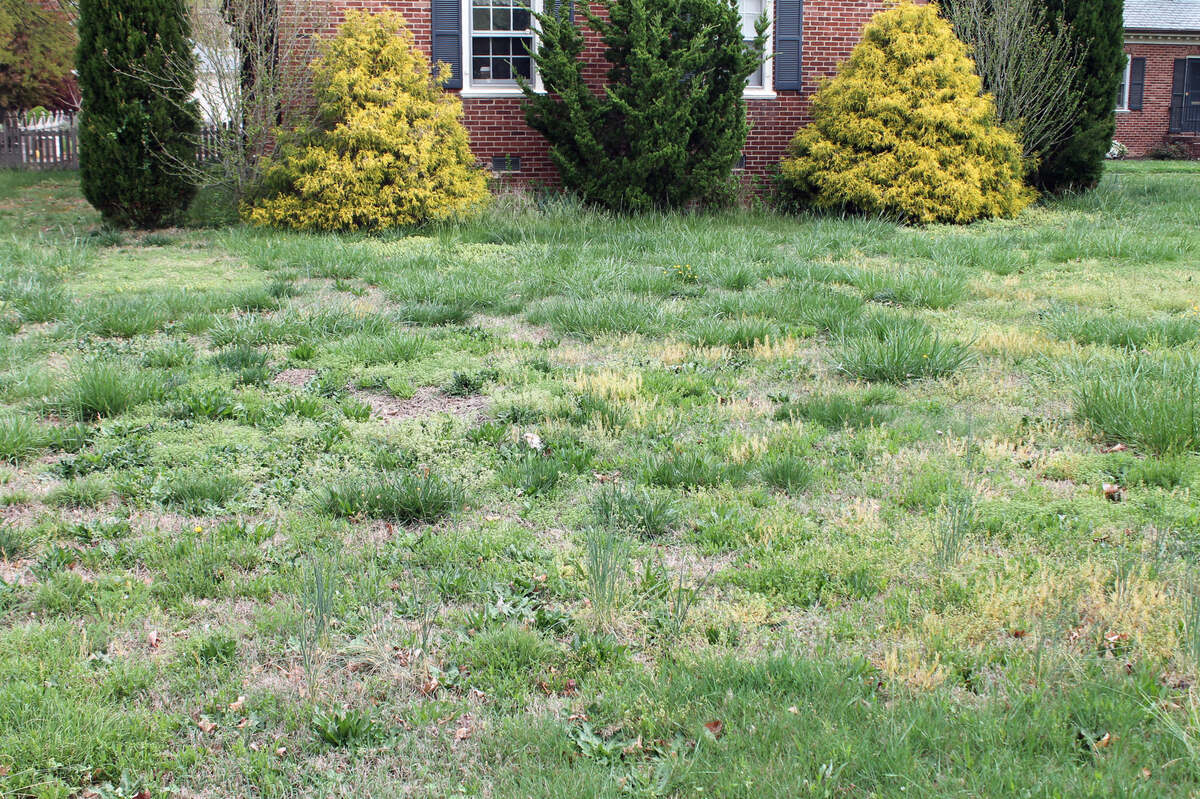
Removing Weeds and Debris
Clearing weeds and debris from the area is an essential step in preparing your yard for grass seed. Weeds can compete with the new grass for nutrients, sunlight, and water, hindering its growth and establishment. Removing debris, such as rocks, sticks, and leaves, will create a clean and even surface for your grass to thrive. Here’s how to effectively remove weeds and debris:
- Identify and classify the weeds: Before removing the weeds, it’s helpful to identify and classify them. This will allow you to determine the most effective method of eradication. Different weeds require different approaches, such as manual removal, herbicide application, or a combination of both.
- Manual weed removal: For small areas or a few isolated weeds, manual removal is a viable option. Use a garden tool, such as a hand trowel or weed puller, to dig up the entire weed, including its roots. Be thorough to prevent regrowth.
- Herbicide application: In cases where weed infestations are extensive or persistent, herbicides can be used to control and eliminate them. Choose a selective herbicide that targets the specific types of weeds without harming the desired grass. Follow the instructions carefully, applying the herbicide at the recommended rate and timing.
- Dispose of weeds properly: After removing or treating the weeds, it’s crucial to dispose of them properly. Bag and discard the weeds in accordance with local waste disposal guidelines. Avoid composting weeds that have gone to seed, as they can spread and create future weed problems.
- Clear away debris: Once the weeds are removed, focus on clearing any debris from the area. Rake up rocks, sticks, leaves, and any other loose materials that could interfere with the grass seed’s germination and growth.
By eliminating weeds and debris, you create a clean and weed-free environment for your new grass seed to flourish. Keep in mind that weed control is an ongoing process, so it’s important to stay vigilant and address any new weed growth as soon as it appears. With the area cleared and ready, the next step is to level the ground, ensuring a smooth and even surface for your grass seed. Stay tuned for the next section!
Leveling the Ground
Once you have cleared the area of weeds and debris, the next step in preparing your yard for grass seed is to level the ground. A smooth and even surface is important for proper water drainage, uniform grass growth, and easy maintenance. Here’s how to level the ground:
- Assess the current ground level: Walk around the area and visually inspect the ground. Look for any noticeable unevenness, low spots, or high areas. These can be caused by natural settling, previous construction work, or other factors.
- Remove any existing high spots: If you find areas where the ground is higher than desired, use a shovel or a turf edger to remove the excess soil. Dig down until the ground is level with the surrounding area.
- Fill in low spots: If you discover any low spots or depressions in the ground, you’ll need to fill them in. Add topsoil or a mixture of soil and compost to the low areas, gradually building up the ground until it is level with the surrounding terrain.
- Compact the soil: Once you have filled in the low spots, use a lawn roller or a compacting tool to lightly tamp down the soil. This helps to create a stable and firm surface for your grass seed.
- Rake and smooth the surface: Use a garden rake to evenly distribute the topsoil and ensure a smooth surface for seeding. Rake out any remaining bumps, rocks, or clumps, and break up any large chunks of soil.
Leveling the ground is an important step in the preparation process, as it promotes uniform grass growth and prevents water pooling. Additionally, a well-leveled surface makes mowing and other lawn maintenance tasks easier and more efficient. Now that the ground is level, it’s time to assess and amend the soil, ensuring it provides optimal conditions for your grass seed. Stay tuned for the next section!
Read more: How To Restore Grass In Yard
Amending the Soil
Amending the soil is a crucial step in preparing your yard for grass seed, as it helps improve the overall quality and fertility of the soil. Soil amendments can provide essential nutrients, enhance drainage, improve soil structure, and create an optimal environment for grass seed germination and growth. Here’s how to effectively amend your soil:
- Refer to your soil test results: If you conducted a soil test, review the recommendations provided by the testing laboratory. The results will indicate any specific nutrient deficiencies or pH imbalances that need to be addressed.
- Add organic matter: One of the most beneficial soil amendments is organic matter, such as compost or well-rotted manure. Spread a layer of organic matter, about 1 to 2 inches thick, over the entire area. Use a rake or a garden tiller to incorporate the organic matter into the top 6 inches of soil.
- Adjust pH levels: If your soil test reveals a pH imbalance, you may need to adjust it by adding lime or sulfur. Lime raises the pH in acidic soils, while sulfur lowers the pH in alkaline soils. Follow the recommendations provided by the soil test to determine the appropriate amount of amendment needed.
- Apply necessary nutrients: If your soil lacks essential nutrients, you can add them through the use of fertilizers. Consider using a slow-release or controlled-release fertilizer that provides a steady supply of nutrients to the growing grass. Follow the instructions on the fertilizer packaging for proper application rates.
- Incorporate amendments into the soil: After adding organic matter, lime, or fertilizers, use a rake or garden tiller to thoroughly mix and incorporate the amendments into the soil. This ensures that the nutrients are evenly distributed and readily available to the grass seed.
Amending the soil before seeding helps create a fertile and nutrient-rich environment, setting the stage for healthy grass growth. The added organic matter improves soil structure, enhances water retention, and promotes beneficial microbial activity. With the soil properly amended, you’re now ready to select the right grass seed for your lawn. Stay tuned for the next section!
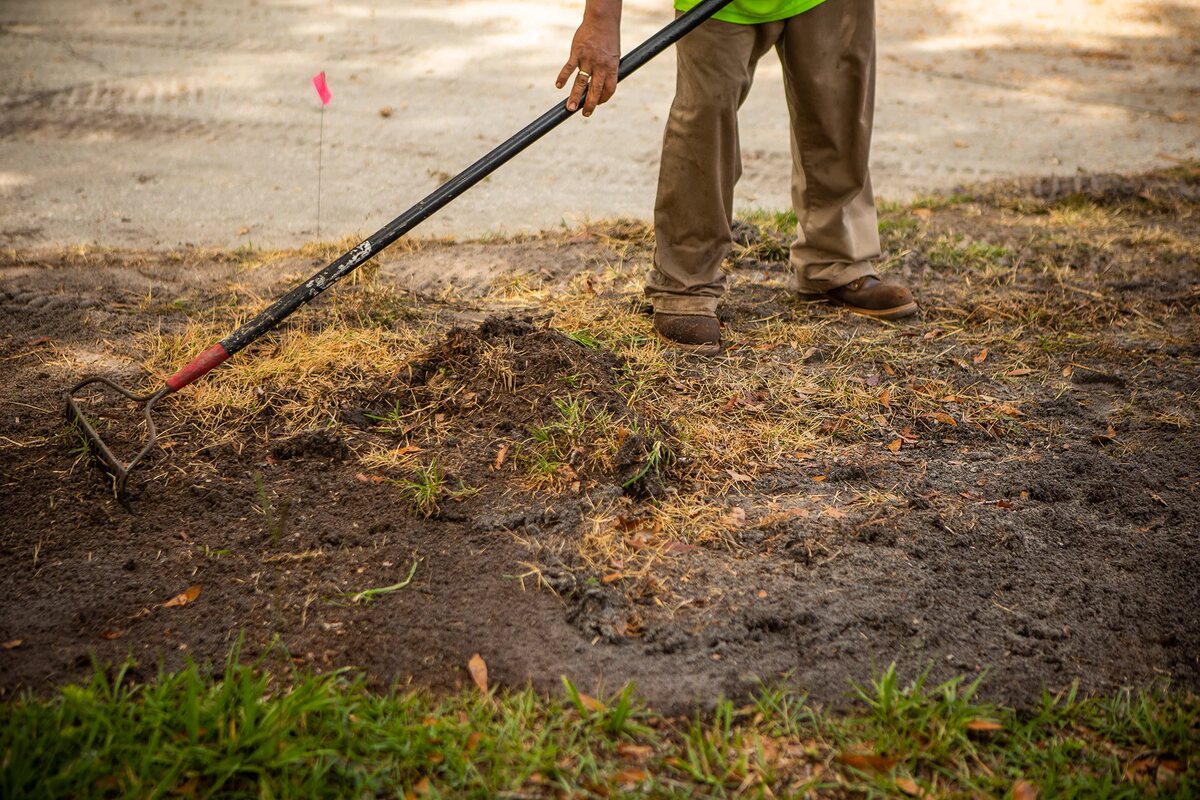
Before seeding, remove any debris and weeds from the yard. Loosen the soil with a rake or tiller to create a good seed bed. Consider adding a thin layer of topsoil if the existing soil is poor.
Choosing the Right Grass Seed
Choosing the right grass seed is a critical step in yard preparation, as it determines the type of grass that will grow in your lawn. Factors such as climate, sunlight exposure, soil type, and desired lawn use should be taken into consideration when selecting grass seed. Here’s a guide to help you choose the right grass seed for your lawn:
- Consider your location: Different grass species thrive in different climates. Determine your hardiness zone to identify the grass varieties that are best suited for your area. Cool-season grasses, such as Kentucky bluegrass and fescue, are ideal for Northern regions, while warm-season grasses, such as Bermuda grass and Zoysia grass, fare well in Southern regions.
- Assess sunlight exposure: Evaluate how much sunlight your lawn receives throughout the day. Some grasses, like Kentucky bluegrass, require full sun, while others, such as fine fescue, can tolerate shade. Choose a grass seed variety that matches the sunlight conditions of your yard.
- Consider soil type and drainage: Different types of grass have preferences for soil type, such as sandy soil or clay soil. Additionally, consider the drainage characteristics of your soil. If you have poor drainage, select a grass seed variety that is more tolerant of wet conditions.
- Determine lawn use: Are you looking for a lawn that can withstand heavy foot traffic and play, or do you prioritize aesthetics and visual appeal? Determine how you will use your lawn to guide your grass seed selection. Some grasses, like perennial ryegrass, are known for their durability, while others, like fine-leaf fescue, offer a more delicate appearance.
- Consider maintenance requirements: Different grasses have varying maintenance needs. Some may require frequent mowing, fertilization, or irrigation, while others are more low-maintenance. Evaluate your willingness and ability to commit to the required maintenance tasks.
- Choose a seed mix or a single variety: Depending on your needs, you can choose a seed mix that combines several grass varieties to achieve a balanced and diverse lawn. Alternatively, you can opt for a single variety if you prefer a more uniform appearance.
By carefully considering these factors, you can select a grass seed variety that is well-suited for your specific lawn conditions and needs. Once you have chosen the grass seed, it’s time to spread it evenly across your prepared yard. Stay tuned for the next section to learn how to properly spread the grass seed!
Spreading the Grass Seed
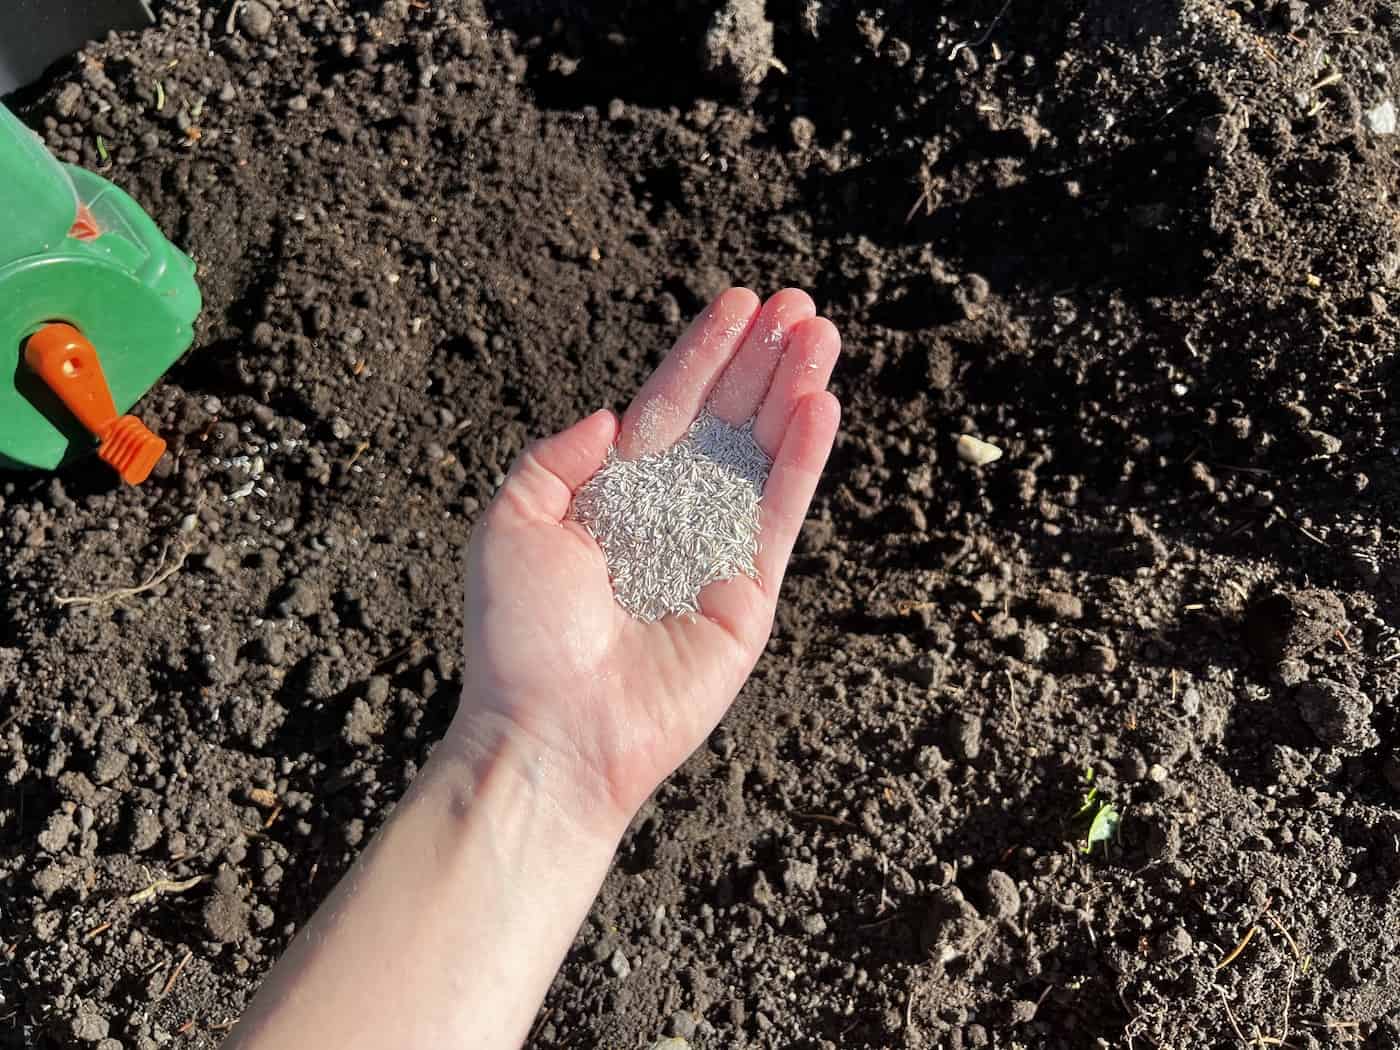
Spreading the grass seed evenly is a crucial step in ensuring uniform and successful lawn establishment. Proper seed distribution allows for optimal germination and avoids sparse or patchy areas. Here’s a guide on how to effectively spread the grass seed:
- Choose the right time: The best time to sow grass seed is during the optimal growing season for your chosen grass variety. Typically, this is in early spring or early fall when the temperatures are cooler, and the soil is still warm.
- Calculate seed quantity: Determine the appropriate amount of grass seed needed based on the square footage of your lawn and the recommended seeding rate provided by the seed manufacturer. Using a spreader can help ensure even distribution.
- Divide the area: If you have a larger lawn, it may be helpful to divide the area into smaller sections to ensure thorough coverage. This allows you to focus on one section at a time and prevents over- or under-seeding.
- Adjust the spreader: Set the spreader to the recommended setting for the grass seed you are using. This information can usually be found on the seed packaging or obtained from the manufacturer’s website.
- Begin spreading: Start at one corner or edge of the lawn and walk at a steady pace, pushing the spreader along. Make parallel passes in one direction, then make perpendicular passes to ensure even distribution. Overlap each pass slightly to avoid any missed spots.
- Watch your speed: Walk at a consistent speed to ensure a consistent seed distribution. Walking too quickly or too slowly can result in uneven coverage.
- Rake and roll: After spreading the seed, gently rake the area with a garden rake to lightly mix the seed into the topsoil. This promotes good seed-to-soil contact. You can also use a lawn roller to press the seed into the soil, aiding in germination.
Remember to follow any specific instructions provided by the grass seed manufacturer, as different seed varieties may have unique requirements. After spreading the grass seed, it’s crucial to ensure proper watering and fertilization to support germination and early growth. Stay tuned for the next section to learn about watering and fertilizing your newly seeded lawn!
Watering and Fertilizing
Watering and fertilizing are essential steps in caring for your newly seeded lawn and promoting healthy grass growth. These practices provide the necessary moisture and nutrients for the seeds to germinate and establish a strong root system. Here’s how to properly water and fertilize your newly seeded lawn:
- Watering:
- Water immediately after seeding: After spreading the grass seed, water the area immediately. This helps to settle the seeds into the soil and initiate the germination process. Use a gentle spray or mist setting to avoid displacing the seeds.
- Keep the soil consistently moist: During the germination and establishment period, it’s crucial to keep the soil moist but not saturated. Water the lawn lightly and frequently, aiming to keep the soil consistently damp. This may require watering multiple times per day, especially in hot or dry conditions.
- Water deeply: Once the grass seed has germinated and the young grass plants have started to grow, transition to less frequent but deeper watering sessions. This encourages the grass roots to grow deeper into the soil, promoting stronger and more drought-resistant turf.
- Adjust watering based on weather conditions: Monitor the weather and adjust your watering schedule accordingly. Increase watering during periods of high heat or drought, and decrease watering during periods of heavy rain or cooler temperatures.
- Use proper watering techniques: Water in the early morning or late afternoon to minimize water loss to evaporation. Avoid watering in the evening to prevent prolonged moisture on the grass, which can lead to disease and fungal growth.
- Fertilizing:
- Wait for the right time: Delay fertilization until the grass seed has germinated and the young grass plants have established. This typically takes around 6 to 8 weeks after seeding.
- Choose the right fertilizer: Select a starter fertilizer specifically formulated for new lawns or grass seed establishment. Look for a fertilizer with a balanced nutrient ratio, such as nitrogen (N), phosphorus (P), and potassium (K).
- Follow the application instructions: Apply the fertilizer according to the recommended rates provided on the packaging. Use a spreader to ensure even coverage and prevent overfertilization.
- Water after fertilizing: After applying the fertilizer, water the lawn thoroughly. This helps to dissolve and activate the nutrients, making them available to the grass roots.
- Maintain regular fertilization: Following the initial application, continue with a regular fertilization schedule based on the needs of your specific grass variety. Work with local experts or follow general guidelines for fertilizing frequency and timing.
Proper watering and fertilizing practices are essential for establishing a healthy and vibrant lawn. By providing adequate moisture and nutrients, you support the growth and development of your newly seeded grass, ensuring a successful lawn transformation. In the next section, we will discuss how to maintain and care for your newly seeded lawn as it continues to grow and mature.
Read more: How To Get Rid Of Crabgrass In Yard
Maintaining the Newly Seeded Lawn
Once you have prepared and seeded your lawn, it’s essential to provide proper care and maintenance to ensure the long-term success and health of your grass. Here are some tips for maintaining your newly seeded lawn:
- Monitor watering: Pay close attention to the moisture levels of your lawn, especially during the germination and establishment phase. Strive to keep the soil consistently moist but not waterlogged. As the grass matures, gradually reduce the frequency of watering and increase the depth of irrigation to encourage deep root growth.
- Mow at the right height: Once the grass reaches a height of about 3 to 4 inches, it’s safe to start mowing. Set your mower blades to a height of around 2 to 3 inches, being careful not to remove more than one-third of the grass blade length in a single mowing. Regular mowing helps promote denser growth and a more uniform appearance.
- Avoid foot traffic: Minimize foot traffic on the newly seeded lawn until the grass is well-established. Walking or playing on the grass too soon can disrupt the delicate root system and potentially create bare spots. Consider placing temporary barriers or signs to prevent accidental damage.
- Address weed issues promptly: Keep an eye out for any new weed growth in your lawn. Weeds compete with the grass for resources and can hinder its growth. Hand-pull weeds as soon as they appear or use a selective herbicide designed to target the specific weed types without harming the grass seedlings.
- Fertilize regularly: As your lawn continues to grow and mature, follow a regular fertilization schedule based on the specific needs of your grass variety. Apply a balanced lawn fertilizer according to the recommended rates and timings. This will help supply the grass with essential nutrients to maintain its health and vigor.
- Perform necessary lawn care practices: Consider aerating the lawn once a year to alleviate soil compaction and improve water and nutrient penetration. Overseeding the lawn annually can also help fill in any thin areas and promote a denser grass cover.
- Practice proper lawn irrigation: Water in the morning to allow the grass blades to dry before evening, which reduces the risk of disease. Irrigate deeply and infrequently to encourage deep root growth and drought tolerance. Adjust the watering schedule based on seasonal weather conditions.
- Monitor and control pests: Keep an eye out for any signs of pests, such as grubs or insects, that can damage your newly seeded lawn. Consult with a professional or refer to specific guidelines for identifying and addressing pests in your area.
By following these maintenance practices, you will help your newly seeded lawn establish a strong and healthy foundation. With proper care and attention, your grass will continue to thrive, providing you with a beautiful and lush landscape. Now you have the knowledge to create and maintain a stunning lawn. Happy gardening!
Conclusion
Congratulations on completing our comprehensive guide on preparing your yard for grass seed! By following the steps outlined in this article, you have equipped yourself with the knowledge and tools to create a beautiful and thriving lawn. Let’s recap the key points:
First, we discussed the importance of clearing and preparing the area, including removing existing grass and vegetation, addressing drainage issues, and clearing away debris. Next, we covered the critical step of testing the soil to determine its quality and making any necessary amendments to improve fertility and balance pH levels. We then explored the process of removing weeds and debris to create a clean and weed-free environment for your grass seed to flourish.
Leveling the ground was another crucial step we covered, ensuring a smooth and even surface for proper water drainage and uniform grass growth. We then discussed the importance of amending the soil with organic matter and adjusting pH levels to create an optimal growing environment for your grass seed.
Choosing the right grass seed was emphasized, considering factors such as climate, sunlight exposure, soil type, and maintenance requirements. Properly spreading the grass seed in a consistent and even manner guarantees a successful and uniform lawn.
Watering and fertilizing the newly seeded lawn were highlighted as essential practices for seed germination and healthy growth. We emphasized the importance of monitoring water levels, following recommended watering schedules, and providing proper nutrients through regular and targeted fertilization.
Lastly, we discussed the significance of maintaining the newly seeded lawn through proper mowing, weed control, regular fertilization, and other necessary lawn care practices. By following these maintenance guidelines, you’ll ensure the long-term health and beauty of your grass.
With the information and tips provided in this guide, you are well-equipped to transform your yard into a lush and vibrant landscape. Remember to consult with local experts or extension offices for region-specific advice and recommendations. Enjoy the process of nurturing and enjoying your new lawn, and may it bring you years of beauty and joy!
Frequently Asked Questions about How To Prep A Yard For Grass Seed
Was this page helpful?
At Storables.com, we guarantee accurate and reliable information. Our content, validated by Expert Board Contributors, is crafted following stringent Editorial Policies. We're committed to providing you with well-researched, expert-backed insights for all your informational needs.


0 thoughts on “How To Prep A Yard For Grass Seed”