Home>Garden Essentials>How To Install Turf In Yard
Garden Essentials
How To Install Turf In Yard
Modified: August 17, 2024
Learn how to install turf in your garden and transform your yard into a lush and green oasis. Step-by-step instructions and expert tips for a beautiful lawn.
(Many of the links in this article redirect to a specific reviewed product. Your purchase of these products through affiliate links helps to generate commission for Storables.com, at no extra cost. Learn more)
Introduction
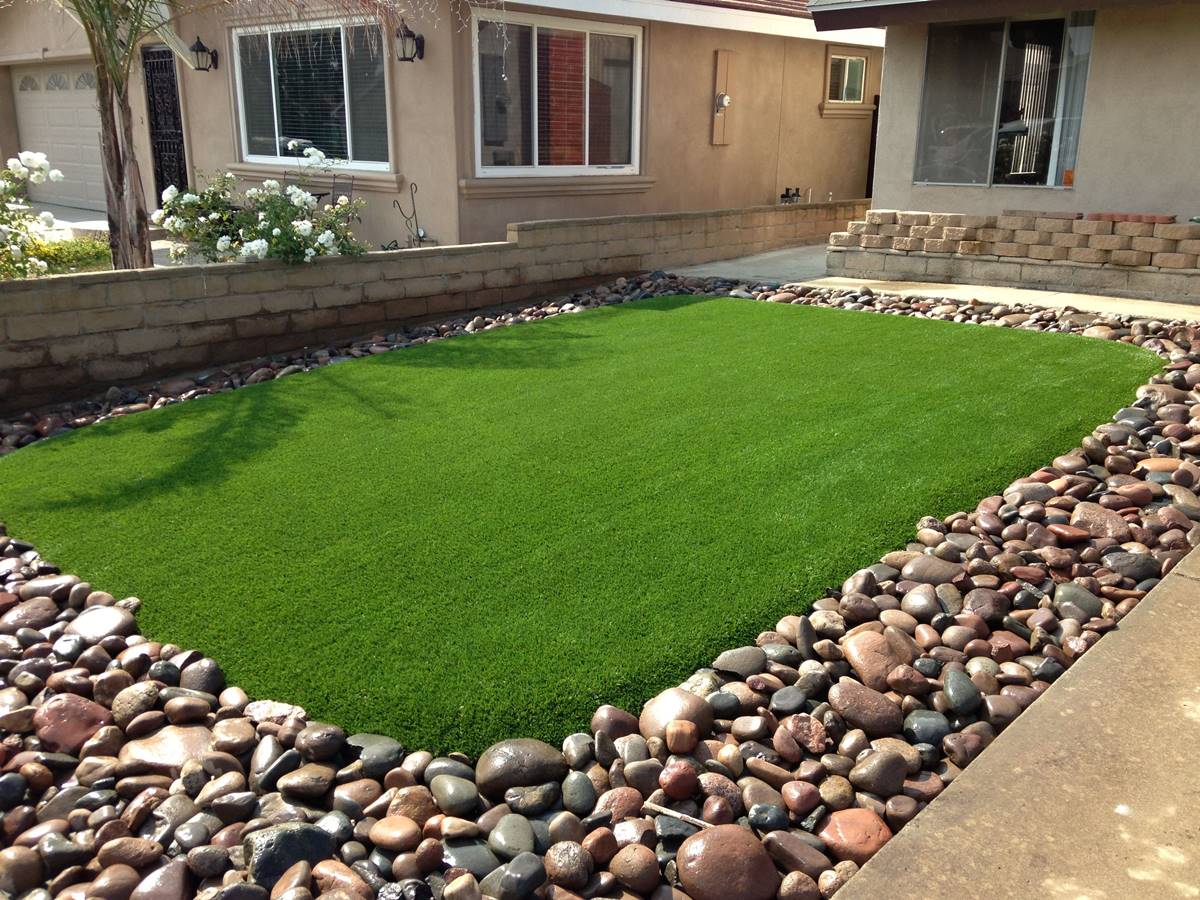
Welcome to our comprehensive guide on how to install turf in your yard. Whether you are creating a lush green lawn from scratch or replacing existing grass, installing turf can give your yard an instant upgrade. With a few simple steps, you can transform your outdoor space into a beautiful, vibrant oasis.
Having a well-maintained, green lawn not only enhances the aesthetic appeal of your home but also provides a pleasant space for outdoor activities and relaxation. Installing turf is a cost-effective and time-efficient way to achieve a stunning lawn without the hassle of seeding and waiting for the grass to grow.
In this guide, we will take you through the step-by-step process of installing turf in your yard. From preparing the ground to caring for your new lawn, we will provide you with all the information you need to successfully complete the installation. So, let’s get started and create the yard of your dreams!
Key Takeaways:
- Preparing the yard, measuring accurately, and caring for the turf are essential for a successful installation. Follow these steps to create a beautiful, vibrant oasis in your yard without the hassle of seeding.
- Proper soil evaluation, watering, and maintenance are crucial for a healthy turf. By following these steps, you can enjoy a lush and beautiful lawn for years to come, perfect for outdoor activities and relaxation.
Read more: How To Install Turf Grass
Step 1: Preparing the Yard
Before you begin the process of installing turf, it is important to prepare the yard properly. This crucial step will ensure a smooth and successful installation. Here are the key steps involved in preparing the yard:
Clearing the area
Start by clearing the area where you plan to install the turf. Remove any debris, rocks, or large objects that may hinder the growth of the grass. This step will create a clean and even surface for the turf to be laid.
Leveling the ground
Next, you need to ensure that the ground is level. Uneven terrain can affect the appearance and durability of the turf. Use a shovel or a garden rake to level the ground, removing any high spots and filling in any low areas. This will provide a smooth base for the turf.
Removing existing grass
If you have existing grass in the yard, it is important to remove it before installing the turf. Use a sod cutter or a shovel to dig and remove the existing grass. Make sure to remove the grass along with its roots to prevent it from growing through the new turf.
By taking the time to properly prepare the yard, you are setting the foundation for a successful turf installation. This will ensure that your new lawn looks beautiful and lasts for years to come.
Read more: How To Install Fake Turf
Step 2: Measure and Order Turf
Once you have prepared the yard, the next step is to measure the area and calculate the amount of turf needed for your project. Here are the steps involved:
Measuring the yard
Start by measuring the length and width of your yard using a measuring tape. Take accurate measurements of all areas where you plan to install the turf, including any irregular shapes or curves. It’s a good idea to break the yard into smaller sections to make measuring easier.
Calculating the amount of turf needed
Once you have the measurements, you can calculate the amount of turf you need. Most turf suppliers sell turf in rolls, and each roll typically covers a certain square footage. To determine the number of rolls needed, divide the total square footage of your yard by the square footage coverage of each roll.
It’s always a good idea to order a little extra turf to account for any mistakes or cutting waste. It’s better to have a little extra than to come up short during installation.
Ordering the turf
With your measurements and calculations in hand, it’s time to order the turf. Look for reputable turf suppliers in your area and compare prices and quality. Consider factors such as the type of turf, its durability, and any specific requirements for your climate.
Contact the supplier and place an order for the required amount of turf. Provide them with your measurements and any additional information they may need, such as the delivery date and address.
By accurately measuring and ordering the right amount of turf, you can ensure a smooth and efficient installation process. This will save you time, money, and unnecessary hassle.
Read more: How To Install Turf On Deck
Step 3: Evaluate Soil Conditions
Before installing the turf, it is crucial to evaluate the soil conditions in your yard. This step will help you determine if any amendments or preparations are necessary for optimal grass growth. Here are the key aspects to consider:
Testing the soil pH
Start by testing the pH level of your soil. You can easily purchase a soil testing kit from a garden center or have a professional test the soil for you. The ideal pH range for turfgrass is between 6 and 7. If your soil pH falls outside this range, it may be necessary to adjust it by adding lime to raise the pH or sulfur to lower the pH.
Amending the soil
After testing the pH, evaluate the overall quality of your soil. Sandy soil tends to drain quickly, while clay soil retains too much water. Both types of soil may require amendment to improve drainage and nutrient retention. Add organic matter, such as compost, peat moss, or well-rotted manure, to improve soil structure and fertility.
Adding fertilizers and compost
Apply a balanced slow-release fertilizer to provide essential nutrients to the soil. Follow the manufacturer”s recommendations for application rates and timing. In addition to fertilizers, consider incorporating compost into the soil. Compost enriches the soil with organic matter and improves its overall health, leading to healthier turf growth.
By evaluating and addressing the soil conditions, you are creating a favorable environment for your turf to thrive. Healthy soil provides the necessary nutrients and structure for strong root development and vibrant grass growth.
Read more: How To Install Turf For Pets
Step 4: Installing the Turf
Now that you have prepared the yard and evaluated the soil conditions, it’s time to start installing the turf. Follow these steps to ensure a seamless installation process:
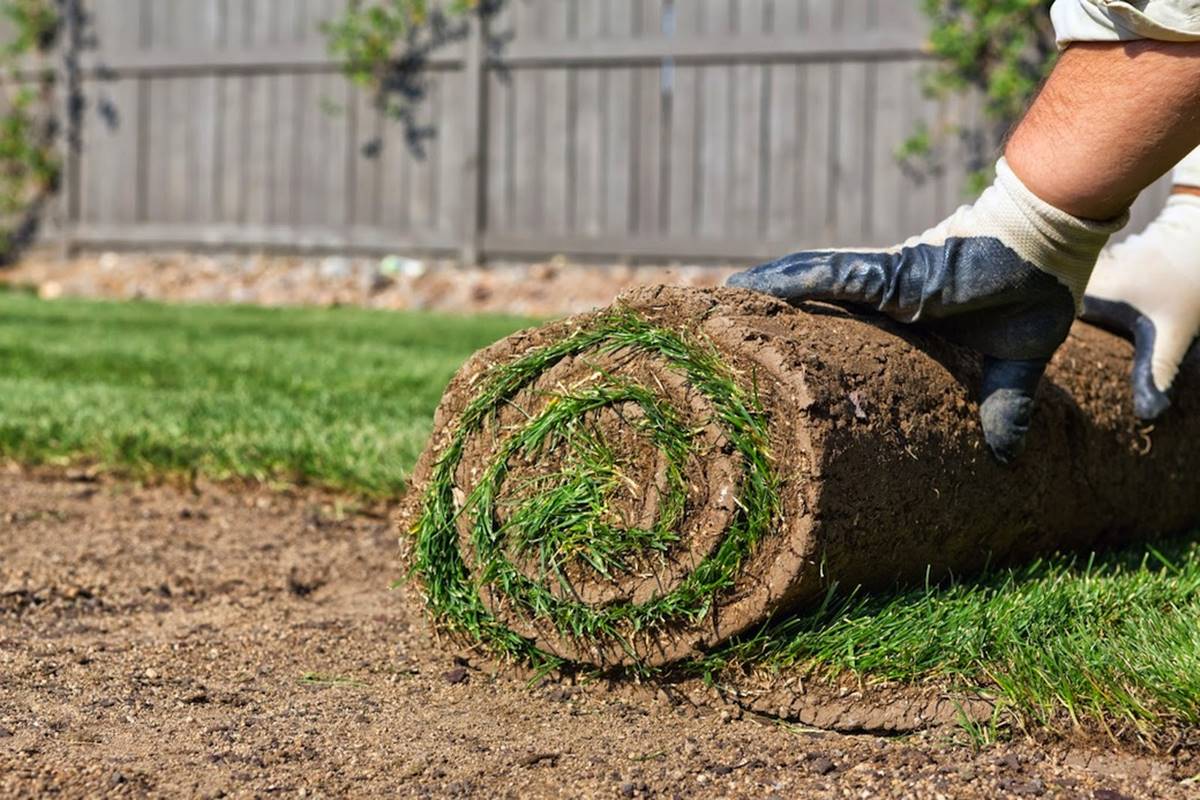
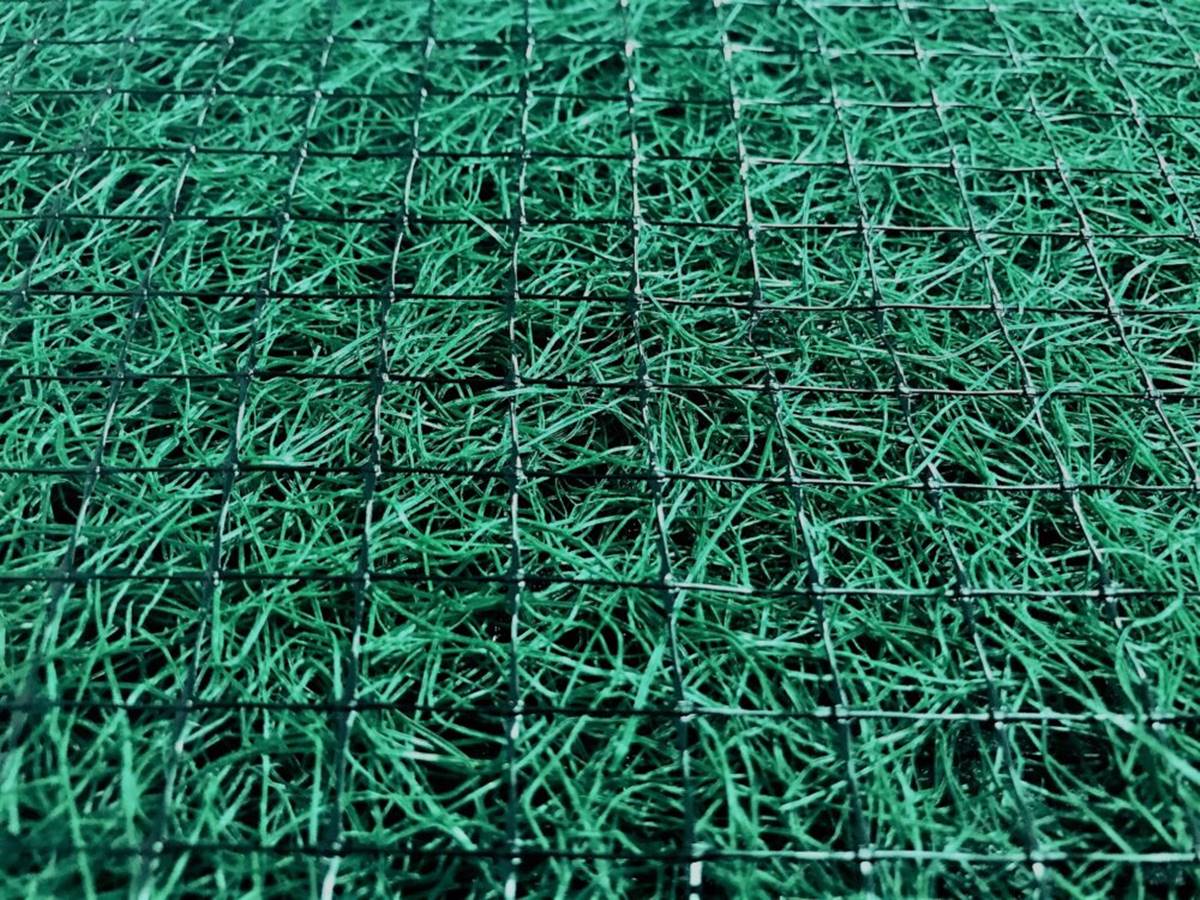
Preparing the turf rolls
Start by inspecting the turf rolls upon delivery. Ensure that the grass is fresh, healthy, and free from any damage or discoloration. It’s crucial to install the turf as soon as possible after delivery to prevent it from drying out.
Give the turf rolls a gentle soaking with water to keep them hydrated if needed. Avoid over-watering, as excessive moisture can create difficulties during installation.
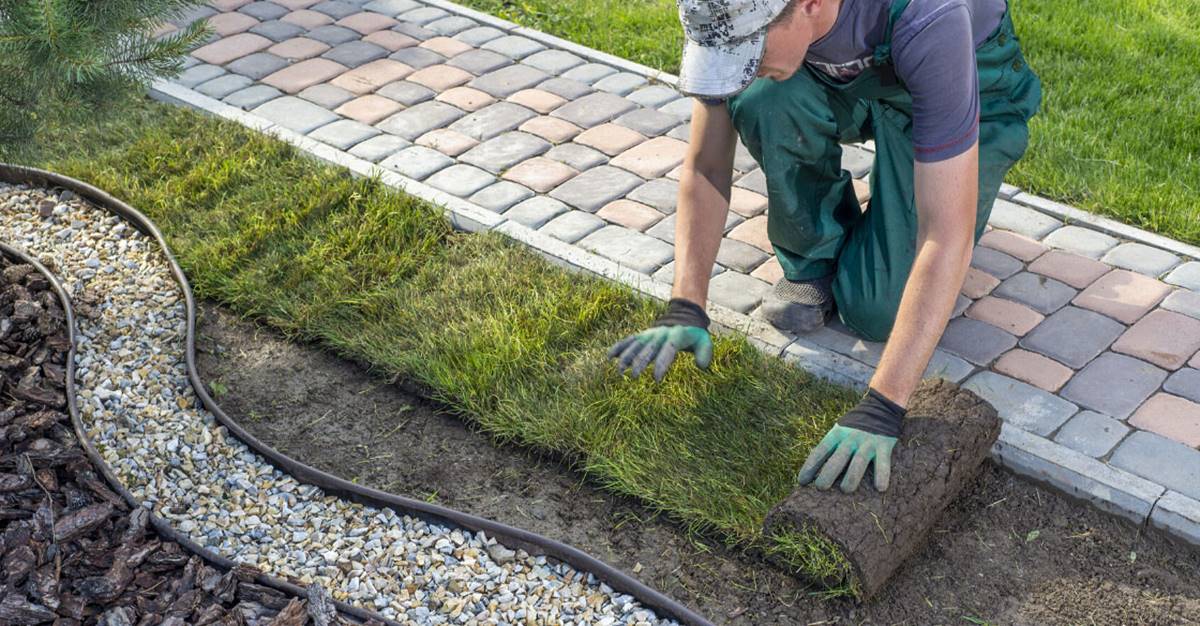
Laying the first row
Begin the installation by laying the first row of turf along a straight edge, such as a driveway or sidewalk. Unroll the turf carefully, ensuring that the edges are aligned neatly with the edge of the prepared area. Avoid stretching or pulling the turf, as this can cause it to shrink or become misshapen over time.
Press down firmly on the turf after installation to ensure good soil contact and proper root establishment.
Installing subsequent rows
Continue installing the subsequent rows of turf, staggering the joints in a brickwork pattern. This pattern helps to create a seamless and stable lawn. Gently press the seams together to eliminate gaps between the rolls of turf.
Ensure that each row is pushed up against the previous row tightly to minimize any visible seams.
Read more: How To Install Turf On Concrete
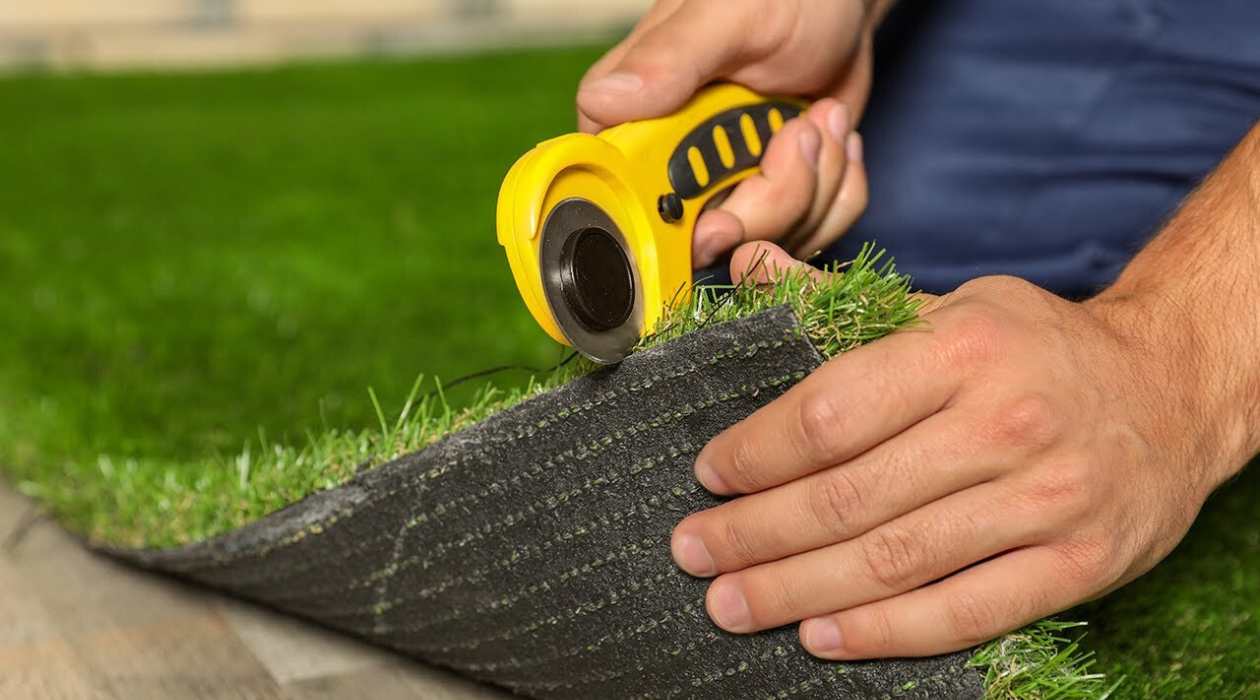
Trimming and shaping the turf
Once all the turf is in place, use a sharp utility knife or turf cutter to trim any excess along the edges. Be careful to cut neatly and avoid damaging the grass blades.
If you have irregularly shaped areas, use a template or the backside of a shovel to trace the desired shape onto the turf, and then make the necessary cuts.
By following these steps, you can achieve a professional-looking turf installation that will provide a lush and beautiful lawn for years to come.
Step 5: Watering and Caring for the Turf
After installing the turf, it’s essential to properly care for it to ensure its health and longevity. Follow these steps to keep your new turf looking lush and vibrant:
Watering the new turf
Water the new turf immediately after installation to help it establish roots. Keep the turf consistently moist for the first few weeks by watering it lightly every day. As the roots begin to establish, gradually reduce the frequency of watering but increase the amount of water applied each time.
It’s important to water deeply to encourage deep root growth, but avoid overwatering, as it can lead to shallow root systems and susceptibility to diseases.
Mowing and trimming
Once the new turf has firmly rooted, usually after a few weeks, it’s time to start mowing. Set your lawn mower to the appropriate height for your turf grass variety and mow regularly to maintain a consistent height. Avoid cutting more than one-third of the grass blade in a single mowing session to prevent stress on the turf.
Regularly trim the edges of the lawn to keep it looking tidy. Use a string trimmer or edging tool to create clean and defined borders.
Read more: How To Install Turf On Dirt
Fertilizing and weed control
Apply a slow-release turf fertilizer according to the manufacturer’s instructions to provide the turf with essential nutrients. A well-nourished lawn will be more resistant to diseases and weeds.
Implement a weed control program by regularly inspecting the lawn and removing any weeds by hand or using a herbicide specifically formulated for turfgrass. Preventive measures, such as proper mowing, watering, and fertilizing, will also help to minimize weed encroachment.
Dealing with common issues
Keep an eye out for common issues such as pest infestation, diseases, or dry patches. If you notice any signs of problems, promptly address them by seeking advice from a local garden center or contacting a turf professional. Proper and timely intervention can help resolve issues and maintain the health of your turf.
By following these watering and care guidelines, you will ensure that your turf remains healthy, vibrant, and free from common issues, providing you with a beautiful lawn to enjoy.
Conclusion
Congratulations! You have successfully learned how to install turf in your yard. By following the step-by-step guide outlined in this article, you have transformed your outdoor space into a beautiful and vibrant oasis.
From preparing the yard, measuring and ordering the right amount of turf, evaluating soil conditions, installing the turf, to watering and caring for it, each step plays a crucial role in ensuring a successful turf installation.
By properly preparing the yard, you have created a level and clear surface for the turf. Measuring the yard accurately and ordering the right amount of turf has saved you time and prevented any delays in the installation process.
Evaluating the soil conditions and making necessary amendments has provided an ideal environment for the turf to thrive. And finally, watering and caring for the turf will ensure its health and longevity, giving you a lush and beautiful lawn.
Remember to follow good lawn maintenance practices such as regular mowing, proper fertilization, weed control, and addressing any issues that may arise promptly. This will help maintain the health and appearance of your turf for years to come.
Enjoy your new turf and make the most of your outdoor space. Whether you’re hosting outdoor gatherings, playing with children, or simply relaxing in the sun, your beautiful turf will provide the perfect setting.
Keep in mind that different regions and turfgrass varieties may have specific requirements, so it’s always a good idea to consult local experts or professionals for tailored advice based on your specific location.
Now, get out there and enjoy your transformed yard with your lush, green turf! Happy landscaping!
Frequently Asked Questions about How To Install Turf In Yard
Was this page helpful?
At Storables.com, we guarantee accurate and reliable information. Our content, validated by Expert Board Contributors, is crafted following stringent Editorial Policies. We're committed to providing you with well-researched, expert-backed insights for all your informational needs.


0 thoughts on “How To Install Turf In Yard”