Home>Garden Essentials>How To Preserve Cantaloupe Seeds

Garden Essentials
How To Preserve Cantaloupe Seeds
Modified: September 1, 2024
Learn how to preserve cantaloupe seeds in your garden with these simple steps. Preserve the seeds to use for future plantings and enjoy fresh cantaloupes year after year.
(Many of the links in this article redirect to a specific reviewed product. Your purchase of these products through affiliate links helps to generate commission for Storables.com, at no extra cost. Learn more)
Introduction
Welcome to the wonderful world of gardening! If you’re a gardening enthusiast, you likely understand the joy of growing your own fruits and vegetables. One popular fruit that many gardeners love to grow is the cantaloupe. With its sweet, juicy flesh, this melon is a favorite for summertime snacks and refreshing desserts.
But what about the seeds? Did you know that you can harvest and preserve cantaloupe seeds to grow your own plants in future seasons? That’s right! By saving and storing cantaloupe seeds properly, you can continue to enjoy the delicious fruit year after year.
In this article, we will guide you through the process of preserving cantaloupe seeds. From harvesting the fruit to testing seed viability, we will cover all the steps necessary to ensure successful seed preservation. So, grab your gardening gloves and let’s get started!
Key Takeaways:
- Preserve cantaloupe seeds by harvesting ripe fruit, cleaning and drying seeds, and storing them in a cool, dark place. Test seed viability periodically to ensure successful future planting.
- Enjoy the satisfaction of growing your own cantaloupes by preserving and planting seeds. Follow proper techniques and provide optimal growing conditions for a steady supply of delicious fruit.
Read more: How To Save Cantaloupe Seeds
Step 1: Harvesting the Cantaloupe
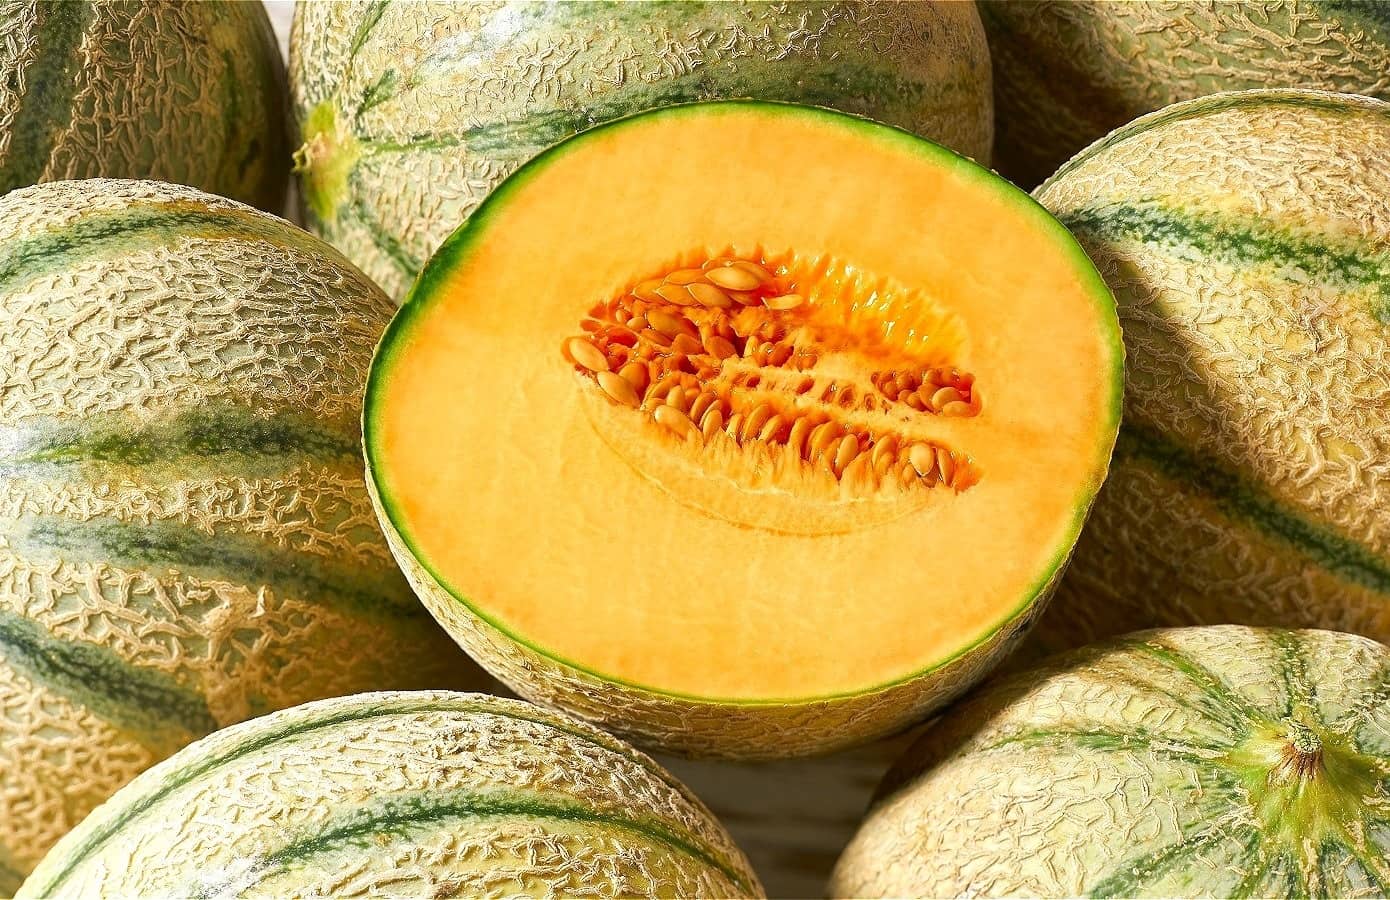
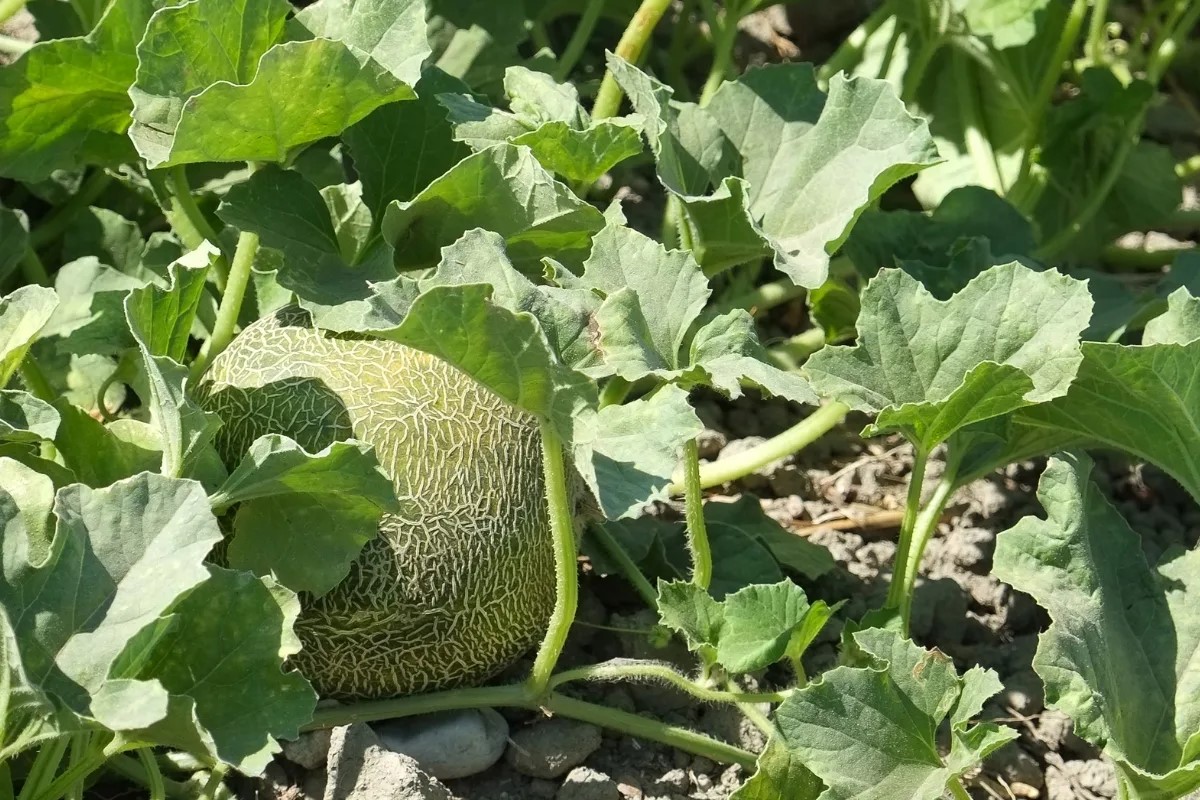
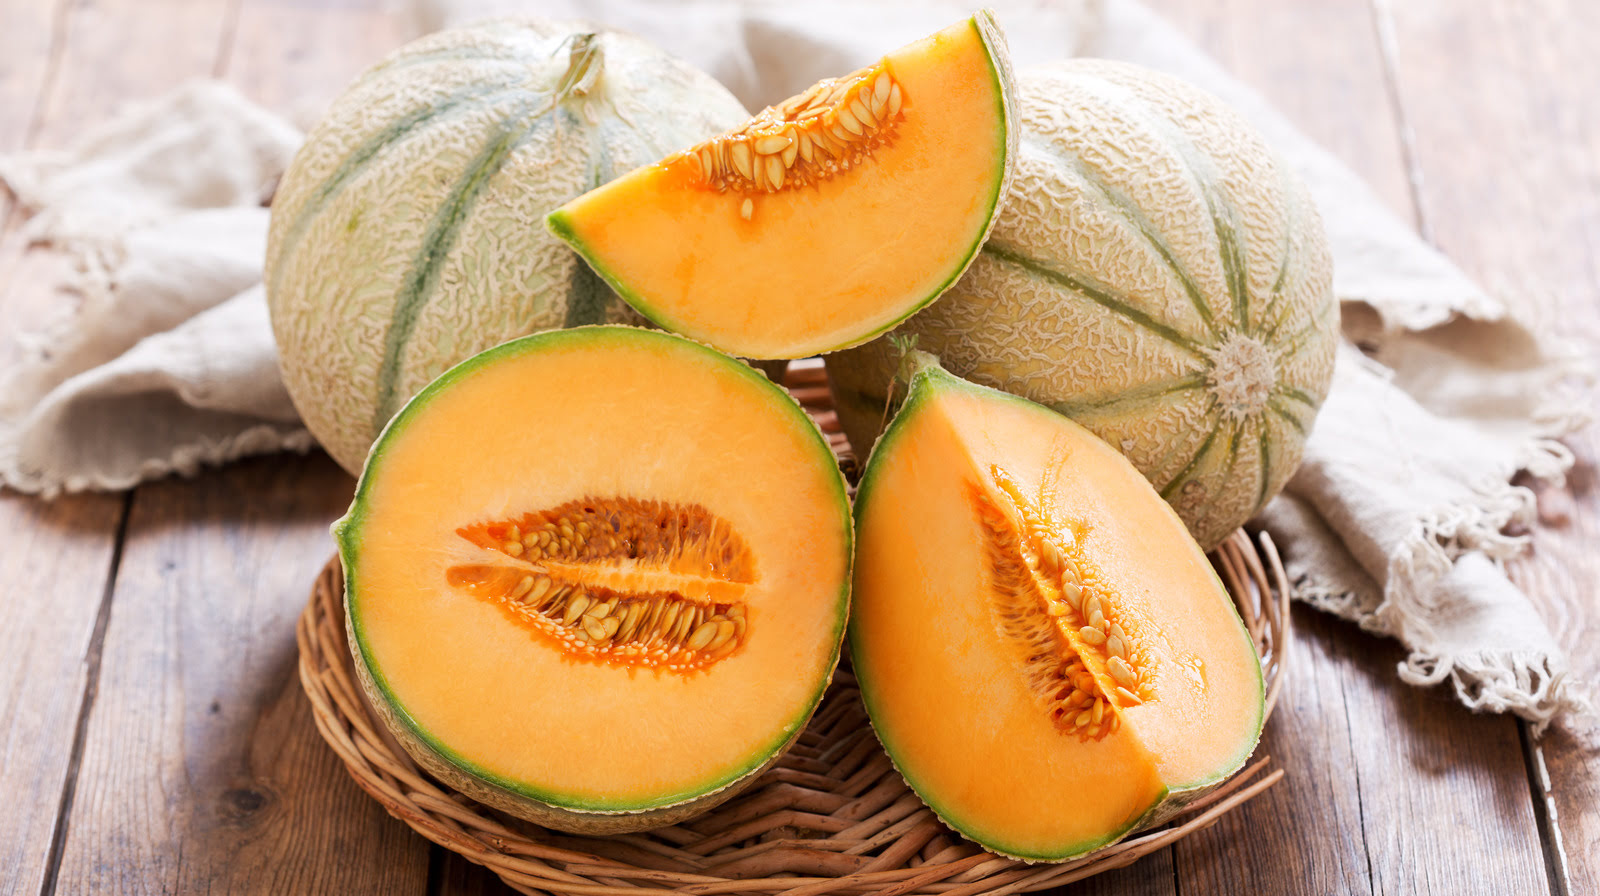
The first step in preserving cantaloupe seeds is to harvest the ripe fruit. It’s important to wait until the cantaloupe is fully ripe before harvesting to ensure that the seeds are mature and viable for future planting.
To determine if a cantaloupe is ready for harvesting, look for a few key signs. First, check the rind color. Ripe cantaloupes will have a golden or yellowish color, indicating that they are sweet and ready to be enjoyed. Next, gently press on the blossom end of the fruit. If it gives slightly and feels slightly soft, it is likely ripe. Lastly, give it a sniff – a ripe cantaloupe will have a sweet, fragrant aroma.
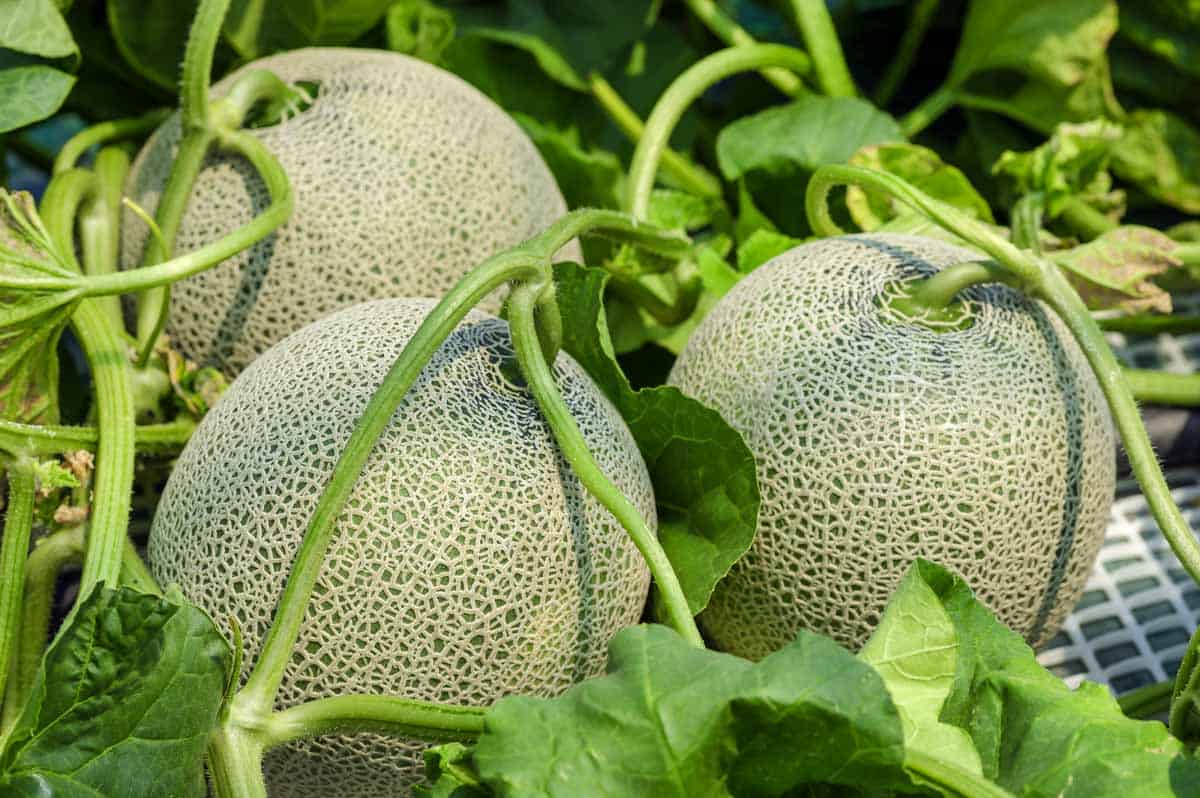
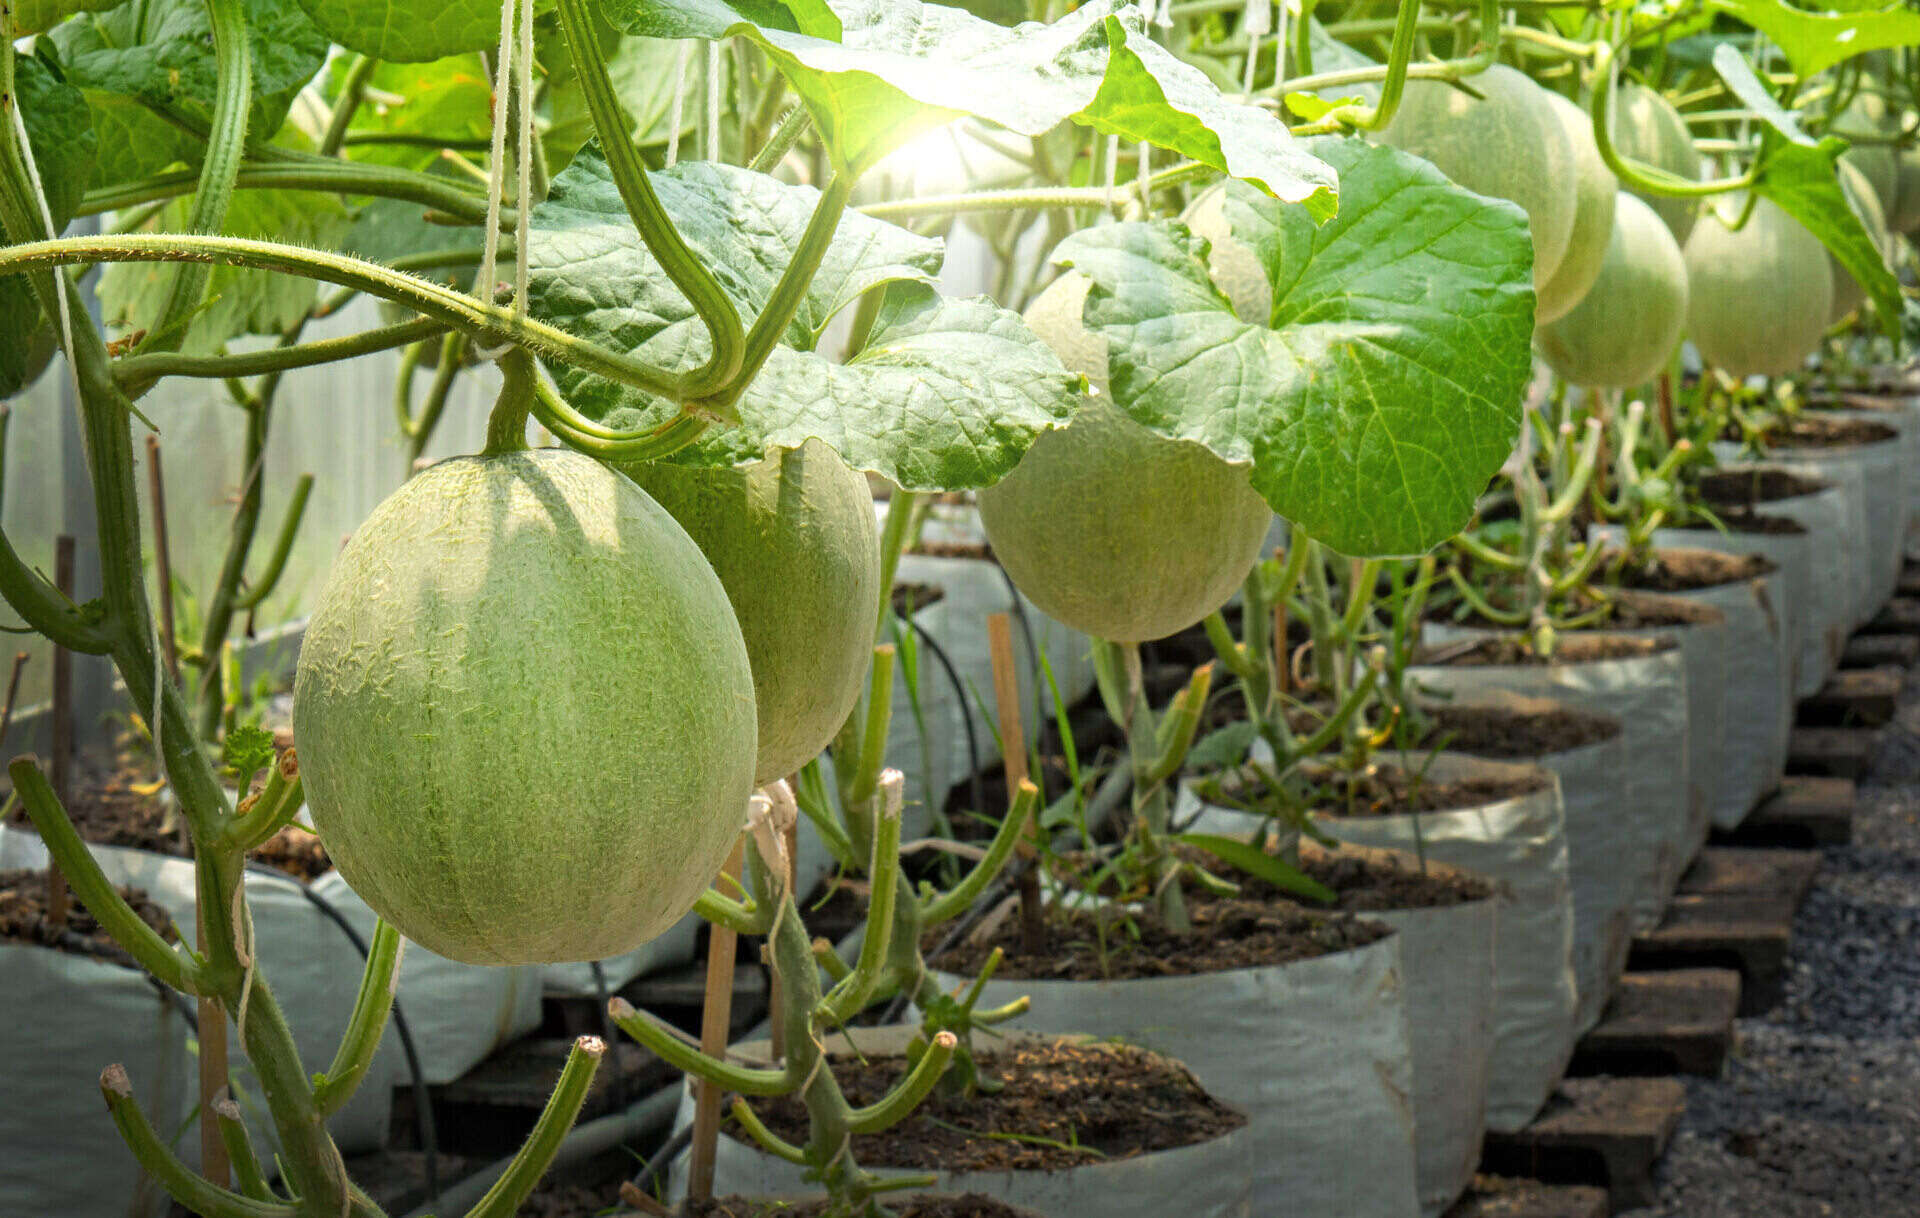
Once you’ve identified a ripe cantaloupe, it’s time to harvest it. Use a sharp knife or garden shears to cut the fruit from the vine, leaving a short stem attached. Be careful not to damage the fruit or the seeds inside.
After harvesting the cantaloupe, it’s best to place it in a cool, dry location for a few days to allow it to fully ripen and develop its flavors. This will also help the seeds mature and become easier to extract.
Now that you’ve harvested your ripe cantaloupe, you’re ready to move on to the next step: cleaning and drying the seeds.
Step 2: Cleaning and Drying the Seeds
After harvesting a ripe cantaloupe, it’s time to extract, clean, and dry the seeds for preservation. This step is crucial to ensure that the seeds remain viable and free from any contaminants.
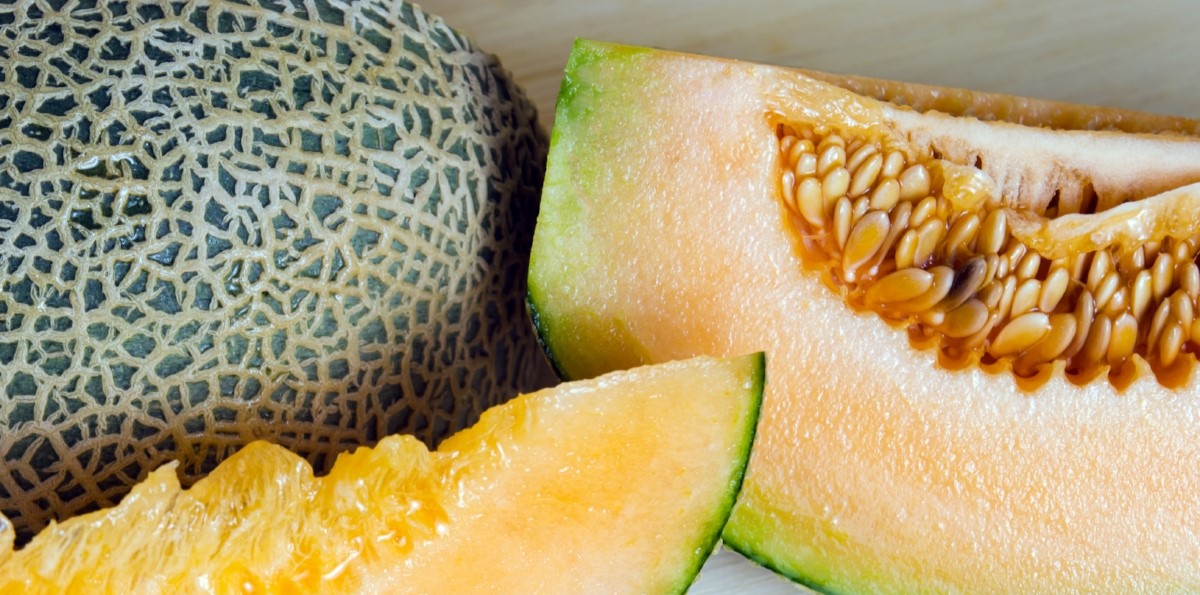
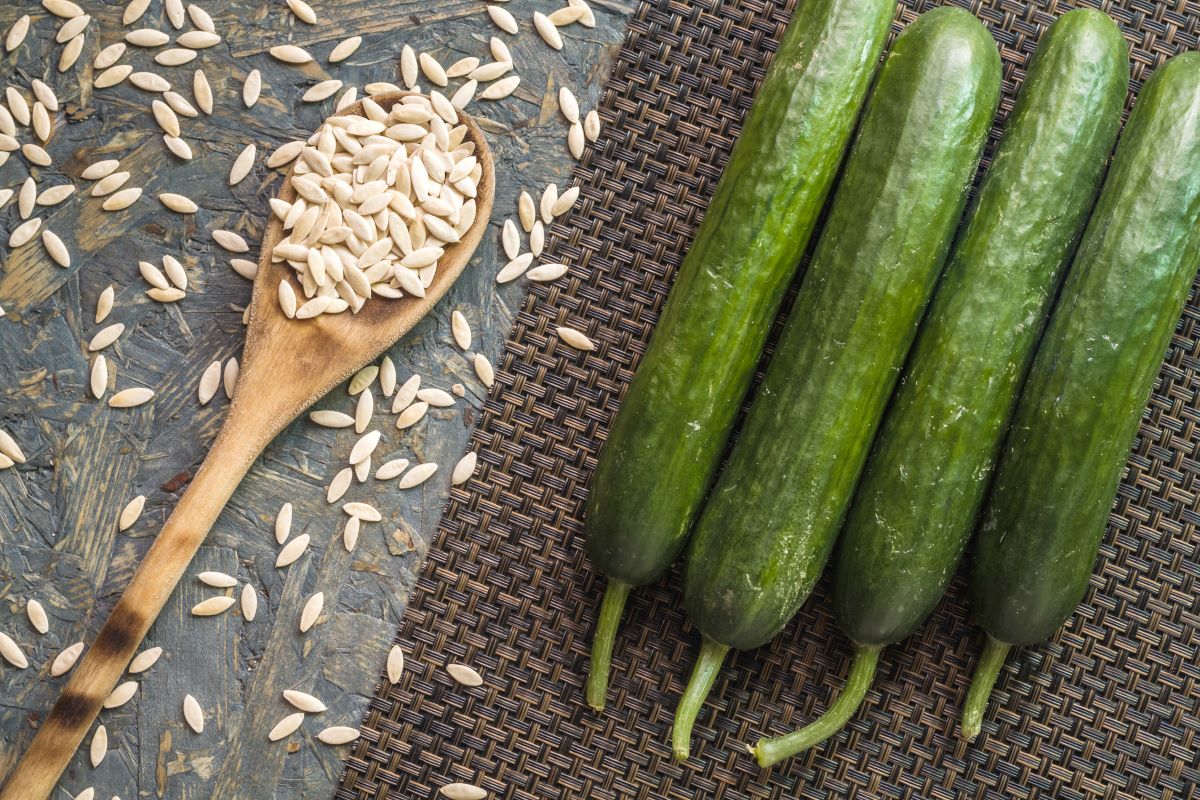
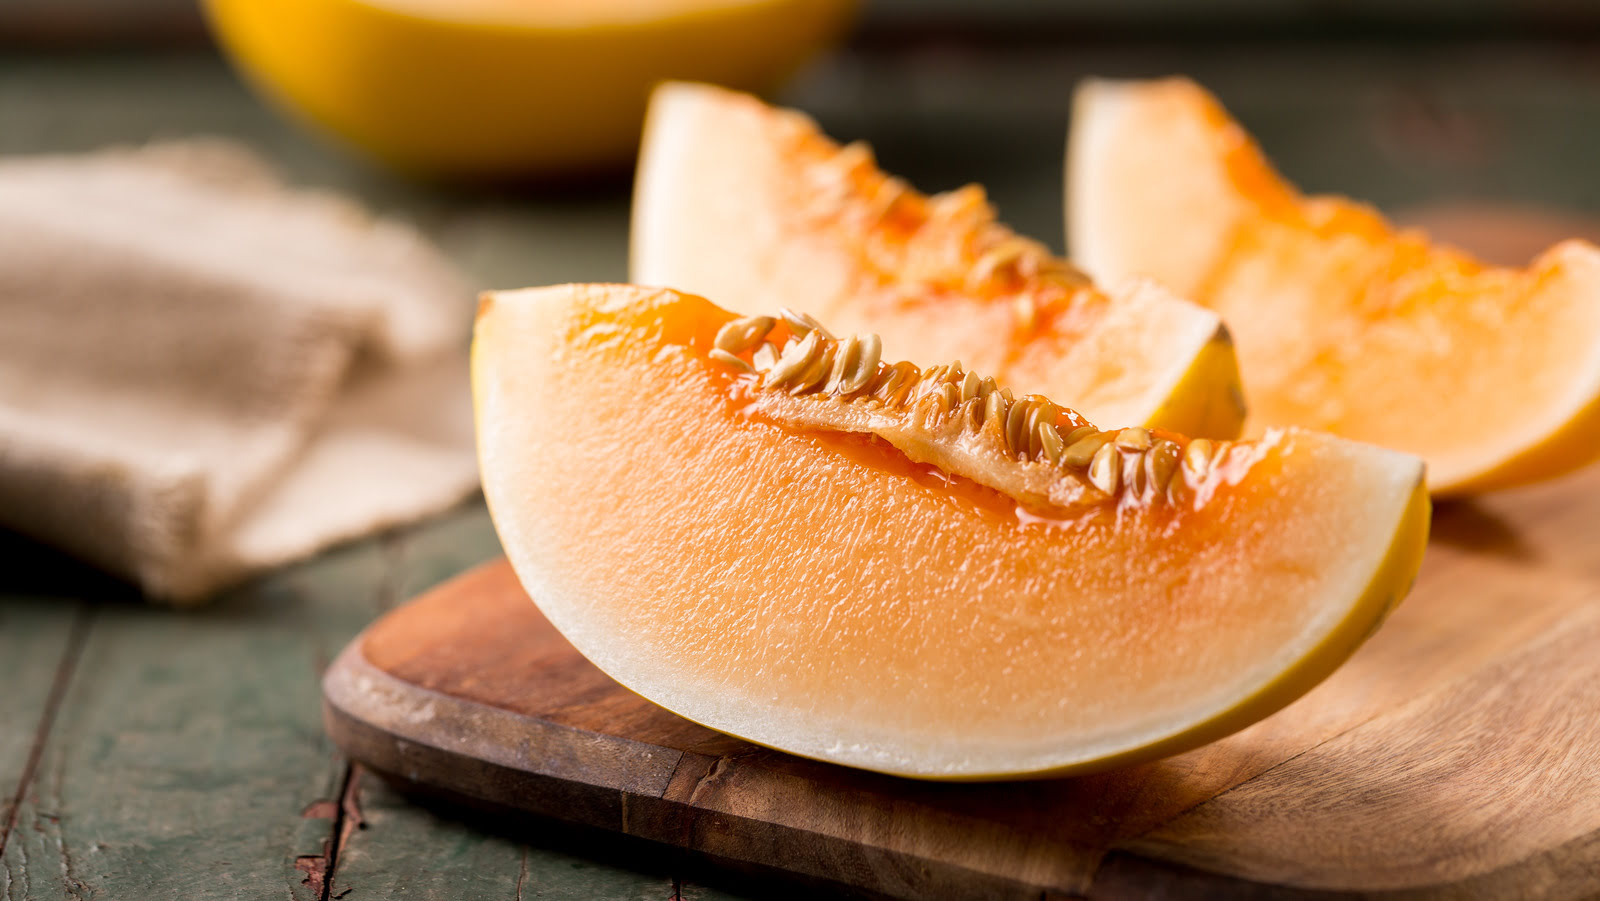
To begin, cut the cantaloupe open and scoop out the seeds using a spoon. Place the seeds in a bowl of water and gently rub them between your fingers to remove any excess pulp or residue. This process will help separate the seeds from the pulp.
Once the seeds are clean, transfer them to a colander or sieve. Rinse them under running water to remove any remaining debris. It’s important to thoroughly rinse the seeds to ensure that no pulp or contaminants are left behind.
After rinsing, lay the seeds on a paper towel or clean cloth to dry. It’s best to let them air dry naturally for a few days. Make sure not to place them in direct sunlight or in a humid area, as this can cause the seeds to mold or lose viability.
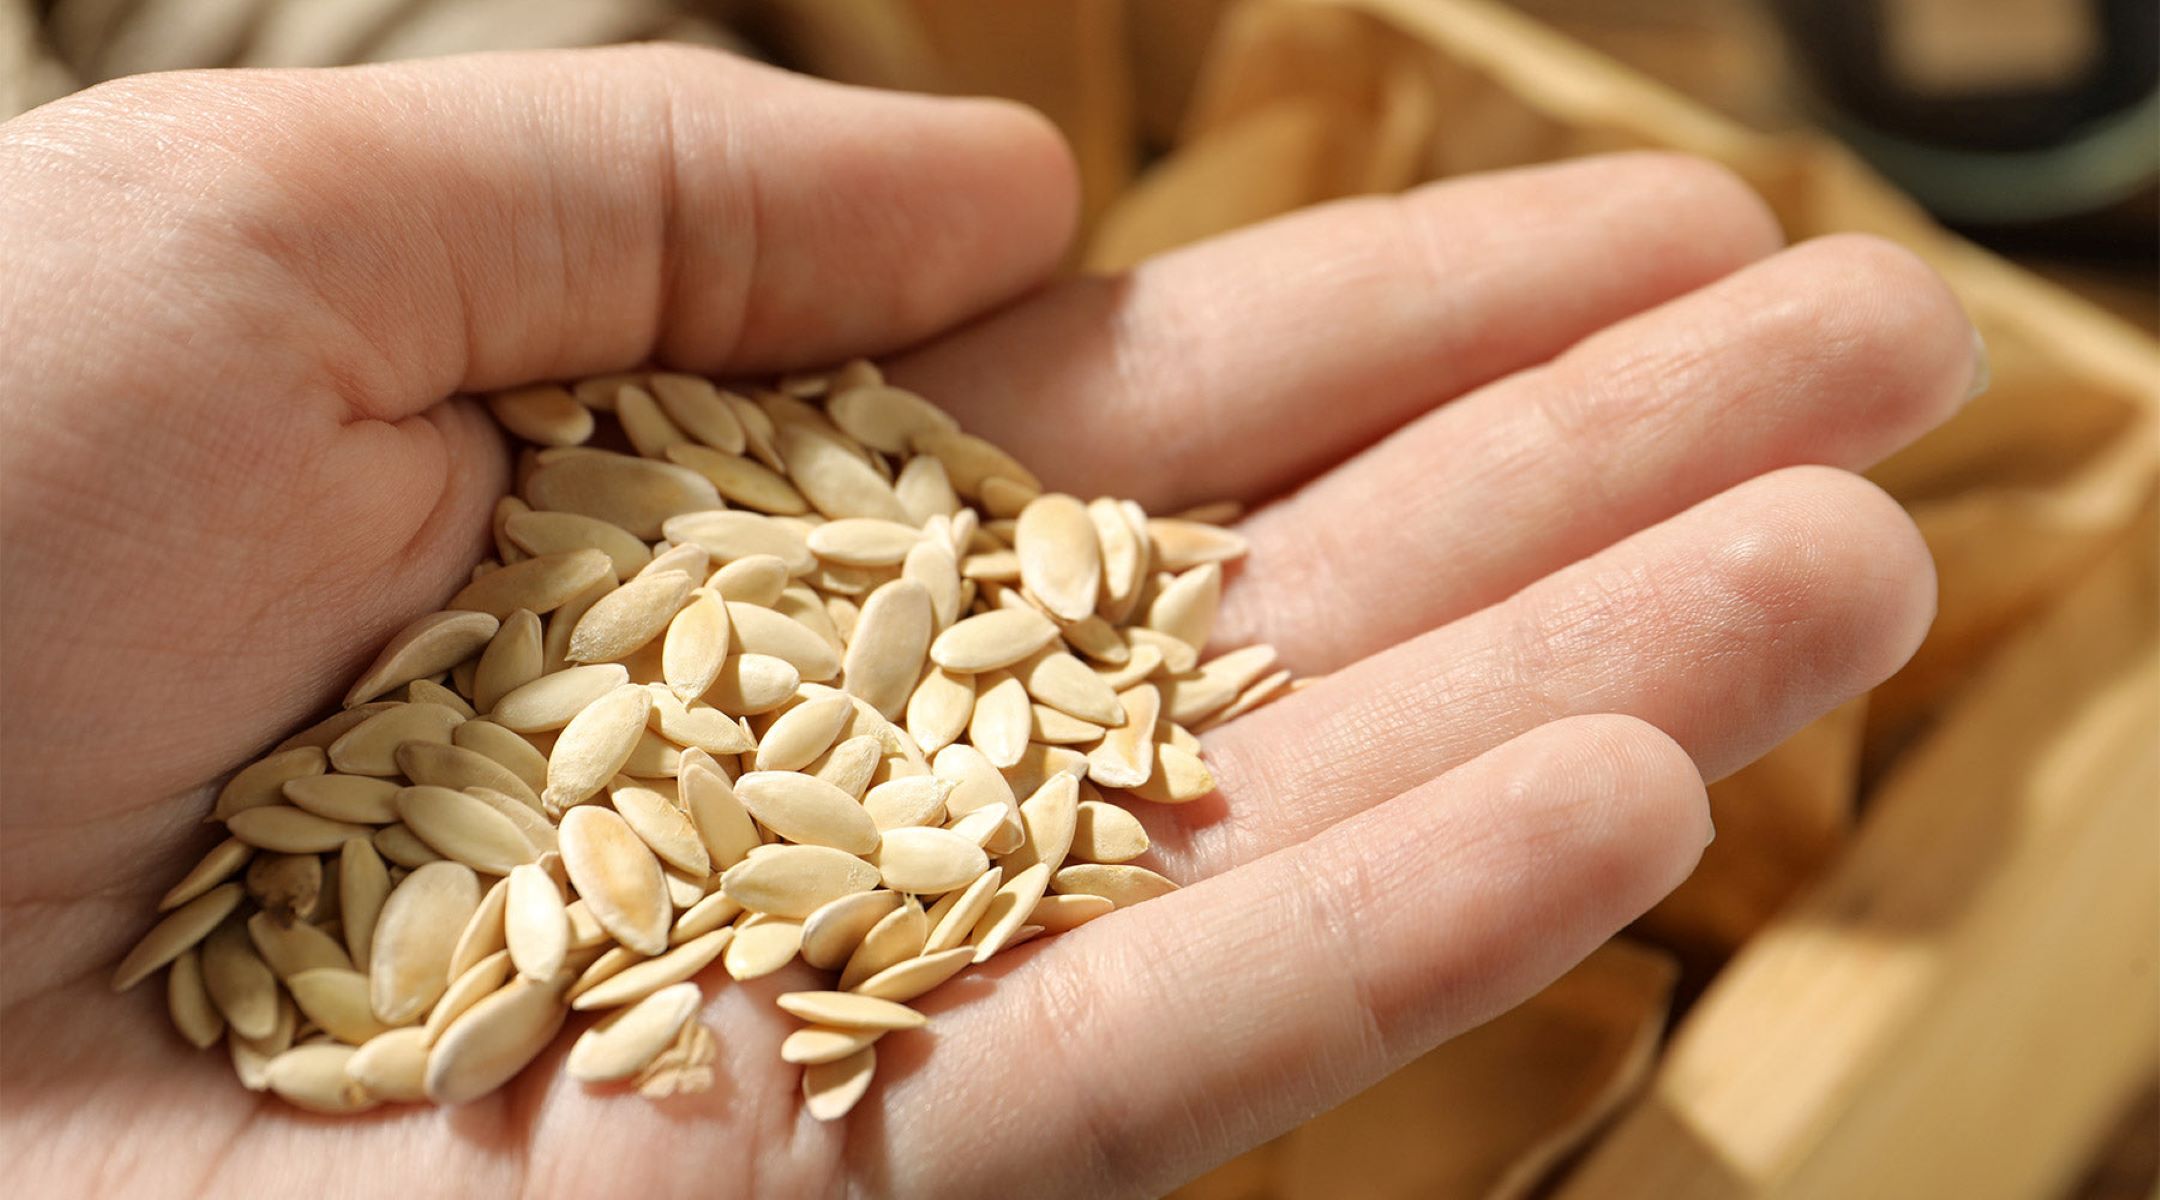
You’ll know that the seeds are fully dry when they become hard and brittle. You can also perform a “snap test” – if the seed breaks cleanly when bent, it is dry enough for storage.
Once the seeds are completely dry, it’s time to move on to the next step: storing the seeds for future use.
After removing the seeds from the cantaloupe, rinse them thoroughly to remove any pulp. Then, spread the seeds out on a paper towel and allow them to air dry completely before storing them in a cool, dry place.
Step 3: Storing the Seeds
Proper storage is essential to maintain the viability and quality of cantaloupe seeds. When stored correctly, these seeds can remain viable for several years, allowing you to plant them in future growing seasons.
The first consideration when storing cantaloupe seeds is to ensure that they are completely dry, as moisture can lead to rot and mold. Double-check the seeds’ dryness before proceeding with storage.
One popular method of seed storage is using paper envelopes or small, labeled containers. These provide a breathable environment for the seeds and allow for easy organization and identification. Consider using envelopes or containers specifically designed for seed storage, as they often have moisture-absorbing properties to further protect the seeds.
To store the seeds, place them in the chosen envelopes or containers and seal them tightly. It’s a good idea to label each envelope or container with the seed variety and the date of collection. This information will help you keep track of the seeds’ age and origin.
For added protection against moisture and pests, you can also place the seed envelopes or containers in airtight plastic bags or glass jars. This extra layer of protection will help maintain the seeds’ integrity over an extended period.
Find a cool, dark, and dry location for seed storage. A pantry or a basement shelf that maintains a stable temperature is ideal. Avoid storing the seeds in areas prone to temperature fluctuations, such as garages or sheds, as this can reduce their viability.
Remember to periodically check on the stored seeds to ensure they remain dry and free from any signs of mold or pests. If you notice any issues, remove and discard affected seeds immediately to prevent the spread of contaminants.
Now that you’ve successfully stored your cantaloupe seeds, it’s crucial to periodically test their viability to ensure successful germination in the future. This brings us to the next and final step: testing seed viability.
Step 4: Testing Seed Viability
Testing the viability of your stored cantaloupe seeds is an important step to determine whether they are still likely to germinate and grow into healthy plants. Seed viability can decline over time, so it’s essential to periodically assess the viability before planting.
There are a few simple tests you can perform to check the viability of your cantaloupe seeds:
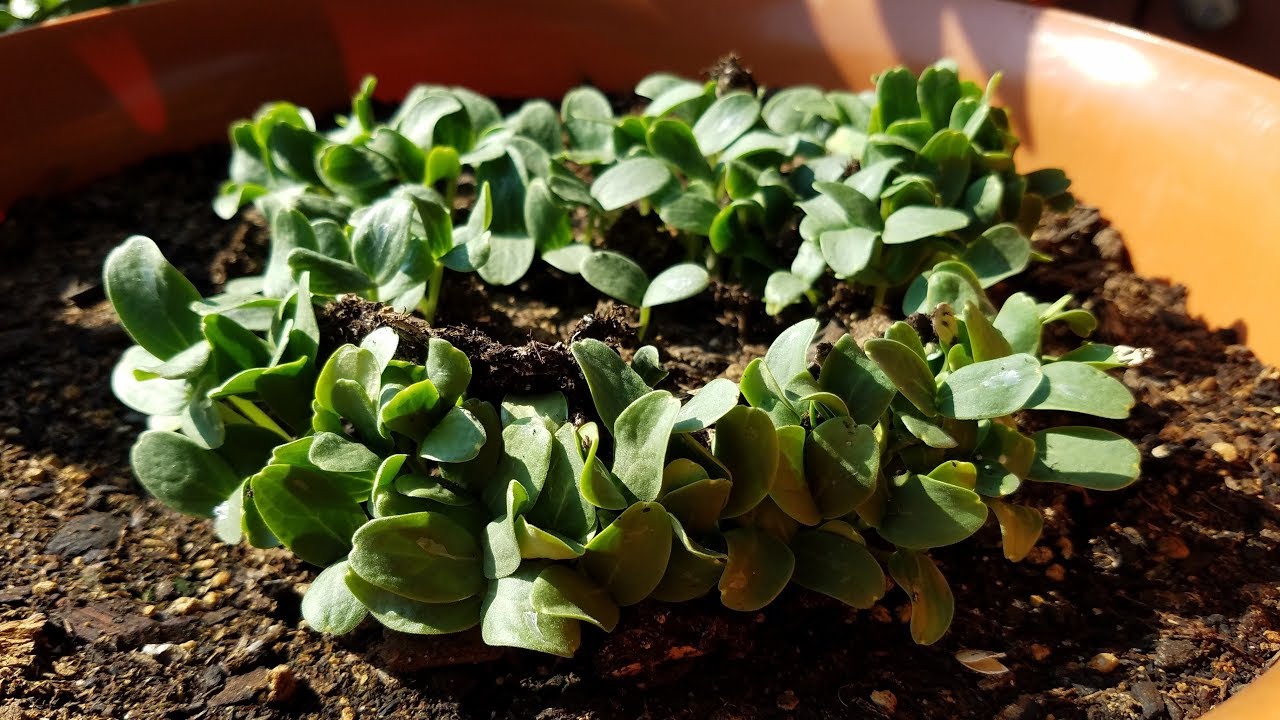
- Water Germination Test: Take a few seeds from your stored collection and place them on a moist paper towel or in a small dish with moist soil. Keep the seeds in a warm and well-lit location. Within a week, check for signs of germination. If the majority of seeds sprout, it indicates good viability. If only a few seeds germinate or none at all, it may be an indication of low viability.
- The Float Test: Fill a glass with water and place a few seeds in it. If the seeds sink to the bottom, they are likely viable. However, if they float, it may indicate that the seeds are not viable and have lost their ability to germinate.
By conducting these tests, you can assess the viability of your cantaloupe seeds and determine whether they are still worth planting in your garden.
If the test results indicate low viability or if you have concerns about the quality of the stored seeds, it may be a good idea to replenish your seed collection with fresh seeds from a reputable supplier.
Remember, as with any gardening endeavor, it’s essential to follow proper planting techniques and provide optimal growing conditions to maximize the success of your cantaloupe seedlings.
Congratulations! You’ve learned how to harvest, clean, dry, store, and test the viability of cantaloupe seeds. With these steps, you can ensure a steady supply of delicious cantaloupes straight from your garden year after year.
Happy gardening!
Read more: How To Plant Cantaloupe Seeds
Conclusion
Preserving cantaloupe seeds is a rewarding and practical way to ensure a continuous supply of this delicious fruit in your garden. By following the steps outlined in this article, you can successfully harvest, clean, dry, store, and test the viability of your cantaloupe seeds.
Remember, selecting fully ripe cantaloupes for harvesting is crucial to ensure that the seeds are mature and viable. Cleaning and drying the seeds properly are essential to prevent any contamination and maintain their viability. Storing the seeds in a cool, dark, and dry place will help preserve their integrity over time.
Periodically testing the seed viability will give you an indication of their ability to germinate and grow into healthy plants. If the test results show a decline in viability, consider refreshing your collection with new seeds from a reliable source.
Gardening is a journey filled with experimentation and learning, and the preservation of cantaloupe seeds allows you to continue that journey with a sense of continuity. By preserving and planting your own seeds, you not only ensure a supply of fresh, homegrown cantaloupes but also become part of the beautiful cycle of nature.
So, go ahead and enjoy the satisfaction of growing your own cantaloupes from your preserved seeds. With a little care and patience, you can experience the joy of harvesting and savoring the fruits of your labor.
Happy gardening!
Frequently Asked Questions about How To Preserve Cantaloupe Seeds
Was this page helpful?
At Storables.com, we guarantee accurate and reliable information. Our content, validated by Expert Board Contributors, is crafted following stringent Editorial Policies. We're committed to providing you with well-researched, expert-backed insights for all your informational needs.

0 thoughts on “How To Preserve Cantaloupe Seeds”