Articles
How To Preserve A Turkey Fan
Modified: December 6, 2023
Learn how to preserve a turkey fan with these helpful articles. Find step-by-step guides and expert tips to ensure your turkey fan stays in pristine condition.
(Many of the links in this article redirect to a specific reviewed product. Your purchase of these products through affiliate links helps to generate commission for Storables.com, at no extra cost. Learn more)
Introduction
Preserving a turkey fan is a fantastic way to commemorate a successful hunt or a cherished hunting memory. It allows you to proudly display the beautiful feathers and relive the excitement of the hunt. Whether you’re an avid hunter or simply want to preserve the memory of a special hunting trip, learning how to preserve a turkey fan is a worthwhile skill to have.
Gathering the necessary materials and following the proper steps will ensure that your turkey fan remains in optimal condition for years to come. In this article, we will guide you through the process, from preparing the turkey fan to preserving it and finally displaying and maintaining it. So, let’s dive in and learn how to preserve a turkey fan!
Key Takeaways:
- Preserve your turkey fan by gathering materials, preparing the fan, and applying preservative powder. Display it in a suitable case, maintain it regularly, and cherish the memories associated with the hunt.
- Ensure the longevity of your preserved turkey fan by handling it with care, monitoring environmental conditions, and creating a personalized display. Showcase the beauty and stories behind your hunting successes.
Read more: How To Do A Turkey Fan Mount
Gather Necessary Materials
Before you begin the process of preserving your turkey fan, it’s important to gather all the necessary materials. Having everything you need on hand will make the process smoother and more efficient. Here’s a list of the materials you’ll need:
- A harvested turkey fan
- Sharp scissors or a utility knife
- Paper towels
- Pinning board or foam block
- Pins or T-pins
- Preservative powder or borax
- Optional: spray adhesive or glue
The first and most crucial item on the list is a harvested turkey fan. Ensure that the fan is fresh and intact, with no damage to the feathers.
Next, you’ll need sharp scissors or a utility knife to trim and shape the fan. Make sure the tools are clean and sterile to avoid any potential contamination.
Having paper towels on hand is essential for cleaning and drying the fan. They will help remove any dirt or blood stains and ensure that the fan is ready for preservation.
A pinning board or foam block will serve as the base for mounting the fan. Choose a board or block that is large enough to accommodate the full spread of the fan.
Use pins or T-pins to secure the feathers in place while they dry. These will prevent the feathers from shifting or becoming misaligned during the preservation process.
Preservative powder or borax is necessary for treating the feathers to prevent decay and insect infestation. Make sure to use a high-quality preservative powder or borax specifically designed for preserving feathers.
Lastly, you may choose to use a spray adhesive or glue to reinforce the bond between the feathers and the base. This step is optional but can provide additional stability and longevity to the preserved fan.
With all these materials gathered, you’re now ready to move on to the next step: preparing the turkey fan for preservation.
Prepare the Turkey Fan
Preparing the turkey fan is a crucial step in the preservation process. It involves cleaning the feathers, trimming them to the desired shape, and ensuring that they are in optimal condition for preservation. Follow these steps to properly prepare your turkey fan:
- Inspect the feathers: Carefully examine the feathers for any dirt, bloodstains, or damaged areas. Gently remove any debris or stains using a clean, damp cloth or paper towel. Take extra care not to break or damage the delicate feathers.
- Trim the feathers: Take a sharp pair of scissors or a utility knife and trim the excess parts of the fan, including any unwanted parts of the feathers. Trim the feathers evenly to create a symmetrical shape. Be cautious not to cut too much, as it may weaken the structure of the fan.
- Shape the fan: Once you’ve trimmed the feathers, shape the fan to your desired appearance. Use your hands to gently manipulate the feathers into the desired position. You can arrange them in a half-moon shape or a straight line, depending on your preference.
- Dry the fan: After shaping the fan, lay it on a clean, dry surface or place it on a paper towel to air dry. Pat the feathers lightly with another paper towel to absorb any excess moisture. Allow the fan to dry completely before moving on to the next step.
- Optional: Apply adhesive: If you want to reinforce the feathers’ bond to the base, you can apply a thin layer of spray adhesive or glue to the base. Be sure to follow the manufacturer’s instructions and apply the adhesive sparingly to avoid any visible residue.
Once you’ve successfully prepared the turkey fan, it’s time to move on to the next step: preserving it to ensure its longevity.
After removing the fan from the turkey, carefully clean off any excess flesh and fat. Then, place the fan in a mixture of borax and cornstarch to help preserve its shape and color. Let it sit for a few weeks before displaying.
Preserve the Turkey Fan
Preserving the turkey fan is the most crucial step in the process, as it ensures that the feathers remain in pristine condition for years to come. Follow these steps to properly preserve your turkey fan:
- Apply preservative powder: Sprinkle a generous amount of preservative powder or borax over the feathers, making sure to coat them thoroughly. Gently massage the powder into the feathers, ensuring that it reaches the base of each feather.
- Work the powder into the feathers: Use your fingers to work the powder into the feathers, ensuring that it penetrates the entire length of each feather. This step is essential for preserving the feathers and protecting them from decay and insect infestation.
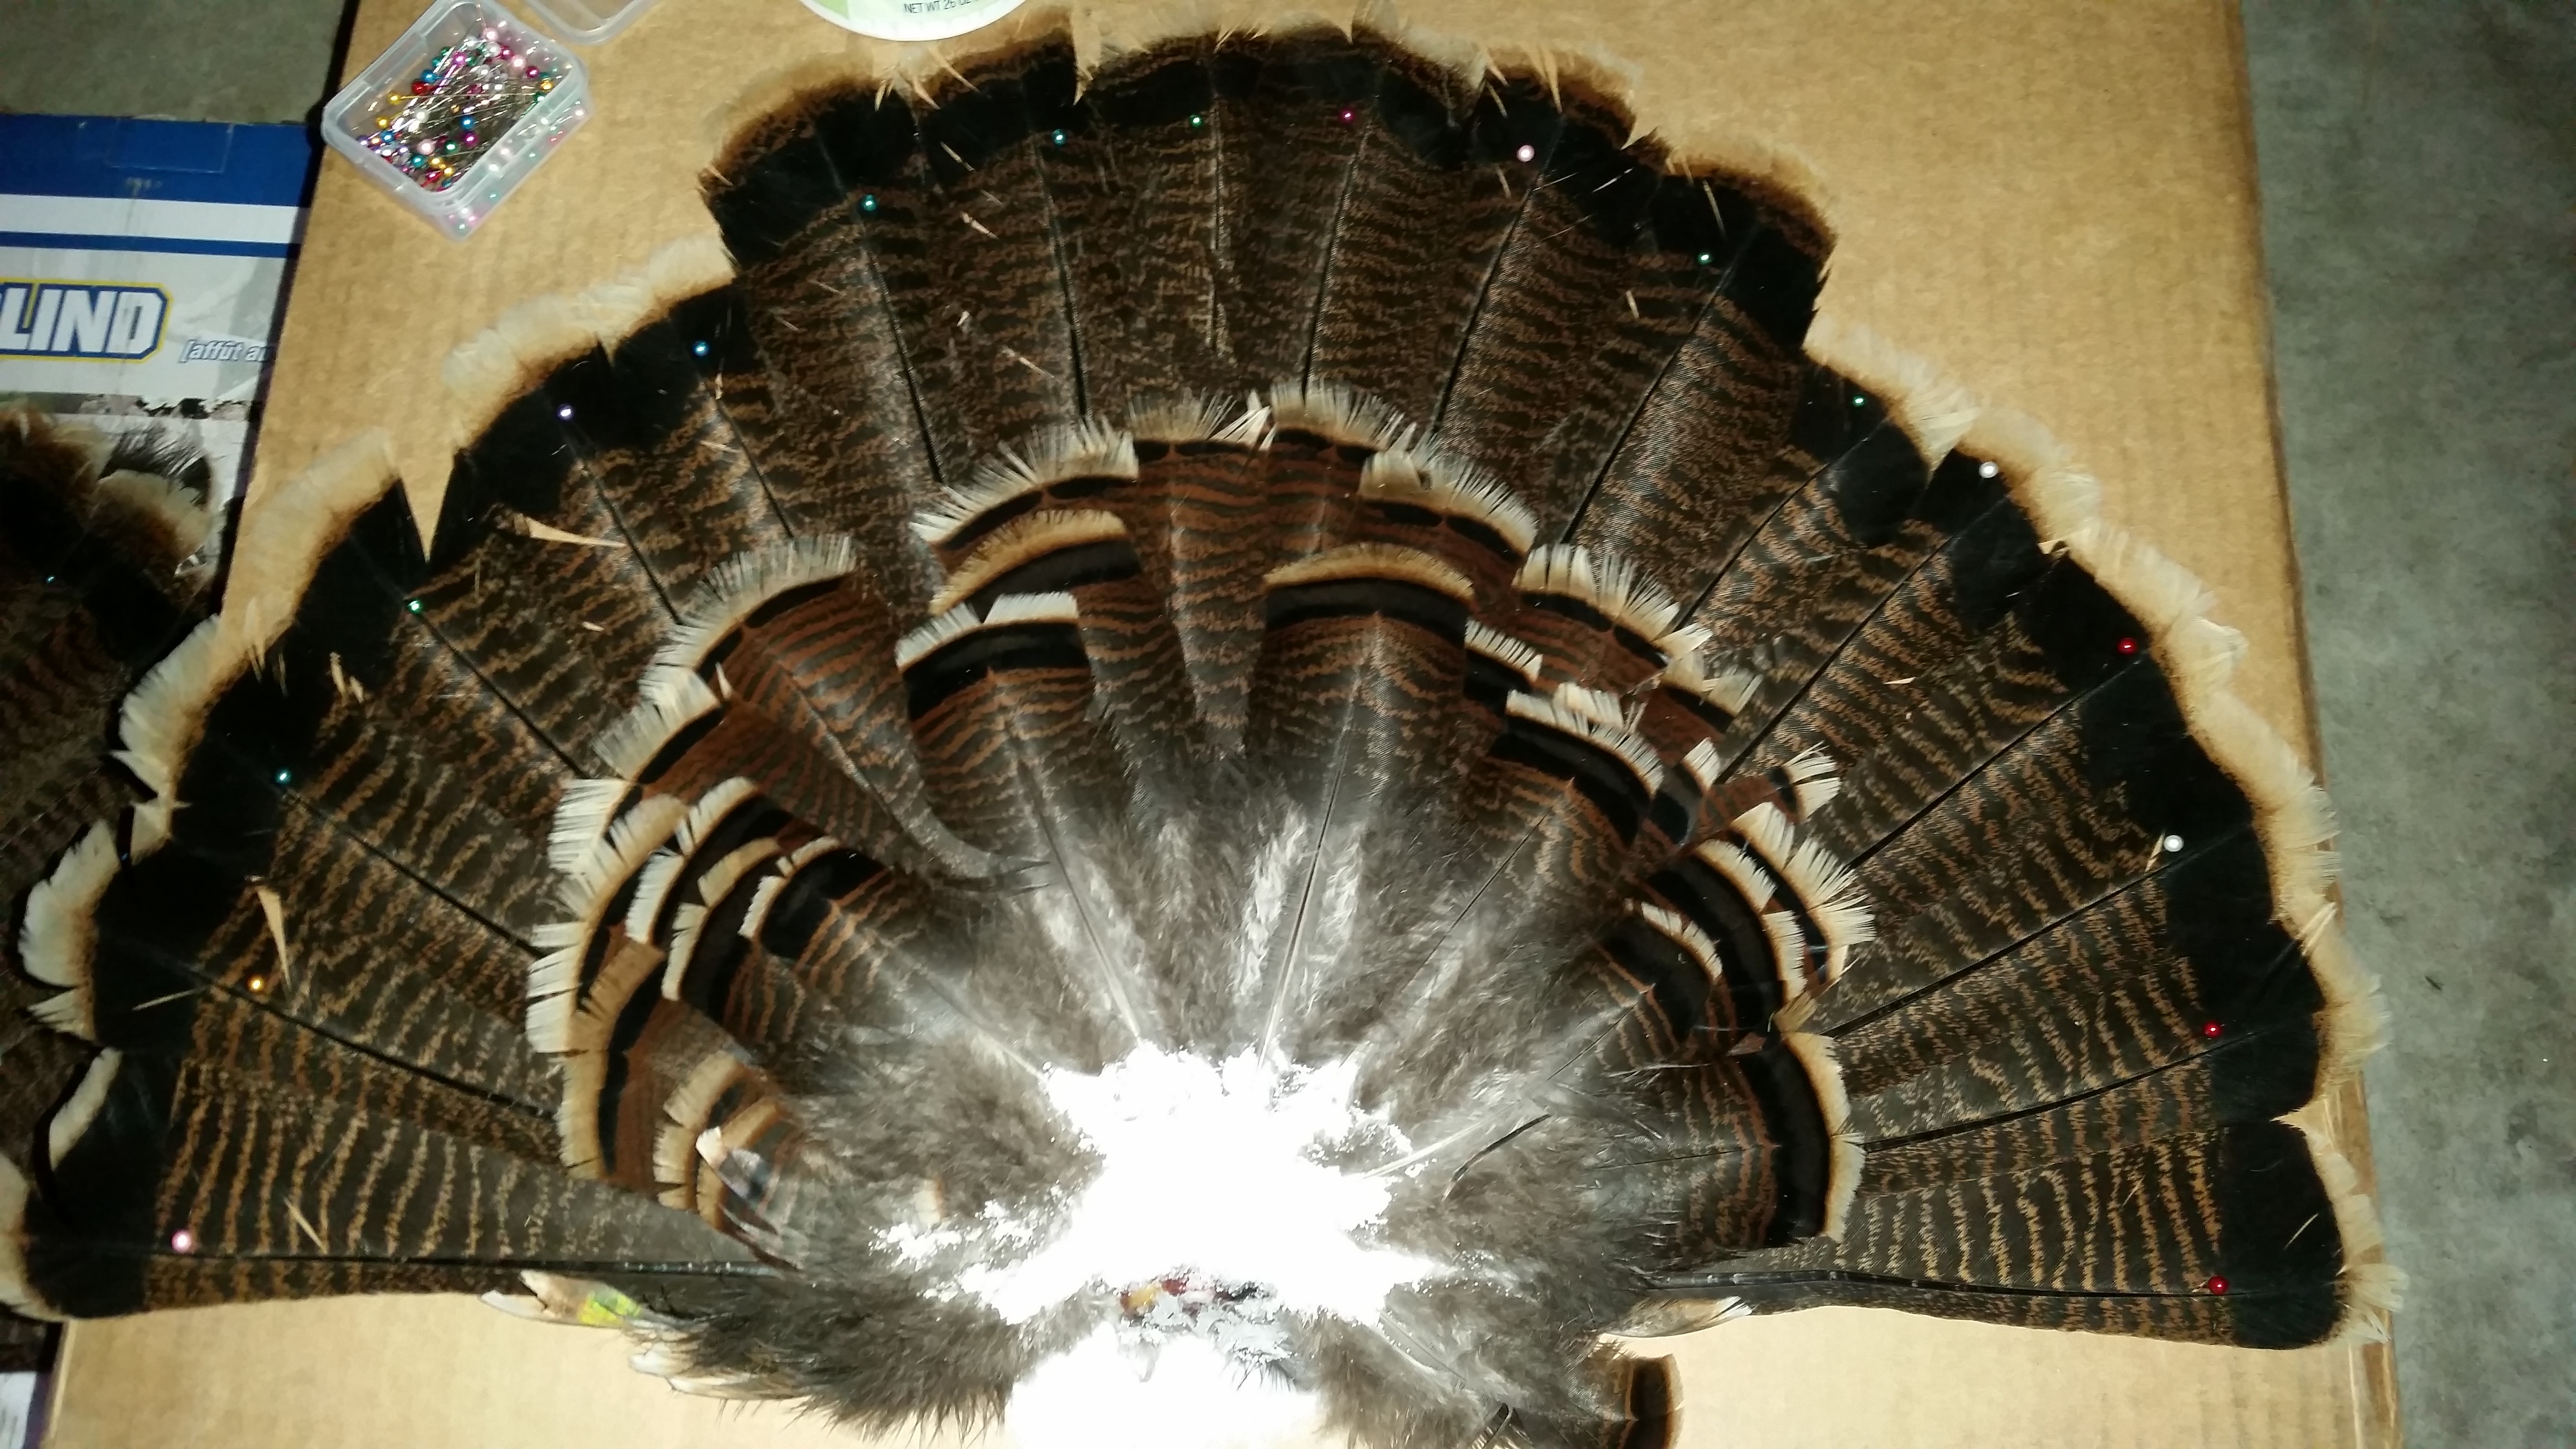
- Secure the feathers in place: Once the feathers are coated with the preservative powder, carefully place the turkey fan onto the pinning board or foam block. Use pins or T-pins to secure the feathers in place, making sure they are evenly spaced and aligned.
- Allow the fan to dry: Place the pinned turkey fan in a cool, dry location with good air circulation. Avoid direct exposure to sunlight, as it can fade the colors of the feathers. Allow the fan to dry completely, which can take several days to a week, depending on the humidity level.
- Check for any issues: Periodically check on the fan to ensure that no feathers have shifted or become misaligned during the drying process. Adjust the pins if necessary to maintain the desired shape and symmetry.
Once the turkey fan has thoroughly dried, it’s time to move on to the final step: displaying and maintaining the preserved fan.
Display and Maintain the Preserved Fan
Now that you have successfully preserved your turkey fan, it’s time to showcase it in a way that highlights its beauty and preserves its longevity. Follow these tips to display and maintain your preserved fan:
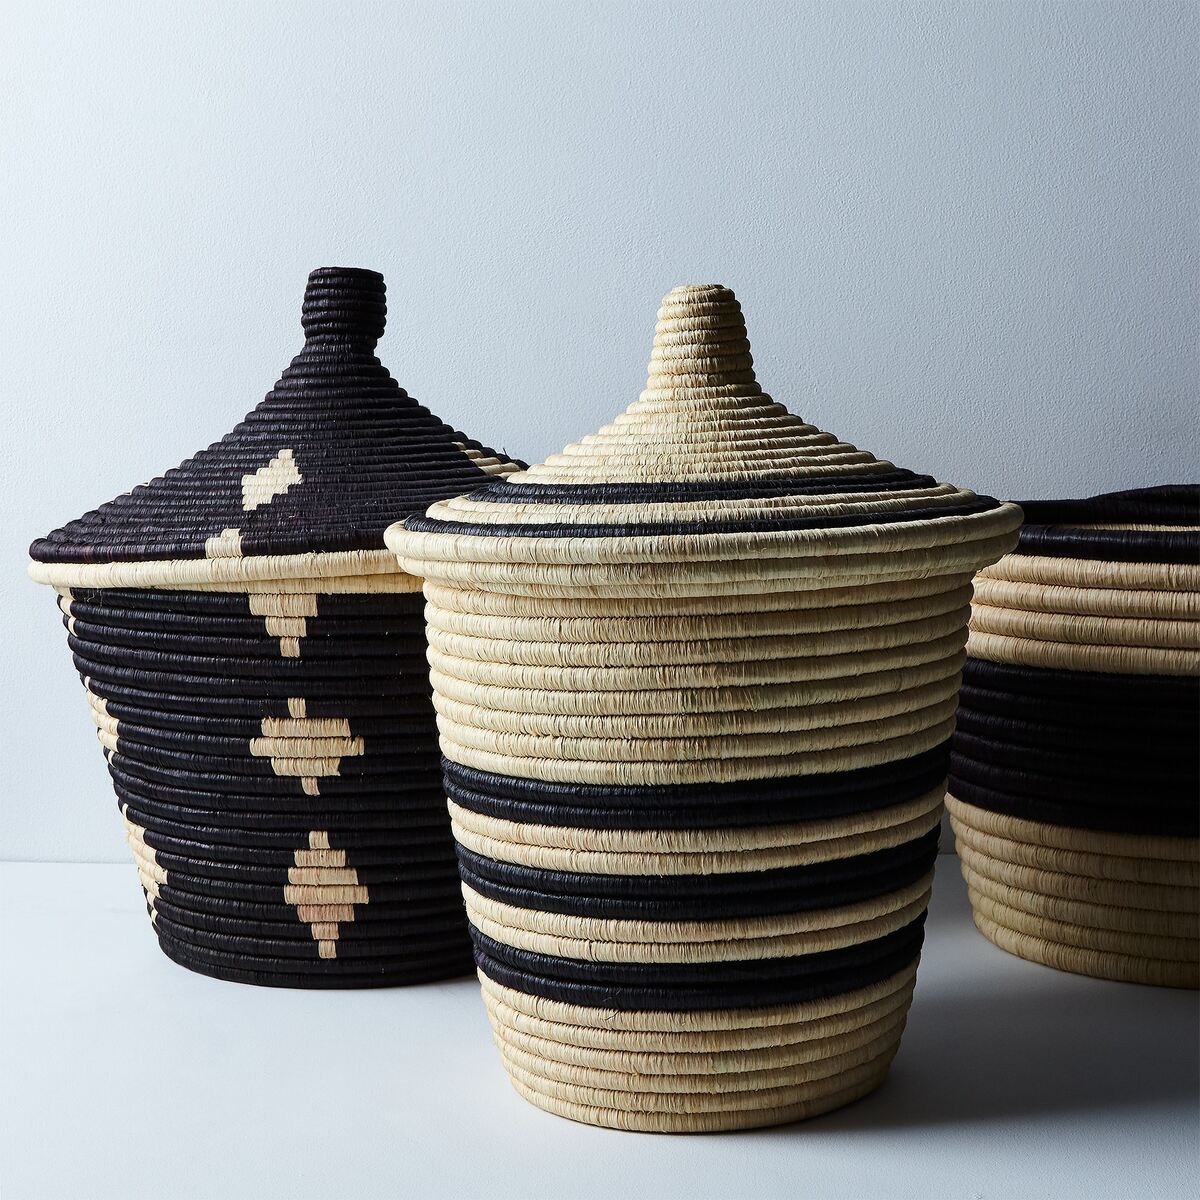
- Choose an appropriate display case or shadow box: Select a display case or shadow box that is large enough to accommodate the full spread of the turkey fan. Make sure it provides protection from dust, moisture, and potential physical damage.
- Arrange the preserved fan: Carefully position the preserved fan within the display case, making sure the feathers are properly aligned and the shape of the fan is maintained. Use small pins or adhesive putty to secure the fan in place if needed.
- Consider adding additional elements: Enhance the visual appeal of your preserved fan by adding other elements such as hunting accessories, photographs, or a plaque with information about the hunt. This will create a personalized display that tells the story behind the fan.
- Place the display case in a suitable location: Choose a location where the preserved fan will be protected from direct sunlight, excessive humidity, and extreme temperature fluctuations. Display it in an area where it can be admired and serves as a conversation piece.
- Regularly clean and inspect the fan: Dust the display case and gently clean the feathers of the turkey fan using a soft brush or a compressed air canister. Avoid using liquid cleaners, as they can damage the feathers. During cleaning, check for any signs of damage or insect activity.
- Monitor environmental conditions: Keep an eye on the temperature and humidity levels in the display area. Extreme temperature fluctuations or high humidity can cause the feathers to deteriorate. Consider using a dehumidifier or a climate-controlled storage area for optimal preservation.
- Handle with care: When handling the preserved fan, always do so with clean and dry hands. Avoid touching the feathers directly and handle the display case or shadow box carefully to prevent any accidental damage.
By following these guidelines, you can proudly display your preserved turkey fan and ensure its longevity for years to come.
Read more: How To Preserve Lemongrass
Conclusion
Preserving a turkey fan is not only a way to honor a successful hunting experience but also a means of cherishing the beauty and memories associated with it. With the right materials and proper techniques, you can ensure that your turkey fan remains in excellent condition, allowing you to proudly display it for years to come.
By gathering the necessary materials, including a harvested turkey fan, sharp scissors or a utility knife, paper towels, pinning board or foam block, pins or T-pins, and preservative powder or borax, you are well prepared to embark on the preservation process.
Preparing the turkey fan involves cleaning the feathers, trimming them to shape, and letting them air dry. Taking care not to damage the delicate feathers will ensure a successful preservation process.
Preserving the turkey fan is achieved by applying preservative powder or borax to the feathers and securing them in place on a pinning board or foam block. Allowing the fan to air dry for an extended period ensures that it is thoroughly preserved.
Displaying and maintaining the preserved fan involves carefully choosing a suitable display case or shadow box, arranging the fan within it, and monitoring environmental conditions to prevent damage from humidity or sunlight exposure. Regular cleaning and inspection also help keep the fan in optimal condition.
By following these steps and guidelines, you can not only enjoy the visual appeal of the preserved turkey fan but also preserve the memories and stories associated with the hunt. Remember to handle the fan with care and take pride in your beautifully preserved turkey fan display.
So, why wait? Gather your materials, preserve your turkey fan, and proudly showcase the feathers that bear witness to your hunting successes and cherished memories.
Frequently Asked Questions about How To Preserve A Turkey Fan
Was this page helpful?
At Storables.com, we guarantee accurate and reliable information. Our content, validated by Expert Board Contributors, is crafted following stringent Editorial Policies. We're committed to providing you with well-researched, expert-backed insights for all your informational needs.


0 thoughts on “How To Preserve A Turkey Fan”