Home>Garden Essentials>How To Set Up An Outdoor Concrete Play Area
Garden Essentials
How To Set Up An Outdoor Concrete Play Area
Modified: March 7, 2024
Learn how to create a fun and safe outdoor play area in your garden with our step-by-step guide to setting up a concrete play space.
(Many of the links in this article redirect to a specific reviewed product. Your purchase of these products through affiliate links helps to generate commission for Storables.com, at no extra cost. Learn more)
Introduction
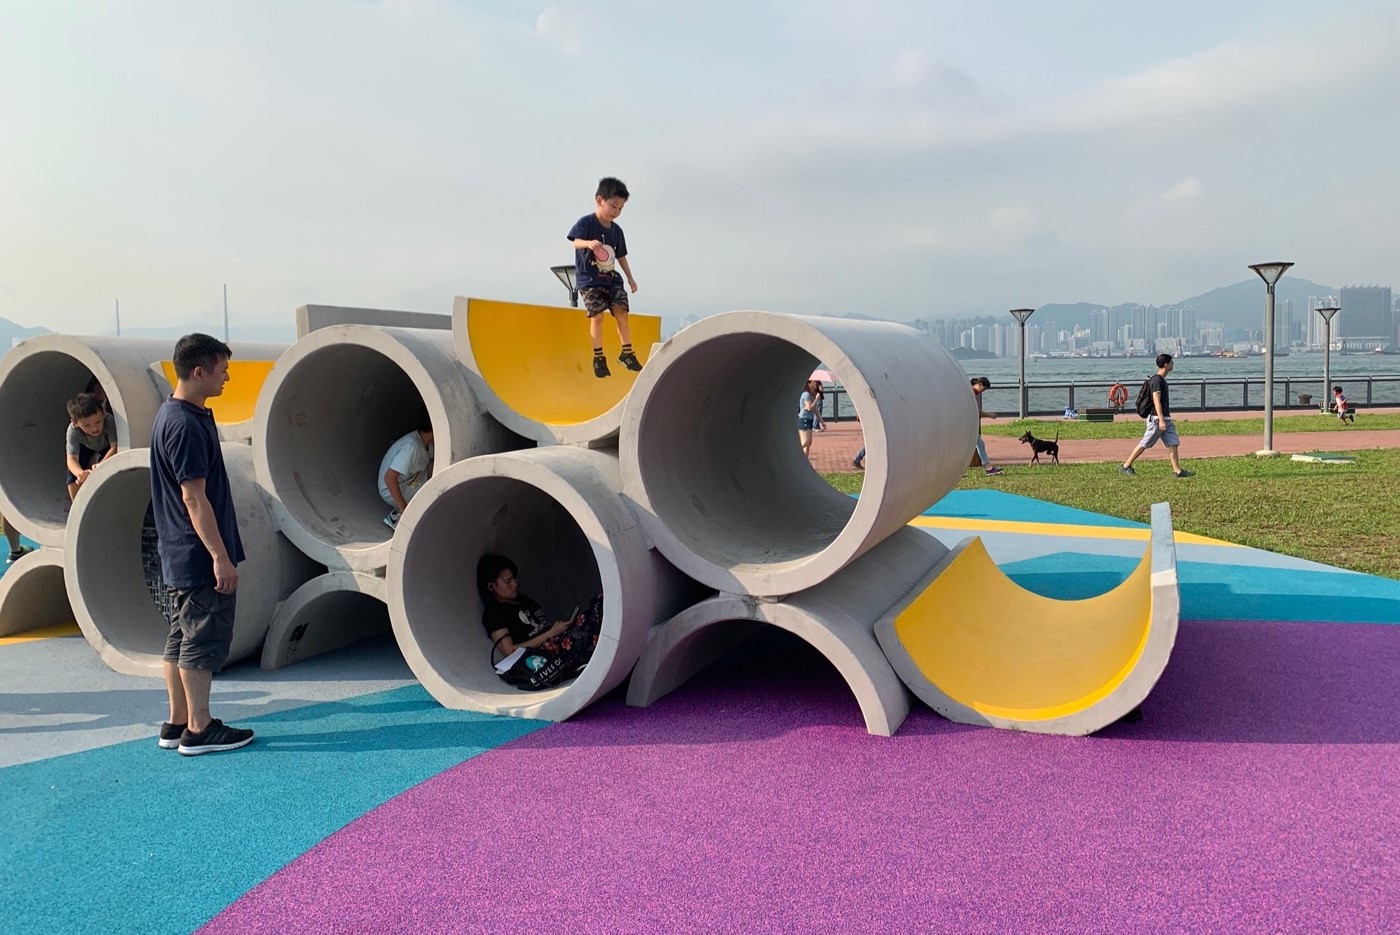
Welcome to the world of outdoor play areas! There’s nothing quite like watching children engage in imaginative play and creative exploration in the great outdoors. One way to enhance their outdoor play experience is by creating an outdoor concrete play area. Concrete is a versatile and durable material that can withstand the test of time and provide a safe and stable surface for kids to enjoy.
In this article, we will guide you through the process of setting up an outdoor concrete play area. From choosing the right location to pouring and finishing the concrete, we’ll cover all the steps involved in creating a fun and functional play area for your little ones.
Before we delve into the details, it’s important to note that safety should be your top priority when designing a play area. Take into account factors such as age-appropriate equipment, adequate space for running and playing, and proper supervision to ensure a safe and enjoyable environment for children.
So, let’s roll up our sleeves and get started on transforming your outdoor space into a concrete play haven!
Key Takeaways:
- Creating an outdoor concrete play area involves choosing the right location, clearing the space, building a sturdy frame, pouring and spreading the concrete, and adding play equipment. Safety, durability, and fun are top priorities!
- After pouring and finishing the concrete, it’s crucial to allow proper curing and drying time before adding play equipment. Regular maintenance and supervision ensure a safe and enjoyable play space for children.
Read more: How To Set Up Play Area With Vive
Choosing the Location
The first step in setting up an outdoor concrete play area is choosing the right location. Consider the size of your yard and the available space you have. Look for a flat and level area, free from any obstructions such as trees, rocks, or uneven terrain. Keep in mind that you’ll need enough space to accommodate the play equipment you have in mind, as well as ample room for children to run and play.
Take into account the amount of sunlight the area receives throughout the day. It’s ideal to choose a location with a good balance of shade and sunlight to provide a comfortable playing environment for children. Additionally, consider accessibility to water sources for cleaning and maintenance purposes.
Another factor to consider is the proximity to your house or other structures. Having the play area within close distance to your home allows for easier supervision and monitoring of children while they play. It also provides the convenience of being able to keep an eye on them from inside the house.
Furthermore, think about the overall aesthetic of your yard. Choose a location that blends well with the existing landscape and doesn’t disrupt the flow of your outdoor space. You want the play area to be an inviting and integrated part of your yard, creating a harmonious environment for both children and adults.
Lastly, consider any local regulations or permits that may be required for constructing a play area. Some neighborhoods or cities have specific guidelines regarding outdoor structures, so be sure to check with your local authorities to ensure compliance.
By carefully selecting the location for your outdoor concrete play area, you can create a space that is safe, enjoyable, and seamlessly integrated into your outdoor environment.
Clearing and Preparing the Area
Once you have chosen the ideal location for your outdoor concrete play area, the next step is to clear and prepare the area. This involves removing any existing vegetation, rocks, or other debris that may hinder the construction process.
Start by marking out the boundaries of the play area using stakes and string. This will give you a clear visual of the space you will be working with. Use a shovel or a garden hoe to remove any grass, weeds, or plants within the marked area. Dig down to a depth of about 4 to 6 inches, ensuring that you remove the roots as well.
After clearing the area, you may need to level the ground to ensure a flat and even surface. Use a rake or a shovel to distribute the soil evenly and remove any large clumps or bumps. Take your time to check the levelness of the ground using a long, straight board or a level tool. Make adjustments as needed to achieve a smooth and level surface. This step is crucial for creating a solid foundation for the concrete.
Once the area is cleared and leveled, it’s a good idea to lay down a weed barrier to prevent any unwanted vegetation from growing up through the concrete. This can be in the form of landscaping fabric or a geotextile fabric. Simply roll out the barrier and cut it to fit within the boundaries of the play area. Secure the edges with stakes or heavy objects to keep it in place.
Additionally, consider any drainage needs in the area. If you anticipate significant water runoff or standing water in the play area, you may need to incorporate a drainage system or slope the ground slightly to allow for proper water flow.
By thoroughly clearing and preparing the area, you are setting the foundation for a successful outdoor concrete play area construction. With a clean and level surface, you can proceed to gather the necessary materials and tools for the next steps of the process.
Gathering Materials and Tools
With the area cleared and prepared, it’s time to gather the materials and tools needed to build your outdoor concrete play area. Here’s a list of essential items you’ll need:
Materials:
- Concrete mix: Choose a concrete mix specifically designed for outdoor applications, such as a high-strength mix or a mix with added durability-enhancing additives.
- Water: Make sure you have a sufficient water supply for mixing the concrete.
- Rebar or wire mesh: Depending on the size and thickness of your play area, you may need to reinforce the concrete with rebar or wire mesh. This will provide added strength and stability.
- Play equipment: Determine the type of play equipment you wish to include in your play area, such as swings, slides, or climbing structures. Ensure you have all the necessary materials for installing the equipment securely.
- Sealer or protective coating: Consider applying a sealer or protective coating to the concrete surface to enhance its longevity and protect it from stains, weathering, and wear and tear.
Read more: How To Set Up A Puppy Play Area
Tools:
- Shovel and/or garden hoe: These tools will be essential for clearing and preparing the area.
- Rake: Use a rake to level the ground and remove any debris.
- Tape measure: Take accurate measurements to ensure the play area is properly sized and aligned.
- Wheelbarrow or mixing tub: For mixing the concrete and transporting materials.
- Mason’s trowel or finishing trowel: These tools will help you spread and smooth the concrete.
- Float or trowel: Use a float or trowel to create a smooth finish on the concrete surface.
- Level: Ensure the ground and the concrete are level throughout the construction process.
- Protective gear: Wear gloves, safety glasses, and a face mask to protect yourself while working with concrete.
Make a checklist of all the materials and tools you’ll need to ensure you have everything on hand before starting the construction process. Having everything prepared will make the process smoother and more efficient.
Now that you have your materials and tools ready, you’re one step closer to creating an exciting outdoor concrete play area for your children. The next step is to level the ground to prepare for the construction of the play area’s frame.
Leveling the Ground
After clearing and preparing the area, the next crucial step in setting up your outdoor concrete play area is to level the ground. This is important to ensure a flat and even surface for the play area’s foundation.
Start by measuring the height of the ground at various points within the play area using a tape measure. This will help you identify high and low points that need to be adjusted. Use a shovel or a rake to redistribute the soil, filling in any depressions and removing any large mounds or bumps.
As you level the ground, periodically check the evenness using a long, straight board or a level tool. Place the leveling tool across different areas of the ground and adjust the soil as needed to achieve a consistent level throughout.
Pay attention to the edges and corners of the play area, as these areas tend to have more variation in height. Take your time to ensure that the ground is level not only horizontally but also vertically, meaning that there are no slopes or dips along the perimeter of the play area.
If you’re dealing with a significant slope in your yard, you may need to consider additional leveling techniques. This could include adding or removing soil, ramping the ground, or constructing retaining walls to create a stable and level surface.
Remember, a properly leveled ground is essential for ensuring the stability and safety of the play area. It will also help to prevent water pooling or uneven settling of the concrete once it’s poured.
Once you’re satisfied with the levelness of the ground, it’s time to move on to the next step, which is building the frame for the play area.
Building the Frame
Now that you have leveled the ground for your outdoor concrete play area, it’s time to start building the frame. The frame serves as a border to contain the concrete and provides a defined space for the play area.
Here’s a step-by-step guide on how to build the frame:
- Measure and mark the dimensions of the play area using a tape measure and spray paint or chalk. Ensure that the frame is the desired size and shape.
- Prepare the lumber for the frame. Use pressure-treated wood or composite materials that can withstand outdoor elements and resist rotting. Cut the boards to the required lengths.
- Place the boards along the marked boundaries of the play area. Make sure the boards are aligned with the markings and sit securely on the ground. Use stakes or rebar to anchor the boards into the ground, ensuring that they are level and flush with the ground surface.
- Connect the boards at the corners using corner brackets or metal connectors to provide stability. Ensure that the corners are square by using a measuring tape to measure diagonally from corner to corner. Adjust the frame as necessary to achieve squareness.
- If your play area has multiple sections or features, such as separate areas for different activities, build additional frames accordingly.
- Once the frame is securely in place, double-check the levelness of the frame and make any adjustments as needed.
Building a sturdy frame is essential for ensuring that the concrete is poured and contained within the designated play area. It also provides a clear border for the play area, delineating the space for children to play safely.
With the frame built, you’re ready to move on to the next step of the process: pouring and spreading the concrete. This is where your outdoor concrete play area truly starts to take shape!
Pouring and Spreading the Concrete
With the frame in place, it’s time to pour and spread the concrete for your outdoor play area. This step requires careful planning and execution to ensure a smooth and level surface that can withstand years of play and enjoyment.
Follow these steps to pour and spread the concrete:
- Prepare the concrete mixture according to the manufacturer’s instructions. Mix the concrete in a wheelbarrow or mixing tub, adding water gradually until you achieve the desired consistency. Aim for a mixture that is thick and workable.
- Start pouring the concrete mixture into the framed play area. Begin at one end and work your way towards the other, ensuring even distribution. Use a shovel or a trowel to spread the concrete within the frame, filling all the gaps and corners.
- Once the concrete is poured, use a board or a screed to level the surface. Place the board across the top of the frame and move it back and forth with a sawing motion. This will help distribute the concrete evenly and remove any excess.
- Continue screeding the concrete until you achieve a smooth and even surface. Pay extra attention to the edges and corners, ensuring that the concrete is flush with the frame.
- As you screed, periodically check the levelness of the concrete using a level tool or a long, straight board. Adjust the concrete as necessary to maintain a level surface.
- Smooth the surface further using a float or a trowel. This will help remove any imperfections and create a polished finish. Work in circular motions, overlapping each pass to ensure a consistent texture.
- If your play area requires reinforcement, such as rebar or wire mesh, place it on top of the concrete while it’s wet. Make sure the reinforcement is embedded within the concrete to provide added strength.
Once you’re done pouring and spreading the concrete, take a step back and admire your work. Congratulations! You have successfully laid the foundation for your outdoor concrete play area.
Now, it’s time to move on to the next step: smoothing and finishing the surface to create a safe and enjoyable playing environment for children.
Choose a level area for the play area, then clear and level the ground. Lay a base of gravel or sand, then pour and level the concrete. Add a non-slip finish for safety.
Read more: How To Set Up A Play Area For A Bird
Smoothing and Finishing the Surface
After pouring and spreading the concrete for your outdoor play area, the next step is to smooth and finish the surface. This will not only enhance the appearance of the play area but also ensure a safe and comfortable surface for children to play on.
Follow these steps to smooth and finish the concrete surface:
- Allow the concrete to set for a short period, typically around 30 minutes to an hour, depending on the instructions provided by the manufacturer.
- Once the concrete has partially set, use a float or a trowel to smooth the surface. This will help remove any imperfections, such as ridges or air bubbles.
- Work the float or trowel in circular motions, applying even pressure to create a consistent texture across the play area. Keep the float or trowel level and avoid pressing too hard, as this can create low spots or unevenness.
- If you notice any areas that are not level or have slight depressions, use the float or trowel to add more concrete and fill in those areas. Smooth and blend the added concrete with the surrounding surface to create a seamless finish.
- Inspect the entire play area for any visible imperfections or marks. If you notice any, gently smooth them out with the float or trowel.
- As the concrete continues to set, you may notice a thin layer of water forming on the surface. This is called “bleed water.” Use the float or trowel to lightly go over the surface and help the bleed water evaporate.
- Once the concrete has fully set, typically within 24 to 48 hours, you can apply a sealer or protective coating to the surface. This will help protect the concrete from staining, weathering, and wear and tear. Follow the manufacturer’s instructions for the specific sealer or coating you choose.
By taking the time to smooth and finish the surface of your concrete play area, you are creating a safe and inviting space for children to play. The smooth finish will minimize the risk of trips and falls, while the protective coating will enhance the durability and longevity of the concrete.
Now that the surface is complete, it’s time to wait for the concrete to fully cure and dry before adding any play equipment and allowing children to enjoy their new outdoor play area.
Curing and Drying
After smoothing and finishing the surface of your outdoor concrete play area, the next step is to allow the concrete to cure and dry properly. Curing is a critical process that involves maintaining the right conditions for the concrete to achieve its maximum strength and durability.
Follow these steps to effectively cure and dry the concrete:
- Immediately after finishing the surface, cover the play area with plastic sheets or a tarp to create a barrier that will prevent moisture loss. This will help retain moisture within the concrete, promoting proper curing.
- Leave the plastic sheets or tarp in place for at least 7 to 10 days. During this time, avoid stepping on or placing heavy objects on the concrete to prevent damage or indentation.
- Regularly check the moisture levels of the concrete by lifting a corner of the plastic sheets or tarp and feeling the surface. If it feels damp, the curing process is progressing as expected. If it feels dry, lightly mist the surface with water and reseal the area with the plastic sheets or tarp.
- In hot or dry weather conditions, consider using a curing compound. This liquid compound is sprayed on the surface of the concrete to help retain moisture, preventing excessive drying and cracking.
- Avoid exposing the concrete to extreme temperature changes during the curing process. This means protecting it from direct sunlight and extreme heat, as well as freezing temperatures.
- After the initial 7 to 10 days of curing, you can remove the plastic sheets or tarp. However, continue to monitor the concrete’s moisture levels and take precautions to prevent rapid drying.
- Allow the concrete to air dry for an additional 2 to 3 weeks before allowing children to play on the surface. This additional drying period will ensure that the concrete reaches its maximum strength and durability.
Properly curing and drying the concrete is crucial for ensuring its long-term performance and durability. It allows the concrete to achieve its desired strength, reducing the risk of cracking, crumbling, or other forms of damage.
Once the curing and drying process is complete, it’s time to add play equipment and let the children enjoy their new outdoor concrete play area. Keep in mind that regular maintenance, such as cleaning and inspecting the surface, will help prolong the life of the concrete and ensure continued safety and enjoyment for the little ones.
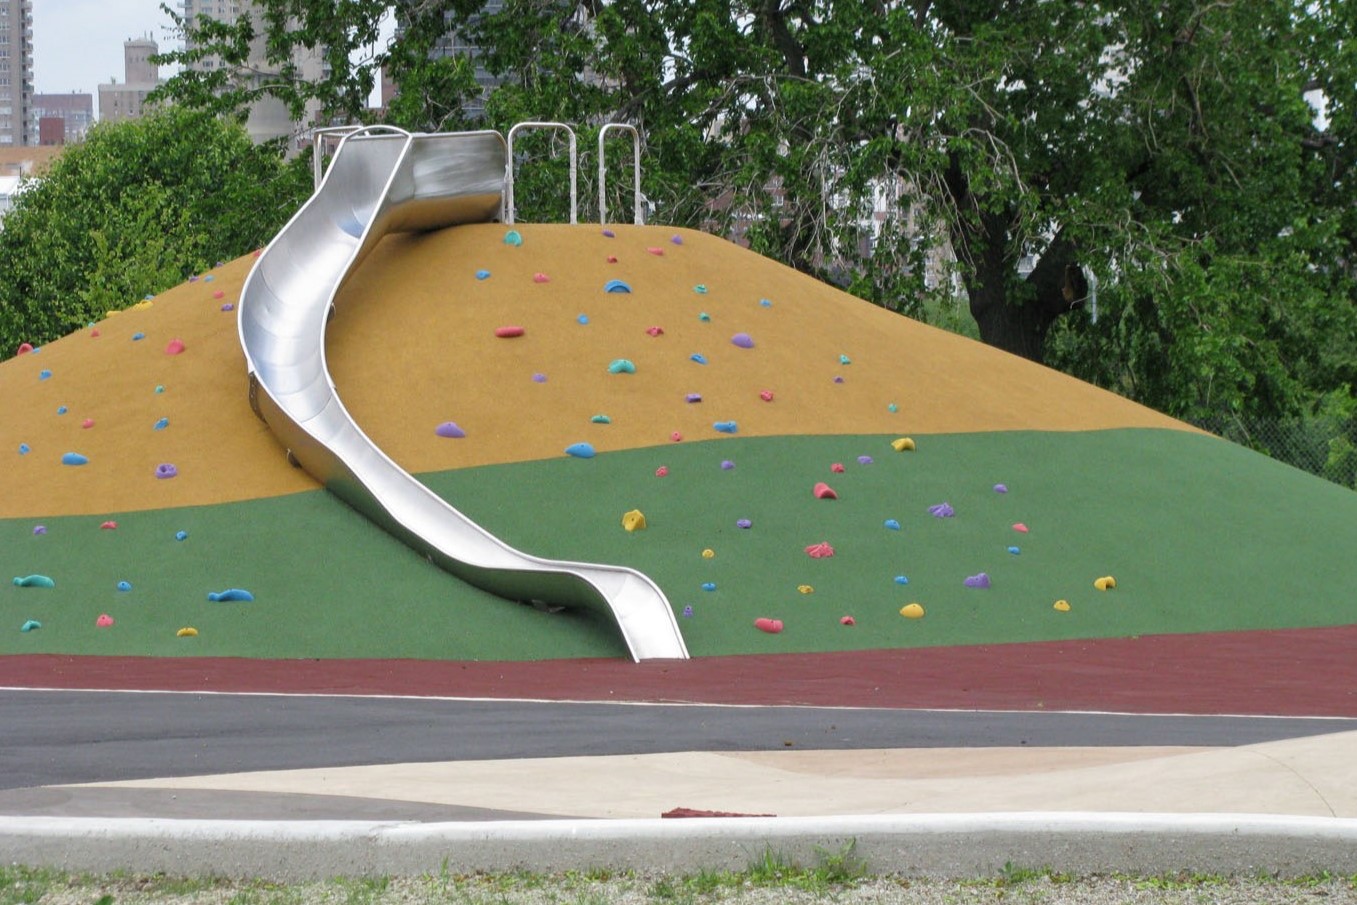
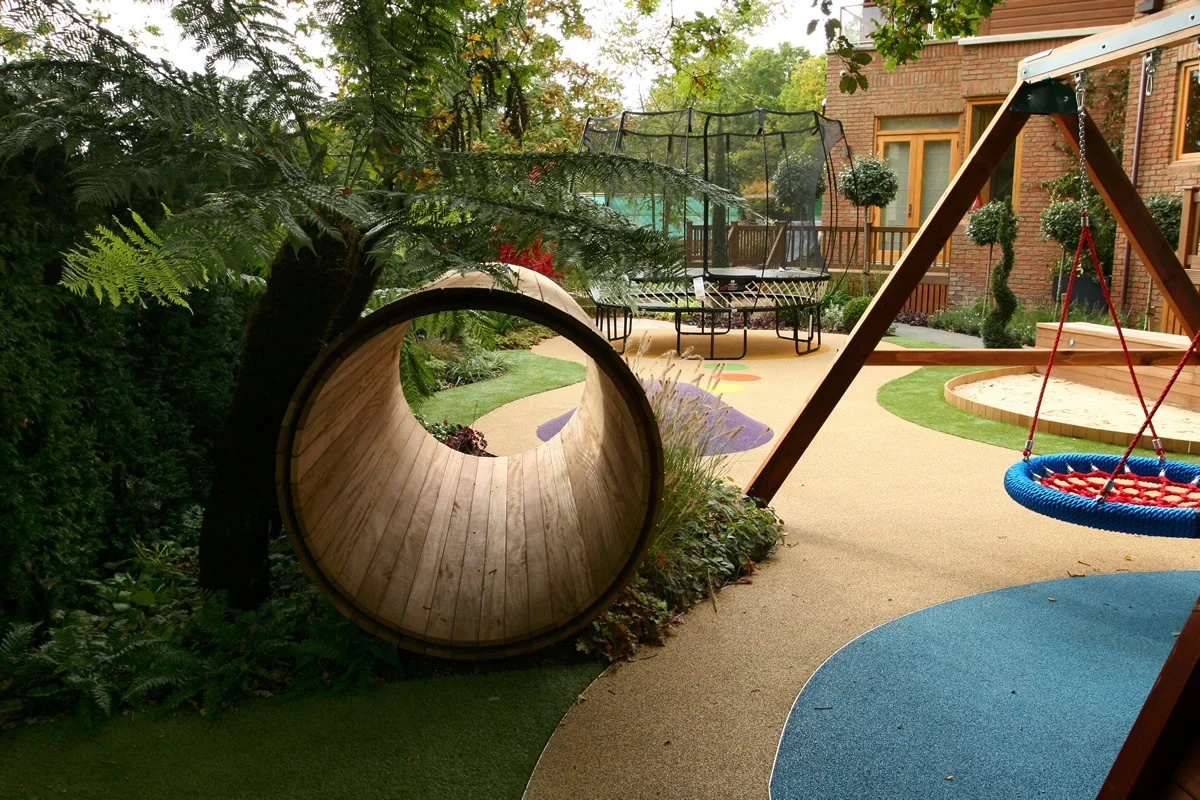
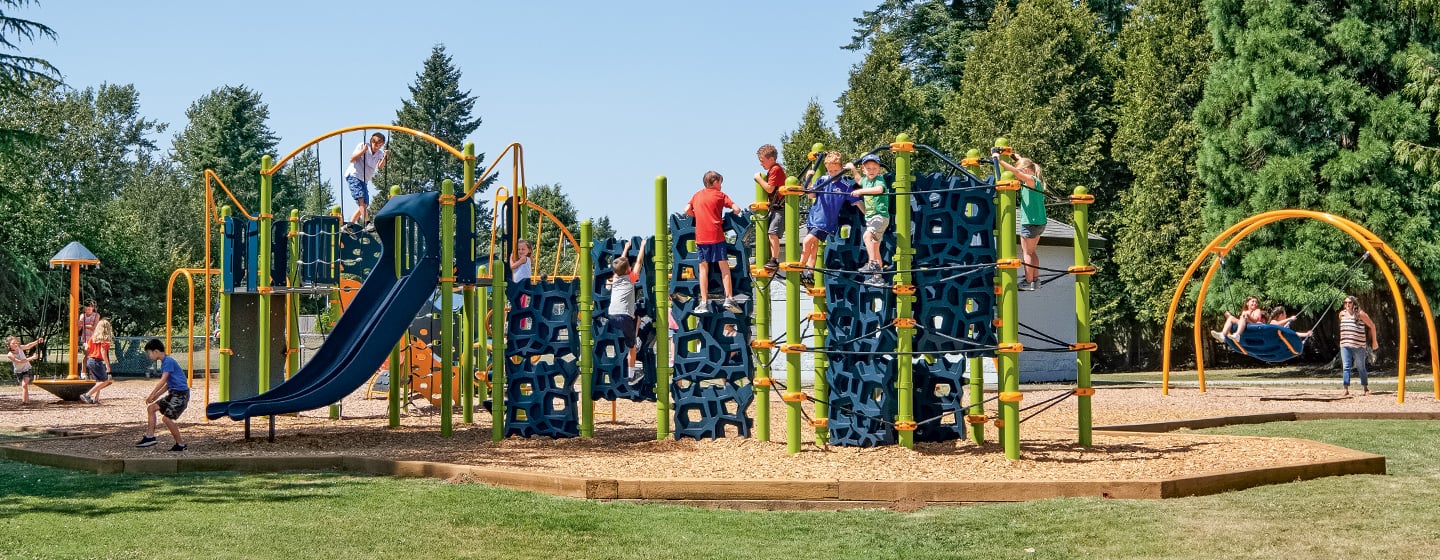
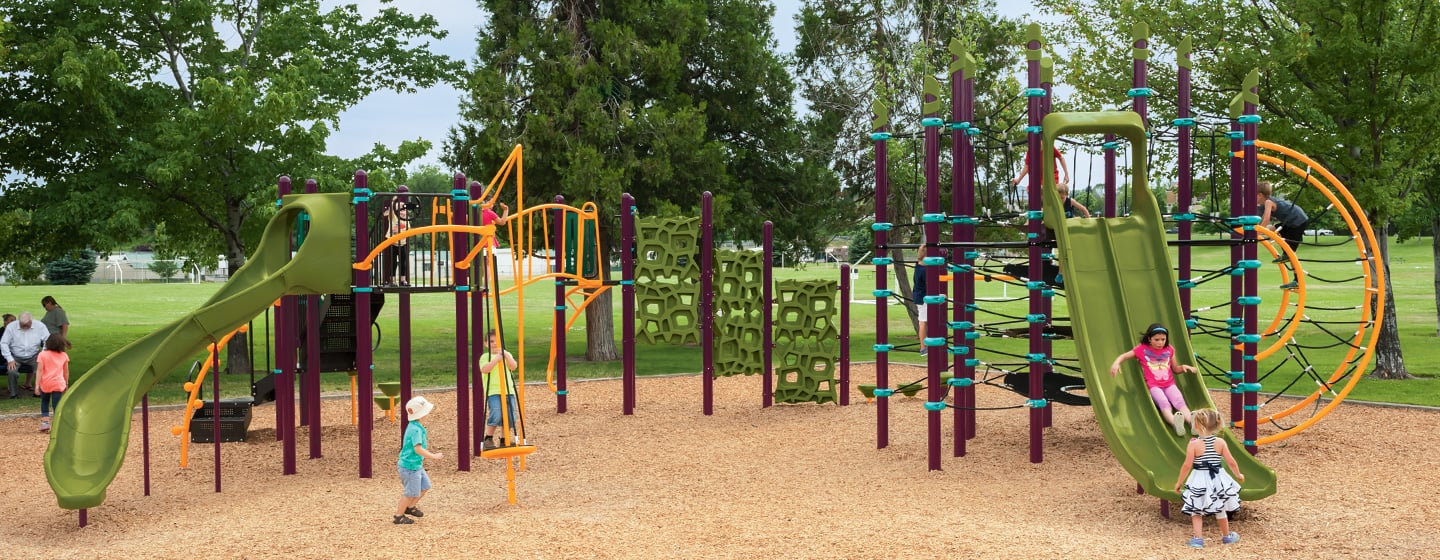
Adding Play Equipment
Now that your outdoor concrete play area is fully cured and dried, it’s time to add the play equipment that will bring the space to life and create endless fun and adventures for children. When choosing and installing play equipment, prioritize safety and ensure that it complies with any local regulations or guidelines.
Consider the following steps when adding play equipment:
- Plan the layout: Assess the available space within your play area and determine the best placement for each piece of play equipment. Consider factors such as age-appropriate equipment, grouping similar activities together, and leaving enough space for children to move and interact safely.
- Choose suitable equipment: Select play equipment that is appropriate for your child’s age and development. This could include swings, slides, climbing structures, playhouses, or outdoor games. Ensure that the equipment is sturdy, durable, and designed for outdoor use. Look for equipment that has safety features such as secure fastenings, smooth edges, and proper anchoring mechanisms.
- Follow installation instructions: Carefully read and follow the manufacturer’s installation instructions for each piece of play equipment. Ensure that all components are securely fastened, and any required anchoring mechanisms are properly installed. Take note of weight limits and usage guidelines to prevent accidents or damage.
- Create a safe surface: Consider adding a safety surface beneath and surrounding the play equipment. Options include rubber mulch, wood chips, artificial turf, or rubber playground tiles. These surfaces provide impact absorption and reduce the risk of injuries from falls.
- Regularly inspect and maintain: Regularly inspect the play equipment for any signs of wear, damage, or loose parts. Make sure to tighten bolts and screws as needed. Keep the play area clean and free from debris, and routinely check and repair any safety surfacing.
- Supervise and educate: Always supervise children during playtime and educate them about proper usage of the equipment. Teach them to take turns, avoid rough play, and be mindful of other children’s safety. Encourage regular handwashing, especially after outdoor play.
By thoughtfully selecting and installing play equipment, you are providing children with opportunities for physical activity, social interaction, and imagination. It’s important to regularly assess and adjust the equipment as children grow, ensuring ongoing safety and enjoyment.
Remember, safety should always be the top priority when it comes to children’s play areas. Regularly inspect and maintain the equipment, monitor children’s play, and create a safe and inviting environment for them to explore and have fun.
Congratulations on creating a wonderful outdoor concrete play area where children can create lasting memories and engage in endless playtime adventures!
Conclusion
Setting up an outdoor concrete play area is a rewarding project that can provide endless fun and opportunities for children to play, explore, and grow. From choosing the perfect location to pouring and finishing the concrete, each step plays a crucial role in creating a safe and inviting play space.
By carefully considering factors such as location, safety, and aesthetics, you can create a play area that seamlessly integrates with your outdoor environment while providing a safe and enjoyable space for children to engage in imaginative play.
Remember to gather all the necessary materials and tools, level the ground, build a sturdy frame, pour and spread the concrete, and smooth and finish the surface. Allow the concrete to cure and dry properly before adding play equipment and ensuring ongoing maintenance and supervision.
As you watch children’s laughter and joy fill the outdoor play area, you’ll know that your efforts in creating a fun and functional space were well worth it. Just remember to prioritize safety, encourage creativity, and provide opportunities for physical activity and exploration.
Thank you for joining us on this journey to set up an outdoor concrete play area. We hope that this guide has provided you with valuable insights and practical steps to bring your vision to life. Now, go forth and create a space where children can thrive, connect with nature, and create lifelong memories.
Frequently Asked Questions about How To Set Up An Outdoor Concrete Play Area
Was this page helpful?
At Storables.com, we guarantee accurate and reliable information. Our content, validated by Expert Board Contributors, is crafted following stringent Editorial Policies. We're committed to providing you with well-researched, expert-backed insights for all your informational needs.


0 thoughts on “How To Set Up An Outdoor Concrete Play Area”