Home>Garden Essentials>How To Sprout Seeds In A Mason Jar
Garden Essentials
How To Sprout Seeds In A Mason Jar
Modified: March 16, 2024
Learn how to sprout seeds in a Mason jar and enhance your garden with this easy and sustainable gardening method.
(Many of the links in this article redirect to a specific reviewed product. Your purchase of these products through affiliate links helps to generate commission for Storables.com, at no extra cost. Learn more)
Introduction
Welcome to the world of sprouting seeds in a mason jar! If you have ever wanted to grow your own nutrient-rich sprouts right in the comfort of your own home, then this article is for you. Sprouts are packed with vitamins, minerals, and enzymes, making them a fantastic addition to any diet.
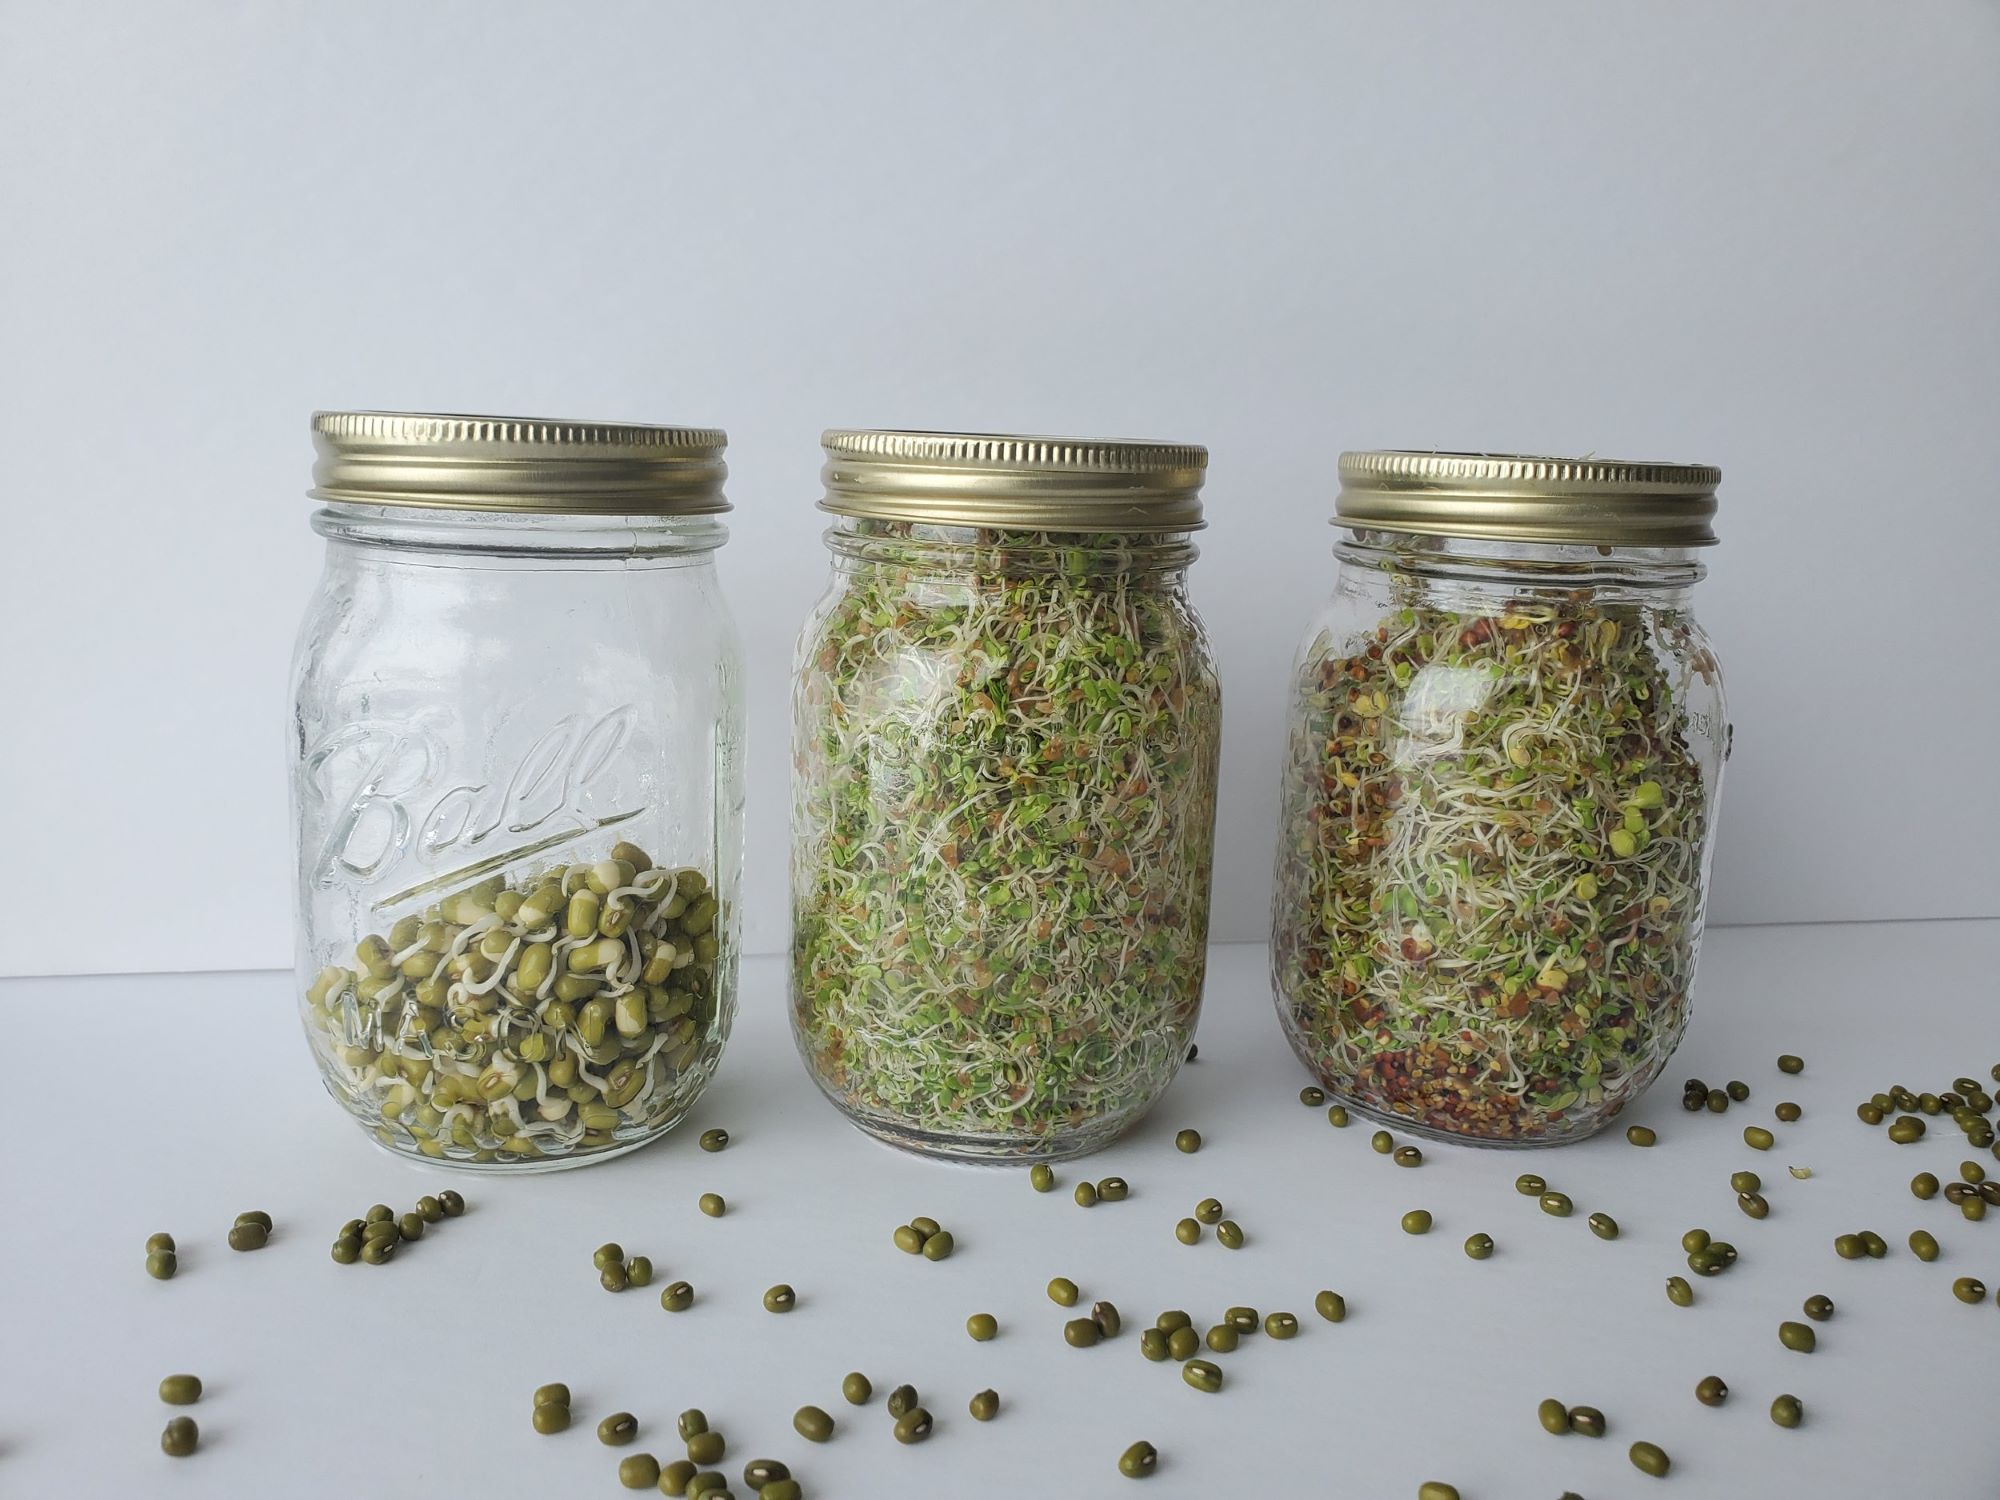
Not only are sprouts incredibly healthy, but they are also incredibly easy to grow. One of the simplest methods, popular among garden enthusiasts and health-conscious individuals, is sprouting seeds in a mason jar. This technique involves sprouting seeds in a clear glass jar, allowing you to watch the sprouting process unfold before your eyes.
In this article, we will guide you through the step-by-step process of sprouting seeds in a mason jar. We will cover everything from choosing the right seeds to harvesting and storing your sprouts. So, gather your materials and let’s get started on this exciting and rewarding journey!
But first, let’s talk about the materials you will need to embark on your sprouting adventure.
Key Takeaways:
- Sprouting seeds in a mason jar is an easy and rewarding way to grow your own nutrient-rich sprouts at home. It’s a simple process that involves choosing the right seeds, preparing the jar, and nurturing the sprouts until they’re ready to harvest.
- By following the step-by-step process, you can enjoy the satisfaction of growing your own fresh and healthy sprouts right in the comfort of your home. From soaking the seeds to harvesting and storing the sprouts, it’s a fun and rewarding journey!
Read more: Mason Jar Craft: 10 Mason Jar Ideas
Materials Needed
Before you begin sprouting seeds in a mason jar, it’s important to gather all the necessary materials. Luckily, you won’t need anything fancy or complicated. Here’s a list of what you’ll need:
- A mason jar: Opt for a quart-sized mason jar with a wide mouth. The clear glass will allow you to easily monitor the sprouting progress.
- A sprouting lid or screen: You can purchase special sprouting lids or screens that fit perfectly on top of your mason jar. These lids allow for easy rinsing and draining while keeping any debris out.
- Organic seeds: Choose from a variety of sprouting seeds, such as alfalfa, broccoli, lentils, radish, or mung beans. Make sure the seeds are specifically labeled for sprouting.
- Purified water: Use filtered or purified water to soak and rinse your sprouting seeds. This ensures that no chlorine or other impurities affect the sprouting process.
- A dark cloth or storage bag (optional): While not necessary, a dark cloth or storage bag can be used to cover the jar during the initial soaking phase, mimicking darkness and promoting better sprouting.
Once you have gathered all the materials, you will be ready to start sprouting your seeds. The journey to fresh and nutritious sprouts is just moments away!
Step 1: Choosing the Right Seeds
Choosing the right seeds is crucial when it comes to sprouting in a mason jar. Not all seeds are suitable for sprouting, so it’s important to select seeds specifically labeled for sprouting purposes. Here are a few things to consider when choosing your sprouting seeds:
- Seed quality: Ensure that you are using high-quality, organic seeds. Organic seeds are free from harmful chemicals and pesticides, ensuring that your sprouts are as pure and nutritious as possible.
- Sprout varieties: There are numerous types of seeds that are suitable for sprouting. Popular choices include alfalfa, broccoli, lentils, radish, and mung beans. Consider your taste preferences and nutritional needs when selecting your sprout varieties.
- Quantity: Depending on the size of your mason jar, choose the appropriate quantity of seeds. Generally, 1-2 tablespoons of seeds are sufficient for sprouting in a quart-sized mason jar.
- Storage: Ensure that you store your sprouting seeds in a cool, dry place to maintain their viability. Seeds should be stored in airtight containers away from direct sunlight and moisture.
When purchasing your sprouting seeds, it’s always a good idea to buy from reputable sources. This ensures that you are getting high-quality seeds specifically intended for sprouting purposes. Now that you have selected your seeds, it’s time to move on to preparing the mason jar for sprouting!
Step 2: Preparing the Mason Jar
Now that you have chosen the right seeds for sprouting, it’s time to prepare your mason jar. Properly preparing the jar will create an optimal environment for your seeds to sprout and grow. Follow these steps to get your jar ready:
- Clean and sterilize the jar: Start by thoroughly cleaning the mason jar and lid with warm soapy water. Rinse them well to remove any soap residue. To ensure sterility, you can also use boiling water or run the jar and lid through the dishwasher.
- Create ventilation: Using a nail or a small drill bit, create several small holes in the lid of the mason jar. These holes will allow for airflow and drainage during the sprouting process.
- Attach a sprouting lid or screen (optional): If you have a sprouting lid or screen, secure it tightly onto the mouth of the mason jar. This will make rinsing and draining the sprouts easier, as it prevents the seeds from falling out while allowing water to flow through.
- Rinse the jar and lid: Before proceeding to the next step, give the jar and lid a final rinse to ensure there are no particles or residues left behind. A clean jar is essential for a successful sprouting process.
By following these steps, you have now prepared your mason jar for sprouting. The clean and ventilated environment will provide the optimal conditions needed for your seeds to sprout and thrive. Now it’s time to move on to the next step: soaking the seeds!
Step 3: Soaking the Seeds
Soaking the seeds is the first important step in the sprouting process. This step helps to initiate the germination process by softening the seed coat and activating enzymes within the seeds. Follow these steps to properly soak your sprouting seeds:
- Measure the seeds: Start by measuring the desired amount of seeds you want to use for sprouting. Depending on the size of your mason jar, 1-2 tablespoons of seeds are typically sufficient.
- Add water: Place the seeds in the mason jar and fill it with purified water. Make sure the water covers the seeds by at least two inches as they will expand during soaking.
- Cover the jar: If desired, cover the jar with a dark cloth or place it inside a dark storage bag. This helps to mimic darkness and promote better sprouting conditions.
- Soak the seeds: Allow the seeds to soak for the recommended time period. The soaking time can vary depending on the type of seeds but typically ranges from 4-12 hours. Consult the seed packaging or reference a reliable source for specific soaking times.
During the soaking process, the seeds will absorb the water and begin the rehydration process. As a result, you may notice the seeds swelling or sprouting small tails. This is a sign that the seeds are starting to germinate and are ready for the next step.
Remember to be patient during this step, as different seeds require different soaking times. Once the seeds have soaked for the appropriate duration, it’s time to drain and rinse them in preparation for the sprouting process!
Read more: How To Store Mason Jars
Step 4: Draining and Rinsing
After soaking the seeds, it’s important to drain the excess water and rinse them thoroughly. This step helps to remove any residue, prevent mold or bacterial growth, and ensure the sprouts stay fresh and clean. Here’s how to properly drain and rinse your sprouting seeds:
- Position the jar: Place the mason jar at an angle, allowing any remaining water to drain out. You can prop it up using a dish rack, a shallow bowl, or a specialized sprouting tray designed to allow for drainage.
- Drain the water: Gently tilt the jar to let the water drain out. Ensure that all excess water is removed. Leaving too much water in the jar can create a damp environment ideal for mold growth.
- Rinse the sprouts: Rinse the seeds with fresh, purified water. Swirl the water around the jar to ensure all the sprouts are thoroughly rinsed. This helps to remove any debris or residue left behind from the soaking process.
- Drain again: After rinsing, drain the water out of the jar once more. Ensure that the jar is completely drained to prevent excess moisture.
It’s important to note that throughout the sprouting process, regular rinsing is essential. It helps to provide clean, oxygenated water to the seeds and prevents contamination. Aim to rinse the sprouts at least twice a day, or more if you live in a warm or humid climate.
Now that your seeds have been drained and rinsed, it’s time to move on to the actual sprouting process. We’ll cover this in detail in the next step. Get ready to witness the growth and transformation of your sprouting seeds!
Place seeds in a mason jar with a mesh lid. Soak them in water for 8-12 hours, then drain. Rinse and drain twice a day. Keep the jar in a dark place for 2-3 days, then move to a sunny spot. Keep rinsing until sprouts are ready.
Step 5: Sprouting Process
Now that you have drained and rinsed your sprouting seeds, it’s time for them to start sprouting and growing. This step requires regular attention and care to ensure optimal sprout development. Follow these steps to successfully navigate the sprouting process:
- Place the jar in a well-lit area: Find a spot with indirect sunlight where the jar can receive some light. Avoid placing it in direct sunlight as this can cause the sprouts to overheat or dry out.
- Continue with regular rinsing: Rinse the sprouts with fresh water at least twice a day, or more if needed. Swirl the water gently to ensure all the sprouts are thoroughly rinsed. This helps to remove any potential residue, maintain hydration, and provide oxygen to the sprouts.
- Observe the growth: As the sprouts develop, you will start to see tiny green leaves emerging from the seeds. This is an exciting stage as your sprouts are actively growing and getting ready for harvest.
- Monitor moisture levels: It’s important to strike a balance between keeping the sprouts hydrated and avoiding excess moisture. Make sure the jar is well-drained after each rinse, as excessive moisture can lead to mold or bacterial growth.
- Adapt to the sprouting time: The sprouting time can vary depending on the type of seeds and desired sprout length. Generally, sprouts are ready to harvest within 3-7 days. Taste-test the sprouts to determine their readiness. Harvest them once they reach the desired size.
Throughout the sprouting process, it’s important to be gentle with the sprouts to avoid damaging their delicate growth. Handle the jar with care and avoid shaking or rough movements that can disrupt the sprouts.
Now that your sprouts are growing and flourishing, it’s time to move on to the next step: rinse and repeat the sprouting process to ensure optimal growth and harvest!
Step 6: Rinse and Repeat
Once you have started the sprouting process and witnessed the growth of your sprouts, it’s important to continue rinsing and caring for them to ensure their continued development. Step 6 involves repeating the rinsing process and providing the necessary care for your sprouts. Here’s what you need to do:
- Continue regular rinsing: After each harvest, rinse the remaining sprouts thoroughly with fresh water. This helps to remove any residue, maintain their hydration, and promote a clean and healthy growing environment.
- Resume the sprouting process: Fill the jar with purified water once again and follow the steps of soaking, draining, and rinsing as you did in the earlier stages.
- Observe sprout development: Watch as your sprouts continue to grow and develop new leaves and shoots. It’s fascinating to witness the ongoing transformation and expansion of your sprouts.
- Maintain moisture levels: Avoid over-watering or allowing the sprouts to become too dry. Strike a balance by ensuring proper drainage after each rinse and observing the moisture level of the sprouts throughout the sprouting process.
- Repeat the rinsing cycle: As in the previous step, continue rinsing the sprouts at least twice a day or as needed to maintain their freshness and cleanliness. Regular rinsing ensures that they receive adequate water and oxygen for healthy growth.
Remember, each batch of sprouts may require a different duration of growth before they reach their ideal size for harvest. It’s essential to taste-test and assess the sprouts’ tenderness to determine when they are ready for harvesting.
By repeating the rinsing and sprouting process, you can enjoy a continuous supply of fresh and nutritious sprouts in your mason jar. Now, let’s move on to the next step: harvesting the sprouts!
Step 7: Harvesting the Sprouts
After patiently nurturing your sprouts and watching them grow, it’s time to enjoy the fruits of your labor and harvest them for consumption. Harvesting the sprouts at the right time ensures optimal flavor, texture, and nutritional value. Follow these steps to harvest your sprouts:
- Determine readiness: Assess the sprouts’ tenderness and size to determine if they are ready for harvest. Different sprout varieties have different recommended harvesting times, generally ranging from 3-7 days after the sprouting process began.
- Rinse one last time: Give the sprouts a final rinse with fresh water before harvesting. This helps to remove any residue or impurities that may have accumulated during the sprouting process.
- Harvesting methods: There are two common methods for harvesting sprouts. The first is simply cutting the sprouts just above the roots using clean scissors or a sharp knife. The second method involves removing the sprouts in clusters by gently separating them from the roots.
- Storage: Once harvested, gently shake off any excess water and allow the sprouts to dry on a clean kitchen towel or paper towel. Store the sprouts in an airtight container or a plastic bag lined with a paper towel to absorb any remaining moisture. Refrigerate them to maintain freshness.
It’s important to note that some sprouts may continue to grow even after harvesting, so it’s best to consume them as soon as possible to enjoy their optimal taste and nutritional benefits.
Now that you have harvested your sprouts, it’s time to savor their fresh flavors and incorporate them into your favorite dishes. But before that, let’s learn how to properly store the sprouts to prolong their shelf life.
Read more: How To Store Blueberries In Mason Jars
Step 8: Storing the Sprouts
Properly storing your sprouts after harvesting is essential to maintain their freshness and maximize their shelf life. By following these steps, you can ensure that your sprouts stay crisp and flavorful for as long as possible:
- Drain and dry the sprouts: After harvest, ensure that the sprouts are well-drained and dry. Excess moisture can lead to spoilage, so gently shake off any remaining water and allow the sprouts to air-dry on a clean kitchen towel or paper towel.
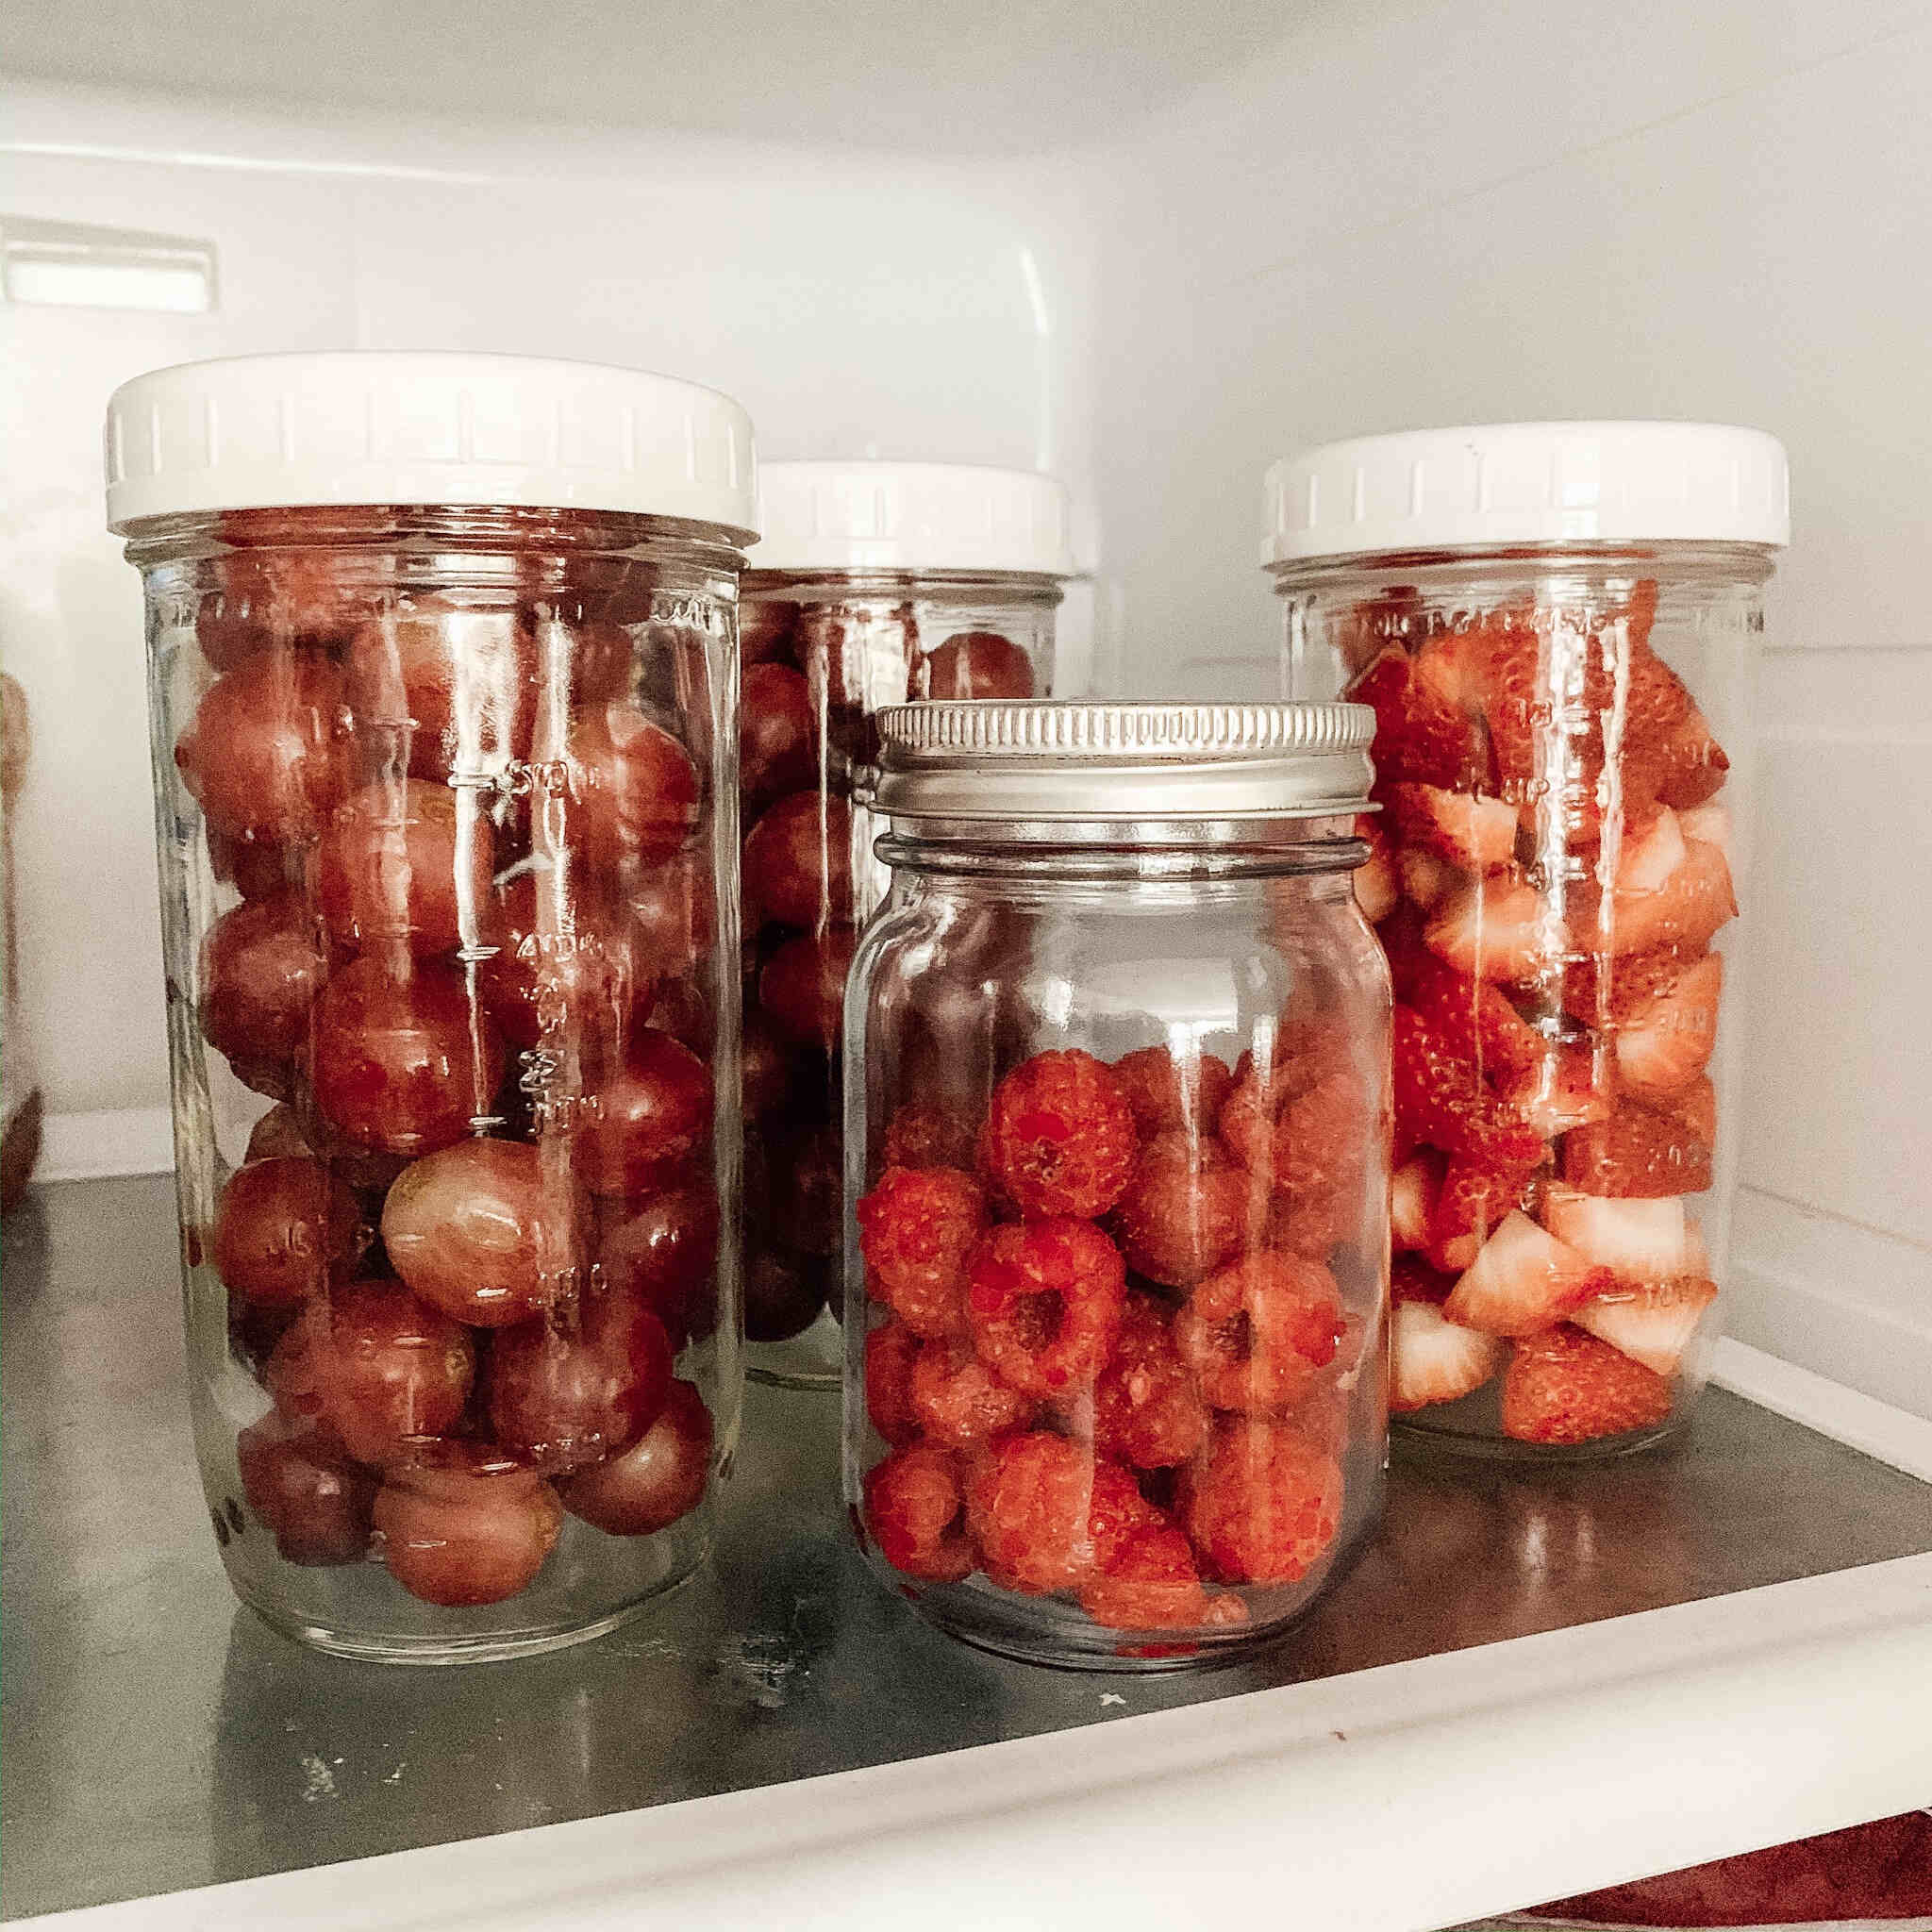
- Transfer to an airtight container: Once the sprouts are dry, transfer them to an airtight container. Glass containers or plastic bags with zip-top closures work well for this purpose. The container or bag should be clean and free from any moisture.
- Line with paper towel (optional): To absorb any excess moisture, you can place a paper towel at the bottom of the container or bag before adding the sprouts. This helps to maintain their crispness and prevent mold growth.
- Refrigerate the sprouts: Place the container or bag of sprouts in the refrigerator. The cool temperature helps to slow down the sprouts’ metabolic activity, extending their shelf life. It’s best to consume the sprouts within 4-5 days for optimal flavor and texture.
- Check for freshness: Before using the sprouts in your dishes, always inspect them for any signs of spoilage or off-odors. If you notice any sliminess, discoloration, or an unpleasant smell, discard the sprouts to ensure food safety.
Remember to observe good hygiene practices when handling and storing sprouts. Always wash your hands before touching the sprouts, and sanitize your storage container regularly to prevent bacterial contamination.
With proper storage, you can enjoy the freshness and nutritional benefits of your homegrown sprouts for longer. Now it’s time to explore various ways to incorporate these delicious sprouts into your favorite meals and enhance your culinary creations!
Conclusion
Congratulations! You’ve successfully learned how to sprout seeds in a mason jar and embarked on a journey of cultivating your own nutritious sprouts. Sprouting seeds in a mason jar is a simple and rewarding process that allows you to enjoy fresh, homegrown sprouts packed with vitamins, minerals, and enzymes.
By following the step-by-step process outlined in this article, you’ve gained the knowledge and skills to select the right seeds, prepare your mason jar, soak and sprout the seeds, and harvest and store the sprouts. Throughout the process, you’ve witnessed the growth and transformation of your sprouts, from seeds to healthy and vibrant sprouts ready for consumption.
Sprouts can be a versatile addition to your meals. They can be enjoyed raw in salads, sandwiches, wraps, or added to stir-fries, soups, and smoothies. Their crunchy texture and fresh taste provide a nutrient boost to any dish.
Remember to always prioritize hygiene and food safety during the sprouting process. Cleanliness, proper rinsing, and storage techniques are key to preventing the growth of mold or harmful bacteria.
Now that you have the knowledge and skills to sprout seeds in a mason jar, you can continue your sprouting journey with various seed varieties and experiment with different flavors and textures. Get creative, try new sprout combinations, and enjoy the freshness and nutritional benefits of homegrown sprouts.
So why wait? Grab your mason jar, select your favorite seeds, and start sprouting! Enjoy the satisfaction of growing your own fresh and healthy sprouts right in the comfort of your home. Happy sprouting!
Frequently Asked Questions about How To Sprout Seeds In A Mason Jar
Was this page helpful?
At Storables.com, we guarantee accurate and reliable information. Our content, validated by Expert Board Contributors, is crafted following stringent Editorial Policies. We're committed to providing you with well-researched, expert-backed insights for all your informational needs.


0 thoughts on “How To Sprout Seeds In A Mason Jar”