Home>Garden Essentials>Garden Storage>How To Organise Deep Wardrobe Shelves

Garden Storage
How To Organise Deep Wardrobe Shelves
Modified: August 25, 2024
Learn how to efficiently organise your deep wardrobe shelves for optimal storage. Our step-by-step guide will help you maximize space and keep your belongings neat and accessible.
(Many of the links in this article redirect to a specific reviewed product. Your purchase of these products through affiliate links helps to generate commission for Storables.com, at no extra cost. Learn more)
Introduction
Welcome to the ultimate guide on how to organize your deep wardrobe shelves! If you’ve ever struggled to find the perfect outfit or spent precious minutes searching for that elusive pair of shoes, then this article is for you. A well-organized wardrobe not only saves you time and frustration but also allows you to make the most of your available space.
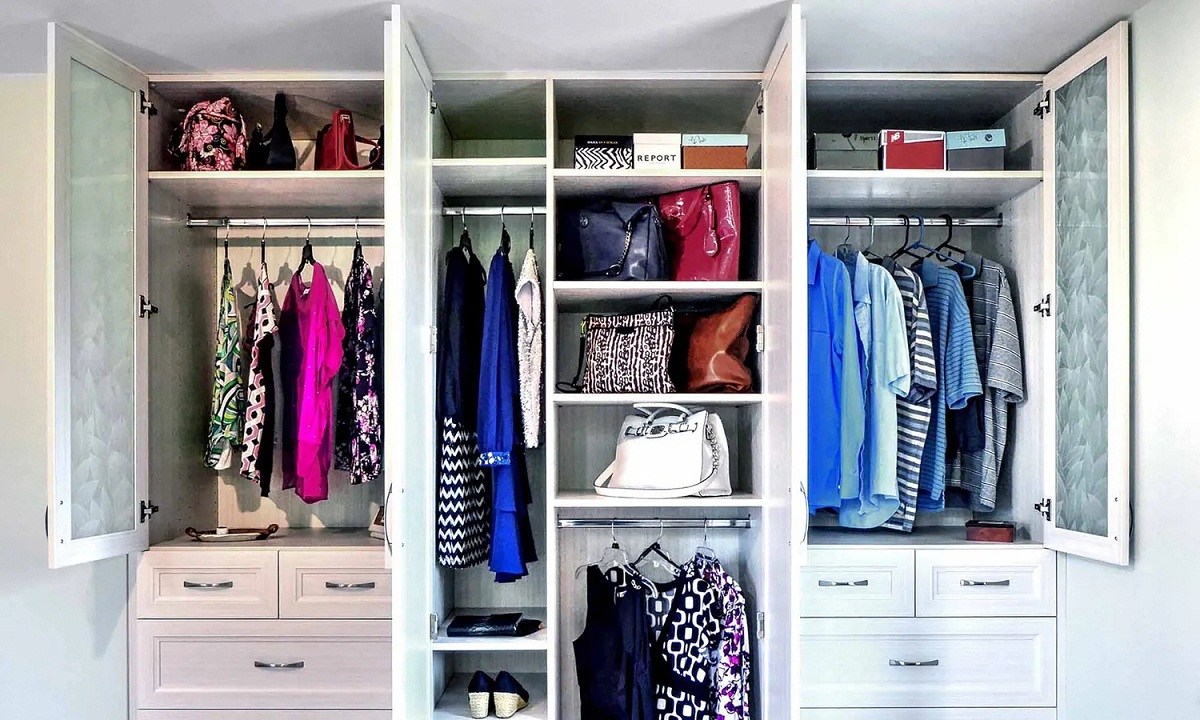
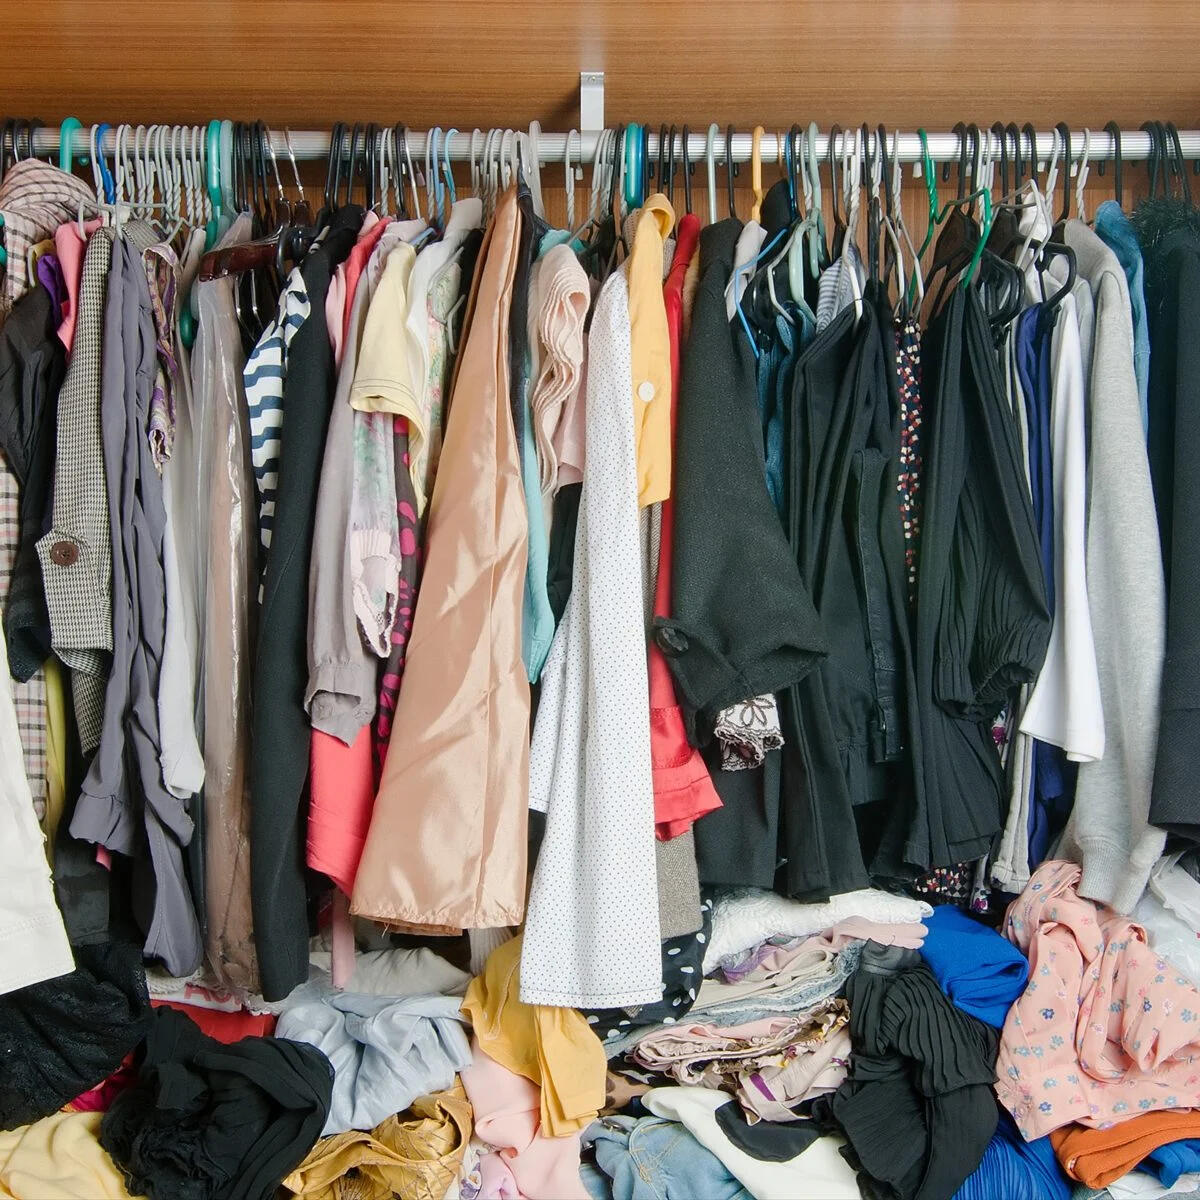
Deep wardrobe shelves can be a blessing and a curse. On one hand, they offer ample storage space for your clothing and accessories. On the other hand, their depth can lead to a disorganized mess if not managed properly. But fear not, because with a few simple steps and some creative organization ideas, you can transform your deep wardrobe shelves into a clutter-free oasis.
Before we dive into the practical tips and techniques, take a moment to visualize your ideal organized wardrobe. What would it look like? How would you want your items to be arranged? Having a clear vision will help guide you through the organizing process and motivate you to achieve your goal. Now, let’s get started!
Key Takeaways:
- Assess your wardrobe space, declutter, and choose the right storage solutions to maximize space utilization. Proper folding, hanging, and regular maintenance will keep your deep wardrobe shelves clutter-free and organized.
- Create designated areas, utilize labels, and establish a maintenance routine to ensure an efficient and visually appealing wardrobe. Embrace the organizing process and enjoy the benefits of a well-organized and functional space.
Read more: How Deep Are Pantry Shelves
Step 1: Assessing the current state of your wardrobe
Before you begin organizing your deep wardrobe shelves, it’s crucial to assess the current state of your wardrobe. This step will help you understand the available space and determine what items need to be stored.
The first thing to do is evaluate the available space in your wardrobe. Measure the depth, width, and height of the shelves to get a clear idea of how much space you have to work with. This will help you determine the types of storage solutions that will fit and make the most of the available space.
Once you have a sense of the space, it’s time to identify the items that will be stored in your wardrobe. Take a thorough inventory of your clothing, accessories, and other items that you keep in your wardrobe. This will help you understand the scope of the organization task and guide your decision-making process as you proceed.
As you assess your items, it’s important to categorize them. Divide your clothing into categories such as tops, bottoms, dresses, jackets, and so on. Similarly, categorize your accessories such as shoes, bags, belts, and jewelry. By categorizing your items, you’ll have a better understanding of what storage solutions and arrangement strategies will work best for each category.
While assessing your wardrobe, take the opportunity to declutter. Get rid of items that no longer fit, are damaged beyond repair, or that you haven’t worn in a long time. This will help create more space in your wardrobe and streamline your storage efforts.
Step 2: Decluttering and sorting
Now that you’ve assessed the current state of your wardrobe and identified the items to be stored, it’s time to tackle the decluttering and sorting process. This step is crucial in creating a well-organized and clutter-free wardrobe.
The first task in this step is to remove unnecessary items from your wardrobe. We all tend to accumulate clothing and accessories that we no longer wear or need. Take a critical look at your items and ask yourself if you truly love and wear each one. If the answer is no, it’s time to let it go. Donate or sell items that are in good condition, and discard those that are beyond repair or use.
As you declutter, remember to be ruthless. It can be tempting to hold onto items for sentimental reasons or in the hopes of fitting into them someday. However, holding onto unnecessary items will only contribute to a cluttered wardrobe. Be honest with yourself and let go of items that no longer serve you.
Once you’ve decluttered your wardrobe, it’s time to categorize the remaining items. Group similar items together, such as all your t-shirts, jeans, or dresses. This will help you visualize your inventory and make it easier to find what you need when getting dressed. Consider using dividers or bins to keep each category separate and organized within your wardrobe.
When categorizing your items, consider the frequency of use. Keep frequently worn items easily accessible and place less-used items towards the back or higher shelves. This will make it more convenient to reach for everyday essentials and minimize the need for shuffling through your entire wardrobe.
As you sort through your items, take note of any repair or alteration needs. Set aside items that need stitching, hemming, or other adjustments. By addressing these repairs, you’ll ensure that your clothing is ready to wear when you need them, and you won’t have to spend time searching for them amidst your wardrobe.
Step 3: Choosing the right storage solutions
Now that you have decluttered and sorted your wardrobe, it’s time to choose the right storage solutions to maximize space and keep everything organized. Selecting appropriate shelves or containers and considering different options for organization will help maintain the order in your deep wardrobe shelves.
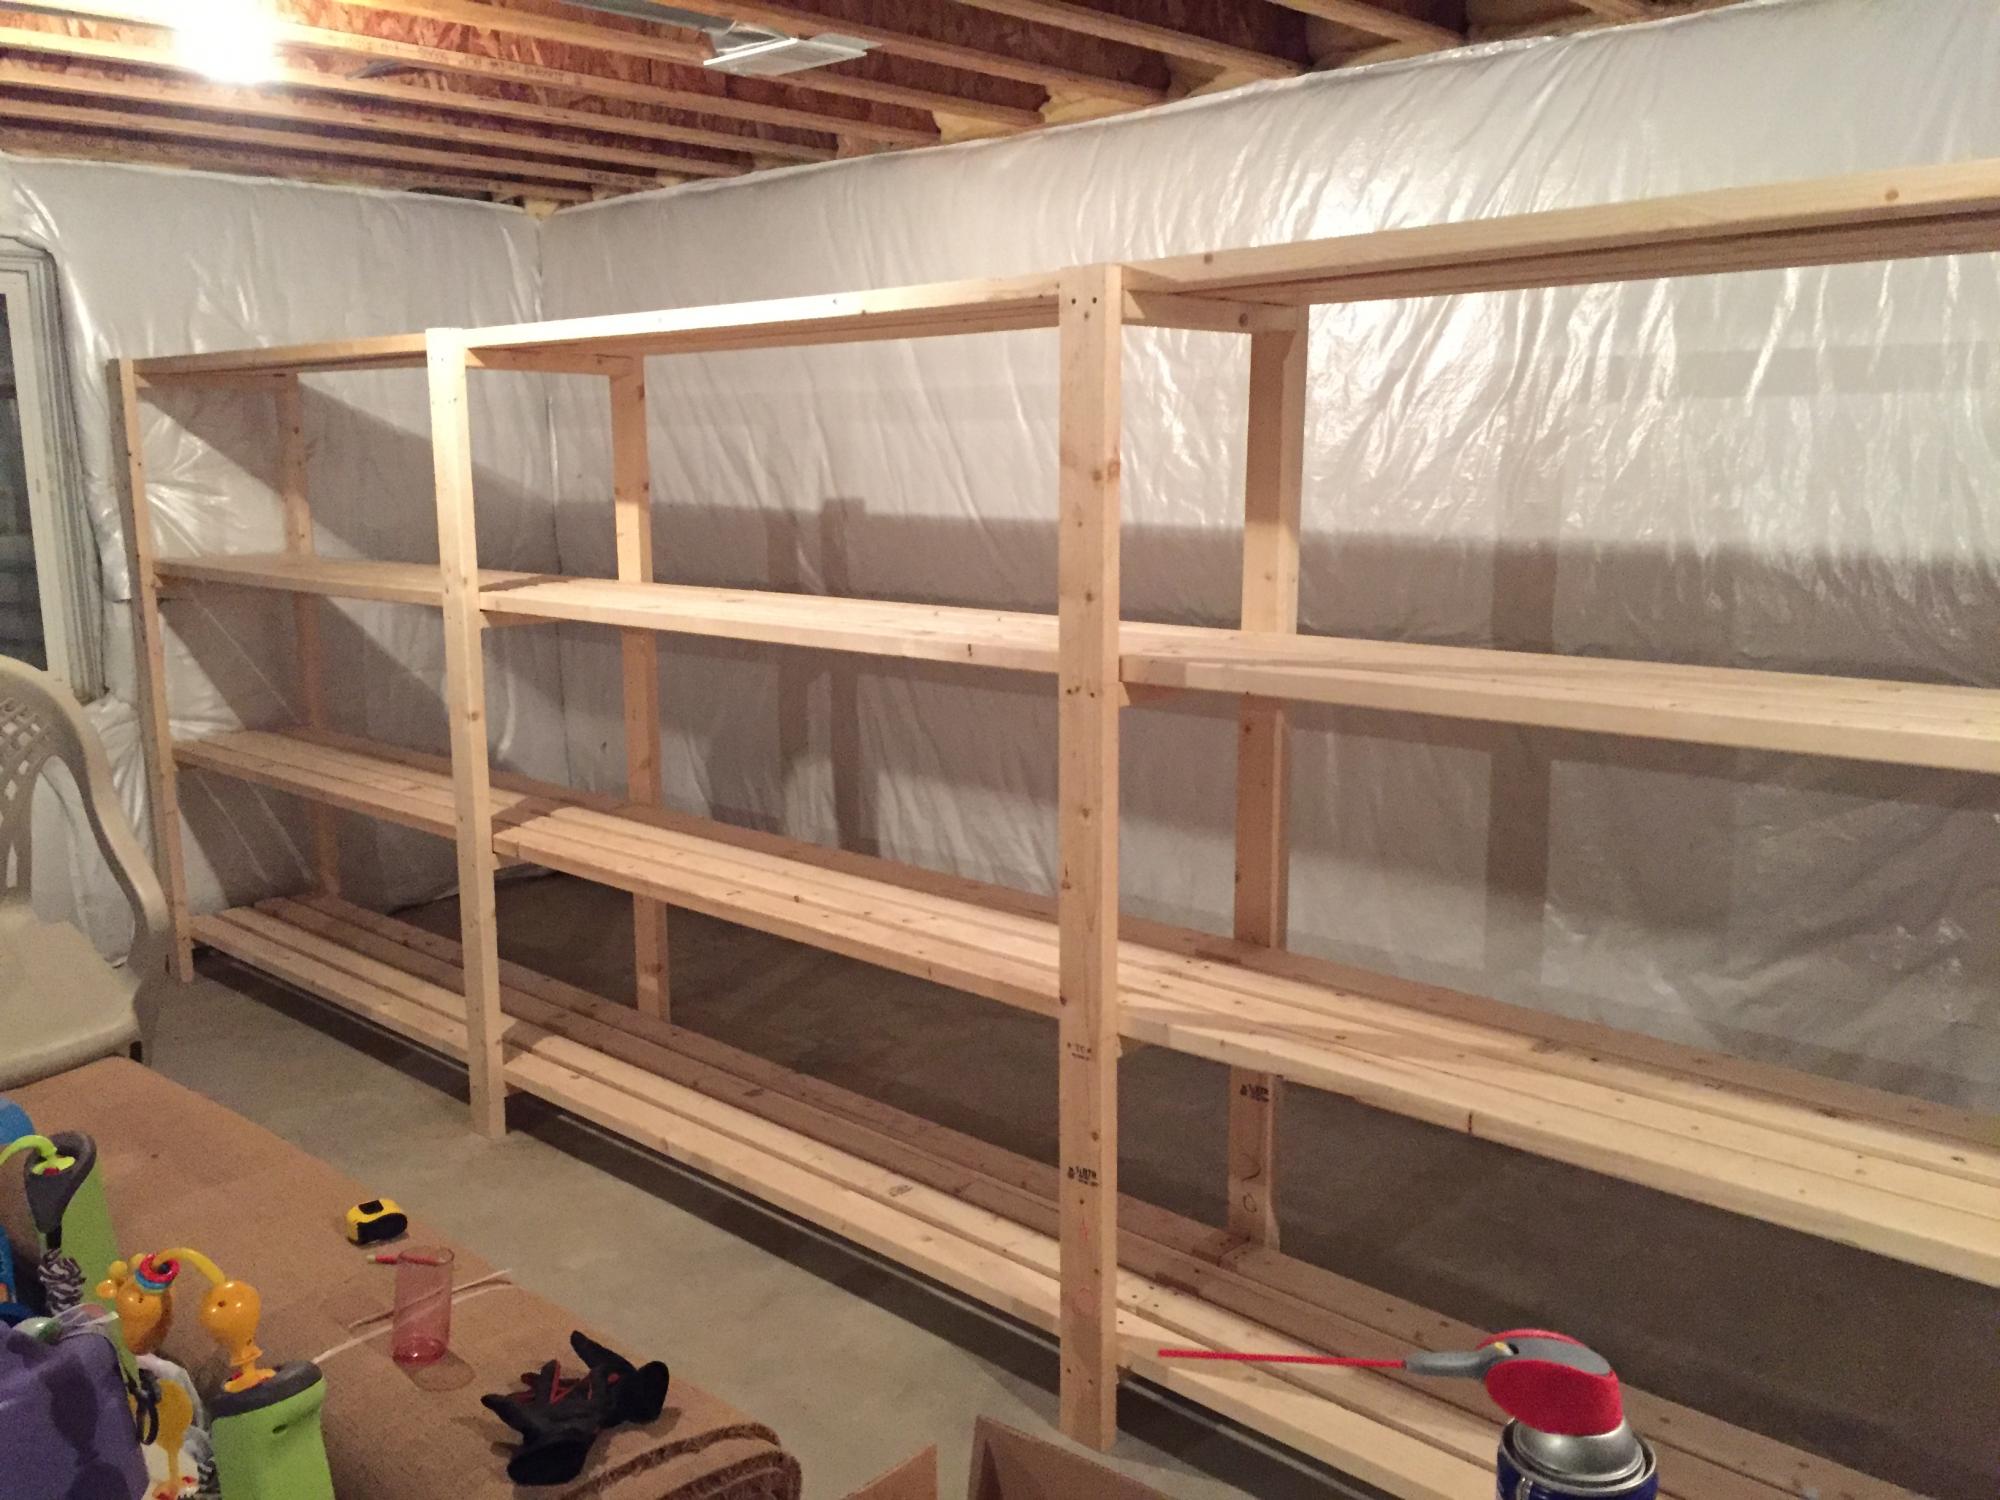
When it comes to selecting shelves or containers for your wardrobe, consider the dimensions and depth of your deep shelves. Measure the width and height of your shelves to ensure that any storage solutions you choose will fit properly. Adjustable shelves can be a great option as they allow you to customize the height based on your specific needs.
Consider the material of the shelves or containers as well. Sturdy materials like wood or metal tend to hold up better over time and provide the necessary support for your items. If you opt for plastic containers, make sure they are durable and have lids that seal tightly to protect your belongings from dust or pests.
Once you have the right shelves or containers, think about different options for organization within them. There are various approaches you can take depending on your personal preferences and the types of items you’re storing.
One option is to use stackable bins or clear plastic drawers. These can be useful for storing items that are folded or can be neatly stacked, such as sweaters, shorts, or accessories. The advantage of clear containers is that you can easily see the contents without having to open each one.
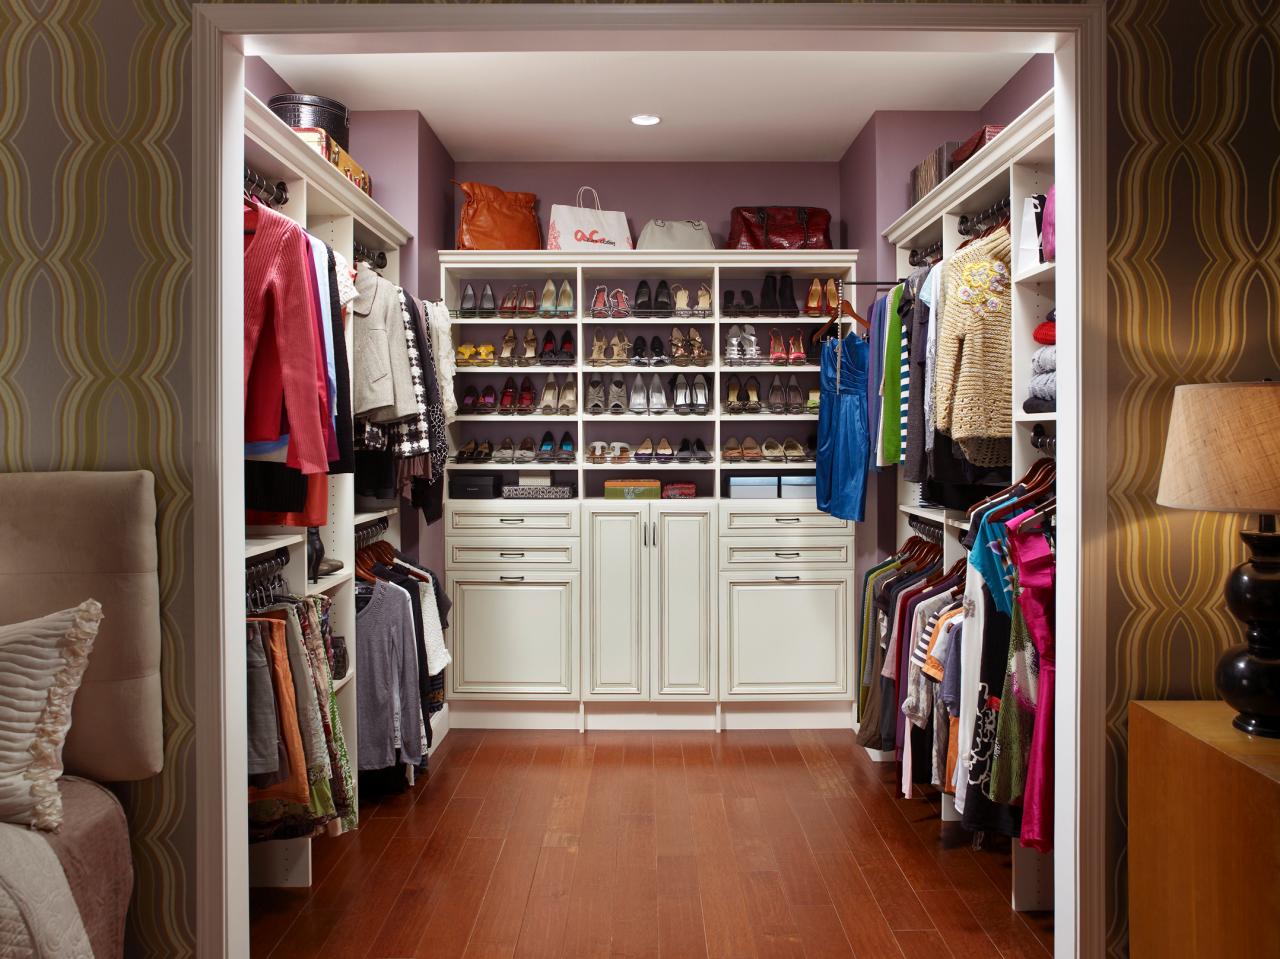
If you have a large number of shoes, consider using shoe organizers or racks that maximize vertical space. These can be placed on the floor or hung on the back of the wardrobe door. Utilizing vertical space is a smart strategy for deep shelves as it frees up valuable floor space and keeps your shoes easily accessible.
For smaller items like jewelry or scarves, consider using small storage boxes or dividers within drawers. This will help prevent them from getting tangled or lost among larger items.
Remember to keep in mind the weight capacity of your shelves or containers. Heavier items like coats or books should be stored on sturdier shelves, while lighter items like t-shirts or socks can be placed in bins or drawers.
By selecting the right storage solutions and organizing options, you can make the most of the available space in your deep wardrobe shelves and keep everything neatly arranged and accessible.
Step 4: Maximizing space utilization
When it comes to organizing your deep wardrobe shelves, maximizing space utilization is key. By making efficient use of both vertical and horizontal space, you can maximize the storage capacity of your wardrobe and keep items easily accessible.
One effective strategy is to utilize vertical space. Deep wardrobe shelves provide ample height, and it’s important to make the most of this vertical space. Use stackable storage bins or containers to efficiently store folded items like sweaters or jeans. By stacking these containers, you can utilize the full height of your shelves.
Another way to utilize vertical space is by incorporating adjustable shelving systems. These systems allow you to customize the height of your shelves based on the height of your items. You can easily move the shelves up or down to accommodate different sizes of clothing or accessories. This flexibility ensures that you can optimize the use of your deep shelves and avoid wasted space.
In addition to utilizing vertical space, it’s essential to consider horizontal space as well. Evaluate the width of your deep wardrobe shelves and determine the best arrangement for your items. Utilize dividers or bins to create sections and keep similar items together. This prevents items from getting mixed up or lost and makes it easier to locate specific items when you need them.
Another effective way to maximize horizontal space is by utilizing the back of the wardrobe door. Install hooks or hanging organizers to store belts, scarves, or handbags. This not only frees up space within the wardrobe itself but also keeps these accessories easily accessible and visible.
When organizing your wardrobe, remember to leave some space between items to prevent overcrowding and allow for easy retrieval. This will ensure that you can see and access each item without having to move or disturb other clothing.
By effectively utilizing both vertical and horizontal space, you can optimize the storage capacity of your deep wardrobe shelves. This will help keep your items organized, prevent clutter, and make it easier for you to find what you’re looking for.
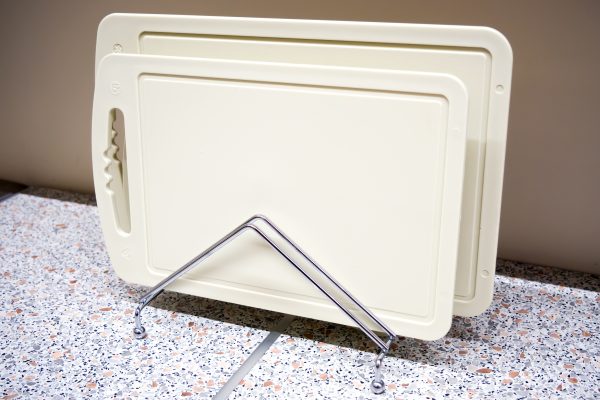
Use shelf dividers to separate different categories of items, such as sweaters, jeans, and accessories. This will help keep your deep wardrobe shelves organized and make it easier to find what you need.
Read more: How Deep Should A Wardrobe Be
Step 5: Properly folding and hanging clothes
Properly folding and hanging clothes is an essential aspect of organizing your deep wardrobe shelves. By utilizing effective folding techniques and utilizing hangers effectively, you can maximize space and ensure that your clothes are easily accessible.
When it comes to folding clothes, it’s important to use techniques that minimize wrinkles and save space. Different clothing items require different folding methods:
– Shirts and T-shirts: Fold these items in half vertically, aligning the sleeves with the side seams. Then, fold them in half horizontally or roll them to save space and prevent wrinkles.
– Pants and jeans: Lay them flat and fold them in half vertically, aligning the legs. Fold them once more horizontally for an efficient and space-saving fold.
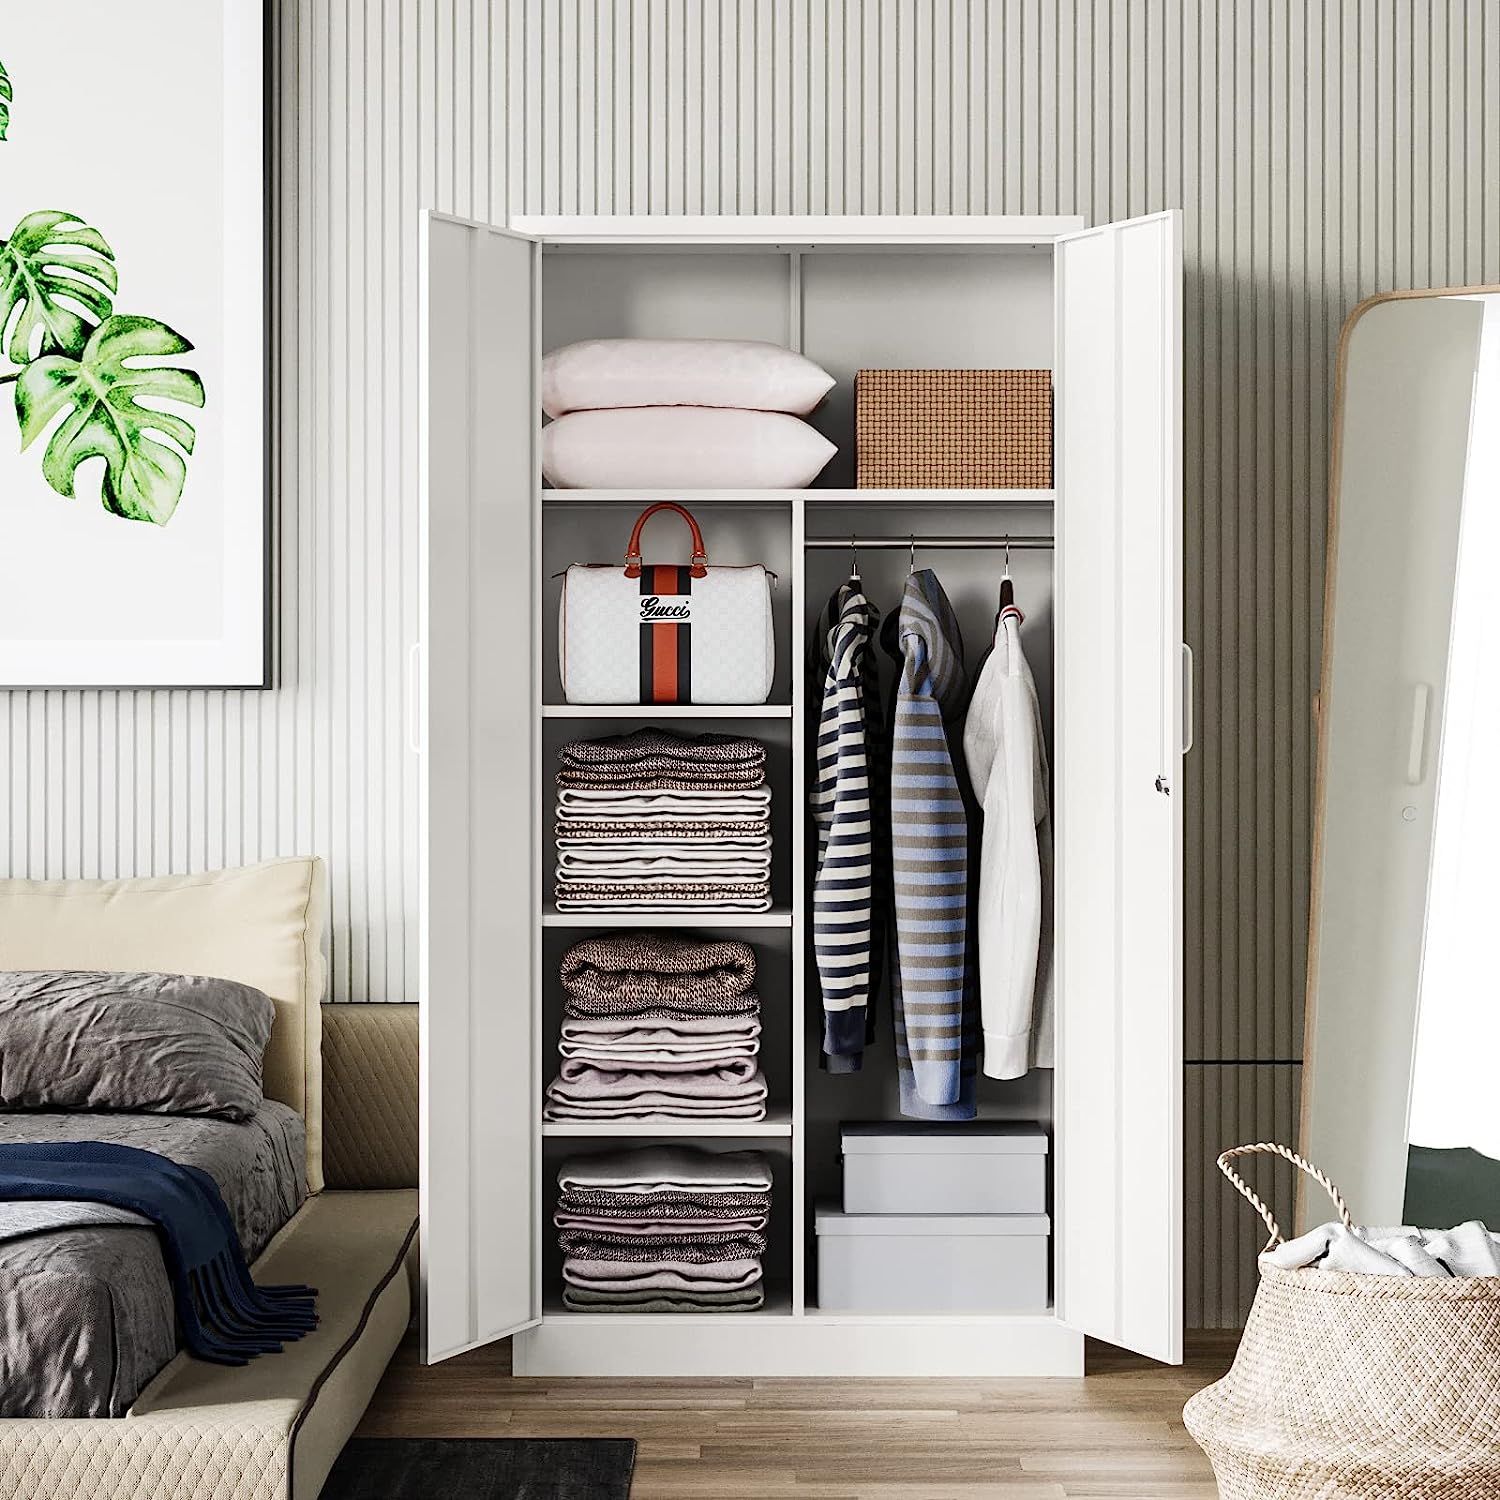
– Sweaters and bulky items: Instead of hanging these items, fold them neatly and stack them in stackable storage bins or containers on your wardrobe shelves.
– Undergarments and socks: Use small organizing bins or dividers within drawers to keep these items separate and organized.
When it comes to utilizing hangers effectively, consider the type of clothing and the available space in your wardrobe. Use sturdy wooden or plastic hangers for heavier items like coats or jackets. Slim or velvet hangers are great for thin or delicate items like dresses or blouses as they take up less space and prevent clothes from slipping off.
Hang clothing items that are prone to wrinkling, like dresses or button-up shirts, to keep them wrinkle-free and ready to wear. Arrange your hangers in a way that maximizes the use of space, leaving enough room between each item to prevent overcrowding.
Lastly, make use of the vertical space within your wardrobe by using double-hanging rods or cascading hangers. These allow you to hang multiple items in the same space, effectively doubling your hanging capacity.
By properly folding and hanging your clothes, you can create a neat and organized wardrobe. This will not only save space but also make it easier for you to find and access your clothing items when you need them.
Step 6: Creating designated areas
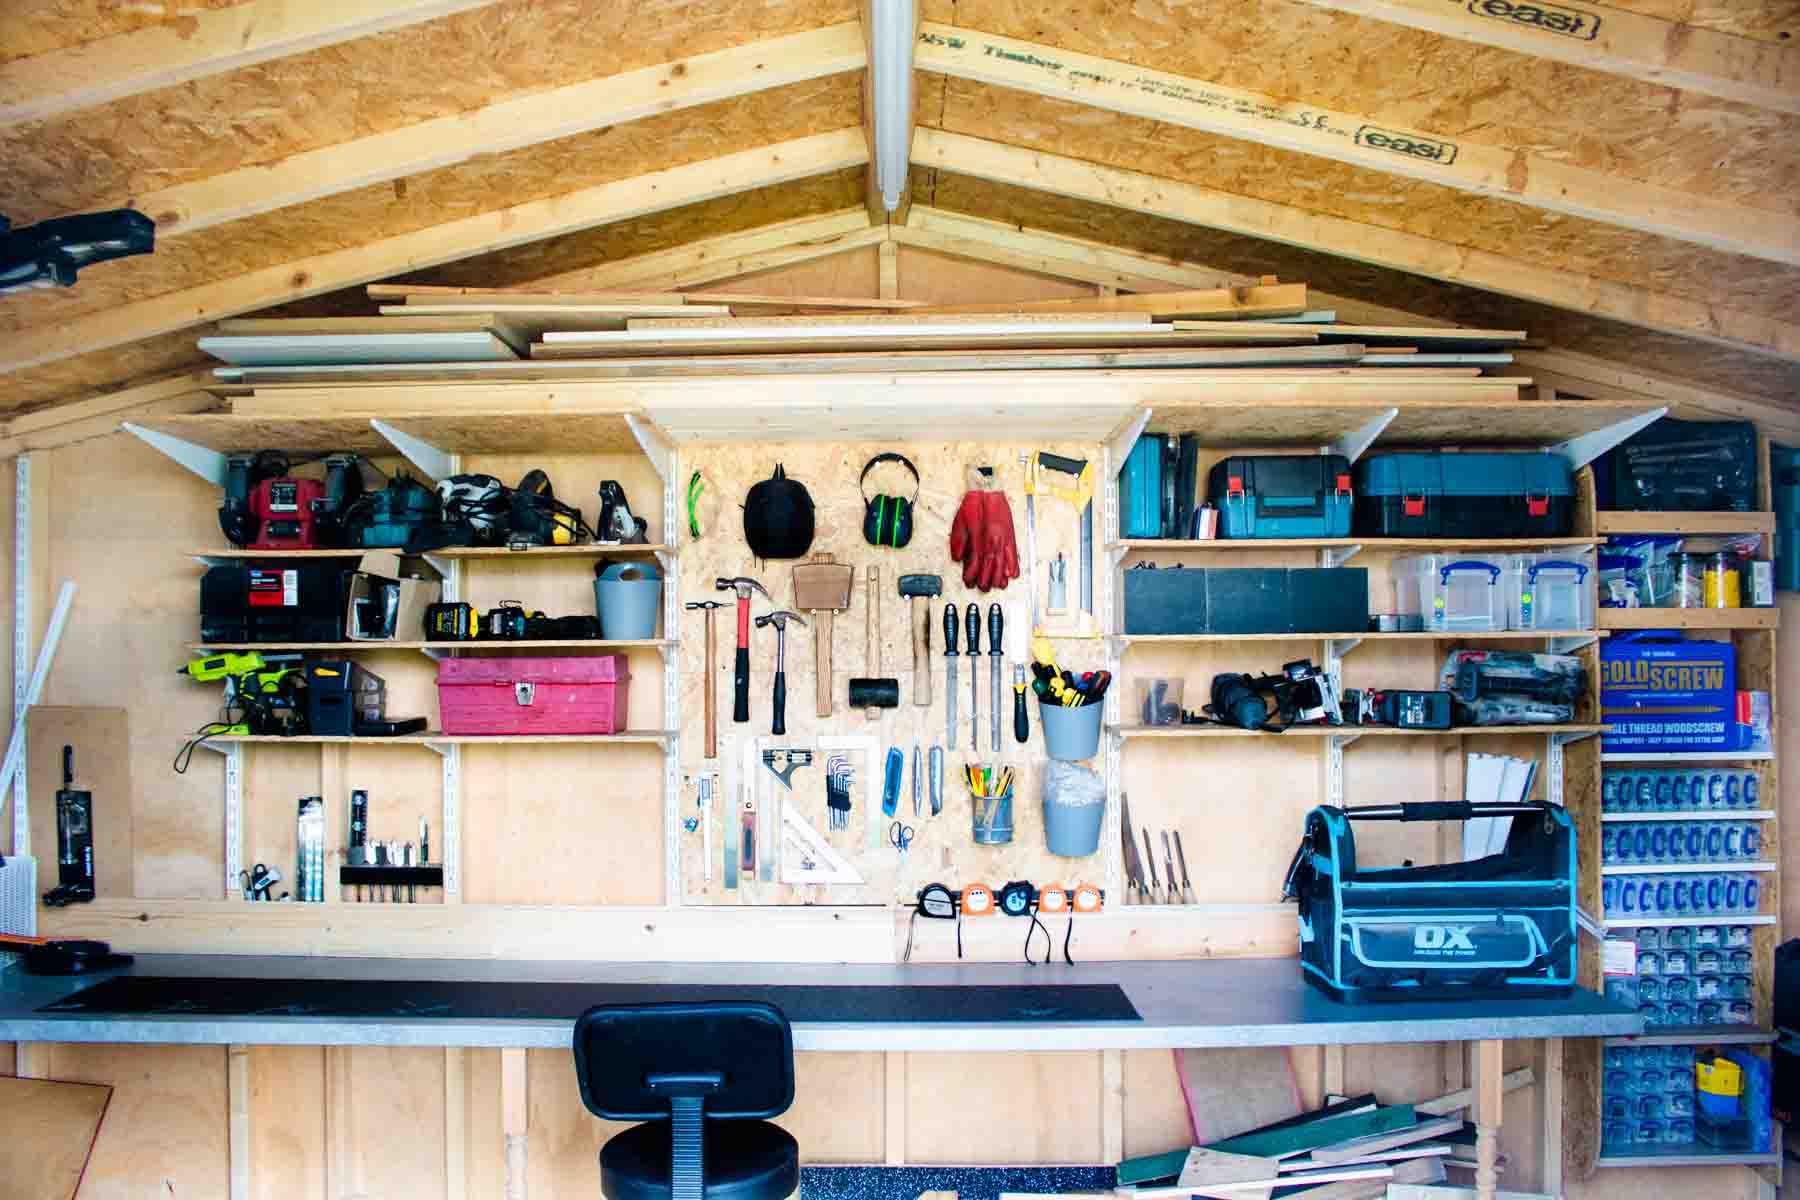
Creating designated areas within your deep wardrobe shelves is a key step in maintaining organization and making it easier to find and retrieve specific items. By designating sections for specific items or categories and utilizing labels or tags, you can create a visually organized and easily navigable wardrobe.
Start by dividing your wardrobe shelves into different sections based on the type of clothing or category. For example, you can designate one section for tops, another for bottoms, and separate sections for dresses, jackets, or accessories. Categorizing your items in this way allows you to visually see where each type of clothing or accessory belongs, making it easier to maintain order.
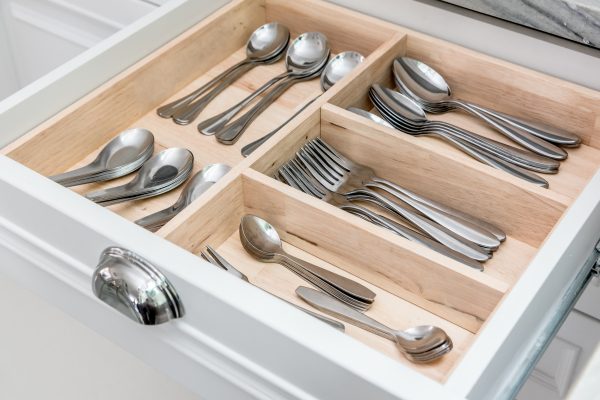
Utilize dividers or bins to physically separate each section and prevent items from mixing together. This will help you quickly locate the section you need, saving you time and reducing frustration when searching for specific items.
In addition to creating designated areas, consider utilizing labels or tags to further enhance organization. Attach labels or tags to your storage bins, containers, or dividers so that you can easily identify the contents within. This is particularly helpful for items that are stored away or not immediately visible.
When labeling or tagging, be clear and specific with your descriptions. Include the category or item type, such as “T-shirts” or “Scarves.” This will make it effortless to locate and retrieve items, even if they are not within direct view.
If you prefer a more visual approach, consider taking photos of your folded items or accessories and affixing them to the corresponding storage bin or container. This method is especially useful for ensuring that everything gets put back in its designated place after use.
Creating designated areas and utilizing labels or tags within your deep wardrobe shelves creates a sense of order and simplifies the process of finding and retrieving items. It helps you maintain an organized wardrobe and provides a visual guide to where everything belongs.
Step 7: Regular maintenance and upkeep
Once you have organized your deep wardrobe shelves, it is essential to establish a system for regular maintenance and upkeep. By dedicating time to regularly organizing the shelves and cleaning and tidying up your wardrobe, you can ensure that your organized system stays intact and continues to serve its purpose.
Establishing a system for regularly organizing the shelves is crucial to prevent clutter from building up over time. Set aside some time every few months to go through your wardrobe and reorganize items as needed. Evaluate if any items need to be decluttered or donated and make adjustments to your storage solutions if necessary.
During your organizing session, pay attention to any items that have become disheveled or out of place. Fold and stack clothing items neatly and align them properly on the shelves. Make sure that all items are returned to their designated areas, and everything is easily accessible.
Regular cleaning and tidying up your wardrobe is also important to keep the space clean and fresh. Dusting your shelves, wiping down surfaces, and vacuuming or sweeping the floor of your wardrobe can help maintain cleanliness and prevent the buildup of dust or debris.
Periodically inspect your storage containers, bins, or dividers for any signs of wear or damage. Replace any worn-out containers or dividers to ensure that your items are properly protected and organized within your wardrobe.
Additionally, take the opportunity during your maintenance sessions to reassess your wardrobe and adjust your organization system as needed. As your style or needs change over time, you may find that certain categories or sections need to be modified or reorganized to better suit your current preferences.
By establishing a routine for regular maintenance and upkeep of your deep wardrobe shelves, you can ensure that your organized system remains functional, clutter-free, and visually pleasing. Regularly organizing, cleaning, and tidying up your wardrobe will help you maintain order in your space and make it easier to find and enjoy your favorite clothing and accessories.
Conclusion
Congratulations! You have successfully learned how to organize your deep wardrobe shelves to create a clutter-free and visually appealing space. By following the steps outlined in this guide, you have gained the knowledge and techniques to transform your wardrobe into an organized oasis.
Remember that organizing your deep wardrobe shelves is an ongoing process. Regular maintenance and upkeep are essential to keeping your organized system intact. Dedicate time periodically to reassess, declutter, and reorganize as needed to ensure that your wardrobe remains functional and efficient.
Assessing the available space and identifying the items to be stored is the first crucial step. Decluttering and sorting through your belongings will help you create a clean and organized foundation. Choosing the right storage solutions and maximizing space utilization will maximize the storage capacity of your wardrobe. Proper folding and hanging techniques ensure that your clothes are easily accessible and wrinkle-free.
Creating designated areas and utilizing labels or tags further enhances organization and simplifies the retrieval of items. Establishing a system for regular maintenance and upkeep, including organizing sessions and periodic cleaning, will help you maintain an efficient and visually appealing wardrobe.
Now that you are equipped with these valuable tips, it’s time to put them into action. Start by assessing your wardrobe, decluttering and sorting your items, and selecting the appropriate storage solutions. Embrace the organizing process and enjoy the benefits of a well-organized and functional wardrobe.
Remember, an organized wardrobe not only saves you time and frustration but also allows you to fully appreciate your clothing and accessories. Enjoy the peace of mind and confidence that comes with knowing exactly where everything is and how to effortlessly put together stylish outfits.
So, go ahead, tackle those deep wardrobe shelves, and embrace a clutter-free and organized space that truly reflects your personal style and makes your everyday life a little more enjoyable.
Frequently Asked Questions about How To Organise Deep Wardrobe Shelves
Was this page helpful?
At Storables.com, we guarantee accurate and reliable information. Our content, validated by Expert Board Contributors, is crafted following stringent Editorial Policies. We're committed to providing you with well-researched, expert-backed insights for all your informational needs.


0 thoughts on “How To Organise Deep Wardrobe Shelves”